Creating DIY Metal Art for Your Walls
Are you ready to unleash your inner artist and transform your walls into a stunning gallery of metal art? Creating DIY metal art is not just a fun project; it's a way to express your personal style and add a unique touch to your living space. Whether you're looking to craft intricate designs or bold statements, the possibilities are endless. Imagine stepping into a room adorned with your own creations, each piece telling a story and reflecting your creative spirit. This article is your guide to navigating the exciting world of metal art, providing you with tips, techniques, and inspiration to get started on your artistic journey.
Before diving into the creative process, it's essential to understand the materials you'll be working with. Metal art can be made from various metals, each offering different properties and aesthetic qualities. For instance, aluminum is lightweight and resistant to rust, making it a great choice for both indoor and outdoor projects. On the other hand, steel is sturdy and can be painted or left raw for an industrial look. Choosing the right metal will not only affect the durability of your art but also its visual appeal. So, take a moment to consider what message you want your art to convey and select your materials accordingly.
Once you've settled on your materials, gathering the right tools is crucial. Imagine trying to bake a cake without the proper utensils—it's a recipe for disaster! Similarly, having the right tools for metal art can make your creative process seamless and enjoyable. From cutting tools like saws and shears to shaping tools like hammers and welders, each tool plays a vital role in bringing your vision to life. We'll delve deeper into the essential tools later in this article, but for now, get excited about the craftsmanship that awaits you!
As you embark on this artistic adventure, remember that inspiration can come from anywhere. Look around you! Nature, architecture, and even abstract concepts can fuel your creativity. Have you ever noticed the intricate patterns in leaves or the geometric shapes in modern buildings? These elements can serve as fantastic sources of inspiration for your metal art. Don't be afraid to experiment and let your imagination run wild. After all, art is about expressing yourself, and there's no right or wrong way to do it.
Finally, as you create your metal masterpieces, don’t forget about the finishing touches. The right polish, paint, or protective coating can elevate your art from ordinary to extraordinary. Imagine giving your piece a glossy finish that catches the light just right, or a vibrant color that pops against your wall. These details can make all the difference, ensuring that your creations not only look fantastic but also stand the test of time.
In conclusion, creating DIY metal art for your walls is a journey filled with creativity, exploration, and personal expression. With the right materials, tools, and inspiration, you're well on your way to crafting stunning pieces that reflect your unique style. So, roll up your sleeves, grab your tools, and let your imagination soar—your walls are waiting for a makeover!
- What type of metal is best for beginners? Aluminum is often recommended for beginners due to its lightweight nature and ease of handling.
- Do I need special tools for metal art? While basic tools can work, having specialized cutting and shaping tools will enhance your experience and results.
- How can I protect my metal art from rust? Applying a protective coating or paint can help shield your art from rust and environmental damage.
- Can I use recycled materials for my metal art? Absolutely! Using recycled metals can add character and is an eco-friendly choice.

Choosing the Right Materials
When diving into the world of DIY metal art, the first step is to choose the right materials. The type of metal you select can significantly impact both the durability and the aesthetic appeal of your finished piece. Different metals come with their own unique properties, and understanding these can help you make informed decisions that align with your artistic vision.
For instance, steel is a popular choice due to its strength and versatility. It can be easily cut, welded, and shaped, making it ideal for both intricate and bold designs. On the other hand, aluminum is lightweight and resistant to rust, making it perfect for outdoor pieces. If you're looking for a touch of elegance, consider using copper or brass, which develop a beautiful patina over time, adding character to your art.
Here’s a quick comparison of common metals used in DIY metal art:
| Metal Type | Properties | Best For |
|---|---|---|
| Steel | Strong, durable, versatile | Indoor and outdoor projects |
| Aluminum | Lightweight, rust-resistant | Outdoor art, intricate designs |
| Copper | Elegant, develops patina | Decorative pieces, accents |
| Brass | Golden color, durable | Artistic sculptures, modern designs |
When selecting your materials, consider the environment where your art will be displayed. For instance, if your piece will be outdoors, opt for metals that can withstand the elements. Additionally, think about how you want your art to interact with light and shadow. Some metals reflect light beautifully, creating dynamic visual effects that can change throughout the day.
Lastly, don’t forget to factor in your budget. While some metals can be more expensive than others, there are often alternatives that can achieve a similar look without breaking the bank. Always keep an eye out for scrap metal or leftover pieces from local suppliers; these can be great sources of unique materials for your projects.
Essential Tools for Metal Art
When it comes to creating stunning DIY metal art, having the right tools is absolutely essential. Imagine trying to paint a masterpiece without brushes or a canvas—frustrating, right? The same principle applies to metal art. Whether you're a seasoned artist or just starting out, equipping yourself with the right tools can make your creative journey smoother and more enjoyable. In this section, we'll explore the essential tools you'll need for cutting, shaping, and finishing your metal projects effectively.
First and foremost, let's talk about cutting tools. These are your best friends when it comes to transforming raw metal sheets into beautiful art pieces. You have a variety of options to choose from, including:
- Metal Saws: Ideal for straight cuts, metal saws come in various types, including band saws and hacksaws, which can handle different thicknesses of metal.
- Shears: Perfect for making intricate cuts, shears allow for precision and are great for thinner sheets of metal.
- Plasma Cutters: These tools offer a high level of versatility and precision, enabling you to create intricate designs with ease.
Understanding the different cutting tools available is vital for achieving the precision you desire in your artwork. For instance, if you're looking to create complex shapes and curves, a plasma cutter might be your best bet. However, if you're working on simpler projects, a handsaw or shears could suffice. The key is to assess your project requirements and choose the tool that best suits your needs.
Now, let’s dive deeper into the cutting tools. Each has its unique benefits and applications. For example, a band saw is excellent for making straight cuts on thicker materials, while a jigsaw is more suited for curves and intricate designs. The versatility of a plasma cutter cannot be overstated; it allows for clean cuts and can handle various thicknesses of metal, making it a go-to for many metal artists.
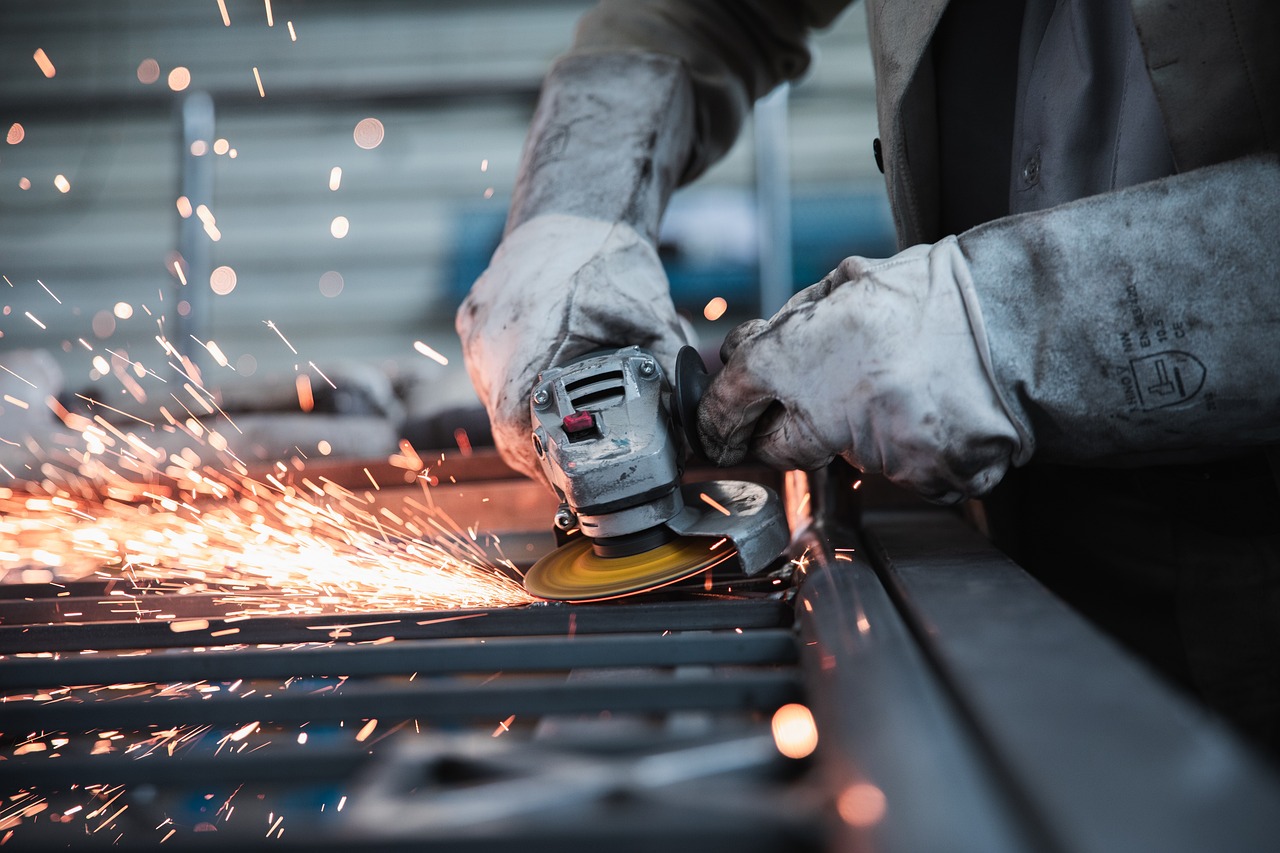
If you decide to go with a plasma cutter, understanding how to operate it safely and effectively is crucial. Always remember to wear appropriate safety gear, including gloves and goggles, as the cutting process can produce sparks and heat. Once you're set up, practice on scrap metal to get the hang of it before moving on to your actual project. The precision you can achieve with a plasma cutter is truly remarkable, allowing you to create designs that are both intricate and visually stunning.
Speaking of safety, let's not overlook the importance of wearing the right safety gear while working with metal. This is not just about following best practices; it’s about protecting yourself from potential hazards. Essential safety gear includes:
- Gloves: Protect your hands from sharp edges and hot surfaces.
- Goggles: Shield your eyes from flying debris and intense light.
- Protective Clothing: Wear long sleeves and pants to avoid burns and cuts.
Once you have your metal cut, shaping it into your desired form is the next step. This is where tools like hammers, anvils, and welding equipment come into play, allowing you to bend and manipulate the metal to create unique designs. The right tools will not only enhance your artistic expression but also ensure that your creations are durable and well-crafted.
In summary, investing in quality tools is crucial for any DIY metal art project. From cutting to shaping and finishing, each tool serves a purpose that contributes to the overall quality of your work. So, gather your tools, don your safety gear, and let your creativity flow!
1. What is the best metal to use for DIY art projects?
Aluminum and steel are popular choices due to their availability and workability. Aluminum is lightweight and resistant to rust, while steel offers strength and durability.
2. Do I need special training to use a plasma cutter?
While it's beneficial to have some training or guidance, many people can learn to use a plasma cutter with practice. Always prioritize safety and start with scrap materials.
3. How do I ensure my metal art lasts outdoors?
Applying protective coatings or using weather-resistant metals can help your art withstand the elements. Regular maintenance, like cleaning and reapplying sealants, is also important.
4. Can I use regular paint on metal art?
While you can use regular paint, it's recommended to use paint specifically designed for metal surfaces for better adhesion and durability.

Cutting Tools
When it comes to creating stunning metal art, the right cutting tools are your best friends. Just like a painter needs brushes and a musician needs instruments, you need tools that can provide precision and versatility. Imagine trying to carve a masterpiece with a dull knife; it simply won’t work! In metal art, having the right cutting tools can mean the difference between a clean, beautiful design and a jagged, unappealing edge.
There are several types of cutting tools available for metalworking, each with its own unique advantages. Understanding these tools will empower you to make informed choices that suit your specific project needs. Here’s a quick overview of some of the most popular cutting tools:
- Metal Saws: Perfect for straight cuts, metal saws come in various forms, including band saws and hacksaws. They are ideal for cutting through thicker sheets of metal.
- Shears: These are great for making quick, precise cuts in thinner sheets of metal. They’re like scissors but for metal, and they can handle intricate designs with ease.
- Plasma Cutters: Offering a high level of precision, plasma cutters use a high-velocity jet of ionized gas to cut through metal. This tool is fantastic for intricate and detailed work.
While choosing a cutting tool, consider the thickness and type of metal you’ll be working with. For instance, if you’re working with sheet metal, shears might be your best bet, while thicker materials might require a band saw or plasma cutter. Remember, the right tool not only enhances your efficiency but also ensures your safety while working.
Now, let’s dive a bit deeper into one of the most versatile tools in the metal artist's arsenal: the plasma cutter. This tool is not just about cutting; it’s about creating intricate designs that can make your artwork stand out. With a plasma cutter, you can achieve fine details that would be nearly impossible with traditional cutting methods. However, it’s crucial to understand how to operate it safely and effectively to avoid any mishaps.
Before you start cutting, ensure you have all your safety gear on. Protective goggles, gloves, and fire-resistant clothing are essential. Think of it like gearing up for a big game; you wouldn’t step onto the field without your pads and helmet, right? Safety is paramount in metalworking, and being prepared will allow you to focus on your creativity without worrying about potential accidents.
In summary, the right cutting tools are essential for any DIY metal art project. They not only enhance the quality of your work but also ensure a safer and more enjoyable crafting experience. So, whether you’re slicing through thick steel or delicately cutting patterns into aluminum, invest in the right tools and watch your creative visions come to life!
Q: What is the best cutting tool for beginners in metal art?
A: For beginners, a good quality hacksaw or metal shears are excellent starting points. They are easy to use and can handle most small projects.
Q: Can I use a regular saw for cutting metal?
A: While some regular saws can cut metal, they are not designed for it and may not provide a clean cut. It's best to use tools specifically designed for metalworking.
Q: How do I maintain my cutting tools?
A: Regularly clean your tools after use, check for wear and tear, and replace blades or bits as needed. Proper maintenance will extend the life of your tools significantly.
Using a Plasma Cutter
When it comes to creating intricate designs in your metal art pieces, a plasma cutter can be a game changer. This powerful tool uses a high-velocity jet of ionized gas, or plasma, to cut through metal with remarkable precision. Imagine being able to effortlessly slice through sheets of steel or aluminum as if they were butter! The beauty of a plasma cutter lies not only in its ability to make clean cuts but also in its versatility. Whether you're working on detailed patterns or larger sculptures, this tool can adapt to your creative needs.
Before you dive into using a plasma cutter, it’s essential to understand how it works. The basic operation involves creating an electrical arc between the cutter and the metal surface, which heats the gas to a temperature that allows it to cut through metal. It’s like having a magic wand that transforms your vision into reality! However, safety is paramount. Always wear protective gear, including gloves and goggles, to shield yourself from sparks and intense light.
Here are some tips to keep in mind when using a plasma cutter:
- Practice Makes Perfect: Before you start on your main project, practice on scrap metal. This will help you get a feel for the tool and adjust your technique.
- Set the Right Amperage: Different metals require different settings. Make sure to adjust the amperage based on the thickness and type of metal you’re working with.
- Maintain a Steady Hand: Keep your hand steady while cutting to ensure clean lines. A wobbly hand can lead to jagged edges that may ruin your design.
Additionally, plasma cutters can be used for various techniques beyond just straight cuts. You can create curves, intricate designs, and even pierce holes into the metal. The possibilities are endless! This flexibility makes plasma cutters a favorite among DIY metal artists who want to explore their creativity without being limited by traditional cutting tools. Just think of it as your artistic brush, where the canvas is metal, and the masterpiece you create is limited only by your imagination.
In conclusion, mastering the plasma cutter can significantly enhance your metal art projects. With the right technique, safety precautions, and a bit of practice, you’ll be able to transform raw metal into stunning works of art that reflect your unique style. So gear up, get creative, and let the sparks fly!
Here are some common questions about using plasma cutters:
- What types of metals can I cut with a plasma cutter? Most plasma cutters can handle a variety of metals, including steel, aluminum, brass, and copper.
- Do I need any special training to use a plasma cutter? While formal training isn’t mandatory, it’s highly recommended to familiarize yourself with the tool’s operation and safety measures.
- How do I maintain my plasma cutter? Regular maintenance includes cleaning the nozzle, checking for wear and tear on consumables, and ensuring proper gas flow.
Safety Gear
When diving into the world of DIY metal art, safety should always be your top priority. Working with metal can be incredibly rewarding, but it also comes with its own set of risks. Imagine wielding a plasma cutter or a heavy metal sheet without the right gear—it's like playing with fire! To ensure you can create your masterpieces without injury, investing in proper safety gear is essential. Here’s a rundown of the must-have equipment that will keep you safe and sound while you unleash your creativity.
First and foremost, a good pair of gloves is non-negotiable. Look for heavy-duty gloves made from materials like leather or Kevlar that can protect your hands from sharp edges and hot surfaces. You wouldn’t want to ruin your artistic flow by getting a nasty cut, right? Next up, goggles or a face shield are vital for protecting your eyes from flying debris and sparks. Picture yourself cutting metal; without proper eye protection, you might as well be playing Russian roulette with your vision!
Additionally, consider wearing protective clothing, such as long sleeves and durable pants, to shield your skin from burns and scrapes. A leather apron can be a great investment, as it not only protects your clothes but also adds an extra layer of safety. And don’t forget about your feet—sturdy, closed-toe boots are essential to protect your toes from heavy falling objects. It’s like having a fortress around your feet!
In summary, here’s a quick checklist of essential safety gear:
- Heavy-duty gloves
- Safety goggles or face shield
- Protective clothing (long sleeves, leather apron)
- Closed-toe boots
By equipping yourself with the right safety gear, you can focus on what truly matters—creating stunning metal art that reflects your unique style. So, gear up and get ready to transform your ideas into reality, all while keeping safety at the forefront of your creative process!
Q: Why is safety gear important in metal art projects?
A: Safety gear protects you from potential injuries such as cuts, burns, and eye damage while working with metal tools and materials. It enables you to focus on your creativity without the worry of accidents.
Q: What type of gloves should I use?
A: Look for heavy-duty gloves made from materials like leather or Kevlar, which offer protection against sharp edges and heat.
Q: Do I really need protective clothing?
A: Yes! Protective clothing like long sleeves and durable pants can shield your skin from burns and scrapes, making it an essential part of your safety gear.
Q: Can I use regular glasses instead of safety goggles?
A: Regular glasses do not provide adequate protection against flying debris or sparks. It's best to use safety goggles or a face shield for complete protection.
Q: What should I wear on my feet?
A: Sturdy, closed-toe boots are recommended to protect your feet from heavy falling objects and provide stability while working.
Shaping Techniques
Once you've cut your metal into the desired shapes, the real fun begins: shaping it into something extraordinary! This phase is where your creativity can truly shine. Whether you're looking to create a sleek modern piece or a rustic masterpiece, understanding various shaping techniques is essential. Bending, welding, and hammering are just a few methods that can help you achieve unique designs, each offering its own flair to your final product.
Bending metal is one of the most straightforward techniques and can be done with both hand tools and machinery. For instance, a metal brake is a fantastic tool that allows you to create precise bends, giving your artwork defined edges and angles. Imagine creating a beautiful wave-like form that dances along your wall! Just remember, the thickness of the metal will dictate how easily it bends. Thinner metals are generally easier to manipulate, while thicker metals may require more force and the right tools.
Then there’s welding, a powerful technique that can really elevate your projects. This method allows you to join pieces of metal together, creating complex structures that would be impossible to achieve with just bending. If you’re new to welding, start with MIG welding or TIG welding, as they are popular choices for DIY enthusiasts. Not only does welding require precision, but it also offers the opportunity to add a dramatic flair to your art. Picture a stunning sculpture that combines various metal pieces into a cohesive whole, capturing the eye and igniting conversation!
Hammering is another technique that adds texture and depth to your work. By using a hammer and anvil, you can create beautiful patterns and surfaces on your metal. This method is particularly effective for creating organic shapes that mimic natural elements, such as leaves or flowers. The sound of the hammer striking the metal is music to the ears of any metal artist, as each strike brings your vision closer to reality. Plus, it’s a great way to relieve stress—who wouldn’t want to pound out their frustrations while crafting a masterpiece?
Each of these techniques can be combined in countless ways. For example, you might bend a piece of metal into a spiral, then weld smaller, textured pieces onto it for added interest. The possibilities are endless! To help you visualize these techniques, here’s a quick comparison table:
| Technique | Best For | Tools Needed |
|---|---|---|
| Bending | Creating curves and angles | Metal brake, pliers |
| Welding | Joining metal pieces | MIG/TIG welder, welding helmet |
| Hammering | Adding texture and patterns | Hammer, anvil, metal stakes |
In conclusion, mastering these shaping techniques will not only enhance your skills but also allow you to express your artistic vision. So, roll up your sleeves, grab your tools, and let your imagination run wild! The world of DIY metal art is at your fingertips, ready to be shaped into something incredible.
- What type of metal is best for beginners? Aluminum is often recommended for beginners due to its lightweight and malleability.
- Do I need special training to use welding equipment? While basic welding can be learned through practice, consider taking a class or watching instructional videos for safety and technique.
- Can I use recycled metal for my projects? Absolutely! Recycled metal can add character and uniqueness to your art.
Design Inspiration
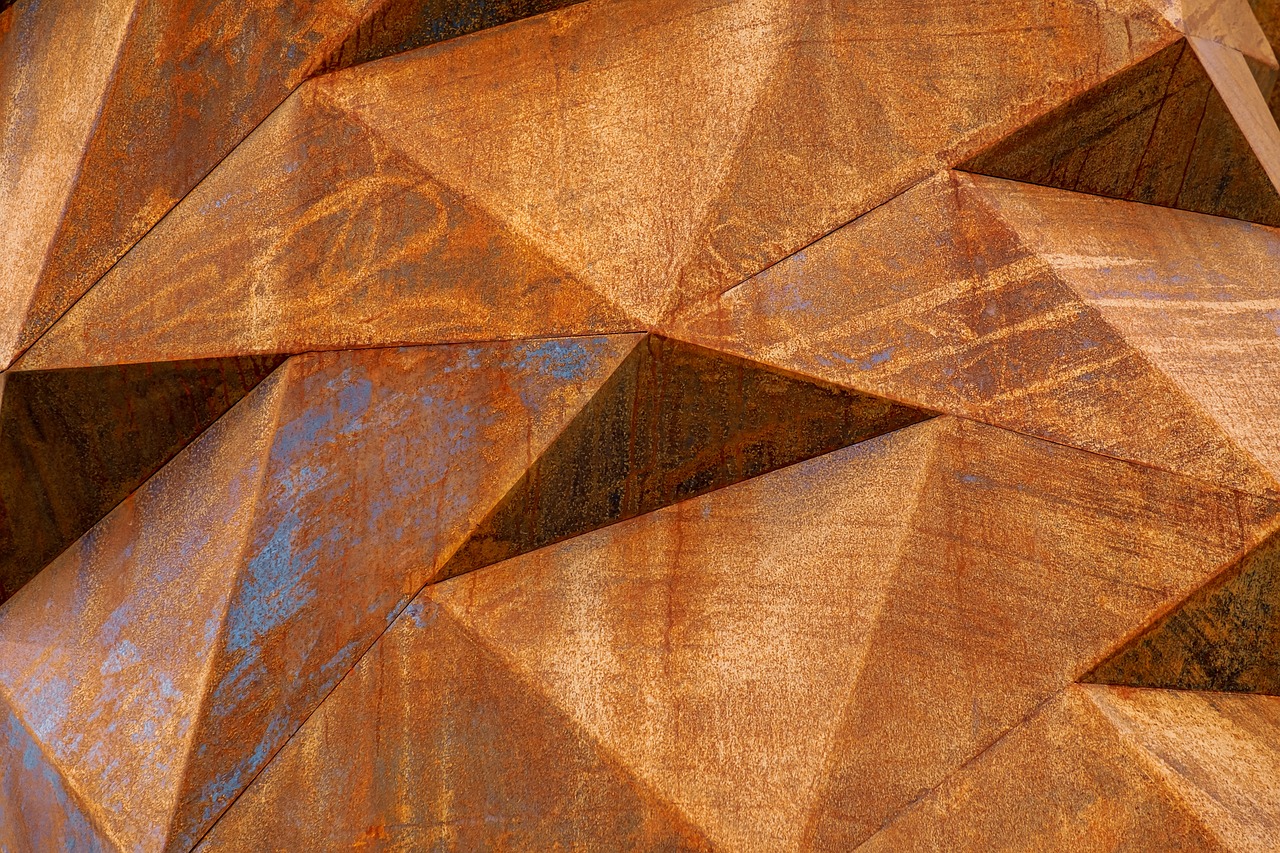
Finding the right for your metal art can be one of the most exciting parts of the creative process. It’s like a treasure hunt where every corner you turn reveals a new idea waiting to be transformed into a stunning piece of art. Whether you’re drawn to the intricate patterns found in nature, the sleek lines of modern architecture, or the freedom of abstract art, there are countless sources to ignite your imagination. Think of your metal art as a reflection of your personality; it should resonate with your style and passions.
One of the most profound sources of inspiration is nature. Imagine the gentle curves of a leaf or the sharp angles of a mountain range; these elements can be translated into beautiful metal designs. For instance, you might create a wall piece that mimics the flow of water, using smooth, undulating shapes that evoke tranquility. Alternatively, consider the vibrant colors and textures found in flowers or trees. You can incorporate these elements by using colored metal or by painting your finished piece to capture that essence.
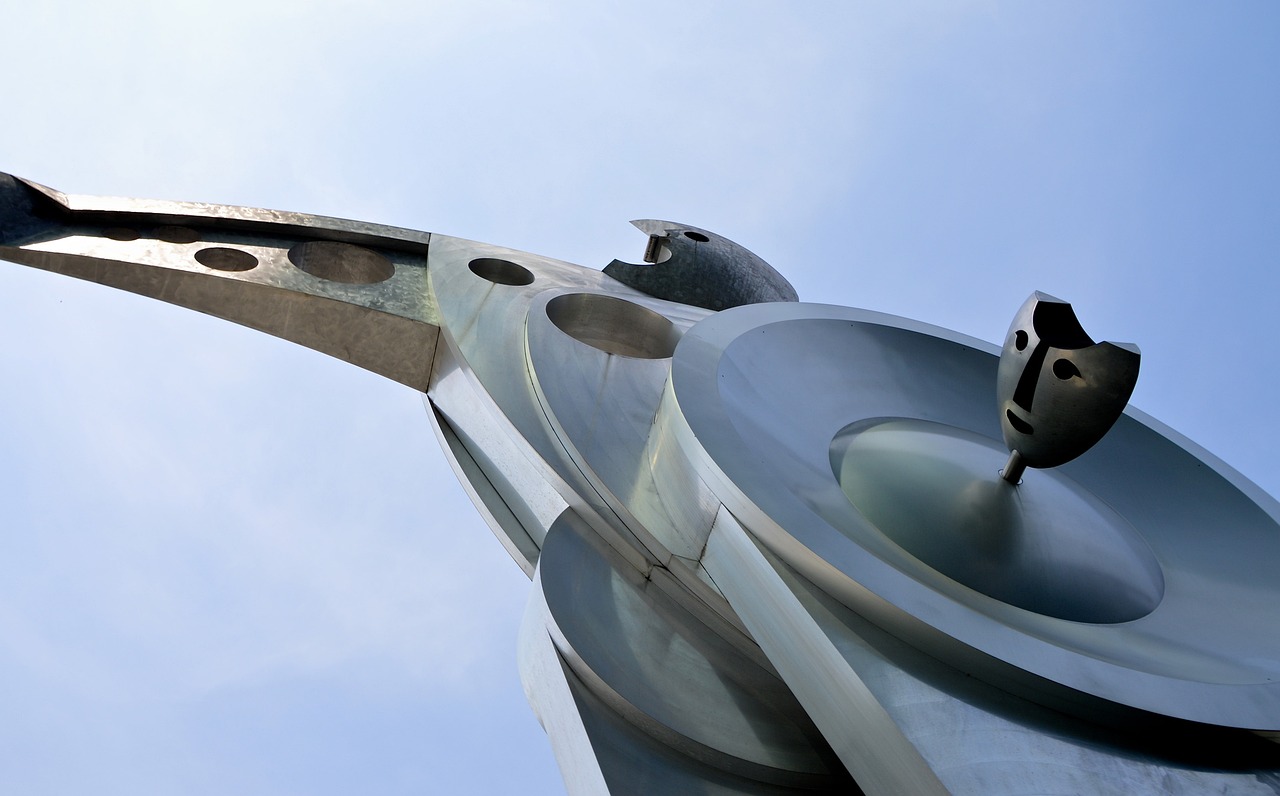
Abstract and modern styles also offer a playground for creativity. With abstract art, there are no rules—just pure expression. You can experiment with geometric shapes, asymmetrical designs, or even chaotic arrangements that challenge the viewer’s perception. This style encourages you to push boundaries and think outside the box. Imagine a metal sculpture that twists and turns, creating a sense of movement and energy within your space. It’s about making a statement and inviting conversation.
To further enhance your design process, consider creating a mood board. This can include images of art pieces you admire, color palettes that resonate with you, or even textures that inspire you. A mood board serves as a visual guide, helping you stay focused on your creative vision. You can gather images from various sources such as:
- Art books
- Online platforms like Pinterest
- Nature photographs
- Architectural magazines
Don’t forget to document your ideas and sketches as they come to you. Sometimes, the best designs emerge from a simple doodle or a spontaneous thought. The key is to remain open and flexible in your creative journey—let your imagination run wild!
Incorporating elements from your daily life can also lead to unique designs. Look around your home or community; perhaps a favorite park bench or an interesting piece of street art could inspire your next project. Remember, your art doesn’t have to be a direct replica of what you see; it can be an interpretation that speaks to your experience and emotions.
Once you have gathered your inspirations, take a moment to reflect on what resonates with you the most. Ask yourself questions like: What emotions do I want my art to evoke? How will this piece fit into my space? By answering these questions, you can refine your vision and create something that not only enhances your walls but also enriches your life.
Q: Where can I find inspiration for my metal art designs?
A: Inspiration can come from various sources including nature, architecture, abstract art, and even everyday objects. Consider creating a mood board with images that resonate with you.
Q: How can I incorporate natural elements into my metal art?
A: Try to mimic shapes and colors found in nature, such as leaves, flowers, or landscapes. You can also use natural textures and colors in your painting techniques.
Q: What if I’m not good at drawing my ideas?
A: Don’t worry! Sketching doesn’t have to be perfect. Just jot down your ideas or use images from magazines and online sources to communicate your vision.
Nature-Inspired Designs
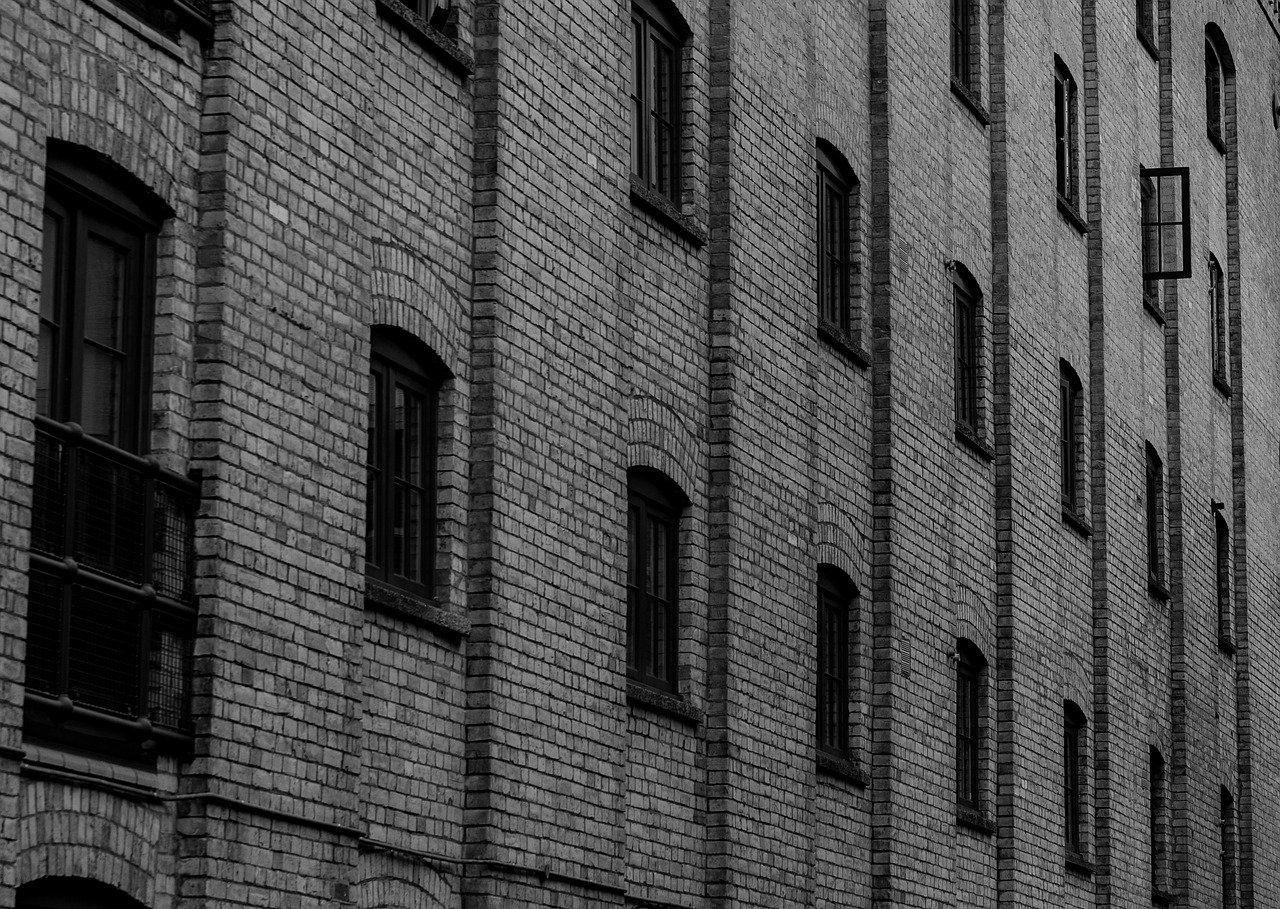
When it comes to creating metal art, nature can be an endless source of inspiration. Imagine the intricate patterns found in leaves, the graceful curves of waves, or the rugged textures of mountains. These elements can be translated into stunning metal pieces that not only beautify your space but also bring a sense of the outdoors inside. By tapping into the natural world, you can create art that resonates with the environment and enhances your home decor.
One of the most captivating aspects of nature-inspired designs is their ability to evoke emotion. For instance, a piece that mimics the flow of a river can create a calming atmosphere, while a design that reflects the jagged peaks of a mountain range might inspire strength and resilience. When designing your metal art, consider how these natural forms can influence the mood of your space.
To start, think about the specific elements of nature that speak to you. Here are a few ideas to spark your creativity:
- Floral Patterns: Use the shapes of flowers and plants to create intricate cutouts or raised designs.
- Animal Silhouettes: Capture the essence of wildlife with silhouettes of your favorite animals, from birds to deer.
- Landscapes: Create a three-dimensional representation of a scenic view, incorporating mountains, trees, and rivers.
As you explore these ideas, remember that the beauty of nature lies in its diversity. Don't be afraid to mix and match elements or to incorporate your own personal touch. For example, you might combine a floral design with a geometric pattern to create a unique fusion that reflects both the organic and the modern.
Moreover, the materials you choose can enhance the natural feel of your artwork. Consider using rusted metal for a weathered look that echoes the passage of time in nature, or opt for shiny, polished surfaces that reflect light like water. The finish you select can significantly impact the final appearance of your piece, so take your time to experiment with different techniques.
Inspiration can also come from observing your surroundings. Take a walk in a local park or hike in the woods, and pay attention to the details. Notice how the light plays on leaves, the textures of bark, or the patterns in the sand. These observations can lead to new ideas and techniques for your metal art projects.
Lastly, don't forget to share your creations! Whether you hang your artwork in your own home or gift it to a friend, sharing your nature-inspired designs can spread joy and inspire others to appreciate the beauty of the natural world. So gather your tools, let your imagination run wild, and transform the wonders of nature into stunning metal art pieces that tell your unique story.
Q: What types of metal are best for nature-inspired designs?
A: Metals such as aluminum and copper are often favored for their malleability and resistance to rust. Aluminum is lightweight and easy to work with, while copper can develop a beautiful patina over time, enhancing the natural look of your art.
Q: How can I incorporate color into my nature-inspired metal art?
A: You can use specialized metal paints or patinas to add color. Consider using earthy tones like greens and browns to reflect natural elements, or vibrant colors to mimic flowers and wildlife.
Q: Where can I find inspiration for my designs?
A: Inspiration can come from various sources, including nature itself, art books, online platforms like Pinterest, or even visiting local art galleries. Keeping a sketchbook to jot down ideas can also help you refine your vision.
Abstract and Modern Styles
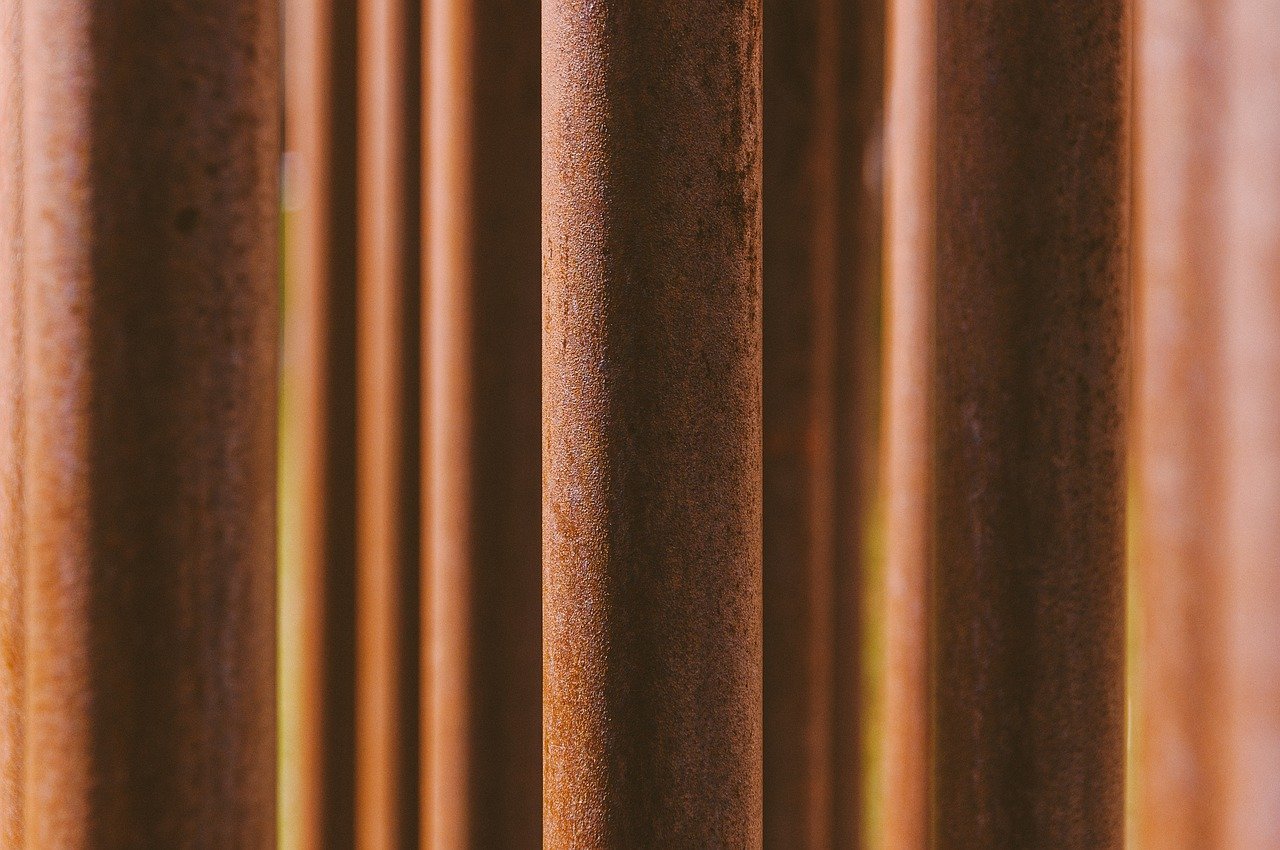
When it comes to DIY metal art, can take your creativity to new heights. These styles are not just about shapes and colors; they represent a way of thinking that breaks free from traditional norms. Imagine walking into a room adorned with metal art that twists and turns in unexpected directions, evoking emotions and sparking conversations. It's like a breath of fresh air in a world that often feels too structured!
Abstract art allows for a limitless exploration of forms, colors, and textures. You can play with asymmetry, experiment with negative space, and create pieces that challenge the viewer’s perception. Think of it as a dance between chaos and order, where every piece tells a story without needing to conform to a specific narrative. For instance, a swirling metal sculpture can represent the unpredictability of life, while sharp, angular pieces might reflect the rigidity of societal expectations. The beauty lies in the interpretation—what do you see?
Modern styles often incorporate elements of minimalism, focusing on the essentials to create a striking visual impact. This approach can lead to stunning pieces that are both simple and profound. For example, a sleek, polished metal circle can symbolize unity and wholeness, while a fragmented design might represent the complexities of human experience. By using a limited color palette and clean lines, you can achieve a sophisticated look that fits seamlessly into contemporary spaces.
To get started with your abstract and modern metal art, consider the following techniques:
- Layering: Combine different metal sheets or shapes to create depth and visual interest.
- Texturing: Use tools to add textures to your metal surfaces, enhancing the tactile quality of your artwork.
- Color Play: Experiment with different finishes, such as matte or glossy, to see how they affect the overall look of your piece.
As you embark on your journey into abstract and modern metal art, remember that there are no rules. Allow your imagination to run wild, and don't be afraid to make mistakes. Each misstep can lead to a surprising revelation, transforming a simple idea into a breathtaking work of art. So grab your tools and let the metal speak to you; who knows what incredible creations await?
Q: What materials are best for creating abstract metal art?
A: The best materials often include aluminum, steel, and copper. These metals are not only durable but also allow for versatile designs and finishes.
Q: Do I need special tools to create metal art?
A: While basic tools like saws and hammers are essential, investing in cutting-edge tools like plasma cutters can significantly enhance your ability to create intricate designs.
Q: How can I protect my metal art from rust?
A: Applying a protective coating or sealant can help shield your metal art from moisture and environmental damage, ensuring its longevity.
Finishing Touches
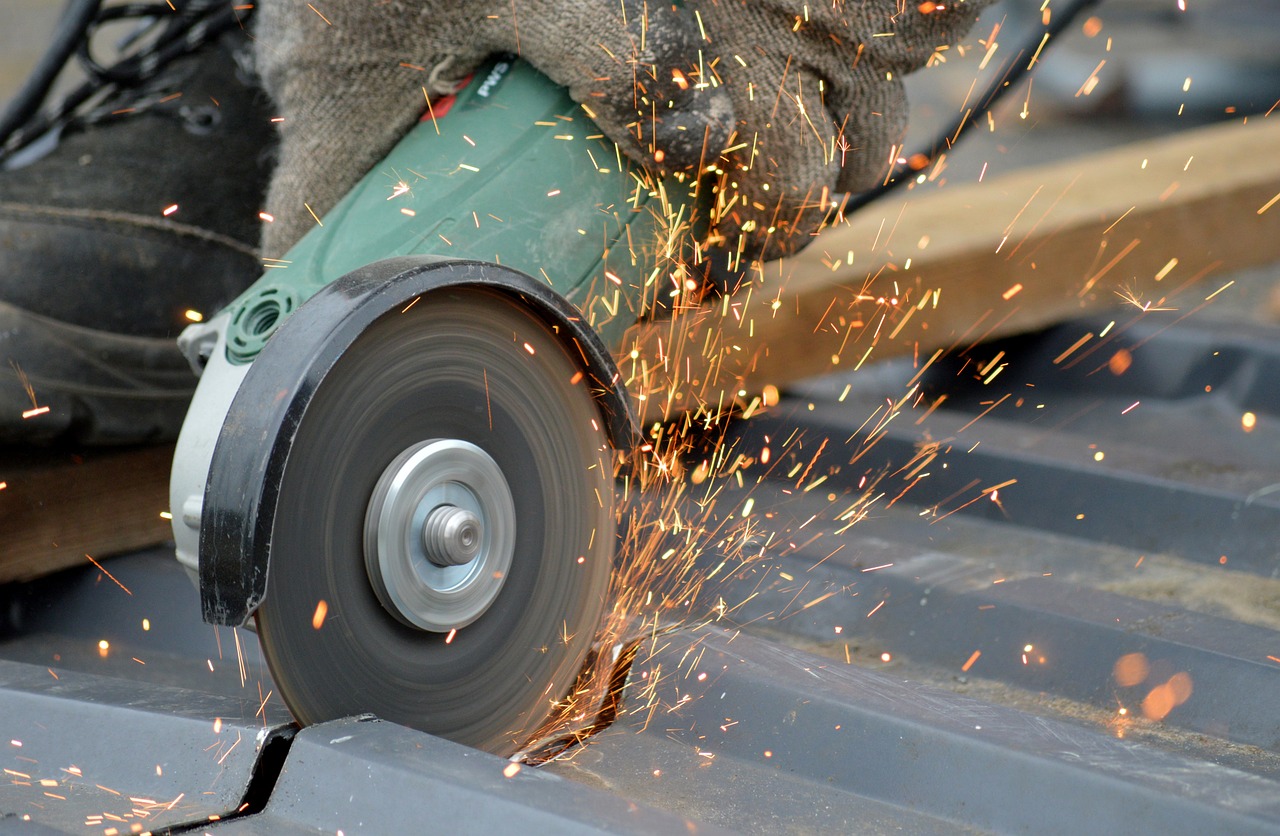
Once you've cut and shaped your metal art pieces, the are what truly bring your creation to life. These final steps not only enhance the visual appeal but also ensure that your art stands the test of time. Imagine crafting a beautiful sculpture only to have it tarnish or rust within months—that’s where proper finishing comes in! In this section, we’ll dive into essential techniques for polishing, painting, and sealing your metal art, ensuring that it dazzles on your wall for years to come.
First up is polishing. This process is crucial for removing any scratches or imperfections from the surface of your metal art. You can use a variety of polishing compounds and tools, such as buffing wheels or polishing pads, to achieve a smooth, shiny finish. The right polish can make your metal gleam, reflecting light beautifully and drawing the eye. Just remember, the more time you spend polishing, the better the final result will be!
Next, let’s talk about painting. While some artists prefer the raw, natural look of metal, adding color can transform your piece into a vibrant focal point. When painting metal, it’s important to choose the right type of paint. Here are some popular options:
- Acrylic Paint: Easy to use and dries quickly, making it a favorite among DIYers.
- Enamel Paint: Offers a durable finish and is great for outdoor pieces.
- Spray Paint: Perfect for achieving an even coat, especially on intricate designs.
Before painting, always ensure that the surface is clean and free from dust or grease. A light sanding can also help the paint adhere better. Once you’ve applied your chosen paint, don’t forget to let it cure properly. This could take anywhere from a few hours to a couple of days, depending on the type of paint used.
Lastly, applying a protective coating is essential for the longevity of your metal art. This step acts as a barrier against rust, moisture, and other environmental factors that can degrade your piece over time. Here are a few options to consider:
- Clear Lacquer: Provides a glossy finish and is easy to apply.
- Polyurethane: Offers a tough, durable layer that’s resistant to scratches.
- Wax: A natural option that can give a warm sheen, ideal for indoor pieces.
When applying these coatings, ensure you follow the manufacturer’s instructions for the best results. A well-applied protective layer can keep your art looking fresh, vibrant, and safe from the elements.
In conclusion, the finishing touches on your metal art are where the magic happens. By investing time in polishing, painting, and sealing your creations, you not only enhance their beauty but also their durability. Remember, every detail counts when it comes to making your metal art a stunning addition to your walls!
Here are some common questions that many DIY metal artists have:
- What type of metal is best for beginners? Aluminum is often recommended due to its lightweight nature and ease of handling.
- Can I use regular paint on metal? While you can, it's best to use paints specifically designed for metal surfaces to ensure durability.
- How do I prevent rust on my metal art? Applying a protective coating and keeping your art dry can significantly reduce the risk of rust.
Painting Techniques
This article explores the creative process of making your own metal art pieces, offering tips, techniques, and inspiration to transform your walls with unique and personalized designs.
Selecting the appropriate metals is crucial for your DIY project. This section discusses various metal types, their properties, and how to choose the best options for durability and aesthetic appeal.
Having the right tools can make or break your DIY metal art experience. Here, we outline essential tools for cutting, shaping, and finishing your metal projects effectively.
Understanding the different cutting tools available is vital for precision. This subsection covers saws, shears, and plasma cutters, highlighting their uses and benefits for metal art creation.
Plasma cutters offer versatility and precision. Learn how to operate this tool safely and effectively to create intricate designs in your metal art pieces.
Safety should never be overlooked. This section emphasizes the importance of wearing appropriate safety gear while working with metal, including gloves, goggles, and protective clothing.
Once you have your metal cut, shaping it into your desired form is next. Explore various techniques, such as bending, welding, and hammering, to achieve unique designs.
Finding inspiration for your metal art can lead to exciting creations. This section offers ideas and sources for design inspiration, including nature, architecture, and abstract art.
Nature often serves as a muse for artists. Discover how to incorporate natural elements and themes into your metal art for a harmonious blend with your surroundings.
Abstract art allows for creativity without boundaries. This subsection explores modern styles and how to interpret them into your DIY metal projects for a contemporary look.
The finishing touches can elevate your metal art. Here, we discuss techniques for polishing, painting, and sealing your creations to ensure they look stunning and last longer.
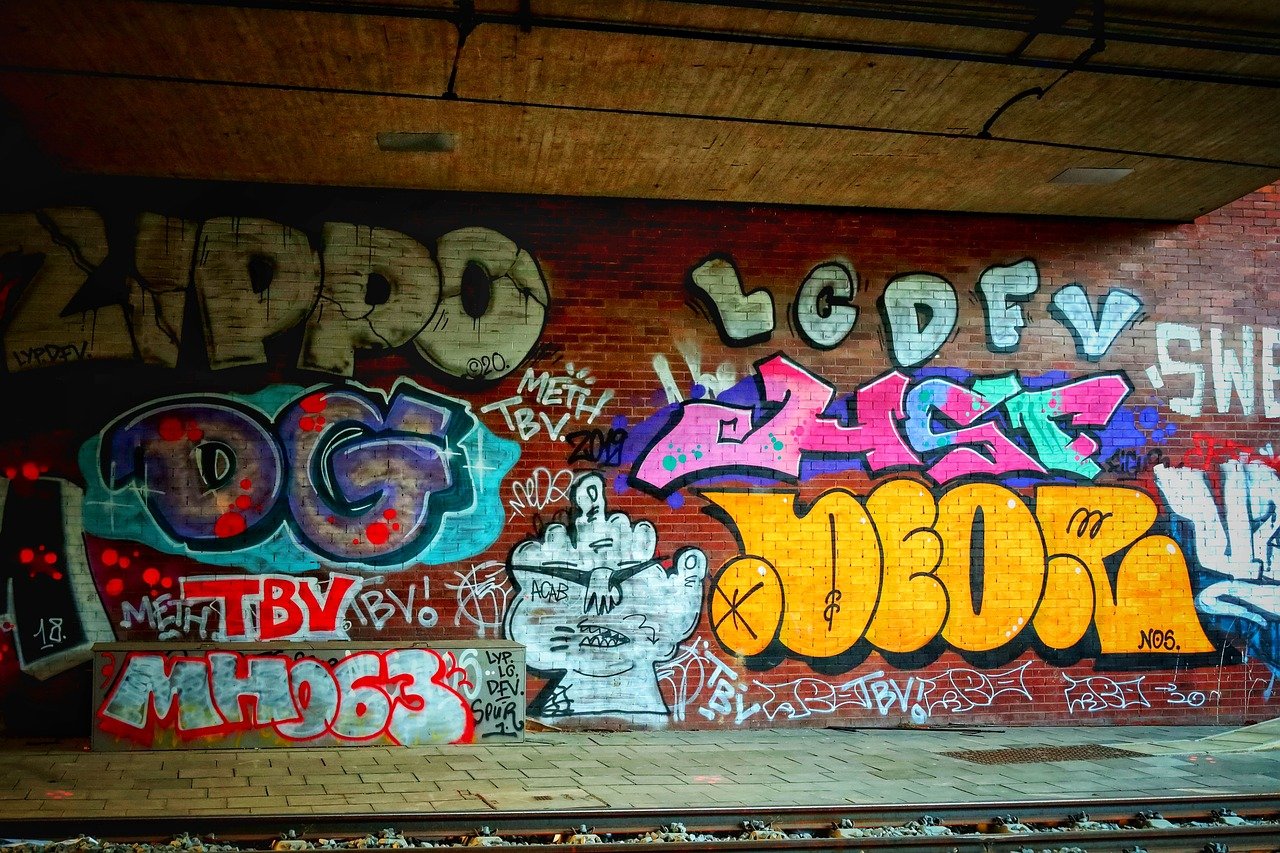
Painting your metal art not only adds a splash of color but also protects the surface from environmental factors. To achieve the best results, it's essential to understand the different types of paint and the techniques involved. First off, you want to choose the right type of paint. Acrylic paints are popular for their quick-drying properties and vibrant colors, while enamel paints provide a durable finish that is resistant to wear and tear. For outdoor pieces, consider using rust-resistant paints to ensure longevity.
Before you start painting, it's crucial to prepare the surface of your metal art. This involves cleaning the metal thoroughly to remove any dust, grease, or rust. A simple mixture of soap and water usually does the trick, but for tougher grime, a degreaser might be necessary. Once cleaned, allow the metal to dry completely. You can also lightly sand the surface to create a better grip for the paint.
When it comes to application techniques, there are several methods you can employ:
- Brush Painting: Ideal for detailed work, this method allows for precision but may require multiple coats for an even finish.
- Spray Painting: Perfect for larger pieces, spray paint provides a smooth finish but requires careful masking to avoid overspray.
- Sponging or Stippling: For a textured effect, use a sponge to dab paint onto the surface, creating a unique look that adds depth.
After painting, don't forget to seal your artwork. A clear protective coat can enhance the colors and provide an extra layer of protection against scratches and fading. There are various types of sealants available, including spray-on and brush-on options. Choose one that suits your project and follow the manufacturer's instructions for the best results.
Q: Can I use regular paint on metal?
A: While you can use regular paint, it's best to opt for paints specifically designed for metal surfaces to ensure durability and adhesion.
Q: How do I prepare metal for painting?
A: Clean the metal thoroughly, remove any rust, and allow it to dry. Lightly sanding the surface can also help the paint adhere better.
Q: What is the best way to seal painted metal art?
A: A clear protective coat, either spray or brush-on, is ideal for sealing painted metal art. It protects against scratches and environmental damage.
Protective Coatings
When it comes to ensuring the longevity of your DIY metal art, applying protective coatings is not just a suggestion—it's a necessity! Metal can be susceptible to various environmental factors, such as moisture, UV rays, and pollutants, which can lead to rust and deterioration over time. By investing a little time and effort into the right protective coating, you can preserve your stunning creations and keep them looking brand new for years to come.
There are several types of protective coatings available, each with its own unique benefits. Here’s a quick rundown:
- Clear Coats: These transparent finishes provide a protective layer without altering the metal's appearance. They are ideal for showcasing the natural beauty of the metal while guarding against rust and scratches.
- Paint: Using high-quality paint specifically designed for metal can not only add color but also create a barrier against the elements. Look for paints that offer rust resistance for added protection.
- Powder Coating: This is a more durable option that involves applying a dry powder that is then cured under heat. It provides a thick, protective layer that is resistant to chipping, scratching, and fading.
- Wax: For a more natural finish, applying a layer of wax can help protect your metal art while giving it a subtle sheen. However, this option may require more frequent reapplication compared to other coatings.
When choosing a protective coating, consider the environment where your metal art will be displayed. For instance, if your artwork is going to be outdoors, opt for coatings that offer UV protection and are specifically designed for exterior use. On the other hand, if it will be indoors, a clear coat or wax may suffice.
Before applying any protective coating, make sure to clean your metal art thoroughly. This step is crucial because dirt, grease, or oxidation can prevent the coating from adhering properly, leading to uneven coverage and potential failure over time. A simple wash with soap and water, followed by drying, can work wonders.
Once your metal art is clean and dry, follow the application instructions for your chosen coating. Whether you’re spraying on a clear coat or brushing on paint, ensure you apply an even layer and allow it to cure as directed. Remember, patience is key! Rushing this process can lead to unsightly drips or uneven finishes.
In conclusion, protective coatings are a vital part of maintaining the beauty and integrity of your DIY metal art. By selecting the right type of coating and applying it correctly, you can enjoy your creations for many years to come, ensuring they remain a stunning focal point in your home or garden.
Q: How often should I apply protective coatings to my metal art?
A: It depends on the type of coating used and the environmental conditions. Generally, clear coats may need reapplication every couple of years, while wax might need to be reapplied more frequently.
Q: Can I use regular paint on metal art?
A: While you can use regular paint, it's best to choose paint specifically formulated for metal surfaces to ensure durability and adhesion.
Q: Is powder coating worth the investment?
A: Absolutely! Powder coating offers superior protection and a long-lasting finish, making it a great choice for outdoor metal art.
Q: How do I clean my metal art before applying a protective coating?
A: Use warm, soapy water and a soft cloth to gently clean the surface. Make sure to rinse and dry thoroughly before applying any coatings.
Frequently Asked Questions
- What types of metal are best for DIY metal art?
When it comes to choosing metals for your DIY projects, consider options like steel, aluminum, and copper. Steel is durable and great for outdoor pieces, while aluminum is lightweight and rust-resistant, perfect for intricate designs. Copper offers a beautiful patina over time, adding character to your art.
- What essential tools do I need to start making metal art?
Having the right tools is crucial for your DIY metal art journey. You'll need cutting tools like saws and shears, shaping tools such as hammers and welding equipment, and finishing tools for polishing and painting. A well-equipped workspace can make all the difference in your creative process!
- How do I safely use a plasma cutter?
Using a plasma cutter can be exciting, but safety is key! Always wear appropriate protective gear like gloves, goggles, and a face shield. Ensure your workspace is well-ventilated and keep flammable materials away. Familiarize yourself with the machine's operation before starting to create stunning designs safely.
- Where can I find inspiration for my metal art designs?
Inspiration can come from everywhere! Look to nature for organic shapes, explore architecture for geometric patterns, or dive into abstract art for freeform ideas. Don't forget to browse online platforms or visit local galleries to spark your creativity!
- What are the best finishing techniques for metal art?
The finishing touches can truly elevate your metal art. Consider polishing for a sleek look, painting for vibrant colors, or applying protective coatings to prevent rust and wear. Each technique can enhance both the aesthetics and durability of your creations.
- Can I paint my metal art, and what techniques should I use?
Absolutely! Painting your metal art can add a personal touch. Use spray paint or brush-on paint specifically designed for metal surfaces. Make sure to clean the metal thoroughly before painting and consider applying a primer for better adhesion. This ensures your artwork maintains its vibrant appearance over time!


