DIY Desk Decor Ideas to Revamp Workspaces
Are you tired of staring at the same dull desk every day? Do you find your workspace lacking inspiration and motivation? If so, it's time to shake things up! Transforming your workspace into a vibrant and personalized environment doesn't have to break the bank. In fact, with a little creativity and some DIY spirit, you can craft stunning desk decor that not only enhances your productivity but also reflects your unique personality. Imagine walking into your workspace and feeling a surge of energy and inspiration every time you sit down to work. Sounds amazing, right? Let's dive into some innovative DIY desk decor ideas that will breathe new life into your workspace!
Keeping your workspace tidy can be a challenge, especially when you're juggling multiple tasks. That's where personalized desk organizers come into play! These organizers not only help you declutter but also add a touch of your personality to your desk. You can create unique organizers using materials you already have at home, like old boxes, jars, or even recycled materials. For example, take a few empty toilet paper rolls, decorate them with washi tape or paint, and group them together in a small tray. This simple yet effective project can hold your pens, scissors, and other office supplies while looking stylish!
Incorporating inspirational wall art into your workspace can uplift your mood and spark creativity. It's like having a personal cheerleader right on your wall! DIY projects to create motivational quotes and artwork can be both fun and fulfilling. You can use canvases, frames, or even create a collage of your favorite quotes. The key is to choose words that resonate with you and inspire action. Imagine glancing at a beautifully designed quote that reminds you to "Stay Positive" or "Dream Big" while you work. It’s a little boost of motivation that can make a big difference!
Framed quotes can serve as daily reminders of your goals and aspirations. They can transform an ordinary wall into a source of inspiration. Explore different styles and techniques for designing your own framed motivational quotes. You might choose to use bold typography, vibrant colors, or even a minimalist approach. The choice is yours! You can create a single statement piece or a collection of quotes that resonate with your journey. Just think about how great it will feel to see your favorite quote every day as you tackle your tasks!
Utilizing various typography techniques can make your quotes stand out even more. Experiment with different fonts, colors, and layouts to create visually appealing pieces. Consider mixing serif and sans-serif fonts for a modern twist or using calligraphy for a touch of elegance. Play around with sizes and spacing to find the perfect balance that catches the eye. Remember, the goal is to create a piece that not only looks good but also inspires you each time you glance at it!
Creating a gallery wall with a mix of quotes and images can add character to your workspace. It’s a fantastic way to showcase your personality and interests. To arrange your art for maximum impact, consider the following tips:
- Choose a cohesive color palette to tie everything together.
- Mix different frame styles for an eclectic look.
- Vary the sizes of your art pieces to create visual interest.
- Leave some space between the pieces for a clean look.
By curating a gallery wall, you can create a dynamic and inspiring backdrop that keeps your creativity flowing!
Vision boards are powerful tools for manifesting your goals. They help you visualize your dreams and keep you focused on what you want to achieve. Discover how to create an inspiring vision board that reflects your aspirations. Start by gathering images, quotes, and words that resonate with your goals. You can use a corkboard, poster board, or even a digital platform to assemble your vision board. As you work on it, let your imagination run wild! The more personal and meaningful your vision board is, the more motivation it will provide as you work towards your dreams.
Functional decor items can enhance both aesthetics and utility in your workspace. Why settle for decor that only looks good when you can have pieces that serve a purpose? Explore DIY projects that combine beauty with practicality to improve your work environment. For instance, consider creating stylish DIY planters to add a touch of greenery to your desk. Not only do plants improve air quality, but they also boost your mood! You can use mason jars, tin cans, or even old teacups as planters. Just ensure they have proper drainage to keep your plants healthy!
Adding greenery to your desk can significantly improve your workspace. Learn how to create stylish DIY planters that fit your desk space. Choose small plants like succulents or herbs that require minimal care. You can paint or decorate your planters to match your desk decor, creating a cohesive look. Plus, having plants around can reduce stress and increase productivity—it's a win-win!
A custom mouse pad can add flair and comfort to your workspace. Discover easy methods to design and create a personalized mouse pad that suits your style. You can use fabric, cork, or even laminate to craft your mouse pad. Consider printing your favorite image or quote on it for a personal touch. Not only will it make your desk look more inviting, but it will also provide a comfortable surface for your mouse, making your work experience more enjoyable.
Q: How can I keep my DIY projects budget-friendly?
A: Use materials you already have at home, and get creative with recycling items! Look for inspiration online for budget-friendly DIY ideas.
Q: What are some easy plants to start with for desk decor?
A: Succulents, cacti, and small ferns are great options as they require minimal care and thrive in small spaces.
Q: Can I mix different styles of decor in my workspace?
A: Absolutely! Mixing styles can create a unique and personalized look. Just ensure that there’s a cohesive color palette to tie everything together.
Personalized Desk Organizers
Creating is not just about keeping your workspace tidy; it's about infusing your personality into your daily environment. Imagine sitting down at your desk and being greeted by items that resonate with your style and preferences. This personal touch can significantly boost your productivity and motivation. So, how do you get started? Well, the good news is that you can craft unique organizers using materials you likely already have at home!
Start by taking a look around your space. Do you have any unused boxes, jars, or even old containers lying around? These can be transformed into stunning organizers with just a bit of creativity. For instance, an old shoebox can be wrapped in decorative paper or fabric to create a chic storage solution for your stationery. Not only does this help you stay organized, but it also adds a splash of color to your desk.
Another fun idea is to use glass jars for holding pens, pencils, and other small items. You can paint the jars or add labels to make them more visually appealing. Consider this: every time you reach for a pen, you're not just grabbing a tool; you're interacting with a piece of art that you created! This simple act can make your work feel more enjoyable, and let’s be honest, who doesn’t want a little more joy in their day-to-day tasks?
Here’s a quick breakdown of some materials you might want to gather for your personalized desk organizers:
| Material | Use |
|---|---|
| Shoeboxes | Storage for papers or supplies |
| Glass Jars | Pencil and pen holders |
| Old Tins | Stylish containers for small items |
| Fabric Scraps | Wrapping or decorating boxes |
Don’t forget to think outside the box—literally! Consider hanging organizers made from fabric or mesh that can be mounted on the wall. This not only saves desk space but also gives you easy access to your essentials. Plus, it can serve as a beautiful backdrop to your workspace, making it feel more open and inviting.
Ultimately, the goal of creating personalized desk organizers is to make your workspace a reflection of you. It’s about crafting an environment that inspires you to be productive while also being a joy to look at. So, roll up your sleeves, get crafty, and let your creativity shine through your desk decor!
- What materials can I use to make desk organizers? You can use shoeboxes, glass jars, old tins, fabric scraps, and more.
- How can I personalize my desk organizers? Consider painting them, adding labels, or using decorative wrapping paper to reflect your style.
- Do I need crafting skills to create desk organizers? Not at all! Simple designs can be made with basic materials and a little creativity.
- Where can I find inspiration for DIY desk organizers? Websites like Pinterest and DIY blogs are great places to find unique ideas and tutorials.
Inspirational Wall Art
Incorporating into your workspace can significantly uplift your mood and spark your creativity. Imagine walking into your office or home workspace and being greeted by vibrant colors and motivational quotes that resonate with your personal journey. It's like having a cheerleader right on your wall, pushing you to reach new heights every day! This section will guide you through some simple yet impactful DIY projects to create artwork that not only beautifies your space but also serves as a constant reminder of your goals and aspirations.
One of the simplest ways to get started is by crafting framed quotes. These can serve as daily reminders of your ambitions and can be customized to reflect your unique style. Think about the quotes that inspire you the most. Are they from famous leaders, beloved authors, or even song lyrics that resonate with your soul? Gather a few of these quotes and consider the style you want to convey. You can use an old frame lying around your house or create a new one using materials like wood or cardboard. The key is to make it personal!
When designing your framed quotes, consider various typography techniques to make them stand out. Fonts can evoke different emotions—some might inspire calmness while others can energize you. Play around with colors that complement your workspace; perhaps a calming blue or an energizing yellow. You can also mix and match fonts to create visually appealing pieces that draw the eye. The layout is crucial; ensure that your quotes are centered and easy to read from a distance. This way, they not only serve as decoration but also as a source of inspiration.
Another exciting idea is to create a gallery wall that combines a mix of quotes and images. This can add character to your workspace, making it feel more personalized and vibrant. When arranging your art, think about the overall flow and balance. You can start with a large piece in the center and build around it with smaller pieces. This arrangement can create a focal point that captures attention and motivates you every time you sit down to work.
Don't overlook the power of a vision board. This is more than just a collection of pretty pictures; it's a powerful tool for manifesting your goals. Gather images, quotes, and anything else that speaks to your aspirations and arrange them on a board. This visual representation of your dreams can serve as a daily reminder of what you’re working towards. Place it in a spot where you can see it every day—this will keep you focused and motivated, especially during challenging times.
To wrap it all up, adding inspirational wall art to your workspace is not just about aesthetics; it’s about creating an environment that fosters productivity and motivation. By surrounding yourself with visuals that inspire you, you can transform your workspace into a haven of creativity and positivity. So grab those scissors, gather your materials, and let your imagination run wild!
- What materials do I need for DIY wall art?
Common materials include paper, canvas, frames, paint, markers, and any decorative items you wish to incorporate. - How can I choose quotes that resonate with me?
Think about your personal values, experiences, or individuals who inspire you. Websites, books, and social media can be great sources for finding quotes. - Can I mix different styles of art on my gallery wall?
Absolutely! Mixing styles can create a dynamic and engaging space. Just ensure that there is some common theme or color palette to tie everything together.
Framed Quotes
Framed quotes are more than just decorative pieces; they serve as daily reminders of our aspirations, goals, and motivation. Imagine sitting at your desk, feeling a bit overwhelmed, and then your eyes drift to a beautifully framed quote that resonates with you—suddenly, you feel a spark of inspiration! Creating your own framed quotes is a fantastic way to personalize your workspace while keeping those motivational words front and center. The best part? You can use materials you already have at home!
To get started, gather some supplies. You’ll need:
- A frame (old or new, whatever you have on hand)
- High-quality paper or canvas
- Markers, paint, or printed text
- Decorative elements like washi tape or stickers
Now, let’s dive into the creative process! First, think about the quotes that inspire you. Whether it’s a famous line from a book, a motivational saying, or something your friend once told you, choose words that resonate deeply. Once you have your quote, it’s time to decide on the typography. This is where you can really let your creativity shine. Consider using different fonts, sizes, and colors to make your quote visually appealing. You might want to play around with the layout—centered text, left-aligned, or even a fun diagonal arrangement can all add character to your piece.
After you’ve designed your quote, print it out or write it by hand on your chosen paper or canvas. If you're feeling extra creative, why not incorporate some decorative elements? A splash of color here and there, or even some hand-drawn doodles, can elevate your framed quote from simple to stunning. Once you’re satisfied with your design, place it in the frame and find the perfect spot on your desk or wall.
Framed quotes not only beautify your workspace but also create a positive atmosphere that encourages productivity. They act like little cheerleaders, nudging you to stay focused and motivated throughout your workday. Plus, every time you glance at your framed quotes, you’re reminded of your personal journey and what you’re striving for. It’s like having a piece of your dreams right there with you, cheering you on!
So, whether you opt for a minimalist design or something more intricate, creating framed quotes is a simple yet impactful DIY project. You’ll not only enhance your workspace but also cultivate an environment that inspires creativity and determination. Now, let’s move on to the next exciting DIY project that can further transform your workspace!
Q: What materials do I need to create framed quotes?
A: You’ll need a frame, high-quality paper or canvas, markers or paint, and any decorative elements you’d like to add, such as stickers or washi tape.
Q: Can I use digital tools to create my framed quotes?
A: Absolutely! You can use graphic design software or online tools to create your design digitally, then print it out to frame.
Q: Where should I hang or place my framed quotes?
A: Place them in a spot where you’ll see them often, like above your desk, on a shelf, or even on a bulletin board. The key is to keep them in your line of sight to maximize their motivational impact!
Typography Techniques
Typography is more than just the art of arranging letters; it's a powerful way to express your thoughts and emotions. When it comes to creating framed quotes for your workspace, the right typography techniques can elevate your message from ordinary to extraordinary. Imagine walking into your office and being greeted by a stunning quote that not only inspires you but also reflects your personal style. How can you achieve that? Let’s dive into some key techniques that will help you craft visually appealing quotes.
First off, consider the font selection. Fonts have personalities just like people do. A bold, sans-serif font can convey strength and modernity, while a delicate script font might evoke elegance and warmth. Think about the message you want to communicate and choose a font that aligns with that sentiment. For instance, if your quote is about perseverance, you might opt for a strong, blocky typeface that stands tall and proud.
Next, color plays a crucial role in typography. Colors can evoke emotions and set the tone for your workspace. A vibrant color scheme can energize you, while softer hues can create a calming atmosphere. Experiment with contrasting colors to make your text pop against the background. For example, a bright yellow quote on a dark blue background can create a striking visual that catches the eye. Don’t be afraid to mix and match colors, but keep in mind to maintain readability. After all, the goal is to inspire, not confuse!
Another technique to consider is layout and spacing. The way you arrange your text can significantly impact its effectiveness. Play around with line spacing and letter spacing to create a balanced look. For example, if you have a longer quote, increasing the line spacing can make it easier to read and give it a more airy feel. Conversely, if your quote is short and punchy, tighter spacing can create a sense of urgency and impact. Alignment also matters—centered text can create a formal feel, while left-aligned text can feel more casual and approachable.
To further enhance your typography, you can incorporate graphic elements into your designs. Think about adding simple shapes or illustrations that complement your quote. For instance, if your quote is about nature, consider adding leaf motifs or floral designs around the text. This not only beautifies your piece but also creates a cohesive look that ties everything together. If you’re feeling adventurous, try layering text over images for a more dynamic effect. Just remember to keep the text legible!
Lastly, don't underestimate the power of personalization. Adding your own flair to the typography can make your framed quotes feel more authentic. Whether it’s your signature style of handwriting or a unique doodle that you love, these personal touches can transform your work into a reflection of you. So, gather your materials and let your creativity flow! The beauty of DIY projects is that there are no strict rules—just guidelines to inspire your artistic journey.
In summary, mastering typography techniques can significantly enhance the visual appeal of your framed quotes. From selecting the right fonts to playing with colors and layouts, each element contributes to the overall impact of your design. So, grab your tools, unleash your creativity, and turn your workspace into a haven of inspiration!
- What materials do I need for creating framed quotes? You will need a frame, paper, markers or paint, and any additional decorative items you wish to use.
- Can I use digital tools for typography? Absolutely! Software like Canva or Adobe Illustrator can help you create stunning typography designs easily.
- How do I choose the right colors for my typography? Consider the mood you want to convey and choose colors that evoke those feelings. Tools like color wheels can help you find complementary colors.
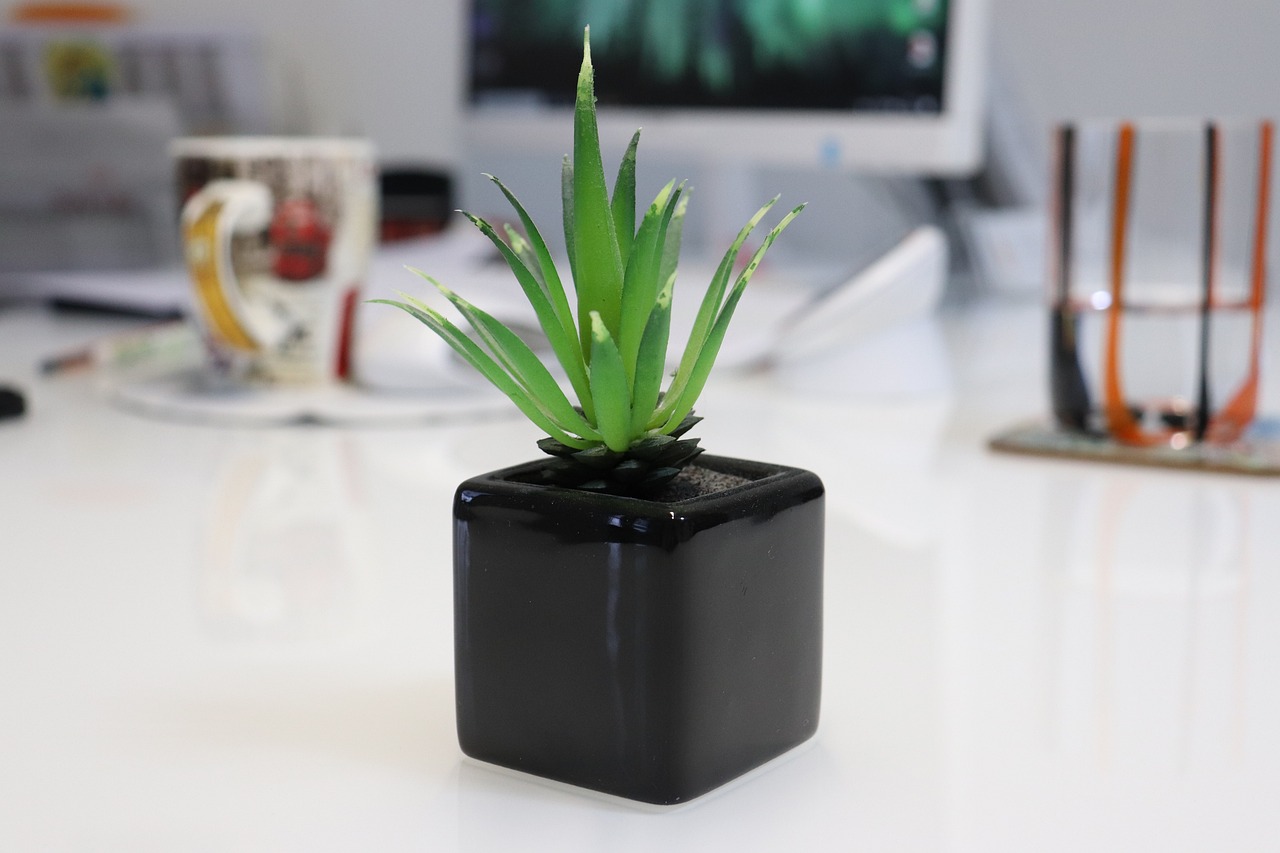
Gallery Wall Ideas
Creating a gallery wall is an exciting way to infuse your workspace with personality and inspiration. Imagine walking into your office and being greeted by a vibrant display of art and quotes that not only reflect your style but also motivate you throughout the day. The beauty of a gallery wall is that it allows for endless creativity; you can mix and match different elements to create a cohesive yet eclectic look. So, how do you get started?
First, consider the theme of your gallery wall. Do you want it to be a collection of motivational quotes, stunning photography, or a mix of both? Once you have a theme in mind, gather your materials. You can use frames of various sizes, clipboards, or even washi tape to display your art. The key is to create a visual balance that draws the eye without overwhelming the space.
Next, layout your pieces on the floor before hanging them on the wall. This step is crucial because it allows you to play around with the arrangement. Try different configurations until you find one that feels right. For instance, you might want to cluster smaller pieces together and balance them with a larger piece. Consider the color palette as well; using similar colors can help unify the display, while contrasting colors can make certain pieces pop.
When it comes to hanging your artwork, don’t forget about the height. Aim to position your artwork at eye level for maximum impact. A common mistake is to hang pieces too high, which can make them feel disconnected from the space. If you’re using a mix of frame styles, try to keep the spacing between them consistent—about 2 to 4 inches apart works well.
Lastly, don’t shy away from incorporating personal touches. Family photos, travel souvenirs, or even your own artwork can add a unique flair to your gallery wall. You could also include small shelves to display plants or decorative items, adding depth and dimension to your display. Remember, your gallery wall is a reflection of you, so let your creativity shine!
To sum it up, here are some essential tips for creating a stunning gallery wall:
- Choose a theme that resonates with you.
- Layout your pieces on the floor before hanging.
- Maintain a consistent spacing between frames.
- Hang artwork at eye level for best results.
- Incorporate personal items for a unique touch.
With these ideas in mind, you can transform a blank wall into a captivating focal point that not only enhances your workspace but also serves as a constant source of motivation. So grab those frames and get creative!
Q: How do I choose the right size frames for my gallery wall?
A: It's best to mix different sizes for a more dynamic look. However, ensure that the largest piece is the focal point, and the other pieces complement it in size.
Q: Can I use non-art items in my gallery wall?
A: Absolutely! Items like mirrors, shelves, or even fabric can add texture and interest to your gallery wall.
Q: What if I rent my space?
A: Use removable adhesive hooks or washi tape to hang your artwork without damaging the walls.
Q: How often should I change my gallery wall?
A: There's no set rule! Change it up whenever you feel inspired or want a fresh look—seasonally or whenever you acquire new art.

Vision Boards
Vision boards are not just a collection of images and quotes; they are powerful tools that can help you manifest your dreams and aspirations. Think of them as a visual roadmap, guiding you toward your goals while keeping your ambitions front and center. When you create a vision board, you engage your imagination and emotions, which can significantly enhance your motivation and focus. It's like having a personal cheerleader right on your wall!
To get started with your vision board, gather materials that resonate with you. You can use a corkboard, a poster board, or even a digital platform if you prefer a tech-savvy approach. The beauty of vision boards is that they are entirely customizable! You can include:
- Images that represent your goals - whether it's a dream vacation, career milestones, or personal achievements.
- Quotes that inspire you - these can be motivational sayings or affirmations that resonate deeply with your journey.
- Colors and textures that evoke positive feelings - think about what makes you happy and energized!
Once you have your materials ready, it's time to arrange them! This part is where your creativity can truly shine. Consider using a theme for your board, such as "Travel Goals" or "Career Aspirations," to give it a cohesive look. You can also mix and match different elements to create a dynamic layout. The key is to make it visually appealing and meaningful to you.
After you've completed your vision board, hang it in a prominent place where you'll see it daily. This constant reminder will help you stay focused on your goals and inspire you to take action. Remember, the more you connect emotionally with your vision board, the more effective it will be in guiding you toward your dreams.
So, why not take a few hours this weekend to create your very own vision board? It could be the spark that ignites your journey to achieving everything you've ever wanted. Plus, it's a fun and creative outlet that can bring a sense of joy and accomplishment. Let your imagination run wild, and watch as your dreams begin to take shape!
1. What materials do I need to create a vision board?
You can use a variety of materials including poster boards, magazines, scissors, glue, and markers. Digital vision boards can be made using apps or online platforms.
2. How often should I update my vision board?
It’s a good idea to review and update your vision board regularly, especially as your goals and aspirations evolve. Some people choose to refresh theirs annually, while others do it every few months.
3. Can I create a digital vision board?
Absolutely! There are many online tools and apps that allow you to create digital vision boards. They can be just as effective as physical boards and are easily shareable.
4. Do vision boards really work?
Many people find that vision boards help clarify their goals and keep them motivated. While they are not a magic solution, they can serve as a powerful reminder of what you want to achieve in life.

Functional Decor Items
When it comes to enhancing your workspace, functional decor items are like the cherry on top of a sundae—they not only look good but also serve a purpose. Imagine walking into your office and being greeted by a visually appealing environment that also helps you stay organized and productive. It's like having a personal assistant that doesn't talk back! By incorporating a few DIY projects into your workspace, you can create a harmonious balance between aesthetics and utility. Let’s dive into some creative ideas that will not only beautify your desk but also make your work life a lot easier.
One of the best ways to add both style and function to your desk is by creating DIY planters. Plants are known to reduce stress and improve air quality, making them perfect companions for your work environment. You don’t need to have a green thumb to pull this off! You can repurpose old containers—like tin cans or glass jars—and transform them into chic planters. Just add some soil and your favorite low-maintenance plants, like succulents or pothos, and voila! You’ve got a little piece of nature sitting pretty on your desk.
Another fantastic functional decor item is a custom mouse pad. Let’s face it—most of us spend hours clicking away at our computers, so why not do it in style? A personalized mouse pad can not only enhance the aesthetic appeal of your workspace but also provide comfort during those long work hours. You can easily make one with a piece of fabric that reflects your personality. Simply cut it to size, add some padding underneath, and you’re ready to go. Plus, it’s a great conversation starter when colleagues come over!
But wait, there's more! Consider integrating multi-functional storage solutions into your desk decor. Think of items that can serve more than one purpose, like a stylish box that holds your stationery but also acts as a decorative piece. You can create a chic storage box using cardboard and decorative paper. Not only does it keep your desk tidy, but it also adds a splash of color to your workspace. It’s like having your cake and eating it too!
To wrap it all up, functional decor items are essential for creating a workspace that inspires productivity while reflecting your unique style. Whether it’s a DIY planter, a custom mouse pad, or multi-functional storage solutions, these items will help you craft an environment that is both beautiful and practical. So, roll up your sleeves and get crafting—you’ll be amazed at how a few simple projects can transform your workspace into a haven of creativity and efficiency!
- What materials do I need for DIY planters? You can use any container, such as tin cans, glass jars, or even old mugs. Just make sure to add drainage holes!
- How can I personalize my mouse pad? Use fabric that resonates with your style, and consider adding your favorite quotes or images using fabric paint or printed designs.
- Are there any plants that are easy to care for? Yes! Succulents, snake plants, and pothos are low-maintenance and thrive in various lighting conditions.
DIY Planters
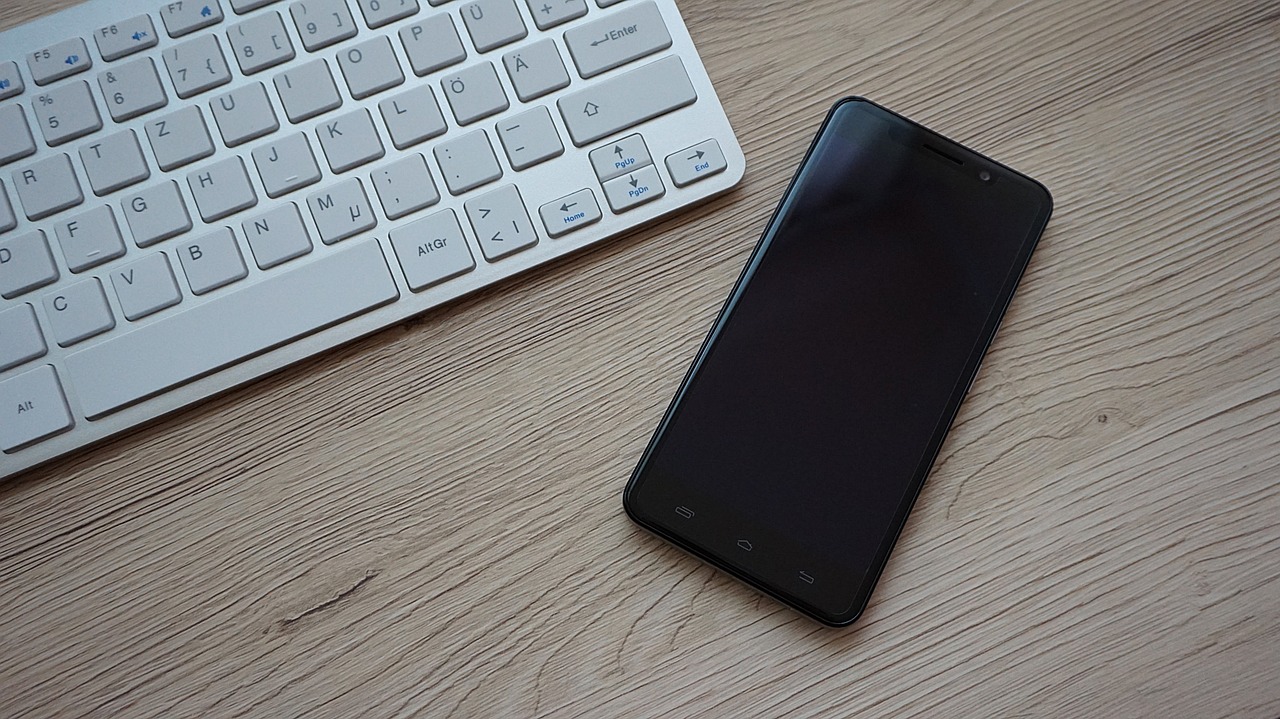
Adding greenery to your workspace is not just about aesthetics; it’s about creating a vibrant atmosphere that can enhance your mood and productivity. Imagine sitting at your desk, surrounded by lush plants that not only beautify your space but also purify the air. DIY planters offer a fantastic way to achieve this, allowing you to express your creativity while also bringing a touch of nature indoors. So, how can you create your own stylish planters that perfectly fit your desk space? Let’s dive into some fun and easy ideas!
First off, consider the materials you might already have at home. Repurposing items is a great way to keep costs down while also being environmentally friendly. For instance, old tin cans, glass jars, or even wooden crates can be transformed into charming planters. Just think of it as giving these items a second life! To start, clean your chosen container thoroughly, and if you're using something like a tin can, be sure to smooth out any sharp edges. Next, you can paint or decorate the exterior to match your workspace theme. A splash of color or a fun pattern can really make your planter pop.
Once your container is ready, it’s time to add some drainage holes. This step is crucial because it prevents overwatering, which can lead to root rot. If you're using a tin can, simply use a hammer and a nail to create a few small holes at the bottom. For glass jars, you can layer small stones or gravel at the bottom to aid drainage. Now, fill your planter with potting soil, leaving some space at the top for your chosen plants.
When it comes to selecting plants for your DIY planters, think about low-maintenance options that thrive in indoor conditions. Here are a few suggestions:
- Succulents: These hardy plants require minimal watering and come in a variety of shapes and colors.
- Spider Plants: Known for their air-purifying qualities, spider plants are easy to care for and grow quickly.
- Pothos: This trailing vine is incredibly forgiving and can thrive in low light.
After you’ve chosen your plants, gently remove them from their original pots and place them in your DIY planter. Make sure to pack the soil around the roots to eliminate any air pockets. Water them lightly, and voila! You now have a beautiful planter that not only enhances your desk decor but also serves as a reminder of nature's calming presence.
To keep your DIY planters looking their best, consider rotating them every few weeks to ensure even sunlight exposure. You can also incorporate a watering schedule to keep your plants healthy and thriving. Remember, a little love and care go a long way in maintaining your green companions!
In summary, creating DIY planters is a fantastic way to personalize your workspace while also reaping the benefits of having plants around. With just a few simple materials and some creativity, you can transform ordinary items into stunning decor that reflects your personality. So, why not give it a try? Your workspace—and your mood—will thank you!
Q: What types of plants are best for desk planters?
A: Low-maintenance plants such as succulents, spider plants, and pothos are ideal for desk planters. They thrive in indoor conditions and require minimal care.
Q: How often should I water my desk plants?
A: It depends on the type of plant, but a general rule is to check the soil moisture. If the top inch of soil feels dry, it’s time to water. Be cautious not to overwater!
Q: Can I use any container for my planters?
A: Yes! Just ensure that the container has drainage holes to prevent water from accumulating at the bottom, which can harm the plants.

Custom Mouse Pads
When it comes to personalizing your workspace, a custom mouse pad is a fantastic way to express your style while enhancing comfort. Imagine gliding your mouse over a surface that not only feels great but also reflects your personality! It’s like having a little piece of art right at your fingertips. Plus, creating your own mouse pad can be a fun and rewarding DIY project that requires minimal materials.
To get started, you’ll need a few basic supplies: a plain mouse pad (you can find these at any office supply store or online), fabric or paper that you love, scissors, and some glue or double-sided tape. The beauty of this project is that you can choose any design—be it a favorite quote, a vibrant pattern, or even a cherished photo. The only limit is your imagination!
Here’s a simple step-by-step guide to help you craft your custom mouse pad:
- Select Your Design: Choose a design that resonates with you. You might want to go for something motivational, like a quote, or perhaps a stunning landscape that inspires you every time you sit down to work.
- Prepare Your Materials: Cut your fabric or paper to the size of your mouse pad. Make sure it covers the entire surface with a little extra to wrap around the edges.
- Adhere Your Design: Use glue or double-sided tape to secure your fabric or paper to the mouse pad. Smooth out any bubbles to ensure a flat surface.
- Finishing Touches: For added durability, consider applying a layer of clear sealant over the top. This will protect your design from wear and tear.
Once you’ve completed your custom mouse pad, you’ll find that it not only enhances your workspace aesthetically but also adds a touch of comfort. After all, a comfortable workspace can significantly boost your productivity! And if you’re feeling extra creative, why not make a few different designs? You can switch them out depending on your mood or the season.
Now, let’s address some common questions you might have about custom mouse pads:
| Question | Answer |
|---|---|
| Can I wash my custom mouse pad? | Yes, but it’s best to spot clean it with a damp cloth. Avoid soaking it to maintain the integrity of the design. |
| What materials work best for a mouse pad? | Fabrics like cotton or polyester are great for a soft feel, while thicker paper can provide a unique look. |
| How long does it take to make a custom mouse pad? | Depending on the complexity of your design, it can take anywhere from 30 minutes to a couple of hours. |
In conclusion, creating a custom mouse pad is a simple yet impactful way to enhance your workspace. Not only does it add a personal touch, but it also serves a practical purpose, making your work environment more enjoyable. So grab your materials, unleash your creativity, and transform your desk into a space that truly reflects who you are!
Frequently Asked Questions
- What materials do I need for DIY desk decor projects?
For most DIY desk decor projects, you can use materials you already have at home! Common items include cardboard, old magazines, paint, scissors, glue, and even recycled jars. Think creatively—sometimes the best decor comes from repurposing what you already own!
- How can I create personalized desk organizers?
Creating personalized desk organizers is simple! Start by gathering containers like shoeboxes or jars. Decorate them with paint, washi tape, or fabric to match your style. You can also label them to keep everything organized and within reach, making your workspace both tidy and uniquely yours.
- What are some easy ways to make inspirational wall art?
Making inspirational wall art can be a fun and fulfilling process! You can print out your favorite quotes in unique fonts, frame them, or even hand-letter them for a personal touch. Using colorful paper or canvas, add decorative elements like doodles or stickers to really make it pop!
- How do I create a vision board?
Creating a vision board is all about visualizing your goals! Gather images, quotes, and anything that inspires you. You can use a corkboard or poster board as your base. Arrange your items in a way that speaks to you, and don't forget to place it somewhere you'll see it daily to keep your goals front and center!
- Can I make functional decor items myself?
Absolutely! Functional decor items are perfect for combining beauty with utility. You can create DIY planters using old cups or jars, or make custom mouse pads using fabric and foam. These projects not only enhance your workspace but also serve practical purposes!
- What plants are best for desk planters?
When choosing plants for desk planters, consider low-maintenance varieties like succulents, pothos, or snake plants. These plants thrive in various lighting conditions and don't require frequent watering, making them perfect companions for your workspace!
- How can I customize my mouse pad?
Customizing your mouse pad is super easy! You can use fabric or sturdy paper, and simply cut it to size. Add your favorite designs, patterns, or quotes using fabric paint or printouts. Just make sure to use a non-slip backing to keep it in place while you work!


