How to Create DIY Nature Inspired Decor
Are you ready to transform your home into a serene oasis that reflects the beauty of the great outdoors? DIY nature-inspired decor is not just a trend; it’s a way to connect with nature while adding a personal touch to your living space. Imagine walking into a room adorned with the earthy tones of wood, the vibrant greens of plants, and the delicate beauty of flowers—all crafted by your own hands. This article explores various ways to incorporate natural elements into your home decor using DIY techniques. Discover creative ideas that bring the beauty of nature indoors while being budget-friendly and sustainable.
When embarking on your DIY journey, the first step is to select the right materials. Choosing natural resources can significantly enhance your decor while adding an organic touch. Think about the textures, colors, and forms of materials like wood, stones, and plants. For instance, reclaimed wood can provide a rustic charm, while smooth pebbles can add a calming atmosphere. Here are some materials to consider:
- Wood: Perfect for creating furniture, shelves, or decorative accents.
- Stones: Use them in planters or as decorative elements in your garden.
- Plants: Bring life into your home with various indoor plants.
By choosing these materials, you can create a harmonious environment that resonates with nature.
Plants can breathe life into any space, and they’re a fantastic way to incorporate nature into your decor. Not only do they purify the air, but they also enhance the aesthetic appeal of your home. Think about where you place your plants; the right location can make all the difference. For example, a tall plant in a corner can create a stunning focal point, while smaller plants can be grouped on a windowsill for a cozy vibe. Here are some tips for using indoor plants effectively:
- Choose plants that thrive in your home's lighting conditions.
- Consider the size of the plant in relation to the space.
- Group plants of varying heights for visual interest.
With the right choices, your indoor plants can create a vibrant atmosphere that feels alive and inviting.
Terrariums are a fun and creative way to showcase plants in a contained environment. They’re like little ecosystems that can thrive with minimal maintenance. To design your own terrarium, start by selecting plants that are suitable for the size of your container. You can choose from a variety of small plants, such as ferns, succulents, or moss. Once you have your plants, consider the decorative elements you want to include, such as stones, figurines, or colored sand.
The container you select can significantly impact your terrarium's aesthetic. Glass jars are popular choices, but you can also explore unique vessels like vintage teacups or fish bowls. The key is to choose a container that offers adequate drainage and allows you to see the beautiful layers of your mini ecosystem.
Layering different materials in your terrarium can create depth and interest. Start with a layer of small rocks for drainage, followed by activated charcoal to keep the environment fresh. Then, add a layer of potting soil, and finally, place your plants. You can top it off with decorative stones or moss to enhance the visual appeal. This layering technique not only looks great but also ensures your plants thrive.
Dried flowers are a beautiful way to incorporate nature into your decor without worrying about maintenance. They capture the essence of nature and can last for years with proper care. You can create stunning arrangements using dried blooms, whether it’s a simple bouquet or an elaborate centerpiece. Plus, they can be used in various crafts, from wreaths to wall hangings, adding a rustic charm to your home.
Wall art inspired by nature can transform any room and serve as a conversation starter. By utilizing natural elements like pressed flowers or wood slices, you can create unique pieces that reflect your personal style. Imagine walking into a room adorned with art that tells a story of nature’s beauty.
Pressed flowers can be turned into beautiful wall art. The process of pressing flowers is simple: gather your favorite blooms, place them between the pages of a heavy book, and let them dry for a couple of weeks. Once dried, you can frame them for a stunning display that captures the essence of nature.
Wood slices can serve as a rustic canvas for your creativity. You can paint on them, engrave meaningful quotes, or simply display them as natural art. These slices can be used as coasters, wall hangings, or even as part of a centerpiece. The possibilities are endless!
Q: What are some easy DIY projects for beginners?
A: Start with simple projects like creating terrariums or pressed flower frames. These require minimal materials and are easy to execute.
Q: How can I maintain my indoor plants?
A: Ensure they receive the right amount of light, water them appropriately, and occasionally check for pests. Each plant has specific needs, so research is key!
Q: Can I use artificial plants in my decor?
A: Absolutely! While natural plants bring life to a space, high-quality artificial plants can also enhance your decor without the maintenance.
Choosing Natural Materials
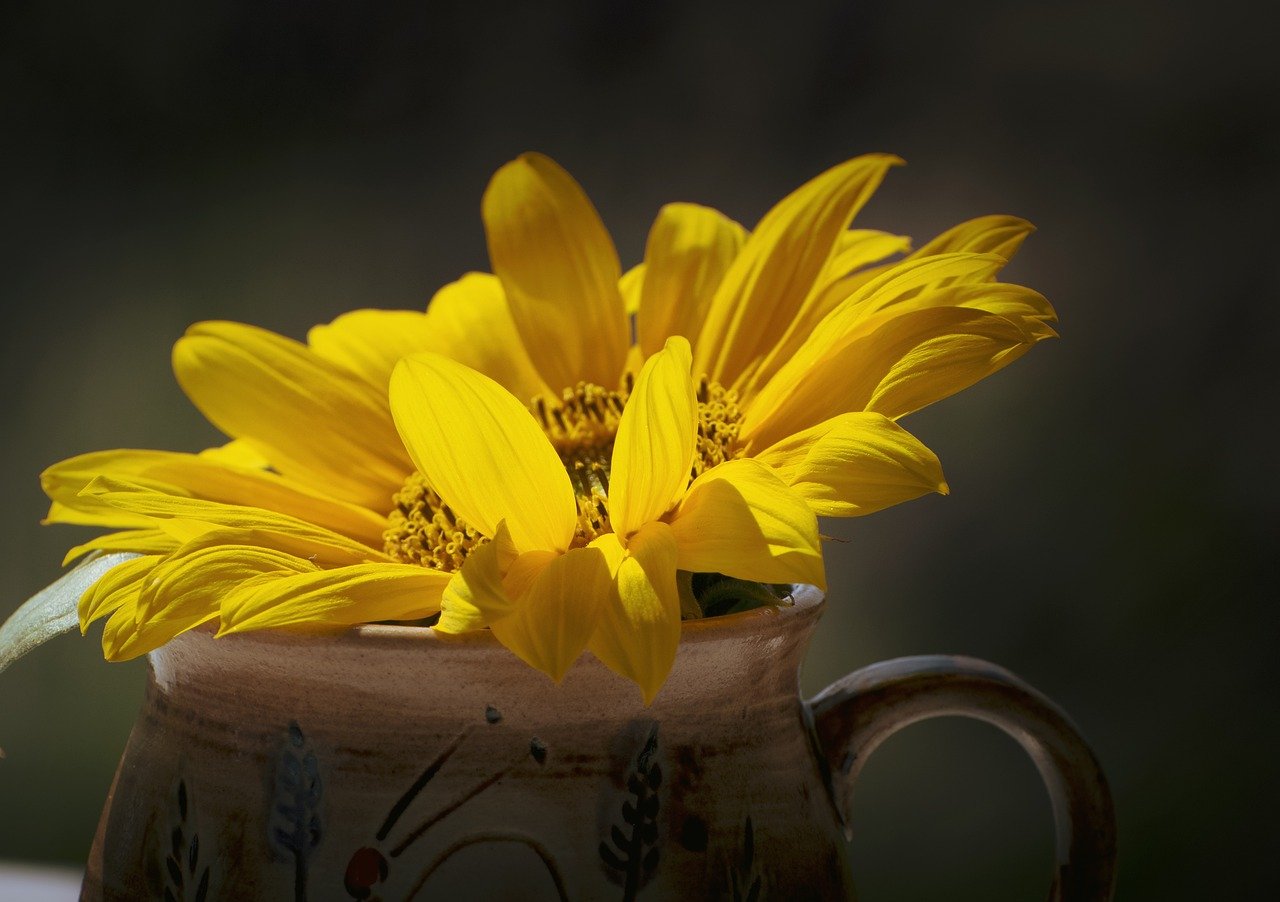
When it comes to creating DIY nature-inspired decor, the **selection of natural materials** is pivotal. Imagine walking into a room that feels like a serene forest or a sunlit meadow; that’s the kind of atmosphere you can achieve by using the right elements. Natural materials not only enhance the aesthetic appeal of your space but also bring a sense of calm and connection to the outdoors. So, what should you consider when choosing these materials? Let’s dive in!
First and foremost, think about the **variety of materials** available to you. Here are some popular options:
- Wood: Whether it’s reclaimed timber or branches from your backyard, wood adds warmth and texture to your decor.
- Stones: From smooth river rocks to rugged boulders, stones can serve as decorative accents or functional items like coasters.
- Plants: Fresh or dried, plants infuse life into your decor, making it vibrant and inviting.
- Natural Fabrics: Cotton, linen, and jute are excellent choices for textiles that complement a nature-inspired theme.
Now, let’s talk about how to incorporate these materials effectively. For instance, wood can be used in a myriad of ways: think about crafting **wooden shelves** to display your favorite plants or using logs as rustic side tables. The versatility of wood allows you to create both functional and decorative pieces that resonate with the natural world.
Stones, on the other hand, can be used in more subtle ways. Picture a **stone centerpiece** on your dining table or a collection of unique rocks arranged on a windowsill. These little touches can make a big impact without overwhelming your space. Additionally, consider using stones to create a **zen garden** or as part of a larger terrarium setup.
When it comes to plants, the possibilities are endless. You can opt for **indoor plants** that thrive in your environment or dried flowers that require minimal maintenance. The key is to select plants that resonate with your personal style and the overall vibe of your home. For example, if you’re aiming for a bohemian feel, consider hanging plants like pothos or string of pearls.
Lastly, don’t overlook the importance of **sustainable sourcing**. Whenever possible, choose materials that are eco-friendly and locally sourced. This not only reduces your carbon footprint but also supports local artisans and businesses. It’s a win-win situation! By being mindful of your material choices, you can create beautiful decor that aligns with your values.
In summary, choosing the right natural materials can transform your DIY projects from ordinary to extraordinary. By selecting wood, stones, plants, and natural fabrics, and being mindful of sustainability, you’ll not only enhance your home’s aesthetic but also foster a deeper connection to nature. So, get ready to unleash your creativity and let the beauty of the outdoors inspire your decor!
Incorporating Plants
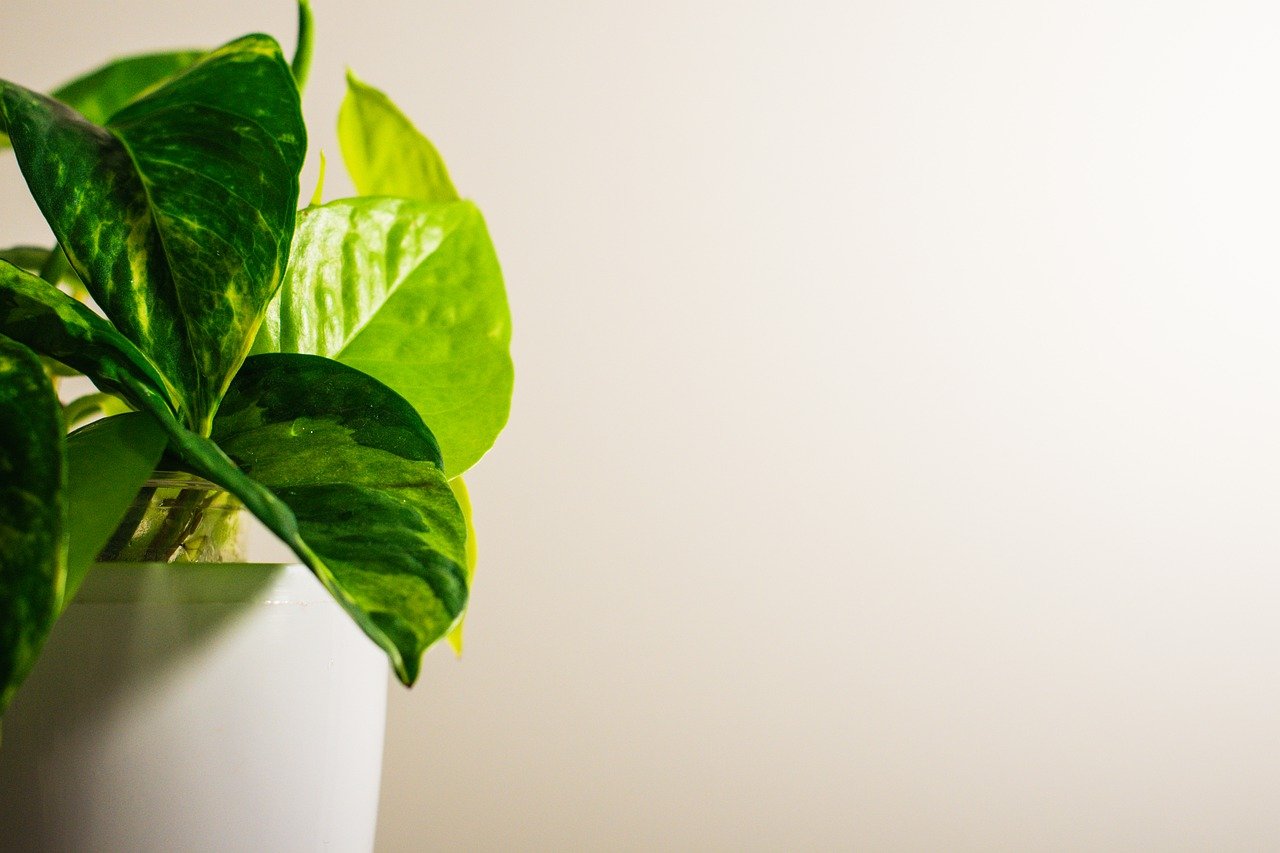
Plants can breathe life into any space, transforming your home into a vibrant oasis. Imagine walking into a room filled with lush greenery, where the air is fresh and invigorating. It's not just about aesthetics; incorporating plants into your decor can significantly enhance your well-being. Studies have shown that having plants indoors can reduce stress, improve air quality, and even boost productivity. But how do you effectively use indoor plants to create that perfect atmosphere? Let's dive into some tips and tricks!
First and foremost, placement is key. Think about where you want to position your plants. Do you have a sunny windowsill that could use a touch of greenery? Or perhaps a cozy corner that feels a bit too empty? Consider the light conditions in each room. Some plants thrive in bright, direct sunlight, while others prefer the softer glow of indirect light. For instance, succulents and cacti love the sun, while ferns and peace lilies are more suited to shadier spots. It's all about finding the right balance to keep your plants happy and healthy.
Next, let’s talk about the types of plants you might want to incorporate. Here are a few popular choices that are not only beautiful but also relatively easy to care for:
- Snake Plant: Known for its air-purifying qualities, this plant is nearly indestructible!
- Pothos: With its trailing vines, pothos adds a touch of elegance and can thrive in various light conditions.
- Spider Plant: A fantastic choice for beginners, spider plants produce adorable little "pups" that you can propagate.
Once you've chosen your plants, consider their maintenance. Regular watering, proper drainage, and occasional fertilization can go a long way in keeping your plants thriving. Overwatering is a common mistake, so make sure to check the soil moisture before giving them a drink. A good rule of thumb is to let the top inch of soil dry out before watering again. And don’t forget to dust off those leaves every now and then; clean leaves can photosynthesize more effectively!
Another exciting way to incorporate plants is through creative displays. Think outside the pot! You can hang plants in macramé hangers, create a vertical garden on your wall, or even use unique containers like teacups or wooden crates. These unconventional displays not only showcase your plants but also serve as eye-catching decor elements. Imagine a cascading pothos hanging from the ceiling or a vibrant collection of succulents arranged on a rustic shelf. The possibilities are endless!
Lastly, consider the emotional aspect of having plants in your home. They can evoke feelings of calm and tranquility, making your space feel more inviting. Plus, caring for plants can be a rewarding hobby that connects you to nature, even when you're indoors. So, why not start your green journey today? Bring home a few plants, and watch your living space transform into a sanctuary of natural beauty!
Q: How often should I water my indoor plants?
A: It depends on the type of plant and the environment. Generally, check the top inch of soil; if it's dry, it's time to water. Most indoor plants prefer to dry out slightly between waterings.
Q: Can I keep plants in low light conditions?
A: Yes! Many plants thrive in low light, such as snake plants, pothos, and ZZ plants. Just make sure to choose the right species for your space.
Q: How do I know if my plant is getting enough light?
A: If your plant is stretching towards the light or its leaves are turning yellow, it may not be getting enough light. Conversely, scorched leaves can indicate too much direct sunlight.
Creating Terrariums
Terrariums are not just a trend; they are a delightful way to bring a slice of nature into your home, all while adding a touch of creativity. Imagine a tiny, self-sustaining ecosystem right on your coffee table! Creating your own terrarium can be a fun and rewarding project that allows you to express your unique style. So, where do you start? Let’s dive into the essential steps to design a stunning terrarium that will surely impress.
First things first, you need to select the right plants. Opt for small, hardy plants that thrive in enclosed environments. Some popular choices include:
- Succulents: These are low-maintenance and come in various shapes and sizes.
- Air Plants: They require minimal care and can be placed almost anywhere.
- Moss: A great option for adding a lush green texture to your terrarium.
Once you’ve chosen your plants, it’s time to think about the container. The container is crucial as it not only holds your plants but also contributes to the overall aesthetic. Glass containers are popular because they allow you to see the layers of soil and plants, creating a visually appealing display. You can use anything from a simple glass jar to a more elaborate globe or even a vintage vase. The key is to ensure that it has enough space for your plants to grow and that it can hold moisture without becoming too humid.
Next, let’s talk about layering techniques. Layering is essential for creating a healthy environment for your plants. Start with a layer of small pebbles at the bottom of your container for drainage. This prevents water from pooling at the base and causing root rot. After that, add a layer of activated charcoal to keep the air fresh and reduce odors. Then, you can add a layer of potting soil—this is where your plants will thrive. Make sure to leave enough space for the plants to be planted comfortably.
Now comes the fun part: arranging your plants. Think about the height and color of the plants you’ve chosen. Place taller plants in the back and shorter ones in the front to create depth. Don’t be afraid to get creative! You can also add decorative elements like small figurines, stones, or even fairy lights to give your terrarium a personal touch. Once everything is arranged to your liking, gently pack the soil around the plants to secure them.
Finally, maintenance is key to keeping your terrarium thriving. Place it in a location where it can receive indirect sunlight, as direct sunlight can scorch the plants. Watering should be minimal; a good rule of thumb is to check the soil moisture every couple of weeks. If the soil feels dry, give it a light misting or a small amount of water. Remember, the beauty of a terrarium is in its ability to create a mini ecosystem, so let it do its thing!
In summary, creating a terrarium is a fantastic way to bring the beauty of nature indoors. With just a few simple steps—selecting the right plants, choosing a suitable container, layering for health, arranging creatively, and maintaining your mini garden—you can craft a stunning piece of decor that will be the envy of your friends and family. So why not give it a try? You might just discover a new favorite hobby!
Q: Do I need to water my terrarium often?
A: Generally, terrariums require less frequent watering than traditional plants. Check the soil every couple of weeks and water only if it feels dry.
Q: Can I use any type of container for my terrarium?
A: While you can use various containers, glass ones are preferred because they allow you to see the layers and plants inside. Just ensure there's enough space for your plants to grow.
Q: What if my plants start to look unhealthy?
A: Check for signs of overwatering or insufficient light. Adjust the watering schedule or move your terrarium to a brighter spot if necessary.
Choosing the Right Container
When it comes to creating a stunning terrarium, the container you choose plays a pivotal role in determining the overall aesthetic and functionality of your mini ecosystem. Think of the container as the stage for your botanical performance; it can either enhance or detract from the beauty of your plants. So, how do you select the perfect vessel? Let's dive into some exciting options!
First off, glass jars are a classic choice. They come in various shapes and sizes, allowing you to showcase your plants beautifully while providing a clear view of the layers within. A simple mason jar can be transformed into a chic terrarium, or you might opt for a larger, more ornate glass globe for a dramatic effect. The transparency of glass not only highlights the plants but also allows sunlight to filter through, which is crucial for their growth.
Next, consider using unique vessels that add character to your decor. Think outside the box! Old fish bowls, vintage teacups, or even repurposed light bulbs can serve as eye-catching containers. These unconventional choices can spark conversations and give your terrarium a distinctive flair. However, ensure that any container you choose has adequate drainage or is designed to retain moisture appropriately.
Another factor to consider is the size of your container. A larger terrarium allows for a more diverse array of plants, creating a lush, vibrant atmosphere. On the other hand, smaller containers can be perfect for showcasing a single, striking plant or a small grouping of succulents. Just remember, the size should align with the space you have available in your home. If you're decorating a small shelf, a tiny glass orb might be just right, while a larger floor-standing terrarium could become a stunning focal point in your living room.
Now, let’s talk about the shape of your container. Different shapes can evoke various feelings and styles. For example, a tall, cylindrical vase can give a modern touch, while a wide, shallow bowl can provide a more rustic vibe. You can even mix and match shapes to create a dynamic display. Just like a painter chooses different brushes for different strokes, you can select containers that complement the plants you want to showcase.
Lastly, don’t forget about the material of your container. While glass is a popular choice, other materials like ceramic or metal can also add unique textures and colors. Just ensure that any non-glass materials are suitable for plants and won’t leach harmful substances into the soil. If you’re feeling adventurous, you might even want to try your hand at crafting your own container using clay or concrete, giving you complete control over the design.
In summary, choosing the right container for your terrarium involves a blend of creativity and practicality. The right vessel can elevate your plants and create a stunning centerpiece for your home. So, let your imagination run wild, and remember to consider not just the look but also the needs of your plants. Happy decorating!
- What type of container is best for a terrarium? Glass containers are generally the best choice as they allow light in and provide visibility. However, any container that can hold soil and has proper drainage can work.
- Can I use a plastic container for my terrarium? Yes, as long as it is suitable for plants and has drainage holes, plastic containers can work well.
- How do I maintain humidity in my terrarium? Keep the lid on your container to maintain humidity, but be sure to open it occasionally to allow for air circulation.
Layering Techniques
Layering is an essential technique when it comes to creating a visually stunning terrarium. Just like a well-composed painting, layering different materials can add depth, texture, and interest to your miniature ecosystem. Imagine walking through a lush forest where the ground is covered in a rich tapestry of leaves, stones, and moss—this is the kind of effect you want to replicate in your terrarium. To achieve this, start with a solid base layer. Typically, a layer of small pebbles or gravel serves as excellent drainage, ensuring that excess water doesn’t drown your plants. Think of it as the foundation of a house; without it, everything else could crumble.
Next, consider adding a layer of activated charcoal. This might sound fancy, but it’s simply a way to keep your terrarium fresh and odor-free. Activated charcoal acts like a sponge, absorbing impurities and preventing any unwanted smells. You wouldn't want your beautiful creation to smell like a swamp, right? After this, you can introduce a layer of potting soil, which will be the nurturing bed for your plants. The soil layer should be thick enough to allow roots to grow comfortably, but not so thick that it overwhelms the other elements.
Now comes the fun part—planting! When placing your plants, think about height and color contrast. Position taller plants at the back and shorter ones in the front, creating a sense of depth. You can also mix in some decorative elements like stones, driftwood, or even miniature figurines to give your terrarium personality. Imagine it as a tiny world where every element tells a story. For added visual interest, consider using a variety of textures. Soft moss can contrast beautifully with rough stones, while vibrant green leaves can pop against a backdrop of earthy tones.
Finally, don’t forget about the finishing touches. A sprinkle of sand on top can add a beachy feel, while a layer of decorative rocks can provide a polished look. These small details can make a significant difference, turning your terrarium from a simple plant display into a captivating piece of art. Remember, the key to successful layering is balance. Too much of one element can overwhelm the others, so take a step back and assess your creation as you go. With these layering techniques, you’ll not only create a beautiful terrarium but also a little slice of nature that you can enjoy indoors.
- What types of plants are best for terrariums?
Small, slow-growing plants like succulents, ferns, and mosses are ideal for terrariums as they thrive in closed environments.
- How often should I water my terrarium?
Typically, a terrarium requires watering every 2-4 weeks, but this can vary based on the plants and the environment.
- Can I use regular soil for my terrarium?
While regular potting soil can work, it's best to use a well-draining soil mix specifically designed for terrariums.
- Do I need to provide light for my terrarium?
Yes, most terrariums need indirect sunlight. Avoid placing them in direct sunlight, as this can create a greenhouse effect and harm the plants.
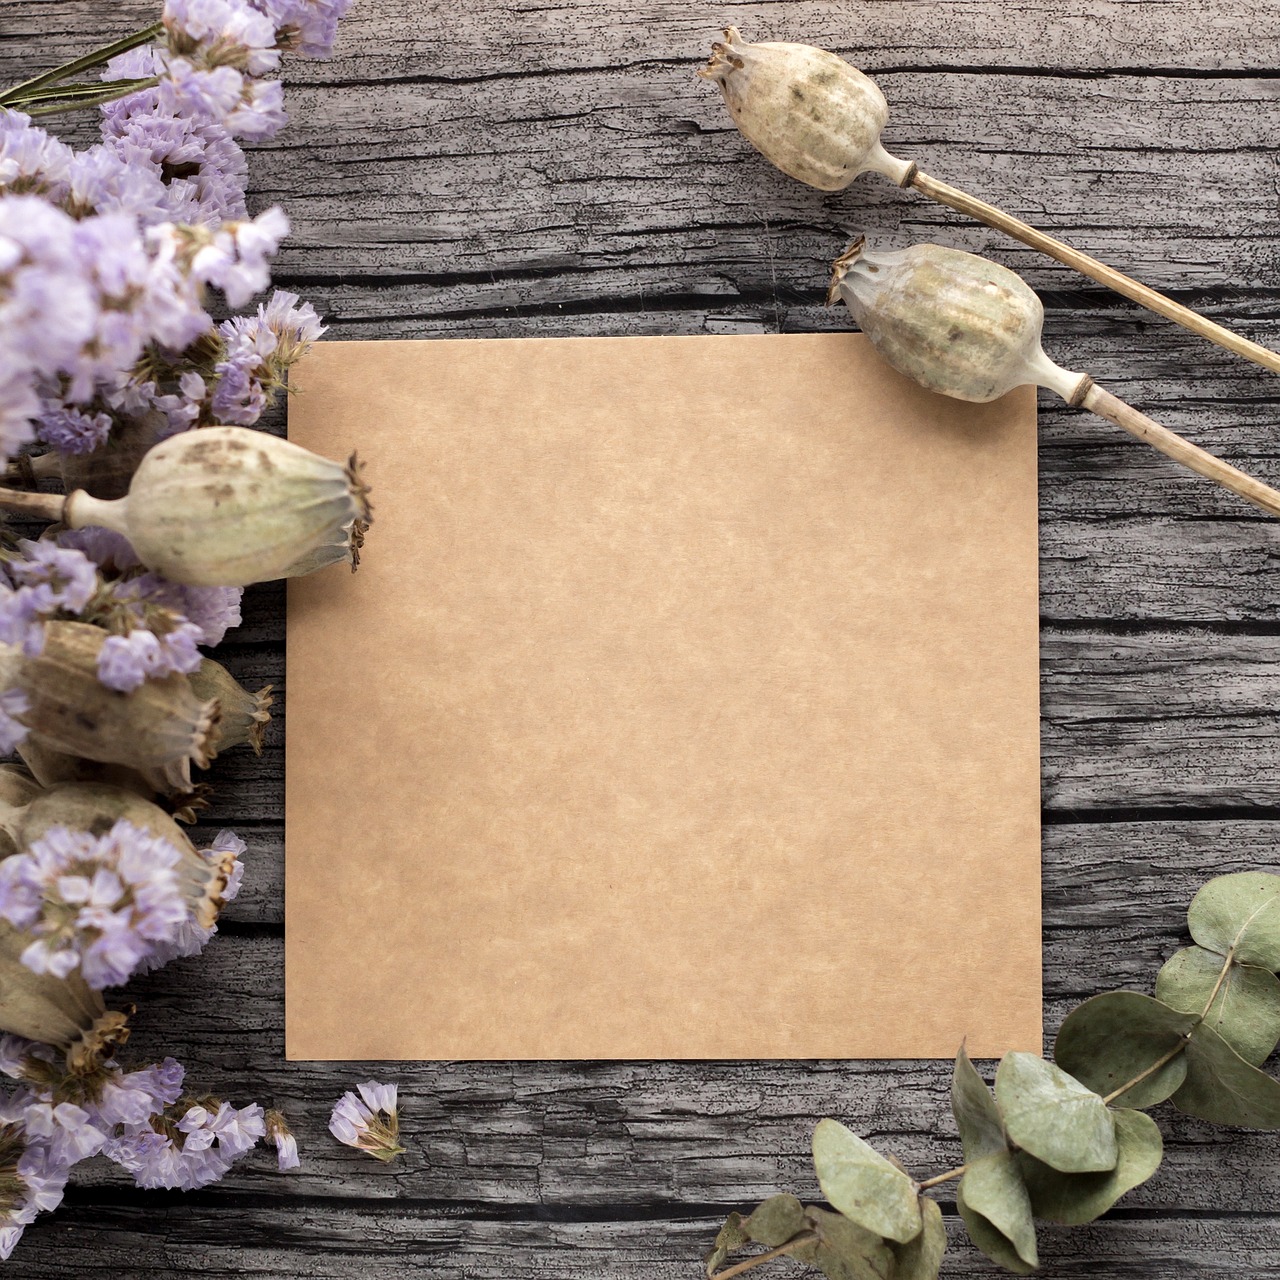
Using Dried Flowers
Dried flowers are not just a trend; they are a timeless way to incorporate the beauty of nature into your home decor. Imagine walking into a room adorned with vibrant, preserved blooms that add warmth and charm without the hassle of maintenance. Unlike fresh flowers, dried flowers can last for years, allowing you to enjoy their beauty long after they’ve been harvested. Whether you’re creating a simple arrangement or an elaborate centerpiece, dried flowers offer endless possibilities for creativity.
One of the best aspects of using dried flowers is their versatility. You can use them to create stunning arrangements for various occasions, from weddings to cozy home settings. Think about how a bouquet of dried lavender or a cluster of sunflowers could elevate your living space. The rustic aesthetic they provide is perfect for those who appreciate a natural, earthy vibe. Plus, they can be easily mixed with other materials like twigs, leaves, or even feathers to create unique compositions that reflect your personal style.
When crafting with dried flowers, it’s essential to consider color and texture. The right combination can make your arrangement pop! For instance, pairing soft, muted tones with bold, vibrant flowers can create a striking contrast. Here are some popular dried flowers you might want to consider:
- Lavender: Known for its calming scent and beautiful purple hues.
- Roses: Classic and romantic, perfect for any decor.
- Baby's Breath: Delicate and airy, it adds a whimsical touch.
- Wheat: Great for a rustic farmhouse look.
Creating arrangements with dried flowers is not only enjoyable but also allows you to express your creativity. You can experiment with various containers, such as glass vases, mason jars, or even vintage teacups, to give your arrangements a unique flair. Additionally, consider incorporating them into wreaths or garlands for a seasonal touch. The possibilities are truly endless!
If you’re new to using dried flowers, you might want to start with simple projects. For example, try creating a small bouquet or a decorative jar filled with your favorite dried blooms. As you gain confidence, you can explore more complex designs, such as wall hangings or centerpieces that draw the eye and spark conversation. Remember, the key is to have fun and let your imagination run wild!
Lastly, don’t forget about the emotional aspect of dried flowers. Each bloom can carry memories and stories, making them not just decor but also a personal touch in your home. So, whether you’re celebrating a special occasion or simply enjoying the everyday beauty of nature, dried flowers can be a meaningful addition to your decor.
Q: How do I preserve fresh flowers to make them dried flowers?
A: You can preserve flowers by hanging them upside down in a cool, dark place. Alternatively, you can use silica gel or pressing methods for different effects.
Q: How long do dried flowers last?
A: Dried flowers can last anywhere from 1 to 3 years, depending on the type of flower and how they are stored. Keep them away from direct sunlight and moisture to extend their lifespan.
Q: Can I use dried flowers outdoors?
A: While dried flowers can be used outdoors, exposure to the elements can shorten their lifespan. It's best to use them in sheltered areas or for temporary displays.
Q: How do I clean dried flowers?
A: To clean dried flowers, gently dust them with a soft brush or cloth. Avoid using water, as it can damage the petals.

Crafting Natural Wall Art
When it comes to home decor, wall art can make or break the vibe of a room. Imagine walking into a space and being greeted by the calming presence of nature, all thanks to some creative DIY projects. Crafting natural wall art allows you to express your love for the outdoors while bringing a unique, personal touch to your home. Whether you’re a seasoned crafter or just starting out, there are countless ways to incorporate natural elements into your wall decor. So, let’s dive into some inspiring ideas that will have your walls singing with the beauty of nature!
One of the most popular ways to create natural wall art is by using pressed flowers. These delicate blooms can be transformed into stunning arrangements that capture the essence of the outdoors. The process is simple: pick your favorite flowers, press them between the pages of a heavy book or use a flower press, and let them dry for a couple of weeks. Once they’re ready, you can frame them in a beautiful shadow box or a simple glass frame. This not only preserves their beauty but also creates a striking focal point on your wall. Imagine how lovely it would be to have a piece of nature hanging right in your living room!
Another fantastic option is to use wood slices. These rustic pieces can serve as a canvas for your creativity. You can leave them natural for a more earthy look, or you can paint, engrave, or decoupage them to match your home’s aesthetic. For example, you could create a series of wood slices that tell a story—perhaps each slice represents a different season, adorned with seasonal colors and motifs. Hang them in a cluster for a stunning gallery wall effect that will surely impress your guests.
Let’s not forget about the beauty of nature-inspired photography. If you have a knack for photography, consider capturing the stunning landscapes, flora, and fauna around you. Print your favorite shots on canvas or high-quality paper and frame them to create a personal gallery. This not only showcases your artistic talent but also brings a piece of your adventures into your home. Plus, it’s a great conversation starter!
For those who love a bit of whimsy, consider creating a nature collage. Gather materials such as leaves, twigs, feathers, and even small stones. Arrange them in a shadow box or on a canvas to create a layered effect that’s both eye-catching and organic. This project allows for a lot of creativity—there are no rules! You can even incorporate quotes or inspirational words into your collage using natural materials like bark or pebbles.
To help you get started with your natural wall art journey, here’s a quick overview of some materials you might consider using:
| Material | Usage |
|---|---|
| Pressed Flowers | Framing or shadow boxes |
| Wood Slices | Painting, engraving, or displaying |
| Nature Photography | Canvas prints or framed photos |
| Natural Collage Materials | Creating layered art pieces |
In conclusion, crafting natural wall art is a fulfilling way to bring the beauty of the outdoors into your home. Each piece you create tells a story and reflects your personality, making your space feel uniquely yours. So grab those materials, unleash your creativity, and let your walls become a canvas for nature’s beauty!
- What types of flowers are best for pressing? Delicate flowers like pansies, violets, and daisies work well because they maintain their color and shape when dried.
- How do I preserve the color of my pressed flowers? Keep your pressed flowers out of direct sunlight to prevent fading.
- Can I create wall art with artificial flowers? Absolutely! Artificial flowers can be used to create long-lasting arrangements without the need for maintenance.
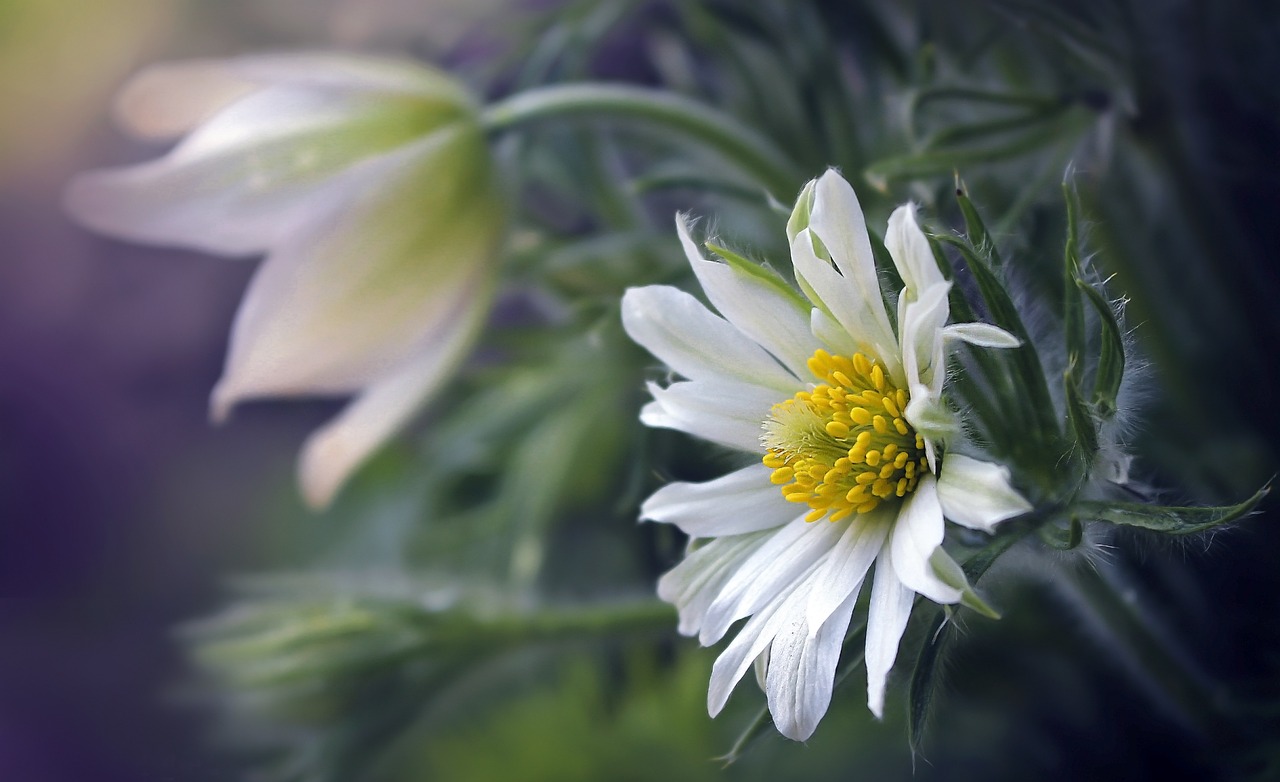
Pressed Flower Frames
Pressed flower frames are not just a craft; they are a way to capture the fleeting beauty of nature and bring it into your home. Imagine walking into a room adorned with vibrant, delicate blooms that remind you of sunny days spent outdoors. Creating these stunning pieces of art is easier than you might think, and it allows you to personalize your decor with a touch of nature that reflects your style. So, how do you get started with pressed flower frames? Let’s dive into the process!
First, you need to gather your materials. The key ingredients for this project include:
- Fresh Flowers: Choose flowers that appeal to you. Think about colors and shapes that will fit into your home decor.
- Pressing Materials: You can use a flower press, heavy books, or even a microwave flower press for quicker results.
- Frames: Select frames that complement your flowers. Wooden frames add a rustic touch, while sleek metal frames offer a modern vibe.
- Glass or Acrylic Sheets: These will protect your pressed flowers and keep them looking fresh.
Once you have your materials ready, the fun begins! Start by selecting flowers that are in full bloom. Flowers like pansies, daisies, and lavender work beautifully for pressing. After picking your flowers, gently remove any excess leaves and arrange them flat between the pressing materials. If you're using a flower press, tighten the screws to apply pressure. If you’re using a heavy book, place it on a flat surface and stack additional books on top for extra weight.
Now, patience is key! Allow your flowers to press for about two to three weeks. You’ll know they’re ready when they feel dry and brittle. Once your flowers are pressed, carefully remove them and lay them out on a clean surface. This is where your creativity can really shine! Experiment with different arrangements until you find one that speaks to you.
When you’re satisfied with your arrangement, it’s time to frame them. Start by placing a piece of glass or acrylic on the base of your frame, then arrange your pressed flowers on top. Once you have everything in place, carefully place another piece of glass or acrylic on top to protect your artwork. Secure the frame, and voila! You now have a stunning piece of pressed flower art that will brighten up any room.
Pressed flower frames not only serve as beautiful decor but also make thoughtful gifts for loved ones. They can be personalized with flowers from special occasions, like weddings or anniversaries, creating a lasting memory that can be cherished forever. So, gather your flowers, unleash your creativity, and let nature inspire your home decor!
Q: How long do pressed flowers last?
A: If properly pressed and framed, flowers can last for many years, although they may fade slightly over time.
Q: Can I press any type of flower?
A: Most flowers can be pressed, but some, like daisies and pansies, tend to hold their shape and color better than others.
Q: What’s the best way to display pressed flowers?
A: Using a frame with glass or acrylic is ideal for protecting the flowers from dust and damage while allowing their beauty to shine through.
Q: How can I preserve the color of pressed flowers?
A: To preserve color, consider using a microwave flower press or drying flowers in silica gel, which can help maintain their vibrancy.
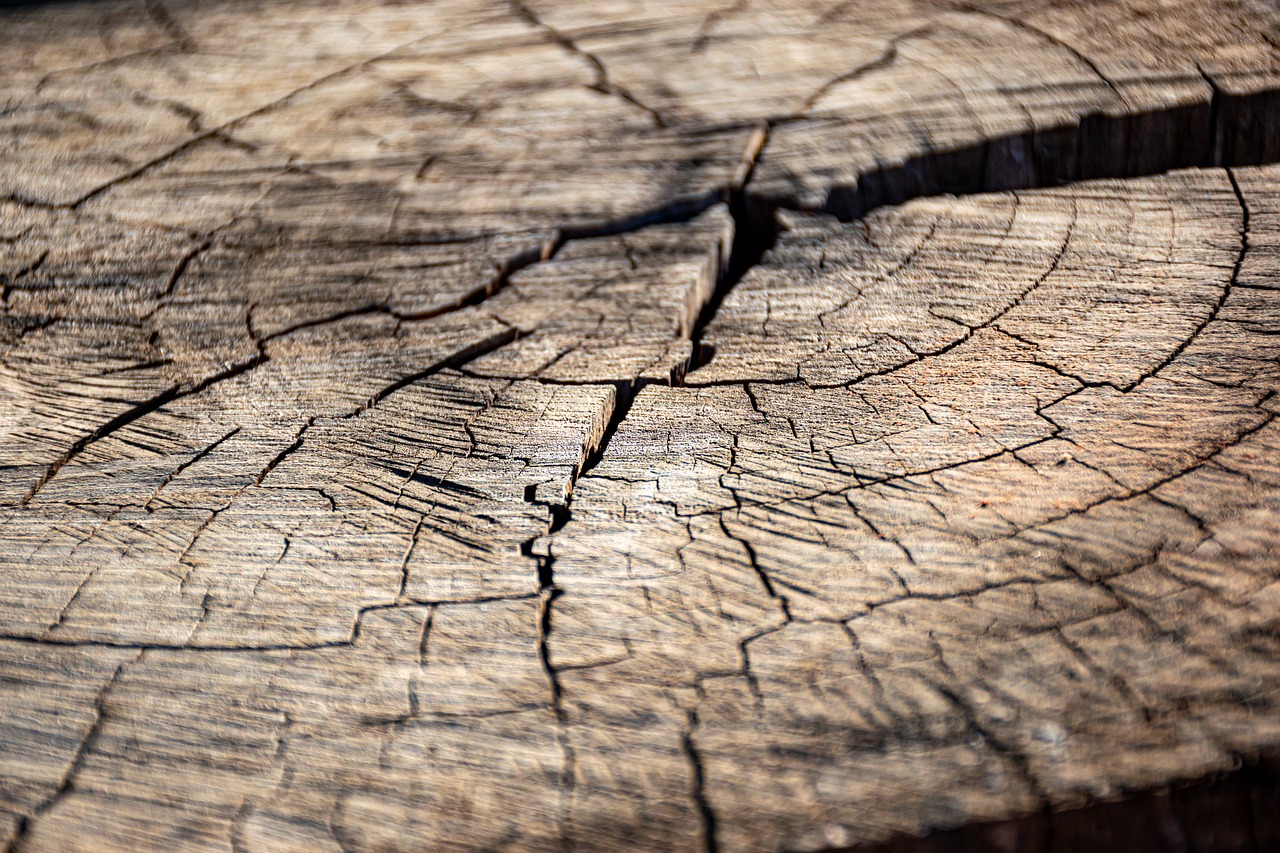
Wood Slice Decor
Wood slice decor is a fantastic way to bring a touch of the outdoors into your home without breaking the bank. Imagine transforming simple pieces of wood into stunning art that captures the essence of nature! These rustic slices can serve as a versatile canvas for your creativity, allowing you to personalize your space with unique designs and styles. Whether you’re looking to make a statement piece or subtle accents, wood slices can fit seamlessly into any decor theme.
One of the best things about using wood slices is their natural beauty. Each piece is distinct, showcasing unique grain patterns and colors that can enhance your interior. You can find wood slices at craft stores, local markets, or even make your own by cutting branches from fallen trees. Just be sure to choose slices that are dry and free from pests to ensure longevity.
Here are some creative ways you can use wood slices in your decor:
- Coasters: Cut small slices to create rustic coasters. You can leave them natural, or paint or stain them for a more polished look.
- Wall Art: Arrange several wood slices of varying sizes on a canvas or directly on the wall to create an eye-catching display.
- Centerpieces: Use larger slices as bases for candles or floral arrangements to create stunning table centerpieces.
- Serving Platters: Treat larger slices as serving platters for cheese and charcuterie boards, adding a natural touch to your entertaining.
To elevate your wood slice decor game, consider incorporating additional elements. For instance, you can engrave meaningful quotes or designs onto the wood to make it more personal. A simple wood burning tool can help you create intricate designs that will wow your guests. Alternatively, you can paint the slices in vibrant colors or patterns, giving them a modern twist while still maintaining their rustic charm.
Another fantastic idea is to combine wood slices with other natural elements. For example, you can glue moss or small stones onto the slices to create a mini landscape. This not only adds texture but also enhances the organic feel of your decor. You could even use them as bases for terrariums, creating a beautiful juxtaposition of wood and greenery.
Finally, don't forget about the finishing touches! A coat of varnish can protect your wood slices and enhance their natural beauty, making them shine. Plus, it adds durability, ensuring your creations last for years to come. Whether you choose to keep them natural or dress them up, wood slice decor is a wonderful way to celebrate nature’s beauty in your home.
Q: Where can I find wood slices for my projects?
A: You can purchase wood slices at craft stores, local markets, or online. Additionally, you can create your own by cutting branches from fallen trees, ensuring they are dry and pest-free.
Q: How do I preserve the wood slices for long-term use?
A: To preserve your wood slices, apply a coat of varnish or sealant. This will protect them from moisture and enhance their natural beauty.
Q: Can I paint or stain wood slices?
A: Absolutely! You can paint or stain wood slices to match your decor style. Just make sure to use non-toxic paints and stains if you plan to use them for food serving.
Q: What tools do I need to create wood slice decor?
A: Basic tools like a saw (for cutting), sandpaper (for smoothing edges), and a wood burning tool (for engraving) will help you create beautiful wood slice decor. Additionally, craft glue and varnish will be essential for finishing touches.
Frequently Asked Questions
- What natural materials are best for DIY decor?
When diving into DIY decor, consider using materials like wood, stones, and plants. These elements not only add an organic touch but also bring a unique charm to your creations. For instance, reclaimed wood can create stunning rustic pieces, while smooth stones can serve as beautiful accents in your designs.
- How do I choose the right indoor plants for my home?
Choosing the right indoor plants boils down to understanding your space and lighting. Low-light plants like snake plants or pothos are perfect for dim areas, while succulents thrive in bright spots. Don't forget to consider your lifestyle—if you’re often busy, opt for low-maintenance plants that require minimal care.
- What are the steps to create a terrarium?
Creating a terrarium is a fun and creative process! Start by selecting a clear container, then layer materials like rocks, charcoal, and soil. Choose your plants and arrange them artistically. Finally, add decorative elements like stones or figurines to give it a personal touch. Just remember to water sparingly!
- Can I use dried flowers in my decor?
Absolutely! Dried flowers are a fantastic way to incorporate nature without the upkeep of live plants. You can create beautiful arrangements, wreaths, or even use them in crafting projects. Just ensure they are properly dried to maintain their color and shape.
- How do I make pressed flower art?
To make pressed flower art, start by selecting fresh flowers and placing them between the pages of a heavy book. Leave them for a week or two until fully dried. Once ready, arrange them on a canvas or in a frame to create stunning wall art that showcases the beauty of nature!
- What can I do with wood slices for decor?
Wood slices are incredibly versatile! You can use them as coasters, paint them with designs, or even engrave messages for a personalized touch. They can also be stacked or hung on walls to create a rustic aesthetic. The possibilities are endless!


