Sewing Tips to Make Your Work Easier and More Fun
Welcome to the wonderful world of sewing, where creativity knows no bounds! If you've ever found yourself tangled in threads or frustrated by fabric that just won't cooperate, you're not alone. But fear not! In this article, we're going to explore practical sewing tips that will not only enhance your crafting experience but also make it more enjoyable and efficient. Whether you're a seasoned pro or just starting out, these techniques, tools, and shortcuts are designed to elevate your sewing projects to new heights. So grab your favorite fabric, and let’s dive into the world of sewing!
Understanding the must-have tools for sewing can significantly improve your efficiency and enjoyment. Imagine trying to bake a cake without the right utensils—frustrating, right? The same goes for sewing! Here’s a quick rundown of essential items that every sewer should have in their toolkit:
- Fabric scissors: Invest in a good pair; they make cutting a breeze!
- Measuring tape: Accurate measurements are crucial for a perfect fit.
- Seam ripper: Mistakes happen, and this tool will save your project!
- Pins and pin cushion: Keep your fabric in place while you sew.
- Iron and ironing board: Pressing your fabric can make a world of difference in the final look.
Selecting the appropriate fabric for your project is crucial. It's like choosing the right paint for your masterpiece; the fabric sets the tone for your entire creation. Different fabric types have unique qualities that can impact the outcome of your project. So, let’s break down the essentials!
Fabric weight affects how your project will turn out, influencing everything from drape to durability. Here’s a quick overview of fabric weights and their suitable applications:
| Fabric Weight | Characteristics | Best Uses |
|---|---|---|
| Lightweight | Soft, airy, and flowy | Garments, linings, and delicate projects |
| Medium Weight | Versatile and easy to handle | Shirts, dresses, and light jackets |
| Heavyweight | Sturdy and durable | Outerwear, upholstery, and structured garments |
Lightweight fabrics are ideal for garments and delicate projects. Think of them as the feathers of the fabric world; they float and flutter beautifully. Materials like chiffon, silk, and lightweight cotton are perfect for summer dresses or blouses. When working with these fabrics, remember to use a fine needle and a light touch to avoid damaging them.
On the flip side, heavyweight fabrics provide structure and durability. They're the backbone of your sewing projects, giving them form and function. Fabrics like denim, canvas, and upholstery are great for bags, jackets, and home decor. When tackling these materials, a sturdy needle and a bit of patience will go a long way!
Pre-washing fabrics can prevent future shrinkage and color bleeding. It’s like giving your fabric a little spa day before the real work begins. Always check the care instructions, and wash your fabric in the same way you plan to care for the finished product. This step is vital in ensuring that your masterpiece stays as beautiful as the day you made it!
Learning basic stitches is fundamental to sewing. Just like learning to walk before you run, mastering these stitches will set the foundation for all your sewing adventures. Let's explore some essential stitches and their applications!
Hand stitching is a valuable skill for any sewer. It's like the secret ingredient in a recipe; it adds that special touch. Different hand stitches can be used for various purposes, from simple hems to intricate embellishments. Some popular hand stitches include the running stitch, backstitch, and slip stitch. Knowing when to use each one can elevate your project from good to amazing.
Machine stitches offer speed and precision. If hand stitching is the secret ingredient, machine stitching is the powerhouse chef in your sewing kitchen! Common machine stitches include straight stitch, zigzag stitch, and overlock stitch. Each stitch has its own unique applications, and with a little practice, you’ll be churning out projects in no time!
As we wrap up our sewing tips, you might have some questions bubbling up. Here are a few frequently asked questions that can help clarify your sewing journey:
- What is the best fabric for beginners? Lightweight cotton is often recommended, as it’s easy to work with and forgiving.
- How do I prevent fabric from fraying? Using pinking shears or finishing seams with a zigzag stitch can help.
- What should I do if I make a mistake? Don’t panic! Use a seam ripper to carefully remove the stitches and try again.
Now that you’re armed with these sewing tips, techniques, and tools, it’s time to unleash your creativity and have some fun! Remember, every project is a learning experience, so embrace the process and enjoy every stitch!
Essential Tools for Every Sewer
When it comes to sewing, having the right tools can make all the difference between a frustrating experience and a delightful one. Think of your sewing toolkit as a chef's knife set; without the right knives, preparing a meal can become a tedious task. Similarly, the essential tools of sewing not only enhance your efficiency but also elevate your creative expression. So, what are these must-have tools that every sewer should have in their arsenal?
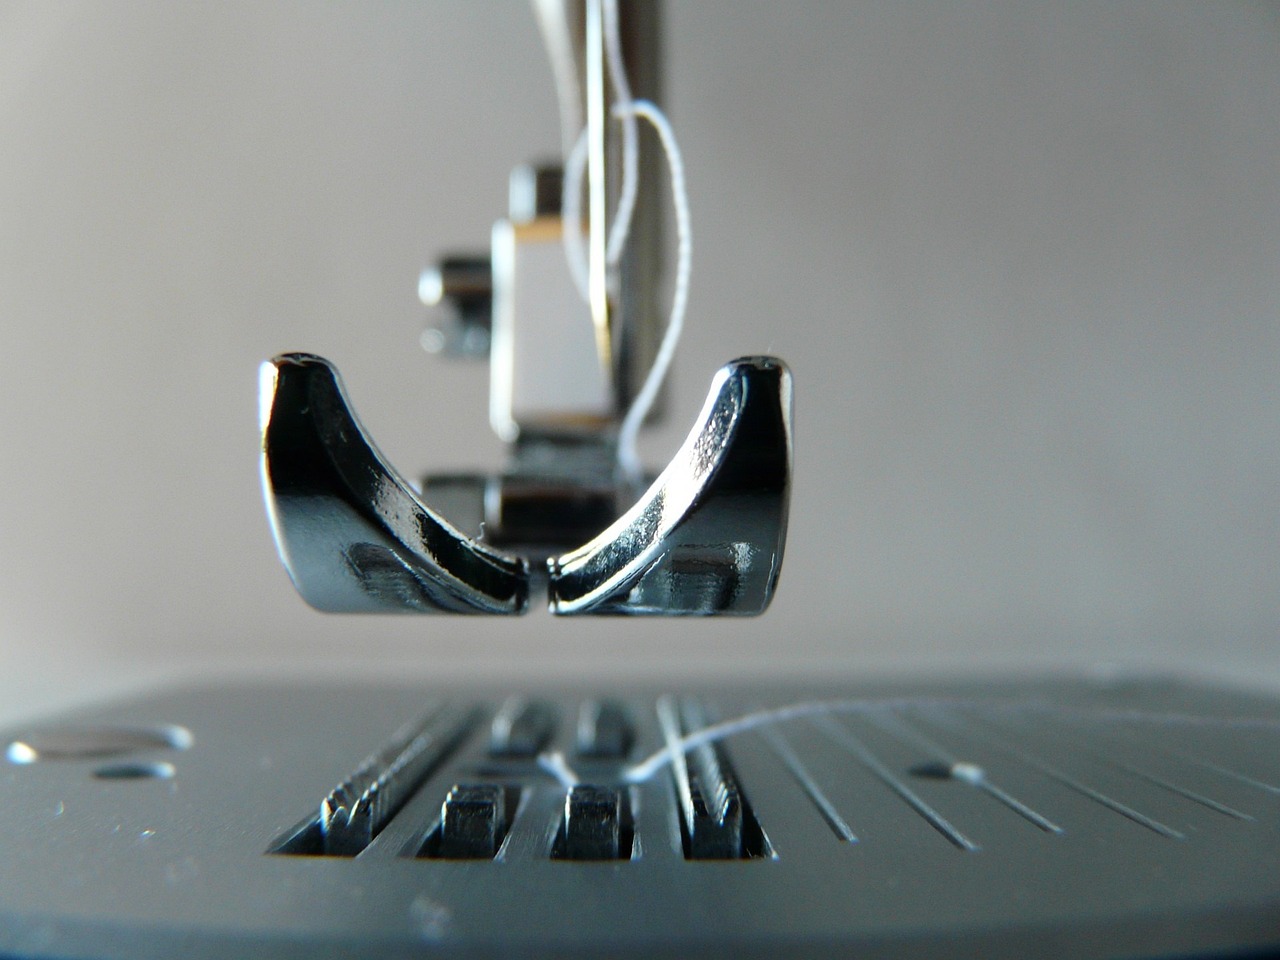
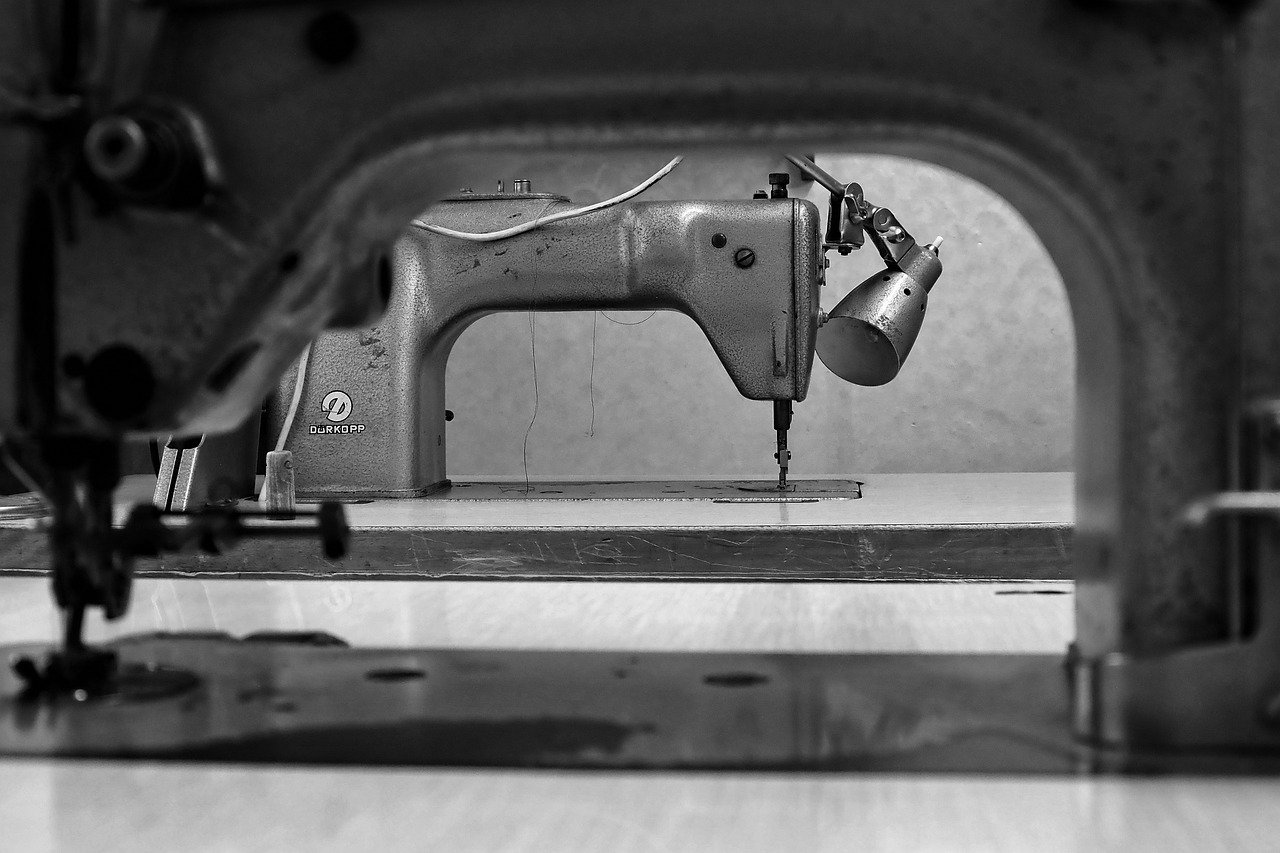
First and foremost, a quality sewing machine is your best friend. It’s the powerhouse of your sewing projects, allowing you to stitch with speed and precision. Look for machines that come with various built-in stitches and features that cater to your specific sewing needs. Whether you're a beginner or a seasoned pro, investing in a reliable machine is key.
Next up is the cutting mat. This tool is essential for protecting your surfaces while providing a grid that helps you measure and cut fabric accurately. Pair it with a rotary cutter for clean, straight cuts. You’ll be amazed at how much easier it is to cut fabric when you have the right tools. Don't forget your fabric scissors; they should be sharp and solely dedicated to cutting fabric to ensure clean edges and prevent fraying.
Measuring tools are also crucial. A good measuring tape and a ruler will help you take accurate measurements, ensuring that your pieces fit together perfectly. Additionally, a seam gauge is invaluable for measuring hems and seam allowances with precision. These tools can save you from the heartache of a project gone wrong due to incorrect measurements.
Of course, you can't forget about pins and a pin cushion. Pins hold your fabric in place as you sew, making them indispensable. A magnetic pin holder can also be a game-changer, helping you keep track of your pins without the risk of losing them. And let’s not overlook the importance of a good iron and ironing board. Pressing seams and fabric before and during sewing can drastically improve the overall look of your finished project.
Finally, consider investing in a sewing basket or storage solution to keep all your tools organized. Having a tidy workspace not only boosts your efficiency but also sparks creativity. You can even categorize your tools, such as keeping threads, needles, and other notions in separate compartments. This organization will save you time and help you focus on what you love most—creating beautiful pieces of art through sewing.
In summary, assembling the right set of tools is essential for any sewer looking to enhance their crafting experience. From sewing machines and cutting mats to measuring tapes and pins, each tool plays a vital role in your sewing journey. So, before you dive into your next project, take a moment to ensure you have these essentials at your fingertips. Happy sewing!
What is the most important tool for a beginner sewer?
The most important tool for a beginner sewer is a reliable sewing machine. It will allow you to practice various stitches and techniques, making the learning process easier and more enjoyable.
Do I really need a rotary cutter?
While a rotary cutter is not mandatory, it can significantly improve your cutting efficiency and accuracy, especially for larger projects or when working with multiple layers of fabric.
How can I keep my sewing area organized?
Using storage solutions like baskets, bins, or drawer organizers can help keep your sewing area tidy. Categorizing your tools and supplies will also save you time and frustration when searching for items.
Choosing the Right Fabric
When it comes to sewing, one of the most crucial decisions you'll make is . The fabric you select can influence not only the look of your finished project but also its durability and how easy it is to work with. Think of fabric as the canvas for your masterpiece; if you don’t choose the right one, even the best design can fall flat. So, how do you navigate through the myriad of options available? Let’s dive into the world of fabrics to help you make the best choices for your sewing projects.
First, consider the purpose of your project. Are you making a flowy dress, a structured jacket, or perhaps a cozy quilt? Each project has its own fabric requirements. For instance, lightweight fabrics like chiffon or cotton voile are perfect for garments that require movement and drape, while heavier fabrics such as denim or canvas are ideal for items that need to hold their shape. It’s essential to understand the different types of fabrics and their characteristics to match them with your project goals.
Next, think about the texture and feel of the fabric. Some fabrics are soft and luxurious, while others might feel rough or stiff. This can significantly affect the comfort level of the final product. For example, if you’re sewing a baby blanket, you’ll want to choose a fabric that is gentle against delicate skin, such as flannel or minky. On the other hand, if you’re making a tote bag, a sturdier fabric like canvas would be more appropriate.
Another key aspect to consider is the color and pattern. Fabrics come in a vast array of colors and designs, which can influence the overall aesthetic of your project. Do you want something bold and eye-catching, or are you leaning towards a subtle, classic look? Remember, the fabric's pattern can also affect how the finished product looks, so be mindful of how it aligns with your vision. Sometimes, a simple fabric can make a statement, while other times, a vibrant pattern can steal the show.
To help you further, here’s a quick reference table summarizing some common fabric types and their typical uses:
| Fabric Type | Best For |
|---|---|
| Cotton | Garments, Quilts, Home Decor |
| Silk | Dresses, Scarves, Lingerie |
| Denim | Pants, Jackets, Bags |
| Wool | Coats, Sweaters, Blankets |
| Linen | Summer Clothing, Tablecloths |
Lastly, don’t forget about the care instructions for your fabric. Some materials require special handling, such as dry cleaning or gentle washing, which can impact your choice. Always check the care label before making a purchase to ensure it aligns with your lifestyle and maintenance preferences.
Choosing the right fabric is like picking the perfect ingredients for a recipe; it can make all the difference between a good project and a great one. By considering the purpose, texture, color, and care of your fabric, you’ll be well on your way to creating stunning sewing projects that you’ll be proud to show off!
Understanding Fabric Weights
When it comes to sewing, understanding fabric weights is essential for achieving the desired outcome of your projects. Fabric weight refers to the heaviness or lightness of a fabric, typically measured in grams per square meter (GSM). This measurement can significantly influence how your finished product will behave, drape, and wear. Choosing the right fabric weight can mean the difference between a beautifully flowing dress and a stiff, unflattering garment.
Generally, fabrics can be categorized into three main weight categories: lightweight, medium weight, and heavyweight. Each category serves different purposes in sewing, and understanding these distinctions can help you make informed choices when selecting materials for your projects.
| Fabric Weight Category | Typical Uses | Examples |
|---|---|---|
| Lightweight | Garments, linings, delicate projects | Chiffon, silk, lightweight cotton |
| Medium Weight | Everyday clothing, home decor | Denim, quilting cotton, canvas |
| Heavyweight | Outerwear, upholstery, structured garments | Wool, heavy canvas, upholstery fabric |
Lightweight fabrics, such as chiffon and silk, are perfect for creating garments that require a soft drape and delicate appearance. These fabrics often flow beautifully and are ideal for dresses, blouses, and linings. However, they can be tricky to work with due to their tendency to slip and shift, so using the right tools and techniques is crucial.
On the other hand, heavyweight fabrics like wool and heavy canvas are known for their durability and structure. They are excellent choices for outerwear and upholstery projects, providing the strength needed to withstand wear and tear. However, be mindful that these fabrics can be more challenging to sew, requiring a sturdy sewing machine and appropriate needles.
In addition to understanding the weight categories, it's also important to consider the fabric's drape. Drape refers to how the fabric falls and flows when it is cut and sewn. A fabric with a good drape will enhance the overall look of your project, providing a polished finish. For instance, a lightweight fabric with a soft drape can create elegant, flowing garments, while a stiffer fabric might be better suited for structured pieces like jackets or bags.
Ultimately, understanding fabric weights is about more than just numbers; it’s about matching the right fabric to your project’s needs. By considering both the weight and drape of your chosen fabric, you can ensure that your sewing projects not only look great but also function as intended. So the next time you’re at the fabric store, take a moment to feel the weight of the fabric in your hands and imagine how it will transform into your next masterpiece!
Lightweight Fabrics
When it comes to sewing, are like a breath of fresh air. They are perfect for creating garments that flow and drape beautifully, making them an essential choice for any sewing enthusiast. Imagine the delicate touch of a summer dress or the airy feel of a lightweight blouse; these fabrics make those dreams a reality. Typically, lightweight fabrics include materials such as cotton voile, chiffon, and georgette. Each of these options has its own unique characteristics that can significantly impact your sewing projects.
One of the standout features of lightweight fabrics is their versatility. You can use them for a variety of projects, from casual wear to elegant evening gowns. However, working with these materials does require a bit of finesse. For instance, they can be slippery and may shift during cutting and sewing, leading to inaccuracies. To combat this, it’s essential to use the right tools and techniques. A few tips for handling lightweight fabrics include:
- Use a fine needle: A smaller needle size, such as a 70/10 or 60/8, will help prevent snags and tears.
- Pin carefully: Use fine pins to avoid leaving large holes in the fabric.
- Stabilize when necessary: Consider using a lightweight stabilizer to give the fabric some structure while sewing.
Additionally, lightweight fabrics are often chosen for their breathability, making them ideal for warmer weather. They allow for better airflow, keeping you comfortable even on the hottest days. However, this breathability often comes with a trade-off in terms of durability. As a sewer, it’s vital to understand how to care for these fabrics properly. For instance, many lightweight fabrics are prone to fading or shrinking, so pre-washing them before starting your project is a crucial step.
In summary, lightweight fabrics are a fantastic choice for many sewing projects, offering both beauty and comfort. By mastering the techniques needed to work with these delicate materials, you can create stunning garments that not only look great but feel great to wear. So, the next time you're browsing through fabric stores, don’t overlook the lightweight options—they might just be the key to your next masterpiece!
Q: What are some common lightweight fabrics?
A: Common lightweight fabrics include cotton voile, chiffon, georgette, and linen. Each has its own unique properties that make them suitable for different types of projects.
Q: How do I prevent lightweight fabrics from shifting while sewing?
A: To prevent shifting, use fine pins, a smaller needle, and consider using a lightweight stabilizer. Additionally, sewing with a walking foot can help manage the fabric layers.
Q: Should I pre-wash lightweight fabrics?
A: Yes, pre-washing is highly recommended to prevent future shrinkage and color bleeding, ensuring your finished project maintains its intended appearance.
Heavyweight Fabrics
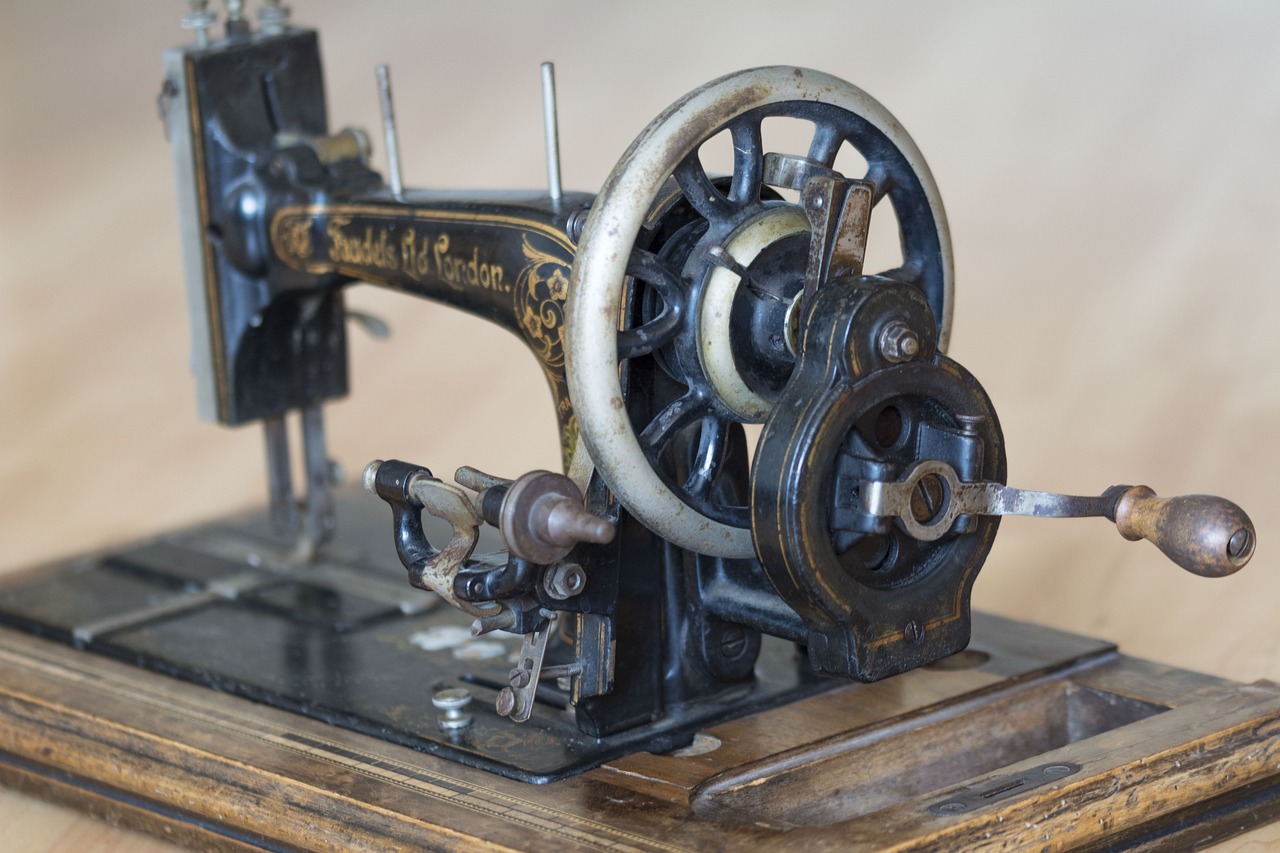
When it comes to sewing, are your best friends for projects that require structure and durability. Think of these fabrics as the sturdy foundation of a house; they provide the necessary support for your creations. Heavyweight fabrics are typically thicker and denser than their lightweight counterparts, making them ideal for items like jackets, upholstery, and bags. They stand up to wear and tear, giving your finished projects a professional and polished look.
One of the most common types of heavyweight fabrics is denim. This fabric not only offers durability but also adds a classic aesthetic to your garments. Imagine crafting a pair of jeans that can withstand years of use while still looking stylish! Other examples of heavyweight fabrics include canvas, twill, and upholstery fabrics. Each of these materials has its unique characteristics and uses:
- Canvas: Perfect for bags and outdoor gear due to its water-resistant properties.
- Twill: Often used for trousers and jackets, twill offers a subtle diagonal weave that adds texture.
- Upholstery Fabrics: Ideal for home decor projects, these fabrics are designed to withstand daily use and are available in a variety of patterns and colors.
Working with heavyweight fabrics does come with its own set of challenges. Due to their thickness, they can be more difficult to cut and sew than lighter materials. Here are a few tips to help you navigate these challenges:
- Use a sharp rotary cutter or fabric scissors for clean cuts. Dull blades can snag and distort the fabric.
- Choose the right needle for your sewing machine. A heavy-duty needle is essential for piercing through thick layers.
- Consider using a walking foot on your sewing machine, which helps to feed the fabric evenly and prevents slipping.
Moreover, it's crucial to understand how to properly finish seams when working with heavyweight fabrics. This not only enhances the durability of your projects but also gives them a clean, professional appearance. Techniques such as serging or using a zigzag stitch can prevent fraying and extend the life of your creations. So, whether you're crafting a sturdy tote bag or a cozy winter coat, heavyweight fabrics can elevate your sewing projects to new heights!
Q: What are some common heavyweight fabrics?
A: Common heavyweight fabrics include denim, canvas, twill, and upholstery fabrics. Each of these materials has unique properties that make them suitable for different projects.
Q: Can I use a regular sewing machine for heavyweight fabrics?
A: Yes, but it’s important to use the right tools, such as a heavy-duty needle and possibly a walking foot, to ensure smooth sewing.
Q: How do I prevent fabric from fraying?
A: You can prevent fraying by using seam finishing techniques like serging or zigzag stitching along the raw edges of your fabric.
Pre-Washing Fabrics
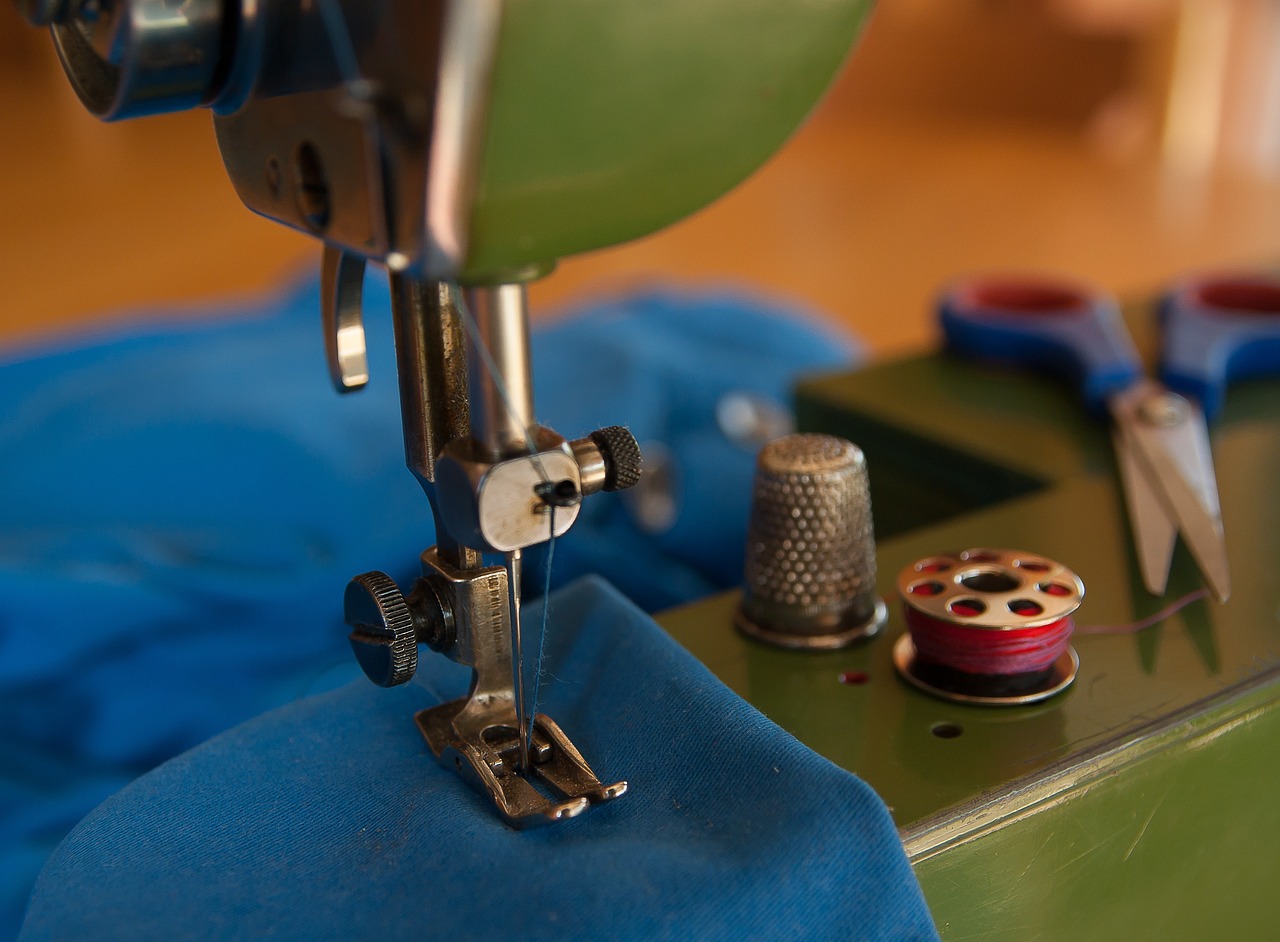
Pre-washing fabrics is a crucial step in the sewing process that many beginners overlook. Imagine spending hours crafting a beautiful garment, only to have it shrink or bleed colors in the wash! Pre-washing helps to prevent these frustrating surprises, ensuring that your hard work remains intact. When you pre-wash your fabric, you allow it to undergo any initial shrinkage and remove any chemicals or finishes that may have been applied during manufacturing. This step not only enhances the longevity of your project but also improves the overall quality of your finished piece.
So, how do you go about pre-washing your fabrics? It's quite simple! Here are some key points to consider:
- Check the Care Label: Always start by checking the care label of your fabric. This will provide important information on the washing and drying process suitable for that specific material.
- Use the Right Water Temperature: Depending on the fabric type, you may need to use cold, warm, or hot water. For example, cottons typically do well in warm water, while delicate fabrics like silk should be washed in cold.
- Drying Method: After washing, consider how you will dry the fabric. Air drying is often gentler on fabrics, but if you're short on time, a low heat setting in the dryer can also work.
Additionally, pre-washing can help you identify any potential issues with the fabric, such as color bleeding or excessive shrinkage. If you notice that your fabric bleeds dye, you might want to consider using a color fixative before washing. This extra step can save you from future headaches and ensure that your project looks as good as new, wash after wash!
In summary, pre-washing fabrics is an essential practice for any sewer. By taking this simple step, you can enhance the durability and appearance of your projects, leading to more successful and enjoyable sewing experiences. So next time you purchase fabric, remember to give it a good wash before you get started—your future self will thank you!
Q: Why is pre-washing important?
A: Pre-washing prevents shrinkage and color bleeding, ensuring your finished project maintains its intended size and appearance.
Q: Can I pre-wash all types of fabric?
A: Most fabrics can be pre-washed, but always check the care label for specific instructions, especially for delicate materials.
Q: How do I know if my fabric will bleed dye?
A: You can test for dye bleeding by wetting a small corner of the fabric and pressing it with a white cloth. If color transfers, consider using a color fixative.
Mastering Basic Stitches
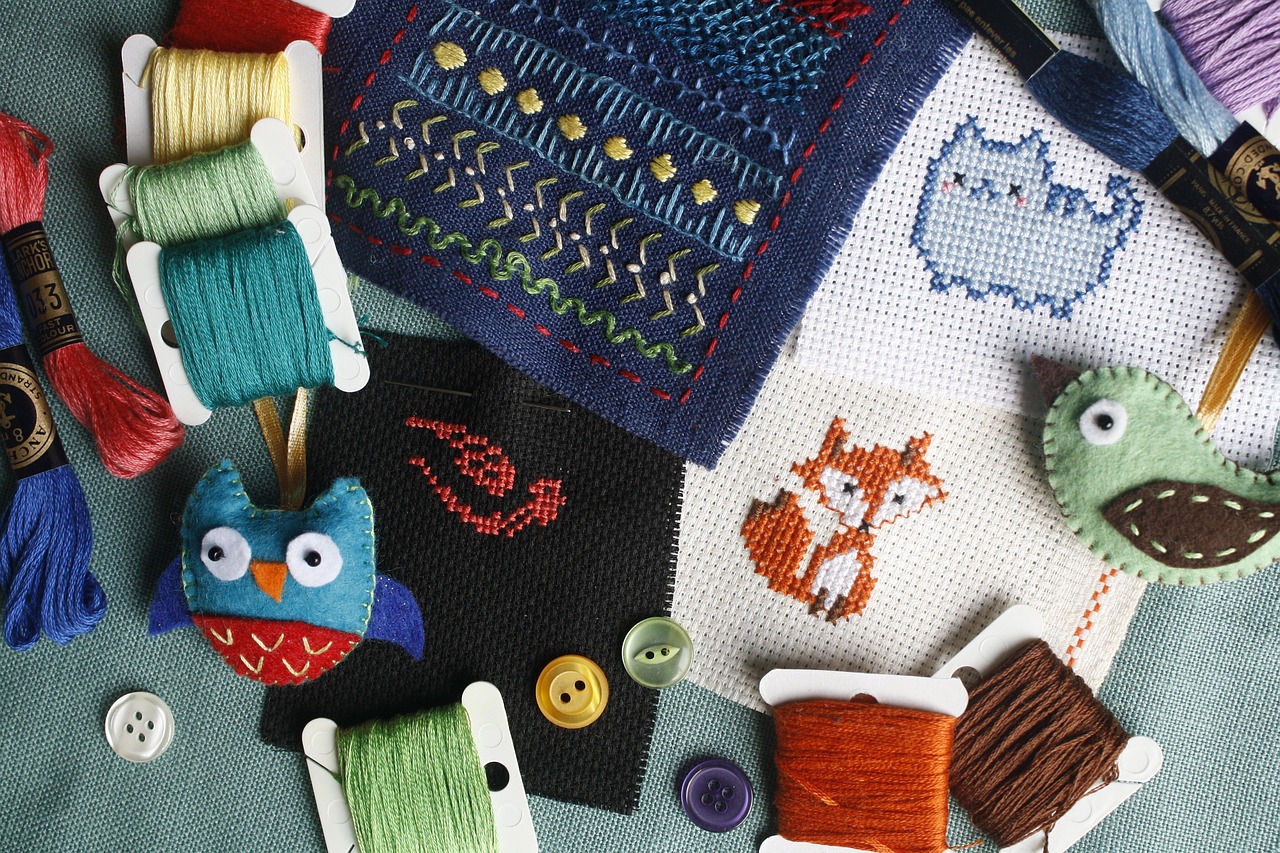
When it comes to sewing, mastering basic stitches is not just a skill; it’s the foundation of your entire crafting journey. Whether you're a beginner or a seasoned pro, understanding these stitches can transform your projects from ordinary to extraordinary. Think of stitches as the brush strokes of a painter; they bring your fabric to life, allowing you to express your creativity in countless ways. So, let’s dive into the world of stitches and explore the essentials that every sewer should know!
First off, let's discuss hand stitches. These are invaluable for various sewing tasks, from delicate repairs to intricate embellishments. Some common hand stitches include:
- Running Stitch: This is the most basic stitch, perfect for gathering fabric or creating a simple seam.
- Backstitch: Known for its strength, this stitch is ideal for seams that require durability.
- Whip Stitch: This stitch is fantastic for hemming or closing seams, especially in fabric that frays easily.
Mastering these hand stitches not only enhances your sewing repertoire but also gives you the ability to tackle any project with confidence. Imagine being able to mend a favorite garment or add a personal touch to a gift simply by using your hands!
Now, let’s shift gears and explore machine stitches. If hand stitching is like painting with a fine brush, machine stitching is akin to using a spray gun—quick, efficient, and precise. Most sewing machines come with a variety of built-in stitches, but the most commonly used ones include:
- Straight Stitch: The workhorse of sewing, used for most seams.
- Zigzag Stitch: Great for finishing edges to prevent fraying and adding stretch to seams.
- Overlock Stitch: Perfect for knit fabrics, providing a clean finish that stretches with the fabric.
Learning how to adjust your machine settings for different stitches can dramatically improve your sewing outcomes. For instance, did you know that changing the stitch length can affect the look and feel of your seams? Experimenting with different stitch types and settings can turn a simple project into a stunning masterpiece.
To wrap it all up, mastering basic stitches is essential for any sewer who wants to elevate their craft. By becoming proficient in both hand and machine stitches, you can confidently tackle a wide range of projects, from simple repairs to elaborate creations. Remember, practice makes perfect! So grab your fabric, thread your needle, and start stitching your way to sewing success.
Q: What is the best stitch for beginners?
A: The running stitch is often recommended for beginners due to its simplicity and versatility. It's easy to learn and can be used for various applications.
Q: How do I choose between hand stitching and machine stitching?
A: It depends on the project! Hand stitching is great for delicate fabrics or detailed work, while machine stitching is faster and more efficient for larger projects.
Q: Can I use the same thread for both hand and machine stitching?
A: Yes, but ensure that the thread is suitable for both methods. Cotton thread works well for most projects, while polyester thread is great for stretchy fabrics.
Q: How can I improve my stitching accuracy?
A: Practice measuring and marking your fabric before cutting. Using a rotary cutter and a cutting mat can also enhance precision.
Hand Stitches
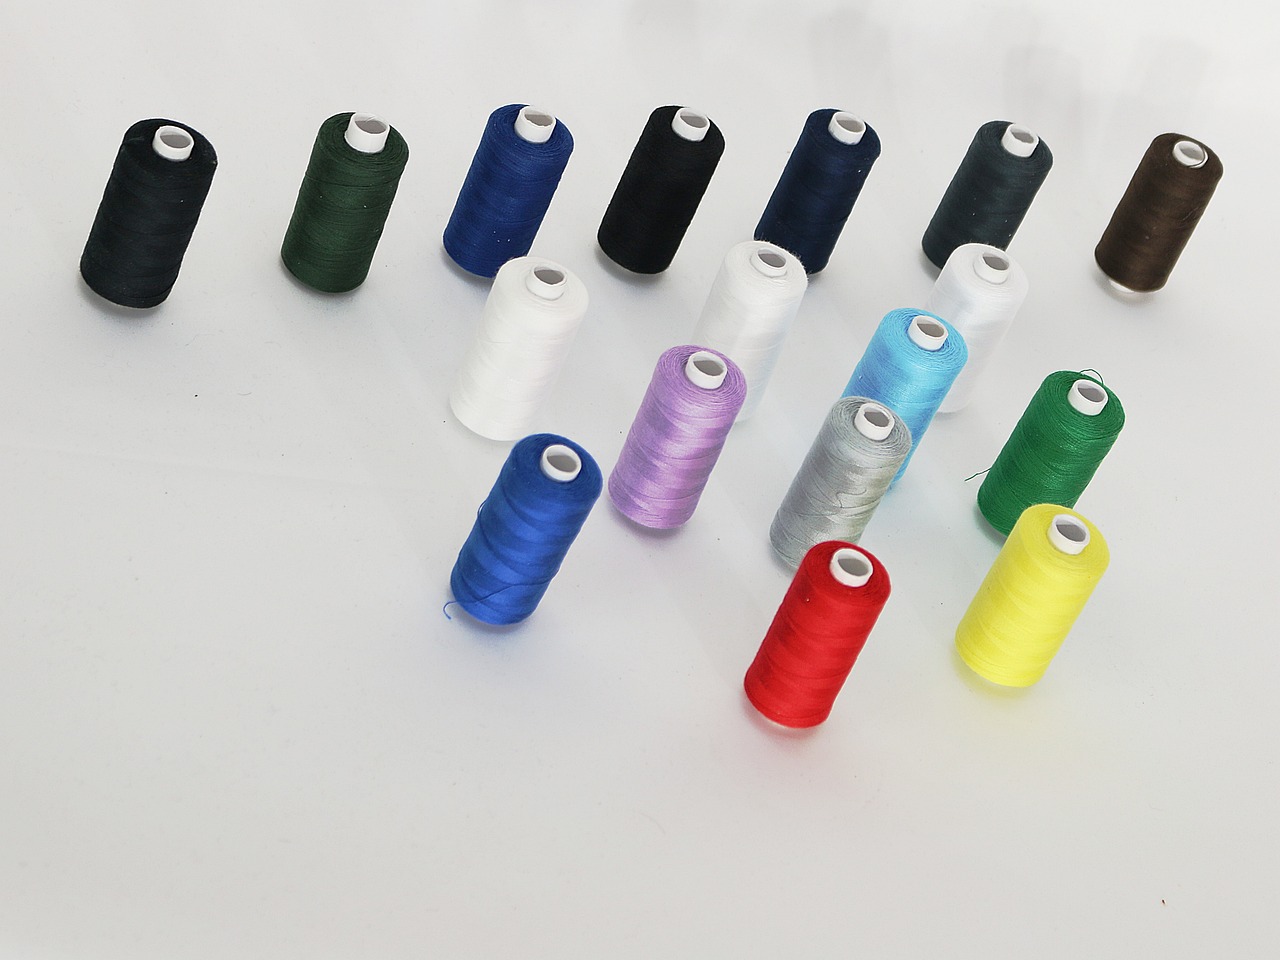
Hand stitching is an essential skill that every sewer should master. It's not just about sewing things together; it's about adding a personal touch to your projects. Think of hand stitches as the brush strokes of a painter; they can create beautiful, intricate designs that machine stitching simply can't replicate. Whether you're mending a tear, adding embellishments, or creating a delicate finish, hand stitches can elevate your work to a whole new level.
There are several types of hand stitches that you can use, each with its unique purpose and application. Here are some of the most common hand stitches:
- Running Stitch: This is the most basic stitch, perfect for seams or gathering fabric. It creates a simple line of stitches that can be easily adjusted.
- Backstitch: Known for its strength, the backstitch is ideal for seams that need to withstand tension. It creates a solid line that is great for construction work.
- Whip Stitch: This stitch is often used for hemming and finishing edges. It provides a clean look and is especially useful for fabrics that fray easily.
- Slip Stitch: Perfect for hemming, this stitch is nearly invisible on the front side of the fabric, making it a favorite for finishing garments.
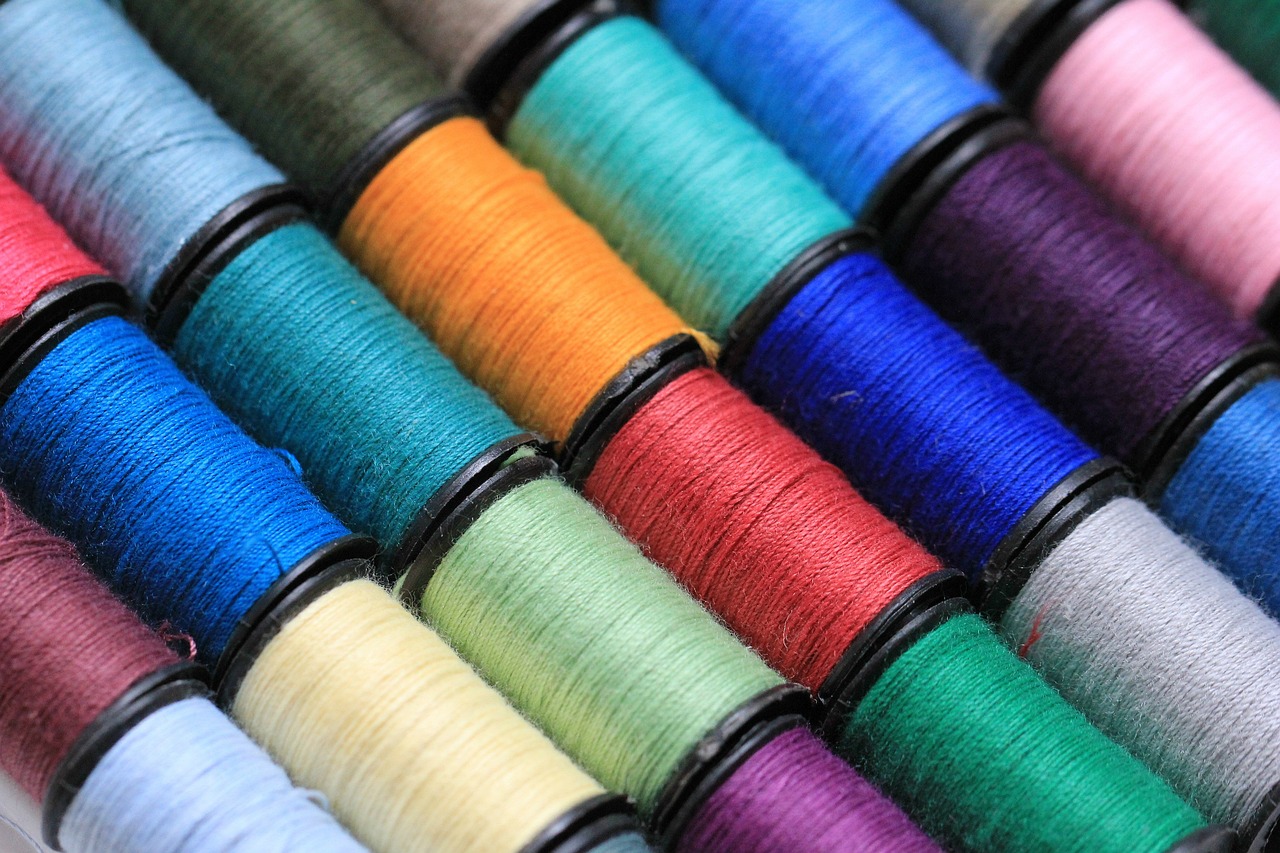
When you’re hand sewing, the choice of thread is equally important. Using the right thread can make a significant difference in the final appearance of your stitches. For instance, cotton thread works well for most fabrics, while silk thread can add a luxurious finish to delicate materials. Always match your thread color to your fabric to ensure that your stitches blend seamlessly.
One of the best things about hand stitching is the flexibility it offers. You can easily adjust your stitches to suit the fabric you're working with. For example, when working with lightweight fabrics, you might want to use smaller stitches to avoid puckering. On the other hand, heavyweight fabrics can handle larger stitches, which can save you time and effort.
Lastly, don't underestimate the therapeutic benefits of hand stitching. It's a meditative process that allows you to focus and unwind. So, the next time you're feeling stressed, grab a needle and thread, and let your creativity flow. You'll not only create something beautiful but also find a sense of calm in the process.
Q: What is the best thread to use for hand stitching?
A: The best thread depends on your fabric. Cotton thread is versatile, while silk thread is great for delicate fabrics. Always choose a thread that matches your fabric type.
Q: How do I keep my stitches even?
A: Practice makes perfect! Try to keep your stitches consistent in size and spacing. Using a ruler can help you measure the distance between stitches until you get the hang of it.
Q: Can I use hand stitches for machine sewing projects?
A: Absolutely! Hand stitches can be used for finishing touches, repairs, or decorative elements on machine-sewn projects.
Q: How do I prevent my thread from tangling?
A: To prevent tangling, always unwind your thread carefully and avoid pulling too hard. Keeping your thread on a spool can also help minimize tangles.
Machine Stitches
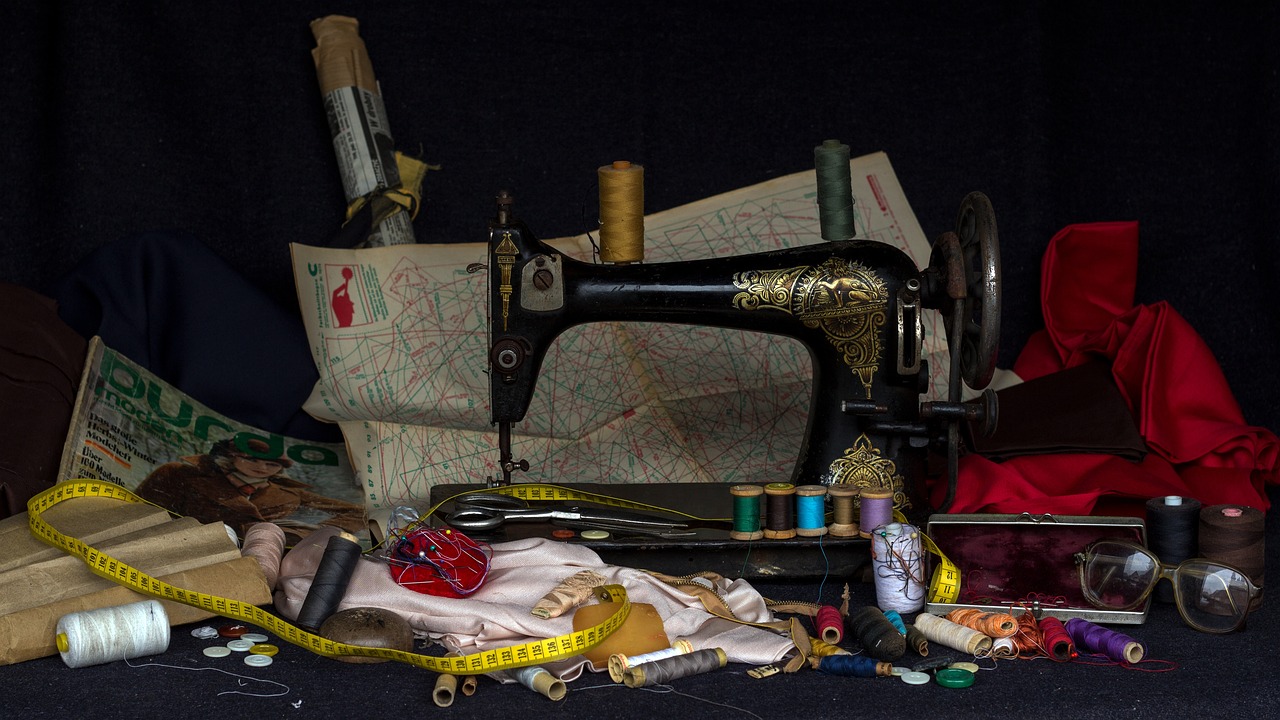
When it comes to sewing, understanding is like having a treasure map; it guides you to create beautiful and precise projects. Whether you're a beginner or a seasoned sewer, knowing the different types of stitches your sewing machine can produce will not only enhance your sewing skills but also make your crafting experience more enjoyable. Machine stitches are fast, efficient, and provide a level of precision that hand stitching simply cannot match. It's akin to the difference between using a high-speed blender and manually mixing ingredients; one is just so much quicker and easier!
Generally, machine stitches can be categorized into two main types: straight stitches and zigzag stitches. Straight stitches are the most basic and are typically used for seams. They create a clean line that holds fabric together securely. On the other hand, zigzag stitches are more versatile and can be used for finishing edges, appliqué, and even decorative purposes. Each stitch type has its unique applications, and understanding when to use them can significantly impact the quality of your finished project.
Here’s a quick overview of some common machine stitches:
| Stitch Type | Use |
|---|---|
| Straight Stitch | Basic seams and topstitching |
| Zigzag Stitch | Finishing edges and decorative stitching |
| Stretch Stitch | Sewing knits and stretchy fabrics |
| Decorative Stitches | Adding embellishments and details |
To achieve the best results with machine stitches, it’s crucial to adjust your machine settings according to the fabric you are using. For example, when working with lightweight fabrics, a shorter stitch length can help prevent puckering, while a longer stitch length is ideal for heavyweight materials. Additionally, using the correct needle type and thread can make a world of difference. It’s like choosing the right paintbrush for a masterpiece; the right tools lead to the best outcomes!
One of the most important tips to remember is to always practice on a scrap piece of fabric before diving into your main project. This allows you to fine-tune your settings and get a feel for how the stitch behaves on your chosen material. Think of it as warming up before a big performance; it ensures you're ready to shine when it counts!
In conclusion, mastering machine stitches opens up a world of possibilities for your sewing projects. By understanding the different types of stitches and their applications, you can elevate your sewing game, making it not just easier but also a lot more fun. So, roll up your sleeves, fire up that sewing machine, and let the creativity flow!
- What is the most common machine stitch used in sewing? The most common machine stitch is the straight stitch, which is ideal for basic seams.
- Can I use zigzag stitches for finishing seams? Yes, zigzag stitches are perfect for finishing edges to prevent fraying.
- How do I choose the right stitch length? The stitch length should be adjusted based on the fabric weight; shorter for lightweight and longer for heavyweight fabrics.
- Should I practice on a scrap fabric? Absolutely! Practicing on scrap fabric helps you adjust settings and avoid mistakes on your main project.
Tips for Accurate Cutting
Accurate cutting is the backbone of any successful sewing project. Think of it as the foundation of a house; if the foundation isn’t solid, everything built on top of it can crumble. To ensure your fabric pieces fit together perfectly, it's essential to adopt some tried-and-true techniques for cutting. Here are a few key strategies that can elevate your cutting game and make your sewing experience a breeze.
First and foremost, investing in a good pair of fabric scissors or a rotary cutter is crucial. While it might seem tempting to use whatever scissors you have lying around, the right tools make all the difference. A sharp pair of scissors will glide through fabric without snagging, while a rotary cutter provides clean, straight edges that are hard to achieve with regular scissors. When using a rotary cutter, always remember to use a cutting mat to protect your surfaces and ensure safety.
Next, let's talk about measuring. Proper measuring techniques can save you from fabric waste and ensure a perfect fit. Always use a reliable measuring tape and double-check your measurements before cutting. A great tip is to mark your fabric with tailor’s chalk or fabric markers. This way, you can see exactly where you need to cut, reducing the chances of mistakes. When marking, consider using the following methods:
- Tailor's Chalk: Easily removable and comes in various colors.
- Fabric Markers: Ideal for darker fabrics, but ensure they’re washable.
- Pattern Weights: Use weights to hold down your pattern instead of pins, which can distort the fabric.
Another important aspect of accurate cutting is understanding the grain of the fabric. The grain refers to the direction of the threads in the fabric, and cutting along the grain can significantly affect how your finished project hangs and stretches. Always align your pattern pieces with the fabric grain. If you’re unsure, a quick check of the selvage edge (the finished edge of the fabric) will guide you. Cutting against the grain can lead to distortion, so pay close attention to this detail!
Finally, don’t rush the cutting process. It can be tempting to hurry through this step, especially when you're excited to start sewing. However, taking your time to ensure accuracy will pay off in the long run. Consider setting up a dedicated cutting station where you can lay out your fabric, tools, and patterns comfortably. This will help you focus and reduce the likelihood of errors. Remember, quality cutting leads to quality sewing!
1. What is the best tool for cutting fabric?
A rotary cutter is often recommended for its precision and ease of use, especially for straight cuts. However, fabric scissors are also essential for detailed work.
2. How do I prevent fabric from fraying when cutting?
Using pinking shears or a serger can help finish the edges of your fabric and prevent fraying. Additionally, applying a fray check solution can be effective.
3. Should I cut fabric on a flat surface?
Yes! Always cut on a flat, stable surface to ensure your cuts are straight and accurate. A cutting mat can also protect your surfaces and help with measurements.
4. How can I ensure my measurements are accurate?
Always double-check your measurements before cutting and use a reliable measuring tape. Mark your fabric clearly to visualize where to cut.
Using a Rotary Cutter
Using a rotary cutter can be a game changer in your sewing projects! This tool not only speeds up the cutting process but also provides a level of precision that traditional scissors simply can't match. If you're new to rotary cutting, you might be wondering how to get started and what makes it so special. Well, let’s dive into the details!
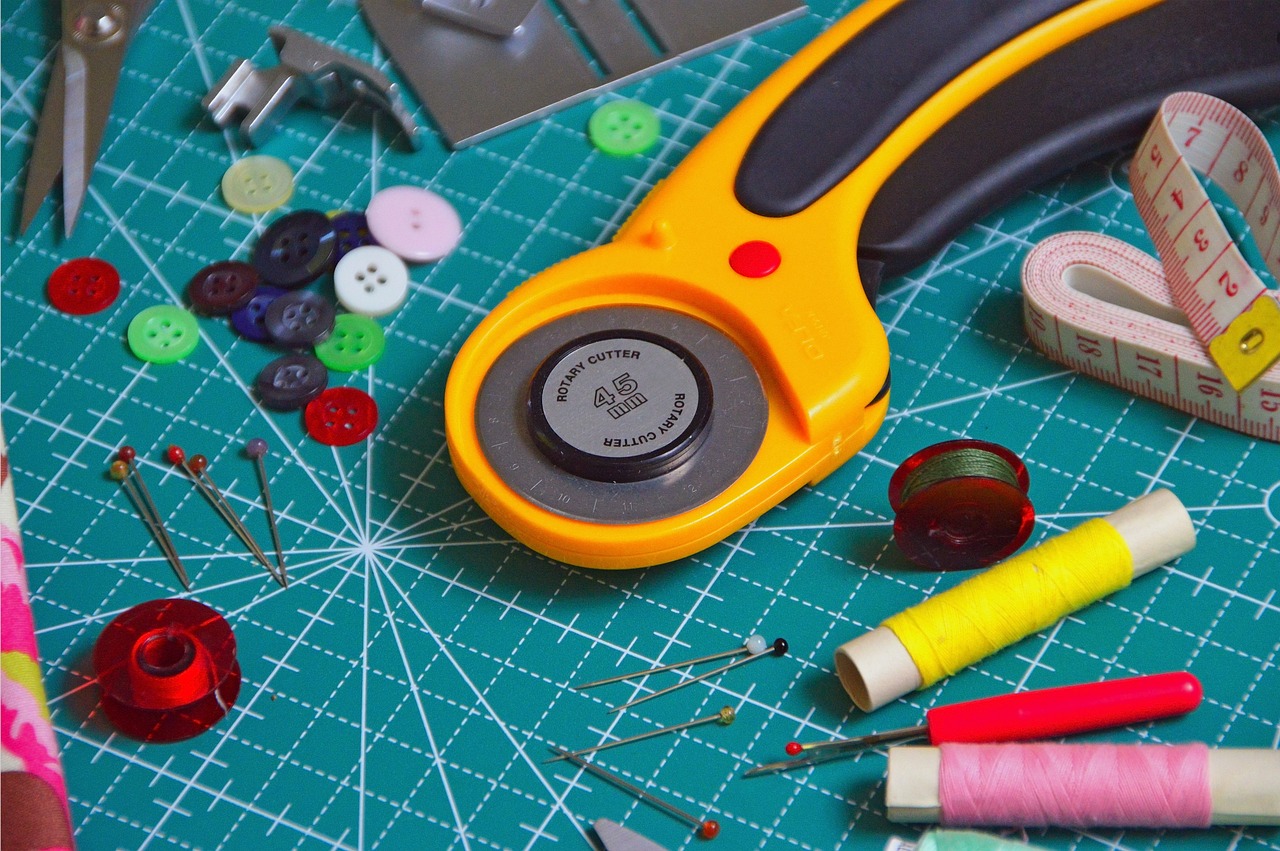
A rotary cutter consists of a circular blade that rotates as you cut through fabric. This design allows for clean, straight cuts with minimal effort. One of the best features of a rotary cutter is its ability to cut multiple layers of fabric at once, which is a huge time-saver. Imagine needing to cut out several pieces for a quilt or a garment; with a rotary cutter, you can stack your fabric and slice through them in one swift motion!
To use a rotary cutter safely and effectively, here are some essential tips:
- Choose the Right Mat: Always use a self-healing cutting mat to protect both your work surface and the blade of your cutter. The mat allows for smooth cutting and helps prolong the life of your blade.
- Keep Your Blade Sharp: A dull blade can lead to jagged edges and can be dangerous as it requires more pressure to cut. Make sure to replace your blade regularly to maintain clean cuts.
- Use a Ruler: For straight cuts, a clear acrylic ruler is indispensable. It helps you measure accurately and guides your rotary cutter to ensure precision.
- Practice Safety: Always cut away from your body and keep your fingers clear of the blade's path. Consider using a rotary cutter with a safety feature that retracts the blade when not in use.
Many sewers find that using a rotary cutter enhances their overall cutting experience. However, it may take some practice to get the hang of it. Start with simple projects and gradually work your way up to more complex cuts. You might be surprised at how much you enjoy the efficiency and ease of this tool!
In summary, a rotary cutter is an essential tool that can elevate your sewing game. By investing a little time in learning how to use it properly, you can save time and achieve professional-looking results in your sewing projects. So, why not give it a try? You just might find that it becomes your new favorite tool in your sewing arsenal!
If you're still curious about rotary cutters or have specific questions, here are some common inquiries that many sewers have:
- What size rotary cutter should I use? - It depends on your project! A 45mm rotary cutter is a versatile choice for most sewing tasks, while smaller cutters (28mm) are great for intricate cuts.
- Can I use a rotary cutter on all types of fabric? - Yes, rotary cutters can be used on most fabrics, but be cautious with thick materials or those with a lot of stretch, as they may require special handling.
- How do I maintain my rotary cutter? - Regularly clean the blade and cutting mat to prevent fabric residue buildup, and store your cutter in a safe place to protect the blade.
Measuring Techniques
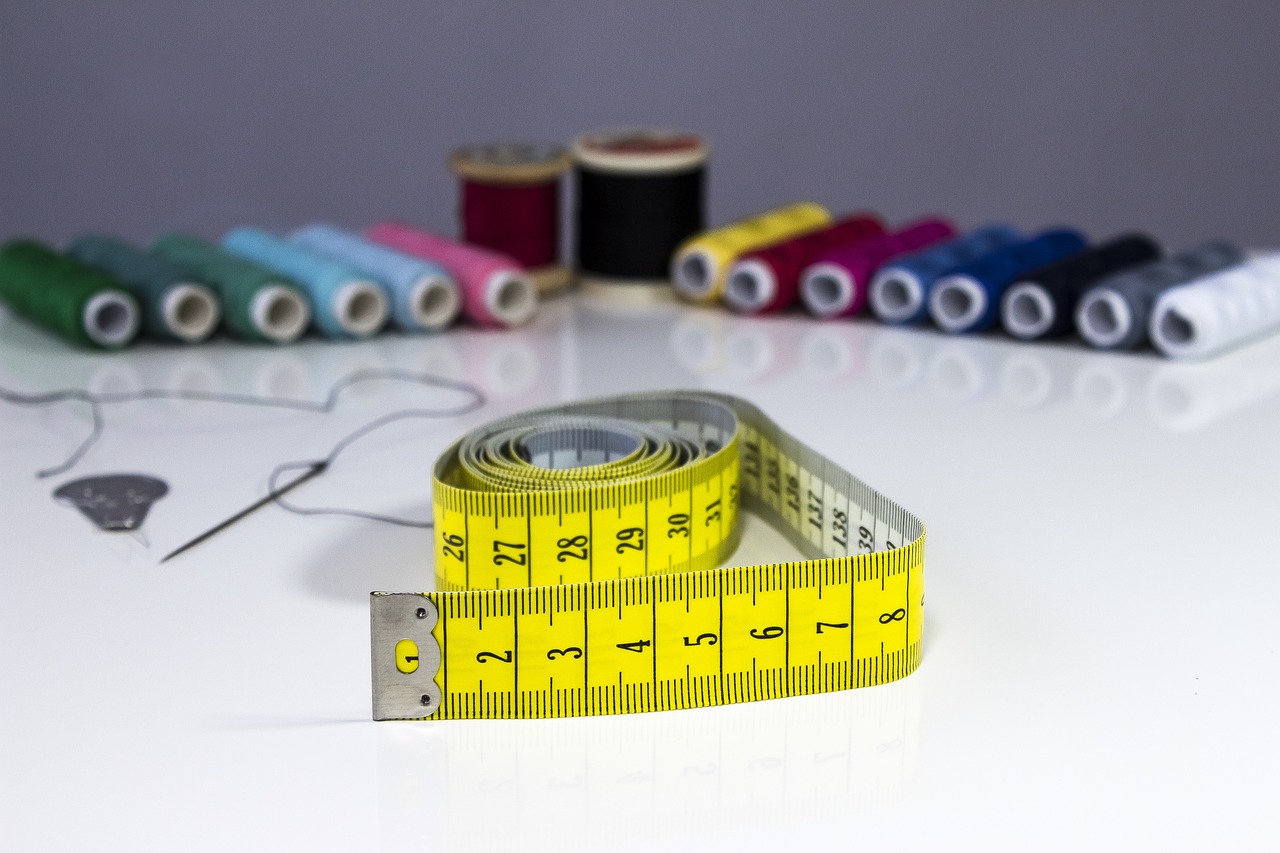
Getting the measurements right is like laying the foundation for a house; if it's not solid, everything built on top will be shaky. Accurate measurements are essential in sewing, as they ensure that your fabric pieces fit together perfectly, preventing any frustrating surprises later on. One of the most important tools in your sewing toolkit is a good measuring tape. Unlike a ruler, a measuring tape can easily wrap around curves and corners, making it indispensable for taking body measurements or measuring fabric.
When measuring, it’s crucial to keep the tape snug but not tight. Think of it as a gentle hug; you want it close enough to give an accurate reading without squeezing too hard. For instance, when measuring your waist, ensure that the tape rests comfortably around the widest part of your waist. Furthermore, always measure in a straight line to avoid any distortion that could lead to inaccurate results.
Another technique that can enhance your measuring accuracy is using a French curve or a ruler for intricate shapes. These tools are particularly handy when you're working on patterns that have curves, such as armholes or necklines. If you're drafting your own patterns, a French curve can help you create smooth and professional-looking lines that will make your garments stand out.
Also, remember to take multiple measurements. Just like a good chef tastes their dish as they cook, you should take several measurements to ensure consistency. It’s a good practice to measure twice and cut once. For example, if you're measuring for a skirt, take measurements from different points (like the waist, hip, and hem) to ensure everything aligns perfectly.
Here’s a quick reference table to help you remember the key measurements for common sewing projects:
| Project | Key Measurements |
|---|---|
| Dress | Bust, Waist, Hip, Length |
| Skirt | Waist, Hip, Length |
| Pants | Waist, Hip, Inseam, Outseam |
| T-Shirt | Bust, Waist, Length, Sleeve Length |
Lastly, don’t forget to account for seam allowances in your measurements. This is a common mistake that can lead to garments that are too tight or too loose. A good rule of thumb is to add at least ½ inch for seams unless your pattern specifies otherwise. By keeping these techniques in mind, you’ll be well on your way to sewing projects that fit like a glove!
- How do I ensure accurate measurements? Use a flexible measuring tape, measure in a straight line, and take multiple readings.
- What if my measurements don’t match the pattern? Adjust the pattern to fit your measurements, remembering to add seam allowances.
- Is it necessary to measure for every project? Yes, even if you’re using a pattern, measuring ensures the best fit for your specific body shape.
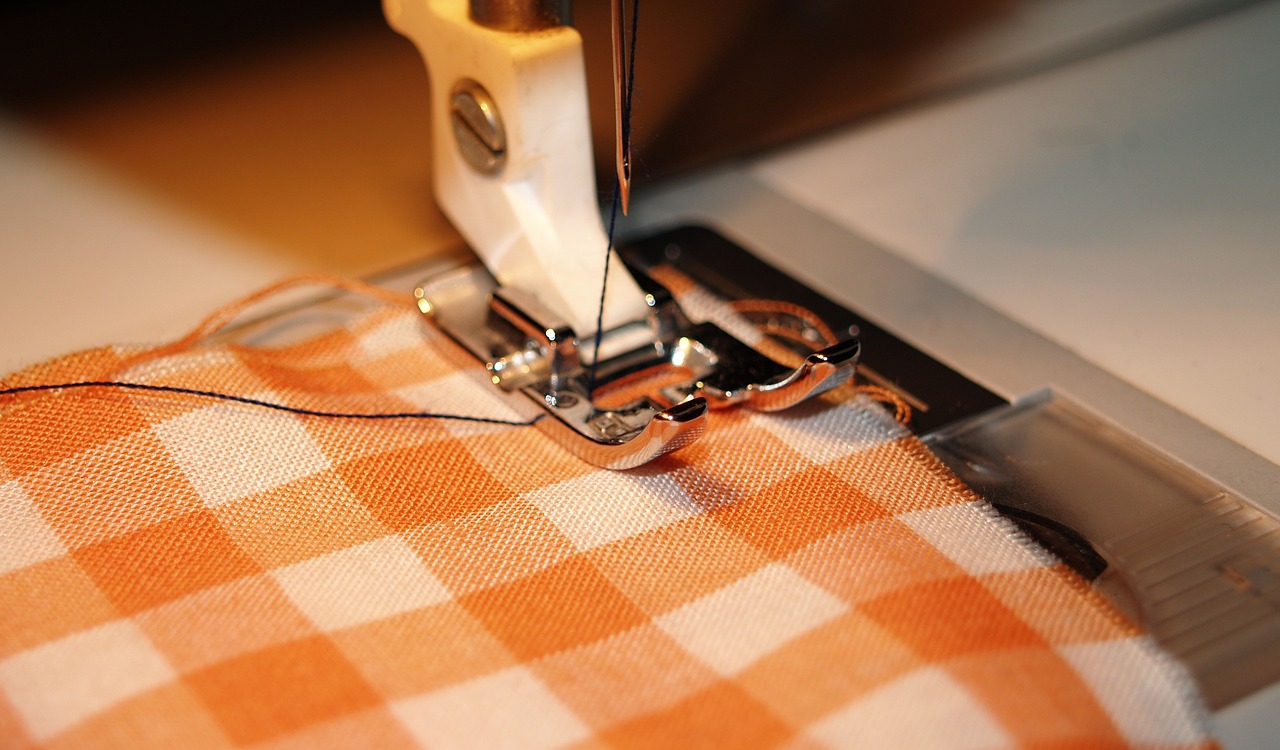
Finishing Techniques for a Professional Look
When it comes to sewing, the finishing techniques you employ can make all the difference between a homemade item and a professionally crafted piece. These techniques not only enhance the aesthetic appeal of your projects but also ensure their durability and longevity. Imagine wearing a garment that looks as if it were tailored just for you; that’s the magic of mastering finishing techniques!
One of the most crucial aspects of finishing is hemming. Hemming is essential for providing a neat and polished edge to your fabric. There are various methods to achieve a clean hem, and the choice often depends on the fabric type and the desired look. For instance, a simple folded hem is perfect for lightweight fabrics, while a blind hem can give a more invisible finish, ideal for formal wear. Here’s a quick overview of some popular hemming methods:
| Hemming Method | Best For | Description |
|---|---|---|
| Folded Hem | Lightweight Fabrics | A simple fold and stitch for a clean edge. |
| Blind Hem | Formal Garments | A nearly invisible hem, ideal for trousers and skirts. |
| Double Fold Hem | Medium to Heavy Fabrics | Provides extra durability and a polished look. |
Next up, we have seam finishing techniques. Fraying seams can ruin the integrity of your project, so it’s crucial to finish them properly. Techniques like zig-zag stitching, serging, or even using pinking shears can prevent fraying and give your seams a professional touch. Each method has its advantages:
- Zig-Zag Stitching: This is a quick and easy way to finish seams, especially for knit fabrics.
- Serging: This technique provides a clean edge and is great for preventing fraying on woven fabrics.
- Pinking Shears: These scissors cut fabric in a zig-zag pattern, which helps reduce fraying without the need for stitching.
Incorporating these finishing techniques into your sewing routine will not only elevate your projects but also boost your confidence as a sewer. It’s like putting the icing on the cake; it transforms a good project into a great one!
As you dive deeper into the world of sewing, remember that practice makes perfect. Don't be afraid to experiment with different techniques and find what works best for you. With each project, you’ll discover new ways to enhance your skills and create stunning pieces that you’ll be proud to showcase.
Q: What is the best method for hemming jeans?
A: For hemming jeans, a double fold hem or a blind hem is recommended. This ensures durability and gives a professional finish.
Q: How can I prevent my seams from fraying?
A: You can prevent fraying by using zig-zag stitching, serging, or applying bias tape to the raw edges of your seams.
Q: Is it necessary to finish seams if I’m using a lining?
A: While lining can help hide raw edges, finishing seams is still recommended for added durability and to prevent any potential fraying.
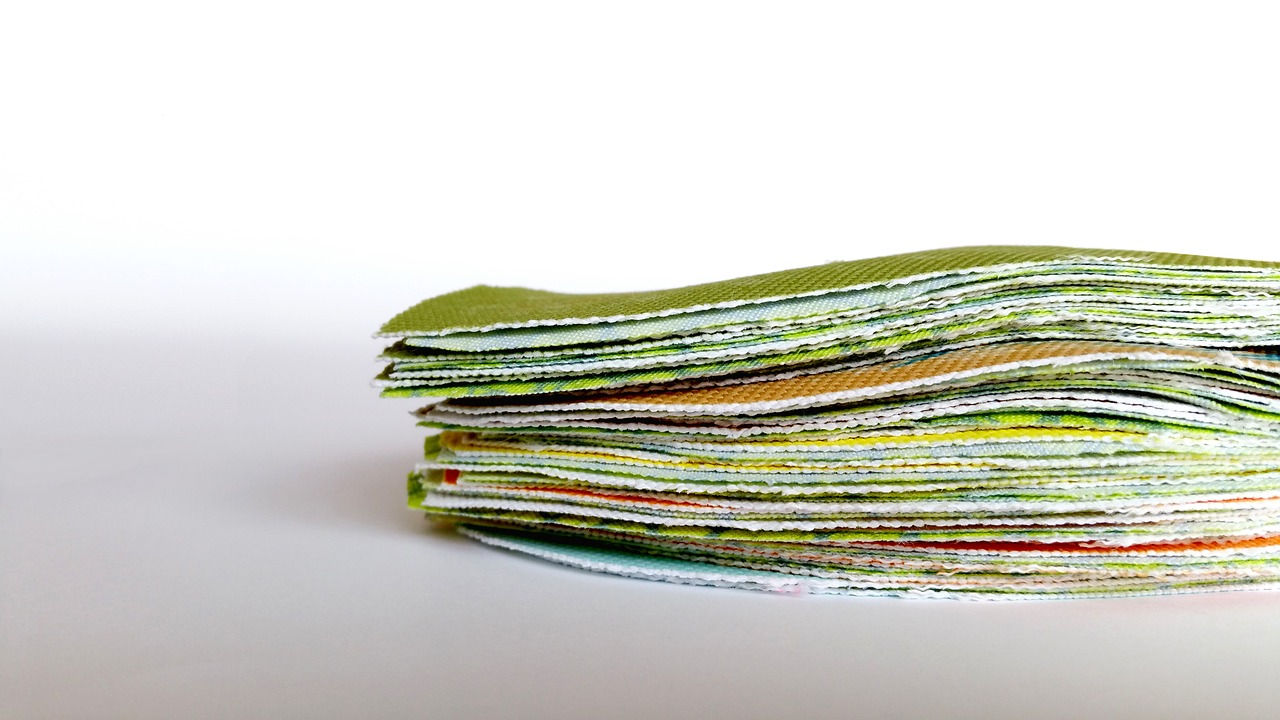
Hemming Methods
When it comes to sewing, hemming is an essential skill that can dramatically improve the overall appearance of your projects. Think of hemming as the finishing touch that transforms a raw edge into a polished masterpiece. Whether you’re working on a pair of pants, a skirt, or even a curtain, the right hemming technique can make all the difference. There are several methods to choose from, each with its unique characteristics and applications, so let’s explore some of the most common ones.
One popular method is the double-fold hem. This technique involves folding the fabric edge twice—first, to hide the raw edge, and then again to create a clean finish. It’s perfect for lightweight fabrics and provides a sturdy, professional look. To execute this method, you would typically follow these steps:
- Measure and cut the desired length of your fabric.
- Fold the edge up by about 1/4 inch and press it flat.
- Fold it up again by the desired hem width (usually 1 inch or more) and press again.
- Stitch along the folded edge to secure it in place.
Another effective method is the blind hem. This technique is ideal for garments where you want the hem to be nearly invisible from the outside. It’s particularly popular for dress pants and skirts. The process involves folding the fabric and using a special blind hem foot on your sewing machine, which allows you to catch only a few threads of the fabric on the fold, leaving the main body of the hem undisturbed. This method can be a bit tricky for beginners, but with a little practice, you’ll be able to achieve that seamless look.
For those who prefer a more rustic or casual finish, the raw edge hem is a fantastic option. This method involves simply leaving the edge raw and can be ideal for fabrics that won’t fray, such as denim or canvas. To create a raw edge hem, simply cut the fabric to your desired length and leave it as is. This technique adds a trendy, unfinished look that can be very appealing in certain styles.
Lastly, let’s not forget about the rolled hem. This is a fantastic technique for lightweight fabrics such as chiffon or silk. A rolled hem creates a narrow hem that is rolled and stitched in one go, which is perfect for delicate fabrics. You can achieve this with a special rolled hem foot on your sewing machine, or by hand if you’re feeling adventurous. The result is a beautifully finished edge that enhances the elegance of your project.
In summary, mastering these can elevate your sewing projects significantly. Each technique has its place, and understanding when to use each will help you achieve the desired look and functionality for your garments. So, the next time you’re working on a sewing project, take a moment to consider which hemming method will best suit your needs. Happy sewing!
Q1: What is the best hem for lightweight fabrics?
A1: The rolled hem is often the best choice for lightweight fabrics as it provides a delicate finish without adding bulk.
Q2: Can I use a regular sewing machine for blind hems?
A2: Yes, most sewing machines come with a blind hem foot that allows you to create this type of hem easily.
Q3: How do I prevent fraying on raw edges?
A3: If you’re using a fabric that tends to fray, consider using a zigzag stitch along the raw edge or applying a fray check solution.
Q4: What's the difference between a double-fold hem and a blind hem?
A4: A double-fold hem is visible from the outside and provides a sturdy finish, while a blind hem is designed to be nearly invisible, making it ideal for dressier garments.
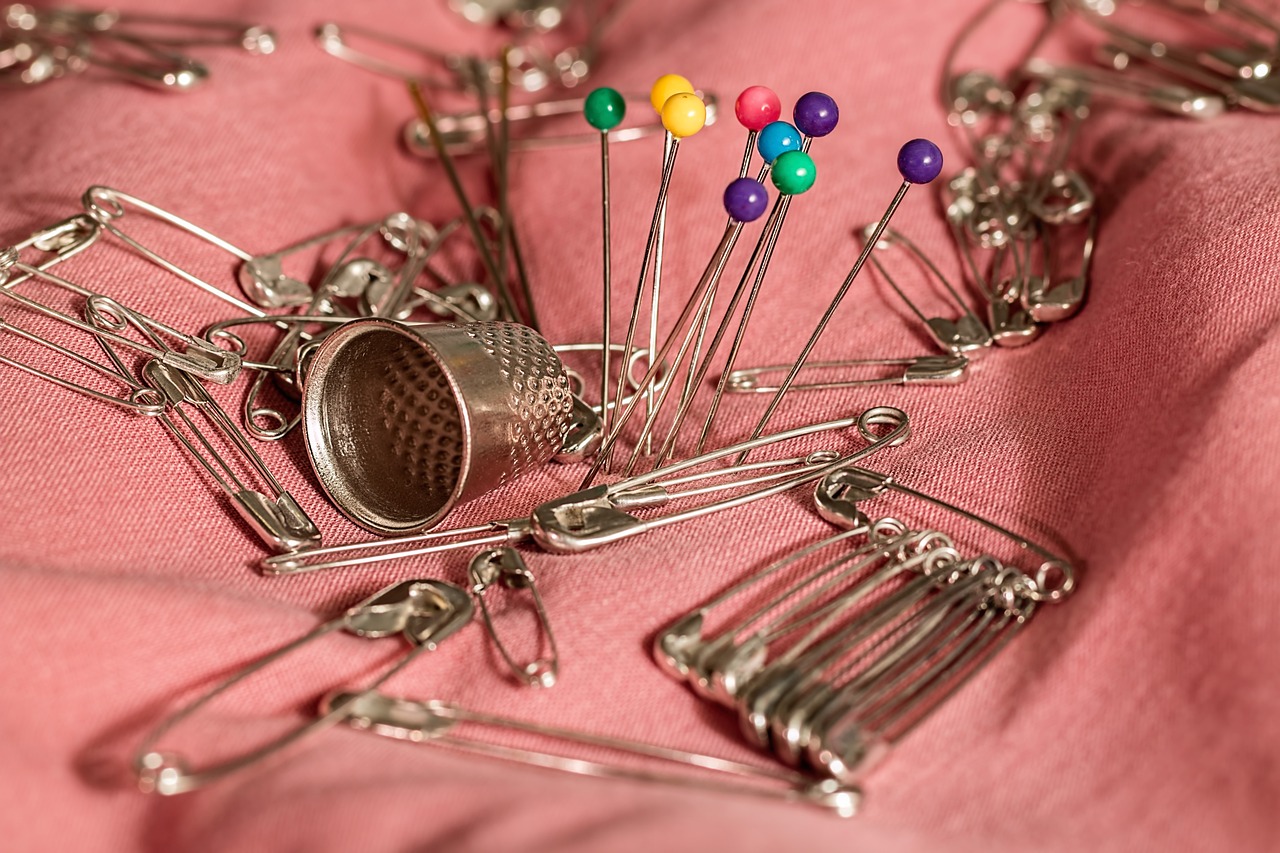
Seam Finishing Techniques
When it comes to sewing, one of the most overlooked aspects is the finishing of seams. Properly finished seams not only enhance the durability of your garments but also give them a professional look that can elevate your sewing projects to a whole new level. Think of seam finishing as the icing on the cake; without it, your project may not have that polished appearance that truly makes it shine. There are various techniques available, and the choice often depends on the type of fabric used and the desired finish.
One popular method is the zigzag stitch, which is great for preventing fraying on woven fabrics. By sewing along the raw edge of the seam allowance with a zigzag pattern, you create a barrier that keeps the threads from unraveling. This method is quick and effective, making it a favorite among both beginners and seasoned sewers alike. However, if you're working with heavier fabrics, you might want to consider the overlock stitch, which offers a more robust finish.
Another technique worth exploring is the French seam. This method is particularly useful for lightweight or sheer fabrics, as it encloses the raw edges within the seam itself, providing a clean and elegant finish. To achieve a French seam, you first sew the fabric with the wrong sides together, trim the seam allowance, and then sew again with the right sides together. This technique not only prevents fraying but also adds a touch of sophistication to your finished project.
If you're looking for something a bit more advanced, the bound seam might be your go-to technique. This involves wrapping bias tape around the raw edges of the seam, which not only protects them from fraying but also adds a pop of color or pattern to your project. It's an excellent option for unlined jackets or bags where the seams are exposed. The bound seam is a bit time-consuming but well worth the effort for the visual impact it provides.
Here’s a brief comparison of some common seam finishing techniques:
| Technique | Best For | Pros | Cons |
|---|---|---|---|
| Zigzag Stitch | Woven fabrics | Quick and easy | May not be strong enough for heavy fabrics |
| French Seam | Lightweight fabrics | Elegant finish | More time-consuming |
| Bound Seam | Unlined garments | Colorful and durable | Requires extra materials |
In conclusion, mastering seam finishing techniques can significantly enhance the quality of your sewing projects. Whether you opt for the simplicity of a zigzag stitch or the elegance of a French seam, each method has its unique advantages. So, the next time you're sewing, remember to give those seams the attention they deserve. A little extra effort in finishing can lead to a big difference in the overall appearance and longevity of your creations.
Q: What is the best seam finishing technique for beginners?
A: The zigzag stitch is highly recommended for beginners due to its simplicity and effectiveness in preventing fraying.
Q: Can I use a serger for seam finishing?
A: Absolutely! A serger is designed specifically for finishing seams and can provide a professional look with ease.
Q: How do I choose the right seam finishing technique for my fabric?
A: Consider the weight and type of fabric. Lightweight fabrics often benefit from French seams, while heavier fabrics may require overlocking or binding.
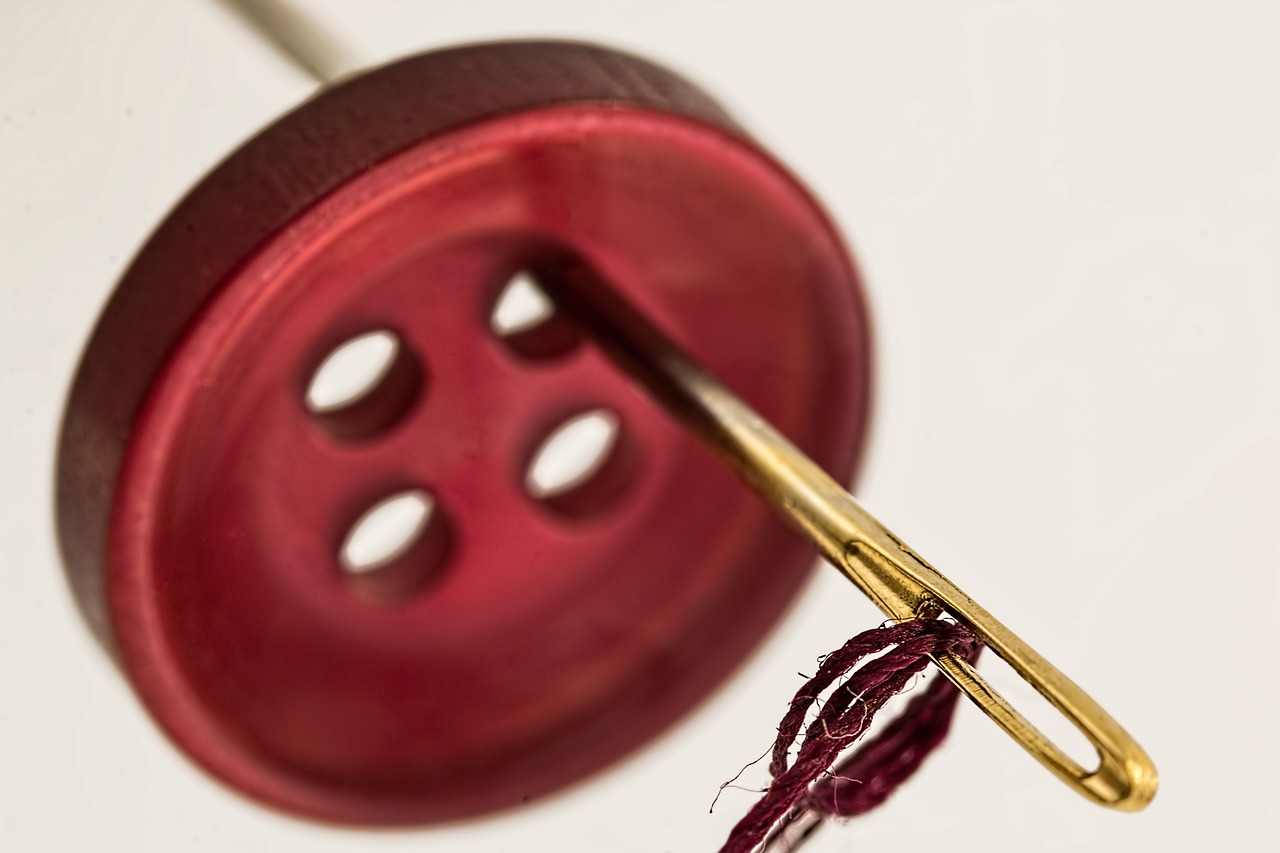
Creative Sewing Projects to Try
Engaging in creative sewing projects can transform your crafting experience from mundane to exhilarating! Whether you're a beginner or a seasoned sewer, diving into innovative projects not only hones your skills but also adds a personal touch to your creations. Why not explore some fun ideas that can spark your imagination and elevate your sewing game? From unique accessories to charming home decor, the possibilities are endless!
One of the most rewarding aspects of sewing is the ability to create items that reflect your personal style. For instance, consider making simple home decor items such as cushion covers or table runners. These projects are not only easy to tackle but also allow you to experiment with different fabrics and patterns. Imagine brightening up your living space with a vibrant, hand-sewn cushion that showcases your favorite colors! Plus, these projects can be completed in a weekend, giving you a sense of accomplishment without overwhelming your schedule.
On the other hand, if you’re looking to express your personality through fashion, sewing unique accessories is the way to go! Think about crafting items like custom tote bags, headbands, or even quirky pouches. These accessories can be tailored to suit your wardrobe, allowing you to showcase your creativity every time you step out. Not to mention, they make fantastic gifts for friends and family! Who wouldn’t love a personalized accessory made with love?
To make your sewing journey even more enjoyable, consider organizing your projects into themed categories. For example, you could dedicate a month to creating accessories, followed by a month focused on home decor. This approach not only keeps your momentum going but also allows you to see your progress over time. You might even discover new techniques and styles that you love along the way!
Additionally, don't forget to share your creations! Joining sewing communities, whether online or in person, can provide you with valuable feedback and inspiration. You can participate in sewing swaps, where you exchange handmade items with others, or even showcase your work on social media. Sharing your projects can create a sense of camaraderie and motivation, pushing you to try even more ambitious projects.
In conclusion, the world of sewing is filled with endless opportunities for creativity and self-expression. By trying out simple home decor items and unique accessories, you can not only enhance your skills but also bring joy to your everyday life. So, gather your supplies, unleash your imagination, and let your sewing adventures begin!
Q: What are some beginner-friendly sewing projects?
A: Some great beginner-friendly projects include pillowcases, tote bags, and simple skirts. These projects are straightforward and help build your confidence as you learn basic techniques.
Q: How can I choose the right fabric for my sewing projects?
A: Consider the project type, desired durability, and ease of handling. Lightweight fabrics are great for clothing, while heavyweight fabrics are better for bags and upholstery.
Q: What tools do I need to start sewing?
A: Essential tools include a sewing machine, fabric scissors, pins, a measuring tape, and a rotary cutter for accurate cutting.
Q: How do I maintain my sewing machine?
A: Regular maintenance includes cleaning the machine, oiling it as recommended, and ensuring that you use the correct needle and thread for your projects.
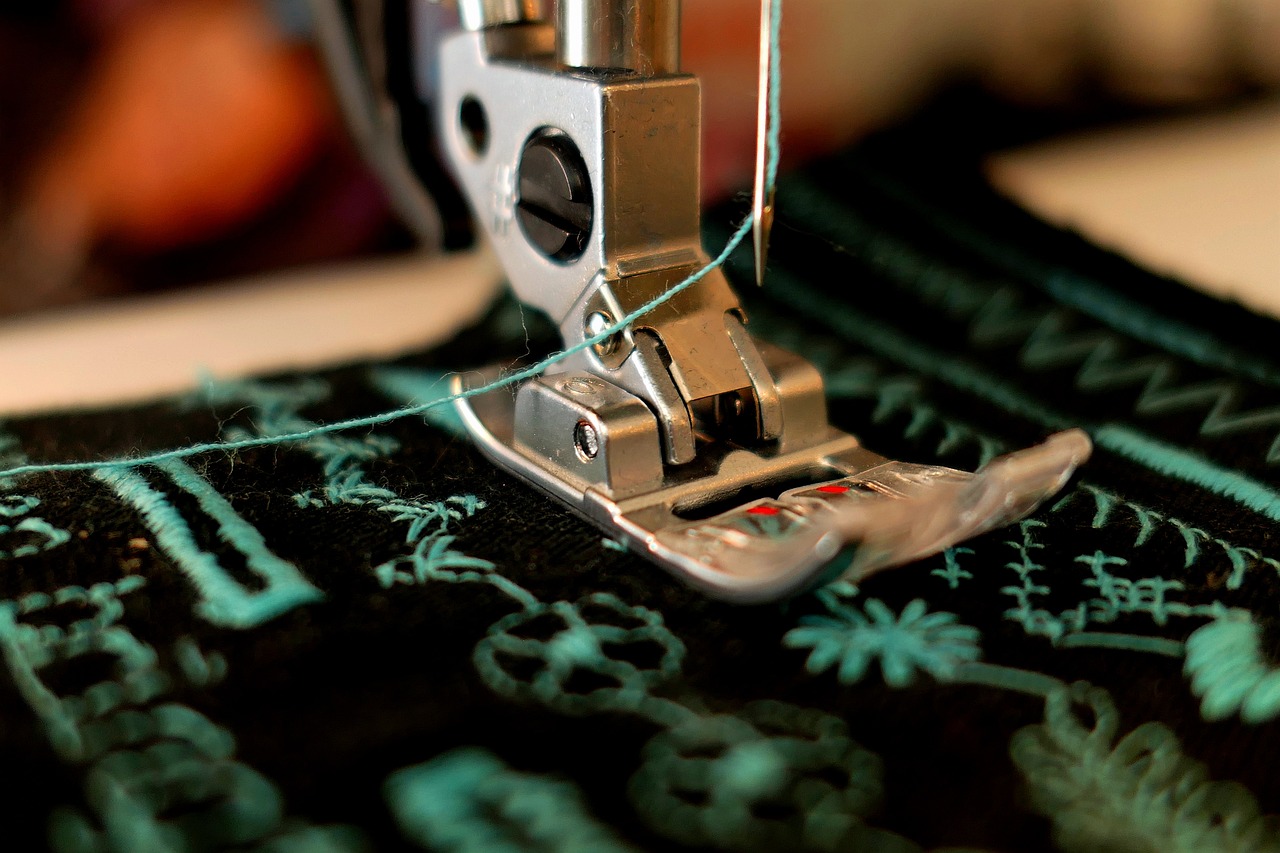
Simple Home Decor Items
Creating can be an incredibly rewarding experience that not only enhances your living space but also showcases your personal style. Whether you're a seasoned sewer or just starting out, there are a plethora of projects that you can tackle with ease. Imagine transforming your home with unique pieces that reflect your personality—sounds exciting, right? Let's dive into some fun and accessible sewing projects that can breathe new life into your surroundings!
One of the most popular items to sew for home decor is throw pillows. They are not only easy to make but also allow you to experiment with different fabrics, colors, and patterns. You can create a cohesive look by matching your pillows to your existing furniture or opt for bold designs that serve as statement pieces. To make a basic throw pillow, you’ll need fabric, a sewing machine, and stuffing. Simply cut two squares of fabric, sew them together, leave a small opening, fill with stuffing, and sew the opening closed. Voila! You have a custom pillow that adds comfort and style to your space.
Another fantastic project is sewing table runners. These can elevate your dining experience, making even the simplest meals feel special. A table runner can be made from various materials, such as cotton or linen, and can be customized with different lengths and widths to suit your table. You can even add embellishments like lace or fabric paint for a personal touch. Just cut the fabric to your desired dimensions, hem the edges to prevent fraying, and you’re all set. Plus, they are super easy to wash and maintain!
If you're looking to add a bit of greenery to your home, consider sewing plant pot covers. These are not only functional but also add a splash of color to your indoor garden. You can use waterproof fabric or line the inside with plastic to protect your plants. Just measure the circumference of your pot, cut the fabric accordingly, and sew it into a cylindrical shape. This simple project can transform any ordinary pot into a stunning decorative piece.
For those who love a bit of organization, sewing storage baskets is a great way to combine functionality with style. You can create baskets of various sizes to store everything from toys to craft supplies. Using sturdy fabric like canvas or denim will ensure that your baskets hold their shape. To make a basic basket, cut out a rectangular piece of fabric, fold the edges in to create a base, and sew the sides together. You can even add handles for easy carrying!
Finally, don't underestimate the power of curtains. Sewing your own curtains allows you to choose the perfect fabric that matches your decor while also controlling light and privacy. You can opt for sheer fabrics for a light, airy feel or heavier materials for more insulation. Take accurate measurements of your windows, cut the fabric, and sew a simple rod pocket or tab top for easy hanging. Custom curtains can truly transform the ambiance of a room.
In summary, sewing simple home decor items not only enhances your living space but also offers a creative outlet for self-expression. From throw pillows to curtains, the possibilities are endless. So, gather your materials, unleash your creativity, and watch as your home transforms into a personalized haven!
1. What are some beginner-friendly home decor sewing projects?
Beginner-friendly projects include throw pillows, table runners, and simple curtains. These items require basic sewing skills and can be completed in a short amount of time.
2. What type of fabric should I use for home decor items?
It's best to use durable fabrics like cotton, linen, or canvas for home decor projects. These materials are easy to work with and can withstand regular use.
3. How can I ensure my sewn items are durable?
To ensure durability, use high-quality fabrics, reinforce seams, and follow proper washing instructions to maintain the integrity of your projects.
4. Can I personalize my home decor items?
Absolutely! Personalization can be achieved through fabric choice, embellishments, or even adding your own designs using fabric paint or embroidery.
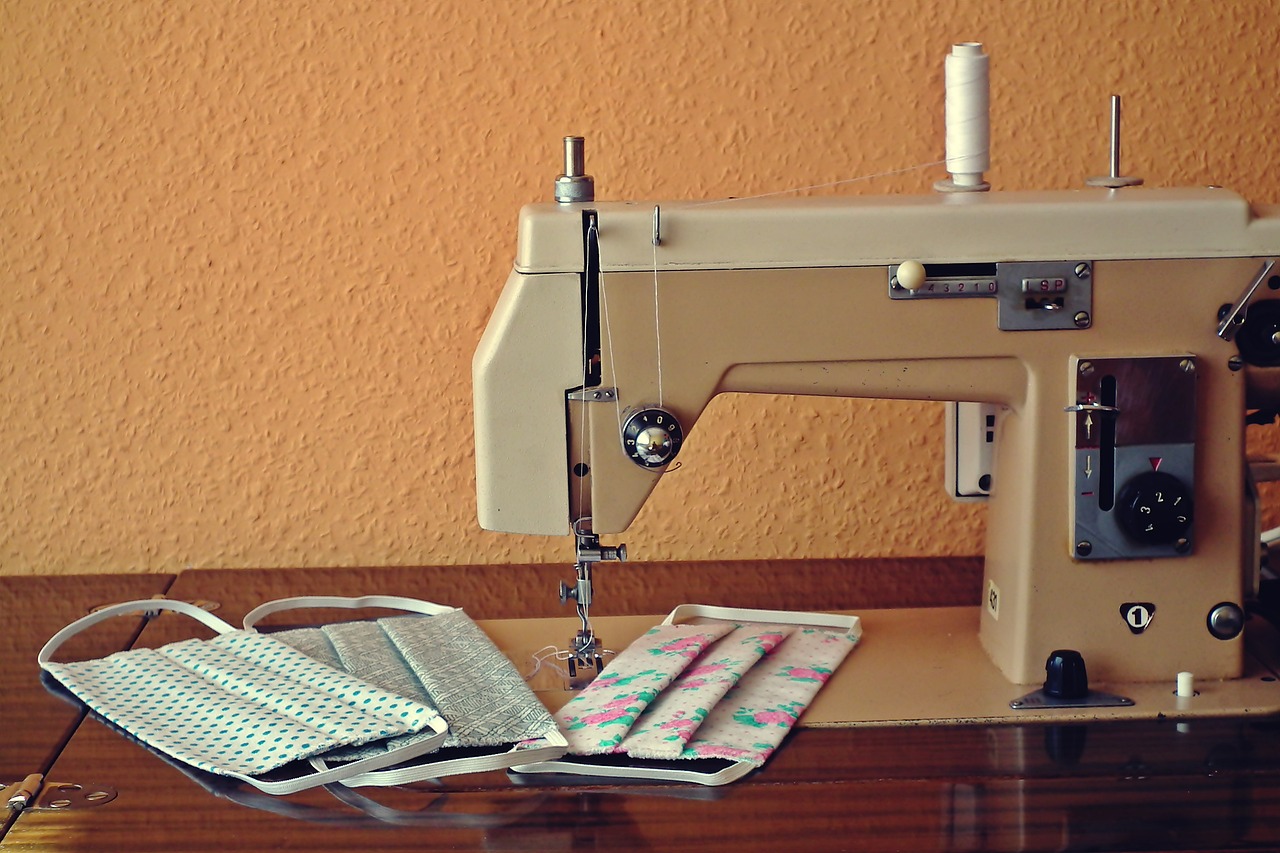
Unique Accessories
Sewing unique accessories is not just about creating items; it's about expressing your personality and style through your crafts. From chic bags to eye-catching jewelry, the world of sewing offers endless possibilities for making accessories that stand out. Imagine walking into a room wearing a bag that you designed and crafted yourself—it's a conversation starter and a point of pride!
One of the most delightful aspects of sewing accessories is the variety of projects you can tackle. Whether you’re looking to create something practical or simply want to indulge your creative side, there’s an accessory project that will suit your needs. For instance, consider making a custom clutch for a night out. You can select fabrics that match your outfit, add embellishments, and even incorporate unique closures to make it truly one-of-a-kind.
Another fun project is designing statement jewelry. Using fabric remnants, you can sew fabric-covered buttons or create fabric flowers to attach to hairbands or necklaces. This not only recycles your fabric scraps but also adds a personal touch to your accessories. Here are a few ideas to inspire your next project:
- Fabric Headbands: Perfect for adding flair to any hairstyle.
- Wallets and Pouches: Useful for organizing small items or gifts.
- Scarves: A versatile accessory that can be styled in numerous ways.
As you explore these projects, don't forget to experiment with different techniques. For example, you can use appliqué to add intricate designs to your bags or use patchwork techniques to create a unique look. The beauty of sewing lies in its flexibility; you can mix and match styles, colors, and patterns to create something that truly reflects who you are.
Remember, the key to making unique accessories is to have fun and let your creativity flow. Don’t be afraid to make mistakes along the way—they often lead to the most innovative designs. So grab your sewing machine, gather your materials, and start crafting accessories that will not only complement your wardrobe but also showcase your individual style!
Q: What are some beginner-friendly sewing accessory projects?
A: Some great beginner-friendly projects include simple fabric headbands, tote bags, and small pouches. These projects allow you to practice basic sewing skills while creating something useful.
Q: How can I personalize my accessories?
A: You can personalize your accessories by choosing fabrics that reflect your style, adding custom embellishments, or incorporating monograms or initials into your designs.
Q: What tools do I need to start sewing accessories?
A: Essential tools include a sewing machine, fabric scissors, pins, measuring tape, and a variety of threads. Optional tools like rotary cutters and cutting mats can also enhance your sewing experience.
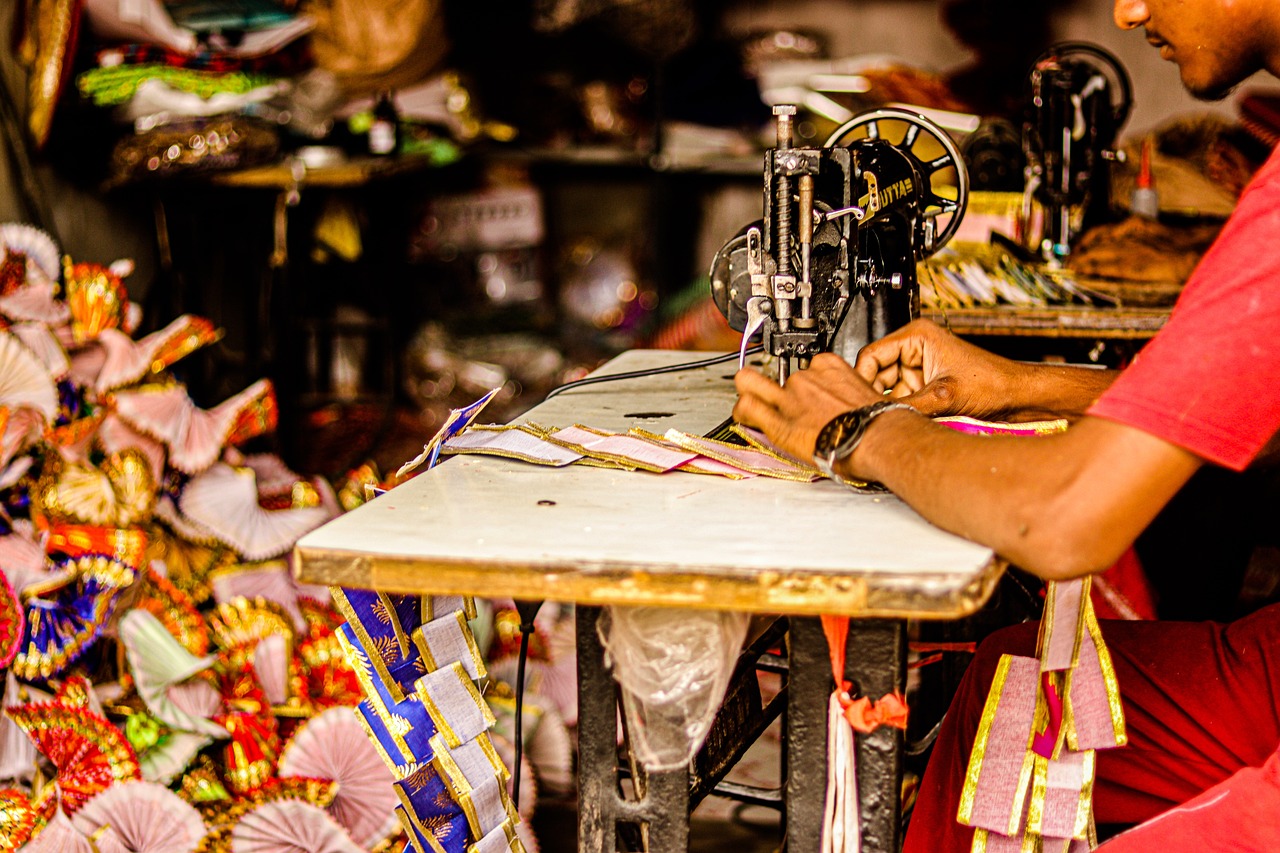
Staying Organized While Sewing
When it comes to sewing, organization is not just a luxury; it's a necessity. Imagine diving into a project only to find yourself knee-deep in a chaotic mess of fabric scraps, threads, and tools. It can be overwhelming and can lead to frustration, which is the last thing you want when you're trying to create something beautiful. Keeping your sewing space organized can significantly enhance your efficiency and creativity. So, how can you achieve that zen-like sewing environment? Let's explore some effective strategies that will help you maintain order while you sew.
First and foremost, consider implementing some storage solutions that cater to your unique needs. Whether you have a dedicated sewing room or a small corner of your living space, having a place for everything will save you time and energy. For instance, clear bins can be a game-changer; they allow you to see what you have at a glance. You can categorize your supplies by type—fabrics in one bin, tools in another, and threads in yet another. This way, you won't waste precious minutes searching for that elusive pair of scissors or the perfect shade of thread.
Additionally, think about using a sewing cart or a portable storage unit. These are fantastic for keeping your most-used items within arm's reach. You can even designate a section of the cart for ongoing projects, making it easy to switch between tasks without losing your momentum. Remember, the goal is to create a space that feels inviting and functional, allowing your creativity to flow freely.
Another essential tip is to keep your cutting area clear and organized. A cluttered cutting space can lead to mistakes, which can be quite costly in terms of both time and materials. Make it a habit to put away tools and scraps as you work. You might even consider using a
| Tool | Purpose |
|---|---|
| Rotary Cutter | For precise cutting of fabric |
| Cutting Mat | Protects your work surface |
| Ruler | Ensures straight cuts |
Moreover, don't underestimate the power of a good project planning system. Whether you prefer digital tools or good old-fashioned pen and paper, having a plan can streamline your sewing process. Create a checklist for each project, detailing the materials you'll need, the steps involved, and any deadlines you may have. This not only keeps you organized but also adds an element of excitement as you check off each task upon completion. You might even find it helpful to keep a sewing journal where you jot down ideas, patterns you want to try, or notes on what worked and what didn’t in your previous projects.
Finally, remember that staying organized is an ongoing process. It's easy to let things slip into disarray, especially when you're in the midst of a creative burst. Make it a habit to tidy up your space at the end of each sewing session. This will not only keep your area neat but will also set you up for success next time you sit down to sew. After all, a well-organized sewing space is like a blank canvas, just waiting for your creativity to bring it to life!
- What are some quick tips for organizing my sewing space?
Start by decluttering, categorize your supplies, and use clear bins for easy visibility. - How can I keep my cutting area organized?
Regularly put away tools and scraps, and consider using a dedicated table for cutting tools. - Is it necessary to have a project planner?
While not mandatory, having a planner can greatly enhance your efficiency and help you stay on track.
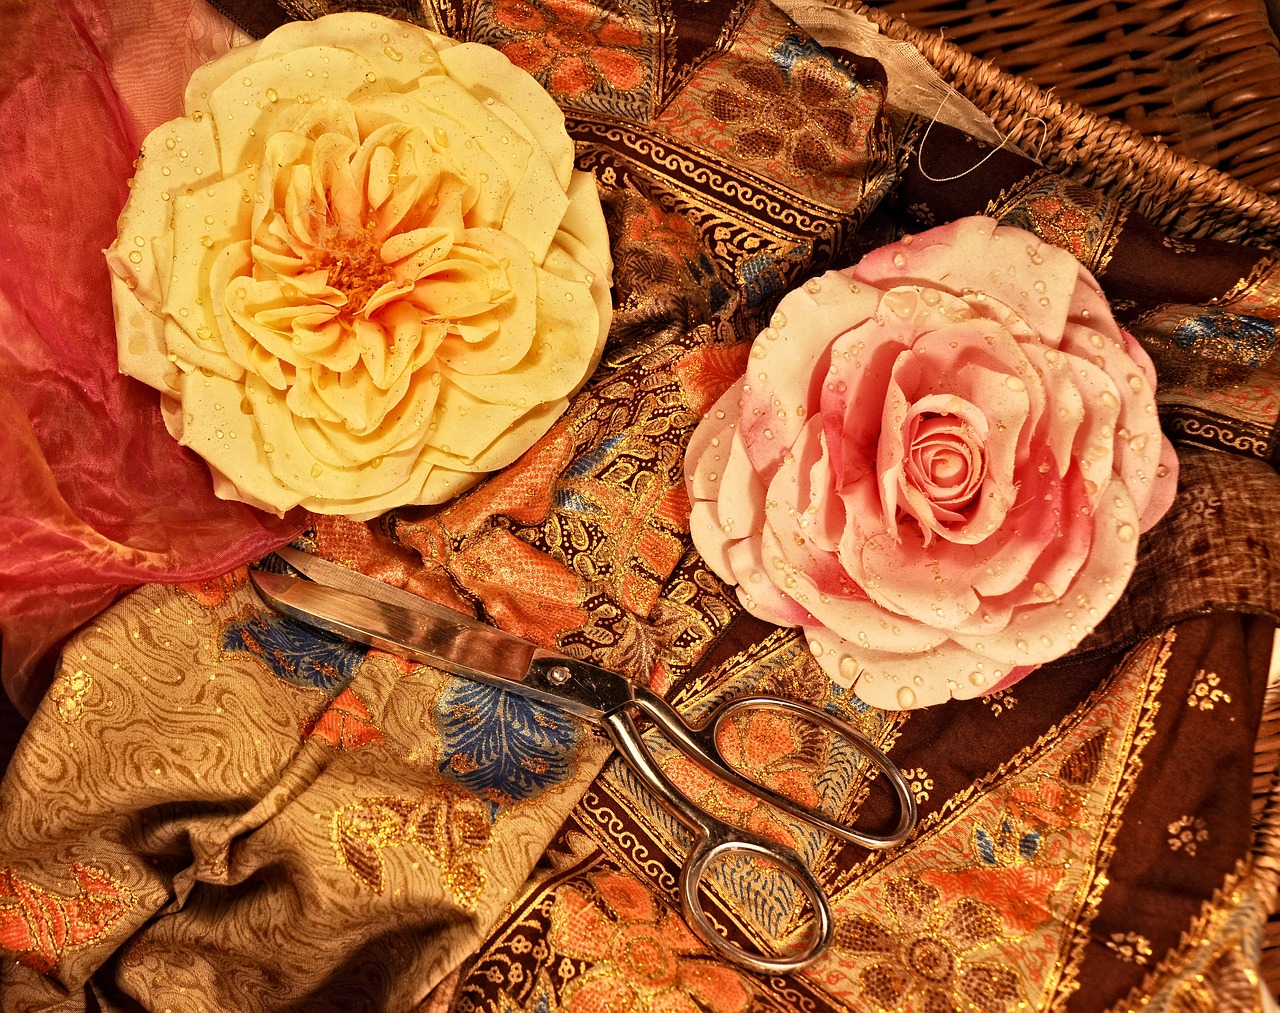
Storage Solutions
Keeping your sewing space organized is more than just about aesthetics; it plays a crucial role in enhancing your creativity and productivity. Imagine sitting down to sew, only to be greeted by a chaotic mess of fabrics, threads, and tools. It can be overwhelming, right? By implementing effective storage solutions, you can transform your sewing area into a haven of inspiration and efficiency.
First off, consider investing in clear storage bins. These bins allow you to see at a glance what you have, making it easy to grab the materials you need without rummaging through piles. You can categorize your supplies by type, color, or project, which not only saves time but also sparks creativity as you visualize your next masterpiece. For instance, you could have one bin for lightweight fabrics, another for heavyweights, and a separate one for threads and notions.
Another fantastic option is to use pegboards. These versatile boards can be mounted on walls and allow you to hang tools, scissors, and even spools of thread. By keeping your tools visible and within reach, you eliminate the frustration of searching for that elusive pair of fabric scissors. Plus, you can customize the layout to suit your workflow, making it a personalized storage solution that evolves with your sewing projects.
For those who love to keep their workspace tidy, consider a rolling cart. These carts are perfect for storing frequently used items and can be easily moved around your sewing area. You can dedicate one shelf for fabrics, another for tools, and even have a space for your cutting mat. The mobility of a rolling cart allows you to adapt your space as needed, making it a flexible storage solution that grows with your sewing journey.
Don't forget about vertical space! Utilizing shelves can dramatically increase your storage capacity without taking up valuable floor space. You can use these shelves to store books, patterns, and even finished projects. Just imagine having a dedicated space for all your sewing books and magazines, making it easy to reference them whenever inspiration strikes.
Finally, always remember to label your storage solutions. Whether you’re using bins, baskets, or shelves, clear labels will save you time and prevent confusion. You might think you’ll remember where everything is, but trust me, after a few projects, you’ll appreciate the shortcuts that come with proper labeling.
In summary, effective storage solutions are essential for a seamless sewing experience. By incorporating clear bins, pegboards, rolling carts, and shelves into your sewing space, you can create an organized environment that encourages creativity and efficiency. So, what are you waiting for? Start organizing your sewing area today and watch your crafting experience transform!
Q: What are the best materials for storage bins?
A: Look for bins made from durable plastic that can withstand the weight of fabrics and tools. Clear options are best for visibility.
Q: How can I keep my sewing space tidy?
A: Regularly declutter your space, use storage solutions effectively, and ensure everything has a designated spot.
Q: Is it necessary to label my storage?
A: Absolutely! Labeling helps you quickly find what you need and keeps your space organized.
Project Planning Tips
When diving into a sewing project, having a solid plan can make all the difference between a fun experience and a frustrating one. Think of project planning as laying the foundation for a house; without it, everything else can crumble. Start by determining what you want to create and gather inspiration. Whether it’s a chic dress, a cozy quilt, or a cute bag, having a clear vision will guide you through the process. You can browse online platforms like Pinterest or Instagram for ideas, or even flip through sewing magazines for a spark of creativity.
Once you’ve decided on a project, it’s crucial to outline the materials you’ll need. This includes not only the fabric but also thread, buttons, zippers, and any other notions specific to your design. Creating a materials checklist can help ensure you don’t find yourself halfway through a project only to realize you’re missing a key component. Additionally, consider the time commitment for your project. Some items may take just a few hours, while others could span several days. Understanding your schedule will help you choose projects that fit your lifestyle.
Another essential aspect of project planning is understanding your skill level. If you’re just starting out, it might be wise to choose simpler patterns that will build your confidence. On the other hand, if you’re feeling adventurous, why not challenge yourself with something a bit more complex? Remember, every expert was once a beginner! To help you gauge your skills, here’s a quick reference table:
| Skill Level | Project Ideas | Estimated Time |
|---|---|---|
| Beginner | Pillow covers, simple tote bags | 1-3 hours |
| Intermediate | Skirts, basic quilts | 3-5 hours |
| Advanced | Tailored jackets, complex quilts | 5+ hours |
After gathering your materials and understanding your skill level, it’s time to break down the project into manageable steps. This can be as simple as sketching out the main stages, such as cutting fabric, sewing seams, and finishing touches. By tackling each step one at a time, you’ll avoid feeling overwhelmed. Plus, there’s a great sense of satisfaction that comes with checking off each completed task!
Lastly, don’t forget to document your process. Taking notes or photos as you sew can help you remember what worked well and what didn’t, making future projects even smoother. You might even consider starting a sewing journal to track your progress and jot down any tips you learn along the way. This not only helps you improve but can also serve as a delightful keepsake of your sewing journey!
In summary, effective project planning is all about preparation and organization. By taking the time to map out your sewing adventure, you’ll not only enhance your skills but also make the entire process more enjoyable. So grab your fabric, plan your project, and let your creativity run wild!
- What is the best way to choose a sewing project? Start by considering your skill level, available materials, and the time you have to dedicate to the project.
- How can I stay organized while sewing? Use storage boxes, labels, and a dedicated workspace to keep your materials organized. Planning your projects in advance also helps.
- What if I run into problems during my project? Don’t panic! Take a break, reassess the issue, and consult online resources or sewing communities for advice.
Frequently Asked Questions
- What are the essential tools I need for sewing?
Every sewer should have a few must-have tools in their toolkit. These include a good pair of fabric scissors, pins, a measuring tape, a seam ripper, and a sewing machine. Having these tools readily available makes the sewing process smoother and more enjoyable!
- How do I choose the right fabric for my project?
Choosing the right fabric is crucial for the success of your project. Consider the type of garment or item you are making, the fabric's weight, and its drape. Lightweight fabrics are great for flowy garments, while heavyweight fabrics are better for structured items. Always feel the fabric and imagine how it will look in your finished project!
- Why is pre-washing fabrics important?
Pre-washing fabrics is a step you shouldn't skip! It helps prevent shrinkage and color bleeding after your project is completed. By washing your fabric before you start sewing, you ensure that your finished product maintains its size and color, giving you peace of mind.
- What are some basic stitches I should learn?
Mastering a few basic stitches is key to becoming a proficient sewer. Start with hand stitches like the running stitch and backstitch, and then move on to machine stitches like straight stitch and zigzag stitch. These stitches are versatile and can be used in a variety of projects!
- How can I ensure accurate cutting of fabric?
Accurate cutting is vital for a successful sewing project. Using a rotary cutter can enhance your cutting efficiency, but make sure to measure twice and cut once! Always lay your fabric flat and use weights or pins to hold it in place while cutting for the best results.
- What are some finishing techniques to make my sewing look professional?
Finishing techniques can elevate your sewing projects significantly. Consider techniques like hemming and seam finishing to prevent fraying and give your items a polished look. Simple methods like a double-fold hem or using a serger can make a world of difference!
- Can you suggest some fun sewing projects for beginners?
Absolutely! Beginners can start with simple home decor items like pillow covers or table runners. Unique accessories like tote bags or headbands are also great projects that allow for personal expression while building your skills!
- How can I stay organized while sewing?
Staying organized is key to a smooth sewing experience. Invest in storage solutions like bins or drawers for your supplies. Additionally, planning your projects ahead of time can help streamline your workflow and keep your workspace tidy!


