Essential Sewing Machine Settings for Quilting
This article explores the crucial sewing machine settings that enhance your quilting experience, ensuring precision and creativity in your projects. Learn how to optimize your machine for the best results.
Different stitch types serve various purposes in quilting. Familiarizing yourself with straight, zigzag, and decorative stitches can elevate your quilt's design and functionality. The straight stitch is your go-to for piecing quilt blocks together, providing a sturdy foundation. On the other hand, the zigzag stitch is perfect for finishing edges, preventing fraying, and adding a decorative touch. Don't forget about decorative stitches—they can transform your quilt into a work of art by adding unique patterns and textures. Experimenting with these stitches can truly enhance your quilting journey.
Proper thread tension is vital for achieving balanced stitches. Adjusting the tension settings according to your fabric and thread type can prevent puckering and ensure a smooth finish. Think of your sewing machine as a musical instrument; it needs to be finely tuned for the best performance. If your stitches look too loose or too tight, don’t hesitate to tweak the tension dial. A good rule of thumb is to start with the manufacturer’s recommended settings and make adjustments as needed based on your specific materials.
Choosing the right needle for your quilting project greatly affects the outcome. The needle is like the brush to an artist—it can make or break your masterpiece. Explore the different needle types, sizes, and their specific applications to enhance your sewing experience. For quilting, a quilt needle is often recommended as it has a slightly rounded tip that easily glides between the fibers of the fabric. Additionally, using the right size needle for your fabric weight can prevent issues like skipped stitches or fabric damage. Here’s a quick reference table to guide you:
| Needle Type | Recommended Fabric | Size |
|---|---|---|
| Universal Needle | Light to medium weight fabrics | 70/10 - 90/14 |
| Quilting Needle | Quilting cottons | 75/11 - 100/16 |
| Jeans/Denim Needle | Denim and heavy fabrics | 90/14 - 110/18 |
Adjusting stitch length and width is essential for achieving the desired look and durability in your quilt. A longer stitch length is often used for basting, while a shorter stitch length is ideal for intricate designs. Think of stitch length as the brush strokes in a painting; they can convey emotion and style. Likewise, adjusting the stitch width can add dimension to your work. For example, a wider zigzag stitch can create a bold effect, while a narrow stitch can give a more delicate appearance. Always test your settings on a scrap piece of fabric before diving into your main project.
The presser foot you choose can impact your quilting technique. Different feet can help you achieve various quilting styles and effects. For instance, a walking foot helps to evenly feed multiple layers of fabric, reducing the risk of shifting. A free-motion foot, on the other hand, allows for creative stitching without the constraints of the feed dogs. Understanding which foot to use for each project can significantly improve your quilting experience and the final result.
Controlling your sewing machine's speed is crucial for precision quilting. Understanding how to adjust speed settings will help you maintain control and accuracy during intricate designs. Just like driving a car, you need to know when to speed up and when to slow down. For detailed work, a slower speed allows for better maneuverability, while a higher speed can be used for straight seams and less complex sections. Always remember to practice on scrap fabric to get a feel for your machine’s speed capabilities.
A walking foot is beneficial for quilting as it helps to feed multiple layers of fabric evenly. This foot is especially useful when working with layered quilts, preventing the top layer from shifting out of alignment. Installing and using a walking foot is straightforward—just snap it onto your machine like a regular presser foot and adjust your stitch settings accordingly. Once you try it, you’ll wonder how you ever quilted without it!
Regular maintenance ensures your sewing machine operates smoothly. Discover essential cleaning and servicing tips to keep your machine in top condition for all your quilting projects. Just like any other tool, your sewing machine needs care. Make it a habit to clean out lint and dust after every few projects, and don’t forget to oil your machine according to the manufacturer’s instructions. A well-maintained machine can make your quilting experience much more enjoyable and efficient.
- What is the best stitch for quilting? The straight stitch is generally the best choice for piecing quilt blocks, while decorative stitches can add flair.
- How often should I clean my sewing machine? It’s a good idea to clean your machine after every few projects or whenever you notice lint buildup.
- Can I use any needle for quilting? While you can technically use any needle, using a quilting needle is recommended for the best results.
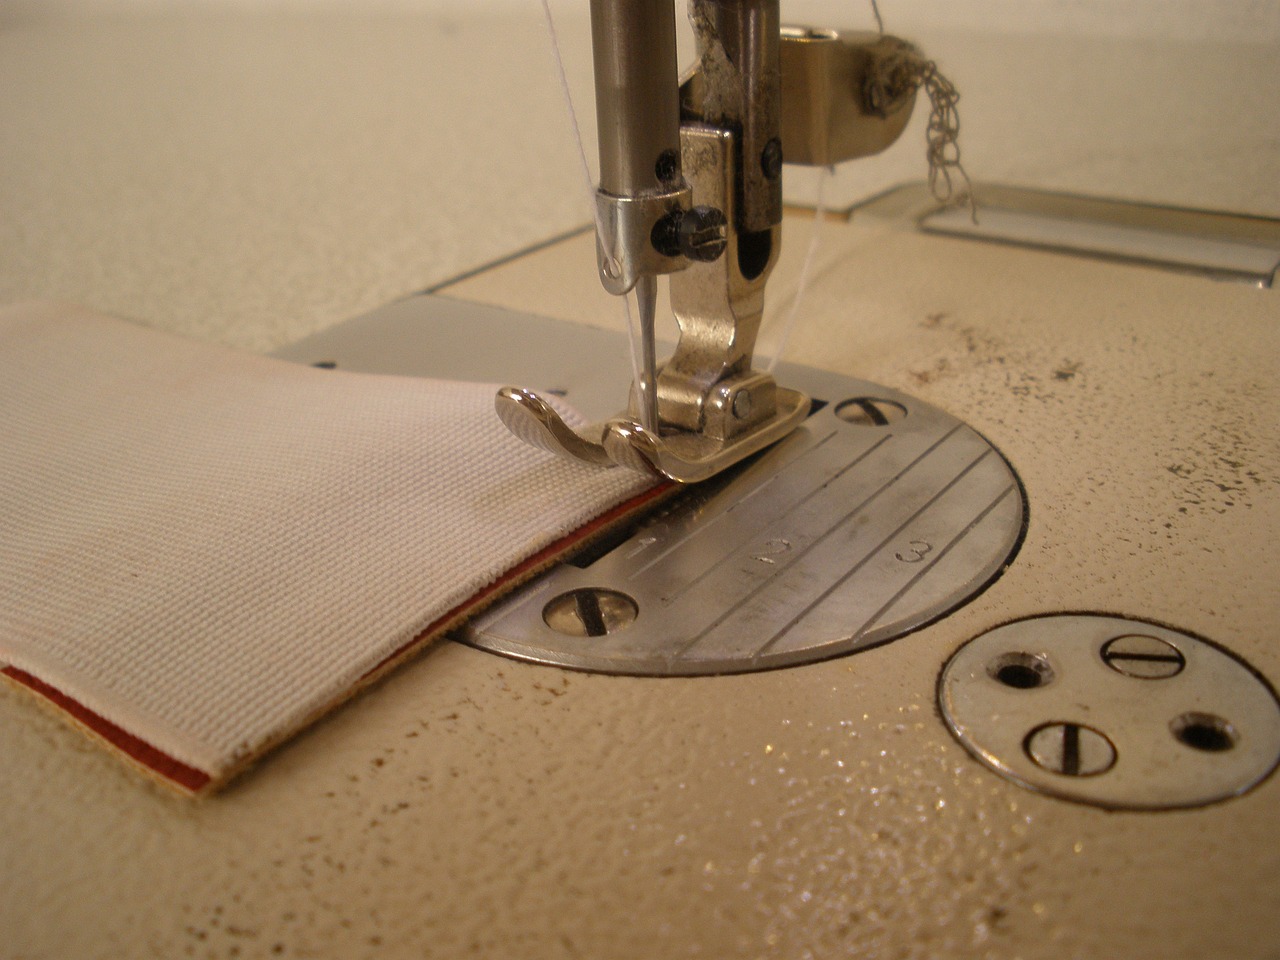
Understanding Stitch Types
When it comes to quilting, understanding the different stitch types is like knowing the colors in an artist's palette. Each stitch serves a unique purpose and can dramatically affect the final look and feel of your quilt. Let’s dive into the most common stitch types you’ll encounter, and how they can elevate your quilting game.
First up is the straight stitch, which is the foundation of most quilting projects. This stitch is straightforward—pun intended! It’s perfect for piecing together quilt blocks, as it provides a strong and reliable seam. You can adjust the length of this stitch to suit your fabric; a shorter stitch is great for delicate fabrics, while a longer stitch is ideal for sturdier materials.
Next, we have the zigzag stitch. This stitch is incredibly versatile and can be used for a variety of purposes, from finishing raw edges to adding decorative flair. The zigzag stitch can help prevent fraying, making it a great choice for quilts that will see a lot of use. Plus, you can play around with the stitch width and length to create different effects—think of it as your quilt’s personal stylist!
Now, let’s not forget about decorative stitches. These stitches can add a touch of personality to your quilt. Many sewing machines come with a variety of built-in decorative stitches, allowing you to experiment with different designs. Whether it’s a simple scallop or an intricate floral pattern, decorative stitches can transform a plain quilt into a stunning masterpiece. Just remember to practice on scrap fabric first to get the hang of it!
To give you a clearer picture, here’s a simple
| Stitch Type | Primary Use | Best For |
|---|---|---|
| Straight Stitch | Piecing quilt blocks | All fabric types |
| Zigzag Stitch | Finishing edges, decorative | Stretch fabrics, raw edges |
| Decorative Stitches | Adding design elements | Personalized touches |
Understanding these stitch types not only enhances your quilting skills but also empowers your creativity. Imagine the possibilities! Each stitch can tell a story, convey a mood, or even spark a conversation about your work. So, the next time you sit down at your sewing machine, remember: the right stitch can make all the difference in bringing your quilting vision to life.
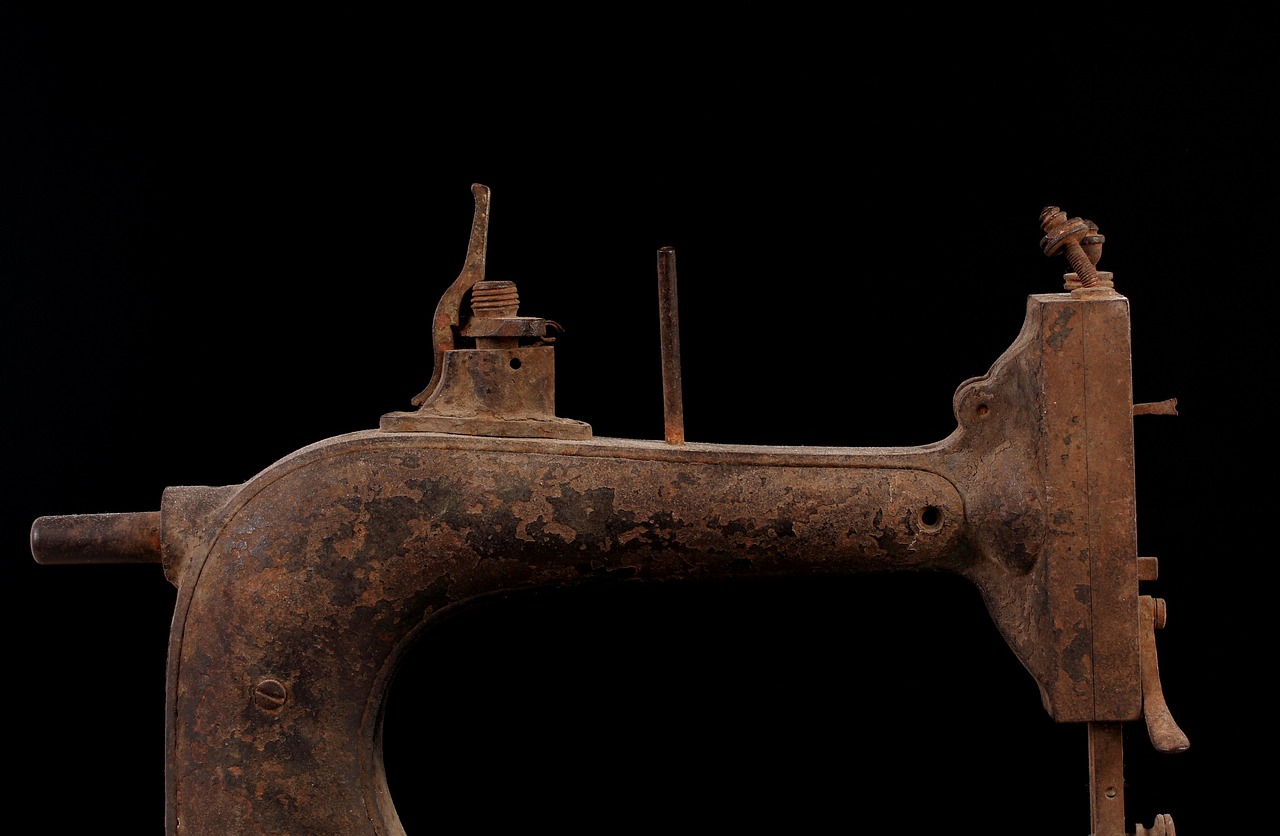
Thread Tension Settings
When it comes to quilting, are not just a technical detail; they are the magic wand that can transform your quilting experience! Imagine trying to bake a cake without measuring the ingredients properly. Just as the right balance of flour and sugar is essential for a delicious cake, the proper thread tension is crucial for creating beautifully finished quilts. If your thread tension is off, you might find yourself dealing with puckered seams or loose stitches, which can be frustrating and time-consuming to fix.
So, what exactly is thread tension? In simple terms, it refers to the amount of pull on the thread as it moves through your sewing machine. Each fabric and thread type has its own ideal tension setting. For instance, a lightweight fabric like cotton might require a different tension than a heavier fabric such as denim. To achieve a perfect balance, you will want to adjust the tension settings on your machine accordingly. Most sewing machines have a tension dial that allows you to make these adjustments easily.
Here’s a quick guide to help you understand how to set your thread tension:
| Fabric Type | Thread Type | Recommended Tension Setting |
|---|---|---|
| Cotton | Cotton Thread | 3-5 |
| Silk | Silk Thread | 2-4 |
| Denim | Polyester Thread | 5-7 |
| Fleece | Polyester Thread | 4-6 |
As you experiment with different fabrics and threads, keep in mind that trial and error is part of the learning process. Start with the recommended tension settings and make small adjustments until you achieve the desired stitch quality. If you notice that the bobbin thread is visible on the top side of your fabric, it’s a sign that your upper tension is too loose. Conversely, if the top thread is pulling the fabric down into the machine, your tension is likely too tight.
Another tip to remember is to test your settings on a scrap piece of fabric before diving into your quilting project. This simple step can save you time and frustration, ensuring that your stitches are even and consistent. After all, no one wants to spend hours on a quilt only to discover that the tension was off the whole time!
In conclusion, mastering thread tension settings is essential for any quilter looking to enhance their craft. With a little practice and patience, you will be able to adjust your machine's tension to perfection, allowing you to focus on what you love most—creating beautiful quilts. So, roll up your sleeves, grab your fabric, and start experimenting with those tension settings!
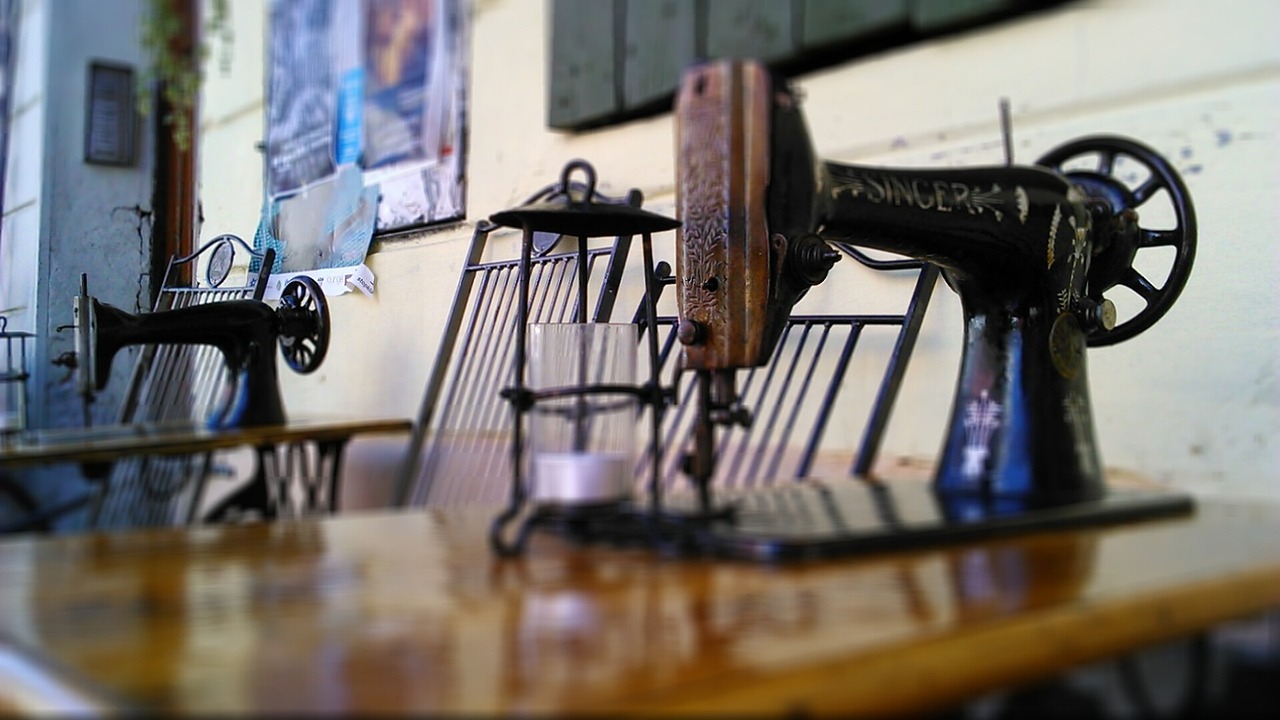
Needle Selection
When it comes to quilting, is more than just a minor detail; it's a game-changer! The right needle can make the difference between a beautifully executed project and one that’s riddled with issues. Just like a chef wouldn’t use a butter knife to chop vegetables, you shouldn’t use just any needle for your quilting projects. With various needle types and sizes available, understanding their specific applications can elevate your sewing experience significantly.
First, let’s talk about the types of needles you might encounter. The most common ones for quilting include:
- Universal Needles: These are versatile and can handle most fabrics. They are a great starting point for beginners.
- Quilting Needles: Specifically designed with a tapered point, these needles glide through multiple layers of fabric without causing damage.
- Embroidery Needles: If your quilt design involves intricate embroidery, these needles feature a larger eye to accommodate thicker threads.
- Double Needles: Perfect for creating decorative stitching, double needles allow you to sew two lines of stitching simultaneously.
Now, let’s not forget about needle sizes. Needle sizes are typically indicated by a number, with higher numbers representing thicker needles. For quilting, a size 80/12 or 90/14 needle is often recommended, as they strike a balance between strength and precision. Here’s a quick reference table to help you choose the right needle size based on your fabric type:
| Fabric Type | Recommended Needle Size |
|---|---|
| Lightweight Cotton | 70/10 or 80/12 |
| Medium Weight Cotton | 80/12 or 90/14 |
| Heavyweight Fabric | 90/14 or 100/16 |
Choosing the right needle not only ensures a smoother sewing experience but also enhances the quality of your finished quilt. Imagine trying to cut a steak with a butter knife—frustrating, right? Similarly, using the wrong needle can lead to skipped stitches, fabric snags, and an overall unsatisfactory result. So, take the time to evaluate your project and select the needle that best suits your needs.
In summary, needle selection is a crucial step in your quilting journey. By understanding the different types and sizes of needles available, you can tailor your sewing experience to achieve the best results. Remember, the right needle is like the right tool in a toolbox; it makes all the difference!
Q: How often should I change my quilting needle?
A: It's generally recommended to change your needle after every 8 hours of sewing or when you notice any issues like skipped stitches or fabric damage.
Q: Can I use a regular sewing needle for quilting?
A: While you can use a regular sewing needle, it’s best to use a quilting needle for optimal results, especially when working with multiple layers of fabric.
Q: What happens if I use the wrong needle?
A: Using the wrong needle can lead to various issues, including skipped stitches, fabric snags, and an uneven finish on your quilt.
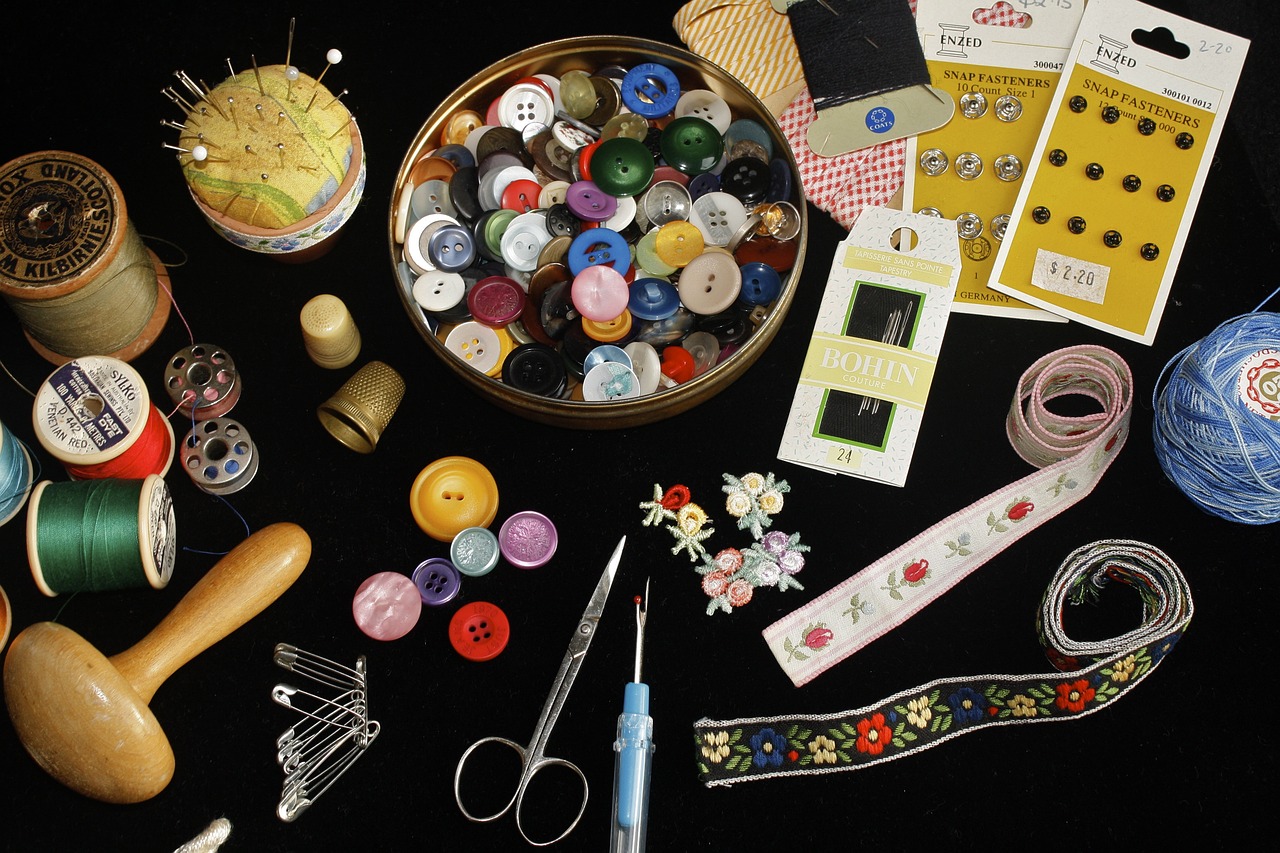
Stitch Length and Width
When it comes to quilting, are not just mere numbers on your sewing machine; they are the very fabric of your quilt's identity. The right settings can transform a simple quilt into a stunning masterpiece, while the wrong choices can lead to frustration and a lackluster finish. So, how do you determine the perfect stitch length and width for your quilting projects? Let’s dive into the details!
First off, stitch length refers to the distance between each stitch. A shorter stitch length, typically around 1.5 to 2.5 mm, is ideal for intricate designs and detailed quilting patterns. This tighter stitching not only enhances the overall appearance but also provides added durability. On the other hand, if you're working with larger blocks or need to sew through multiple layers, a longer stitch length of 3 to 4 mm can be more effective. It allows for quicker sewing and can create a more relaxed feel in your quilt, which can be particularly appealing in modern quilt designs.
Now, let’s talk about stitch width. This parameter comes into play especially when you’re using zigzag or decorative stitches. A wider stitch can add flair and creativity to your project, making it pop with personality. For example, if you’re using a zigzag stitch to finish raw edges, a width of around 5 to 7 mm is usually recommended. However, if you’re looking to create a more subtle effect, a narrower width of 2 to 3 mm can be just the ticket. The key is to experiment and find the right balance that suits your style and the fabric you are working with.
To give you a clearer picture, here’s a quick reference table that outlines common stitch length and width settings based on the type of quilting you might be doing:
| Quilting Type | Recommended Stitch Length (mm) | Recommended Stitch Width (mm) |
|---|---|---|
| Piecing | 1.5 - 2.0 | 0 |
| Quilting (straight lines) | 2.5 - 3.0 | 0 |
| Quilting (zigzag) | 2.5 - 3.5 | 5 - 7 |
| Decorative stitching | 2.0 - 3.0 | 3 - 8 |
Remember, these are just guidelines! Your quilting journey is unique, and you should feel free to adjust these settings based on your specific fabric types and design preferences. For instance, if you're working with thicker fabrics, you might want to increase your stitch length slightly to allow for easier feeding through the machine. Conversely, with delicate fabrics, a shorter stitch may help prevent fraying and ensure a clean finish.
In conclusion, understanding and adjusting your stitch length and width can significantly influence the quality and aesthetic of your quilting projects. So, the next time you sit down at your machine, take a moment to consider these settings. They are not just technical specifications; they are the keys to unlocking your creativity and achieving stunning results!
- What is the best stitch length for quilting? Generally, a stitch length of 2.5 to 3.0 mm is recommended for most quilting tasks.
- How do I know what stitch width to use? It depends on the type of stitch you are using. For zigzag stitches, widths of 5 to 7 mm are common, while decorative stitches can vary widely.
- Can I use the same settings for all fabrics? Not necessarily. Different fabrics may require adjustments to stitch length and width for optimal results.
- What happens if my stitch length is too short? If your stitch length is too short, it can lead to puckering and may make it difficult to sew through multiple layers.
Foot Selection
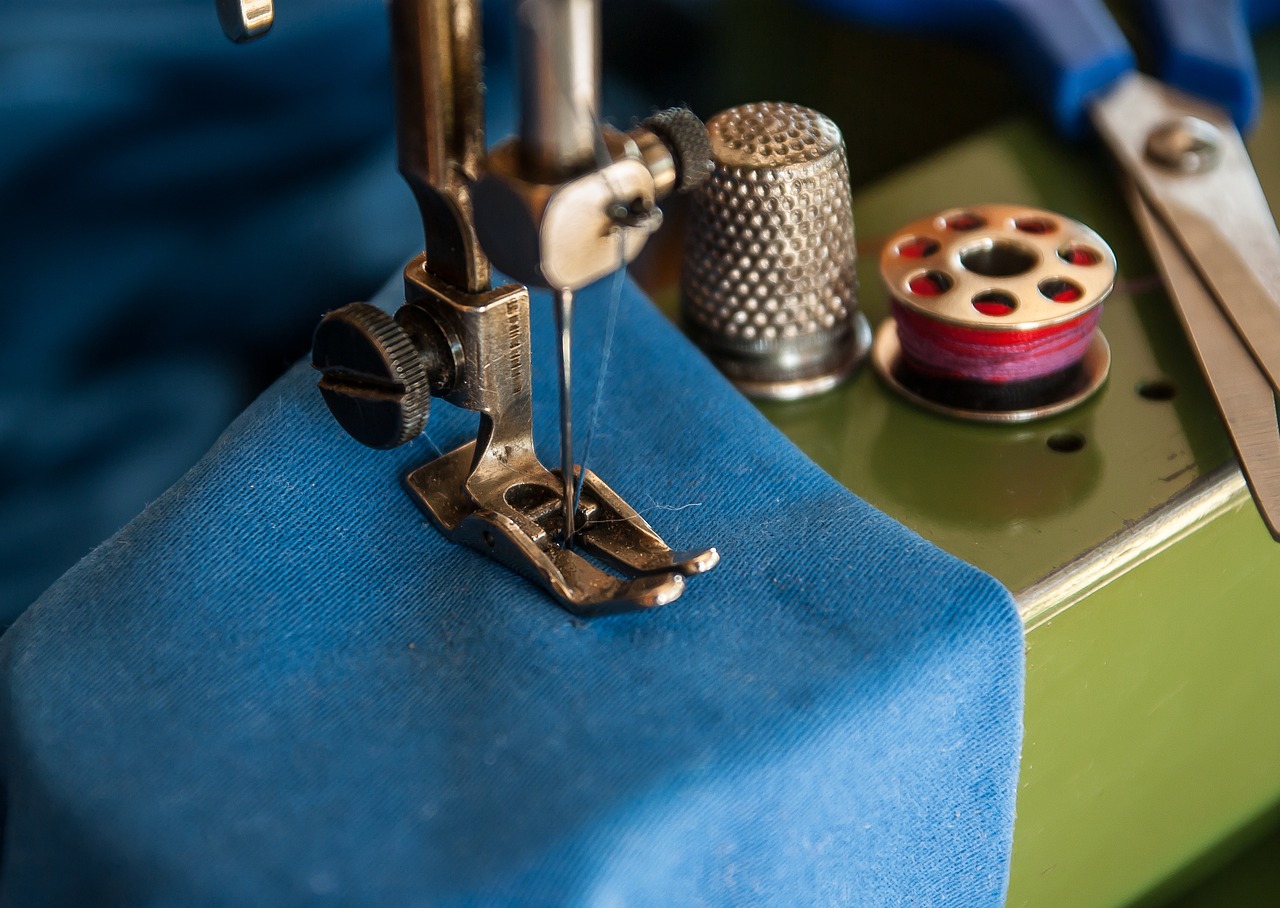
When it comes to quilting, can make a world of difference in your sewing experience. Just like a painter chooses the right brush for their masterpiece, quilters must select the appropriate presser foot to achieve their desired effects. There are various types of presser feet, each designed to assist in different aspects of quilting. Understanding these options can significantly enhance your precision and creativity.
One of the most popular choices among quilters is the walking foot. This foot is essential for managing multiple layers of fabric, ensuring that they are fed evenly through the machine. If you’ve ever struggled with fabric shifting while quilting, you know the frustration it can cause. The walking foot’s unique design features a set of feed dogs on the top of the foot that work in tandem with the machine’s bottom feed dogs, making it a game-changer for quilting projects.
Another important foot to consider is the free-motion quilting foot. This foot allows you to move your fabric freely in any direction, which is perfect for intricate designs and patterns. It’s like having the freedom to dance on the fabric, creating beautiful swirls and loops that add character to your quilt. However, using this foot requires practice to master the art of free-motion quilting, as you’ll need to control both the fabric and the machine simultaneously.
For those who enjoy adding decorative elements to their quilts, the appliqué foot is a must-have. This foot is designed to help you sew around the edges of appliqué pieces with precision, giving your quilt a polished and professional finish. It’s particularly useful when working with intricate shapes, as it allows for better visibility and maneuverability.
Additionally, you might want to explore the quarter-inch foot. This foot is specifically designed for piecing quilt blocks together, ensuring that your seams are consistently a quarter-inch wide. Consistency is key in quilting, and having a foot that helps you achieve accurate seam allowances can save you a lot of headaches down the line.
To help you choose the right foot for your quilting needs, here’s a quick comparison table:
| Type of Foot | Best For | Key Feature |
|---|---|---|
| Walking Foot | Multiple layers of fabric | Even fabric feeding |
| Free-Motion Quilting Foot | Intricate designs | Free movement in any direction |
| Appliqué Foot | Sewing around appliqué edges | Better visibility and maneuverability |
| Quarter-Inch Foot | Piecing quilt blocks | Consistent seam allowance |
In summary, selecting the right presser foot is crucial for achieving the best results in your quilting projects. Each foot serves a specific purpose, and understanding these differences can help you make informed decisions. So, the next time you sit down to quilt, take a moment to consider which foot will best suit your project. It could be the key to unlocking your creative potential!
1. How do I know which foot to use for my quilting project?
Choosing the right foot depends on the technique you’re using. For layered quilting, a walking foot is ideal, while a free-motion foot is perfect for intricate designs. Always consider the type of fabric and the desired outcome.
2. Can I use a standard foot for quilting?
While you can use a standard foot for basic quilting, specialized feet can enhance your results and make the process easier and more enjoyable.
3. How do I install a new presser foot?
Installing a new presser foot is usually a straightforward process. Turn off your machine, remove the current foot, and attach the new one according to your machine’s instructions. Always consult your machine’s manual for specific guidance.
4. Is it necessary to have multiple presser feet?
Having a variety of presser feet can greatly improve your quilting experience. Each foot has unique benefits that can help you achieve different styles and techniques.
Machine Speed Control
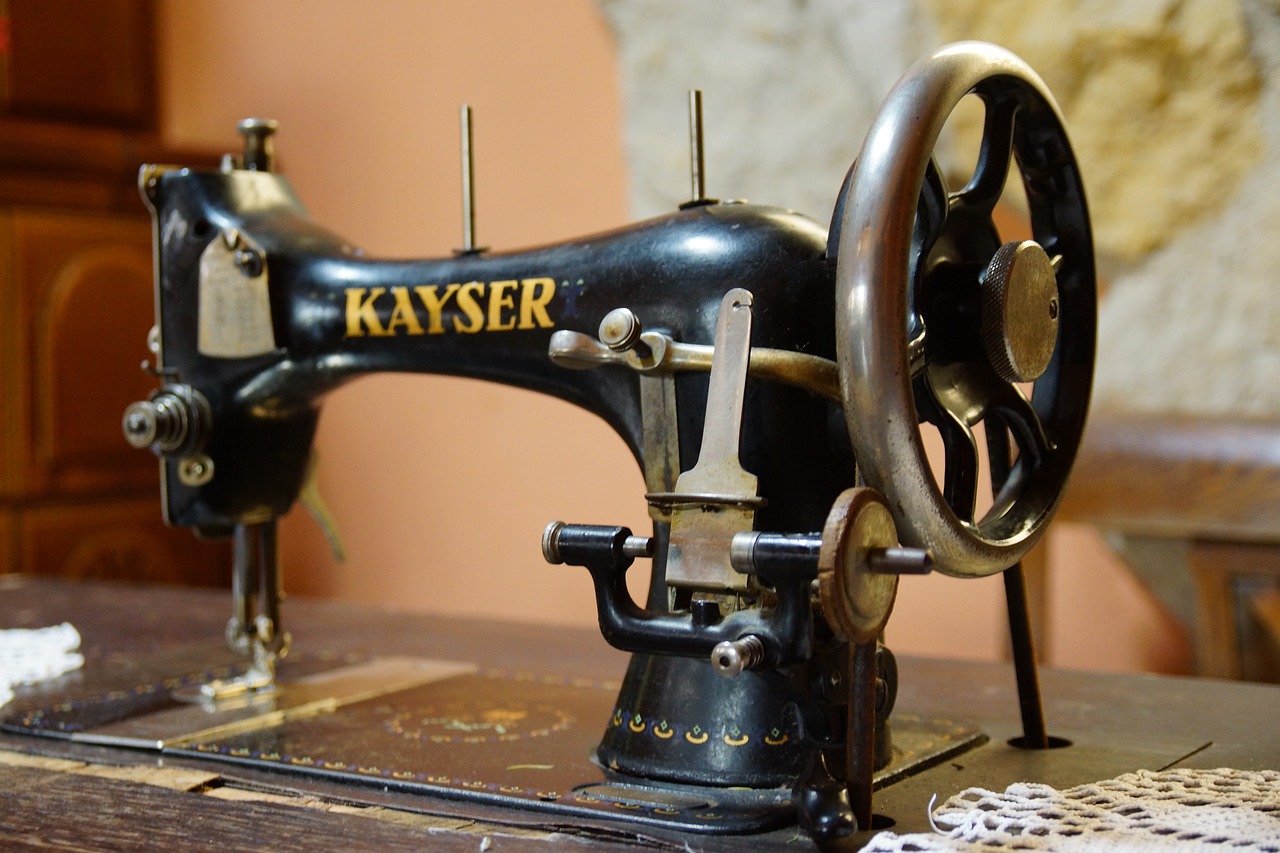
Controlling your sewing machine's speed is crucial for precision quilting. Imagine trying to paint a masterpiece with a brush that moves too fast—it's nearly impossible to create those fine details! Similarly, when you quilt, having the ability to adjust your machine's speed allows you to tackle intricate designs with confidence. Whether you're piecing together blocks or adding delicate free-motion quilting, the right speed can make all the difference.
Most modern sewing machines come equipped with adjustable speed settings, enabling you to find the sweet spot that suits your quilting style. For example, if you're working on a complex pattern with lots of curves and corners, slowing down will give you the control needed to navigate those tricky areas without fear of mistakes. Conversely, when you're sewing straight seams or doing repetitive tasks, you might want to crank up the speed to save time.
Here are some tips for mastering machine speed control:
- Start Slow: If you're new to quilting or trying out a new technique, begin at a slower speed. This helps build your confidence and allows you to focus on your stitching.
- Practice Makes Perfect: Spend some time practicing on scrap fabric. This will give you a feel for how different speeds affect your stitches and help you understand your machine better.
- Use Your Foot Pedal: Many machines have a foot pedal that allows you to control speed with your foot. Pressing down gently can slow things down, while pressing harder will speed things up. This gives you a level of control akin to driving a car—accelerating when you need to and slowing down when necessary.
Additionally, some machines feature a speed limiter, which can be a game-changer for beginners. This function allows you to set a maximum speed, ensuring you won't accidentally zoom through a delicate section of your quilt. Think of it as having training wheels while you learn to ride a bike—offering safety while you develop your skills.
Ultimately, finding the right speed for your quilting projects is about understanding your own comfort level and the demands of the project at hand. By experimenting with different speeds and settings, you can discover what works best for you, leading to more enjoyable and successful quilting experiences.
1. How do I know what speed is best for my quilting project?
Experiment with different speeds on scrap fabric to see what feels comfortable and allows you to achieve the desired results. Generally, slower speeds are better for intricate designs, while faster speeds work well for straight seams.
2. Can I adjust the speed while I'm sewing?
Yes! Most machines allow you to adjust the speed on the fly, especially if you're using a foot pedal. Just remember to practice controlling it gently to avoid sudden changes.
3. What should I do if my stitches are uneven at high speeds?
If you're experiencing uneven stitches, try slowing down. Uneven tension or incorrect speed can lead to stitch irregularities, so adjusting your speed might help achieve better results.
4. Is it okay to use a speed limiter for all my projects?
Absolutely! A speed limiter can be beneficial, especially for beginners or when working on complex designs. It helps prevent mistakes while you build your skills.
Using a Walking Foot
When it comes to quilting, the right tools can make all the difference, and one of the most valuable tools you can have in your arsenal is a walking foot. But what exactly is a walking foot, and why should you consider using one for your quilting projects? Imagine trying to juggle multiple layers of fabric while ensuring they all move smoothly through your sewing machine. Sounds tricky, right? That’s where the walking foot comes into play!
A walking foot is designed to help feed multiple layers of fabric evenly, which is particularly useful for quilting. Unlike a standard presser foot, which only holds the top layer of fabric in place, a walking foot has additional feed dogs that grip the top layer and work in tandem with the feed dogs beneath the fabric. This means that whether you're working with thick batting or slippery fabrics, your layers will stay aligned, preventing any unwanted shifting or puckering.
Using a walking foot can significantly enhance your quilting experience. Here are some key benefits:
- Even Feeding: It helps to evenly feed multiple layers of fabric, which is crucial for achieving a polished look.
- Reduced Puckering: By preventing layers from shifting, you minimize the risk of puckering, ensuring a smooth finish.
- Versatility: A walking foot is not just for quilting; it can also be used for sewing knits, plaids, and other challenging fabrics.
Now, you might be wondering how to install and use a walking foot effectively. First, make sure your sewing machine is turned off to avoid any accidents. Remove your current presser foot by flipping the lever at the back of the foot holder. Next, attach the walking foot, ensuring it’s securely in place. Most walking feet come with a special connector that attaches to the needle bar, allowing the foot to move in sync with the needle. Once installed, you can adjust the height of the foot to accommodate various fabric thicknesses.
When it comes to technique, take your time! Start by sewing with a straight stitch, and as you gain confidence, you can experiment with decorative stitches. Always remember to guide the fabric gently, allowing the walking foot to do its job. And don't forget to keep an eye on your stitch length; a longer stitch can help when working with thicker layers, while a shorter stitch may be necessary for more delicate fabrics.
In summary, incorporating a walking foot into your quilting toolkit can elevate your projects to new heights. It’s not just about making your life easier; it’s about enhancing the overall quality of your work. So, if you haven’t tried one yet, what are you waiting for? Your quilts deserve the best!
1. Can I use a walking foot on any sewing machine?
Most modern sewing machines are compatible with walking feet, but it’s always best to check your machine’s manual for specifics.
2. Is a walking foot the same as a quilting foot?
While they serve similar purposes, a walking foot is specifically designed to feed multiple layers of fabric evenly, while a quilting foot may have additional features for free-motion quilting.
3. Can I use a walking foot for other sewing projects?
Absolutely! A walking foot is versatile and can be used for various sewing projects, including garments, home decor, and more.
4. How do I know if my walking foot is installed correctly?
Ensure that the walking foot is securely attached to the machine and that the connector is aligned with the needle bar. It should move smoothly as you sew.
Maintaining Your Sewing Machine
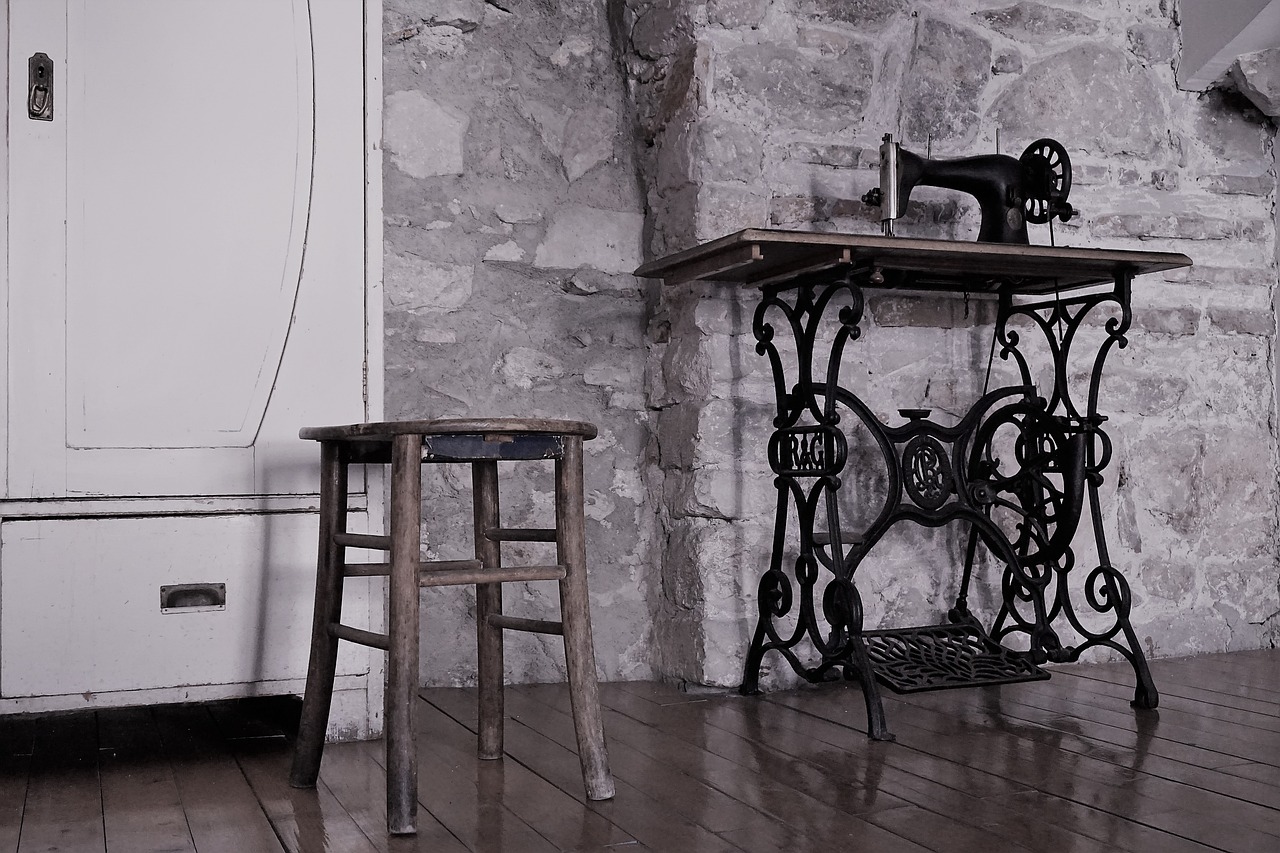
Maintaining your sewing machine is not just a chore, but an essential part of ensuring that your quilting projects turn out beautifully. Just like a car needs regular oil changes, your sewing machine requires consistent care to keep it running smoothly. Imagine trying to drive a car that’s sputtering and stalling; that’s what it feels like to sew with a poorly maintained machine!
First and foremost, cleaning your machine is crucial. Dust and lint can accumulate in the bobbin area and around the feed dogs, which may lead to malfunctions or uneven stitching. To clean your machine effectively, you should:
- Remove the needle and presser foot.
- Take out the bobbin case and clean away any lint using a small brush or a vacuum attachment.
- Wipe down the exterior with a soft cloth to remove any dust.
Next, let’s talk about oiling. Many sewing machines come with specific instructions on where to oil. Generally, you’ll want to apply a few drops of sewing machine oil to the designated points, which can help lubricate the moving parts and reduce friction. Remember, though, that less is often more; too much oil can attract more dust and lint, creating a cycle of maintenance that’s hard to break!
Another key aspect of maintenance is checking your needle. A dull or bent needle can wreak havoc on your quilting. Make it a habit to change your needle regularly, especially when switching between different fabric types or if you notice any skipped stitches. For quilting, a needle size between 80/12 and 90/14 is usually recommended, but always refer to your fabric’s requirements.
Lastly, consider keeping a maintenance log for your sewing machine. Document when you last cleaned it, changed the needle, or performed any other maintenance tasks. This will help you stay on top of your machine's needs and ensure it’s always ready for your next quilting adventure.
Q: How often should I clean my sewing machine?
A: It’s good practice to clean your machine after every few projects or at least once a month if you sew regularly.
Q: Can I use regular oil for my sewing machine?
A: No, it’s best to use specifically formulated sewing machine oil, as it is designed to withstand the conditions inside your machine.
Q: What should I do if my machine is still having issues after maintenance?
A: If problems persist, it may be time to consult a professional technician for a thorough inspection and servicing.
Frequently Asked Questions
- What stitch types are best for quilting?
When it comes to quilting, straight stitches are your best friend for piecing fabric together. However, don't overlook zigzag stitches for finishing edges and adding some flair. Decorative stitches can also elevate your quilt, making it a true work of art!
- How do I adjust thread tension?
Adjusting thread tension is crucial for balanced stitches. Start by testing your tension on a scrap piece of fabric. If your stitches are too loose or too tight, tweak the tension dial until you find that sweet spot. Remember, different fabrics and threads may require different settings!
- Which needle should I use for quilting?
The right needle can make all the difference! For quilting, a quilting needle (often labeled as "quilting" or "double needle") is ideal as it has a tapered point that easily pierces multiple layers of fabric. Consider the size based on your fabric thickness—larger sizes for thicker materials!
- What is the ideal stitch length and width for quilting?
A good rule of thumb is to set your stitch length between 2.0 to 3.0 mm for piecing and around 3.0 to 4.0 mm for quilting. The width can vary based on your design but keeping it consistent will help maintain a clean look!
- How does the presser foot affect my quilting?
The presser foot you choose can significantly impact your technique. A walking foot is fantastic for quilting as it helps move multiple layers of fabric evenly, preventing shifting. If you're doing free-motion quilting, a darning foot is your go-to!
- How can I control my sewing machine's speed?
Speed control is key for precision. Most machines have a speed control slider or a foot pedal that allows you to adjust how fast you sew. Practice on scrap fabric to find a comfortable speed that gives you control without sacrificing creativity!
- What are the benefits of using a walking foot?
A walking foot is a game changer for quilting! It helps to evenly feed multiple layers of fabric, reducing puckering and ensuring smooth stitching. Plus, it can handle thicker materials, making your quilting projects easier and more enjoyable!
- How do I maintain my sewing machine for quilting?
Regular maintenance is crucial! Clean your machine after every few projects by removing lint and dust. Oil it as per the manufacturer's instructions, and consider getting it serviced at least once a year to keep it running smoothly. A well-maintained machine is a happy machine!


