Transferring Photos onto Fabric for Quilting
Have you ever thought about how amazing it would be to incorporate your cherished memories into your quilting projects? Imagine wrapping yourself in a quilt that not only keeps you warm but also tells a story through your favorite photos! Transferring photos onto fabric opens up a whole new world of creativity and personalization in quilting. Whether it's a family gathering, a stunning vacation snapshot, or even a beloved pet, these images can be beautifully showcased in your fabric quilts, making them truly one-of-a-kind.
In this article, we will explore various methods for transferring photos onto fabric, providing you with the knowledge and tools to enhance your quilting projects. From understanding different photo transfer techniques to choosing the right fabric and finishing your quilt, we’ll cover it all. So, grab your favorite images and let’s dive into the world of photo transfer for quilting!
When it comes to transferring photos onto fabric, there are several methods available, each with its own unique benefits and challenges. Some methods are straightforward and beginner-friendly, while others may require a bit more skill and practice. Here are a few popular techniques:
- Iron-On Transfers: A simple and effective method that uses heat to transfer images onto fabric.
- Inkjet Transfers: This technique allows you to print images directly onto special transfer paper before applying them to fabric.
- Laser Transfers: Similar to inkjet transfers but use a laser printer for sharper images.
- Photo Fabric Sheets: These sheets can be printed on directly and then sewn into your quilt.
Choosing the right method depends on your specific project needs, the type of fabric you are using, and the desired outcome. Each technique has its unique flair, so don't hesitate to experiment!
Fabric selection is crucial for successful photo transfers. Not all fabrics are created equal, and some work better with certain transfer methods than others. For instance, cotton fabric is often recommended due to its smooth texture and ability to hold ink well. However, you can also explore options like canvas or linen for different effects. The key is to ensure that the fabric you choose is compatible with the transfer method you plan to use.
Before diving into the transfer process, make sure to prepare your fabric properly. This preparation can significantly impact the quality of your photo transfer. Here are some essential fabric preparation techniques:
Properly preparing your fabric can make a world of difference. Here are some steps to follow:
First things first, always wash your fabric before using it for photo transfer. This step removes any finishes or treatments that could interfere with the adhesion of your transfer. After washing, ironing your fabric is vital. A smooth, wrinkle-free surface ensures that your photo transfer will adhere evenly, leading to professional-looking results.
Stabilizers are an essential component in maintaining the integrity of your fabric during the transfer process. They help prevent distortion and ensure that your image remains crisp and clear. There are various types of stabilizers available, including tear-away, cut-away, and wash-away options. Choose one that suits your fabric type and transfer method for the best outcome.
Once your fabric is prepped, the next step is printing your photos. The quality of your printed images can greatly affect the final result, so it's important to use the right printer and paper. Inkjet printers are often preferred for photo transfers due to their ability to produce vibrant colors and detailed images. Make sure to use high-quality photo paper or transfer paper specifically designed for fabric. Adjusting your printer settings to the highest quality can also make a significant difference.
After preparing your photos and fabric, it's time to apply the transfer. This process varies depending on the method you choose. For instance, with iron-on transfers, you'll need to follow specific temperature settings and timing to ensure a durable and high-quality image on your fabric. Each method has its nuances, so be sure to follow the instructions carefully for the best results.
Iron-on transfers are a popular choice for many quilters due to their ease of use. To apply an iron-on transfer, start by preheating your iron to the recommended temperature. Place your transfer face down on the fabric, cover it with a pressing cloth, and apply firm pressure for the specified time. Let it cool before peeling off the backing to reveal your beautiful image!
Both inkjet and laser transfers offer unique advantages for photo quilting. Inkjet transfers are fantastic for vibrant colors, while laser transfers provide sharp, detailed images. Depending on your fabric type and desired outcome, you may find one method more suitable than the other. Experimenting with both can yield exciting results!
Once you’ve successfully transferred your photos onto fabric, it’s time for the final touches. Finishing your quilt involves various quilting techniques, binding options, and tips for displaying your masterpiece. Whether you choose to quilt by hand or machine, the finishing process is where your quilt truly comes to life. Remember to take your time and enjoy every stitch!
Q: Can I use any type of fabric for photo transfers?
A: While you can use various fabrics, cotton is often the best choice due to its smooth texture and ink absorption capabilities.
Q: What printer should I use for photo transfers?
A: Inkjet printers are generally preferred for their ability to produce vibrant images, but laser printers can also work well depending on the transfer method.
Q: How do I ensure my photos stay vibrant after washing?
A: Always follow the manufacturer's instructions for setting the transfer and consider using fabric paint or sealants to protect your images.
Understanding Photo Transfer Methods
When it comes to transferring photos onto fabric for quilting, the journey is as exciting as the destination! There are several methods to choose from, each with its own unique flair and challenges. Understanding these methods can help you make an informed decision that best suits your quilting project. Let's dive into the most popular techniques that will allow you to infuse your quilts with personal memories.
One of the most commonly used methods is the iron-on transfer. This technique involves printing your photo onto special transfer paper, which you then adhere to the fabric using a hot iron. The beauty of iron-on transfers lies in their simplicity; they are often beginner-friendly and require minimal equipment. However, it’s essential to note that the quality of the image can vary based on the transfer paper and the fabric used. To ensure a vibrant result, always choose high-quality materials.
Another popular option is inkjet transfer. This method allows for stunning detail and color vibrancy. By printing your image directly onto fabric sheets that are compatible with inkjet printers, you can achieve a professional look. But beware! Inkjet transfers can sometimes bleed or fade if not treated properly, so it’s crucial to use a fabric that can handle the ink and to follow up with a protective treatment.
For those with a little more experience, laser transfer is an excellent choice. This method uses heat to transfer the image from a special paper to the fabric, resulting in a durable and long-lasting print. Laser transfers tend to hold up better over time, making them ideal for quilts that will be used frequently. However, this method requires a bit more finesse and the right equipment, so be prepared to invest some time learning the ropes!
In addition to these methods, there are also photo fabric sheets available on the market. These sheets are designed to be fed directly into your printer, allowing you to print your photo directly onto the fabric. This method is incredibly convenient and provides excellent results, but it’s important to select fabric sheets that are compatible with your printer type.
To help you visualize the differences between these methods, here’s a quick comparison:
| Method | Ease of Use | Image Quality | Durability |
|---|---|---|---|
| Iron-On Transfer | Easy | Good | Moderate |
| Inkjet Transfer | Moderate | Excellent | Variable |
| Laser Transfer | Challenging | Very Good | High |
| Photo Fabric Sheets | Very Easy | Excellent | High |
In conclusion, the method you choose will largely depend on your skill level, the type of fabric you’re using, and the desired outcome for your quilt. Each technique offers something unique, so don’t hesitate to experiment! After all, quilting is about creativity and personal expression, and there’s no wrong way to showcase your favorite memories.
Choosing the Right Fabric
When it comes to transferring photos onto fabric, choosing the right fabric is absolutely crucial. The fabric you select can significantly affect the final outcome of your quilting project. Not all fabrics are created equal, and some work better with photo transfer techniques than others. For instance, natural fibers such as cotton and linen are often preferred due to their ability to absorb inks and adhesives effectively. These materials provide a smooth canvas that enhances the clarity and vibrancy of your images. On the other hand, synthetic fabrics, while sometimes offering durability, can present challenges in adhesion and image quality.
Before diving into your project, consider the type of photo transfer method you plan to use. Each method may have specific fabric requirements. For example, if you’re using an iron-on transfer, a tightly woven cotton fabric will yield better results than a loosely woven fabric. Additionally, you should be aware of the fabric's weight and texture. Heavier fabrics may require more heat and pressure during the transfer process, while lighter fabrics might not hold the image as well.
Another essential factor is the preparation of the fabric. Fabrics often come with finishes that can hinder the transfer process. Washing your fabric before starting will remove any chemicals or finishes that could interfere with adhesion. After washing, it’s equally important to iron the fabric to eliminate wrinkles. A smooth surface is vital for achieving a clear and vibrant image transfer. You might also want to consider using a stabilizer, especially if you’re working with a fabric that has a tendency to stretch or distort.
To help you navigate your fabric choices, here’s a quick comparison of popular fabric types:
| Fabric Type | Best For | Notes |
|---|---|---|
| Cotton | Most photo transfer methods | Absorbs ink well; easy to work with |
| Linen | High-quality images | Natural look; may require special care |
| Polyester | Durability | Can be tricky for transfers; test first |
| Canvas | Heavy-duty projects | Great for bags and wall hangings; requires more heat |
Ultimately, the fabric you choose will set the stage for your entire quilting project. By selecting the right material and preparing it properly, you can ensure that your photo transfers not only look stunning but also stand the test of time. Remember, a well-chosen fabric can transform your quilt from a simple project into a cherished keepsake that tells a story through your personal images.
Fabric Preparation Techniques
When it comes to transferring photos onto fabric, the preparation of your fabric is a crucial step that can make or break your project. Think of it as laying the foundation for a house; if the foundation is shaky, the entire structure may collapse. To ensure a successful photo transfer, you need to follow a few essential techniques that will set you up for success.
First off, washing your fabric is an absolute must. This step removes any finishes, oils, or residues that might interfere with the adhesion of the transfer. Many fabrics come with a protective coating that makes them feel smooth and shiny, but this can hinder the transfer process. By washing your fabric in cold water and allowing it to air dry, you’ll create a clean slate that’s ready to receive your precious images.
Next, let’s talk about ironing. Once your fabric is washed and dried, it's time to give it a good press. Wrinkles can act like little mountains on the surface of your fabric, creating obstacles for your photo transfer. Use a warm iron to smooth out any creases, ensuring that the fabric is as flat as possible. This not only improves the transfer but also gives your quilt a professional finish. Remember, a smooth surface is key to a crisp image!
Another important aspect is the use of stabilizers. Stabilizers are like the unsung heroes of fabric preparation. They provide extra support, keeping the fabric stable during the transfer process. There are various types of stabilizers available, such as tear-away, cut-away, and water-soluble. Each type serves a different purpose, so it’s essential to choose the right one based on your fabric type and the complexity of your design. For example, if you’re working with stretchy fabric, a cut-away stabilizer is ideal as it prevents distortion. On the other hand, if you're using a stable fabric, a tear-away stabilizer would work just fine.
To summarize, here are the key steps for effective fabric preparation:
- Wash your fabric to remove any coatings.
- Iron the fabric to eliminate wrinkles.
- Use stabilizers to maintain fabric integrity during the transfer.
By following these fabric preparation techniques, you’re not just preparing your fabric; you’re setting the stage for a beautiful and successful photo quilt. So, take the time to get it right, and you’ll be rewarded with stunning results that showcase your cherished memories in a whole new way!
Q: Why is it important to wash fabric before transferring photos?
A: Washing fabric removes any finishes or residues that can interfere with the adhesion of the transfer, ensuring a better outcome.
Q: Can I skip ironing my fabric?
A: Skipping the ironing step can lead to wrinkles that distort your image. It's best to iron your fabric for a smooth transfer.
Q: What type of stabilizer should I use?
A: The type of stabilizer depends on your fabric type. For stretchy fabrics, use cut-away stabilizers; for stable fabrics, tear-away stabilizers are sufficient.
Washing and Ironing Fabric
When it comes to transferring photos onto fabric, the first crucial step is washing your fabric. This process is not just a formality; it's essential for achieving optimal adhesion of the transfer. Fabrics often come with finishes or coatings that can hinder the transfer process, resulting in a blurry or faded image. By washing your fabric before starting, you remove these unwanted finishes, allowing for a smoother transfer surface. It's like preparing a canvas before painting—every artist knows that a clean surface is key to a masterpiece!
After washing, the next step is ironing your fabric. This may seem trivial, but trust me, it's a game-changer. Wrinkles in your fabric can create uneven surfaces, which can lead to distortion during the transfer process. To achieve a perfectly smooth surface, you should iron your fabric thoroughly. Set your iron to the appropriate temperature for the fabric type—usually, a medium heat setting works well for most cottons and blends. Make sure to iron out all the creases, as even a small wrinkle can disrupt the transfer. Think of it as smoothing out the bumps on a road before driving; a smooth journey leads to better results!
Here are a few tips to keep in mind while washing and ironing your fabric:
- Use mild detergent: This helps preserve the fabric's integrity.
- Skip the fabric softener: It can leave a residue that interferes with photo transfer.
- Iron on the reverse side: This protects the fabric's surface and prevents any potential damage.
By taking the time to wash and iron your fabric properly, you're setting the stage for a successful photo transfer. The effort you put in at this stage will pay off when you see your beautiful images come to life on fabric. So, roll up your sleeves and get ready to create something truly special!
Q: Can I use any type of fabric for photo transfers?
A: While many fabrics work well, cotton and cotton blends are often the best choices due to their smooth texture and ability to hold the transfer.
Q: Do I need to pre-wash all types of fabric?
A: Yes, pre-washing is recommended for all types of fabric to remove finishes that could affect adhesion.
Q: What temperature should I set my iron for different fabrics?
A: Generally, a medium heat setting is suitable for most cottons. Always check the fabric care label for specific instructions.
Using Stabilizers
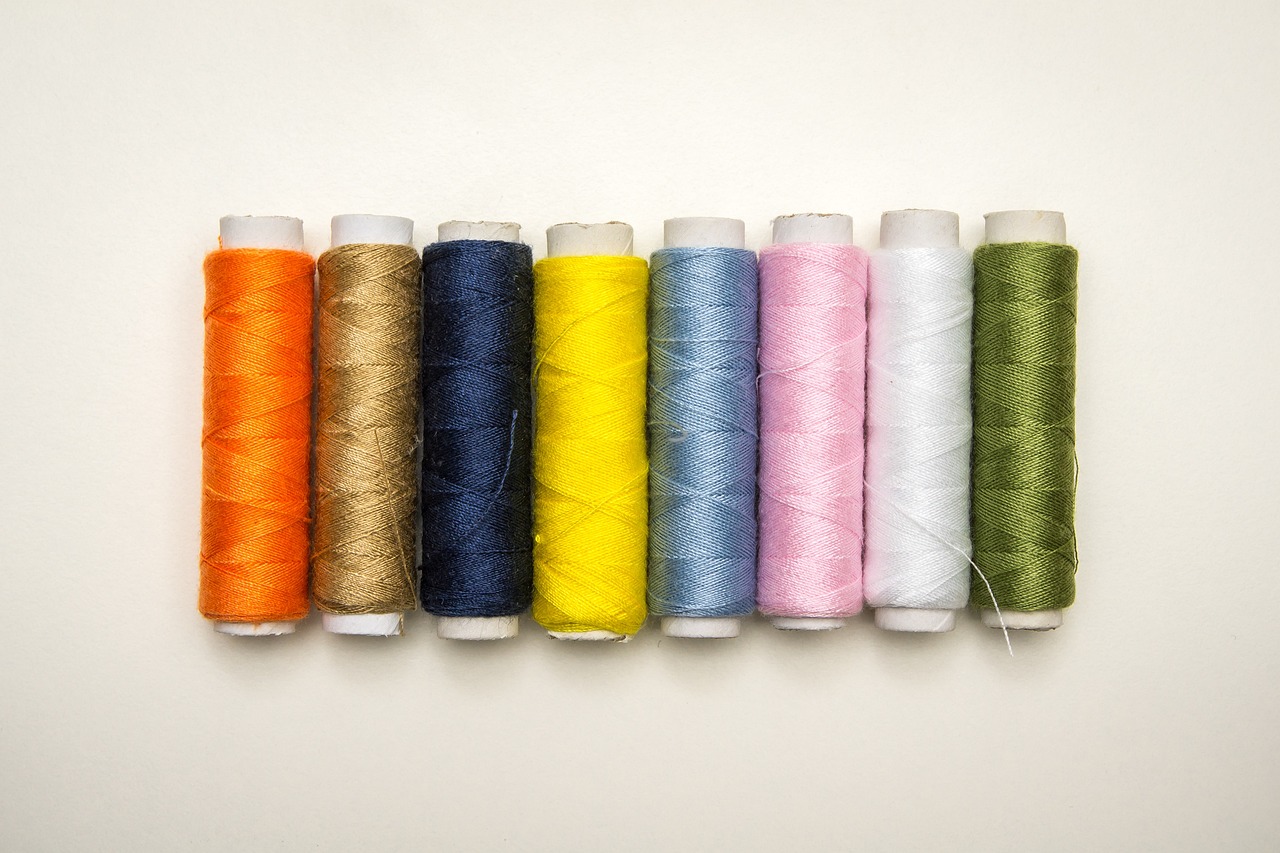
When it comes to transferring photos onto fabric, is a game-changer. Stabilizers act as a supportive layer that helps maintain the integrity of the fabric during the transfer process. Think of them as the backbone of your project, ensuring that your beautiful images don’t warp or distort. There are several types of stabilizers available, each serving a unique purpose, and knowing how to choose the right one can make all the difference in achieving a professional finish.
First off, let’s break down the types of stabilizers you might encounter:
| Type of Stabilizer | Description | Best Use |
|---|---|---|
| Cut-Away Stabilizer | A firm stabilizer that remains on the fabric after stitching. | Best for designs with dense stitching. |
| Tear-Away Stabilizer | Lightweight and easy to remove after the transfer. | Ideal for simple designs with minimal stitching. |
| Wash-Away Stabilizer | Dissolves in water, leaving no residue. | Perfect for delicate fabrics or intricate designs. |
Choosing the right stabilizer is crucial, as it can affect both the clarity of your image and the overall durability of your quilt. For instance, if you're working with a fabric that stretches easily, like knit or jersey, a cut-away stabilizer would be an excellent choice. It provides the necessary support and prevents stretching during the transfer process. On the other hand, if you’re using a more stable fabric like cotton, a tear-away stabilizer might suffice, allowing for easy removal after the transfer.
Another important consideration is how to properly apply the stabilizer. Before you start transferring your photos, make sure to:
- Secure the stabilizer: Use temporary adhesive spray or pins to hold the stabilizer in place on the fabric.
- Follow the manufacturer’s instructions: Each stabilizer will have specific guidelines for application, so be sure to read them carefully.
- Test before you commit: If you're uncertain about a stabilizer’s compatibility with your fabric or transfer method, conduct a test run on a scrap piece first.
In summary, using stabilizers effectively can greatly enhance the quality of your photo transfer projects. They not only support the fabric but also help you achieve a clean, crisp image that stands the test of time. So, as you prepare for your next quilting adventure, don’t overlook the power of a good stabilizer!
1. What is a stabilizer and why do I need one for photo transfers?
A stabilizer is a material used to support your fabric during the photo transfer process. It helps prevent distortion and ensures that your images transfer clearly and crisply.
2. Can I use any stabilizer for all types of fabric?
Not all stabilizers work well with every fabric. It's important to choose a stabilizer that matches the fabric type and the complexity of your design.
3. How do I remove the stabilizer after the transfer?
The method for removing stabilizers depends on the type you used. Tear-away stabilizers can be pulled away, while wash-away stabilizers need to be rinsed in water. Cut-away stabilizers remain in place and are trimmed close to the stitching.
4. Do I need to use a stabilizer for every photo transfer?
While it's not always necessary, using a stabilizer is highly recommended for most photo transfers, especially if you're working with fabrics that could stretch or distort.
Printing Your Photos
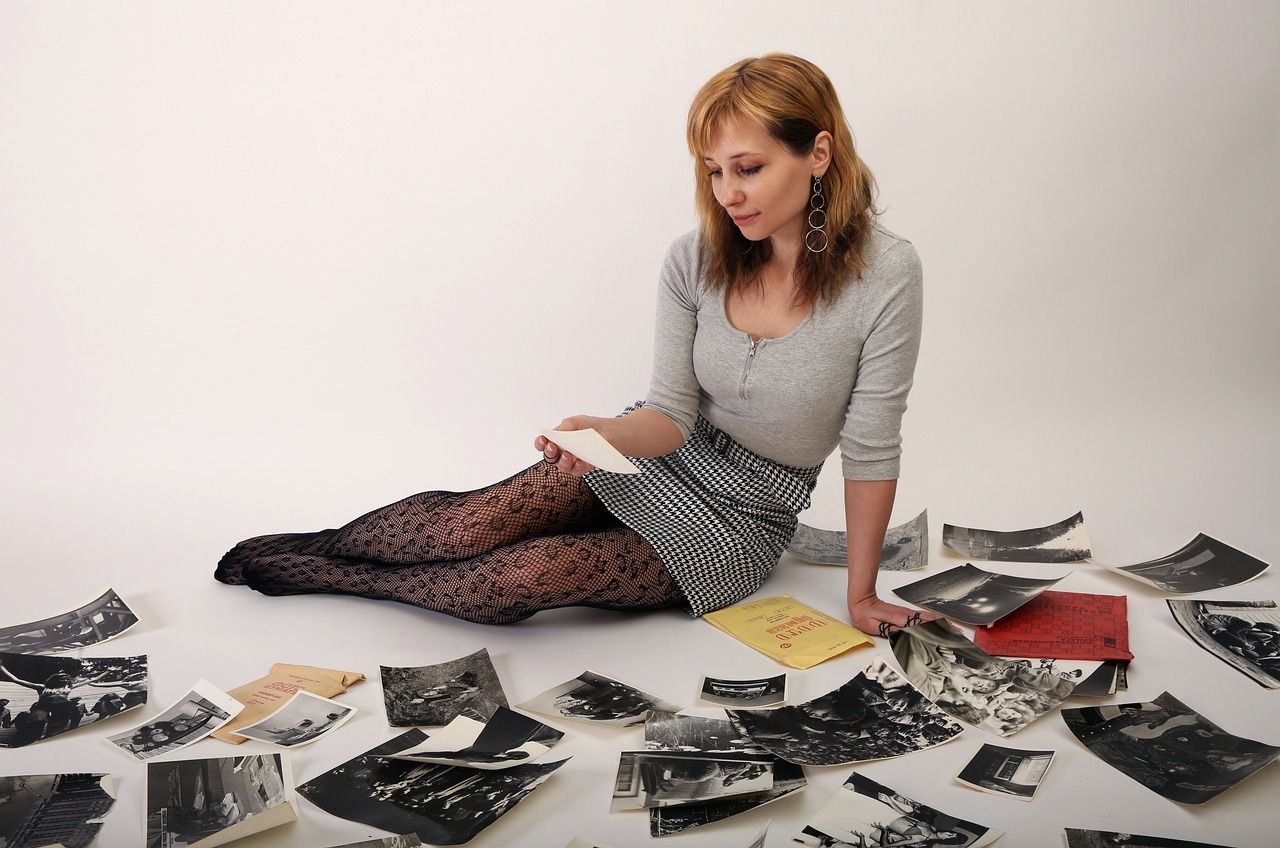
Printing your photos is a crucial step in the photo transfer process, and it can make or break the final outcome of your quilt. You want your images to not only look good but also to be vibrant and ready for transfer. First things first, it's essential to choose the right printer. Inkjet printers are generally preferred for photo transfers because they produce high-quality, detailed images. However, laser printers can also be used effectively, especially for certain transfer methods. Understanding the differences between these printers can help you make an informed decision.
Now, let's talk about paper. The type of paper you use can significantly impact the quality of your printed photos. For best results, opt for photo transfer paper that is specifically designed for fabric transfers. This paper is coated to allow the ink to adhere properly, ensuring that your images come out crisp and clear. When it comes to settings, make sure to select the highest quality print option on your printer. This will give you the best resolution and detail, which is what we all want when creating a stunning quilt.
Here are some tips to keep in mind while printing:
- Image Size: Ensure your images are sized correctly for the area of fabric you plan to use. You don’t want to stretch or distort your photos during the transfer.
- Color Settings: Consider adjusting your printer’s color settings. Sometimes, the default settings may not reflect the true colors of your image, so a test print can be beneficial.
- Test Prints: Before committing to your final fabric, do a test print on regular paper to check colors and clarity.
After printing, allow your photos to dry completely before moving on to the transfer process. This is crucial because wet ink can smudge and ruin your hard work. Once dry, you can trim your images to fit your fabric perfectly, ensuring that you have a clean edge for the transfer. Remember, taking the time to print your photos correctly will pay off in the end, resulting in a quilt that not only tells a story but also showcases your creativity and effort.
Applying the Transfer
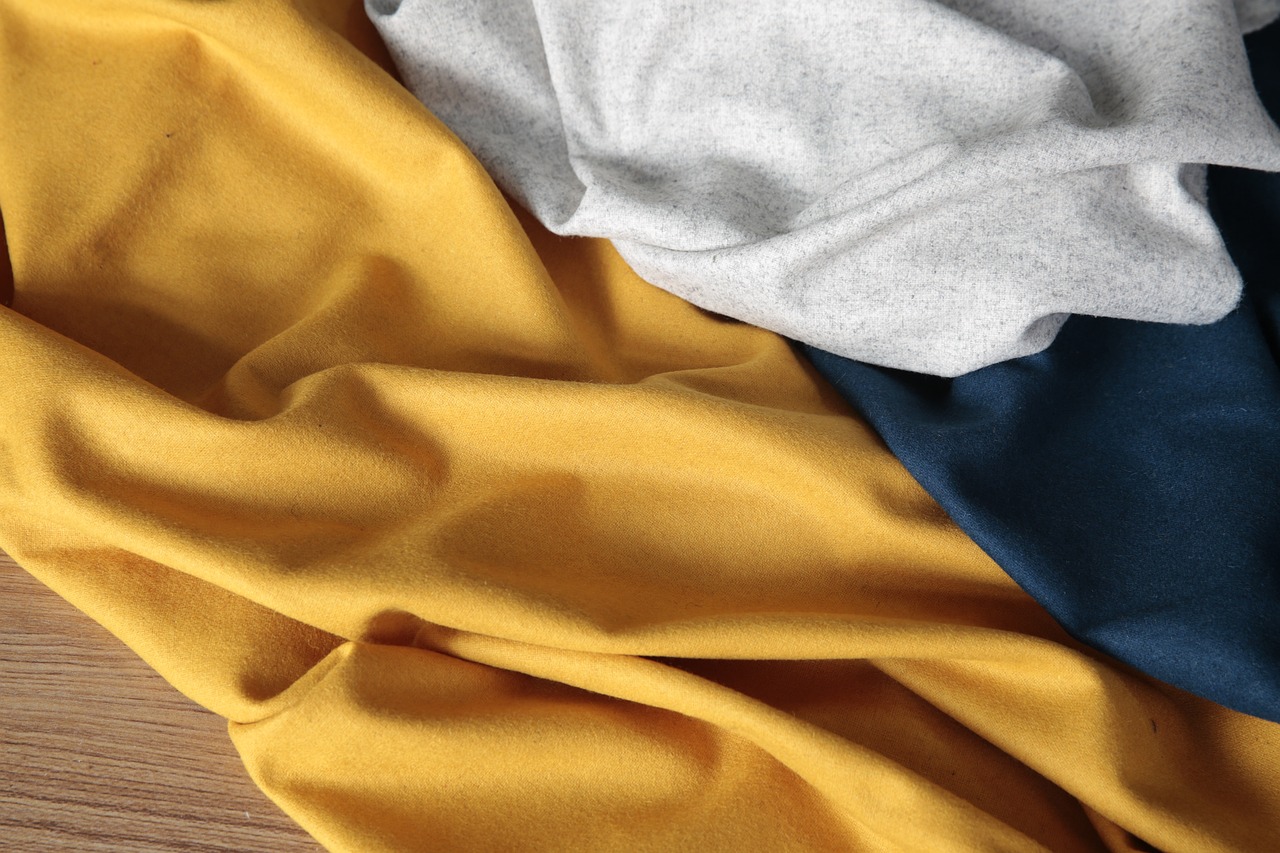
Once you've prepared your photos and fabric, the next exciting step in your quilting journey is applying the transfer. This is where the magic happens, transforming your cherished images into vibrant fabric art. It's crucial to follow the right steps to ensure a smooth application and achieve stunning results. Let’s dive into the process!
First off, you need to choose your transfer method. There are several options available, each with its own set of instructions. For instance, if you're using iron-on transfers, you'll want to make sure your iron is set to the appropriate temperature. Too hot, and you risk burning the fabric; too cool, and the transfer won't adhere properly. Typically, a medium to high setting works well, but always refer to the specific instructions that come with your transfer paper.
Here’s a quick rundown of the steps involved in applying iron-on transfers:
- Position Your Image: Place your image face down on the fabric where you want it to appear.
- Cover with a Cloth: Use a thin cloth or parchment paper to cover the transfer. This protects both the fabric and the iron.
- Press Firmly: Apply the iron with even pressure for about 30 seconds to a minute, depending on the transfer paper instructions.
- Let It Cool: Allow the transfer to cool completely before peeling off the backing paper.
But what if you’re leaning towards inkjet or laser transfers? The process is slightly different, but equally rewarding. For inkjet transfers, you'll need to print your image onto special transfer paper designed for inkjet printers. Make sure to print in reverse if your image includes text, so it appears correctly on the fabric. After printing, cut out your image, leaving a small border if desired.
When it comes time to apply the transfer, the steps are similar to those of iron-on transfers:
- Align Carefully: Position your printed image on the fabric, ensuring it's straight and centered.
- Use Heat: For inkjet transfers, you’ll typically need to apply heat with an iron or a heat press, following the manufacturer’s guidelines.
- Peel Backing: Once cooled, carefully peel away the backing paper to reveal your beautiful image.
Regardless of the method you choose, it’s essential to keep a few tips in mind:
- Always test a small piece of fabric first to ensure compatibility with your transfer method.
- Use a pressing cloth to avoid direct contact between the iron and the transfer, which can lead to damage.
- Be patient! Rushing through the process can lead to mistakes that might ruin your project.
In conclusion, applying the transfer is a thrilling step that brings your quilt to life. With the right technique and a bit of practice, you’ll be able to create stunning fabric quilts that tell your personal story. So, gather your materials, follow these guidelines, and let your creativity shine!
Here are some common questions regarding photo transfers onto fabric:
- What type of fabric works best for photo transfers? Cotton and cotton blends are ideal as they hold the transfer well.
- Can I wash my quilt after applying photo transfers? Yes, but it’s best to wait at least 24 hours after application and wash it on a gentle cycle.
- What should I do if my transfer doesn’t adhere properly? You can try reapplying heat, but if it still doesn’t work, you may need to start over with a new transfer.
Iron-On Transfers
Iron-on transfers are one of the most popular methods for transferring photos onto fabric, and for good reason! This technique is not only straightforward but also allows for vibrant, high-quality images to be embedded into your quilting projects. Imagine taking a cherished family photo or a stunning landscape and transforming it into a beautiful quilt square that tells a story. Sounds exciting, right? But before you dive in, there are a few essential steps and tips to ensure your transfer is a success.
To start, you’ll need to gather your materials. Here’s a quick checklist of what you’ll require:
- Iron-on transfer paper (make sure it’s compatible with your printer)
- Your chosen fabric (preferably cotton for best results)
- An iron (with adjustable temperature settings)
- Scissors to cut out your images
Once you have everything ready, the first step is to print your photo onto the transfer paper. It's crucial to check your printer settings; you want to select the highest quality print option available. Additionally, if you’re using an inkjet printer, ensure that you print on the correct side of the transfer paper—this is typically the glossy side. If your photo contains text, remember to flip it horizontally before printing to avoid any backward lettering!
Now comes the exciting part—applying the transfer! Start by preheating your iron to the recommended temperature for your transfer paper, usually around 350°F (175°C). It's vital to ensure that the fabric is clean and wrinkle-free; any imperfections can affect the quality of your transfer. Lay the fabric flat on a hard surface, then position your printed transfer face down onto the fabric. Apply firm pressure with the iron, moving it in circular motions for about 30 seconds to a minute. The heat will activate the adhesive on the transfer paper, allowing your image to bond with the fabric.
After you’ve ironed the transfer, let it cool for a moment before peeling off the backing paper. This is where the magic happens! If done correctly, you should see your image beautifully transferred onto the fabric. However, if you notice any areas that didn’t adhere well, don’t panic! Simply cover the area with a piece of parchment paper and reapply the iron for a few more seconds.
Finally, to ensure the longevity of your photo transfer, it’s advisable to wash your fabric in cold water and avoid using bleach. You can also consider using a fabric protector spray to help preserve the vibrancy of your image. With these steps, your quilt will not only be a stunning piece of art but also a lasting keepsake filled with memories.
In summary, iron-on transfers are an excellent choice for anyone looking to add a personal touch to their quilting projects. With a little patience and attention to detail, you can create beautiful fabric pieces that showcase your favorite moments. So, are you ready to get started on your next quilting adventure?
Here are some common questions that many crafters have about iron-on transfers:
- Can I use any type of fabric for iron-on transfers?
While you can use various fabrics, cotton is highly recommended due to its smooth surface and heat resistance. - What should I do if my image doesn’t adhere properly?
Reapply the iron with parchment paper over the area to give it another chance to bond. - How do I wash a quilt with iron-on transfers?
Always wash in cold water and avoid bleach to maintain the integrity of the transfer.
Inkjet and Laser Transfers
When it comes to transferring photos onto fabric, are two of the most popular methods that quilters rely on. Each method boasts its own unique benefits and challenges, making it essential to understand their differences to select the best option for your project. Inkjet transfers are particularly favored for their ability to produce vibrant and detailed images, thanks to the way ink is applied to the transfer paper. On the other hand, laser transfers use heat to fuse toner onto the fabric, resulting in a durable and long-lasting image.
One of the key advantages of using inkjet transfers is the variety of paper types available, which can enhance the quality of your prints. For instance, you can choose between glossy, matte, or even fabric-specific transfer papers that allow for better integration with textiles. However, it’s crucial to remember that inkjet prints may require a sealing process after application to prevent fading or smudging over time. This is especially important if your quilt will be exposed to sunlight or frequent handling.
On the flip side, laser transfers are known for their impressive durability and washability. The toner used in laser printing adheres more strongly to the fabric, which can be a game-changer for quilts that will see a lot of use. This method is particularly effective for darker fabrics, as it produces a striking contrast that can make your photos pop. However, it’s important to note that not all fabrics are compatible with laser transfers, so always check the manufacturer's recommendations before proceeding.
To help you decide between these two methods, here’s a quick comparison:
| Feature | Inkjet Transfers | Laser Transfers |
|---|---|---|
| Image Quality | High detail and vibrant colors | Good detail, but may lack vibrancy on lighter colors |
| Durability | May fade or smudge without sealing | Highly durable and wash-resistant |
| Fabric Compatibility | Works well on most fabrics | Best on specific fabrics; check compatibility |
| Cost | Generally lower initial cost | Higher cost due to specialized paper |
In conclusion, whether you choose inkjet or laser transfers largely depends on your specific needs and the type of quilt you are creating. Consider factors like fabric type, desired image quality, and how much wear and tear your quilt will experience. With the right choice, your photo transfers can elevate your quilting projects to a whole new level, making them not just beautiful but also deeply personal.
- Can I use any fabric for photo transfers? Not all fabrics are suitable for photo transfers. It's best to use cotton or cotton blends for optimal results.
- How do I seal inkjet transfers? You can use a fabric spray sealer or a light application of fabric medium to protect the image.
- Are laser transfers better than inkjet transfers? It depends on your project needs; laser transfers are generally more durable, while inkjet transfers offer more vibrant colors.
Finishing Your Quilt
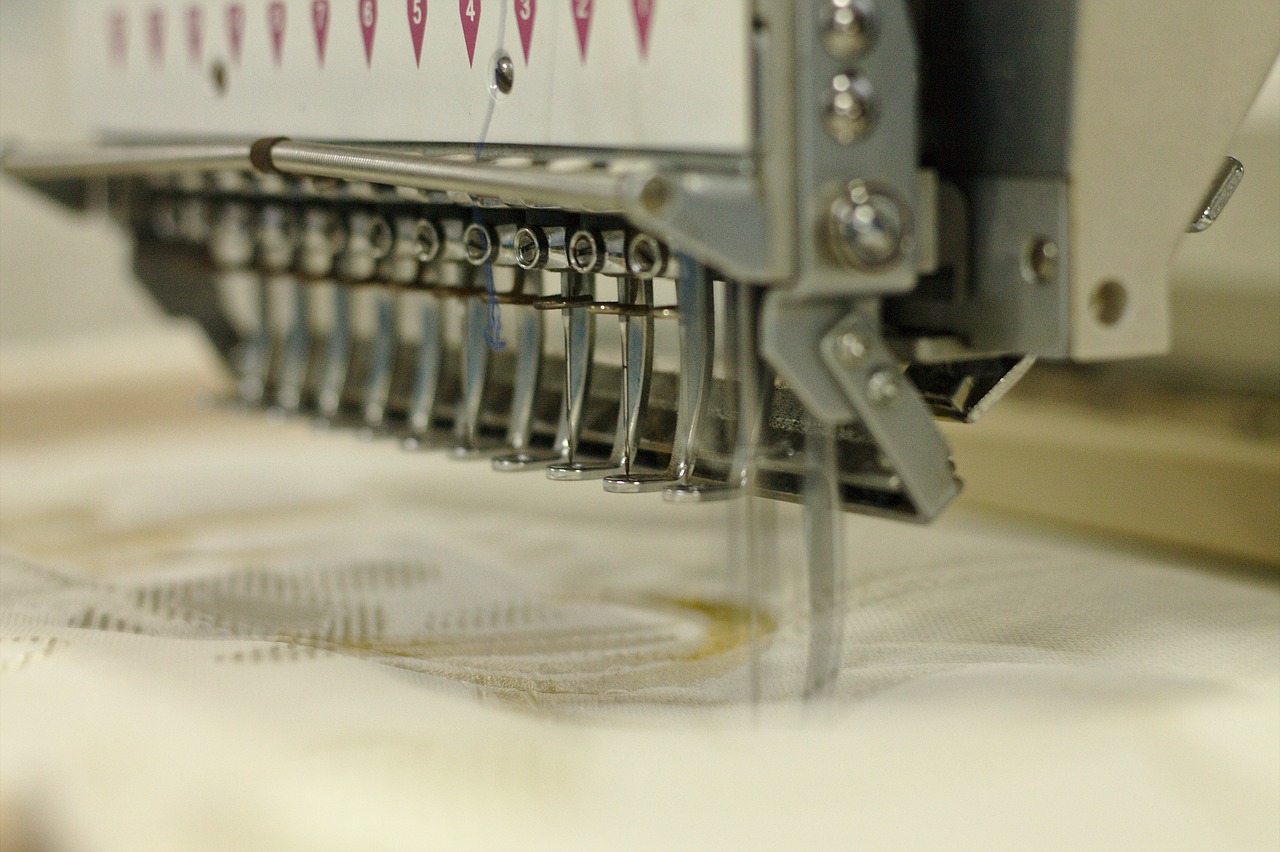
After all the hard work you've put into transferring photos onto fabric, it's time to bring your quilt to life with some finishing touches. This stage is where your creativity truly shines, allowing you to add your personal flair and ensure that your quilt is not just a collection of memories, but a stunning piece of art. Finishing a quilt involves several key steps, including quilting techniques, binding options, and the best ways to display your masterpiece.
First things first, let's talk about quilting techniques. Quilting is the process of sewing multiple layers of fabric together to create a cohesive piece. You can choose from various methods such as hand quilting, machine quilting, or even tying. Each technique has its own unique charm:
- Hand Quilting: This traditional method allows for intricate designs and a personal touch. It’s a bit time-consuming but incredibly rewarding.
- Machine Quilting: If you're short on time, using a sewing machine can speed up the process significantly. You can opt for free-motion quilting or straight-line quilting depending on your comfort level.
- Tying: This is a more casual approach where you simply tie knots at intervals across the quilt. It’s quick, easy, and adds a cozy texture.
Once you've decided on your quilting method, the next step is binding your quilt. Binding is like the cherry on top—it finishes the edges and gives your quilt a polished look. You can choose to use a fabric that complements your photos or go for a bold contrast to make it pop. Here are a couple of popular binding techniques:
- Double Fold Binding: This method involves folding the binding fabric in half and sewing it to the edge of the quilt, then folding it over to the back and hand-stitching it down.
- Bias Binding: This is particularly useful for curved edges and gives your quilt a beautiful finish. It’s made from fabric cut on the bias, allowing it to stretch and conform to the quilt's shape.
Now that your quilt is bound and beautifully quilted, it's time to display your creation! Whether it’s draping it over a couch, hanging it on a wall, or using it as a bedspread, showcasing your quilt is part of the joy. Consider the following tips to display your quilt:
- Wall Hanging: Use a quilt hanger or rods to create a stunning wall display that can be easily changed with the seasons.
- Quilt Rack: A quilt rack allows you to show off your quilt while keeping it accessible and protected.
- Bedspread: Let your quilt take center stage on your bed, adding warmth and character to your bedroom décor.
Lastly, don't forget to take care of your quilt. Proper care will ensure that your memories remain vibrant for years to come. Always follow washing instructions specific to the fabric and transfer method used, and consider using a gentle detergent to preserve the colors. With these final touches, your quilt will not only be a beautiful piece of art but also a cherished keepsake for generations.
Q: How do I care for my photo transfer quilt?
A: Always follow the washing instructions based on the fabric and transfer method. Use a gentle cycle and mild detergent to protect the images.
Q: Can I use any fabric for photo transfers?
A: While you can use various types of fabric, it's best to choose one that is compatible with your transfer method for optimal results.
Q: How do I prevent my photos from fading?
A: To minimize fading, keep your quilt out of direct sunlight and follow proper washing techniques.
Frequently Asked Questions
-
What methods can I use to transfer photos onto fabric?
There are several methods for transferring photos onto fabric, including iron-on transfers, inkjet transfers, and laser transfers. Each method has its own advantages, such as ease of use or image quality. It's important to choose the method that best suits your project needs and the type of fabric you're working with.
-
How do I prepare my fabric for photo transfer?
Preparing your fabric is crucial for a successful photo transfer. Start by washing the fabric to remove any finishes that might interfere with adhesion. After washing, iron the fabric to eliminate wrinkles, creating a smooth surface. Additionally, using stabilizers can help maintain the fabric's integrity during the transfer process.
-
What type of printer should I use for printing photos on fabric?
For printing photos on fabric, both inkjet and laser printers can be effective, but inkjet printers are generally preferred for their ability to produce vibrant colors. Make sure to use the right paper type designed for fabric transfers, and adjust your printer settings for the best quality output.
-
How do I apply an iron-on transfer correctly?
To apply an iron-on transfer, start by preheating your iron to the recommended temperature for the transfer material. Place the transfer face down on the fabric and apply firm pressure for the specified time. Be sure to follow the manufacturer's instructions for the best results, and allow the transfer to cool before peeling off the backing.
-
Can I wash my fabric quilt after transferring photos?
Yes, you can wash your fabric quilt after transferring photos, but it's important to follow specific care instructions. Use a gentle cycle and cold water to preserve the quality of the transfer. Avoid using bleach or harsh detergents, and consider air drying to maintain the integrity of the images.
-
What are some tips for finishing my quilt after photo transfer?
After transferring photos onto your quilt, consider using quilting techniques like stitching in the ditch or free-motion quilting to enhance the design. For binding, choose a fabric that complements your photos. Finally, think about how you want to display your quilt, whether it's hanging on a wall or draped over a couch, to showcase your unique creation.


