How to Follow a Sewing Pattern: Beginner's Guide
Are you ready to embark on your sewing journey? Following a sewing pattern can seem like a daunting task, especially for beginners. But fear not! This guide provides essential tips and techniques that will help you navigate the world of sewing patterns with ease and confidence. Whether you're looking to create a stunning dress, a cozy quilt, or a simple tote bag, understanding how to read and follow a sewing pattern is crucial for a smooth and enjoyable sewing experience from start to finish.
First things first, let’s talk about the different types of sewing patterns available. You can choose between commercial patterns and independent patterns. Commercial patterns are typically produced by well-known companies and are widely available in fabric stores. They often come with clear instructions and are categorized by skill level, making them a great choice for beginners. On the other hand, independent patterns are created by smaller designers and often offer unique styles and innovative designs. These patterns can be a bit more challenging but are worth exploring as you gain confidence in your sewing skills.
Before you dive into your sewing project, it’s crucial to gather all the necessary materials. Imagine trying to bake a cake without all the ingredients – it wouldn’t turn out well, right? The same goes for sewing. Here’s a checklist of what you’ll need:
- Fabric: Choose the right fabric for your pattern.
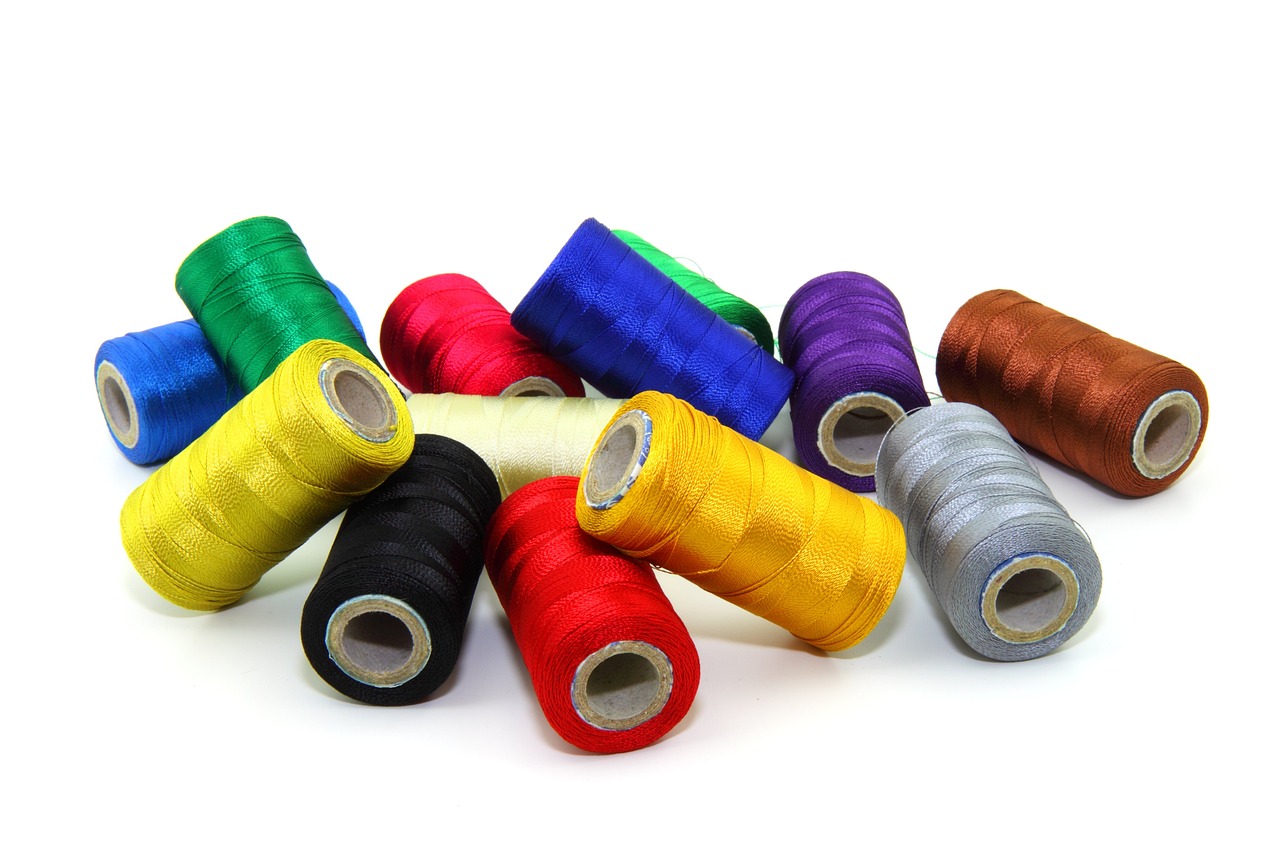
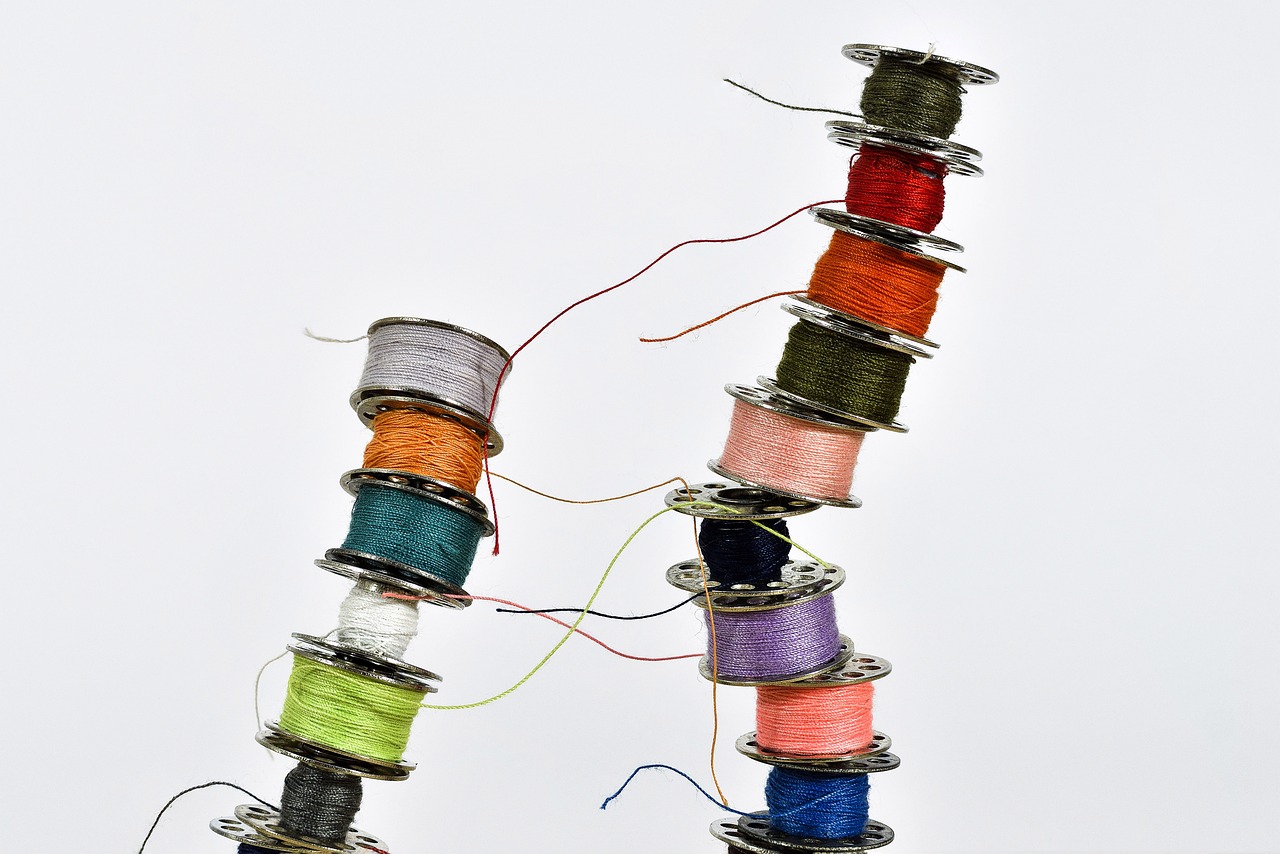
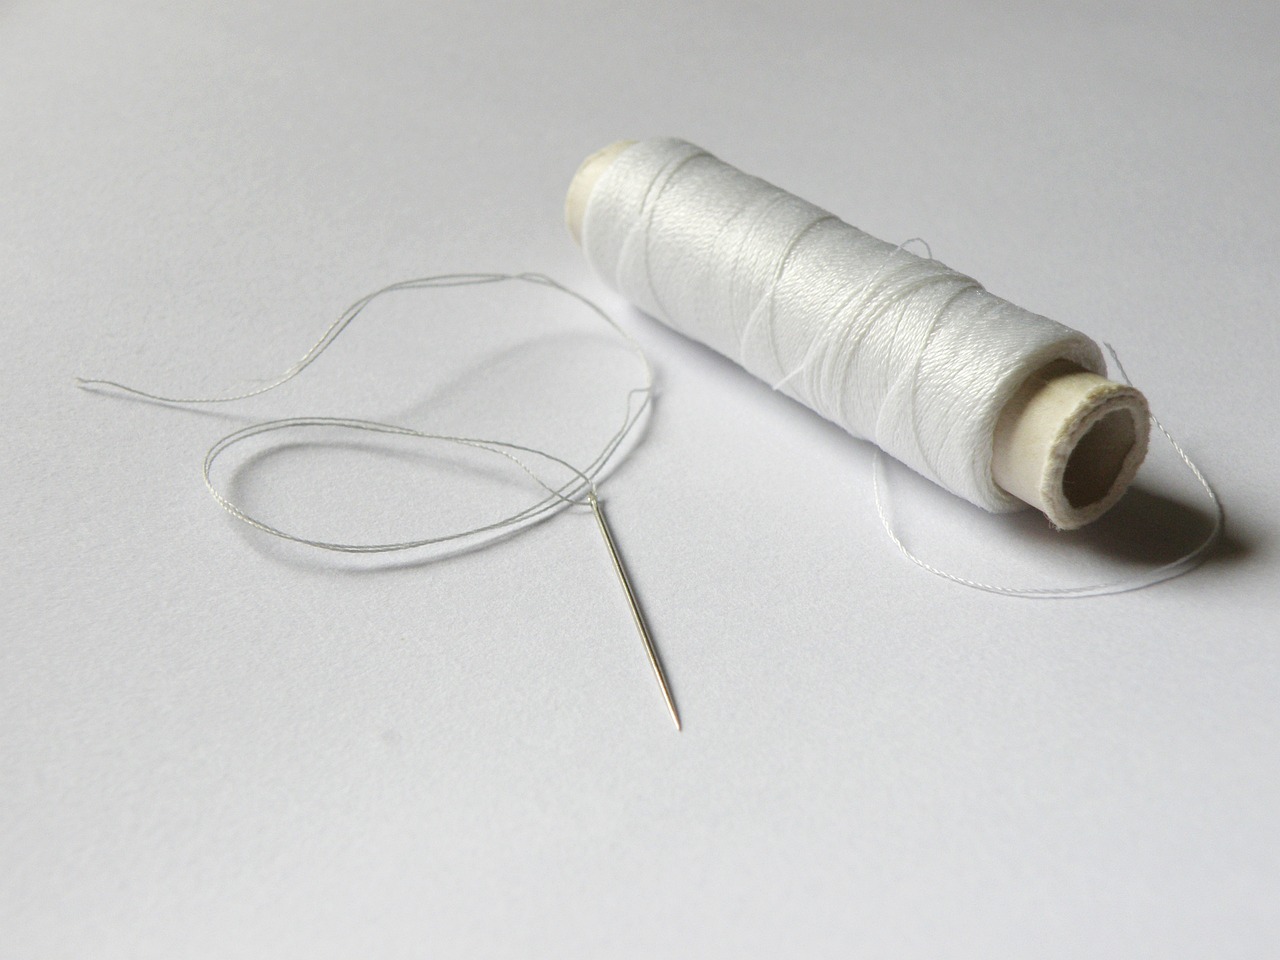
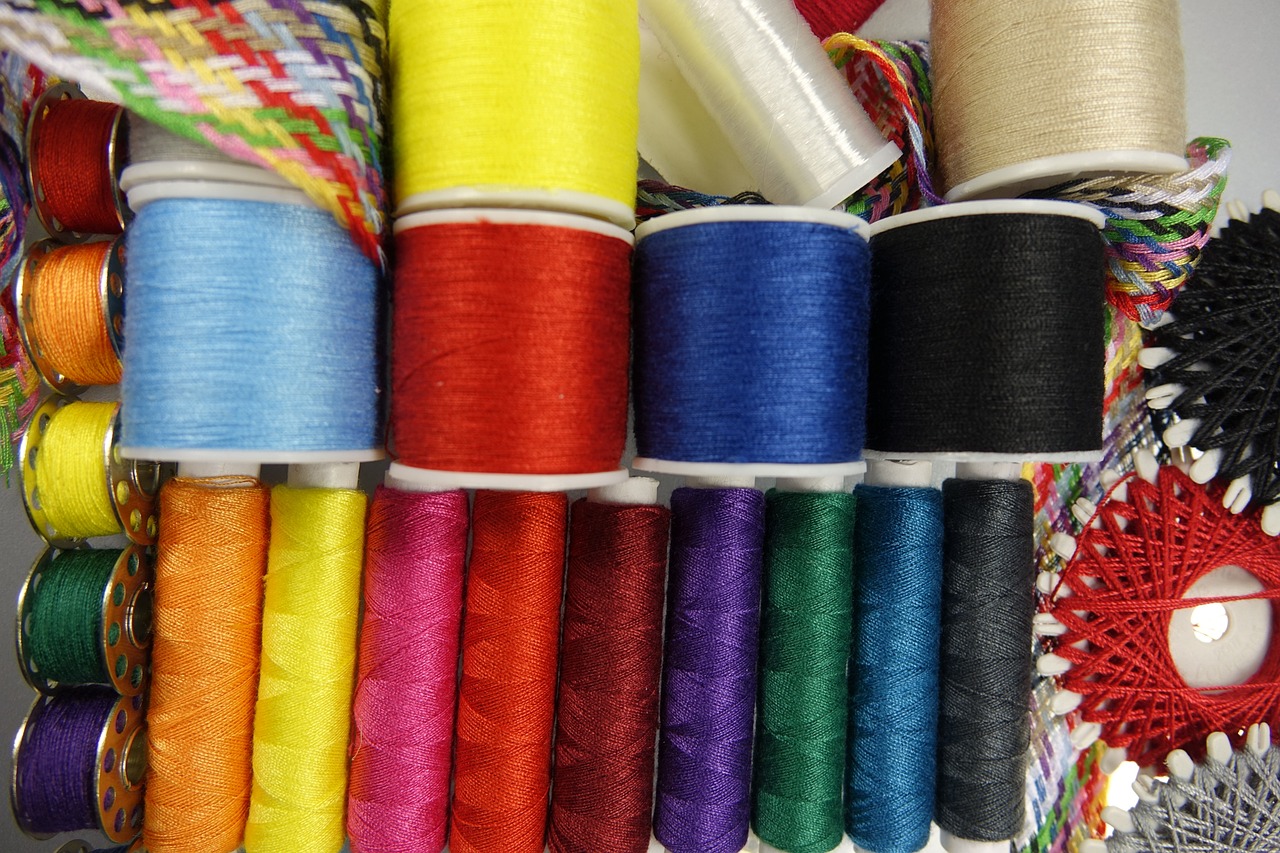
- Thread: Match the thread color to your fabric.
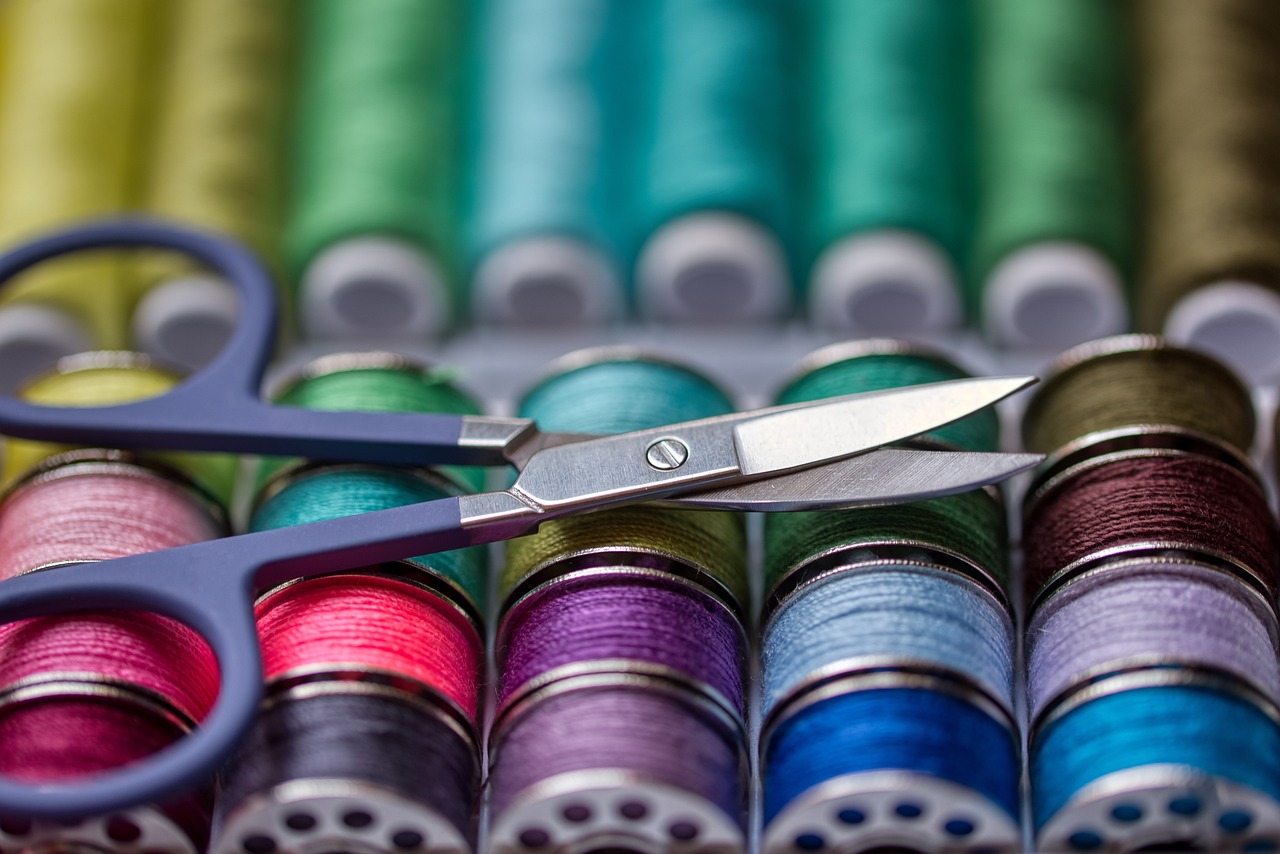
- Scissors: Invest in good fabric scissors for clean cuts.
- Sewing tools: Pins, measuring tape, and a seam ripper are essential.
Having everything on hand will ensure a seamless workflow throughout the process, allowing you to focus on creating instead of running around looking for supplies.
Selecting the appropriate fabric is key to achieving the desired look and feel of your finished project. Not all fabrics are created equal! Each type of fabric has its own characteristics that can influence the final outcome. For instance, lightweight fabrics, such as chiffon or cotton lawn, are perfect for flowing garments, while heavier fabrics like denim or canvas are ideal for structured pieces. Take some time to explore different fabric types and their suitability for various patterns.
Understanding fabric weight and texture can greatly affect your sewing project. Fabric weight refers to how heavy or light the material is, which can influence the drape of your garment. A lightweight fabric will flow beautifully, while a heavier fabric will hold its shape. Additionally, texture plays a significant role; smooth fabrics can be easier to sew, while textured fabrics might require more attention to detail. Consider these factors when selecting your fabric to ensure the best results.
Pre-washing your fabric is an essential step that many beginners overlook. This process helps to prevent shrinkage and color bleeding once your garment is completed. To pre-wash your fabric, simply wash it in cold water and allow it to air dry. This ensures that any potential changes in size or color happen before you cut your pieces, saving you from future headaches.
Navigating the pattern instructions can be daunting for beginners, but it doesn’t have to be! Most patterns come with a guide that explains the various symbols and markings. Familiarize yourself with these symbols, as they indicate important information such as cutting lines, sewing lines, and notches. Taking the time to thoroughly read and understand the instructions will pay off in the long run, making your sewing experience smoother and more enjoyable.
Properly cutting your fabric is critical for a successful sewing project. If you cut inaccurately, it can lead to uneven seams and a garment that doesn’t fit properly. Use sharp fabric scissors or a rotary cutter for clean cuts. Make sure to lay your fabric flat and pin your pattern pieces securely before cutting. This will help you avoid common mistakes and ensure that your pieces are cut precisely.
Pattern weights can be a game changer when it comes to cutting fabric. They help keep your pattern in place, preventing it from shifting while you cut. You can purchase pattern weights, or you can easily make your own using small objects like washers or heavy books. Using pattern weights allows for more precision and ease during the cutting process, making it a must-try technique.
Mastering cutting techniques can significantly enhance your sewing skills. You might wonder whether to use scissors or a rotary cutter. Scissors are great for small, intricate cuts, while rotary cutters are fantastic for long, straight edges. Each method has its pros and cons, so experiment with both to find what works best for you.
Once your fabric is cut, it’s time to assemble your garment! This is where the magic happens. Start by following the pattern instructions step by step. Familiarize yourself with basic sewing techniques, including straight stitching, zigzag stitching, and seam finishes. These techniques are essential for creating a sturdy and professional-looking garment. Don’t be afraid to practice on scrap fabric if you’re unsure!
As you begin sewing, remember that practice makes perfect. Straight stitching is the foundation of most sewing projects, while zigzag stitching can help finish edges to prevent fraying. Learning how to properly finish seams will give your garment a polished look. Invest some time in mastering these techniques, and you’ll be amazed at the results.
Pinning and basting are essential steps in garment construction. Pinning helps hold your pieces together before sewing, while basting allows you to temporarily stitch layers together. This is particularly useful for tricky areas where accuracy is key. By using these techniques effectively, you’ll ensure that your pieces align perfectly, making the sewing process much smoother.
The final touches can elevate your sewing project from good to great. Consider various finishing techniques, such as hemming and adding closures, to complete your garment beautifully. A well-hemmed edge gives your garment a professional finish, while closures like zippers or buttons can add a stylish flair.
Hemming is crucial for a polished look. There are several hemming methods to choose from, including blind hems and rolled hems. Each method has its own set of advantages, so consider the type of fabric you’re using and the overall look you want to achieve. Experiment with different techniques to find the one that works best for your project.
Learn how to attach closures, such as zippers and buttons, to your garment. This section covers techniques and tips for a secure and aesthetically pleasing finish. Properly attaching closures not only enhances the functionality of your garment but also adds to its overall appeal.
Q: What is the best way to choose a sewing pattern as a beginner?
A: Look for patterns labeled as "easy" or "beginner-friendly." These typically have fewer pieces and simpler instructions, making them perfect for starting out.
Q: How do I know what fabric to use for my pattern?
A: The pattern envelope usually suggests fabric types. Pay attention to the weight and drape of the fabric to ensure it matches the style of the garment you want to create.
Q: Can I modify a sewing pattern?
A: Absolutely! Once you feel comfortable with following a pattern, you can start to make modifications to customize your garments. Just be sure to adjust your cutting and sewing techniques accordingly.

Understanding Sewing Patterns
When it comes to sewing, understanding sewing patterns is like having a treasure map that leads you to your finished project. Patterns are essentially blueprints that guide you through the entire sewing process, from selecting the right fabric to putting the final stitches in place. There are two main types of sewing patterns: commercial and independent. Commercial patterns are often produced by well-known brands and are widely available in fabric stores, while independent patterns are created by smaller companies or individual designers and can be found online or at craft fairs.
Choosing the right pattern is crucial, especially for beginners. You want to ensure that it matches your skill level and the type of project you have in mind. For instance, if you’re just starting out, you might want to look for patterns labeled as "easy" or "beginner-friendly." These will generally have fewer pieces and simpler construction techniques, which can help build your confidence as you hone your sewing skills.
Additionally, pay attention to the size chart included with the pattern. Sizes can vary dramatically between different brands, so it’s essential to measure yourself accurately and compare those measurements to the size chart. This will save you from the disappointment of a garment that doesn’t fit as you envisioned.
Here’s a quick overview of what to consider when choosing a sewing pattern:
- Skill Level: Look for patterns that match your current sewing skills.
- Style: Choose a style that excites you and fits into your wardrobe.
- Size: Always refer to the size chart and measure yourself before selecting a size.
- Fabric Requirements: Check the pattern for the recommended fabric types and yardage needed.
Once you’ve selected a pattern, take the time to read through the instructions thoroughly before diving in. Familiarize yourself with the symbols and markings on the pattern pieces. These indicators are crucial for understanding how to align fabric pieces, where to sew, and how to finish edges. Some common symbols you might encounter include:
| Symbol | Meaning |
|---|---|
| Circle | Cut out fabric here or mark a point for later sewing. |
| Arrow | Indicates the direction of the grain of the fabric. |
| Notches | Used for aligning pieces together. |
Understanding these basic elements will not only make your sewing experience smoother but also more enjoyable. So, grab your pattern, read through it a couple of times, and get ready to embark on your sewing adventure!
Gathering Necessary Materials
Before diving into the world of sewing, it's essential to gather all the necessary materials that will make your project not only manageable but also enjoyable. Think of this step as laying the foundation for a house; without a solid base, everything else can crumble. So, what do you need? Let's break it down.
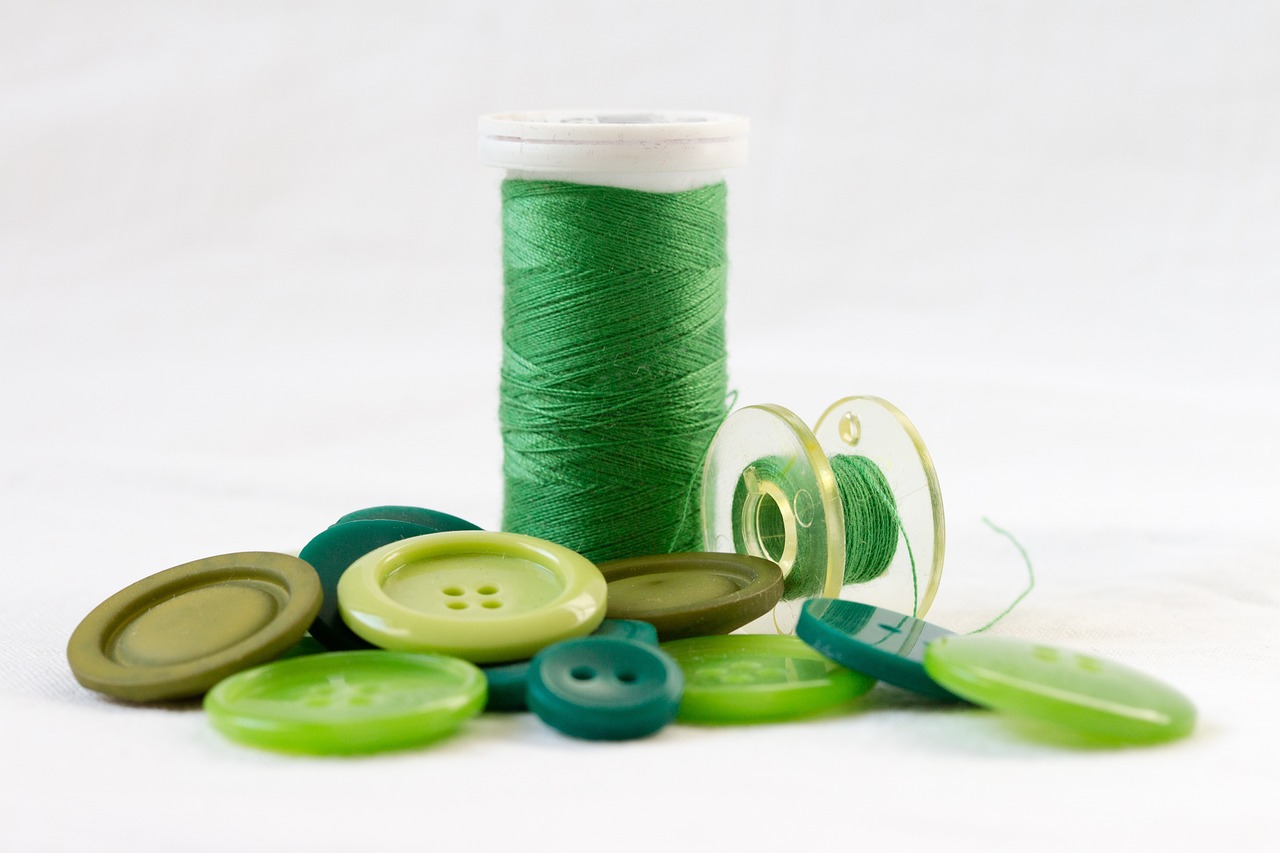
First and foremost, you'll need to choose your fabric. The type of fabric you select can significantly influence the outcome of your project. Are you going for a soft cotton for a summer dress or a heavier fabric for a winter coat? Each fabric has its own characteristics and best uses, which we'll explore further in the sections to come. Once you've picked your fabric, don’t forget about thread. It might seem small, but the right thread can make a world of difference in the durability and appearance of your seams.
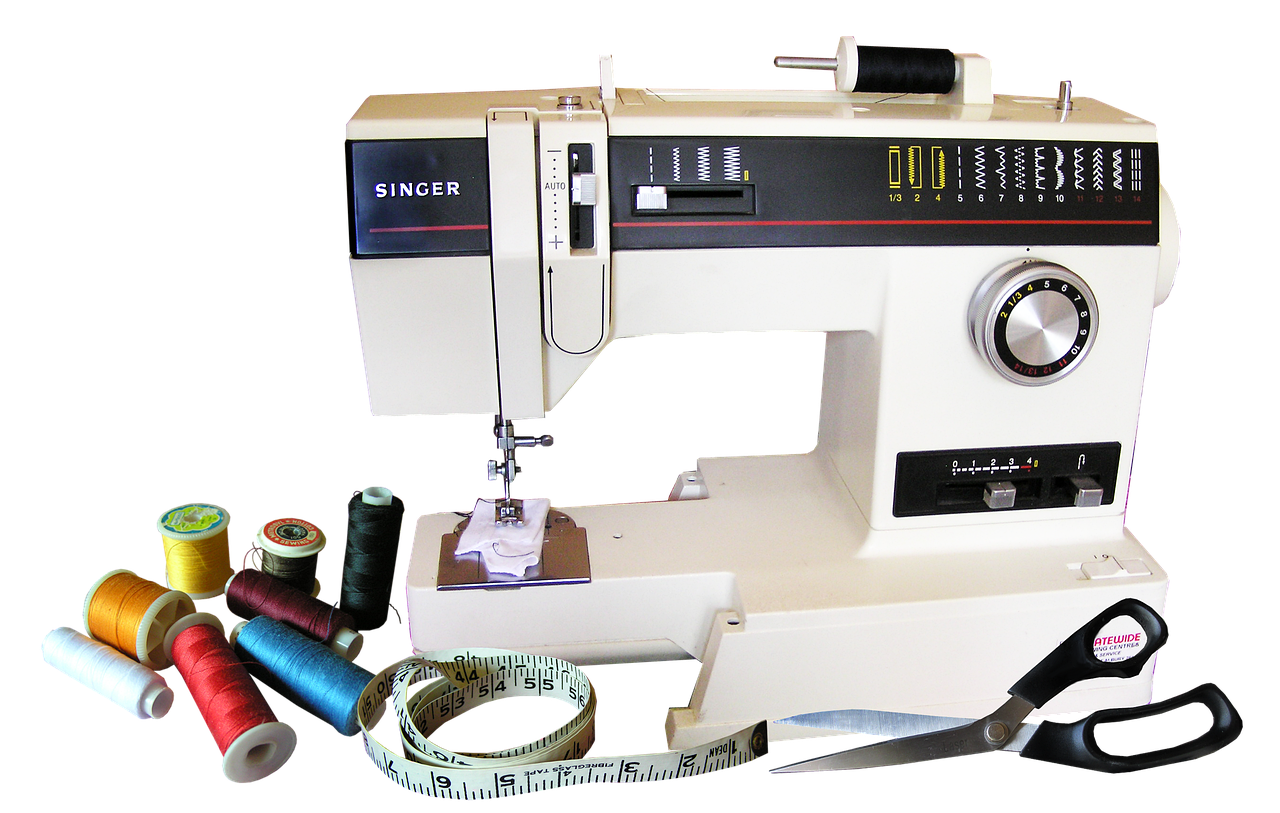
In addition to fabric and thread, you’ll also need some basic sewing tools. Here’s a quick list of must-haves:
- Scissors: A good pair of fabric scissors is crucial for clean cuts.
- Measuring Tape: Accurate measurements are key to a successful project.
- Seam Ripper: Mistakes happen; a seam ripper will be your best friend.
- Pins or Clips: These will help hold your fabric pieces together while you sew.
- Iron: Pressing your fabric and seams can elevate your finished product.
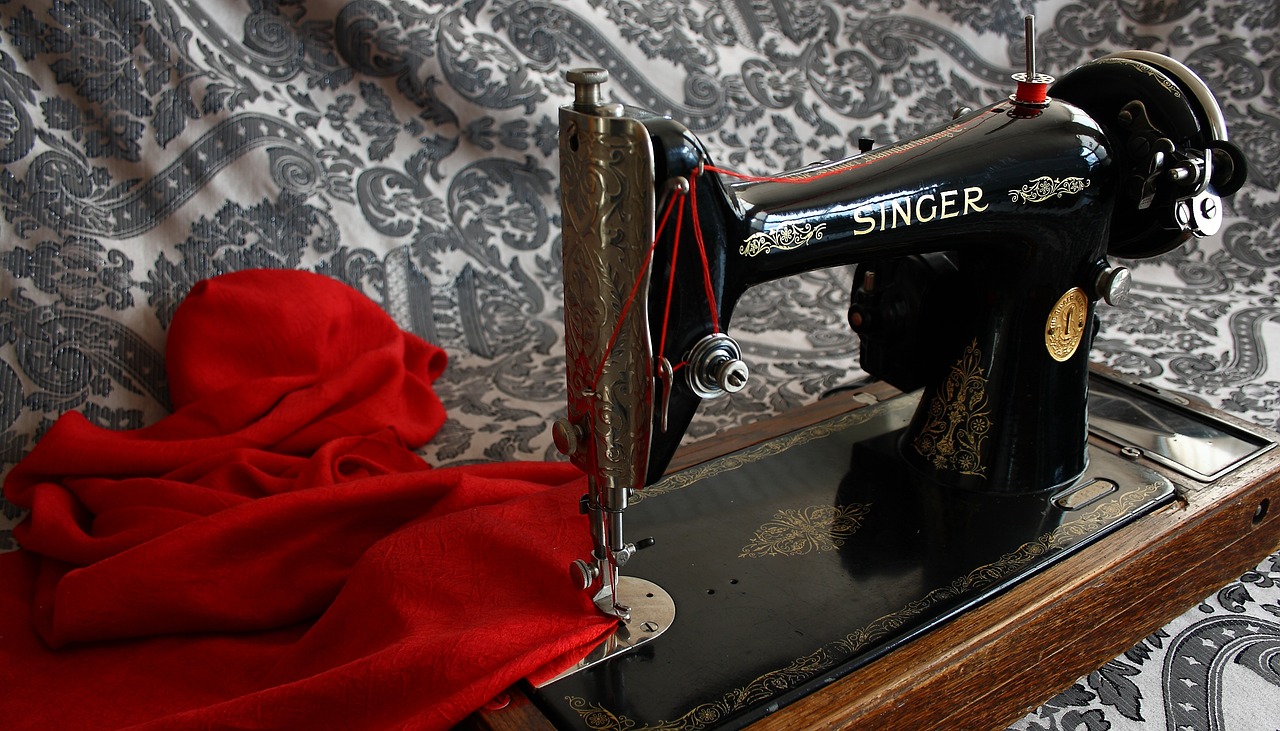
Once you have your fabric and tools ready, it’s time to think about your workspace. A clean, organized area can make the sewing process much smoother. Consider setting up a table with good lighting, as this will help you see your fabric and patterns clearly. If you have a sewing machine, ensure it’s in good working order and that you have the right needle for your chosen fabric. For instance, a ballpoint needle works best for knits, while a universal needle is great for woven fabrics.
Don’t forget about notions! These are the little extras that can enhance your sewing project. Depending on your design, you might need zippers, buttons, interfacing, or bias tape. Each of these items adds functionality and style to your garment. It's always a good idea to read through your pattern instructions to see what notions are required before heading to the store. This way, you won’t find yourself halfway through your project only to realize you’re missing a crucial component!
Lastly, consider pre-washing your fabric before you start cutting. This step is often overlooked, but it can save you a lot of headaches down the line. Pre-washing helps to prevent shrinkage and color bleeding, ensuring that your finished garment maintains its shape and vibrancy after the first wash. Follow the care instructions on your fabric label to determine the best washing method.
In summary, gathering your materials might seem like a simple task, but it's a crucial step that sets the tone for your sewing journey. From selecting the right fabric to ensuring you have all the necessary tools, taking the time to prepare will lead to a smoother, more enjoyable sewing experience. So, get out there, gather your materials, and let your creativity flow!
Q: What type of fabric is best for beginners?
A: Cotton is an excellent choice for beginners due to its ease of handling and forgiving nature.
Q: Do I need a sewing machine to start sewing?
A: While a sewing machine can speed up the process, many beginners start with hand sewing to grasp the basics.
Q: How do I know what size pattern to choose?
A: Always refer to the sizing chart provided with your pattern and take your measurements before selecting a size.
Q: Can I use regular scissors for cutting fabric?
A: It’s best to use fabric scissors to achieve clean cuts and avoid fraying.
Choosing the Right Fabric
Choosing the right fabric for your sewing project is like picking the perfect paint color for your masterpiece; it sets the tone and can make or break your creation. The fabric you select will not only affect the look and feel of your garment but also its durability and comfort. So, how do you choose the right fabric? Well, it starts with understanding the different types of fabrics available and their characteristics.
First, consider the purpose of your project. Are you making a flowy summer dress, a structured blazer, or perhaps cozy pajamas? Each of these garments requires different fabric qualities. For instance, lightweight fabrics like cotton voile or chiffon are great for summer dresses, while heavier fabrics like denim or wool are more suitable for structured garments. It’s essential to think about the drape of the fabric, which refers to how it falls and moves. Fabrics with a good drape will flow beautifully, while stiffer fabrics will hold their shape better.
Another important factor to consider is the texture of the fabric. Fabrics can range from smooth to rough, and this can impact how comfortable the garment is to wear. For example, a soft, brushed cotton may feel cozy against the skin, while a stiff canvas might be uncomfortable for day-to-day wear. Additionally, think about the weight of the fabric. Lighter fabrics are typically more breathable, making them ideal for warmer weather, while heavier fabrics provide warmth and structure.
Here’s a quick reference table to help you understand some common fabric types and their uses:
| Fabric Type | Best For | Characteristics |
|---|---|---|
| Cotton | Shirts, Dresses | Soft, breathable, easy to sew |
| Silk | Evening Wear | Luxurious, drapes well, delicate |
| Denim | Jeans, Jackets | Durable, sturdy, holds shape |
| Wool | Coats, Sweaters | Warm, insulating, can be itchy |
| Polyester | Activewear, Blouses | Wrinkle-resistant, durable, stretchable |
Lastly, don’t forget to check the care instructions for the fabric. Some fabrics require special handling, such as dry cleaning or hand washing, while others can be thrown in the washing machine. Knowing how to care for your fabric before you buy it can save you a lot of heartache later on.
In summary, choosing the right fabric is a crucial step in your sewing journey. By considering the purpose of your project, the drape, texture, weight, and care instructions of the fabric, you can ensure that your final product not only looks great but feels great too. So, take your time, do your research, and remember that the right fabric can elevate your sewing project from ordinary to extraordinary!
- What is the best fabric for beginners? Cotton is often recommended due to its ease of use and versatility.
- How do I know if a fabric is suitable for my pattern? Check the pattern envelope; it usually lists recommended fabrics.
- Can I use any fabric for any pattern? Not necessarily; different fabrics behave differently, so it’s best to follow the recommendations.
Fabric Weight and Texture
When diving into the world of sewing, understanding fabric weight and texture is like learning the ABCs of your craft. These two factors play a crucial role in determining how your garment will look and feel, not to mention how it will behave during the sewing process. Fabric weight refers to the heaviness or lightness of the fabric, typically measured in grams per square meter (GSM). A heavier fabric, such as denim or canvas, provides structure and can hold its shape well, making it ideal for items like jackets or bags. On the flip side, lighter fabrics like chiffon or cotton lawn are perfect for flowy dresses and blouses, offering a delicate drape that’s both flattering and comfortable.
Texture, on the other hand, describes the surface feel of the fabric. This can range from smooth and sleek to rough and textured. For instance, a soft, brushed cotton feels cozy against the skin, while a silk fabric glides effortlessly, adding a touch of luxury to any garment. The texture can also influence how the fabric interacts with other materials and how it responds to various sewing techniques. If you’re working with a textured fabric, you may need to adjust your sewing methods to account for its unique properties. For example, a fabric with a raised pattern might require a different needle type or stitch length to ensure a clean finish.
To help you visualize the differences in fabric weight and texture, here’s a simple table:
| Fabric Type | Weight (GSM) | Texture | Ideal Projects |
|---|---|---|---|
| Denim | 300-400 | Sturdy, coarse | Jeans, jackets |
| Cotton Lawn | 100-150 | Soft, smooth | Dresses, blouses |
| Silk | 60-100 | Soft, slippery | Evening wear, blouses |
| Chiffon | 50-80 | Light, sheer | Layered garments, scarves |
Remember, the right combination of fabric weight and texture can elevate your sewing project from ordinary to extraordinary. When selecting fabrics, consider not just the pattern you’re following but also how these elements will work together. It’s like choosing the right ingredients for a recipe; the right fabric can make all the difference in the final dish!
Pre-Washing Your Fabric
Pre-washing your fabric might seem like a tedious chore, but trust me, it’s a game changer! Imagine putting all that effort into creating a beautiful garment, only for it to shrink or bleed colors after the first wash. That’s a nightmare no sewist wants to face! So, let’s dive into why pre-washing is essential and how to do it right.
First off, pre-washing helps to prevent shrinkage. Fabrics, especially cotton, have a tendency to shrink when they’re washed for the first time. If you skip this step, you might end up with a perfectly fitting garment that suddenly becomes a size too small after its inaugural wash. To avoid this, it’s best to wash your fabric in the same way you plan to care for your finished garment. This means using the same water temperature and drying method.
Another reason to pre-wash is to remove any chemicals or finishes that may be on the fabric from the manufacturer. These chemicals, while they might help keep the fabric looking fresh on the shelf, can cause issues when you start sewing. They can affect how the fabric behaves, making it slippery or difficult to work with. By washing your fabric beforehand, you ensure that you’re working with a clean slate, allowing for a smoother sewing experience.
Now, let’s talk about color bleeding. Some fabrics, especially darker colors, have a tendency to bleed dye when washed. This can ruin not only your new garment but potentially other items in the wash as well. To combat this, you can add a cup of white vinegar to the wash cycle, which helps set the dye and minimize bleeding. It’s a simple trick that can save you a lot of heartache!
Here’s a quick step-by-step guide to pre-washing your fabric:
- Check the care label: Always look for any specific washing instructions that come with your fabric.
- Wash: Use the appropriate water temperature and detergent. For most fabrics, a gentle cycle with cold water is ideal.
- Dry: Air drying is best, but if you choose to use a dryer, make sure it’s set to a low heat to avoid any aggressive shrinking.
- Press: After drying, give your fabric a good press with an iron to smooth out any wrinkles.
In summary, pre-washing your fabric is not just a suggestion; it's a crucial step in ensuring the longevity and quality of your sewing project. By taking the time to wash your fabric beforehand, you’re setting yourself up for success and avoiding potential pitfalls down the road. So, grab that fabric, toss it in the wash, and let the sewing magic begin!
Q: Do I need to pre-wash all types of fabric?
A: While it's a good practice for most fabrics, some specialty fabrics like silk or wool may require specific care. Always check the care label for guidance.
Q: Can I use fabric softener when pre-washing?
A: It’s best to avoid fabric softener during the pre-wash, as it can leave a coating that affects how the fabric behaves when sewing.
Q: What if my fabric shrinks after pre-washing?
A: If your fabric shrinks significantly after pre-washing, it’s best to avoid using it for projects that require precision. Always test a small swatch first if you’re unsure!
Reading the Pattern Instructions
When you first open a sewing pattern, it can feel like staring at a foreign language. But don’t worry! With a little guidance, you’ll be able to decode the symbols and markings that are essential for your sewing success. Think of the pattern instructions as your roadmap; they guide you from the start of your project all the way to the finish line. The key is to take your time and familiarize yourself with the layout and terminology.
First off, most patterns will come with a pattern envelope that contains all the information you need. This includes the pattern number, size options, fabric requirements, and suggested notions. Pay close attention to the fabric recommendations, as they can greatly influence the outcome of your garment. You might be tempted to grab the first fabric that catches your eye, but it’s essential to choose one that aligns with the pattern’s requirements.
Next, you'll encounter the cutting layout, which shows you how to position your pattern pieces on the fabric. This layout is crucial for maximizing your fabric usage and ensuring that your pieces are cut correctly. If you're working with a patterned fabric, this is where you’ll also want to consider how the print aligns. A well-aligned pattern can make a garment look professionally finished, while misalignment can be quite noticeable.
One of the most daunting aspects of reading pattern instructions is interpreting the symbols and markings. Here’s a quick guide to some of the most common symbols you’ll encounter:
- Notches: These small triangles indicate where to align seams and are essential for proper construction.
- Button placements: Look for small circles indicating where buttons or buttonholes should be placed.
- Fold lines: These dashed lines show where to fold the fabric, often used for hems or facings.
- Sizing lines: Different lines indicate different sizes; make sure to cut along the correct line for your size.
Once you’ve familiarized yourself with the symbols, take a moment to read through the step-by-step instructions. These will guide you through the construction process, from cutting to sewing and finishing. It’s important to read the entire set of instructions before you start sewing. This will give you a clear understanding of what to expect and help you plan your workflow efficiently.
Finally, don’t hesitate to consult online resources or sewing communities if something isn’t clear. Sometimes, a quick video tutorial can clarify a tricky step that the written instructions don’t convey well. Remember, sewing is as much about learning and experimenting as it is about following instructions. So grab your fabric, take a deep breath, and dive in!
In summary, reading pattern instructions might seem overwhelming at first, but with practice, it will become second nature. By paying attention to the details and taking the time to understand the symbols and steps involved, you'll be well on your way to creating beautiful garments that reflect your personal style.
Cutting Your Fabric
Properly cutting your fabric is critical for a successful sewing project. Think of cutting fabric as laying the foundation for a house; if the foundation is uneven or incorrect, everything built on top will be flawed. Before you dive in, make sure you have all your tools ready. This includes a good pair of fabric scissors or a rotary cutter, a cutting mat, and, if possible, a ruler or straightedge. Having these tools at your fingertips will make the process smoother and more enjoyable.
One of the first things to consider when cutting your fabric is the layout of your pattern pieces. Most sewing patterns come with a layout guide that shows you how to arrange the pieces on the fabric. This guide is your roadmap; following it will help you maximize your fabric usage and minimize waste. Remember, fabric has a grain, and cutting against it can lead to distortion. Always pay attention to the grainline markings on your pattern pieces to ensure your garment drapes correctly.
When it comes to cutting techniques, you have a couple of options: you can use scissors or a rotary cutter. Each method has its pros and cons. Scissors are great for detailed cuts and are often easier for beginners to handle. However, rotary cutters can provide a cleaner edge and are particularly useful for cutting multiple layers of fabric at once. Whichever method you choose, make sure your cuts are precise. A jagged edge can lead to uneven seams, and nobody wants that!
Another handy tip is to use pattern weights. These little helpers can keep your pattern pieces firmly in place while you cut, preventing any shifting that could lead to inaccuracies. If you don't have pattern weights, you can easily use household items like canned goods or small bags of rice. Just make sure they’re heavy enough to hold down the fabric without damaging it.
Here’s a quick overview of some essential cutting techniques:
| Technique | Description | Best For |
|---|---|---|
| Scissors | Traditional cutting tool for fabric. | Detailed cuts and single layers. |
| Rotary Cutter | Circular blade that rolls over the fabric. | Multiple layers and long straight cuts. |
| Pattern Weights | Weights used to hold down pattern pieces. | Preventing fabric shift during cutting. |
Lastly, don’t rush through the cutting process. Take your time to ensure each piece is cut accurately. Remember, the more careful you are now, the less likely you'll encounter problems later on in your sewing journey. So, grab your tools, set up your workspace, and enjoy the process of cutting your fabric. It’s the first step towards creating something beautiful!
- What is the best tool for cutting fabric? The best tool depends on your comfort level. Scissors are great for beginners, while rotary cutters offer more precision for experienced sewers.
- How do I prevent my fabric from fraying while cutting? Use sharp scissors or a rotary cutter for clean edges, and consider using pinking shears or a serger to finish the edges after cutting.
- Can I cut multiple layers of fabric at once? Yes, especially with a rotary cutter, but ensure that all layers are aligned correctly to avoid uneven cuts.
Using Pattern Weights
When it comes to sewing, precision is key. One of the best ways to ensure that your fabric stays in place while you cut your pattern pieces is by using pattern weights. These handy tools can save you a lot of time and frustration, making the cutting process smoother and more accurate. But what exactly are pattern weights, and how do you use them effectively?
Pattern weights are essentially heavy objects that you place on top of your pattern pieces to keep them from shifting as you cut. They can be purchased from sewing supply stores, but you can also make your own using items you likely already have at home, such as:
- Small weights (like washers or bagged rice)
- Fabrics scraps filled with sand or beans
- Heavy books or any flat object that can apply pressure
Using pattern weights is quite simple. Start by laying your fabric flat on a cutting surface. Next, position your pattern pieces on top of the fabric according to the layout specified in the pattern instructions. Instead of using pins, which can sometimes distort the fabric, place your pattern weights around the edges of the pattern pieces. This will hold everything in place, allowing you to cut with confidence.
One of the biggest advantages of using pattern weights is that they allow for a more gentle approach to cutting. Unlike pins that can create small holes or distort the fabric, weights simply rest on top, preserving the integrity of your material. This is especially important for delicate fabrics that can be easily damaged. Moreover, pattern weights can be adjusted and moved around easily, enabling you to reposition them as needed without the hassle of unpinning and repinning.
Additionally, pattern weights can help speed up your workflow. When you're in the zone, the last thing you want to do is stop to pin everything down. With weights, you can quickly place them, cut, and move on to the next step of your project. It's like having an extra pair of hands, making the entire process feel more fluid and enjoyable.
In conclusion, incorporating pattern weights into your sewing routine is a fantastic way to enhance your cutting accuracy and efficiency. Whether you choose to buy them or make your own, these simple tools can transform your sewing experience. So next time you’re getting ready to cut out your pattern, consider reaching for those weights instead of pins. You might be surprised at how much easier it makes the process!
Q: What are pattern weights made of?
A: Pattern weights can be made from various materials, including metal, plastic, or even fabric filled with sand or rice. The key is that they need to be heavy enough to hold down the pattern without damaging the fabric.
Q: Can I use anything around the house as a pattern weight?
A: Absolutely! You can use items like small bags of rice, washers, or even heavy books. Just ensure that whatever you use won’t damage your fabric.
Q: How many pattern weights do I need?
A: The number of pattern weights you need can vary depending on the size of your pattern pieces. Generally, having at least four to six weights should suffice for most projects.
Q: Are pattern weights better than pins?
A: While both have their uses, pattern weights are often preferred for delicate fabrics as they don’t create holes or distort the material. They also allow for quicker setup compared to pinning.
Cutting Techniques
This guide provides essential tips and techniques for beginners to successfully follow sewing patterns, ensuring a smooth and enjoyable sewing experience from start to finish.
Learn about the different types of sewing patterns available, including commercial and independent options, and how to choose the right one for your skill level and project needs.
Before starting your sewing project, it's crucial to gather all necessary materials, including fabric, thread, scissors, and sewing tools, to ensure a seamless workflow throughout the process.
Selecting the appropriate fabric for your sewing pattern is key to achieving the desired look and feel. Explore fabric types and their suitability for various patterns.
Understanding fabric weight and texture can greatly affect your sewing project. Discover how these factors influence the drape and overall outcome of your garment.
Pre-washing fabric is an essential step to prevent shrinkage and color bleeding. Learn the best practices for washing and preparing your fabric before cutting.
Navigating the pattern instructions can be daunting for beginners. This section will break down how to read and interpret the various symbols and markings on your pattern.
Properly cutting your fabric is critical for a successful sewing project. This section covers techniques for accurate cutting and tips to avoid common mistakes.
Pattern weights can help keep your pattern in place while cutting. Discover how to use them effectively for precision and ease during the cutting process.
Mastering cutting techniques is essential for any sewing enthusiast. The tools you choose can significantly impact the quality of your cut and, ultimately, your finished garment. There are two primary methods for cutting fabric: using scissors and rotary cutters. Each has its benefits and drawbacks, and understanding these can help you decide which tool to use for your specific project.
Scissors are the traditional choice for cutting fabric. They allow for great control, especially when working on intricate designs or curves. A good pair of fabric scissors can glide through multiple layers of fabric smoothly, making them ideal for smaller projects. However, using scissors requires a steady hand and can lead to uneven cuts if not handled properly.
On the other hand, rotary cutters offer a different approach. These tools are circular blades that can slice through fabric with ease, especially when paired with a cutting mat. They excel in cutting straight lines and are particularly useful for larger pieces of fabric. However, rotary cutters can be tricky for beginners; they require practice to master the right amount of pressure and angle.
Here’s a quick comparison of both methods:
| Cutting Method | Advantages | Disadvantages |
|---|---|---|
| Scissors |
|
|
| Rotary Cutter |
|
|
Regardless of the method you choose, always ensure your fabric is laid out flat and free of wrinkles before cutting. This will help you achieve the most accurate cuts possible. Additionally, consider using pattern weights or pins to secure your fabric in place, preventing any shifting during the cutting process.
Once your fabric is cut, it's time to assemble your garment. This section provides step-by-step guidance on sewing techniques and tips for a polished finish.
Familiarize yourself with basic sewing techniques, including straight stitching, zigzag stitching, and seam finishes, to create a sturdy and professional-looking garment.
Pinning and basting are essential steps in garment construction. Learn the best practices for these techniques to ensure accuracy and ease while sewing.
The final touches can elevate your sewing project. Explore various finishing techniques, such as hemming and adding closures, to complete your garment beautifully.
Hemming is crucial for a polished look. Discover different hemming methods, including blind hems and rolled hems, to find the best option for your fabric type.
Learn how to attach closures, such as zippers and buttons, to your garment. This section covers techniques and tips for a secure and aesthetically pleasing finish.
Q: What tools do I need to start sewing?
A: At a minimum, you'll need fabric, thread, scissors, a sewing machine, and pins or clips. As you advance, you might want to add a rotary cutter, cutting mat, and pattern weights.
Q: How do I choose the right fabric for my pattern?
A: Consider the pattern's suggested fabric types, which are usually indicated on the pattern envelope. Look for fabrics that match the drape and weight recommended for the best results.
Q: Can I use any scissors for cutting fabric?
A: It's best to use dedicated fabric scissors to ensure clean cuts and avoid fraying. Using paper scissors can dull the blades and affect your fabric cutting.
Assembling Your Garment
Once your fabric is cut and ready to go, the exciting part begins: assembling your garment! This is where all the pieces come together to create something beautiful. But before you dive in, let's take a moment to understand the essential steps and techniques that will help you achieve a polished finish. Think of this stage as putting together a puzzle; each piece must fit perfectly to reveal the final picture.
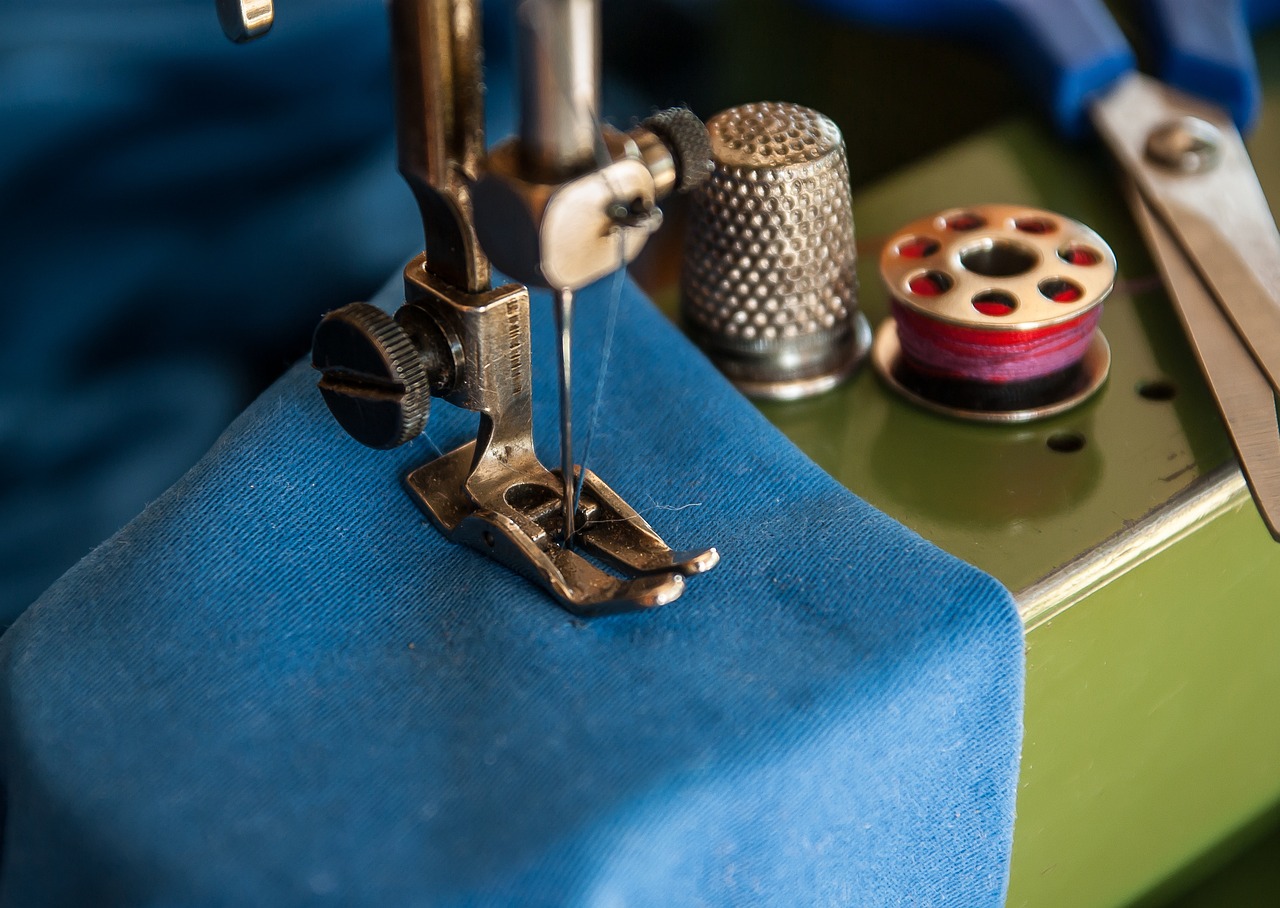
The first step in assembling your garment is to familiarize yourself with basic sewing techniques. Mastering these foundational skills will not only make your sewing experience smoother but will also enhance the overall quality of your project. Techniques such as straight stitching and zigzag stitching are fundamental. Straight stitching is your go-to for seams, while zigzag stitching is fantastic for finishing edges to prevent fraying. These techniques are like the bread and butter of sewing—essential for any project!
Next, let’s talk about pinning and basting. These are crucial steps in garment construction that ensure accuracy and ease while sewing. Pinning involves placing pins through the layers of fabric to hold them together temporarily. This is particularly useful when you’re working with slippery or stretchy fabrics. On the other hand, basting is a technique where you sew long, loose stitches to hold the fabric in place before you sew it permanently. Think of it as a rehearsal before the big performance—making sure everything fits and looks just right before you commit to the final stitching.
Here’s a quick guide on when to use each technique:
| Technique | When to Use |
|---|---|
| Pinning | For holding pieces together temporarily, especially with slippery fabrics. |
| Basting | When you need a more secure hold before final stitching, especially on curved seams. |
As you begin to sew, remember that patience is key. Take your time and don’t rush through the process. Each stitch is a step closer to your finished garment, and rushing can lead to mistakes that might require you to undo your hard work. If you find yourself in a tricky spot, don’t hesitate to consult your pattern instructions. They’re there to guide you through the process, much like a map on a road trip.
Lastly, once you’ve sewn all the pieces together, it’s time to give your garment a good press. Using an iron can make a world of difference in the final appearance of your project. Pressing seams open and giving your garment a final press can help achieve that professional look. So, think of your iron as your best friend in this journey; it’s there to smooth out any bumps along the way!
In conclusion, assembling your garment is an exciting and rewarding process. By mastering basic sewing techniques, utilizing pinning and basting effectively, and giving your project the final touches it deserves, you’ll be well on your way to creating a beautiful piece that you can be proud of. So grab your sewing machine, put on your favorite playlist, and let your creativity flow!
- What is the best way to start assembling my garment? Begin by familiarizing yourself with your pattern instructions and practicing basic sewing techniques.
- How can I prevent fabric from shifting while sewing? Use pins or basting stitches to hold your fabric layers in place before sewing.
- Is pressing necessary after sewing? Yes, pressing your seams helps achieve a professional finish and improves the overall look of your garment.
Basic Sewing Techniques
When it comes to sewing, mastering basic techniques is essential for creating a garment that not only looks great but also stands the test of time. Think of these techniques as the foundation of a sturdy house; without a solid base, everything else can crumble. So, let’s dive into some of the fundamental sewing methods that every beginner should know!
First up is straight stitching, which is the most common stitch used in sewing. It’s like the bread and butter of sewing techniques! This stitch is used for seams, hems, and even topstitching. To execute a straight stitch, you’ll want to keep your fabric aligned and guide it gently through the sewing machine. Remember to backstitch at the beginning and end of your seam to secure the thread. This simple technique can make a world of difference in the durability of your garment.
Next, we have the zigzag stitch. This stitch is particularly useful when working with knit fabrics or when you need to finish raw edges to prevent fraying. The zigzag stitch allows for some stretch, which is crucial for garments that need to move with the body. If you’re unsure about when to use this stitch, just think of it as your safety net for those stretchy fabrics!
Now, let’s talk about seam finishes. A well-finished seam not only looks professional but also ensures your garment lasts longer. There are several methods you can use to finish seams, including:
- Overlocking: This technique uses a serger to create a clean, finished edge.
- French seams: Ideal for lightweight fabrics, this method encloses the raw edges within the seam.
- Bias tape: Attaching bias tape to the raw edges gives a neat finish and adds a pop of color.
Choosing the right seam finish depends on your fabric type and the desired look. It’s like picking the right outfit for an occasion; you want to make sure it fits the vibe!
Another critical technique is pressing. Many beginners underestimate the power of a good iron. Pressing your seams as you go can help shape your garment and give it a professional finish. It’s like giving your fabric a little spa treatment! Always remember to use the appropriate heat setting for your fabric type to avoid any mishaps.
Finally, let’s not forget about the importance of pinning and basting. Pinning your fabric layers together before sewing helps keep everything in place, ensuring that your seams are straight and accurate. Basting, on the other hand, involves temporarily stitching layers together with long, loose stitches. This technique is especially handy for curved seams or when you’re working with slippery fabrics. Think of it as a rehearsal before the big performance!
By mastering these basic sewing techniques, you’ll be well on your way to creating beautiful garments that reflect your personal style. Remember, practice makes perfect, so don’t be afraid to experiment and make mistakes along the way. After all, every great seamstress started as a beginner!
Q: What sewing machine should I buy as a beginner?
A: Look for a machine that is user-friendly, has basic stitches, and is within your budget. Brands like Brother and Singer offer great starter machines.
Q: How do I know what fabric to choose for my sewing project?
A: Consider the pattern requirements and the type of garment you want to make. Fabrics like cotton are great for beginners, while knits can be a bit trickier.
Q: Can I use regular scissors for cutting fabric?
A: While you can use regular scissors, it’s best to invest in a pair of fabric scissors. They’ll make cutting much easier and more precise.
Q: What should I do if my sewing machine keeps jamming?
A: Check for tangled threads, ensure the needle is inserted correctly, and make sure you’re using the right type of thread for your machine.
Pinning and Basting
When it comes to sewing, are two essential techniques that can make or break your project. Think of pinning as the foundation of a house; without a solid base, everything else will be unstable. Pinning involves using pins to hold your fabric pieces together before you sew them. This not only helps keep your fabric aligned but also prevents any shifting that could lead to uneven seams. Imagine trying to sew two pieces of fabric that keep sliding apart—frustrating, right?
To pin effectively, start by placing your fabric pieces right sides together. Then, use straight pins to secure the layers, spacing them about 2 to 4 inches apart. This spacing is generally sufficient to keep everything in place without overwhelming your fabric with pins. Be sure to pin perpendicular to the seam line so you can easily remove them as you sew. If you're working with curved seams, you might want to use more pins to ensure that the fabric stays aligned and doesn't bunch up.
Now, let’s talk about basting. While pinning is great for holding things in place temporarily, basting is like giving your fabric a gentle hug, securing it more firmly before the final stitching. Basting involves using long, loose stitches to hold your fabric layers together. This method is particularly useful for larger pieces or tricky fabrics that tend to shift. You can baste by hand using a needle and thread, or you can use a sewing machine set to a long stitch length.
Here’s a quick breakdown of the advantages of pinning and basting:
- Accuracy: Both methods help ensure that your pieces are aligned correctly, leading to a more professional finish.
- Prevents Shifting: Basting keeps your fabric layers from moving around, especially important for curved seams.
- Easy Removal: Pins can be easily removed as you sew, and basting stitches can be pulled out after the final seams are in place.
In summary, don’t underestimate the power of pinning and basting in your sewing projects. These techniques are not just optional steps; they are crucial for achieving a polished and professional look. So, next time you sit down to sew, remember that a little extra time spent pinning and basting can save you a lot of headaches down the line.
Q: How do I know when to use basting instead of pinning?
A: Use basting when working with larger pieces of fabric or when sewing curves where pinning might not hold the layers together securely. Basting provides extra stability for tricky areas.
Q: Can I use fabric clips instead of pins?
A: Absolutely! Fabric clips are a great alternative to pins, especially for thicker fabrics. They hold layers together without leaving holes in the fabric and can be easier to manage for some projects.
Q: How do I remove basting stitches?
A: Simply pull on the thread to gather the fabric slightly, and the basting stitches should come out easily. If they’re stubborn, you can use a seam ripper to cut them out carefully.
Finishing Touches
After all the hard work you've put into sewing your garment, the are what truly bring it to life. Think of these final steps as the icing on the cake; they can transform a simple piece of fabric into a stunning outfit that you’ll be proud to wear. In this section, we’ll explore various techniques that can elevate your sewing project from good to great.
One of the most important aspects of finishing your garment is hemming. This process not only provides a clean edge but also prevents the fabric from fraying. Depending on your fabric type and the look you want to achieve, there are several hemming methods to choose from. For instance, if you're working with lightweight fabrics, a blind hem can create an invisible finish, while a rolled hem is perfect for delicate fabrics like chiffon. Each method has its own charm and suitability, so consider what works best for your project.
Another essential finishing touch is adding closures, such as zippers, buttons, or hooks. These not only serve a practical purpose but can also enhance the overall aesthetic of your garment. For example, a decorative button can be a focal point, while a concealed zipper can give your garment a sleek and polished look. When attaching closures, make sure to follow the pattern instructions carefully, as they often include specific techniques to ensure durability and style.
Here’s a quick overview of some common closure types:
| Closure Type | Best For | Tip |
|---|---|---|
| Buttons | Shirts, dresses, and jackets | Choose buttons that complement your fabric. |
| Zippers | Pants, skirts, and fitted garments | Use a zipper foot for precise stitching. |
| Hooks and Eyes | Back closures on dresses | Ensure they are securely sewn for durability. |
Lastly, don’t underestimate the power of a good press. Ironing your garment can make a world of difference, giving it a professional finish. Use the appropriate heat setting for your fabric and always press seams open to eliminate bulk. This step is crucial for achieving a polished look, so take your time and enjoy the transformation.
- How can I ensure my hem is even? Use a measuring tape to mark the desired length, and then pin it in place before sewing.
- What if I make a mistake while adding closures? Don’t panic! You can always remove stitches carefully and reattach the closure.
- Can I use a sewing machine for all hemming techniques? Most hemming techniques can be done with a sewing machine, but some may require hand sewing for precision.
Hemming Techniques
Hemming is one of those magical finishing touches that can elevate your sewing project from "meh" to "wow!" It's like the cherry on top of a sundae—without it, your garment may look unfinished or sloppy. There are several hemming techniques you can use, each offering a unique finish depending on the fabric and style of your project. Let’s dive into some of the most popular methods, so you can choose the one that best suits your needs.
First up is the basic hem. This is the most straightforward method, where you simply fold the fabric edge up by a certain measurement, press it, and sew it in place. It's perfect for beginners and works well with most fabrics. However, if you want to add a touch of finesse, consider the blind hem. This technique hides the stitches on the front side of the fabric, giving you a clean look. It’s especially great for dressy garments like skirts or trousers where you want that polished appearance.
Another popular option is the rolled hem, which is often used for lightweight fabrics like chiffon or silk. This technique involves rolling the fabric edge and stitching it down, creating a delicate and refined finish. It’s a bit trickier than the basic hem, but once you get the hang of it, it can add a beautiful touch to your garments. If you're feeling adventurous, you might even want to try a double-turned hem, which is essentially folding the hem twice for extra durability and a clean finish. This method is ideal for heavier fabrics that might fray easily.
Let’s not forget about the hem tape option! If you're in a hurry or don’t have access to a sewing machine, hem tape can be a lifesaver. This fusible tape allows you to hem your fabric without any sewing, simply by using an iron to bond the tape to your fabric. It’s quick and efficient, making it perfect for last-minute alterations or quick fixes.
Here’s a quick comparison of some popular hemming techniques:
| Hemming Technique | Best For | Difficulty Level |
|---|---|---|
| Basic Hem | Most fabrics | Easy |
| Blind Hem | Formal garments | Medium |
| Rolled Hem | Lightweight fabrics | Medium |
| Double-Turned Hem | Heavy fabrics | Medium to Hard |
| Hem Tape | Quick fixes | Easy |
Whichever method you choose, remember that practice makes perfect! Don’t be afraid to experiment with different techniques and see what works best for your project. The more you practice, the more confident you’ll become in your hemming skills. And soon enough, you’ll be able to finish your garments with a professional touch that will impress everyone who sees your work.
- What is the best hem for a skirt? A blind hem is often recommended for skirts, as it provides a clean finish without visible stitching.
- Can I use hem tape on all fabrics? Hem tape works best on lightweight to medium-weight fabrics. For heavier fabrics, sewing may be more effective.
- How do I prevent my hems from fraying? Using a serger or a zigzag stitch on the raw edge before hemming can help prevent fraying.
- Is hemming difficult for beginners? Not at all! Starting with a basic hem is an excellent way for beginners to learn the technique.

Adding Closures
Adding closures to your garment is a crucial step that not only enhances its functionality but also contributes to its overall aesthetic appeal. Closures, such as zippers, buttons, and hooks, serve as the finishing touch that can transform a simple piece of fabric into a beautifully crafted garment. It's essential to choose the right type of closure based on the design of your project and the fabric you're using. For instance, heavier fabrics like denim or canvas may require sturdier closures, while lighter fabrics like chiffon or silk might benefit from delicate buttons or invisible zippers.
When it comes to attaching closures, precision is key. You want to ensure that they are securely fastened and aligned correctly to achieve a professional finish. Here are a few popular types of closures you might consider:
- Buttons: These are versatile and can be used in various styles, from functional to decorative. When sewing buttons, make sure to reinforce the area with interfacing if the fabric is lightweight.
- Zippers: Perfect for fitted garments, zippers come in various types, including invisible, centered, and lapped. Each type has its own installation technique, so be sure to follow instructions carefully.
- Hooks and Eyes: These are often used in conjunction with other closures for added security. They are great for dresses and skirts, providing a clean finish without the bulk.
Before you begin sewing on your closure, it's wise to practice on a scrap piece of fabric. This way, you can refine your technique and avoid any mishaps on your actual garment. For zippers, for example, using a zipper foot can help you sew closer to the teeth for a neater finish. Similarly, when sewing buttons, consider using a buttonhole attachment if your machine has one, as it can save you time and ensure uniformity.
Once you’ve sewn on your closures, take a moment to check their functionality. Ensure that zippers glide smoothly and that buttons can be easily fastened and unfastened. This attention to detail will not only improve the wearability of your garment but also showcase your sewing skills.
In summary, adding closures is more than just a practical step; it’s an opportunity to express your creativity. Whether you opt for bold, statement buttons or sleek, hidden zippers, the right closure can elevate your garment from ordinary to extraordinary. So, take your time, choose wisely, and enjoy the process of completing your sewing project!
Q: What type of closure is best for beginners?
A: For beginners, buttons and hook-and-eye closures are often the easiest to work with, as they require simple sewing techniques and minimal tools.
Q: How do I choose the right zipper for my project?
A: The type of zipper you choose depends on the garment style. For dresses and skirts, invisible zippers are ideal, while for jackets, a heavier zipper may be more appropriate.
Q: Can I use fabric glue for closures?
A: While fabric glue can be used for some closures, it's best to sew them on for durability and a polished look.
Q: How do I ensure my buttons are securely attached?
A: Reinforce the button area with interfacing and sew the button on with multiple passes of thread, creating an "X" pattern for added strength.
Frequently Asked Questions
- What types of sewing patterns are available?
There are mainly two types of sewing patterns: commercial and independent. Commercial patterns are mass-produced and can be found in fabric stores, while independent patterns are created by smaller designers and often feature unique styles. Choosing the right one depends on your skill level and the specific project you're tackling.
- How do I choose the right fabric for my sewing project?
Selecting the appropriate fabric is crucial for achieving the desired look and feel of your garment. Consider the fabric type, weight, and texture. For example, lightweight fabrics like chiffon are great for flowy dresses, while heavier fabrics like denim are perfect for structured pieces.
- Is pre-washing fabric really necessary?
Absolutely! Pre-washing your fabric helps prevent shrinkage and color bleeding after you've sewn your garment. It's a simple step that saves you from potential headaches later on. Just make sure to follow the care instructions for your specific fabric type.
- What are pattern weights and how do I use them?
Pattern weights are tools used to hold your pattern in place while cutting. They can be anything from store-bought weights to DIY options like washers or small bags of rice. Using them helps prevent the pattern from shifting, ensuring accurate cuts and a smoother sewing process.
- What basic sewing techniques should I know?
Familiarizing yourself with basic sewing techniques is essential. Start with straight stitching and zigzag stitching, as these are foundational skills for constructing garments. Also, learn about seam finishes to prevent fraying and give your project a professional look.
- How do I achieve a professional finish on my hems?
To achieve a polished look on your hems, explore different hemming techniques. Blind hems are great for a nearly invisible finish, while rolled hems work well for lightweight fabrics. Experiment with these methods to find what works best for your project.
- What are some tips for adding closures like zippers and buttons?
When adding closures, precision is key. For zippers, make sure to use a zipper foot for even stitching. When sewing on buttons, reinforce the area with extra fabric or interfacing for durability. Always test your techniques on scrap fabric first to ensure you're happy with the results!


