How to Choose and Install Quilting Machine Needles
This article provides a comprehensive guide on selecting the right quilting machine needles and offers step-by-step instructions for proper installation to enhance your quilting experience. Whether you're a seasoned quilter or just starting out, understanding the nuances of quilting machine needles can significantly improve your projects. Choosing the right needle can feel like finding a needle in a haystack, but don't worry! We're here to simplify the process for you.
Different quilting machine needles serve various purposes. This section explores the types of needles available, including universal, quilting, and specialty needles, to help you make an informed choice. Universal needles are the all-rounders; they work well with a variety of fabrics, making them perfect for general sewing tasks. On the other hand, quilting needles are specifically designed with a tapered point that penetrates multiple layers of fabric, allowing for smooth stitching without damaging your material. Specialty needles, such as those for denim or embroidery, have unique features tailored to specific tasks, ensuring that your quilting experience is as seamless as possible.
Choosing the correct needle size is crucial for successful quilting. The size of your needle can greatly affect the quality of your stitches and the compatibility with different fabrics. Using a needle that is too thick for your fabric can lead to snags or holes, while a needle that is too fine may struggle to penetrate thicker materials. It's essential to match the needle size with the fabric type and thread you are using. This attention to detail will ensure that your stitches are not only beautiful but also durable, standing the test of time.
Learn about the standard needle sizes commonly used in quilting. Most quilting needles come in sizes ranging from 60/8 to 100/16. Here's a quick overview:
| Needle Size | Recommended Fabric Type |
|---|---|
| 60/8 | Lightweight fabrics (silk, tulle) |
| 70/10 | Medium-weight fabrics (cotton, linen) |
| 80/12 | Medium to heavy-weight fabrics (denim, canvas) |
| 90/14 | Heavy-weight fabrics (corduroy, upholstery) |
| 100/16 | Extra heavy-weight fabrics (leather, multiple layers) |
Understanding these standard sizes will help you make the right choice for your next quilting project.
This section offers guidance on selecting the appropriate needle size based on fabric thickness and thread type. When working with thicker fabrics, opt for a larger needle size to ensure smooth stitching. Conversely, when using finer threads, a smaller needle is preferable. This careful selection will not only enhance stitch quality but also minimize wear and tear on your fabric. Think of it like pairing the right shoes with your outfit; the right needle can make all the difference in how your quilting project turns out!
Avoiding common mistakes when choosing needle sizes can save time and frustration. One frequent error is using the same needle for every project. Just as you wouldn’t wear the same shoes for a formal event and a hiking trip, your quilting projects also require different needle sizes. Another mistake is not changing the needle often enough; dull needles can cause skipped stitches and uneven tension. By being mindful of these pitfalls, you can ensure a smoother quilting process.
Proper installation of quilting machine needles is essential for performance. Follow these simple steps to safely and correctly install needles in your quilting machine:
- Turn off your machine and unplug it for safety.
- Remove the old needle by loosening the needle clamp screw.
- Insert the new needle with the flat side facing the back of the machine.
- Tighten the needle clamp screw securely.
- Re-thread your machine and test on a scrap piece of fabric.
By following these steps, you'll ensure that your needle is properly installed and ready for action!
Maintaining your quilting machine needles is vital for longevity and performance. Regularly check your needles for signs of wear and tear, such as bending or dullness. Cleaning your machine and ensuring that the needle area is free from lint and debris will also contribute to better stitch quality. It's like taking care of your car; regular maintenance keeps everything running smoothly!
Understanding when to replace your quilting machine needles can prevent issues. Signs that indicate it's time for a needle change include:
- Skipped stitches
- Uneven tension
- Fabric snags or pulls
By being proactive about needle replacement, you can maintain the quality of your sewing projects and avoid unnecessary frustration.
Proper storage of quilting machine needles extends their lifespan. Store needles in a designated needle case or magnetized holder to keep them organized and safe from damage. Avoid leaving them loose in a drawer where they can get bent or rusted. Think of it as keeping your tools in a toolbox; a little organization goes a long way in maintaining their condition and readiness for your next quilting adventure!
Q: How often should I change my quilting machine needle?
A: It’s recommended to change your needle after every 8 hours of sewing or after completing a large project.
Q: Can I use regular sewing needles for quilting?
A: While you can use regular sewing needles, quilting needles are specifically designed for multiple layers and will provide better results.
Q: What size needle should I use for cotton fabric?
A: A size 80/12 needle is generally a good choice for medium-weight cotton fabric.
Understanding Needle Types
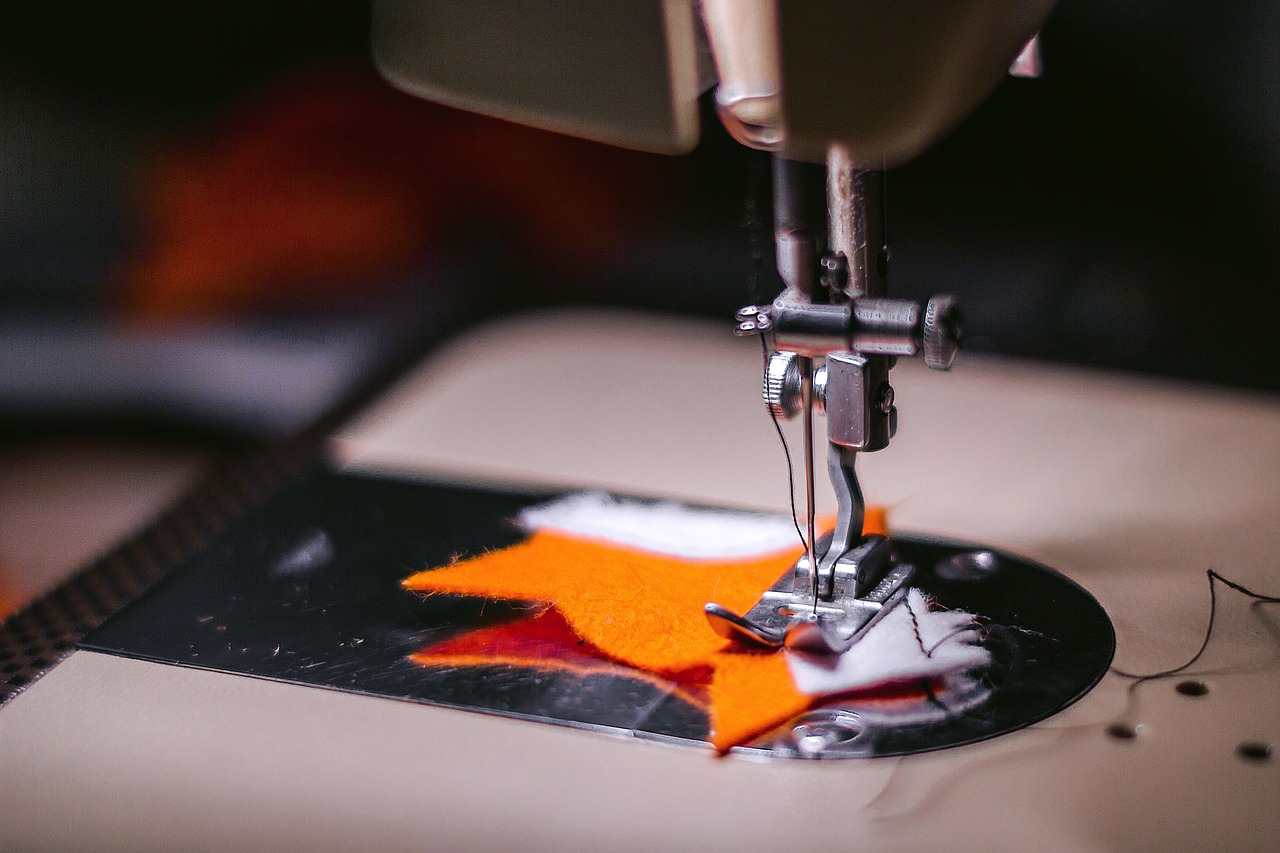
When it comes to quilting, the type of needle you choose can make all the difference in your sewing experience. Just like a chef selects the right knife for each ingredient, a quilter must pick the right needle for their fabric and thread. There are several types of quilting machine needles available, each designed for specific tasks, and understanding these options is crucial for achieving the best results.
First up, we have the universal needle. This is the all-rounder of the needle world, suitable for a variety of fabrics, from cotton to polyester blends. If you're just starting out or working on a simple project, a universal needle can be a great choice. However, if you find yourself diving into more specialized quilting techniques, you might want to explore other options.
Next, let’s talk about the quilting needle. This needle is specifically designed for quilting tasks. It features a tapered point that allows it to easily penetrate multiple layers of fabric, which is especially useful when working with batting. The quilting needle also helps create beautiful, even stitches, making it an essential tool for any serious quilter.
For those who love to experiment with different materials, specialty needles are a must. These needles come in various forms, including:
- Embroidery needles - Perfect for decorative stitching.
- Jeans/Denim needles - Designed for thick fabrics, like denim.
- Double needles - Great for creating parallel lines of stitching.
Each needle type has its unique characteristics, and using the right one can significantly impact your quilting results. For instance, using a universal needle on thick layers may lead to skipped stitches or fabric damage, while a quilting needle can glide through with ease. So, before you start your next project, take a moment to assess the needle type that best suits your needs.
In summary, understanding the different types of quilting machine needles is essential for any quilter aiming for quality results. Whether you opt for a universal needle for versatility, a quilting needle for precision, or a specialty needle for unique projects, each choice plays a crucial role in the overall success of your quilting endeavors. Remember, the right needle can elevate your quilting game, transforming your fabric into a masterpiece!
Needle Size Matters
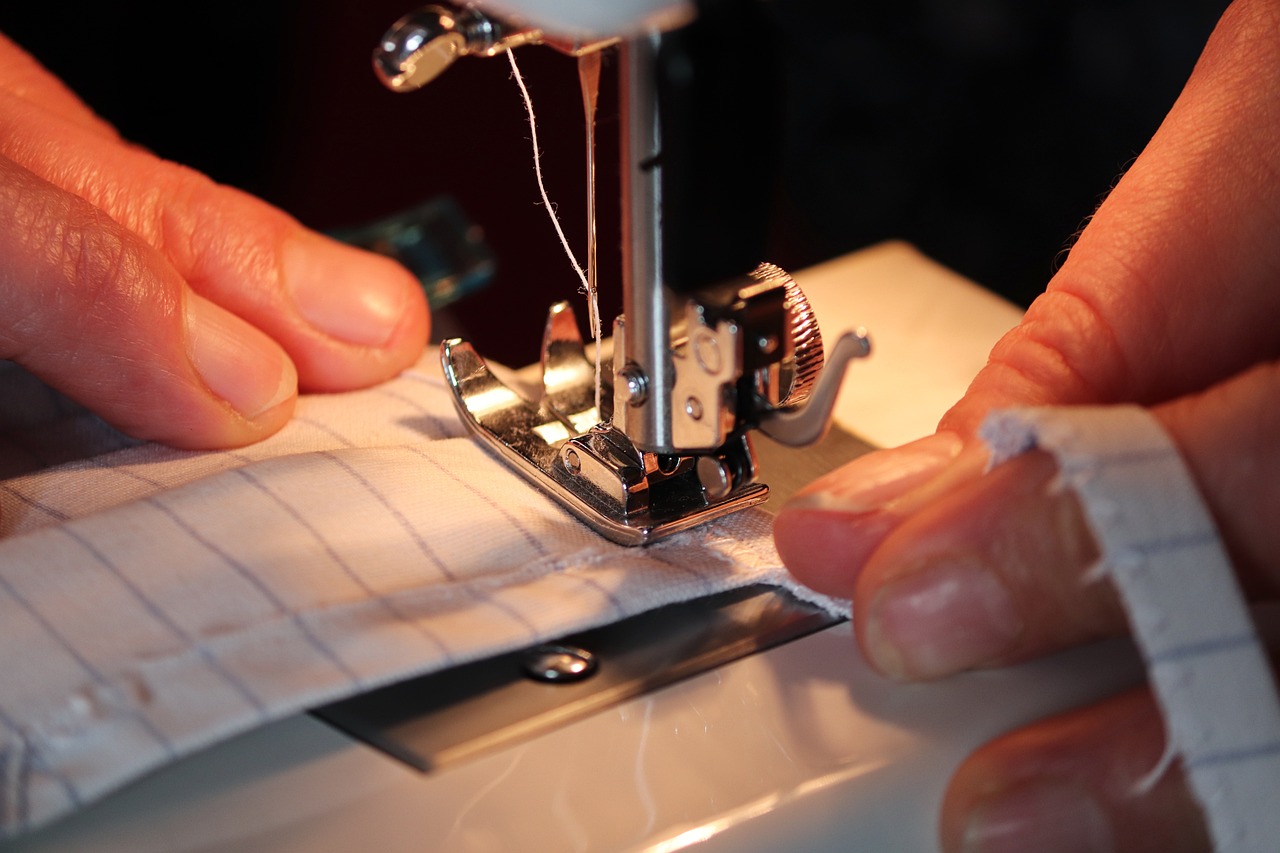
When it comes to quilting, one of the most critical factors that can make or break your project is the size of the needle you choose. You might be wondering, why does needle size matter so much? Well, think of your quilting needle as the unsung hero of your sewing machine. It’s the part that pierces the fabric, creates the stitches, and ultimately determines the quality of your finished piece. Choosing the wrong needle size can lead to a host of problems, including skipped stitches, fabric damage, and uneven seams. So, let’s dive into why needle size is essential and how to choose the right one for your quilting projects.
The size of a needle is usually indicated by a number, and this number corresponds to the diameter of the needle shaft. The larger the number, the thicker the needle. For example, a size 70/10 needle is thinner than a size 90/14 needle. Each size has its specific applications, and understanding these can significantly enhance your quilting experience. If you’re working with lightweight fabrics like cotton or silk, a smaller needle size is typically best. On the other hand, if you’re tackling heavier materials such as denim or multiple layers of fabric, a larger needle is essential to get the job done effectively.
Here’s a quick overview of how needle size affects your quilting:
| Fabric Type | Recommended Needle Size |
|---|---|
| Lightweight Cotton | 70/10 - 80/12 |
| Medium Weight Cotton | 80/12 - 90/14 |
| Denim or Heavy Fabrics | 90/14 - 100/16 |
| Knits or Stretch Fabrics | 75/11 - 90/14 |
Choosing the right size needle based on the fabric you are using is crucial for achieving optimal stitch quality. If you use a needle that is too small for your fabric, you may experience fraying or breaking of the fabric threads, leading to an unsightly finish. Conversely, using a needle that is too large can create holes in your fabric, ruining the overall look of your quilt. So, think of your needle as the key to unlocking the beauty of your quilting project!
Another important aspect to consider is the type of thread you are using. Thicker threads require larger needles, while finer threads work best with smaller needles. This relationship between needle size and thread thickness ensures that your stitches are even and secure. Imagine trying to fit a big key into a tiny lock—it just won’t work! The same principle applies to your quilting needle and thread.
Now, let’s talk about some common mistakes quilters make regarding needle sizes. One frequent error is using the same needle size for every project without considering the fabric and thread. This one-size-fits-all approach can lead to disappointing results. It’s always a good idea to take a moment to assess your materials before diving in. Another mistake is not replacing needles regularly. Over time, needles can become dull, which can lead to poor stitch quality and frustration. Remember, a sharp needle is essential for a smooth quilting experience!
In summary, needle size is not just a minor detail; it’s a fundamental element that can significantly impact your quilting results. By understanding the relationship between needle size, fabric type, and thread thickness, you can make informed decisions that will enhance your quilting projects. So next time you head to your sewing room, take a moment to consider your needle size—it might just be the secret ingredient to your quilting success!
Standard Needle Sizes
When it comes to quilting, understanding is essential for achieving the best results. Just like a chef needs the right knife for each ingredient, a quilter must choose the appropriate needle size based on the fabric and thread they are using. Needle sizes are typically measured in two systems: the American system and the European system. In the American system, needle sizes are indicated by a number ranging from 8 to 18, while the European system uses a size range from 60 to 120. This can be confusing for beginners, but don't worry—once you grasp the basics, selecting the right needle will become second nature!
Here’s a quick reference table to help you understand the correlation between the American and European needle sizes:
| American Size | European Size | Recommended Use |
|---|---|---|
| 8 | 60 | Lightweight fabrics, such as silk or organza |
| 10 | 70 | Lightweight cottons and fine fabrics |
| 12 | 80 | Medium-weight fabrics, such as cotton and polyester blends |
| 14 | 90 | Medium to heavy fabrics, including quilting cotton |
| 16 | 100 | Heavy fabrics like denim and canvas |
| 18 | 110 | Extra heavy fabrics and multiple layers |
Choosing the right needle size can significantly impact the stitch quality and overall appearance of your quilt. For instance, using a needle that is too small for your fabric can lead to broken threads and skipped stitches, while a needle that is too large may create large holes in your fabric. Therefore, it’s crucial to understand the fabric type you’re working with. For example, if you’re quilting with a lightweight cotton, a size 12 (80) needle is often a great choice, while a thicker fabric like denim would require a size 16 (100) needle.
In addition to fabric type, the thread type also plays a significant role in determining needle size. If you’re using a thicker thread, you’ll want to opt for a larger needle to accommodate it. Conversely, a finer thread pairs best with a smaller needle. This balance not only ensures smooth stitching but also prolongs the life of your needle.
As you embark on your quilting journey, remember that trial and error is part of the learning process. Don’t be afraid to experiment with different needle sizes and types until you find what works best for your unique style and projects. Your quilting experience will only improve as you become more familiar with the nuances of needle selection!
- What needle size should I use for quilting? It depends on the fabric type and thread thickness. A size 12 (80) needle is typically good for medium-weight cotton.
- How often should I change my quilting needle? It’s recommended to change your needle after every 8 hours of sewing or if you notice any stitching issues.
- Can I use a universal needle for quilting? Yes, but for best results, consider using a needle specifically designed for quilting.

Choosing the Right Size
This article provides a comprehensive guide on selecting the right quilting machine needles and offers step-by-step instructions for proper installation to enhance your quilting experience.
Different quilting machine needles serve various purposes. This section explores the types of needles available, including universal, quilting, and specialty needles, to help you make an informed choice.
Choosing the correct needle size is crucial for successful quilting. Here, we discuss how needle size affects stitch quality and fabric compatibility, ensuring optimal results in your projects.
Learn about the standard needle sizes commonly used in quilting. This subsection provides insights into which sizes work best for different fabric types and project requirements.
When it comes to quilting, selecting the right needle size is akin to finding the perfect key for a lock; it can make all the difference in the world. The size of your needle plays a significant role in how well your quilting project turns out. For instance, using a needle that is too large for your fabric can create unsightly holes, while a needle that is too small may struggle to penetrate the material, leading to frustrating skipped stitches.
Generally, needle sizes are measured in two systems: the American system, which uses a number ranging from 60 to 120, and the European system, which is indicated in millimeters. The larger the number, the thicker the needle. Here’s a quick reference table to help you understand which needle sizes work best with various fabric types:
| Fabric Type | Recommended Needle Size |
|---|---|
| Lightweight Fabrics (e.g., silk, tulle) | 60/8 - 70/10 |
| Medium Weight Fabrics (e.g., cotton, linen) | 80/12 - 90/14 |
| Heavyweight Fabrics (e.g., denim, canvas) | 90/14 - 100/16 |
To choose the right size needle, consider the thickness of your fabric and the type of thread you are using. For example, if you're working with a thicker fabric, you’ll want to opt for a larger needle size to ensure that it can easily pass through the material. Conversely, if you're using a delicate thread, a smaller needle will help prevent any potential damage to the fabric.
Another factor to consider is the type of stitching you plan to do. If you’re quilting with a decorative stitch, you might need a needle that can accommodate that specific thread type without causing any snags or breakage. So, always keep your project in mind when selecting your needle size!
It's also important to be aware of common mistakes that can occur when choosing needle sizes. Many quilters, especially beginners, may not realize that using the same needle size for all their projects can lead to less than ideal results. Always take a moment to assess your fabric and thread before making a selection.
Maintaining your quilting machine needles is vital for longevity and performance. Here, we provide tips on how to care for and regularly check your needles to ensure optimal quilting results.
Understanding when to replace your quilting machine needles can prevent issues. This subsection discusses signs that indicate it's time for a needle change to maintain quality in your sewing.
Proper storage of quilting machine needles extends their lifespan. This section offers advice on safe storage practices to keep your needles organized and in good condition, ready for your next project.
- How often should I change my quilting machine needle? It's recommended to change your needle after every 8 hours of sewing or after completing a large project.
- Can I use the same needle for different types of fabric? While some needles can work for multiple fabric types, it's best to choose a needle that matches the specific fabric for optimal results.
- What happens if I use the wrong needle size? Using the wrong needle size can lead to skipped stitches, fabric damage, and an overall frustrating sewing experience.
Common Mistakes
When it comes to quilting, even the smallest mistakes can lead to frustrating outcomes, especially when it involves choosing the right needle. One of the most common pitfalls is not considering the fabric type when selecting a needle. Each fabric has its unique characteristics, and using the wrong needle can cause snags or skipped stitches. For instance, using a universal needle on a delicate fabric like chiffon can lead to disaster, while a quilting needle might be too aggressive for a lightweight cotton.
Another frequent error is overlooking needle size. Many quilters assume that a larger needle is always better, but this isn't the case. A needle that is too big can create holes in your fabric or disrupt the stitch tension, resulting in uneven seams. Conversely, using a needle that’s too small can lead to breakage, especially when working with thicker threads. It’s essential to match the needle size to both the fabric and thread you're using to achieve that perfect stitch.
Moreover, many quilters forget to replace their needles regularly. Needles can become dull or bent after just a few projects, which can affect the quality of your stitching. If you notice that your stitches are skipping or your fabric is not feeding correctly, it might be time for a needle change. A good rule of thumb is to replace your needle after every 8-10 hours of sewing, or sooner if you’re working with thicker fabrics.
Lastly, improper installation of the needle can lead to various issues. If a needle is not seated correctly in the machine, it can cause misalignment, resulting in poor stitch quality. Always ensure that the needle is installed with the flat side facing the correct direction and is pushed all the way up into the needle holder. Double-checking this small detail can save you a lot of headaches down the line.
In summary, avoiding these common mistakes can significantly enhance your quilting experience. Always pay attention to fabric type, choose the correct needle size, replace dull needles promptly, and ensure proper installation. These simple practices will help you achieve beautiful, consistent results in your quilting projects.
- How often should I change my quilting needle? It’s recommended to change your needle after every 8-10 hours of sewing or when you notice any issues with stitching.
- What needle size should I use for quilting? The needle size depends on the fabric type. Generally, a size 75/11 or 90/14 works well for standard quilting fabrics.
- Can I use a universal needle for quilting? While you can use a universal needle, it's best to use a quilting needle for optimal results, as they are designed specifically for quilting.
- What signs indicate that my needle needs to be replaced? Look for skipped stitches, frayed thread, or fabric snags as indicators that your needle may need replacing.
Needle Installation Process
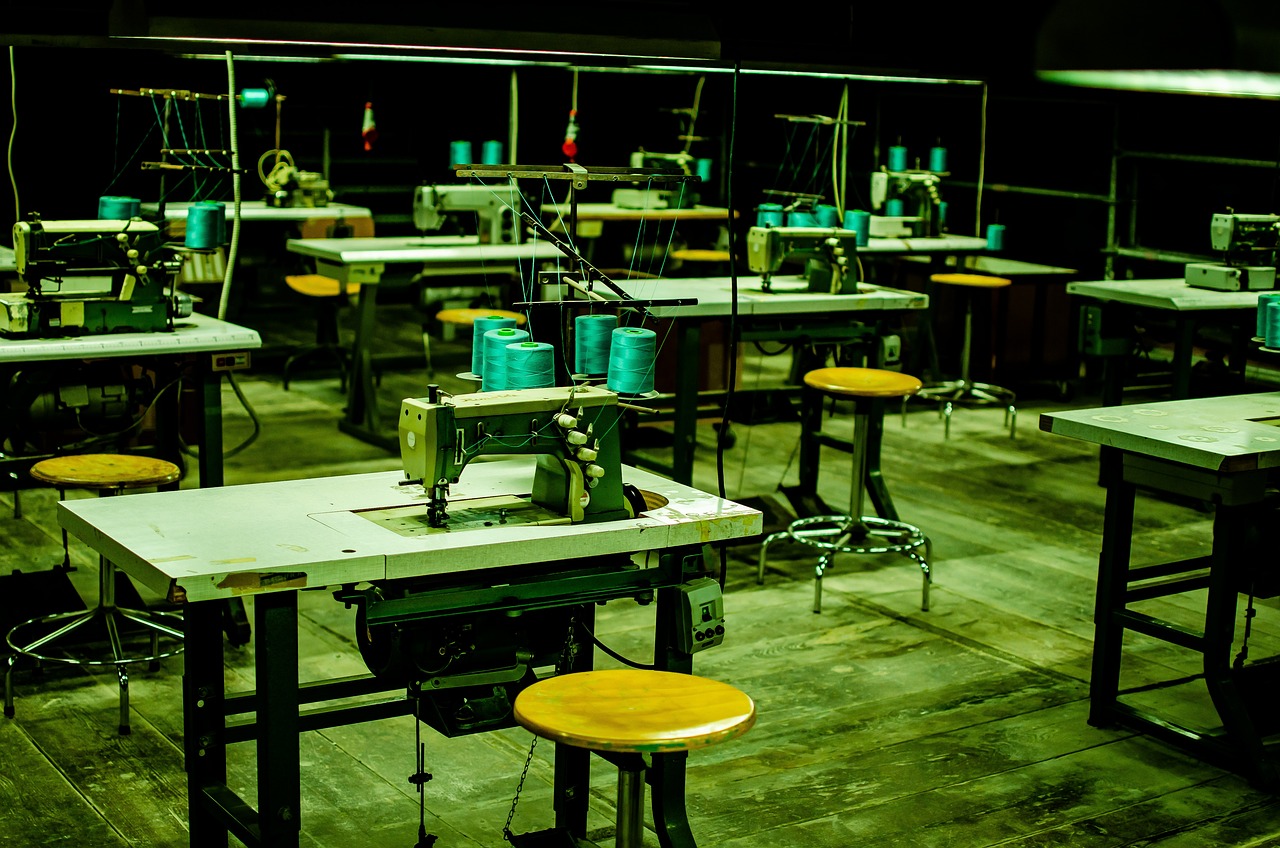
Installing your quilting machine needle correctly is crucial for achieving that perfect stitch and ensuring your quilting projects go off without a hitch. It might seem daunting at first, but with a little guidance, you'll find it’s as easy as pie! First, make sure your machine is turned off to avoid any accidents. Safety first, right?
Next, gather your supplies. You’ll need your new needle, a screwdriver (if required by your machine), and a clean workspace. It’s always a good idea to have everything on hand so you don’t have to interrupt your flow. Now, let’s dive into the step-by-step process:
- Remove the Old Needle: Loosen the needle clamp screw using your screwdriver and gently pull down on the old needle to remove it. If it’s stuck, don’t force it; just ensure the screw is loosened enough.
- Insert the New Needle: Take your new needle and notice the flat side. This flat side should face the back of the machine. Slide the needle up into the needle holder until it’s fully inserted.
- Tighten the Clamp Screw: Once the needle is in position, tighten the clamp screw securely. Make sure it’s snug but be careful not to overtighten, as this can damage the needle or the machine.
- Check Alignment: After installation, manually turn the handwheel to check that the needle moves freely and is properly aligned with the needle plate.
And voila! You’ve installed your needle like a pro. However, don’t rush into quilting just yet. It’s essential to do a quick test stitch on a scrap piece of fabric to ensure everything is working smoothly. This little step can save you a lot of headaches down the line!
Remember, the key to a successful needle installation is patience and attention to detail. If at any point you feel unsure, consult your quilting machine’s manual for specific instructions related to your model. Each machine can have its quirks, and knowing them can make your quilting journey all the more enjoyable.
Here are some common questions you might have about the needle installation process:
- How often should I change my quilting machine needle? It’s recommended to change your needle after every 8 hours of sewing or when you notice any skipped stitches or fabric damage.
- What if my needle breaks during sewing? If your needle breaks, turn off the machine immediately, remove any broken pieces, and install a new needle before continuing.
- Can I use any needle for my quilting machine? No, different needles are designed for different types of fabric and sewing techniques. Always choose the appropriate needle for your project.
Maintenance Tips for Needles
Maintaining your quilting machine needles is not just about prolonging their lifespan; it's also about ensuring that every stitch you make is as perfect as possible. Think of your needle as the unsung hero of your quilting projects. Without proper care, even the best needle can become dull or damaged, leading to frustrating sewing experiences. So, what can you do to keep your needles in top shape? Let’s dive into some essential maintenance tips that will help you get the most out of your quilting machine needles.
First and foremost, always inspect your needles before starting a new project. A quick visual check can save you a lot of headaches later on. Look for any signs of wear, such as bent tips or dull edges. If you notice any irregularities, it’s best to replace the needle before you begin. Remember, using a damaged needle can lead to skipped stitches and fabric snags, which can ruin your hard work.
Next, keep your needles clean. Dust and lint can accumulate on the needle and in the machine, affecting performance. To clean your needles, simply wipe them with a soft cloth or use a small brush to remove any debris. This simple step can significantly enhance stitch quality and prevent thread breakage.
Another important aspect of maintenance is storing your needles properly. If you’re like many quilters, you might have a collection of needles in different sizes and types. To keep them organized and in good condition, consider using a needle case or a magnetic strip. This not only prevents them from getting lost but also protects them from bending or dulling. When storing, make sure the needles are kept in a dry place away from direct sunlight, as heat can weaken the needle material over time.
Lastly, it's crucial to know when to replace your needles. A good rule of thumb is to change your needle after every project or every 8 hours of sewing. However, if you notice any issues like skipped stitches or uneven tension, it might be time for a change, even if you haven’t hit that 8-hour mark yet. Keeping a record of your sewing hours can help you track when it’s time to switch out your needles.
Q: How often should I change my quilting machine needles?
A: It’s recommended to change your needle after every project or every 8 hours of sewing. However, if you notice issues like skipped stitches, change it sooner.
Q: Can I use the same needle for different types of fabric?
A: While it’s possible, it’s best to use the appropriate needle type for each fabric to ensure the best results and avoid damage to your materials.
Q: How do I know if my needle is dull?
A: Signs of a dull needle include skipped stitches, fabric snags, and uneven stitching. If you experience any of these, it’s time to replace your needle.
Q: What is the best way to store my needles?
A: Store your needles in a needle case or on a magnetic strip, keeping them in a dry place away from sunlight to prevent damage.
When to Replace Needles
Knowing when to replace your quilting machine needles is crucial for maintaining the quality of your work. Just like a chef wouldn’t use a dull knife, you shouldn’t compromise your quilting projects with worn-out needles. Over time, needles can become damaged or dull, leading to frustrating sewing experiences and less-than-perfect results. So, how do you know when it’s time for a change? Here are some key indicators:
- Visible Damage: If you notice any bends, chips, or rust on the needle, it’s definitely time to replace it. A damaged needle can snag your fabric and ruin your project.
- Poor Stitch Quality: If your stitches are skipping, uneven, or have loose threads, your needle may be the culprit. A fresh needle can often solve these issues.
- Fabric Type Changes: Switching to a different fabric type often requires a different needle. For example, using a thicker needle for quilting layers of fabric is essential for achieving the best results.
- After a Certain Number of Uses: As a general rule, it’s wise to replace your needle after every 8-10 hours of sewing, or after completing a significant project. This can help prevent unexpected issues during your next quilting session.
By keeping an eye on these signs, you can ensure that your quilting machine needles are always in top condition. Regularly replacing your needles not only enhances the quality of your stitches but also extends the life of your machine and fabric. Think of it as giving your machine a little TLC – it pays off in the long run!
Q: How often should I replace my quilting machine needles?
A: It’s recommended to replace your needles after every 8-10 hours of sewing or after completing a significant project. This helps maintain optimal performance.
Q: Can I use the same needle for different fabric types?
A: While it’s possible to use the same needle for various fabrics, it’s best to choose a needle that’s specifically designed for the fabric type you’re working with to achieve the best results.
Q: What should I do if my stitches are skipping?
A: Skipping stitches can be a sign that your needle is dull or damaged. Replacing the needle is usually the first step to resolving this issue.
Q: Is it necessary to use specialty needles for quilting?
A: Yes, specialty needles are designed for specific quilting techniques and fabric types. Using the right needle can significantly improve your stitching quality.
Storing Needles Safely
When it comes to quilting, one of the most overlooked aspects is how you store your needles. Proper storage not only extends the lifespan of your quilting machine needles but also ensures that they are always ready for your next creative endeavor. Imagine reaching for a needle only to find it bent or dull; that’s a recipe for frustration! So, let's dive into some effective strategies for storing your needles safely.
First and foremost, it’s essential to keep your needles in a designated container. A needle case or a small, sturdy box can work wonders. Look for a container that has a secure lid to prevent any accidental spills. You might consider using a magnetic needle holder, which keeps needles organized and easy to access. Just think of it as your needle’s cozy home, protecting them from damage and keeping them in tip-top shape.
Another important factor is to store your needles according to type and size. This organization can save you a lot of time when you’re in the middle of a project. You could use small labeled compartments or even colored stickers to differentiate between universal, quilting, and specialty needles. Here’s a quick tip: always keep the original packaging for reference. Not only does it provide information about the needle type, but it also protects them from dust and moisture.
Temperature and humidity play significant roles in needle maintenance as well. Storing your needles in a cool, dry place helps to prevent rust and corrosion. Avoid keeping them in damp areas like basements or near windows where moisture can seep in. If you live in a particularly humid climate, consider using silica gel packets in your storage container to absorb excess moisture. It’s like giving your needles a spa day!
Lastly, it’s wise to regularly check your needle storage for any signs of wear or damage. If you notice any bent or dull needles, it’s best to dispose of them to avoid ruining your fabric. Remember, a needle is a quilter's best friend, and treating it with care will ensure that it serves you well for many projects to come.
- How often should I check my needle storage?
It’s a good idea to check your needle storage every few months or before starting a new project to ensure everything is in good condition. - Can I store different types of needles together?
While it’s possible, it’s best to store them separately to avoid confusion and to keep track of which needles you have. - What should I do if I find a rusty needle?
Discard any rusty needles immediately, as they can damage your fabric and sewing machine.
Frequently Asked Questions
-
What types of needles are best for quilting?
When it comes to quilting, the best needles are typically quilting needles, which are designed specifically for this purpose. They have a tapered point that allows them to easily pierce multiple layers of fabric. Other options include universal needles for general use and specialty needles for specific techniques.
-
How do I choose the right needle size?
Choosing the right needle size depends on the thickness of your fabric and the type of thread you're using. A good rule of thumb is to use a larger needle for thicker fabrics and a smaller needle for lighter materials. Always refer to the needle size chart to find the best match for your project.
-
What are the common mistakes when selecting needle sizes?
Many quilters make the mistake of using the same needle size for all projects. This can lead to poor stitch quality and fabric damage. Another common error is overlooking the thread type; using a thick thread with a small needle can cause breakage. Always consider both fabric and thread when selecting your needle!
-
How do I properly install a quilting machine needle?
Installing a quilting machine needle is simple! First, make sure your machine is turned off. Then, loosen the needle clamp screw, remove the old needle, and insert the new one with the flat side facing the back. Tighten the screw and you're ready to quilt!
-
When should I replace my quilting machine needle?
It's time to replace your needle if you notice skipped stitches, thread breakage, or if the needle is bent or dull. Regularly changing your needle can significantly improve your quilting results and save you from unnecessary frustration.
-
What are the best practices for needle maintenance?
To keep your quilting needles in top shape, store them in a cool, dry place and away from direct sunlight. Regularly check for signs of wear and replace them as needed. Also, clean your machine regularly to prevent lint buildup that can affect needle performance.
-
How should I store my quilting machine needles?
Storing your needles safely is crucial. Use a needle case or magnetic holder to keep them organized and prevent damage. Label your storage with sizes and types to easily find the right needle when you need it.


