Snow Day Activity: Indoor Craft Ideas for Kids
Snow days can be a mixed bag for parents and kids alike. While the thought of a cozy day indoors sounds delightful, keeping energetic little ones entertained can be quite the challenge. But fear not! We've got a treasure trove of creative indoor craft ideas that will not only keep your kids engaged but also ignite their imaginations. When the snow is piling up outside, why not turn your living room into a winter wonderland of creativity? With just a few simple supplies, you can transform a chilly day into a memorable crafting experience that will have your children buzzing with excitement.
Crafting is not just a fun way to spend the day; it also helps develop essential skills in children. As they cut, fold, and glue, they enhance their fine motor skills and hand-eye coordination. Plus, the satisfaction of creating something beautiful with their own hands is a confidence booster that every child deserves. So, grab your scissors, glue, and a splash of imagination, because we’re about to dive into a world of indoor crafting adventures perfect for those snowy days!
Let’s kick things off with paper crafts! These projects are perfect for snowy days since they require minimal supplies and can be done right from your dining table. Think about colorful paper, scissors, and glue – that’s all you really need! Kids can express their creativity in countless ways, whether they're making cards, collages, or even origami. Not only do these activities keep little hands busy, but they also allow children to explore their artistic sides.
For instance, you can set up a paper craft station where kids can create their own greeting cards for family members. Encourage them to decorate with stickers or drawings, making each card unique. You might be surprised at how much joy they find in this simple act of creation! With just a few sheets of paper and some imagination, the possibilities are endless.
What better way to brighten up a snowy day than by making your own winter-themed decorations? With a little creativity and some basic materials, you can transform your home into a festive haven. Think of glitter, cotton balls, and colored paper – all of which can be turned into beautiful winter decorations that not only bring cheer indoors but also provide a wonderful bonding experience for you and your kids.
One of the most enjoyable winter crafts is creating paper snowflakes. This classic activity allows kids to explore various techniques to make unique designs. All you need is some paper and scissors, and you can create snowflakes that can be hung in windows or on walls, adding a touch of winter magic to your indoor space.
Why stick to plain white paper? Encourage your kids to experiment with colored paper and different shapes. Colorful snowflakes can create a stunning contrast against the winter backdrop outside. Imagine vibrant snowflakes fluttering down from your windows, bringing a splash of color to the dreary winter days!
For a more advanced project, introduce the concept of 3D snowflakes. This involves folding and cutting paper in a way that results in stunning, dimensional decorations. Kids will love the surprise of seeing their flat creations come to life with a little bit of folding magic!
Unleash your child's inner artist with some winter-themed painting projects! Grab some canvases or thick paper and let them create beautiful scenes inspired by snowy landscapes. They can use watercolors, acrylics, or even finger paints to express their vision of winter. You might find that a little paint and a lot of imagination can lead to some truly stunning masterpieces!
Another fantastic way to keep kids engaged is by utilizing household recyclables. This not only sparks their creativity but also teaches them the importance of sustainability. For example, old cardboard boxes can be transformed into imaginative play structures or art pieces. Encourage your kids to think outside the box (pun intended!) and see what they can create with items you might normally throw away.
Guide kids in transforming cardboard boxes into their dream playhouses, cars, or even robots! This is a great way to promote resourcefulness while having tons of fun. The only limit is their imagination!
Have some empty plastic bottles lying around? Discover how to repurpose them into fun crafts, such as bird feeders or planters. This not only encourages creativity but also allows kids to think about how they can give new life to everyday items.
Creating engaging sensory bins filled with winter-themed materials is another way to provide tactile experiences that stimulate your kids' senses. Sensory play is essential for young children as it helps them explore and understand the world around them.
Learn how to create a snowy sensory bin using artificial snow, small toys, and winter-themed items. This setup offers endless opportunities for imaginative play. Kids can dig, scoop, and explore, making it a fantastic way to keep them entertained for hours!
Incorporate natural elements like pine cones and twigs into sensory bins, allowing kids to explore the beauty of winter's natural offerings. This not only enhances their sensory experience but also fosters a connection with nature, even when it's cold outside!
1. What materials do I need for these crafts?
Most projects require basic supplies like paper, scissors, glue, and recyclable materials. You can also use paints and natural items for sensory bins.
2. How can I encourage my kids to be creative?
Provide them with a variety of materials and let them explore freely. Ask open-ended questions to spark their imagination and give them the freedom to create without strict guidelines.
3. Are these crafts suitable for all ages?
Yes, you can adapt the complexity of the projects based on your child's age and skill level. Younger children may need more guidance, while older kids can tackle more intricate designs.
4. How can I make clean-up easier after crafts?
Designate a specific area for crafting and lay down newspapers or a plastic tablecloth. This will help contain the mess and make clean-up a breeze!
Creative Paper Crafts
When the snow is falling outside, it's the perfect opportunity for kids to unleash their creativity with some exciting paper crafts. Not only do these projects require minimal supplies, but they also help children develop important skills such as cutting, folding, and gluing. Imagine the joy on their faces as they transform simple sheets of paper into colorful masterpieces! The beauty of paper crafts lies in their versatility; whether it’s creating intricate designs or simple shapes, the possibilities are endless.
To get started, gather some basic supplies that you likely already have at home. You’ll need colored paper, scissors, glue, and perhaps some markers or crayons for decorating. With these materials at hand, your kids can embark on a creative journey that will keep them engaged for hours. One of the best things about paper crafts is that they encourage children to express their individuality. Each creation will be unique, reflecting their personal style and imagination.
One fun idea is to create paper animals. Kids can choose their favorite creatures and use paper to bring them to life. They can fold, cut, and glue to make 3D models or simple flat designs. This not only sparks creativity but also enhances their fine motor skills as they navigate the scissors and glue. You can even turn this into a fun family activity by having everyone create their own animal and then putting on a little show!
Another exciting project is making paper masks. Kids can design their own masks using colorful paper, feathers, and glitter. This activity can lead to wonderful role-playing opportunities, as they can pretend to be their favorite characters or animals. To make it even more engaging, host a mini masquerade party at home where everyone showcases their creations!
For those who enjoy a bit of a challenge, consider creating paper flowers. There are countless tutorials available online that can guide you through the steps of making beautiful blooms. These flowers can be used to decorate their rooms or even as gifts for family members. It’s a fantastic way to teach kids about the beauty of nature and the art of crafting.
To wrap up the crafting session, you might want to create a paper collage. This can involve cutting out various shapes and images from magazines or colored paper and arranging them into a beautiful scene. It’s an excellent way for kids to explore their artistic side while learning about composition and color theory.
Here’s a quick overview of some paper craft ideas you can try:
| Craft Idea | Supplies Needed | Skills Developed |
|---|---|---|
| Paper Animals | Colored paper, scissors, glue | Fine motor skills, creativity |
| Paper Masks | Colored paper, feathers, glitter, scissors | Imagination, role-playing |
| Paper Flowers | Colored paper, scissors, glue | Creativity, patience |
| Paper Collage | Magazines, colored paper, scissors, glue | Artistic expression, composition |
In conclusion, are not just a way to pass the time on snowy days; they are a gateway to fun, learning, and bonding. So, gather your supplies, roll up your sleeves, and let the crafting begin!
Q: What age group is suitable for paper crafts?
A: Paper crafts can be enjoyed by kids of all ages, but younger children may need adult supervision, especially when using scissors.
Q: Do I need special materials for these crafts?
A: No, most paper crafts can be made with basic supplies like colored paper, scissors, and glue that you probably already have at home.
Q: How can I inspire my kids to be more creative?
A: Encourage them to explore different themes or subjects for their crafts, and provide them with a variety of materials to spark their imagination.
DIY Winter Decorations
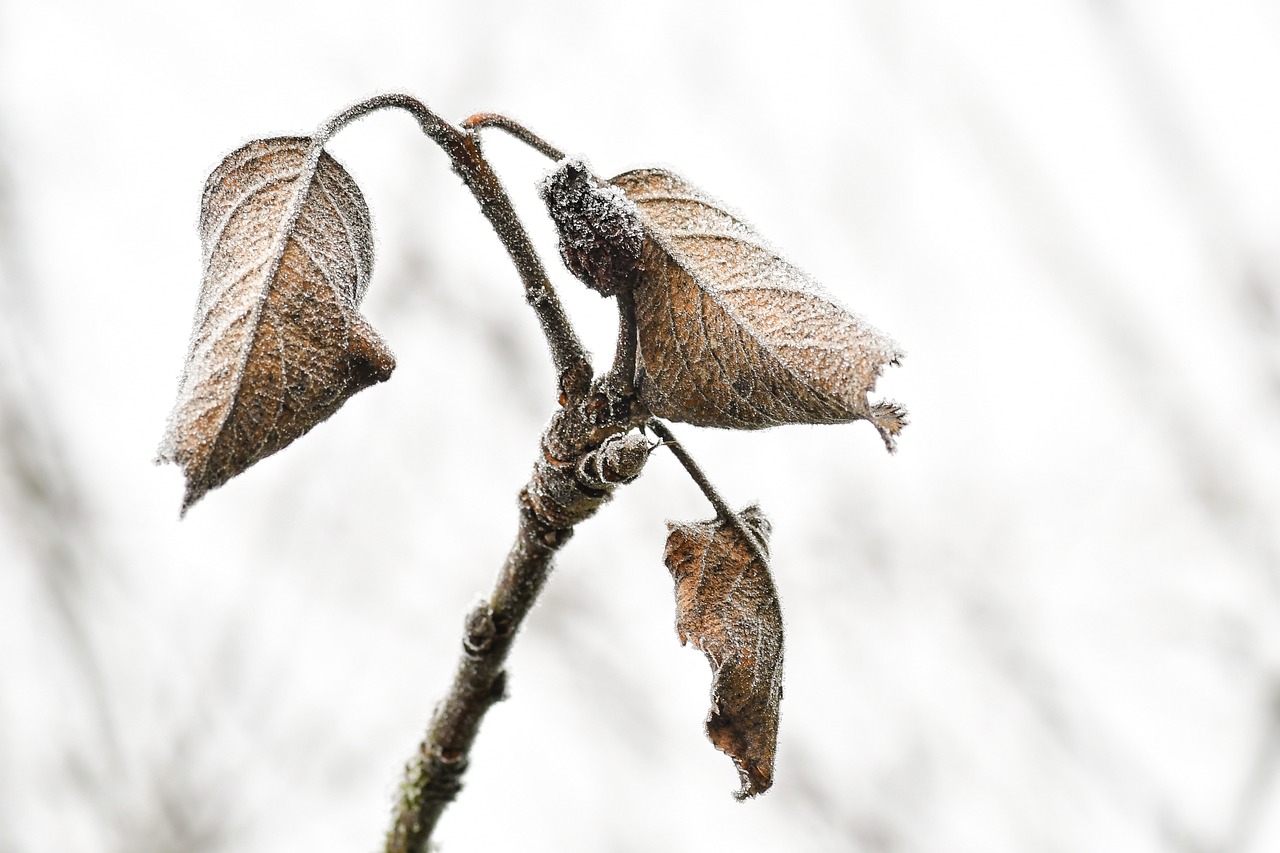
When the snow is falling outside and the chill is in the air, there's nothing quite like the warmth of a cozy home filled with festive decorations. DIY winter decorations are not just a way to beautify your space; they also provide an excellent opportunity for kids to unleash their creativity. With just a few simple materials, you can transform your living room into a winter wonderland, all while keeping your little ones engaged and entertained.
One of the easiest and most enjoyable projects is creating winter-themed garlands. All you need are some colorful construction paper, scissors, and a string. Kids can cut out shapes like snowflakes, stars, or even mittens, and then string them together to create a beautiful garland that can hang across the mantel or around doorways. This not only allows them to express their artistic flair but also fills the home with a charming, festive spirit.
Another fun idea is to make snowman decorations using old socks. Yes, you read that right! Gather some mismatched socks, rice, and buttons, and you have the perfect materials to craft adorable snowmen. Kids can fill the socks with rice, tie them off, and decorate them with buttons for eyes and a nose. This project not only recycles old materials but also gives children a sense of accomplishment as they create their very own winter buddies.
For those looking to add a touch of sparkle, consider making glittery snowflakes. Using white paper and glitter glue, kids can cut out snowflake shapes and then embellish them with glitter for that extra sparkle. Once dried, these can be hung in windows or on walls to catch the light beautifully. The best part? It’s a project that fosters both creativity and fine motor skills as they cut and glue.
If you want to take things a step further, why not create a winter scene in a jar? Using a clean glass jar, some cotton balls, and miniature figures (like trees or animals), kids can build their own little snowy landscapes. They can layer cotton balls to mimic snow drifts and arrange the figures however they like. This not only serves as a delightful decoration but also becomes a conversation starter for guests.
Here’s a quick summary of some materials you might need for these DIY projects:
| Decoration Type | Materials Needed |
|---|---|
| Winter Garland | Construction paper, scissors, string |
| Snowman Decorations | Mismatched socks, rice, buttons |
| Glittery Snowflakes | White paper, glitter glue |
| Winter Scene in a Jar | Glass jar, cotton balls, miniature figures |
As you can see, the possibilities are endless when it comes to DIY winter decorations. These activities not only keep kids busy but also help them develop important skills while fostering a love for crafting. So, gather your supplies, put on some festive music, and let the creativity flow. Your home will not only look beautiful but will also be filled with the joy and laughter of your little artists at work!

Snowflake Art
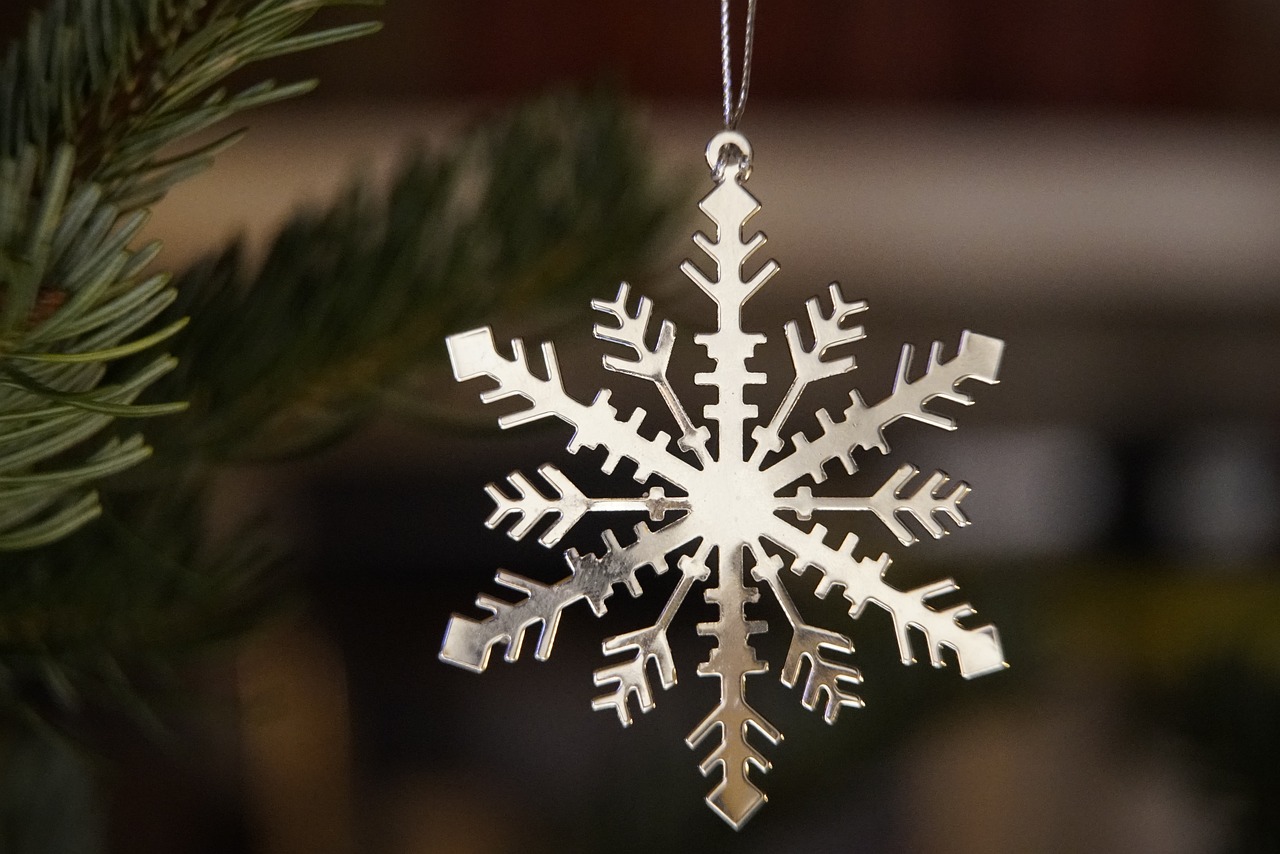
When the snow falls outside, it creates a magical wonderland, and what better way to bring that magic indoors than with some ? This creative activity not only keeps kids entertained but also allows them to explore their artistic abilities. Making paper snowflakes is a delightful project that can be done with just a few materials, and it’s a fantastic way for children to express their creativity while developing fine motor skills.
To start, all you need is some paper, scissors, and perhaps a sprinkle of glitter for that extra sparkle! Kids can experiment with different folding techniques and cutting patterns to create unique snowflakes. The beauty of this craft is that there are no strict rules—each snowflake will be one-of-a-kind, just like the real ones that fall from the sky. Here are some fun techniques to try:
- Basic Snowflake Cutting: Fold the paper into quarters and cut out shapes along the edges. Unfold to reveal a beautiful snowflake.
- Layered Snowflakes: Use multiple layers of paper to create dimension. Cut different shapes in each layer and stack them for a stunning effect.
- Decorative Snowflakes: Add color and designs using markers or crayons before cutting, making each snowflake a vibrant piece of art.
For an added twist, kids can create 3D snowflakes by folding and cutting paper in a way that gives them depth. This involves cutting and folding in a specific pattern, resulting in a stunning decoration that can be hung from the ceiling or in windows. The process of making these snowflakes can be a wonderful bonding experience, as parents can join in and share tips and tricks. Plus, watching the kids' faces light up when they see their creations come to life is priceless!
Once the snowflakes are crafted, the fun doesn’t stop there! Kids can hang their snowflakes around the house, transforming their space into a winter wonderland. They can use string to hang them from the ceiling or tape them to windows, creating a beautiful display that reflects the winter scenery outside. This not only brightens up the home but also gives kids a sense of pride as they showcase their artistic talents.
In addition to paper, consider incorporating other materials such as colored paper or even fabric scraps. This opens up a world of possibilities for designs and textures, allowing children to experiment and innovate. The key is to encourage them to think outside the box and let their imaginations run wild. Who knows? They might create a snowflake that looks like a butterfly or a star!
In conclusion, snowflake art is not just a craft; it’s an opportunity for kids to learn, create, and express themselves. So, the next time a snow day rolls around, grab some paper and scissors, and let the snowflake-making adventure begin!
Q: What materials do I need for snowflake art?
A: You will need paper (white or colored), scissors, and optionally some glitter or markers for decoration.
Q: Can I use other materials besides paper?
A: Absolutely! You can use fabric scraps, foil, or even cardboard to create unique snowflakes.
Q: How do I make 3D snowflakes?
A: To make 3D snowflakes, cut and fold paper in a specific pattern, layering the pieces to create depth and dimension.
Q: How can I display the snowflakes once they are made?
A: You can hang them from the ceiling, tape them to windows, or create a winter-themed mobile with them!
Colorful Snowflakes
When the snow starts to fall outside, why not bring some of that magic indoors with ? This delightful craft not only brightens up your home but also allows kids to experiment with colors and shapes, sparking their creativity in the process. Imagine a room filled with unique, vibrant snowflakes hanging gracefully from the ceiling or adorning your windows, creating a winter wonderland right in your living space!
To get started, gather some basic materials. You’ll need colored paper, scissors, and glue. Encourage the kids to choose a variety of colors—think bright blues, cheerful pinks, and sunny yellows! This is their chance to break away from the traditional white snowflakes and let their imagination run wild. As they cut out different shapes, they’ll not only have fun but also enhance their fine motor skills, which is a bonus!
Now, let’s talk about the fun part—designing the snowflakes! Here are a few ideas to inspire your little artists:
- Layered Snowflakes: Cut out several snowflakes of different sizes and colors. Layer them on top of each other using glue to create a stunning 3D effect.
- Pattern Play: Encourage kids to create patterns with their colors. For instance, alternating between two colors can make for a visually striking snowflake.
- Stencils and Templates: If your kids are looking for some guidance, provide them with stencils or templates. They can trace these onto colored paper before cutting them out.
Once the snowflakes are crafted, it’s time to hang them up! Use string or fishing line to suspend them from the ceiling or tape them to the windows. As the light filters through the colored paper, it creates a beautiful kaleidoscope effect that mimics the beauty of snowflakes falling outside. This simple yet impactful project can turn any dull afternoon into an engaging art session that the kids will cherish.
Not only do these colorful snowflakes brighten up your home, but they also serve as a fantastic conversation starter. You can discuss how snowflakes are unique—just like the ones your kids have created! This is a wonderful way to blend creativity with a little bit of science, making the crafting experience even more enriching.
Q: What type of paper works best for making colorful snowflakes?
A: Any type of colored paper will work well! Construction paper is a great choice because it’s sturdy and comes in a variety of colors. You can also use scrapbooking paper for a more textured look.
Q: Can we use other materials besides paper?
A: Absolutely! You can use materials like felt, tissue paper, or even old gift wrap to create unique snowflakes. Just remember to adjust your cutting techniques based on the material.
Q: How can we display the snowflakes?
A: You can hang them from the ceiling using string or fishing line, tape them to windows, or even attach them to a wall to create a beautiful winter mural!
Q: Is this craft suitable for all ages?
A: Yes! Younger children may need assistance with cutting, while older kids can take the lead. It’s a fun group activity that everyone can enjoy!
3D Snowflakes
Creating is an enchanting way to bring a bit of winter magic into your home, especially on those chilly days when the snow is falling outside. These stunning decorations are not only visually captivating, but they also offer an excellent opportunity for kids to engage in hands-on learning. By folding and cutting paper in specific ways, children can develop their fine motor skills while unleashing their creativity. Imagine the delight on their faces as they watch their flat creations transform into beautiful, dimensional snowflakes!
To get started, gather some basic materials:
- White or colored paper
- Scissors
- Glue or tape
- String or ribbon for hanging
Begin by cutting several squares of paper. A common size is 6x6 inches, but feel free to experiment with different dimensions for varied results. Next, fold each square diagonally to form a triangle. Then, fold the triangle in half again, and in half once more. This method creates multiple layers that will enhance the 3D effect when the snowflake is opened up.
Now comes the fun part! Using scissors, make cuts along the edges of the folded triangle. The more intricate the cuts, the more elaborate the snowflake will look. Just be careful not to cut through the folded edge completely; you want to keep the shape intact. After making your cuts, gently unfold the paper to reveal the stunning snowflake design. To add an extra touch of magic, consider using colored paper or even glitter to decorate the snowflakes before hanging them up!
For those looking to elevate their crafting experience, you can create a 3D effect by layering multiple snowflakes together. Simply cut out several identical snowflakes and stack them, securing them with glue or tape. This not only adds depth but also creates a breathtaking visual display. Hang these creations in windows or from the ceiling to catch the light and dance in the breeze, transforming your home into a winter wonderland.
In addition to being a fun activity, making 3D snowflakes can also serve as a great educational moment. Discuss the unique shapes and patterns of real snowflakes, and how each one is different, just like your creations. This can spark curiosity about nature and science, making crafting not just a pastime, but a learning experience as well!
So gather your supplies, invite the kids to join in, and let the creativity flow. With just a few simple materials and a bit of imagination, you can create a stunning display of 3D snowflakes that will brighten up any winter day.
- What type of paper works best for making 3D snowflakes?
Any type of paper can work, but heavier paper like cardstock is recommended for sturdier snowflakes. - Can we use colored paper for snowflakes?
Absolutely! Colored paper can add a vibrant touch to your decorations, making them stand out even more. - How can I hang the snowflakes?
You can use string or ribbon to hang them from the ceiling or tape them to windows for a beautiful display.
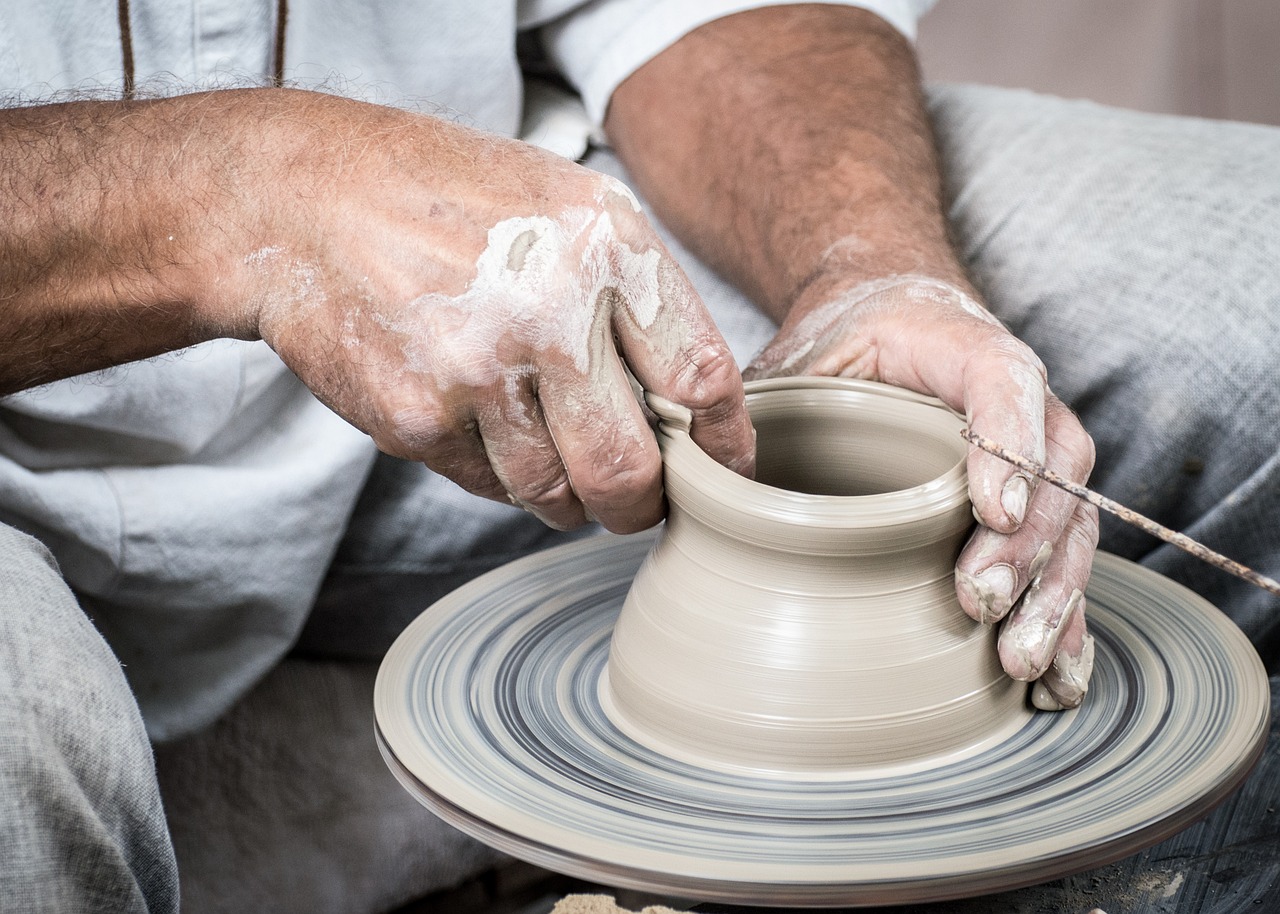
Winter-Themed Painting
When the snow is falling outside, it’s the perfect time to unleash your child's inner artist with some projects! Imagine the joy on their faces as they create vibrant masterpieces inspired by the beautiful snowy landscapes right outside their window. Painting is not just a fun activity; it also helps develop fine motor skills and encourages creativity. So, why not gather some supplies and dive into the world of winter art?
To get started, you don’t need a fancy art studio—just a few basic materials that you probably already have at home. Grab some watercolors, acrylic paints, or even finger paints! You can also use different types of paper, such as canvas, construction paper, or even recycled cardboard. The goal here is to let your kids explore their creativity without any pressure. Remember, there are no mistakes in art, only opportunities for new ideas!
Here are a few creative winter-themed painting ideas to inspire your little ones:
- Snowy Landscapes: Encourage your child to paint a winter scene featuring snow-covered hills, pine trees, and perhaps a cozy cabin. They can use white paint to create the illusion of snow and add blue or purple hues to depict the chilly atmosphere.
- Winter Animals: How about painting some adorable winter animals like polar bears, penguins, or owls? Kids can use their imagination to create a fun winter wonderland filled with their favorite creatures.
- Abstract Snowflakes: Let your kids experiment with different colors and shapes to create abstract representations of snowflakes. They can use a sponge or brush to dab paint on the paper, creating unique designs that mimic the beauty of real snowflakes.
As they paint, encourage them to talk about their creations. Ask questions like, "What do you love most about winter?" or "If you could go anywhere in the snow, where would it be?" This not only makes the activity more interactive but also helps develop their verbal skills.
To take it a step further, you can organize a mini art gallery at home. Once the paintings are dry, display them on the walls or create a special area for their artwork. Invite family members to view the gallery and celebrate your child's creativity! This not only boosts their confidence but also makes them feel proud of their artistic accomplishments.
Incorporating winter-themed painting into your snow day activities is a fantastic way to keep kids engaged and entertained. Plus, it’s an excellent opportunity for quality family time. So, grab those brushes and paints, and let the creativity flow!
Q: What materials do I need for winter-themed painting?
A: Basic materials include paints (watercolors, acrylics, or finger paints), brushes, different types of paper, and optional items like sponges or cotton balls for texture.
Q: How can I encourage my child to be creative while painting?
A: Allow them to express themselves freely without worrying about making mistakes. Ask open-ended questions to spark their imagination and encourage them to describe their artwork.
Q: What if my child doesn't know what to paint?
A: Provide them with themes or prompts, such as "paint your favorite winter activity" or "create a scene with winter animals." You can also show them examples of winter art for inspiration.

Fun with Recyclables
When snow blankets the ground and the kids are stuck indoors, it’s the perfect opportunity to dive into some creative projects using household recyclables. Not only does this foster creativity, but it also teaches kids about sustainability and the importance of reusing materials. Imagine transforming that old cardboard box into a spaceship or a plastic bottle into a whimsical bird feeder! The possibilities are endless, and the best part? You’re giving new life to items that would otherwise end up in the trash.
One of the most exciting aspects of using recyclables is the element of surprise. You can challenge your little ones to look at everyday items from a new perspective. For instance, a simple cardboard tube can become a telescope, a rocket, or even a fun puppet. Encourage your kids to gather materials from around the house, and watch as their imaginations take flight. Here are a couple of ideas to get you started:
- Cardboard Creations: Turn those old boxes into play structures, castles, or even a life-sized car. With just a bit of paint and some scissors, your living room can transform into a bustling city or a magical kingdom.
- Plastic Bottle Crafts: Repurposing plastic bottles can lead to a variety of fun projects. From bird feeders to planters, these crafts not only engage kids but also encourage them to think about how they can reduce waste.
For example, to create a bird feeder, simply cut openings in the sides of a plastic bottle, fill it with birdseed, and hang it outside. Your kids will love watching the birds come to visit, and it’s a great way to teach them about nature and wildlife. Not to mention, it’s a fantastic way to spark a conversation about the importance of recycling and taking care of our planet.
Another fun idea is to host a “recyclable art show” at home. Set up a space where kids can display their masterpieces made from recyclables. This not only boosts their confidence but also allows them to share their creativity with the family. You might be amazed at the innovative ideas they come up with!
So, next time the snow is falling outside, gather those recyclables and let your kids’ imaginations run wild. Not only will you keep them entertained, but you’ll also be instilling valuable lessons about creativity and sustainability that will last a lifetime.
Q: What types of recyclables can we use for crafts?
A: You can use a variety of items such as cardboard boxes, toilet paper rolls, plastic bottles, egg cartons, and even old magazines or newspapers. The key is to think creatively about how these items can be transformed into something new!
Q: Are there any safety precautions we should take?
A: Absolutely! Always supervise younger children when using scissors or any sharp tools. It's also a good idea to use non-toxic paints and glues to ensure a safe crafting experience.
Q: How can we incorporate learning into these crafts?
A: You can turn crafting time into a learning opportunity by discussing the importance of recycling, the environment, and even incorporating math skills by measuring and counting materials. Each project can have educational elements woven in!
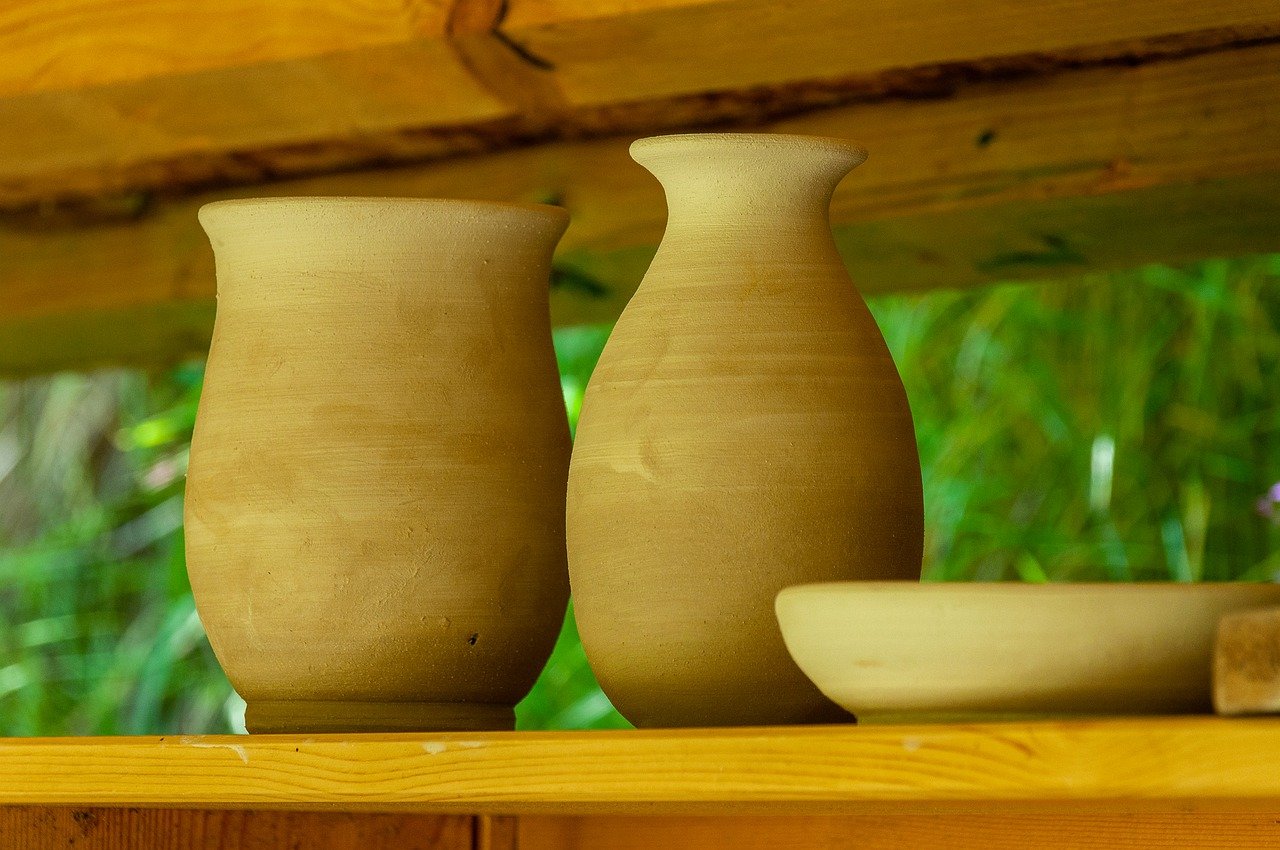
Cardboard Creations
Cardboard is one of those magical materials that can turn a dull snow day into a creative adventure! It's amazing how a simple box can spark a child's imagination and lead to hours of fun. Whether it's a large shipping box or leftover cereal boxes, the possibilities are endless. Kids can transform these everyday items into anything their minds can conjure, from majestic castles to rocket ships soaring through the stars. The best part? Not only are these projects fun, but they also promote resourcefulness and sustainability by reusing materials that would otherwise end up in the trash.
To kick off the cardboard crafting journey, gather some basic supplies like scissors, tape, glue, and markers. You might also want to have some decorative items on hand, such as stickers, paint, or colored paper. With these tools, kids can create their own masterpieces. For instance, a child could take a large cardboard box and turn it into a cozy playhouse. They can cut out windows and doors, then decorate the exterior with paint or drawings. Imagine the joy on their face as they step into their very own cardboard castle!
Another exciting project is to create a cardboard city. Kids can cut various shapes from cardboard to build houses, schools, and shops, then arrange them on the floor or a large table. They could even invite their friends to join in the fun, turning it into a collaborative effort that enhances social skills and teamwork. Not to mention, this activity can lead to imaginative play scenarios that last for hours!
Here’s a quick idea to get you started: Consider making a cardboard puppet theater. Start with a large cardboard box, cut an opening for the stage, and decorate it with colorful paper or fabric. Kids can create their own puppets using cardboard cutouts, and then put on a show for the family. This not only encourages creativity but also helps improve their storytelling skills!
In addition to being a source of fun, cardboard crafts can also be educational. Kids can learn about shapes and measurements while cutting and assembling their creations. Plus, they can practice their fine motor skills, which are essential for their overall development. So, the next time the snow is falling outside, don't just sit by the window; grab some cardboard and let the creativity flow!
Q: What are some easy cardboard projects for kids?
A: Some easy projects include making cardboard houses, puppet theaters, and cars. These projects require minimal materials and can be completed in a short amount of time, ensuring that kids stay engaged and entertained.
Q: How can I encourage my child to be creative with cardboard?
A: Provide them with a variety of cardboard sizes and shapes, along with basic supplies like scissors and markers. Encourage them to brainstorm ideas before starting their project, and let them take the lead in the creative process.
Q: Are cardboard crafts safe for young children?
A: Yes, cardboard crafts are generally safe for young children, especially when supervised by an adult. Just be sure to use child-safe scissors and keep any small parts away from toddlers.
Q: Can we use other materials with cardboard?
A: Absolutely! Kids can enhance their cardboard creations by incorporating other materials like fabric, paper, and even recyclables like bottle caps and plastic containers. This will not only make the projects more exciting but also teach them about reusing materials creatively.
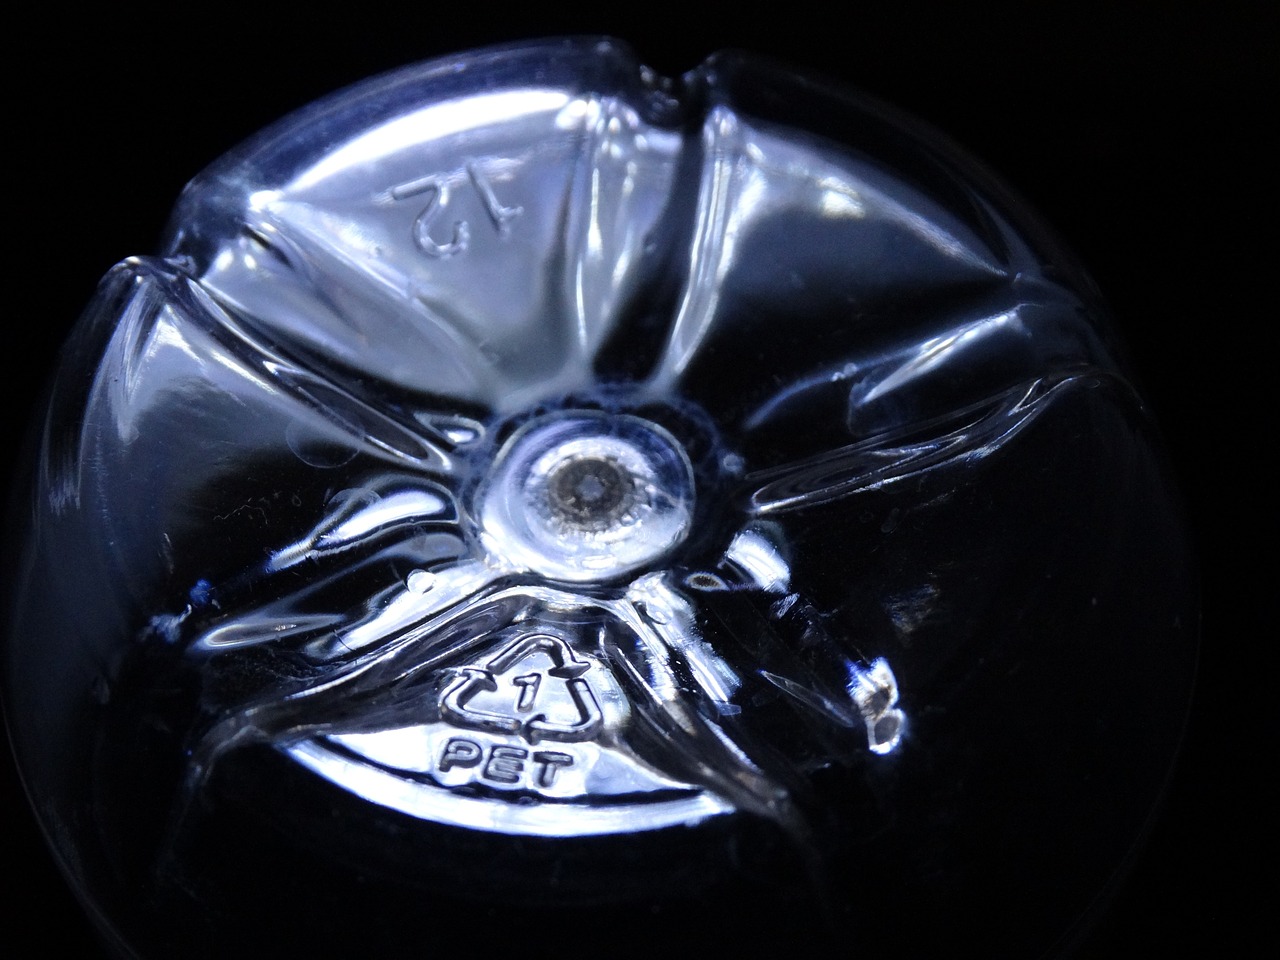
Plastic Bottle Crafts
Plastic bottles are often seen as mere waste, but with a little imagination and creativity, they can be transformed into exciting crafts that not only entertain kids but also promote sustainability. Imagine turning that empty soda bottle into a vibrant bird feeder or a quirky planter! These projects are not only fun but also teach children about the importance of recycling and reusing materials, showing them that even the simplest items can have a second life.
One of the most popular projects is creating a colorful bird feeder. To make this, you’ll need an empty plastic bottle, some twine, and birdseed. Start by cleaning the bottle thoroughly and cutting a few small holes about halfway up the bottle. These holes will allow the seeds to spill out slowly. Next, fill the bottle with birdseed, and then securely attach the twine around the neck of the bottle for hanging. Kids will love watching the birds flock to their homemade feeder, turning a simple craft into a delightful nature experience.
Another fantastic idea is to create a planter out of a plastic bottle. Cut the bottle in half, and use the bottom half as a base for soil and plants. This project not only beautifies your home but also teaches kids about gardening and responsibility as they care for their plants. They can decorate the outside of the bottle with paint, stickers, or even fabric, giving it a personal touch that reflects their style.
For those who want to dive deeper into creativity, consider making a plastic bottle wind chime. This project can involve several bottles, which can be painted and decorated before being strung together with twine or fishing line. Hang it in a breezy spot, and the gentle tinkling sounds will add a lovely touch to your outdoor space. Not only does this craft encourage artistic expression, but it also brings a bit of whimsy to your backyard.
In addition to these projects, there are countless other ways to repurpose plastic bottles. From creating unique art pieces to practical household items, the possibilities are endless. Here’s a quick summary of some fun plastic bottle craft ideas:
| Craft Idea | Materials Needed | Benefits |
|---|---|---|
| Bird Feeder | Plastic bottle, twine, birdseed | Encourages wildlife observation |
| Planter | Plastic bottle, soil, plants | Teaches gardening skills |
| Wind Chime | Plastic bottles, paint, twine | Enhances outdoor aesthetics |
These crafts not only keep kids engaged but also instill a sense of responsibility toward the environment. By using materials that would typically end up in the trash, children learn that they can make a difference, one bottle at a time. So, next time the snow keeps everyone indoors, gather those plastic bottles and let the crafting begin!
Q: What age group is suitable for plastic bottle crafts?
A: Most plastic bottle crafts can be adapted for children aged 5 and up, depending on the complexity of the project. Younger children may need adult supervision for cutting or using sharp tools.
Q: Can we use any type of plastic bottle?
A: Yes, you can use various types of plastic bottles, including soda bottles, water bottles, and even larger containers like detergent bottles for bigger projects.
Q: How can I ensure the crafts are safe for my kids?
A: Always supervise children during crafting, especially when using scissors or sharp tools. Additionally, ensure that any paints or materials used are non-toxic and safe for children.
Seasonal Sensory Bins
Creating is a fantastic way to engage your kids during those chilly snow days. These bins are not just about play; they are a wonderful blend of learning, creativity, and sensory exploration. Imagine a world where your child can touch, feel, and explore various textures and materials that evoke the beauty of winter. With a few simple supplies, you can set up a sensory bin that transports them to a snowy wonderland right in your living room!
To create a snowy sensory bin, you can start with some artificial snow as your base. This fluffy material mimics the feel of real snow without the cold, allowing for endless tactile fun. You can find artificial snow at craft stores or make your own using baking soda and shaving cream for a DIY approach. Once you have your snowy base, you can add in some small winter-themed toys such as snowmen, penguins, and polar bears. These little figures can spark imaginative play as your children create their own winter stories.
But wait, there’s more! To truly enhance the sensory experience, think about incorporating other elements. Here are some ideas:
- Pine cones - These can be collected from outside and add a natural touch to the bin.
- Winter-themed items - Consider adding small mittens, scarves, or even some glittery decorations to create a festive atmosphere.
- Textured items - Use cotton balls or soft fabric pieces to represent snow drifts or cozy winter textures.
Another exciting idea is to incorporate winter nature exploration into your sensory bins. By adding natural elements like twigs, pine needles, and small stones, you can help your children appreciate the beauty of winter’s natural offerings. This not only makes for a visually appealing bin but also allows for discussions about nature and the environment. You can even set up a mini scavenger hunt where kids can search for specific items within the bin, making it an engaging learning experience!
As your children explore these sensory bins, encourage them to describe what they feel and see. This not only enhances their vocabulary but also fosters a deeper connection with the materials they are playing with. Sensory play is known to aid in developmental skills such as fine motor skills, problem-solving, and creativity. So, while they are having fun, they are also learning in a playful way!
In summary, seasonal sensory bins are a delightful way to keep your kids engaged and entertained on snow days. They offer a unique opportunity for sensory exploration, imaginative play, and learning about the winter season. So gather your supplies, get creative, and let the winter magic unfold right at home!
1. What materials can I use for a sensory bin?
You can use a variety of materials including artificial snow, cotton balls, small toys, natural elements like pine cones, and textured items like fabric or paper. The key is to create a mix that appeals to the senses!
2. How do sensory bins benefit my child?
Sensory bins promote fine motor skills, enhance vocabulary, encourage imaginative play, and provide a fun way to learn about the world around them.
3. Can I make a sensory bin with seasonal themes?
Absolutely! Seasonal sensory bins can be tailored to reflect different times of the year, incorporating relevant colors, textures, and themes that resonate with each season.
4. How long can my child play with a sensory bin?
The duration can vary based on your child's interest, but it's common for kids to engage with a sensory bin for 30 minutes to several hours, especially if they are deeply involved in imaginative play.
Snowy Sensory Bin
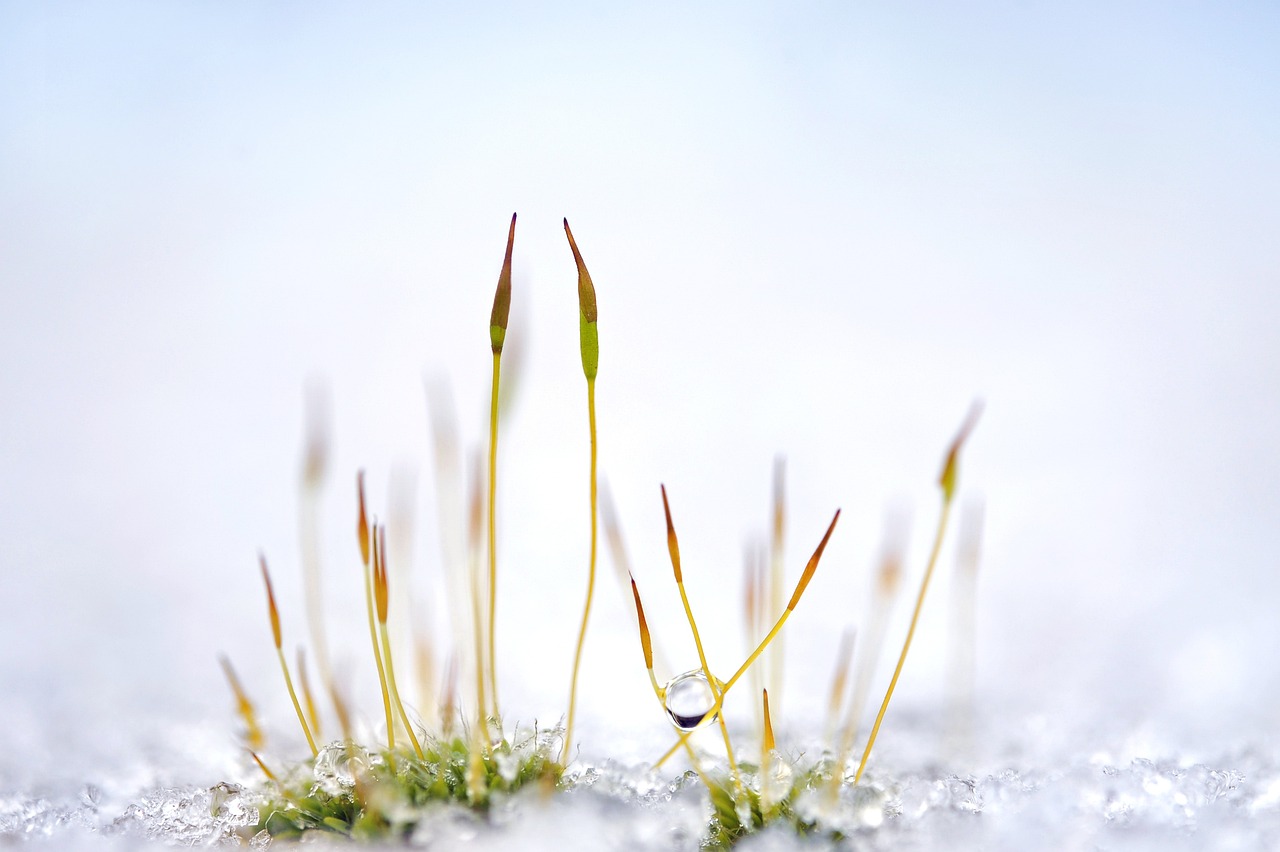
Creating a is a fantastic way to bring the magic of winter indoors, especially on those chilly days when the snow is piling up outside. This hands-on activity not only entertains kids but also stimulates their senses, allowing them to explore textures, colors, and even scents associated with winter. Imagine your little ones digging through a fluffy, white landscape, discovering hidden treasures, and letting their imaginations run wild! So, how do you create this enchanting sensory experience? It's simpler than you might think!
To start, gather your materials. You'll need some artificial snow, which can be easily found at craft stores or made from simple household items like baking soda and shaving cream. This will serve as the base of your sensory bin, creating a soft, snowy environment that kids can touch and mold. Next, add in some small winter-themed toys and decorations. Think miniature snowmen, plastic animals, or even tiny pine trees. These items will not only enhance the visual appeal of the bin but also encourage imaginative play as kids create their own winter scenes.
Once you have your base and decorations, it’s time to set up the bin. You can use a large plastic container or a shallow box to contain the materials. Pour the artificial snow into the container, filling it generously to create a snowy landscape. Then, scatter the toys and decorations throughout the snow, hiding some beneath the surface for kids to discover. This adds an element of surprise and excitement as they dig through the snow to find hidden gems!
As your children play, encourage them to describe what they see and feel. Ask questions like, “What do you think is hiding under the snow?” or “How does the snow feel in your hands?” This not only promotes language development but also enhances their observational skills. You can even introduce some simple science concepts, such as discussing why snow is cold or how snowflakes form, making the activity both fun and educational.
For an added twist, you can incorporate natural elements into your sensory bin. Items like pine cones, twigs, or even dried orange slices can enhance the sensory experience, bringing in natural scents and textures. This blend of materials encourages children to explore the beauty of winter’s offerings while engaging in creative play. Plus, it’s a wonderful opportunity to teach them about sustainability and the importance of using natural resources.
In summary, a snowy sensory bin is not just a craft; it’s an adventure waiting to unfold right in your living room. By combining tactile materials, imaginative play, and educational discussions, you’re setting the stage for a memorable winter day indoors. So gather your supplies and let the snowy explorations begin!
Q: What materials do I need for a snowy sensory bin?
A: You will need artificial snow (or a DIY version), a container, winter-themed toys, and optional natural elements like pine cones or twigs.
Q: How can I make the sensory bin educational?
A: Encourage discussions about winter, snow, and nature. Ask open-ended questions to promote language skills and introduce simple science concepts.
Q: Can I reuse the materials after the activity?
A: Yes! Most materials can be stored and reused for future sensory play or crafts. Just make sure to keep them clean and dry.
Winter Nature Exploration
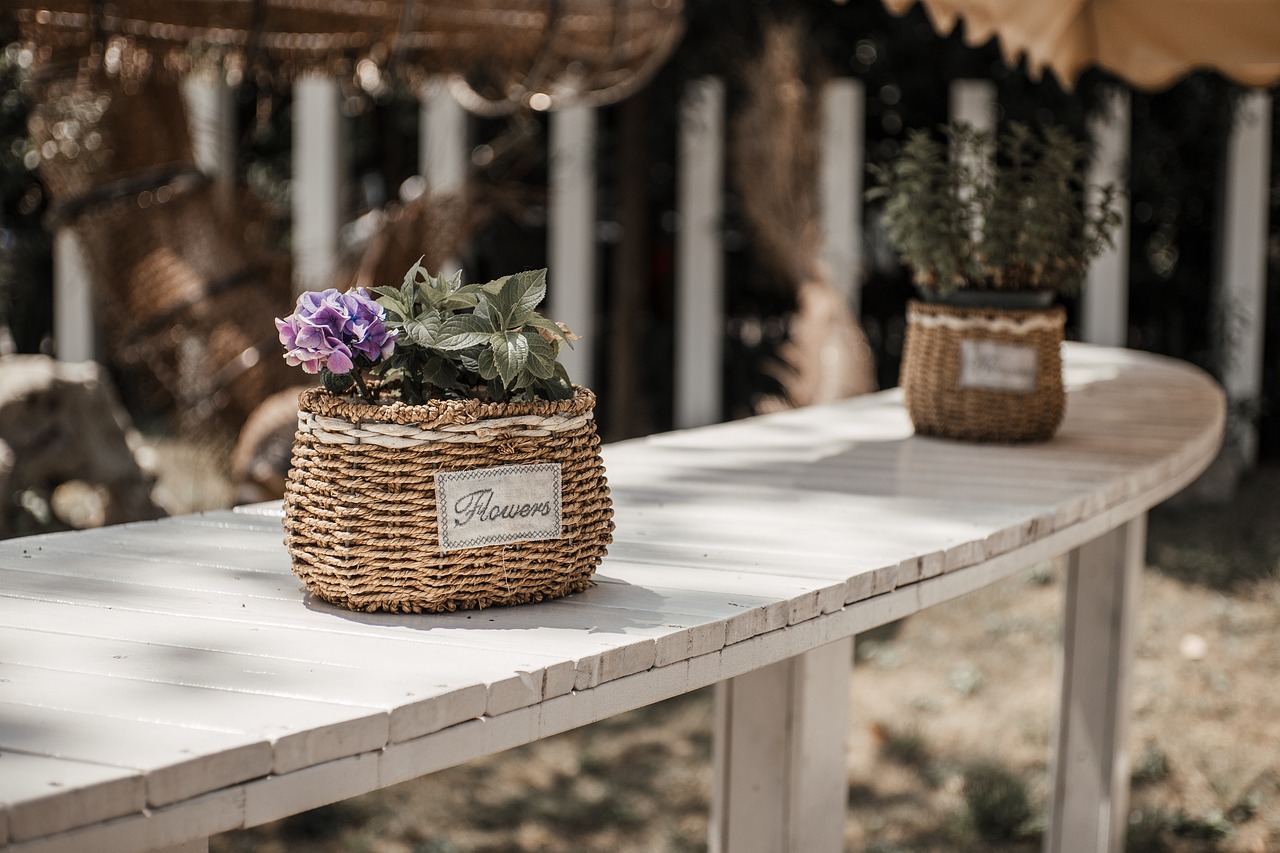
Winter is a magical time of year, and what better way to embrace its beauty than through ? This activity not only allows kids to engage with the outdoors, but it also encourages them to appreciate the natural world around them, even when the temperatures drop. Imagine bundling up in cozy jackets and scarves, stepping outside to discover the wonders that winter has to offer! From the glistening frost on the grass to the unique shapes of snow-covered branches, there’s so much to inspire creativity.
To kick off this exploration, gather some natural materials like pine cones, twigs, and dried leaves. These elements can be used in various craft projects, allowing kids to create stunning winter-themed art pieces. For instance, pine cones can be transformed into adorable little creatures or festive decorations with just a splash of paint and some googly eyes. Twigs can be glued together to form snowflake shapes or even miniature winter trees. The possibilities are endless!
Additionally, you can create a sensory bin filled with these natural items. By incorporating elements like artificial snow, kids can dive into a world of tactile experiences. Imagine their delight as they dig through the snowy texture, feeling the coolness against their hands while discovering hidden treasures. You can even add small winter-themed toys, such as polar bears or snowmen, to enhance their imaginative play.
Here’s a simple table to help you visualize the materials you might use for this activity:
| Material | Uses |
|---|---|
| Pine Cones | Crafting creatures, decorations |
| Twigs | Building structures, snowflakes |
| Dried Leaves | Collage art, texture exploration |
| Artificial Snow | Sensory bin filler, winter scenes |
As you embark on this winter nature exploration, remind the kids to observe their surroundings closely. Encourage them to ask questions like, “How does snow form?” or “What animals might be hiding in the trees?” This not only enhances their curiosity but also fosters a deeper connection with nature. You could even turn it into a mini science lesson by discussing how different animals adapt to the cold or how plants survive through winter.
Incorporating these elements into your winter activities not only keeps kids engaged but also helps them develop a sense of wonder about the world. So, grab your jackets, head outside, and let the winter exploration begin! The beauty of nature is just waiting to be discovered, and who knows what amazing creations your little ones will come up with?
Q: What materials do I need for winter nature exploration?
A: You can use natural materials like pine cones, twigs, and dried leaves, along with artificial snow for sensory bins. These items can be easily found outdoors or at craft stores.
Q: How can I incorporate educational elements into this activity?
A: Encourage kids to observe their surroundings and ask questions about the ecosystem, animal behavior in winter, and plant adaptations. This can lead to fun discussions and learning opportunities.
Q: What are some fun craft ideas using natural materials?
A: Kids can create creatures from pine cones, build structures with twigs, or create collages with dried leaves. The key is to let their imagination run wild!
Frequently Asked Questions
- What are some easy paper crafts for kids on snow days?
There are plenty of simple paper crafts that can keep your kids entertained! Think of activities like making paper snowflakes, creating colorful winter scenes, or even crafting greeting cards for loved ones. All you need is some colored paper, scissors, and glue to get started!
- How can we make DIY winter decorations with everyday materials?
DIY winter decorations can be a fun family project! You can use items like old magazines, cardboard, or even empty plastic bottles to create beautiful winter-themed decor. For example, cut out shapes from magazines to make a winter collage or transform plastic bottles into fun snowmen!
- What materials do I need for a snowy sensory bin?
Creating a snowy sensory bin is super easy! You’ll need artificial snow (which you can buy or make from baking soda and shaving cream), small winter-themed toys, and natural elements like pine cones or twigs. This setup not only entertains but also encourages imaginative play!
- Can we involve recycling in our craft projects?
Absolutely! Recycling is a fantastic way to inspire creativity. You can use cardboard boxes to build forts or art pieces, and plastic bottles can be turned into bird feeders or planters. It teaches kids about sustainability while having fun!
- What are some fun painting projects for winter?
Winter-themed painting projects can include creating snowy landscapes, painting winter animals, or even abstract art inspired by the season's colors. Use different techniques like sponge painting or splatter painting to make it exciting and unique!


