Easy Pine Cone Crafts for Kids
This article explores fun and creative pine cone craft ideas perfect for kids. These simple projects promote creativity and fine motor skills while allowing children to connect with nature. Pine cones are not just for decorating your yard; they can be transformed into delightful crafts that spark joy and imagination in children. Imagine the thrill in your child's eyes as they turn a humble pine cone into a charming creature or a festive decoration! The best part? These activities are not only entertaining but also educational, teaching kids about the environment and the beauty of nature.
Creating pine cone bird feeders is a delightful way for kids to engage with wildlife. This project teaches them about nature while providing food for local birds, making it both fun and educational. To make a simple bird feeder, all you need is a pine cone, some peanut butter, and birdseed. Spread the peanut butter over the pine cone, roll it in birdseed, and hang it outside. Watching the birds come to feast is a rewarding experience that connects children with the natural world. Plus, it’s a great opportunity to teach them about different bird species and their habitats!
Transforming pine cones into adorable animal figures sparks imagination in children. With just a few additional materials, kids can craft charming creatures, enhancing their creativity and storytelling skills. For instance, turning a pine cone into a hedgehog is as simple as adding some googly eyes and felt for the nose. This project not only allows kids to express their artistic flair but also encourages them to create stories around their pine cone animals. What adventures will your child’s pine cone critters embark on? The possibilities are endless!
Pine cone hedgehogs are a simple yet engaging craft. Kids can use craft supplies to turn a pine cone into a cute hedgehog, developing their artistic abilities and fine motor skills. All you need are some small pom-poms for the eyes, a piece of felt for the nose, and maybe some pipe cleaners for extra spikes. As they assemble their hedgehogs, children learn about shapes, colors, and textures, making this a multi-faceted craft that’s both educational and entertaining.
Making pine cone owls is another exciting project. Children can use paint and other materials to create unique owl designs, fostering creativity and encouraging them to explore different artistic techniques. Imagine a collection of colorful owls perched on a branch in your home! This craft allows kids to experiment with colors and patterns, and they can even create a whole owl family. What a fun way to learn about these fascinating creatures!
Crafting pine cone foxes allows kids to learn about color mixing and design. This project encourages them to use their imagination while creating playful representations of wildlife. Using orange paint, some felt for the ears, and a little white for the tail, kids can create a vibrant fox that adds a touch of whimsy to their room. As they work, they can discuss the characteristics of foxes and their role in the ecosystem, blending art with science!
Using pine cones for seasonal decorations is a fantastic way to celebrate nature. Kids can create festive ornaments for holidays or home decor, enhancing their crafting skills and creativity. Whether it’s painting them in bright colors for Christmas or turning them into spooky decorations for Halloween, the options are limitless. This not only beautifies your home but also gives kids a sense of pride in their creations. Imagine a holiday table adorned with handmade pine cone centerpieces crafted by your little ones!
Pine cone wreaths are a beautiful craft project that kids can make for any season. This activity teaches them about design and symmetry while providing a decorative item they can proudly display. Using a wire frame and hot glue, children can attach pine cones in a circular pattern, adding ribbons or other embellishments to make it their own. As they work on their wreaths, they learn about balance and aesthetics, making it a perfect blend of art and education.
Creating pine cone centerpieces is an enjoyable way for kids to learn about arrangement and design. They can use various materials to craft eye-catching table decorations for family gatherings or parties. By combining pine cones with flowers, leaves, and even decorative stones, children can create stunning displays that showcase their creativity. This project not only enhances their artistic skills but also teaches them about the importance of presentation.
Making a pine cone garland is a fun group activity. Kids can string together decorated pine cones, encouraging teamwork and creativity as they create a beautiful decoration for their homes. Imagine a long garland of colorful pine cones hanging across a mantel or draped around a doorway, adding a touch of nature-inspired charm to your decor! This project fosters collaboration and allows children to share ideas and techniques, making it a delightful social experience.
Q: What materials do I need for pine cone crafts?
A: Basic materials include pine cones, paint, glue, scissors, and various craft supplies like felt, googly eyes, and ribbons. You can get creative and use whatever you have on hand!
Q: Are pine cone crafts safe for young children?
A: Yes, pine cone crafts are generally safe for children, but supervision is recommended, especially when using scissors or hot glue. Always ensure that the materials used are age-appropriate.
Q: How do I clean pine cones before crafting?
A: To clean pine cones, soak them in a mixture of water and vinegar for about 30 minutes, then rinse and let them dry completely. This helps remove dirt and any unwanted pests.
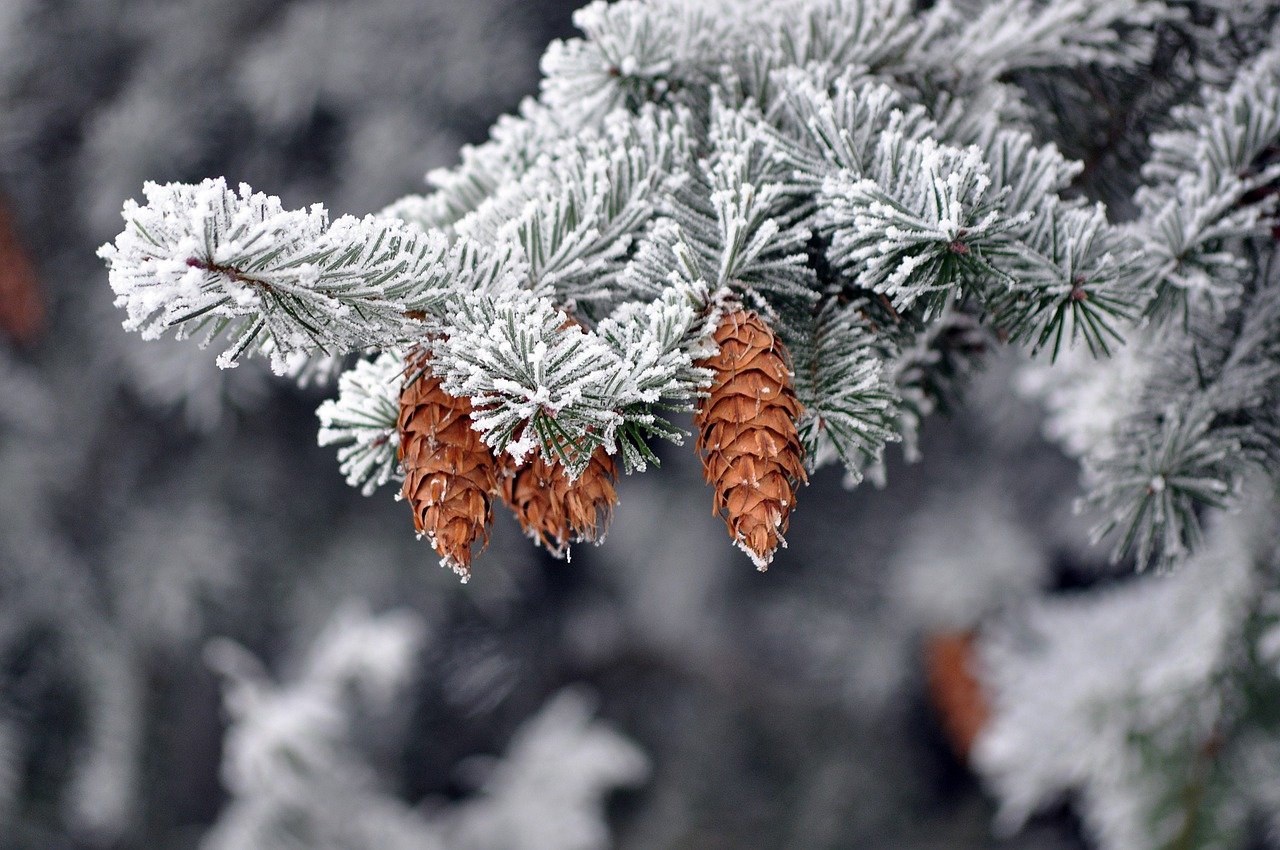
Pine Cone Bird Feeders
Creating is a delightful way for kids to engage with wildlife. Imagine the joy on their faces as they watch birds flock to their homemade feeders! This project is not just about crafting; it's a wonderful opportunity to teach children about nature and the importance of helping local wildlife. By making these feeders, kids learn how to care for the environment while having fun.
To get started, you'll need a few simple materials. Gather some pine cones, peanut butter, birdseed, and string. The process is straightforward and can be a great bonding activity for parents and children. First, take a pine cone and spread a generous layer of peanut butter all over it. This sticky base will help the birdseed adhere nicely. Next, roll the coated pine cone in birdseed, ensuring it’s well-covered. Once that’s done, tie a piece of string around the top of the pine cone to create a loop for hanging. It's as simple as that!
After the feeders are ready, find a suitable spot in your yard or a nearby park to hang them. Kids will love observing which birds come to visit. They can even keep a birdwatching journal to note the different types of birds they see, enhancing their observational skills and encouraging a deeper connection with nature.
Here’s a quick summary of the steps involved in making pine cone bird feeders:
| Step | Action |
|---|---|
| 1 | Gather materials: pine cones, peanut butter, birdseed, and string. |
| 2 | Spread peanut butter on the pine cone. |
| 3 | Roll the pine cone in birdseed until it's fully covered. |
| 4 | Attach string to hang the feeder. |
| 5 | Hang the feeder in a suitable location. |
This project not only promotes creativity but also enhances fine motor skills as kids manipulate the materials. Plus, it's a fantastic way to encourage them to spend time outdoors. They might even discover a newfound passion for birdwatching! So, gather those pine cones and get crafting!
Q: Can we use other types of food for the bird feeders?
A: Yes! While peanut butter and birdseed are popular choices, you can also use lard or suet mixed with seeds. Just ensure the food is safe for the birds in your area.
Q: What types of birds will come to the feeders?
A: The types of birds that visit will depend on your location, but common visitors include sparrows, finches, and chickadees. It's exciting to see who shows up!
Q: How long will the feeders last?
A: The longevity of your pine cone bird feeders will depend on weather conditions. In dry weather, they can last several days to weeks, but in rain or snow, they may spoil more quickly.
So, grab those pine cones and let the crafting begin! Not only will you create something beautiful for the birds, but you’ll also make cherished memories along the way.
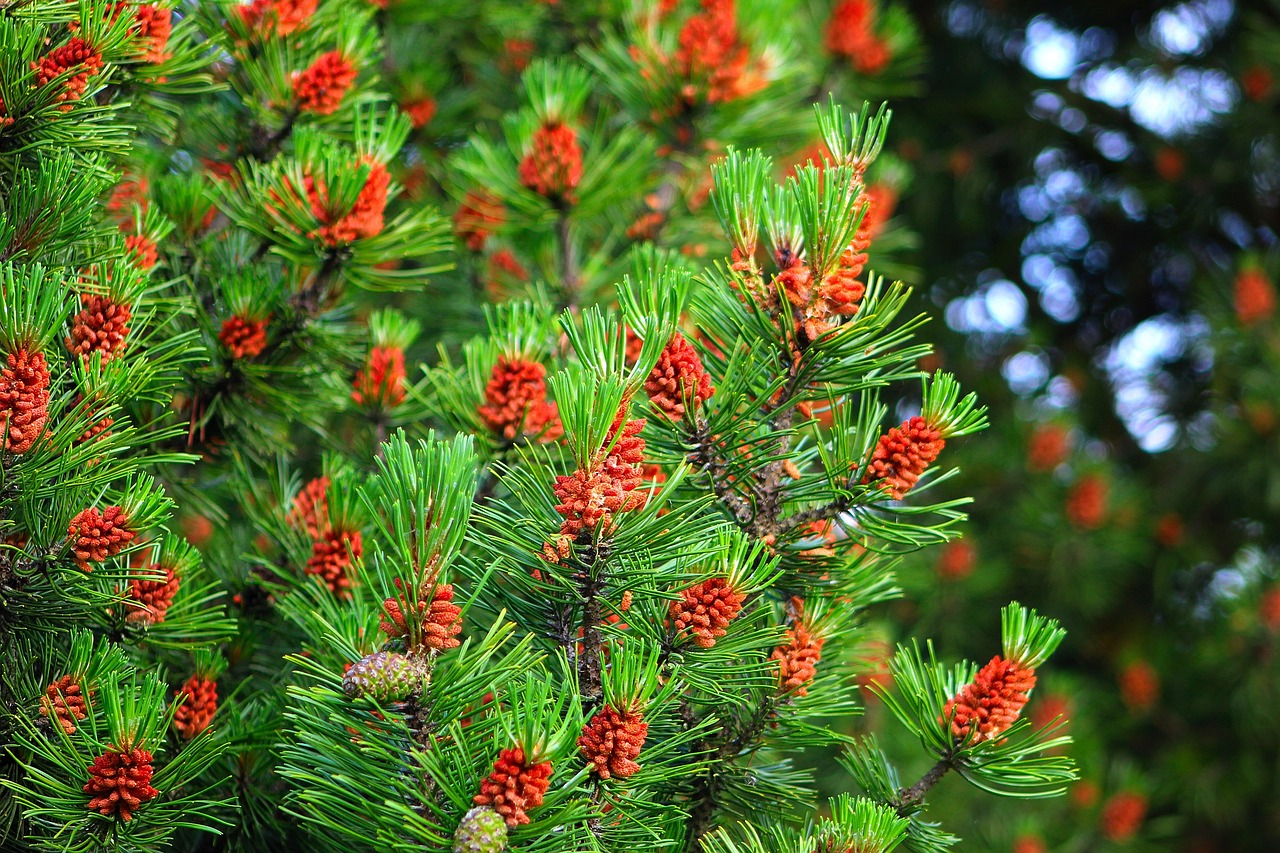
Pine Cone Animals
Transforming pine cones into adorable animal figures is not just a fun craft; it’s a fantastic way to spark imagination in children! With a few additional materials, kids can create charming creatures that tell their own stories. Imagine taking a simple pine cone and turning it into a delightful character that can be part of an imaginative play session. This hands-on activity not only enhances creativity but also nurtures storytelling skills as children invent narratives around their crafted animals.
To get started, gather some basic supplies. You’ll need pine cones, glue, paint, and any additional decorative items you can find around the house. Think of googly eyes, feathers, or even bits of fabric. The beauty of this project lies in its versatility; children can craft anything from cute hedgehogs to majestic owls, each with its own personality. This process encourages kids to think outside the box—what colors will their fox be? Will their owl have a whimsical pattern or be a classic brown? The possibilities are endless!
One of the most beloved creations is the pine cone hedgehog. This simple yet engaging craft requires minimal materials: just a pine cone, some brown paint, and a few toothpicks or small twigs. Kids can paint the pine cone to resemble a hedgehog's body and then stick the toothpicks into the top to represent quills. Not only does this project develop artistic abilities, but it also enhances fine motor skills as children carefully manipulate the small pieces.
Another exciting project is making pine cone owls. Children can unleash their creativity by using paint to create unique designs for their owls. With a bit of imagination, they can add colorful feathers or even fabric scraps to give their owls a distinctive flair. This craft not only fosters creativity but also encourages kids to explore different artistic techniques, such as layering colors or creating textures.
Crafting pine cone foxes is another delightful way for kids to engage with their environment. This project allows children to learn about color mixing and design. They can use orange and white paint to create the classic fox look, while also experimenting with different patterns. As they work, they’ll learn how to blend colors and think about how to represent their favorite animals in a fun and creative way.
In addition to these specific animals, the opportunities for creativity are vast. Kids can create a whole menagerie of pine cone animals, each with its own story. Imagine a forest filled with these whimsical creatures, all born from a simple pine cone! This craft not only provides a fun activity but also fosters a deeper connection with nature as children learn about the wildlife they are representing.
- What age group is suitable for pine cone animal crafts? Pine cone crafts are great for children of all ages, but younger kids may need some adult supervision, especially when using scissors or glue.
- What materials do I need? You’ll need pine cones, paint, glue, and any decorative items you like, such as googly eyes, feathers, or fabric scraps.
- Can I use artificial pine cones? Yes! Artificial pine cones can be used if you want a mess-free option that can be reused for multiple projects.
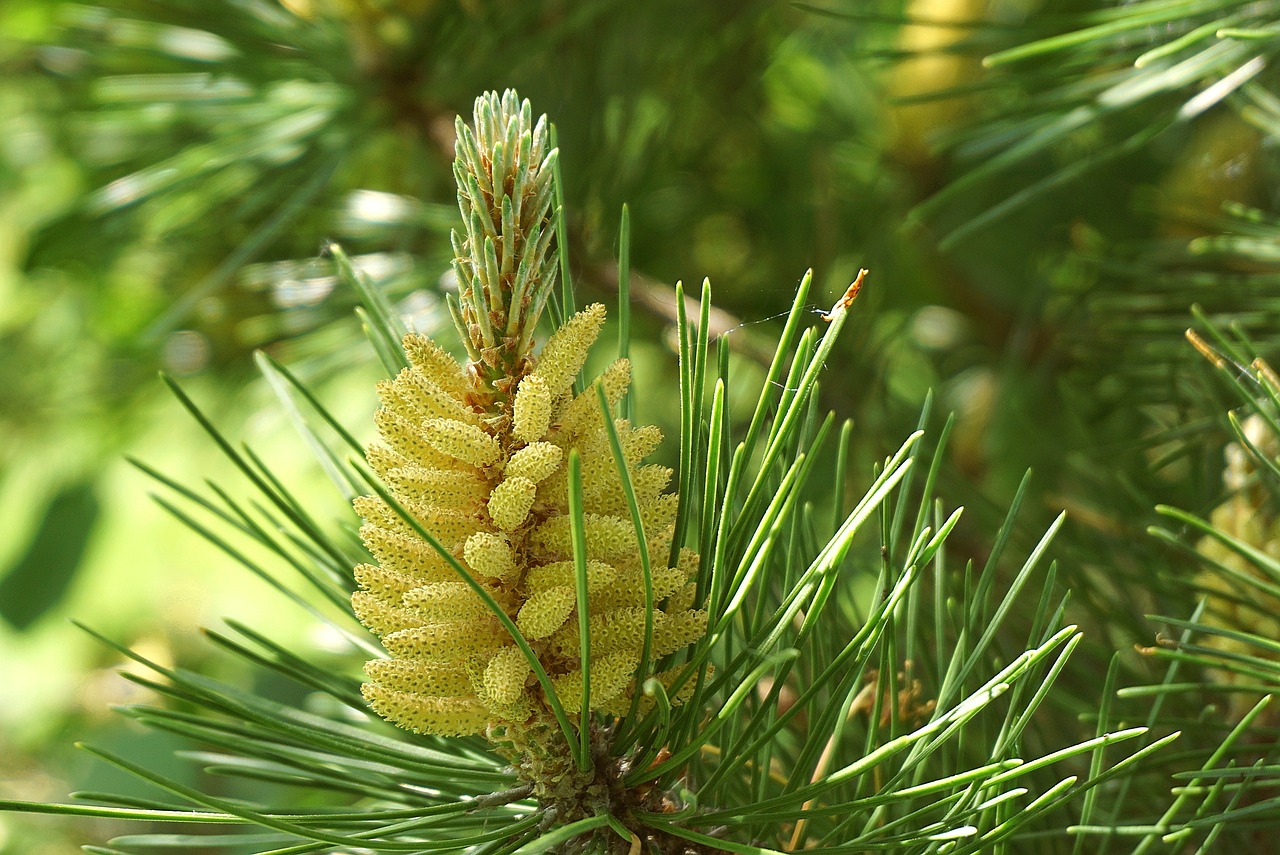
Pine Cone Hedgehogs
Creating is a delightful and engaging craft that can spark children's imagination and creativity. This project is not only fun but also educational, as it allows kids to learn about the natural world while developing their fine motor skills. All you need are a few simple materials and, of course, some pine cones! The beauty of this craft lies in its simplicity and the endless possibilities for customization.
To get started, gather the following materials:
- Pine cones (preferably medium-sized)
- Brown and white craft paint
- Googly eyes
- Glue (a hot glue gun works best, but be sure to supervise the kids!)
- Scissors
- Small twigs or felt for the hedgehog's feet
- Optional: Glitter or other decorative items
Once you have your materials ready, the fun begins! Start by painting the pine cone with a coat of brown paint. This will serve as the base color for your hedgehog. Allow the paint to dry completely before moving on to the next step. Once dry, take some white paint and add little dots to the pine cone to mimic the hedgehog's belly. This contrast adds a cute touch to your creation!
Next, it's time to give your hedgehog some character. Use glue to attach googly eyes to the top of the pine cone, and don’t forget to add a small piece of twig or felt at the bottom for the feet. If you're feeling particularly adventurous, you can even create a little nose using a small pom-pom or a painted bead. The possibilities are endless, and each child can create a unique version of their own hedgehog!
Not only does this craft help with fine motor skills, but it also encourages storytelling. Once the hedgehogs are complete, kids can create stories about their new woodland friends, fostering their imagination and narrative skills. You might even consider organizing a little "hedgehog parade" where kids can showcase their creations and share their stories with each other.
In addition to being a fun craft, these pine cone hedgehogs can also be used as decorations. Place them on a shelf, use them as table centerpieces, or even gift them to friends and family. They make for charming little keepsakes that celebrate the beauty of nature and creativity.
Q: What age group is this craft suitable for?
A: Pine cone hedgehogs are suitable for children aged 4 and up, with adult supervision for younger kids, especially when using glue guns.
Q: Can we use other materials for decoration?
A: Absolutely! Feel free to use felt, yarn, or even natural elements like leaves and acorns to personalize your hedgehog.
Q: How long does this craft take to complete?
A: The entire process can take about 1-2 hours, depending on drying time for paint and how detailed the kids want to get with their designs.
Q: What should we do with the finished hedgehogs?
A: They can be used as decorations, gifts, or even playtime companions for imaginative games!
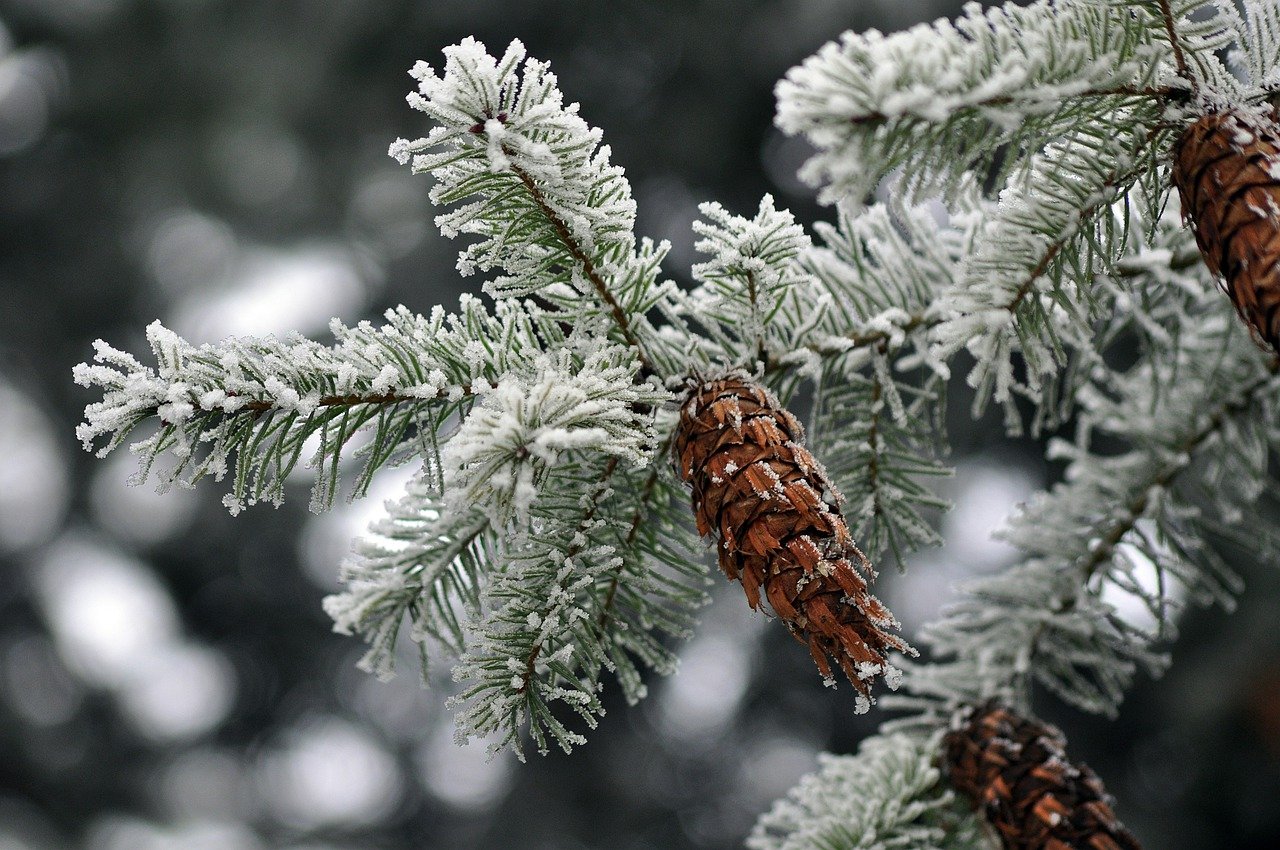
Pine Cone Owl Craft
Creating a pine cone owl craft is not just a fun activity; it’s an excellent way for children to express their creativity while learning about the adorable creatures that inhabit our world. Imagine transforming a simple, everyday pine cone into a delightful little owl that can perch on a shelf or be used as a decoration! This project is perfect for kids of all ages and can be tailored to fit various skill levels.
To get started, gather your materials. You’ll need:
- Pine cones (the bigger, the better for little hands!)
- Acrylic paint in various colors
- Googly eyes for that extra touch of whimsy
- Craft glue or a hot glue gun (with adult supervision)
- Feathers, buttons, or other embellishments for decoration
- Paintbrushes and a palette for mixing colors
Once you have everything ready, the fun begins! Start by painting the pine cone in your chosen colors. Kids can let their imagination run wild—perhaps a bright blue owl or a classic brown one? After the paint dries, it's time to add the googly eyes. These will give your owl personality and charm, making it truly unique.
Next, encourage the kids to use their creativity by adding feathers or other embellishments. This step allows them to explore textures and colors, enhancing their fine motor skills. They can create wings, a beak, and even little feet using craft materials. Each owl will tell its own story through the choices made during the crafting process.
Not only is this craft enjoyable, but it also provides an opportunity for children to learn about owls and their habitats. Why do owls have such big eyes? What do they eat? Engaging them with these questions can spark curiosity and promote a love for nature.
Once the owls are finished, set up a little display area where kids can showcase their creations. This not only boosts their confidence but also encourages them to talk about their craft, honing their storytelling skills. Plus, it’s a wonderful way to bring the family together to admire the kids’ hard work!
In conclusion, the pine cone owl craft is a fantastic way to blend creativity, education, and fun. It’s an activity that can be enjoyed indoors or outdoors, making it versatile for any season. So, gather those pine cones and let the crafting begin!
1. Can we use other materials instead of pine cones?
Yes! While pine cones are ideal for this craft, you can use other materials like cardboard or paper to create owls if pine cones are not available.
2. What age group is this craft suitable for?
This craft is suitable for kids of all ages. Younger children may need more assistance, especially with the hot glue gun, while older kids can take the lead.
3. How can we make this craft more educational?
Incorporate a short lesson about owls, their habitats, and their behaviors. You can even read a book about owls before starting the craft!
Pine Cone Foxes
Crafting is not just a fun activity; it's a wonderful way for kids to explore their creativity and learn about the natural world. Imagine taking a simple pine cone and transforming it into a charming, little fox that can sit proudly on a shelf or be used as a decoration. This project allows children to utilize their imagination while also introducing them to the basics of color mixing and design.
To create these adorable pine cone foxes, all you need are a few basic materials. Start with a pine cone, some orange and white paint, and a pair of googly eyes. You can also gather additional supplies like felt, scissors, and glue to add extra flair to your creations. The process is simple and engaging, making it perfect for kids of all ages. Here's a quick step-by-step guide to help you get started:
- Gather Your Materials: Collect pine cones, paint, googly eyes, and any additional craft supplies you want to use.
- Paint the Pine Cone: Use orange paint to cover the body of the pine cone, leaving the bottom part unpainted for a natural look.
- Add Details: Once the orange paint is dry, use white paint to create a snout and belly. You can also paint the tips of the pine cone scales white to mimic a fox's fur.
- Attach the Eyes: Glue on the googly eyes to give your fox a lively expression.
- Finishing Touches: If you like, you can add felt ears or a bushy tail made from cotton balls or more felt to enhance your fox's look.
This project is not only about crafting; it also offers an opportunity for kids to learn about the characteristics of foxes and their habitats. As they work on their pine cone foxes, you can discuss how these animals play a role in the ecosystem, which adds an educational layer to the fun.
Moreover, the act of crafting can significantly improve fine motor skills. As children paint, glue, and assemble their foxes, they practice hand-eye coordination and dexterity. It's like a mini workout for their little fingers! And let’s not forget the joy of displaying their creations. Kids will beam with pride when they see their pine cone foxes on display, perhaps even creating a whole woodland scene with other animal crafts.
Engaging in pine cone fox crafting can also be a great group activity. Whether it's a playdate, a birthday party, or a classroom project, kids can work together, share ideas, and inspire one another. They can even have a friendly competition to see who can create the most unique fox design!
So, gather your materials, unleash your creativity, and let the crafting adventure begin! You'll be amazed at how a simple pine cone can turn into a delightful little fox, all while fostering a love for nature and art in your children.
- What age group is suitable for making pine cone foxes? This craft is perfect for children aged 4 and up, with varying levels of adult supervision depending on the child's age.
- Can we use other colors for the fox? Absolutely! While traditional foxes are orange, kids can get creative and paint their foxes in any color they like.
- What if we don’t have googly eyes? You can always draw the eyes with a marker or use small buttons instead!
Pine Cone Decorations
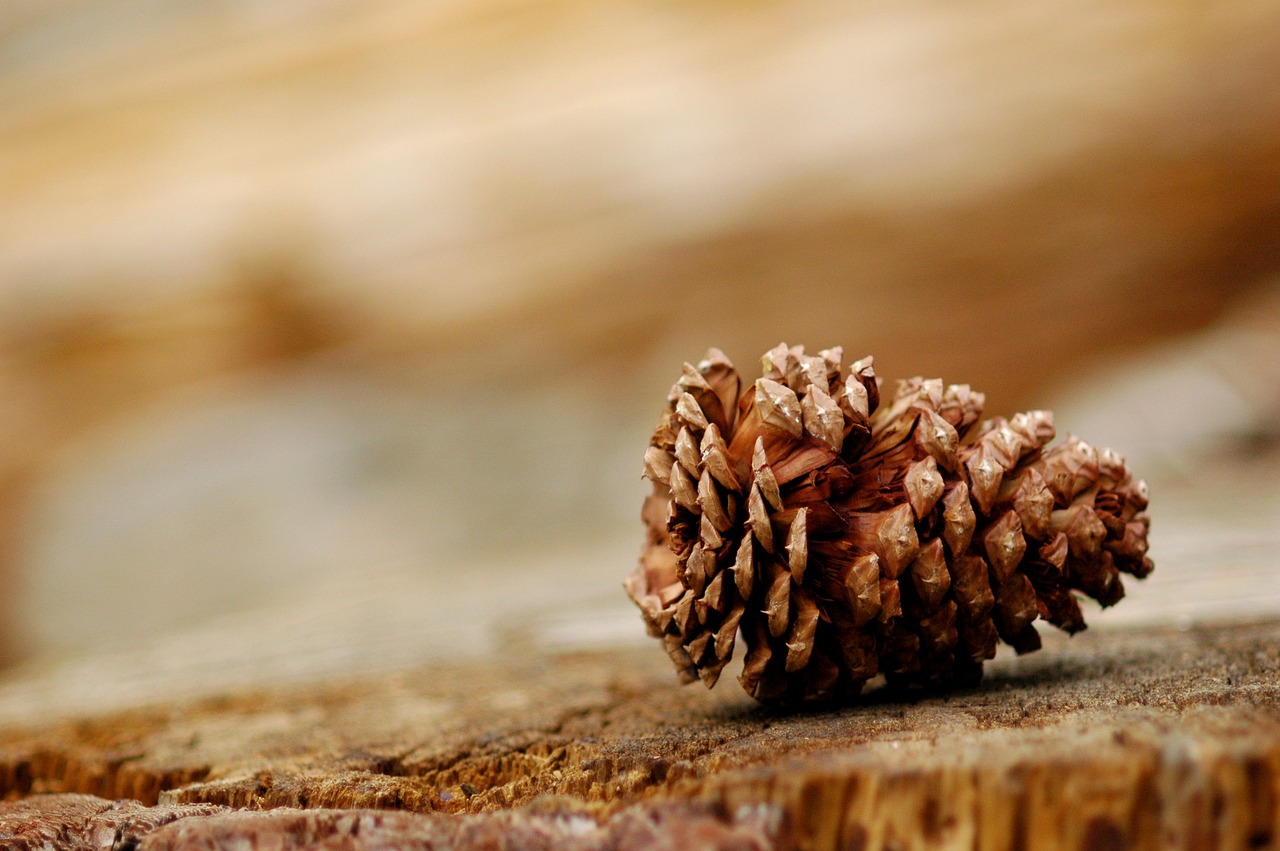
Pine cone decorations are a fantastic way to bring the beauty of nature indoors, and they provide an excellent opportunity for kids to express their creativity. Imagine a cozy home filled with charming, handmade ornaments that tell a story of craftsmanship and nature! These decorations can be tailored for any season, making them a versatile choice for family activities. Kids can gather pine cones during a nature walk, and then let their imaginations run wild as they transform these simple natural items into delightful decor.
One of the best parts about crafting with pine cones is that the materials are readily available and often free! You can find them in your backyard, at the local park, or even in your neighborhood. Once you have a collection of pine cones, the fun begins! Kids can paint them in vibrant colors, sprinkle them with glitter, or even attach ribbons and other embellishments. The possibilities are endless! For instance, during the fall, they can create festive decorations by painting the pine cones in warm hues of orange, red, and yellow. In winter, a simple dusting of white paint can transform them into frosty pine cones that mimic snow-covered trees.
To inspire your little crafters, here are a few decoration ideas:
- Seasonal Ornaments: Pine cones can be turned into ornaments for Christmas trees or seasonal displays. Kids can hang them with colorful strings or ribbons, adding a personal touch to the holidays.
- Table Centerpieces: A cluster of decorated pine cones can serve as an eye-catching centerpiece for family dinners or parties. They can be arranged with other natural elements like leaves and acorns for a rustic feel.
- Wreaths: Kids can glue pine cones onto a circular base to create beautiful wreaths that can be hung on doors or walls, showcasing their artistic flair.
Additionally, crafting pine cone decorations allows for a wonderful bonding experience between parents and children. As they work together, they can share stories, laugh, and create lasting memories. Plus, it teaches kids about the importance of recycling and reusing natural materials, fostering a sense of environmental responsibility.
In summary, pine cone decorations are not just about creating beautiful crafts; they are about connecting with nature, sparking creativity, and enjoying quality time with family. So gather those pine cones, roll up your sleeves, and let the crafting adventure begin!
Q: What materials do I need for pine cone decorations?
A: You will need pine cones, paint, glue, glitter, ribbons, and any other decorative items you want to use, such as beads or sequins.
Q: Can we use artificial materials with pine cones?
A: Absolutely! You can combine pine cones with artificial flowers, leaves, or other craft supplies to enhance your decorations.
Q: How can we preserve our pine cone crafts?
A: To preserve your pine cone decorations, you can spray them with a clear sealant after they are finished and dry. This will help protect them from dust and moisture.
Q: Are there any safety tips for kids while crafting?
A: Always supervise young children when using scissors, hot glue guns, or any small parts that could be a choking hazard. It's best to keep sharp tools out of reach when not in use.
Pine Cone Wreaths
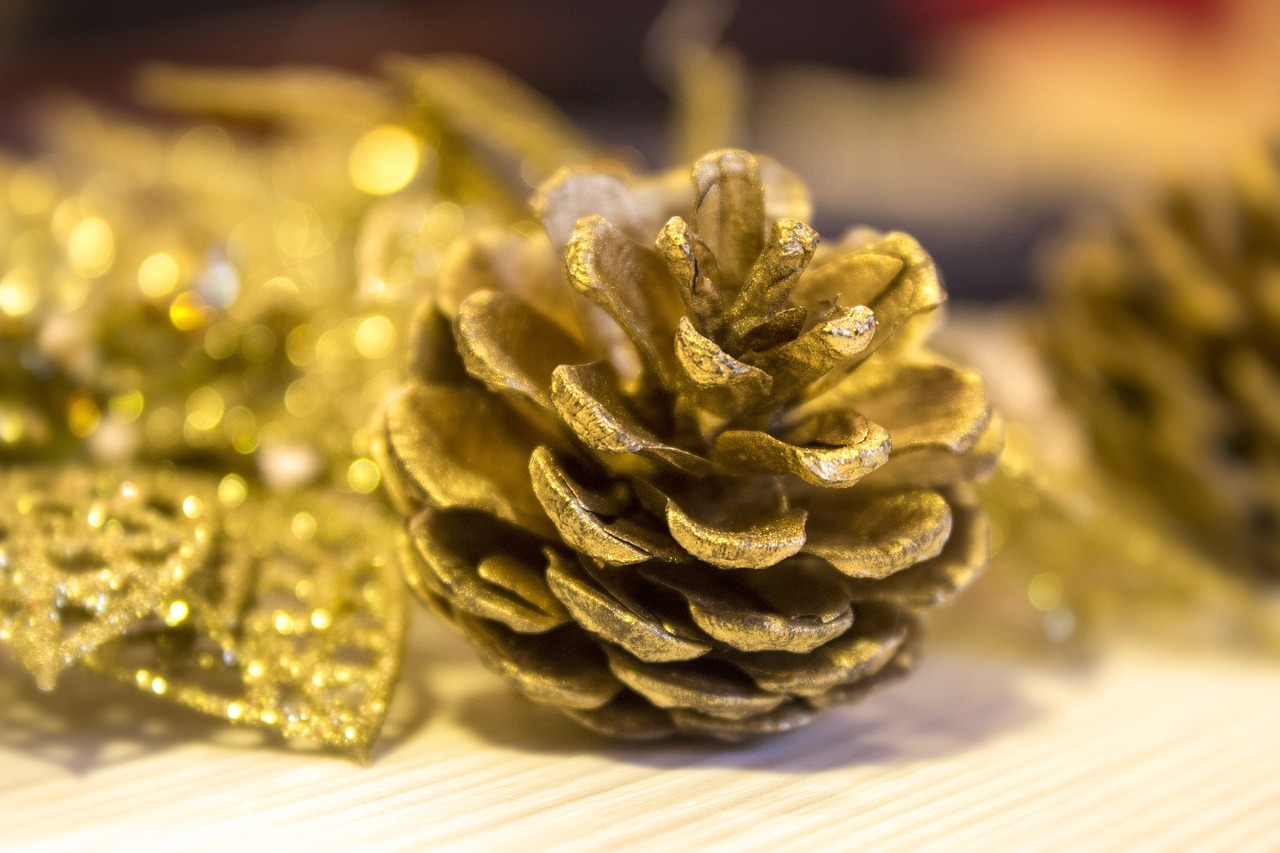
Pine cone wreaths are not just a craft; they are a celebration of nature's beauty! Imagine gathering with your kids, surrounded by the crisp scent of pine and the rustling sound of leaves. This project is perfect for any season and can be tailored to fit various holidays or simply to bring a bit of the outdoors inside. Creating a pine cone wreath allows children to express their creativity while learning about design principles such as symmetry and balance.
To start, you'll need a few basic supplies: pine cones, a sturdy base (like a wire or foam wreath form), glue, and optional decorative elements like ribbons, paint, or seasonal embellishments. The beauty of this craft lies in its flexibility—kids can experiment with different arrangements and colors, making each wreath a unique masterpiece. The act of arranging the pine cones can also enhance their fine motor skills, as they learn to manipulate different shapes and sizes.
Here’s a simple step-by-step guide to creating your own pine cone wreath:
- Gather Materials: Collect pine cones, a wreath base, glue, and any decorative items you want to use.
- Prepare the Pine Cones: If desired, you can paint the pine cones or leave them natural for a rustic look.
- Arrange the Pine Cones: Before gluing, lay out the pine cones on the wreath base to find the best arrangement.
- Glue the Pine Cones: Start gluing the pine cones onto the wreath base, beginning from the outer edge and working your way in.
- Add Decorations: Once the pine cones are secure, embellish your wreath with ribbons, berries, or other seasonal decorations.
Once completed, hang your pine cone wreath on your front door or a wall, and watch as it becomes a conversation starter for visitors. It’s a wonderful way to invite the beauty of nature into your home while also fostering a sense of accomplishment in your kids. Plus, each time they see the wreath, they’ll be reminded of the fun time spent crafting together!
And remember, the best part about making pine cone wreaths is that they can be customized for any season. In the fall, add vibrant leaves; during winter, sprinkle some faux snow or glitter; and for spring, incorporate flowers or pastel colors. This adaptability not only keeps the crafting experience fresh but also teaches kids to think creatively and adapt their designs to different themes!
| Question | Answer |
|---|---|
| Can we use artificial pine cones? | Absolutely! Artificial pine cones can be a great alternative, especially if you're looking for a longer-lasting decoration. |
| How long does it take to make a pine cone wreath? | The crafting process usually takes about 1-2 hours, depending on the complexity of your design and the age of the children involved. |
| What other materials can we add to the wreath? | You can use ribbons, dried flowers, berries, or even small ornaments to enhance the wreath's appearance. |
Pine Cone Centerpieces
Creating is an enjoyable and engaging way for kids to explore their creativity while learning about arrangement and design. Imagine a family gathering where the table is adorned with unique, handcrafted centerpieces that not only look beautiful but also showcase the effort and imagination of your little ones. This project is perfect for bringing a touch of nature indoors, and it can be tailored for any season or occasion!
To start, gather a variety of pine cones along with some additional materials. You might want to include items like colored paints, glitter, ribbons, and even small artificial flowers. The beauty of this project lies in its versatility; kids can let their imaginations run wild, creating centerpieces that reflect their personal style and the theme of the event. For instance, during the fall, they can use warm colors and leaves, while in winter, they might opt for icy blues and whites, incorporating some faux snow or silver accents.
Once the materials are gathered, the real fun begins! Kids can start by painting the pine cones in their chosen colors. This step not only enhances their artistic skills but also allows them to experiment with color mixing. After the paint dries, they can add embellishments like glitter or ribbons. These decorations can be attached with glue, which is a great way for children to practice their fine motor skills. As they work, they’ll be learning the importance of balance and symmetry, making sure their centerpieces look visually appealing.
After the pine cones are decorated, it’s time to arrange them into a centerpiece. This can be done in several ways:
- Using a shallow bowl or tray as a base, arranging the pine cones in a cluster.
- Creating a tiered display by stacking pine cones of different sizes.
- Mixing in other natural elements like small branches, leaves, or seasonal fruits to enhance the centerpiece.
Not only does this project result in a stunning centerpiece, but it also provides a wonderful opportunity for kids to practice teamwork if they work together. They can discuss their ideas, share materials, and even help each other with tricky parts of the crafting process. Plus, when the centerpieces are completed, they can proudly showcase their creations at the dining table, making every meal a special occasion.
In conclusion, are more than just a craft; they are a way to foster creativity, encourage collaboration, and create lasting memories. So, gather those pine cones and let the crafting begin!
Q: What materials do I need for pine cone centerpieces?
A: You will need pine cones, paints, glue, glitter, ribbons, and any additional decorative items like artificial flowers or leaves.
Q: Can this activity be done indoors?
A: Yes! Pine cone centerpieces can be crafted indoors, just make sure to cover surfaces to protect them from paint and glue.
Q: How long does it take to make a pine cone centerpiece?
A: The time can vary depending on the complexity of the design, but generally, it can take anywhere from 1 to 3 hours, including drying time for paint and glue.
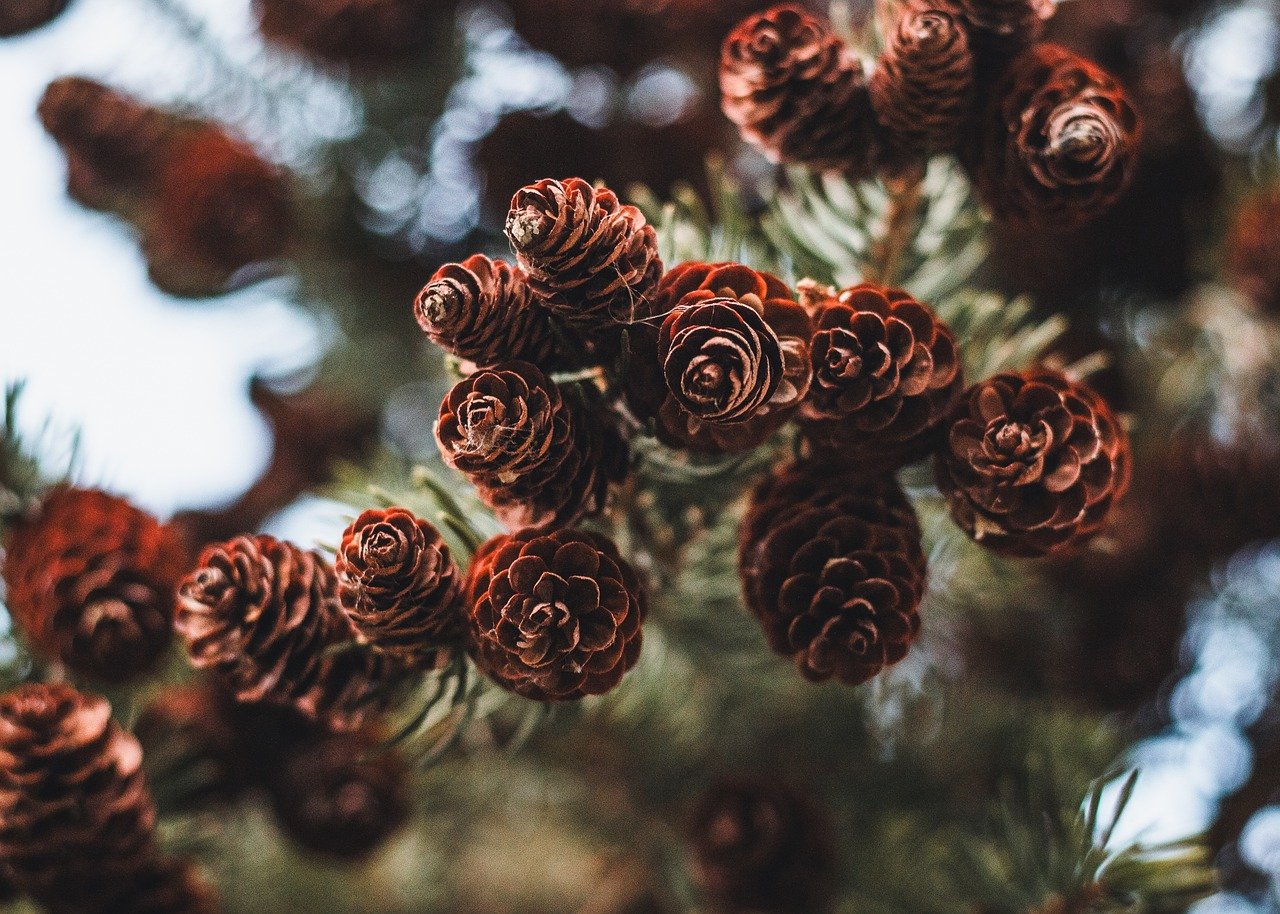
Pine Cone Garland
Creating a is not just a craft; it’s a delightful adventure that brings kids together, fostering teamwork and creativity. Imagine a vibrant string of decorated pine cones hanging beautifully in your home, each one telling a story crafted by little hands. This project is perfect for all ages and can be tailored to fit any season or occasion. Whether it’s a festive holiday decoration or a simple nature-inspired piece, the possibilities are endless!
To get started, gather your materials. You will need:
- Pine cones
- Twine or string
- Paint (acrylic or spray paint)
- Glitter (optional)
- Glue
- Decorative items like beads, ribbons, or faux leaves
First, take the pine cones and give them a good clean. This step not only removes dirt but also allows the paint to adhere better. Once they are dry, let the kids unleash their creativity! They can paint the pine cones in vibrant colors or even sprinkle some glitter for that extra sparkle. This is a fantastic opportunity for them to experiment with color combinations and artistic techniques.
After the paint has dried, it’s time to assemble the garland. Cut a length of twine or string to your desired length, leaving extra for hanging. Kids can then help in spacing the pine cones evenly along the string. This part of the project encourages them to think about design and balance, making sure the garland looks visually appealing.
For added flair, consider incorporating decorative items like beads or ribbons between the pine cones. This not only enhances the garland's aesthetic but also adds another layer of creativity. Once everything is strung together, hang your masterpiece in a prominent place. Whether it’s draped across a mantel, hanging from a window, or adorning a door, the pine cone garland will surely become a conversation starter!
In essence, making a is more than just a craft; it’s an opportunity for kids to bond, express their creativity, and appreciate the beauty of nature. Plus, it’s a wonderful way to bring a touch of the outdoors inside, reminding us of the lovely world we live in!
Q: What age group is suitable for making pine cone garlands?
A: Pine cone garlands are suitable for children of all ages. Younger kids may need assistance with painting and stringing, while older kids can take on more responsibility in the crafting process.
Q: How do I preserve the pine cones before crafting?
A: To preserve pine cones, soak them in a mixture of water and vinegar for about 30 minutes, then let them dry completely. This helps eliminate any bugs and prevents them from opening up too much during the crafting process.
Q: Can we use artificial pine cones instead?
A: Absolutely! Artificial pine cones can be a great alternative, especially if you're looking for a more uniform appearance or if you're crafting in a setting where natural pine cones are hard to find.
Q: What other decorations can we add to the garland?
A: You can get creative with various decorations! Consider using dried orange slices, cinnamon sticks, faux leaves, or even small ornaments to enhance the beauty of your garland.
Frequently Asked Questions
- What materials do I need for pine cone crafts?
To get started with pine cone crafts, you’ll need some basic materials like pine cones, paint, glue, scissors, and various decorative items such as googly eyes, ribbons, and beads. Depending on the project, you might also want to have natural elements like twigs or leaves on hand!
- Are pine cone crafts suitable for all age groups?
Absolutely! Pine cone crafts can be adapted for different age groups. Younger kids can engage in simple painting or gluing activities, while older children can tackle more complex projects like making pine cone animals or wreaths. It’s a great way to promote creativity across ages!
- How do I make a pine cone bird feeder?
Making a pine cone bird feeder is super easy! Just spread peanut butter over the pine cone, roll it in birdseed, and then hang it outside using a string. This simple project not only provides food for birds but also teaches kids about nature and wildlife!
- Can I use artificial pine cones for crafts?
Yes, you can definitely use artificial pine cones! They’re a great alternative, especially if you don’t have access to natural ones. Plus, they can be reused for various crafts and decorations, making them a sustainable choice!
- What are some easy pine cone animal crafts?
Some fun and easy pine cone animal crafts include creating hedgehogs, owls, and foxes. You can use craft supplies like felt, paint, and googly eyes to bring these adorable creatures to life. Each project is a fantastic way to spark imagination!
- How can I incorporate pine cone crafts into seasonal decorations?
Pine cones are perfect for seasonal decorations! You can make festive wreaths, garlands, or centerpieces for holidays. Simply decorate them with paint, glitter, or other seasonal embellishments to match your holiday theme!
- Are pine cone crafts messy?
Like any craft, pine cone projects can get a bit messy, especially if you’re using paint or glue. It’s a good idea to set up a crafting area with newspapers or a plastic tablecloth to make cleanup easier. Embrace the mess—it’s part of the fun!
- Can I use pine cones from my yard for crafting?
Yes, using pine cones from your yard is a fantastic idea! Just make sure to clean them properly to remove any dirt or insects before starting your craft project. It’s a great way to connect with nature and use natural materials in your creations!


