The Magic of Lights: DIY Lantern Crafts for Kids
Have you ever watched a child's face light up as they create something magical with their own hands? DIY lantern crafts are not just a fun way to spend an afternoon; they also spark creativity and imagination in kids. Imagine the joy of transforming simple materials into glowing masterpieces that can brighten up any room or outdoor space! Whether it's a birthday party, a family gathering, or just a cozy evening at home, these lanterns can add a touch of warmth and wonder. In this article, we will explore various fun and creative DIY lantern crafts that kids can enjoy. From materials needed to step-by-step instructions, you’ll discover how to illuminate your home with handmade lanterns.
Before diving into specific projects, it’s essential to gather the right materials and tools. Having everything at hand ensures that the crafting experience is smooth and enjoyable. Think of it as preparing for a treasure hunt; the more organized you are, the more fun you’ll have! Here’s a quick rundown of what you might need:
- Colored paper
- Scissors
- Glue or tape
- Markers or crayons for decoration
- LED lights for safety
- Glass or plastic jars for jar lanterns
Gathering these materials will set the stage for an exciting crafting adventure. Remember, the best part of DIY projects is that you can personalize them however you like, adding your unique flair to each lantern!
Creating paper lanterns is an excellent beginner project for kids. They are not only simple to make but also allow for a burst of creativity. Kids can express themselves through colors and designs, making each lantern a reflection of their personality. Plus, these lanterns can be used for various occasions, from festivals to simple home decor.
To make paper lanterns, you’ll need a few simple materials. Here’s what you’ll require:
- Colored paper (construction paper works great)
- Scissors
- Glue or tape
- String or ribbon for hanging
These materials are easily accessible and can often be found around the house. No need for fancy supplies—just a little creativity and enthusiasm!
Follow these straightforward steps to create your paper lanterns:
- Start by cutting a rectangular piece of colored paper, about 10 inches by 6 inches.
- Fold the paper in half lengthwise.
- Using scissors, make cuts along the folded edge, leaving about an inch at the top uncut.
- Unfold the paper and roll it into a cylinder shape, securing the ends with glue or tape.
- Attach a piece of string or ribbon at the top for hanging.
- Finally, decorate your lantern with markers or stickers to make it uniquely yours!
These simple steps ensure that kids can successfully make their lanterns with minimal adult assistance, fostering a sense of accomplishment and independence.
Jar lanterns are perfect for outdoor settings and can be customized in various ways. They can add a magical glow to your garden or patio, creating the perfect ambiance for evening gatherings. Just imagine sitting outside with friends and family, surrounded by the soft glow of your handmade lanterns. It’s like bringing a piece of the stars down to earth!
Selecting the right jars is crucial for creating stunning lanterns. Here are some tips on which types of jars work best:
- Glass jars for a classic look
- Plastic jars for safety in outdoor settings
- Mason jars for a rustic charm
Each type of jar can create a different effect, so feel free to experiment!
Once you have your jars, it’s time to decorate them! You can use:
- Paint to create designs
- Twine or ribbon for a rustic touch
- Stickers or washi tape for a pop of color
Let your imagination run wild! The more personal touches you add, the more special your lanterns will be.
Combining lanterns with LED fairy lights creates a magical ambiance that can transform any space into a wonderland. These lights are safe and energy-efficient, making them perfect for kids' crafts. Imagine your child’s delight as they watch their lanterns twinkle like stars!
Safety is paramount when working with lights. Here are some essential safety tips:
- Always use LED lights instead of traditional bulbs to prevent overheating.
- Ensure that all connections are secure and insulated.
- Keep lanterns away from flammable materials.
By following these guidelines, you can ensure a fun and safe crafting experience for everyone involved.
Explore various creative ways to use your fairy light lanterns. They can be:
- Used as centerpieces for parties
- Hung in trees for outdoor events
- Placed on windowsills to create a cozy atmosphere
The possibilities are endless! These lanterns can add a touch of magic to any occasion, making them a fantastic addition to your crafting repertoire.
Q: Can I use regular light bulbs instead of LED lights?
A: It's best to use LED lights as they are safer and do not heat up, reducing the risk of fire.
Q: What age group is suitable for these crafts?
A: Most of these projects are suitable for children aged 5 and up, with adult supervision for younger kids.
Q: How long do these lanterns last?
A: Depending on the materials used, paper lanterns can last for a few days, while jar lanterns with LED lights can last for years!
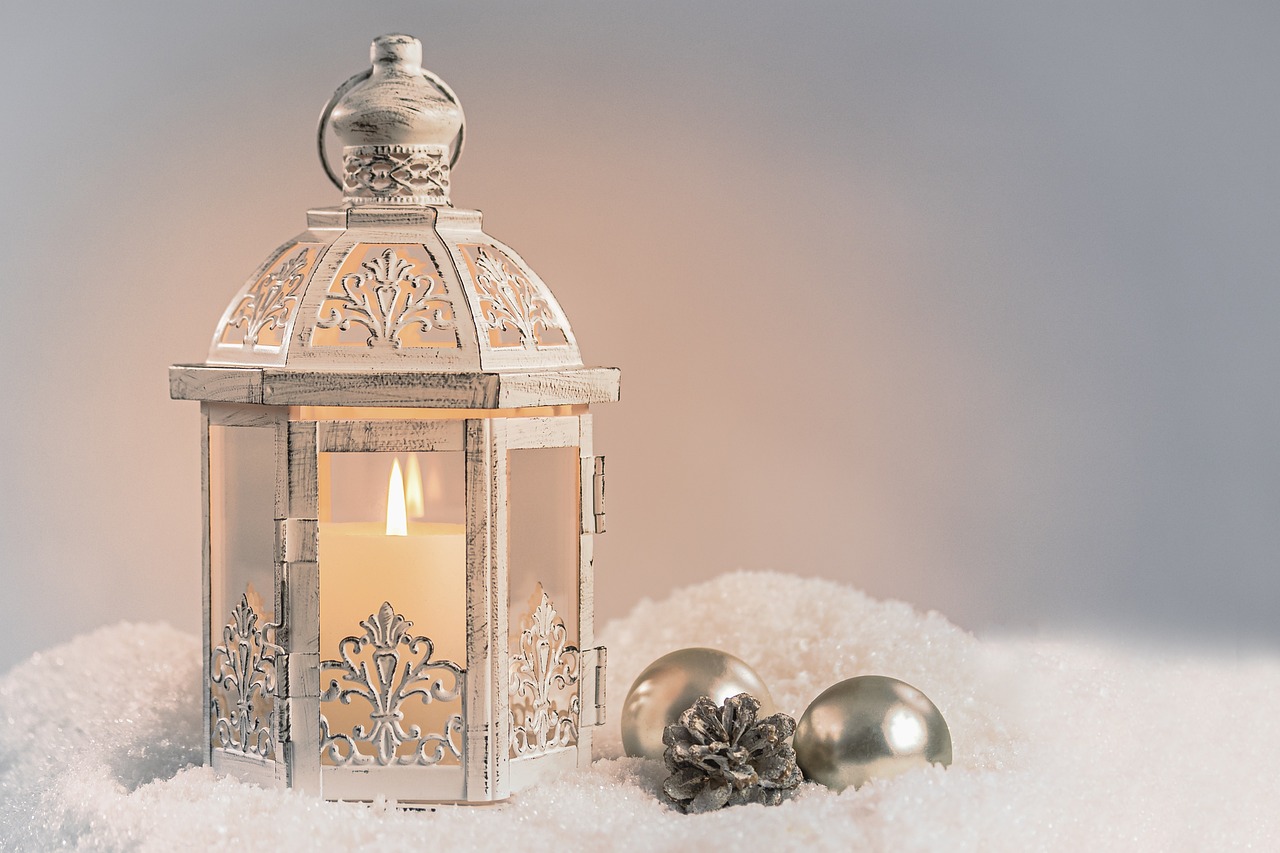
Getting Started with Lantern Crafts
Are you ready to embark on an exciting journey of creativity and fun with your kids? Lantern crafts are not just a delightful way to spend time together; they also ignite imagination and foster a sense of accomplishment. Before diving headfirst into the enchanting world of DIY lanterns, it's essential to gather the right materials and tools. Think of it like preparing for a treasure hunt—you want to have everything at your fingertips to make the adventure as smooth as possible!
To kick off your lantern-making adventure, you’ll need to stock up on some basic supplies. The good news? Most of these materials can be found around the house or at your local craft store. Imagine rummaging through your drawers and discovering colorful papers, shiny ribbons, and perhaps even some old jars waiting to be transformed into something magical! Here’s a quick rundown of what you might need:
- Colored paper: This will be the canvas for your lanterns. Choose vibrant colors to make your creations pop!
- Scissors: A must-have for cutting shapes and designs. Safety scissors are perfect for younger kids.
- Glue: Whether it's liquid glue or glue sticks, you’ll need this to hold your lanterns together.
- Markers or Paint: For adding personal touches and decorations to your lanterns.
- LED lights or candles: To illuminate your creations safely.
With your materials gathered, it's time to unleash your creativity! The beauty of lantern crafts is that there are no strict rules. You can mix and match different materials, colors, and designs. Let your imagination run wild! Whether you’re crafting simple paper lanterns or more elaborate jar lanterns, the key is to have fun and enjoy the process. Think of it as a canvas where your kids can express themselves freely, creating unique pieces that reflect their personalities.
As you prepare, remember that the crafting experience is just as important as the final product. Encourage your little ones to experiment with different shapes and patterns. Maybe they want to create a lantern shaped like a star or a whimsical creature! The possibilities are endless, and the joy of crafting together will create lasting memories.
So, gather your supplies, roll up your sleeves, and get ready to light up your home with your very own handmade lanterns. The adventure is just beginning, and you’ll soon discover that crafting is not just about creating beautiful objects; it’s about connecting, learning, and having a blast together!
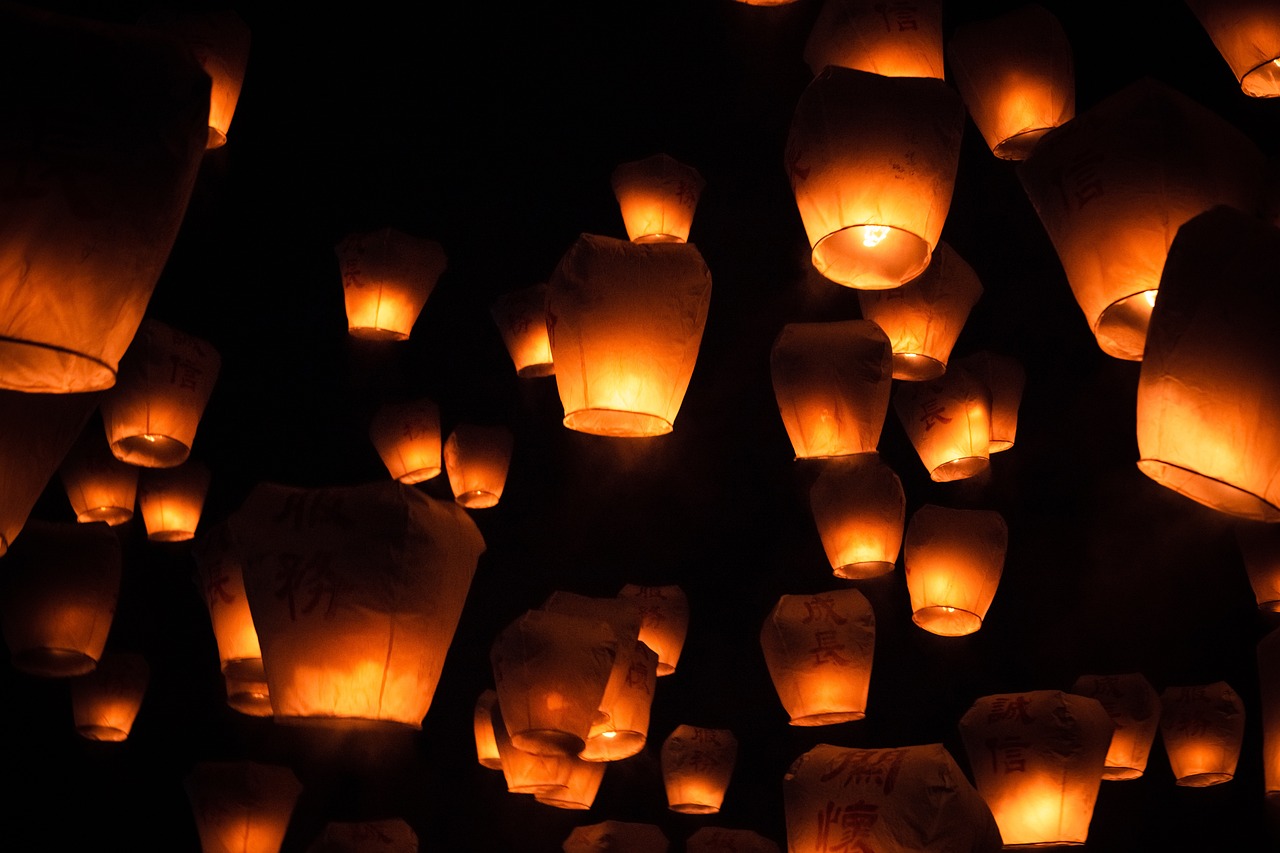
Simple Paper Lanterns
Creating paper lanterns is not just a fun activity; it's a fantastic way for kids to express their creativity while learning about colors, shapes, and the magic of light. These lanterns can brighten up any room or outdoor space, making them perfect for parties, celebrations, or simply adding a splash of color to your home. The best part? You don’t need a lot of fancy materials or tools to get started. In fact, with just a few basic supplies, your little ones can craft their own unique lanterns that will light up their imaginations!
To kick off this delightful project, gather the following materials:
- Colored paper (construction paper works great!)
- Scissors
- Glue or tape
- String or ribbon (for hanging)
- A battery-operated tea light (for safety)
Once you have your materials ready, it's time to dive into the fun part—making your paper lanterns! The process is simple and can be done with minimal adult supervision, making it a perfect weekend project. Start by cutting the colored paper into a large rectangle. The size can vary based on how big you want your lantern to be, but a good starting size is 10 inches by 15 inches. Now, fold the paper in half lengthwise to create a crease. This will serve as your guide for cutting.
Next, along the folded edge, make several cuts about 1 inch apart, stopping just before you reach the end of the paper. Unfold the paper, and you’ll see beautiful slits that will allow light to shine through. Now, roll the paper into a cylinder shape and secure the ends with glue or tape. To finish it off, you can create a handle by cutting a strip of paper and attaching it to the top. If you want to add more flair, consider decorating your lantern with stickers, markers, or even glitter!
Now, it's time to add the light! Place a battery-operated tea light inside your lantern, and watch it glow. These lanterns not only look stunning but are also a safe option for kids to enjoy. You can hang them from the ceiling, place them on a table, or even use them as part of a garden display. The possibilities are endless, and the joy of seeing your creations light up the room is truly magical!
In conclusion, making simple paper lanterns is a wonderful way to spend quality time with your kids. It encourages creativity, enhances fine motor skills, and results in beautiful decorations that can be used for various occasions. So gather your materials, unleash your imagination, and let the crafting adventure begin!
Q: Can I use regular paper instead of colored paper?
A: Absolutely! Regular paper can be used, but colored paper adds a vibrant touch that enhances the beauty of the lanterns.
Q: How long does it take to make a paper lantern?
A: Typically, it takes about 30 minutes to an hour, depending on the complexity of the design and the child's skill level.
Q: Are these lanterns safe for outdoor use?
A: Yes! As long as you are using battery-operated tea lights, they are safe for outdoor use. Just make sure to secure them properly to avoid wind interference.
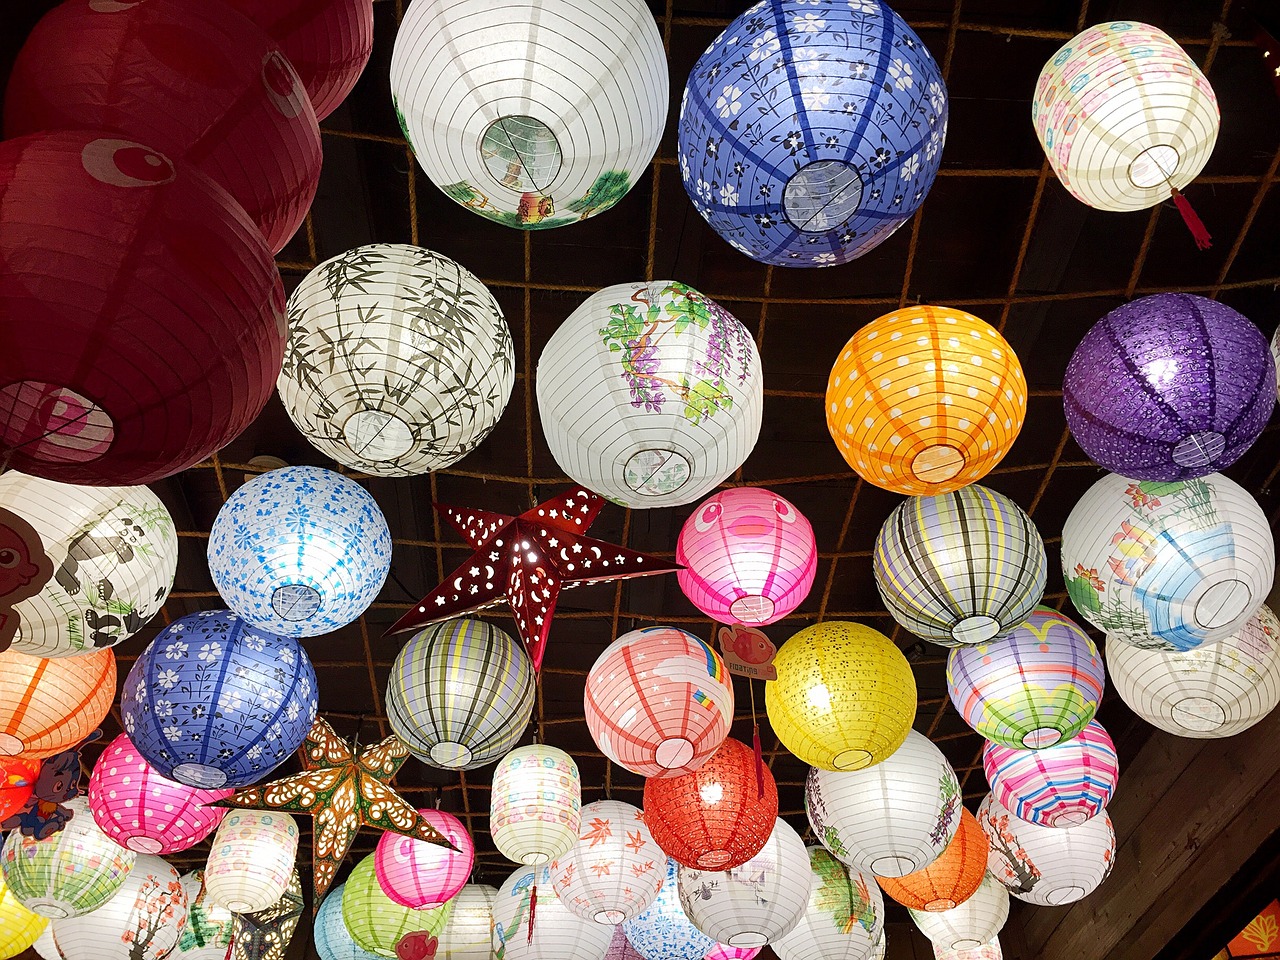
Materials Needed
To embark on the exciting journey of crafting paper lanterns, you'll need a handful of simple materials that are often readily available at home. Think of this as your treasure map to creativity! Here’s a list of essential items that will help you bring your colorful lanterns to life:
- Colored Paper: This is the canvas for your lantern. Choose vibrant colors to make your lanterns pop!
- Scissors: A trusty pair of scissors will help you cut your paper into the desired shapes and sizes.
- Glue: Whether you opt for a glue stick or liquid glue, this will hold your lantern together.
- Markers or Crayons: For adding personal touches or intricate designs, these will let your creativity shine.
- Ruler: To ensure your cuts are straight and your lanterns are symmetrical, a ruler is a handy tool.
- String or Wire: If you want to hang your lanterns, some string or wire will do the trick!
These materials are not just functional; they’re the building blocks for your imaginative creations. Imagine the joy on your child's face as they see their very own lantern glowing brightly! Not only do these crafts foster creativity, but they also provide an excellent opportunity for bonding time. You can sit together, discuss colors, and even share stories about what each lantern represents. So, gather your supplies and let the crafting adventure begin!
Remember, crafting is all about exploration and fun. Don’t be afraid to mix and match materials or even use recycled items from around the house. An old glass jar or a piece of fabric can add a unique twist to your lanterns. The goal is to enjoy the process and create something beautiful together!
Step-by-Step Instructions
Creating your own paper lanterns is not only a fun activity but also a fantastic way to spark creativity in kids. Follow these simple steps to bring your colorful lanterns to life! First, gather all your materials, which include colored paper, scissors, glue, and a ruler. Having everything ready will make the process smooth and enjoyable.
Now, let’s dive into the crafting! Start by cutting a piece of colored paper into a rectangle. A good size to aim for is about 10 inches by 6 inches, but feel free to experiment with different dimensions for unique shapes. Once you’ve got your rectangle, use the ruler to mark lines along the longer side of the paper, spacing them about 1 inch apart. Be careful not to cut all the way through; you want to leave about an inch at the top intact. This will create the flaps that will form the lantern's body.
Next, it’s time to add some flair! You can use markers or stickers to decorate the paper before you fold it into a lantern shape. Think of fun designs like stars, hearts, or even your favorite cartoon characters. Once you’re satisfied with the decorations, gently fold the paper along the cut lines to create the lantern shape. Use glue to secure the edges together, forming a cylinder. If you want to add a handle, cut a strip of paper about 1 inch wide and 8 inches long, and glue it to the top of the lantern.
To finish off your lantern, place a small LED tea light inside. These lights are safe and provide a lovely glow without the risk of fire. And there you have it! Your very own paper lantern is ready to shine. You can make several in different colors and sizes to create a stunning display in your home or even for a special occasion.
Remember, the beauty of this craft lies in its simplicity and the chance to personalize each lantern. Encourage kids to experiment with different colors and patterns, and watch their imaginations soar! If you encounter any challenges along the way, don’t hesitate to ask for help from an adult. Crafting is always more fun when shared!
- Can I use regular candles instead of LED lights? It's best to stick with LED lights for safety reasons, especially when kids are involved.
- What other materials can I use for decoration? You can use glitter, washi tape, or even paint to add more personality to your lanterns!
- How can I make my lanterns waterproof for outdoor use? Consider using waterproof paint or sealing them with a clear spray sealant.
- Can these lanterns be used for parties? Absolutely! They make great decorations for birthday parties, outdoor gatherings, or even as festive centerpieces.
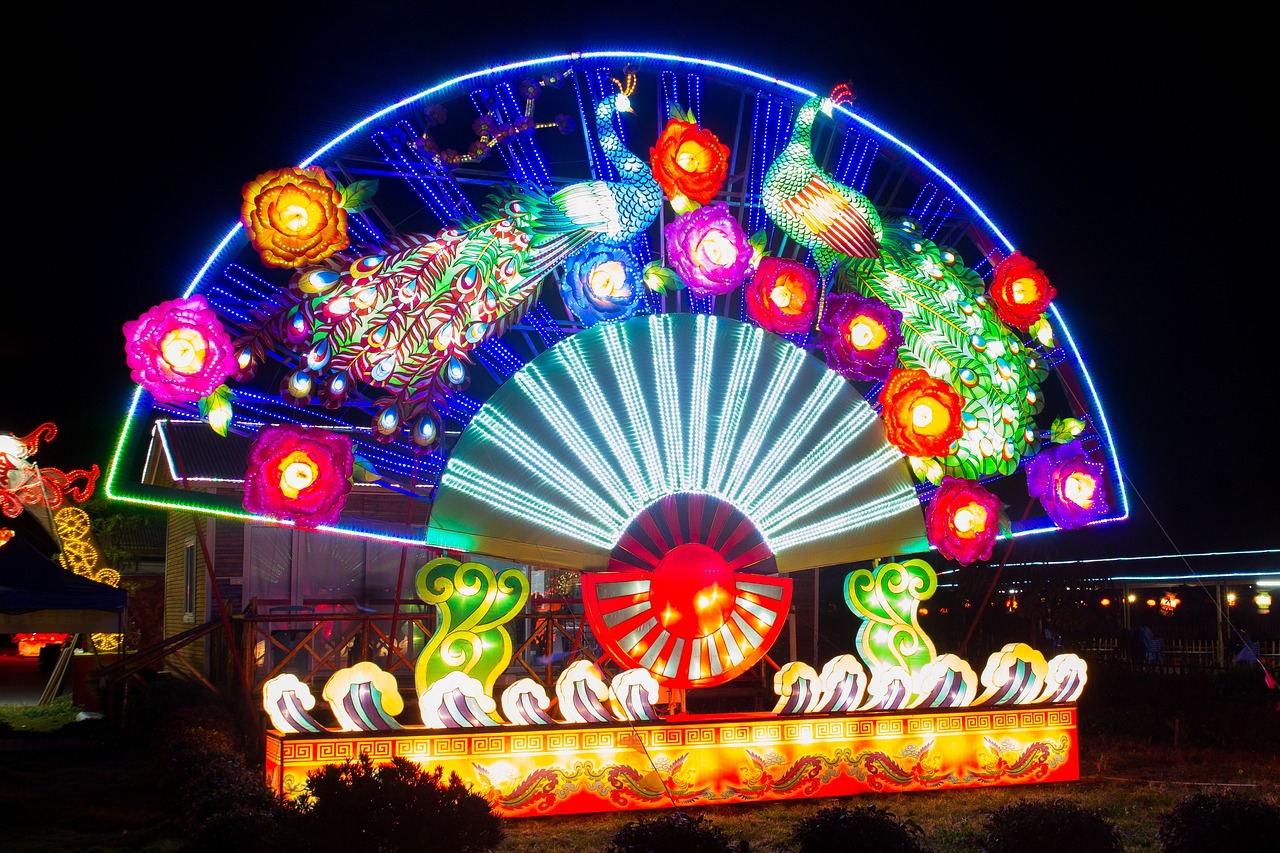
Jar Lanterns for Outdoor Fun
When it comes to outdoor fun, jar lanterns are like the cherry on top of a sundae! They not only add a charming glow to your backyard or patio but also provide a fantastic opportunity for kids to express their creativity. Imagine a warm summer evening, the stars twinkling above, and your homemade jar lanterns illuminating the space with a soft, inviting light. It's like casting a spell of enchantment! But before we dive into the crafting process, let’s explore how to transform those ordinary jars into stunning lanterns that will dazzle your friends and family.
First things first, you need to choose the right jars. Not all jars are created equal when it comes to lantern-making. The best options are clear glass jars, like mason jars or old pickle jars, as they allow the light to shine through beautifully. However, you can also use colored jars for a more vibrant effect. The shape and size of the jar can significantly influence the overall look of your lanterns. For instance, wider jars provide more surface area for decoration and light diffusion, while taller jars can create a more elegant, elongated glow. Remember, the key is to pick jars that resonate with your personal style and the ambiance you want to create.
Once you've gathered your jars, it's time to unleash your creativity! Decorating your jar lanterns can be as simple or as intricate as you want it to be. You can paint the outside of the jars with vibrant colors, use washi tape for fun patterns, or even wrap them in twine or lace for a rustic touch. If you're feeling particularly adventurous, you could even try your hand at decoupage using colorful tissue paper or images from magazines. The possibilities are endless! Just make sure that whatever materials you use are safe and suitable for outdoor use, especially if you plan to place them outside for extended periods.
After decorating, the next exciting step is to add the light source. You can opt for traditional candles for a classic look, but if you're aiming for safety—especially with kids around—LED tea lights are an excellent alternative. They provide the same warm glow without the risk of flames. Simply place your chosen light inside the jar, and voilà! You've created a beautiful jar lantern that is ready to shine. You can even group several lanterns together for a stunning centerpiece on your outdoor dining table or line them along your walkway to guide guests to your door.
Now, let’s talk about safety, especially if you decide to use candles. Always place the lanterns on stable surfaces, away from flammable materials, and never leave them unattended. If you’re using LED lights, you can relax a bit more, but it’s still wise to keep cords and batteries out of reach of curious little hands. Remember, the goal is to create a magical atmosphere while ensuring a safe environment for everyone to enjoy.
In summary, jar lanterns are not just a craft; they are a gateway to adventure and creativity. They allow kids to engage in hands-on activities while learning about light and design. So gather those jars, unleash your imagination, and let the glow of your creations brighten up your outdoor space!
1. What type of jars are best for making lanterns?
The best jars for lanterns are clear glass jars like mason jars or pickle jars, as they allow maximum light diffusion. Colored jars can also be used for a more vibrant effect.
2. Can I use real candles in my jar lanterns?
Yes, you can use real candles, but it's safer to opt for LED tea lights, especially if children are involved. Always ensure that any flame is monitored and placed on stable surfaces.
3. How can I decorate my jar lanterns?
You can paint them, use washi tape, wrap them in twine, or even decoupage with tissue paper or magazine cutouts. The decoration is entirely up to your creativity!
4. How long can I keep the lanterns outside?
If you're using LED lights, you can keep them outside for as long as you like. For candle lanterns, make sure to bring them inside after use to prevent damage from the elements.
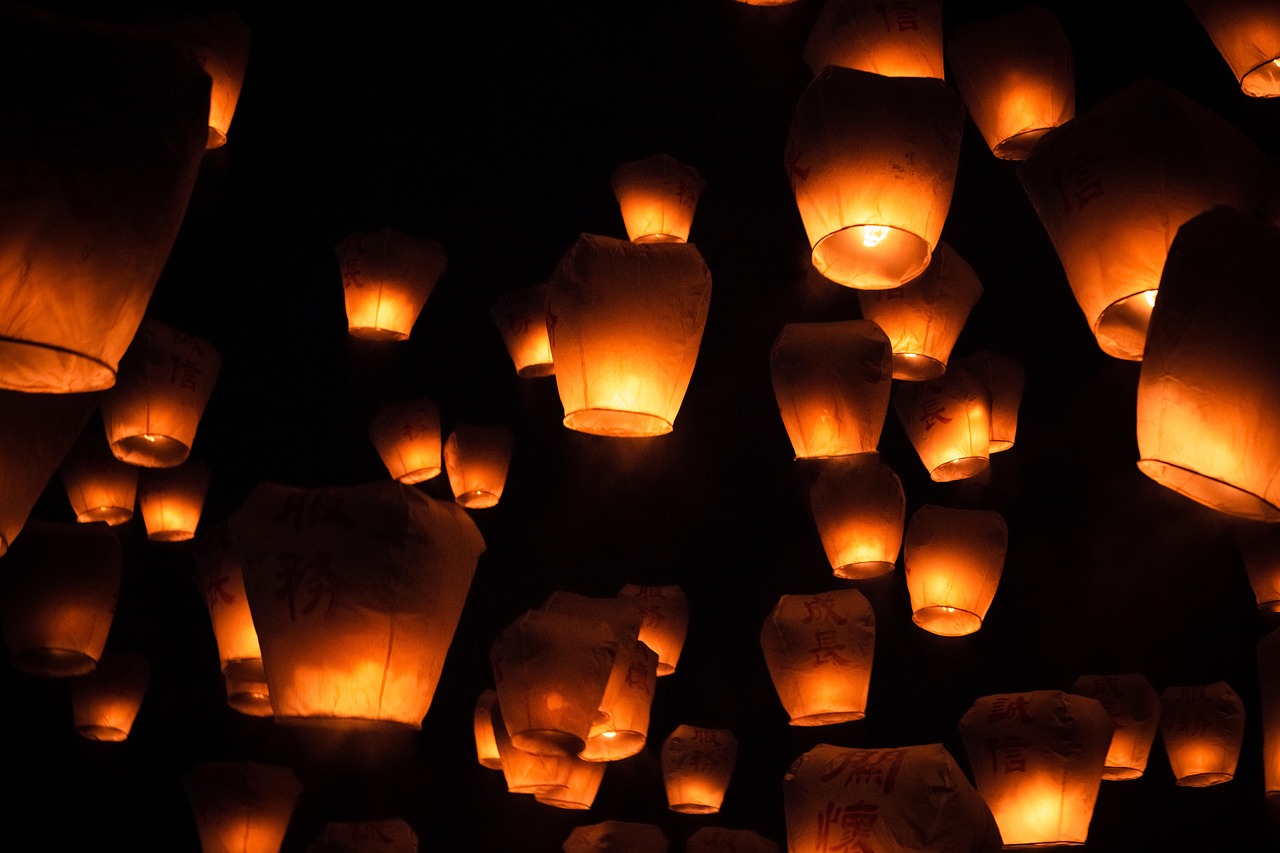
Choosing the Right Jars
When it comes to creating stunning jar lanterns, the choice of jars can make all the difference! You want to select jars that not only look good but also serve the purpose of holding your lights safely. Think of jars as the canvas for your creativity; the right one can turn a simple idea into a masterpiece. So, what should you look for when choosing jars?
First and foremost, consider the size of the jars. Larger jars provide more space for decorative elements and lighting, while smaller jars can create a charming, intimate feel. If you're planning to use them outdoors, you might want to opt for sturdy jars that can withstand the elements. Glass jars, like mason jars or old pickle jars, are fantastic choices because they are durable and allow light to shine through beautifully. However, if you're concerned about breakage, plastic jars can also work well, especially for younger kids.
Next, think about the shape of the jars. Round jars are classic and versatile, but don’t shy away from experimenting with square or even uniquely shaped jars. The shape can influence the way light disperses and creates patterns. For example, a tall, narrow jar might cast a different glow than a wide, short one. You can also mix and match different shapes for a more eclectic look!
Another important factor is the color of the jars. Clear jars are popular because they allow the light to shine through without obstruction, creating a bright and inviting atmosphere. However, colored jars can add a fun twist and create a more vibrant ambiance. You might even consider painting your jars with glass paint for a customized look. Just remember to use paint that is safe for glass and suitable for outdoor use if you plan to display them outside.
Finally, think about the style of the jars. Vintage jars with a rustic feel can add charm to your outdoor gatherings, while sleek, modern jars might suit a contemporary decor style better. You can even find jars with interesting textures or patterns that can enhance the visual appeal of your lanterns. The key is to choose jars that resonate with your personal style and the overall theme of your space.
In summary, here are some quick tips for choosing the right jars:
- Opt for durable materials like glass or sturdy plastic.
- Consider the size based on your decorative needs.
- Experiment with different shapes for unique lighting effects.
- Choose colors that complement your decor or go for clear jars for maximum light.
- Look for styles that match your theme, whether rustic, modern, or eclectic.
With these tips in mind, you’ll be well on your way to selecting the perfect jars for your DIY lantern projects. Remember, the right jar can elevate your crafting experience and make your lanterns the talk of the town!
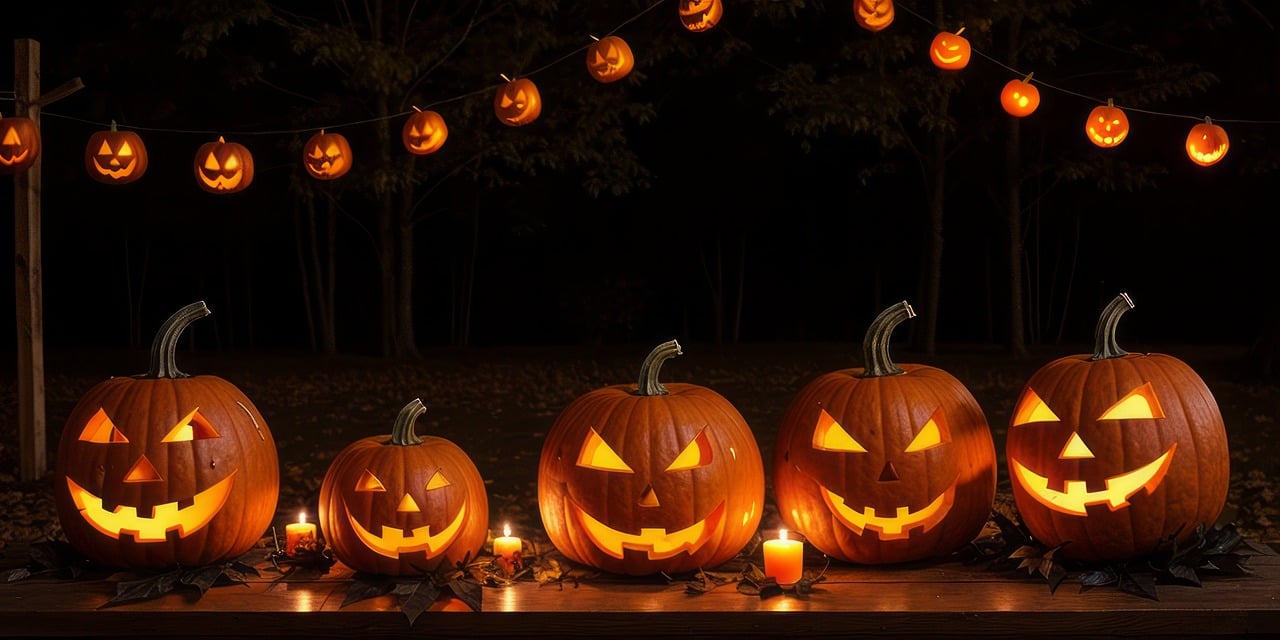
Decorating Your Jar Lanterns
Now that you've gathered your jars, it's time to unleash your creativity and transform these ordinary containers into stunning lanterns! Decorating your jar lanterns is where the magic happens, and it’s all about personal expression and fun. You can use a variety of materials to give your jars a unique flair. Think about the theme or mood you want to create. Are you going for a whimsical fairy-tale vibe, or perhaps a rustic autumn feel? The possibilities are endless!
One popular method is to use tissue paper or colored cellophane. Simply cut the paper into shapes or strips and glue them onto the outside of the jar. This not only adds color but also creates beautiful patterns when the light shines through. If you're feeling particularly adventurous, try layering different colors to create a gradient effect—it's like painting with light!
Another fantastic way to decorate your jars is by using natural elements. Gather some twigs, leaves, or even small pinecones from your backyard. You can glue these items to the jar for a rustic look. For a more festive touch, consider wrapping twine or burlap around the jar and attaching a small charm or tag. This adds a personal touch and makes each lantern feel special.
Don’t forget about paint! Glass paint or acrylic paint can be used to create designs directly on the jar. You can use stencils for precision or freehand your designs for a more personal touch. Just make sure the paint is suitable for glass to ensure it sticks well and lasts.
For those who want to add a bit of sparkle, consider using glitter. Apply a layer of glue to the jar and sprinkle glitter over it for some extra shimmer. Just be careful with the amount you use—too much glitter can be overwhelming. A light dusting can create a magical effect, especially when the lanterns are lit up at night.
Finally, think about how you want to hang or display your lanterns. Adding a simple handle made from wire or twine can make your jars easy to hang from tree branches or hooks. You can also place them on tables or windowsills to create a cozy atmosphere. Remember, the key to decorating your jar lanterns is to have fun and let your imagination run wild!
- Can I use any type of jar for lanterns? Yes! You can use mason jars, old glass jars, or even plastic jars. Just ensure they are clean and dry before decorating.
- What kind of lights should I use inside the jars? LED tea lights are a great option as they are safe and won’t heat up. You can also use fairy lights for a more magical effect.
- How can I make my lanterns weatherproof for outdoor use? If you plan to use your lanterns outside, consider sealing them with a clear varnish to protect your decorations from the elements.
LED Fairy Light Lanterns
Imagine a cozy evening where the gentle glow of LED fairy lights dances through your home, creating a magical atmosphere that captivates both kids and adults alike. are not just a craft; they are a way to bring a little bit of enchantment into your life. These lanterns can be used for various occasions, from birthday parties to intimate family gatherings, or even as a whimsical touch to your garden. The beauty of these lanterns lies in their versatility and the sheer joy they bring when illuminated. So, let’s dive into how you can create your own stunning LED fairy light lanterns!
First things first, you'll need to gather some essential materials. The beauty of this project is that you can customize it to fit your style and the theme of your event. Here’s a quick list of what you’ll need:
- Glass jars or any clear containers
- LED fairy lights (battery-operated are best for safety)
- Decorative items (like ribbons, paint, or stickers)
- Optional: Sand or pebbles for added weight
Once you have your materials ready, it’s time to get creative! Start by choosing the right jars. The size and shape of your jars can dramatically affect the final look of your lanterns. For instance, wide-mouthed jars can create a more dramatic effect, while smaller jars can be used for a delicate touch. You can even mix and match different sizes to add variety to your display. Next, think about how you want to decorate your jars. You can paint them with vibrant colors, wrap them with twine or ribbon, or even apply stickers that resonate with your chosen theme. The goal is to let your creativity shine!
Now, let’s talk about the heart of your lantern: the LED fairy lights. Carefully insert the lights into your decorated jars. If you want to create a more stable base, consider adding a layer of sand or pebbles at the bottom of the jar. This not only provides stability but also adds a nice aesthetic touch. Once your lights are in place, close the jar and turn on the lights. Voila! You’ve just created a magical lantern that glows beautifully, transforming any space into a wonderland.
But wait, there’s more! The fun doesn’t stop at just creating the lanterns. You can explore various creative uses for your LED fairy light lanterns. Here are some ideas:
- Use them as centerpieces for dinner parties.
- Hang them in trees for an enchanting garden party.
- Place them along pathways to guide guests in a whimsical manner.
- Use them indoors to create cozy reading nooks.
These lanterns are perfect for any occasion, and their soft glow can set the mood for a romantic evening or a fun-filled family gathering. The best part? They are safe to use and can be left on for hours without the worry of fire hazards. So, gather your supplies, unleash your creativity, and let your LED fairy light lanterns illuminate your world!
Q: Are LED fairy lights safe for kids?
A: Yes! LED lights are cool to the touch and do not pose a fire hazard, making them safe for children's crafts.
Q: Can I use different types of jars for this project?
A: Absolutely! You can use glass jars, mason jars, or even clear plastic containers. Just ensure they are clean and dry before decorating.
Q: How long do LED fairy lights last?
A: LED fairy lights can last for thousands of hours, so you can enjoy your lanterns for many events to come!

Safety Tips for Using Lights
When it comes to crafting with lights, safety should always be your top priority. Whether you're using traditional candles or modern LED lights, understanding how to handle these elements will ensure a fun and accident-free experience for you and your little ones. First and foremost, if you're using candles, always supervise children closely. It's easy to get caught up in the excitement of crafting, but a moment of inattention can lead to accidents. Make sure that candles are placed on stable surfaces, away from flammable materials, and never leave them unattended.
If you opt for LED lights, which are a fantastic and safe alternative, here are some essential tips to keep in mind. Always check the voltage and wattage requirements of your lights to prevent overheating. Using lights that are too powerful for your setup can lead to damage or even a fire hazard. When connecting multiple strands of lights, ensure that you're using lights designed for that purpose, as some are not meant to be linked together.
Additionally, it's important to use lights that are rated for the environment in which they'll be used. For example, if you're planning to hang lanterns outdoors, make sure your lights are weatherproof. This will not only extend the life of your lights but also prevent any electrical mishaps caused by rain or moisture. And speaking of moisture, always keep lights away from water sources. Even LED lights can pose a risk if they come into contact with water.
Lastly, consider using battery-operated lights for an extra layer of safety, especially for younger children who may be more prone to accidents. These lights eliminate the risks associated with cords and electricity, allowing for a more carefree crafting experience. So, whether you're creating enchanting fairy light lanterns or vibrant paper lanterns, remember to keep safety at the forefront of your crafting adventure!
Here are some common questions that many parents have regarding DIY lantern crafts:
- Can I use regular paper for paper lanterns? Yes, regular paper works well, but using colored or decorative paper can enhance the visual appeal of your lanterns.
- Are LED lights safe for kids? Absolutely! LED lights are much safer than traditional bulbs as they emit less heat and are less likely to cause burns.
- How can I make my lanterns last longer? To prolong the life of your lanterns, especially those used outdoors, consider using weather-resistant materials and storing them properly when not in use.
- Can I use these lanterns for parties? Definitely! DIY lanterns add a personal touch to any celebration, whether it's a birthday party, a wedding, or a festive gathering.
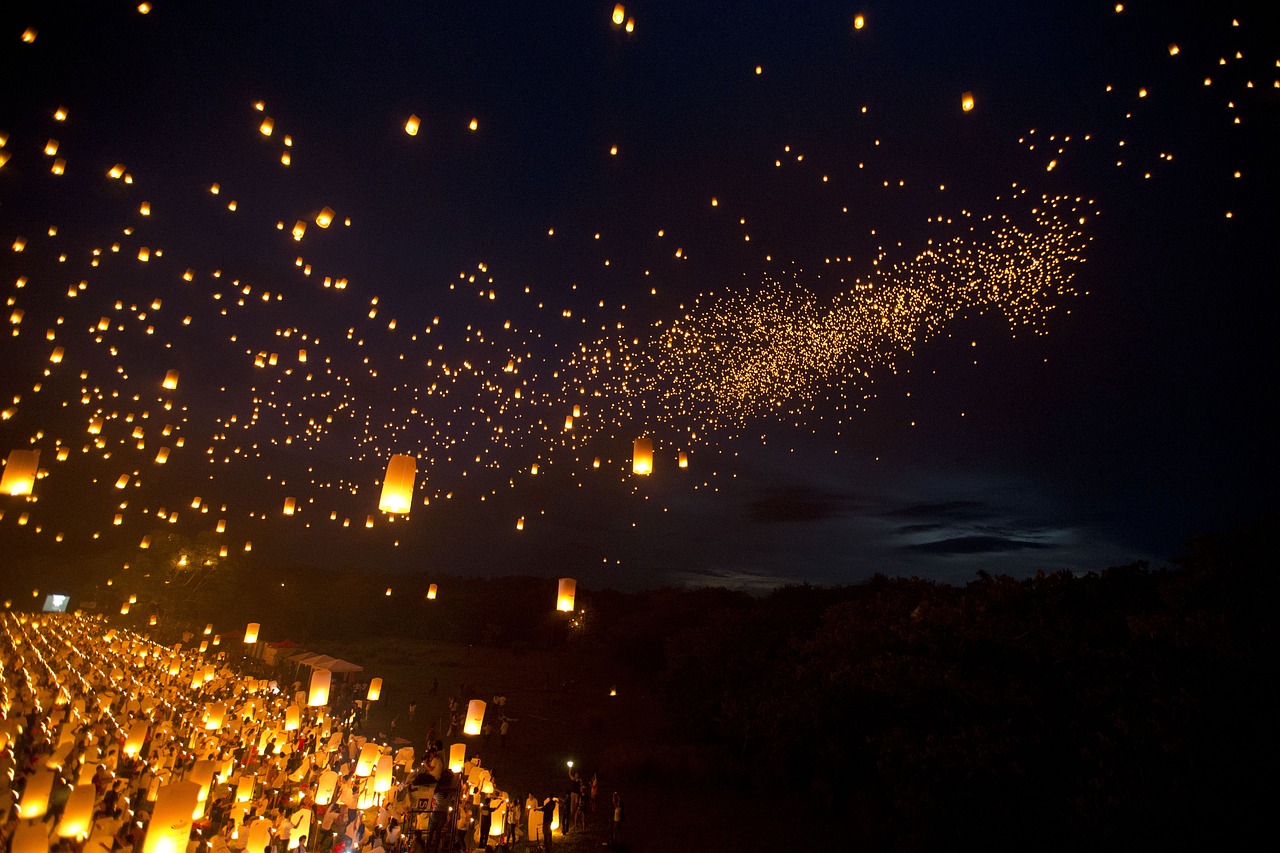
Creative Uses for Fairy Light Lanterns
Fairy light lanterns are not just for decoration; they can transform any space into a magical wonderland! Imagine walking into a room lit softly by twinkling lights, instantly lifting your mood and creating a cozy atmosphere. These enchanting creations can be used in a multitude of ways, making them a fantastic addition to your crafting repertoire. Whether you're planning a party, looking to spruce up your home, or even setting the mood for a romantic dinner, fairy light lanterns can do it all!
One of the most delightful uses for fairy light lanterns is during special occasions. For example, you can create a stunning centerpiece for a dinner table by placing a few lanterns in the middle, surrounded by flowers or seasonal decorations. This not only adds a touch of elegance but also invites conversation as guests admire the soft glow. You can also hang these lanterns from trees or hooks in your backyard for outdoor gatherings, creating a whimsical atmosphere that enchants your guests as the sun sets.
Additionally, fairy light lanterns can be used to brighten up your child's bedroom. Imagine how excited they would be to have a glowing lantern by their bedside, making nighttime feel less daunting. You can even encourage your kids to help decorate their lanterns, allowing them to express their creativity. This not only provides a comforting light but also adds a personal touch to their space.
Another creative idea is to use fairy light lanterns for holiday decorations. During the festive season, you can incorporate them into your existing decor. For instance, during Halloween, you can create spooky lanterns with ghostly designs, while for Christmas, you can make them look like little presents or Christmas trees. The versatility of these lanterns means that you can easily adapt them to fit any theme or occasion. You might even consider using them for a themed birthday party, where each lantern can represent a different aspect of the theme, adding layers of excitement and joy.
Moreover, fairy light lanterns can also serve a practical purpose. If you enjoy camping, consider making portable lanterns that can illuminate your campsite. They are lightweight, easy to carry, and provide just the right amount of light for nighttime activities like storytelling or playing games. This way, you can create a cozy environment under the stars, making your camping experience even more memorable.
In essence, the potential uses for fairy light lanterns are as limitless as your imagination. They can be used for:
- Centerpieces for special events
- Decorations for children's rooms
- Seasonal holiday decor
- Outdoor lighting for gatherings
- Portable lights for camping trips
So, gather your supplies, unleash your creativity, and let your fairy light lanterns illuminate your world in ways you never thought possible!
Q: How long do the fairy lights typically last?
A: Most LED fairy lights can last up to 50,000 hours, making them a long-lasting option for your lanterns.
Q: Can I use regular light bulbs instead of LED lights?
A: While you can use regular bulbs, LED lights are recommended due to their energy efficiency and lower heat output, making them safer for use in crafts.
Q: Are there any specific types of jars that work best for jar lanterns?
A: Clear glass jars are ideal, as they allow the light to shine through beautifully. However, colored or frosted jars can create unique lighting effects as well.
Q: Can I use my fairy light lanterns outdoors?
A: Yes, but make sure to use waterproof fairy lights or place your lanterns in a sheltered area to protect them from the elements.
Frequently Asked Questions
- What materials do I need to start making lanterns with my kids?
To kick off your lantern-making adventure, gather some basic supplies. You'll need colored paper, scissors, glue, and possibly some decorative items like stickers or markers. For jar lanterns, collect empty glass jars, twine, and LED lights. Having these materials ready will make the crafting process smooth and enjoyable!
- Are paper lanterns safe for kids to make?
Absolutely! Paper lanterns are a fantastic beginner project for kids, as they involve minimal risk. Just be sure to supervise them while using scissors and glue. With a bit of guidance, your little ones can create colorful and festive lanterns without any hassle!
- How can I decorate jar lanterns?
Decorating jar lanterns is where the fun really begins! You can paint the jars, wrap them in twine, or even use washi tape for a pop of color. Adding some glitter or stickers can also make them sparkle. Let your kids' creativity shine as they personalize their lanterns!
- What kind of lights should I use for my lanterns?
LED fairy lights are a fantastic choice for illuminating your DIY lanterns. They are safe to use, energy-efficient, and come in various colors and styles. Plus, they create a magical ambiance that can enhance any setting, whether indoors or outdoors!
- Are there any safety tips I should consider when using lights?
Yes, safety is key! Always use LED lights as they don’t heat up, reducing the risk of burns. Make sure that any cords are safely tucked away and out of reach of little hands. Supervision is essential, especially when kids are involved in the crafting process!
- Can we use our lanterns for outdoor events?
Definitely! Jar lanterns are perfect for outdoor settings. They can add a cozy glow to your backyard parties, camping trips, or even just for a night under the stars. Just make sure to use waterproof decorations and secure your lights to prevent any mishaps!
- What are some creative uses for fairy light lanterns?
Fairy light lanterns can be used in so many fun ways! Hang them at birthday parties, use them as centerpieces for family dinners, or even place them around the garden for a magical evening atmosphere. The possibilities are endless, so let your imagination run wild!


