5 Easy Sewing Projects for Kids
Are you looking for engaging and fun activities to keep your kids entertained while also helping them learn valuable skills? Look no further! This article explores five simple sewing projects that are perfect for children. These projects are designed not only to be enjoyable but also to help kids develop their creativity and fine motor skills. Sewing is a fantastic way for children to express themselves, and these beginner-friendly projects will set them on the path to becoming sewing enthusiasts. So, grab some fabric, thread, and a sewing machine, and let’s get started on these delightful projects!
Creating a pillowcase is an excellent beginner project for kids. It’s simple yet rewarding, allowing children to learn basic sewing techniques while making something functional and personal for their space. Imagine your child snuggling up with a pillowcase they've made themselves! Not only does it give them a sense of accomplishment, but it also adds a touch of their personality to their room. Plus, they can choose their favorite colors and patterns, making the process even more exciting!
Sewing fabric bookmarks is a quick and engaging project that combines creativity with functionality. Children can express their individuality by choosing different fabrics and designs, making reading even more enjoyable. Who wouldn’t love to mark their favorite page with a bookmark that reflects their unique style? This project is perfect for kids who love to read, as it encourages them to become more involved in their stories.
When it comes to selecting the right fabric and thread, the options are endless! Kids can experiment with various colors and textures to create unique bookmarks that truly reflect their personalities. Whether they prefer bright, bold patterns or soft, pastel shades, the choice is theirs. This freedom of choice fosters creativity and helps them develop a sense of style.
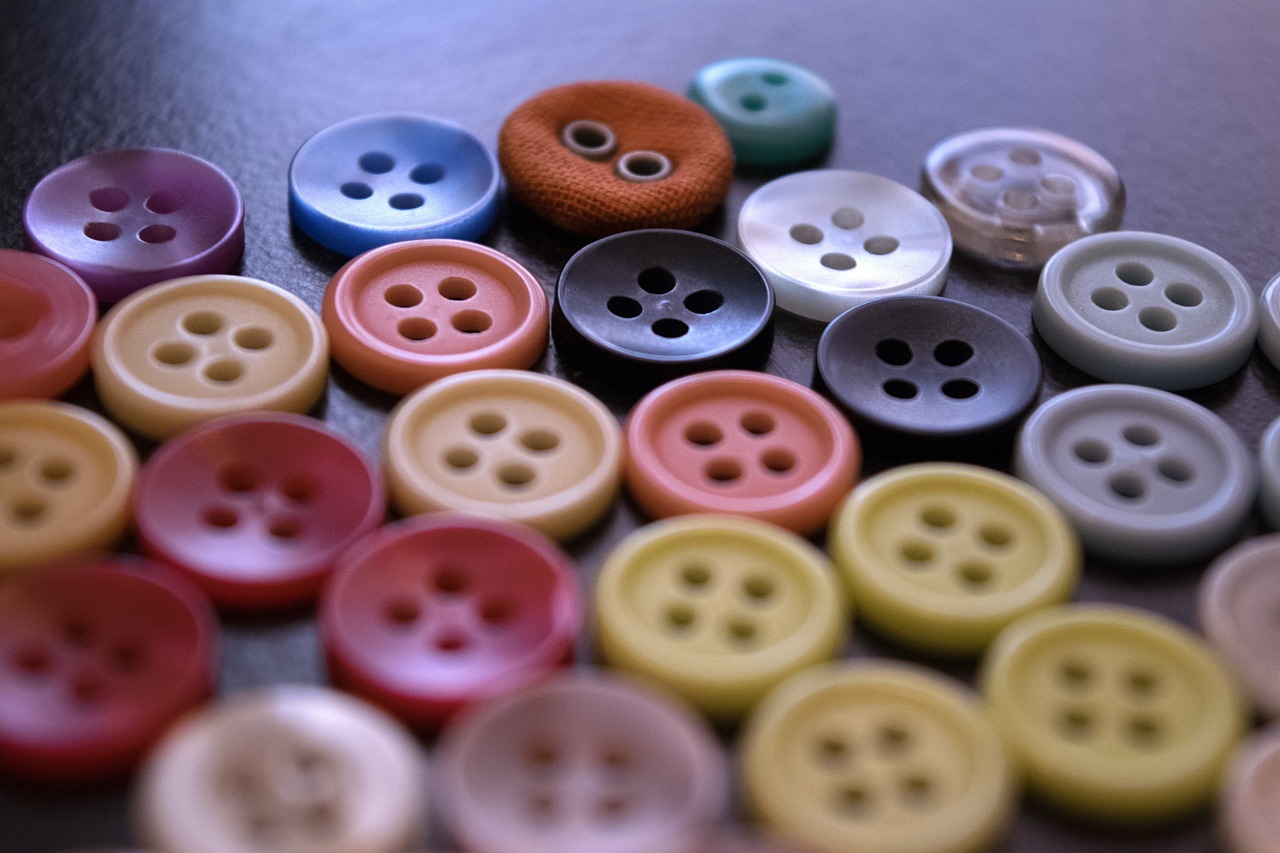
To take their bookmarks to the next level, kids can add embellishments like buttons, ribbons, or even fabric paint to personalize their creations further. This encourages creativity and allows them to make their bookmarks truly one-of-a-kind. Imagine a bookmark adorned with a cute button or a splash of paint that tells a story—how fun is that?
Providing templates can be incredibly helpful for kids as they design their bookmarks. Templates guide them in cutting fabric accurately, ensuring a neat final product. This not only makes the process easier but also teaches them the importance of precision in sewing. With a little guidance, they can create bookmarks that look professionally made!
Teaching kids how to finish their bookmarks neatly will give them a sense of accomplishment. Simple sewing techniques can be used to complete the edges, ensuring that their bookmarks are durable and ready for use. This final step is crucial, as it instills a sense of pride in their work and shows them that attention to detail matters.
Making a tote bag is another fun project that teaches kids valuable sewing skills. Not only is it practical, but it also allows them to carry their belongings in style. Imagine your child proudly walking around with a tote bag they've sewn themselves! This project not only boosts their confidence but also serves as a functional item they can use daily.
Kids will learn the importance of measuring and cutting fabric accurately. This step is essential for ensuring their tote bag turns out well. It’s like baking a cake—if you don’t measure the ingredients correctly, it might not rise! By understanding how to measure and cut, they’ll gain skills that will serve them well in future sewing projects.
Sewing handles onto the tote bag is a crucial part of the project. Kids will gain confidence as they learn to attach different components securely. This hands-on experience not only reinforces their sewing skills but also teaches them how to create functional items. Plus, they can choose different fabrics for the handles, adding an extra flair to their bag!
Sewing a soft toy can be a delightful experience for kids. This project encourages imaginative play and helps develop their sewing skills. Kids can create their own soft toy designs, fostering creativity. They can choose shapes, colors, and patterns that resonate with their interests, making this project truly special and personal.
Encouraging kids to design their own soft toys allows them to unleash their imagination. They can sketch their ideas on paper before bringing them to life with fabric. This process is like creating a character in a story—each toy can have its own personality and backstory!
Learning how to stuff and finish their toys properly is essential. This teaches kids the importance of taking their time for a polished final product. Just like a chef carefully plating a dish, the finishing touches on a toy can make all the difference. Plus, when they see their finished creation, the joy they'll feel is priceless!
A decorative wall hanging is a creative project that allows kids to express their artistic side. They can use various fabrics to create a unique piece for their room. This project is like creating a canvas for their thoughts and feelings, and every stitch can tell a story about who they are.
Selecting a theme for the wall hanging can inspire creativity. Kids can explore different colors and patterns that reflect their interests. Whether they love animals, nature, or abstract designs, the theme can guide their choices and make the project more meaningful.
Teaching kids how to assemble various fabric pieces will enhance their sewing skills. This project encourages them to experiment with layout and design, fostering a sense of artistic freedom. Just like assembling a puzzle, putting together a wall hanging can be both challenging and rewarding!
Q: What age is appropriate for these sewing projects?
A: These projects are suitable for children aged 7 and up, depending on their individual skill levels and interest in sewing.
Q: Do I need a sewing machine for these projects?
A: While a sewing machine can make the process faster, many of these projects can also be done by hand sewing, which is a great skill for kids to learn!
Q: How can I help my child if they get stuck?
A: Encourage them to take a break and come back with fresh eyes. You can also offer guidance or help them troubleshoot any issues they encounter.
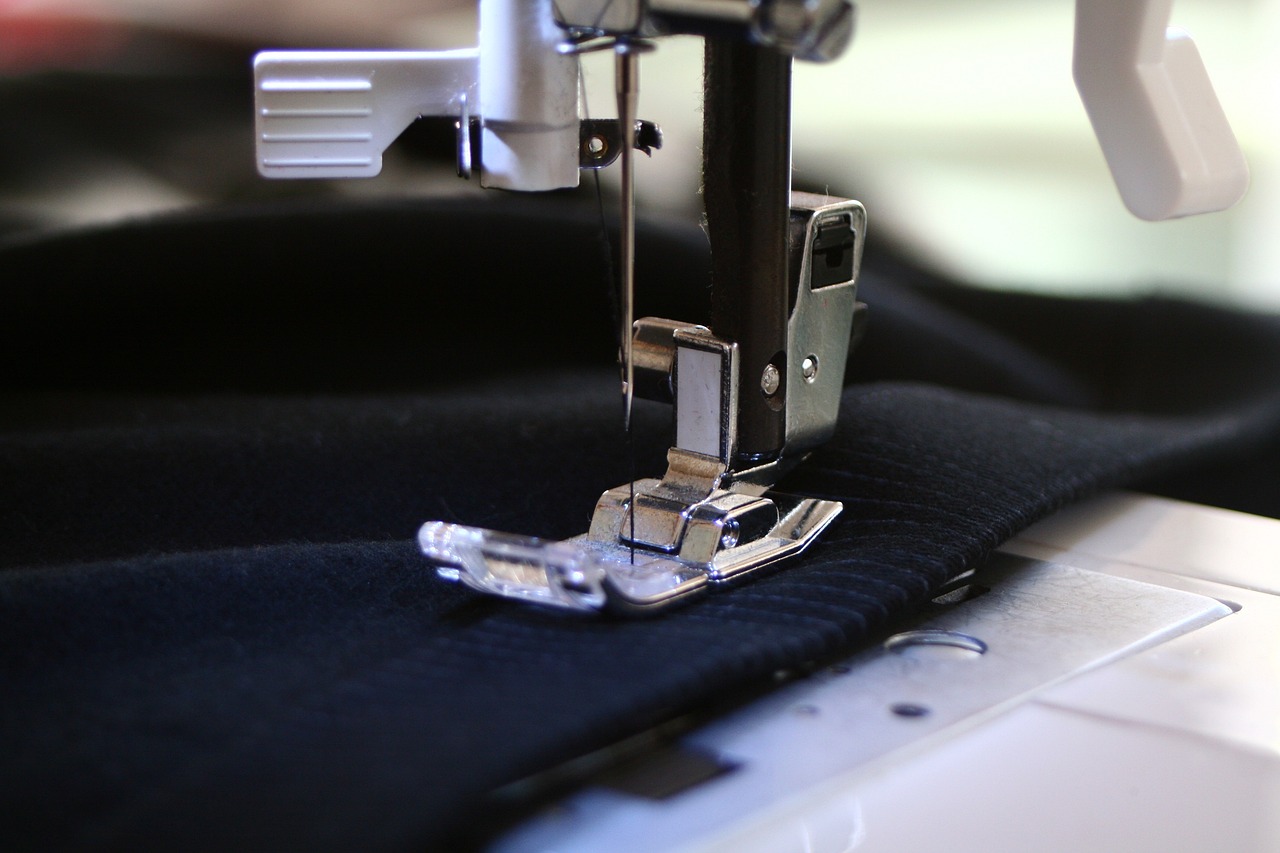
Project 1: Simple Pillowcase
This article explores five simple sewing projects that are perfect for children. These projects are designed to be fun, educational, and help kids develop their creativity and fine motor skills.
Creating a pillowcase is an excellent beginner project for young aspiring seamstresses. Not only does it provide a practical item that kids can use in their own rooms, but it also teaches them essential sewing techniques that will serve as a foundation for future projects. Imagine your child snuggling up with a pillowcase they designed and created themselves! The satisfaction they will feel is immeasurable.
To start, gather the necessary materials. You will need:
- Fabric: Choose a fun, colorful fabric that your child loves. Cotton is a great choice because it’s easy to work with.
- Thread: Pick a thread color that complements the fabric.
- Sewing machine or needle: A sewing machine can speed up the process, but hand sewing is also a great skill to learn.
- Scissors: Sharp fabric scissors are essential for clean edges.
Once you have your materials ready, it’s time to measure and cut the fabric. A standard pillowcase size is about 20 inches by 30 inches, but you can adjust this based on the pillow size. Make sure to add an extra inch on all sides for seam allowances. Kids will learn the importance of measuring accurately, which is a crucial skill in sewing. After cutting the fabric, it's time to sew!
Begin by folding over the edges of the fabric to create a hem. This not only prevents fraying but also gives the pillowcase a polished look. Kids can practice their straight stitching here, which is a fundamental sewing technique. Encourage them to take their time and focus on keeping the stitches even. This is a great opportunity to teach them about patience and precision.
After sewing the hem, it’s time to put the pillowcase together. Place the fabric pieces right sides facing each other and sew down the long sides. Make sure to leave the top open. Once the sides are sewn, turn the pillowcase right side out and give it a good press with an iron. This will help remove any wrinkles and give it a professional finish.
Finally, let your child insert a pillow into their new creation and admire their handiwork! This simple project not only results in a functional item but also instills a sense of accomplishment in kids. They’ll be excited to showcase their personalized pillowcase to family and friends.
Creating a pillowcase is just the beginning of a wonderful journey into sewing. It opens the door to more complex projects as kids gain confidence in their skills. Plus, it’s a fantastic way to bond with your child while teaching them a valuable life skill.
| Question | Answer |
|---|---|
| What age is appropriate for kids to start sewing? | Kids as young as 5 can start with simple projects, but it largely depends on their interest and motor skills. |
| Do I need a sewing machine for these projects? | No, hand sewing is perfectly fine for beginners, especially for simple projects like a pillowcase. |
| Can kids choose any fabric for their pillowcase? | Yes! Let them choose fabrics that reflect their personality, but make sure it’s suitable for sewing. |
Project 2: Fabric Bookmarks
Sewing fabric bookmarks is not just a fun way to introduce kids to the world of sewing; it's also a fantastic opportunity for them to express their creativity. Imagine your child choosing vibrant fabrics, mixing and matching patterns, and creating something that not only serves a purpose but also reflects their unique personality. It’s like giving them a blank canvas, but instead of paint, they get to use colorful fabric! This project is quick and engaging, making it perfect for kids of all ages.
To start, choosing the right materials is crucial. Kids can explore various fabrics, from cotton to felt, and even old clothes that can be repurposed. The beauty of fabric bookmarks is that there are no strict rules! They can opt for bright colors to make their bookmarks pop or soft, muted tones for a more subtle look. This process encourages kids to think about textures and colors, which is a wonderful way to enhance their decision-making skills.
When selecting materials, here are a few tips:
- Fabrics: Cotton is a great choice because it’s easy to work with and comes in endless patterns. Felt is also a fun option as it doesn’t fray.
- Thread: Choose a thread that complements the fabric. This adds a professional touch to their creations.
- Embellishments: Kids can add buttons, ribbons, or even fabric paint to personalize their bookmarks further.
Now, let’s get to the fun part: decorating the bookmarks. Kids can unleash their imagination by adding embellishments. For instance, sewing on a button or using fabric paint to create designs can make their bookmarks truly one-of-a-kind. This not only enhances the visual appeal but also makes the project more engaging. Think of it as decorating a cake; the more creative they get, the more special their bookmarks become!
To make the process easier, providing templates can be incredibly helpful. Templates guide kids in cutting the fabric accurately, ensuring a neat final product. Kids can trace their templates onto the fabric and cut them out, which reinforces their measuring and cutting skills. This step is also important for developing their fine motor skills, as they learn to handle scissors and fabric safely.
Finally, teaching kids how to finish their bookmarks neatly gives them a sense of accomplishment. Simple sewing techniques can be used to complete the edges, such as a straight stitch or a zigzag stitch. This not only prevents fraying but also adds a polished look to their creations. Watching their bookmarks come together will fill them with pride, and they’ll love using their handmade bookmarks during their reading adventures!
| Question | Answer |
|---|---|
| What type of fabric is best for bookmarks? | Cotton and felt are great options because they are easy to work with and durable. |
| Can younger children participate in this project? | Absolutely! With supervision, younger children can help with decorating and choosing fabrics. |
| How long does it take to make a fabric bookmark? | Most kids can complete a bookmark in about 30 minutes to an hour, depending on their skill level. |
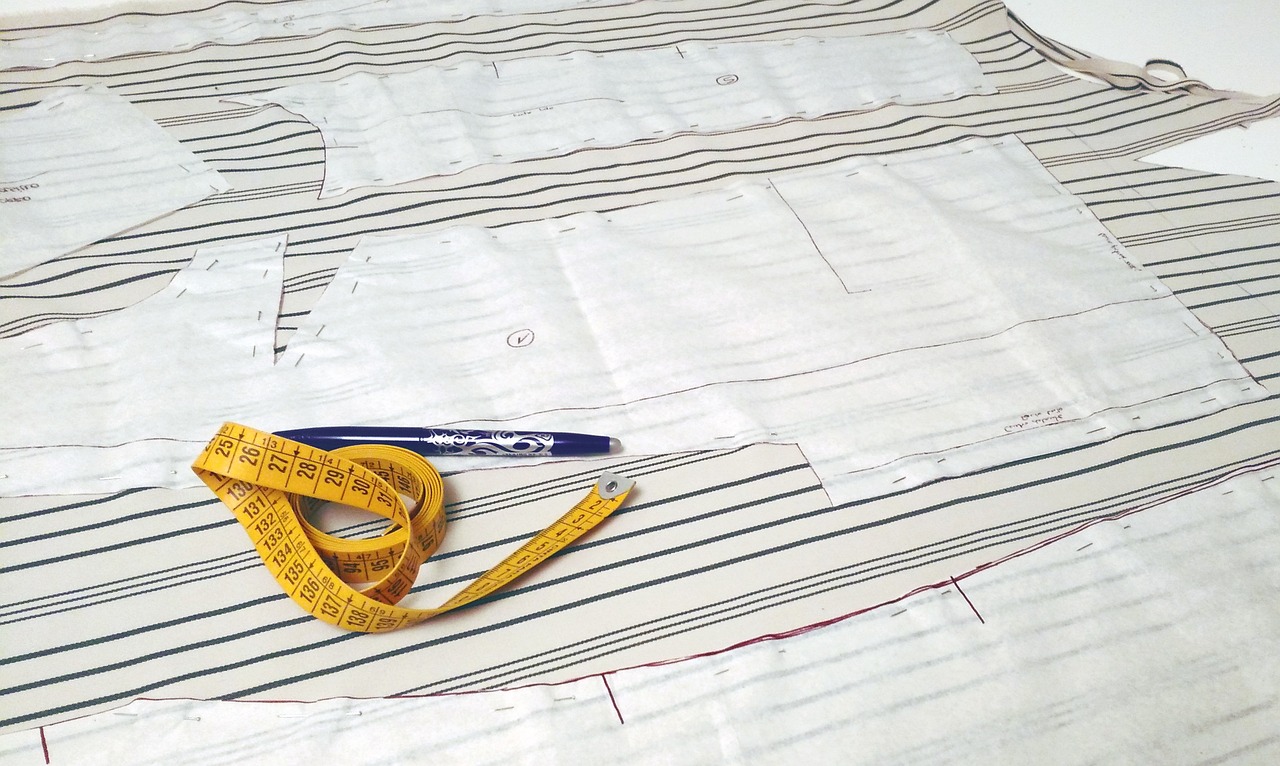
Choosing Materials
This article explores five simple sewing projects that are perfect for children. These projects are designed to be fun, educational, and help kids develop their creativity and fine motor skills.
Creating a pillowcase is an excellent beginner project. Kids will learn basic sewing techniques while making something functional and personal for their space.
Sewing fabric bookmarks is a quick and engaging project. Children can express their creativity by choosing different fabrics and designs, making reading even more enjoyable.
When it comes to sewing fabric bookmarks, selecting the right materials is crucial for ensuring a successful project. Kids can dive into a world of colors and textures, which allows them to create something that truly reflects their personality. It's like choosing the perfect paint colors for a canvas—each choice adds to the overall masterpiece! Here are some key points to consider:
- Fabric Type: Lightweight cotton fabrics are ideal for bookmarks. They are easy to sew and come in a variety of fun prints.
- Thread Color: Using contrasting thread can enhance the design, making the stitches stand out beautifully.
- Embellishments: Consider adding buttons, ribbons, or even fabric paint to give bookmarks a unique flair.
Encouraging kids to explore different fabrics can be a delightful experience. For instance, they might want to use a fabric that features their favorite cartoon character or a vibrant pattern that makes them smile. It’s all about personal expression!
To take their bookmarks to the next level, kids can incorporate various decorative techniques. Adding embellishments like buttons or fabric paint not only personalizes their creation but also enhances their fine motor skills. Imagine a bookmark adorned with a cute button shaped like a star or a heart—what a conversation starter! This part of the project fosters creativity and allows kids to make their bookmarks truly one-of-a-kind.
Providing templates can be incredibly helpful for kids as they design their bookmarks. A template acts as a guide, ensuring that they cut the fabric accurately and maintain consistent sizes. It’s like having a roadmap for a journey; with a clear path, they can focus on the fun part—decorating! Templates can be simple shapes like rectangles or fun, whimsical designs that spark their imagination.
Teaching kids how to finish their bookmarks neatly will give them a sense of accomplishment. Simple sewing techniques can be used to complete the edges, such as a straight stitch or zigzag stitch. This not only secures the fabric but also adds a professional touch to their creation. When they see their finished bookmarks, they’ll feel proud, knowing they made something special with their own hands!
Making a tote bag is a fun project that teaches kids valuable sewing skills. It’s practical and allows them to carry their belongings stylishly.
Kids will learn the importance of measuring and cutting fabric accurately. This step is essential for ensuring their tote bag turns out well.
Sewing handles onto the tote bag is a crucial part of the project. Kids will gain confidence as they learn to attach different components securely.
Sewing a soft toy can be a delightful experience for kids. This project encourages imaginative play and helps develop their sewing skills.
Kids can create their own soft toy designs, fostering creativity. They can choose shapes, colors, and patterns that resonate with their interests.
Learning how to stuff and finish their toys properly is essential. This teaches kids the importance of taking their time for a polished final product.
A decorative wall hanging is a creative project that allows kids to express their artistic side. They can use various fabrics to create a unique piece for their room.
Selecting a theme for the wall hanging can inspire creativity. Kids can explore different colors and patterns that reflect their interests.
Teaching kids how to assemble various fabric pieces will enhance their sewing skills. This project encourages them to experiment with layout and design.
Q: What age is appropriate for these sewing projects?
A: These projects are suitable for children aged 6 and up, with adult supervision for younger kids.
Q: Do I need a sewing machine for these projects?
A: While a sewing machine can speed up the process, many of these projects can also be done by hand sewing.
Q: Where can I find materials for these projects?
A: Local craft stores, fabric shops, or even online retailers offer a wide variety of fabrics and sewing supplies.
Q: Can these projects be modified for different skill levels?
A: Absolutely! You can simplify or add complexity to each project depending on the child's skill level.
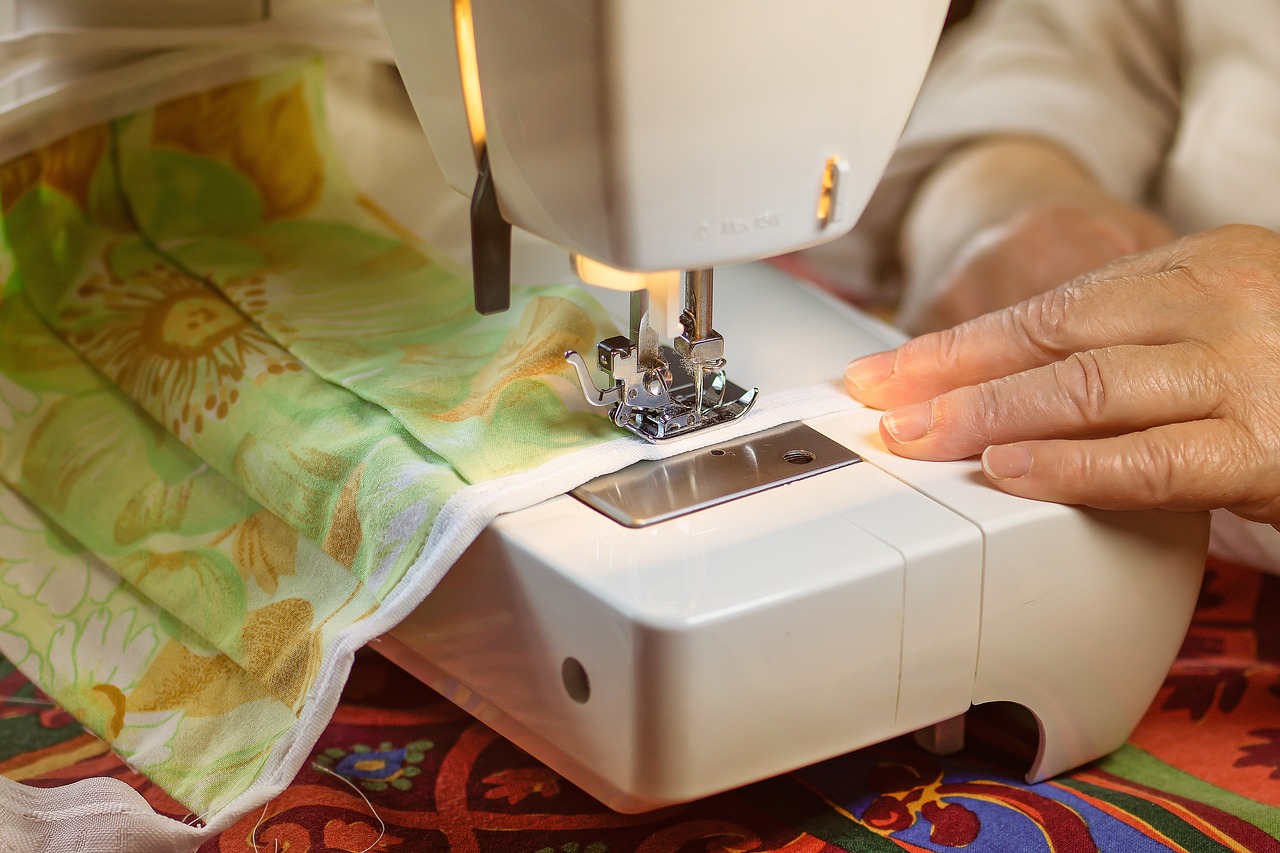
Decorative Techniques
When it comes to sewing fabric bookmarks, adding decorative techniques can transform a simple project into a stunning piece of art. Kids can unleash their creativity by incorporating various embellishments that not only personalize their bookmarks but also make them stand out. For instance, they can use buttons, ribbons, and fabric paint to add flair and personality to their creations. Imagine a bookmark adorned with colorful buttons shaped like flowers or stars—what a delightful way to mark a page!
One fun technique is to use fabric paint to create unique designs. Kids can paint their favorite characters, shapes, or even their initials directly onto the fabric. This not only allows them to express their artistic flair but also gives them a sense of ownership over their creation. Plus, it’s a great way to practice fine motor skills as they learn to control the paintbrush.
Another exciting option is to incorporate stitching techniques like zigzag or decorative stitches around the edges of the bookmarks. This not only adds a professional touch but also enhances the durability of the bookmarks. Kids can experiment with different thread colors to create a stunning contrast against their fabric choices. For example, a bright yellow thread on a blue fabric can create a striking visual effect.
To make the bookmarks even more special, kids can consider using templates for their designs. Providing them with templates can help guide their creativity, ensuring that they can cut and sew accurately. With templates, they can focus on the fun part—decorating! This method reduces frustration and makes the process smoother, allowing kids to see their ideas come to life without the worry of making mistakes.
Finally, it's important to teach kids about finishing techniques. A neatly finished bookmark not only looks professional but also gives a sense of accomplishment. Simple techniques like folding the edges and sewing them down can make a significant difference. When kids see the final product, they'll feel proud of their work, knowing that they put in the effort to make it beautiful.
Q: What age is appropriate for kids to start sewing projects?
A: Generally, children as young as 6 years old can start with simple sewing projects, especially with supervision. As they grow older, they can take on more complex tasks.
Q: Do I need a sewing machine for these projects?
A: While a sewing machine can speed up the process, many of these projects can also be done by hand sewing, making them accessible for younger kids.
Q: How can I keep kids engaged during sewing projects?
A: Encourage them to choose their own fabrics and designs. Making the project personal can keep their interest high and make the experience more enjoyable.
Q: What if my child makes a mistake while sewing?
A: Mistakes are part of the learning process! Encourage them to troubleshoot and find solutions, which can be a valuable lesson in problem-solving.
Using Templates
This article explores five simple sewing projects that are perfect for children. These projects are designed to be fun, educational, and help kids develop their creativity and fine motor skills.
Creating a pillowcase is an excellent beginner project. Kids will learn basic sewing techniques while making something functional and personal for their space.
Sewing fabric bookmarks is a quick and engaging project. Children can express their creativity by choosing different fabrics and designs, making reading even more enjoyable.
Selecting the right fabric and thread is crucial for this project. Kids can experiment with colors and textures to create unique bookmarks that reflect their personalities.
Kids can add embellishments like buttons or fabric paint to personalize their bookmarks further. This encourages creativity and allows them to make their bookmarks truly one-of-a-kind.
Using templates can significantly streamline the process of creating fabric bookmarks. When kids have a clear guide to follow, it not only simplifies the cutting process but also boosts their confidence in sewing. Templates can be made from sturdy paper or cardboard, and they can be designed in various shapes, such as rectangles, stars, or even fun animal figures. This variety allows children to choose a template that resonates with their interests.
To create a template, simply draw the desired shape on paper, then cut it out. Kids can then place the template on their chosen fabric and trace around it with a fabric marker or chalk. This method ensures that each bookmark is cut accurately, leading to a neat and polished final product. Moreover, using templates encourages kids to develop their planning skills, as they will need to decide on the size and shape before they start cutting.
Additionally, templates can be reused multiple times, making them a practical tool for future projects. Kids can even personalize their templates by adding their own designs or patterns, further enhancing their creative expression. This approach not only makes the sewing experience more enjoyable but also instills a sense of ownership over their creations. So, whether they want a simple rectangular bookmark or a whimsical design, templates are a fantastic way to make the process fun and educational!
Teaching kids how to finish their bookmarks neatly will give them a sense of accomplishment. Simple sewing techniques can be used to complete the edges.
Making a tote bag is a fun project that teaches kids valuable sewing skills. It’s practical and allows them to carry their belongings stylishly.
Kids will learn the importance of measuring and cutting fabric accurately. This step is essential for ensuring their tote bag turns out well.
Sewing handles onto the tote bag is a crucial part of the project. Kids will gain confidence as they learn to attach different components securely.
Sewing a soft toy can be a delightful experience for kids. This project encourages imaginative play and helps develop their sewing skills.
Kids can create their own soft toy designs, fostering creativity. They can choose shapes, colors, and patterns that resonate with their interests.
Learning how to stuff and finish their toys properly is essential. This teaches kids the importance of taking their time for a polished final product.
A decorative wall hanging is a creative project that allows kids to express their artistic side. They can use various fabrics to create a unique piece for their room.
Selecting a theme for the wall hanging can inspire creativity. Kids can explore different colors and patterns that reflect their interests.
Teaching kids how to assemble various fabric pieces will enhance their sewing skills. This project encourages them to experiment with layout and design.
- What age is appropriate for these sewing projects? Most of these projects are suitable for children aged 7 and up, depending on their skill level.
- Do I need special tools to start sewing? Basic sewing supplies like fabric, thread, scissors, and a sewing machine are sufficient to get started.
- Can these projects be done by beginners? Absolutely! Each project is designed to introduce new skills in a fun and engaging way.
- How long will each project take? The time varies, but most projects can be completed in 1-3 hours.
Finishing Touches
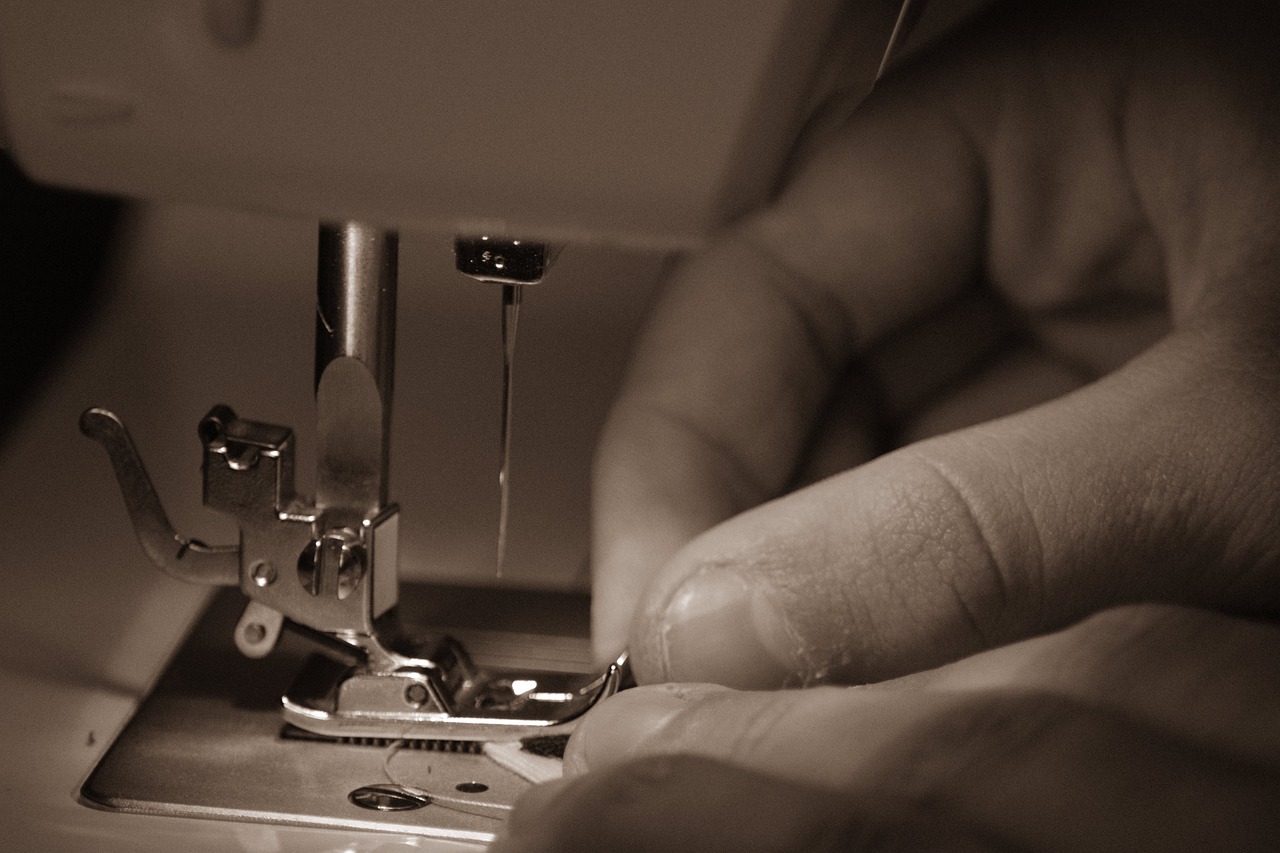
When it comes to sewing projects, the are what truly bring everything together. Imagine spending hours crafting something beautiful only to leave it looking unfinished; that would be like baking a cake and forgetting the frosting! So, let’s dive into how kids can learn to complete their bookmarks with finesse.
First off, it's essential to teach kids the importance of neat edges. A well-finished bookmark not only looks professional but also enhances its durability. Kids can use a simple straight stitch or a zigzag stitch to secure the edges of their bookmarks. This not only prevents fraying but adds a decorative element as well. Encourage them to practice on scrap fabric before moving on to their actual bookmarks; this way, they can gain confidence in their stitching skills.
Another fun aspect of finishing touches is the use of decorative stitching. Kids can experiment with different stitch patterns to add a personal flair to their bookmarks. For instance, using a contrasting thread color can create a striking effect that makes their bookmarks pop! They might even enjoy creating a small border around the edges or incorporating a simple design in the center. The goal here is to let their imagination run wild while learning essential sewing techniques.
Lastly, remind the kids to iron their finished bookmarks. A quick press with an iron can make a world of difference, smoothing out any wrinkles and giving their creation a polished look. It’s like putting on a fresh outfit before heading out; it just feels right! Not to mention, this step teaches them the importance of presentation, which is a valuable life skill.
In conclusion, the finishing touches are not just an afterthought; they are the cherry on top of a well-executed sewing project. By focusing on neat edges, exploring decorative stitching, and ironing their finished products, kids will not only enhance their sewing skills but also develop a sense of pride in their work. So, let them take their time and enjoy the process, because every stitch counts!
- What age is appropriate for kids to start sewing?
Generally, children as young as 6 can start with simple projects under supervision. It's all about finding the right project for their skill level. - What materials do I need for these projects?
Basic sewing supplies include fabric, thread, scissors, pins, and a sewing machine or needle. You can find beginner kits that have everything you need! - How can I encourage my child to be more creative with their sewing?
Let them choose their fabrics, patterns, and designs. Encourage them to think outside the box and personalize their projects! - Are there any safety tips I should keep in mind?
Yes! Always supervise kids while they are sewing, especially when using sharp tools like scissors or sewing machines. Teach them to keep their fingers away from the needle and to handle tools carefully.
Project 3: Tote Bag
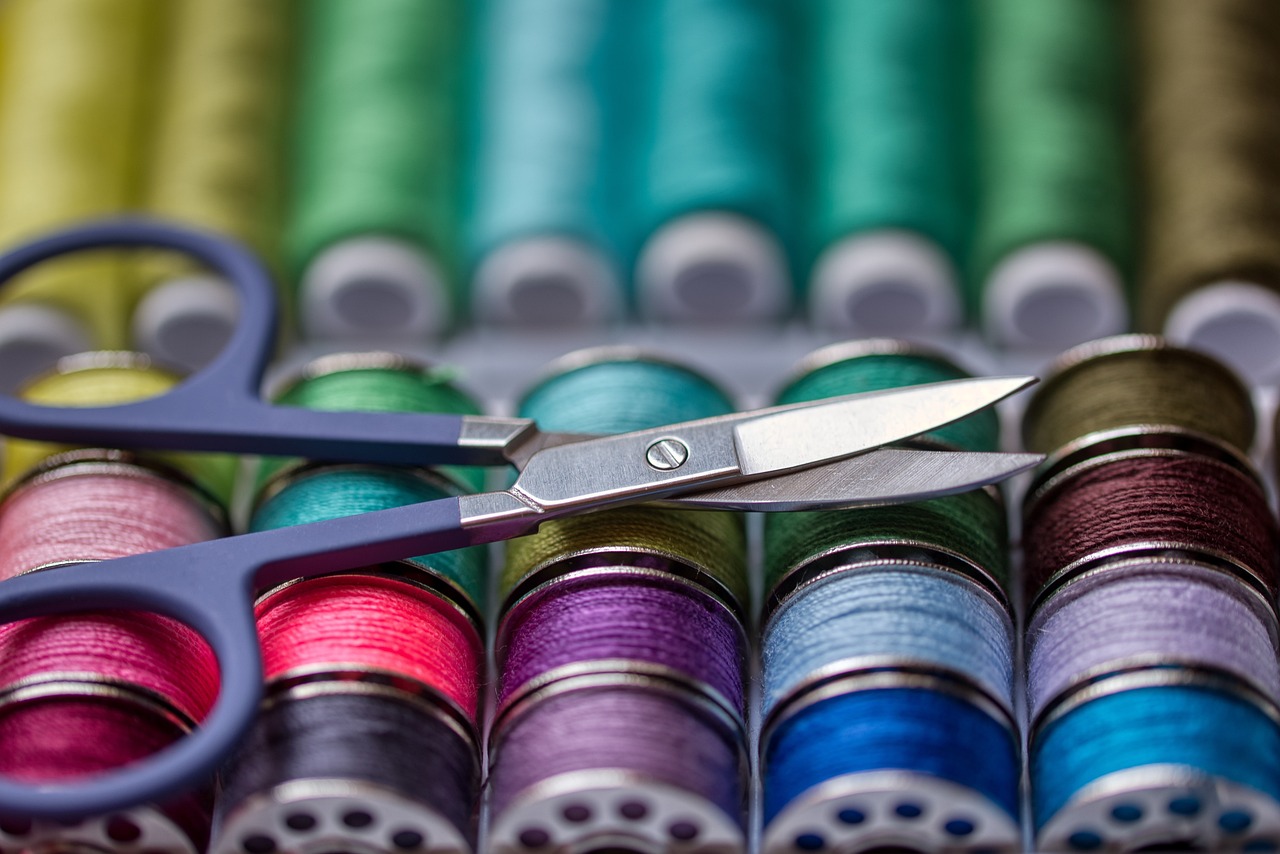
Making a tote bag is not just a fun project; it's a fantastic way for kids to learn valuable sewing skills that they can use for years to come. Imagine your child proudly strutting around with a bag they've crafted themselves! This project is practical, stylish, and allows them to carry their belongings in a way that showcases their creativity. The tote bag serves as a blank canvas, ready for them to express their personality through fabric choices and designs.
Before diving into the sewing, it's essential to understand the steps involved. First up is the measuring and cutting of fabric. This step is crucial because accurate measurements ensure that the tote bag fits perfectly and looks professional. Kids will learn to use measuring tapes and rulers, which can be an exciting challenge. They can choose from vibrant fabrics or even upcycle old clothes, making this project both eco-friendly and creative. With the right guidance, they can cut the fabric into the right dimensions, typically a rectangle for the bag body and two strips for the handles. Here’s a quick reference table for the basic measurements:
| Bag Size | Dimensions (inches) |
|---|---|
| Small Tote | 12 x 14 |
| Medium Tote | 14 x 16 |
| Large Tote | 16 x 18 |
Once the fabric is cut, the next step is to add the handles. This part is crucial as it gives the tote bag its functionality. Kids will gain confidence as they learn to attach the handles securely, ensuring that their bag can carry books, toys, or whatever treasures they choose to fill it with. They can choose to sew the handles directly onto the bag or create a more decorative look by adding a pocket, which is another great way to practice sewing skills.
As they sew, encourage them to be creative! They can stitch on patches, use contrasting thread colors, or even add some fabric paint designs. This not only enhances their sewing skills but also allows them to personalize their tote bags. Imagine how proud they will feel carrying a bag that’s uniquely theirs!
Finally, remind them that the finishing touches are what really make the project shine. A neat hem and secure stitching will elevate the overall look of the tote bag. Plus, teaching them how to finish their work neatly will instill a sense of accomplishment and pride in their creation. In the end, they won’t just have a tote bag; they’ll have a story to tell about how they made it!
- What type of fabric is best for a tote bag? Cotton fabric is a great choice because it's durable and easy to work with.
- Can younger kids participate in this project? Absolutely! With adult supervision, younger kids can help with cutting and decorating.
- How long does it take to make a tote bag? Depending on skill level, it can take anywhere from 1 to 3 hours.
Measuring and Cutting Fabric
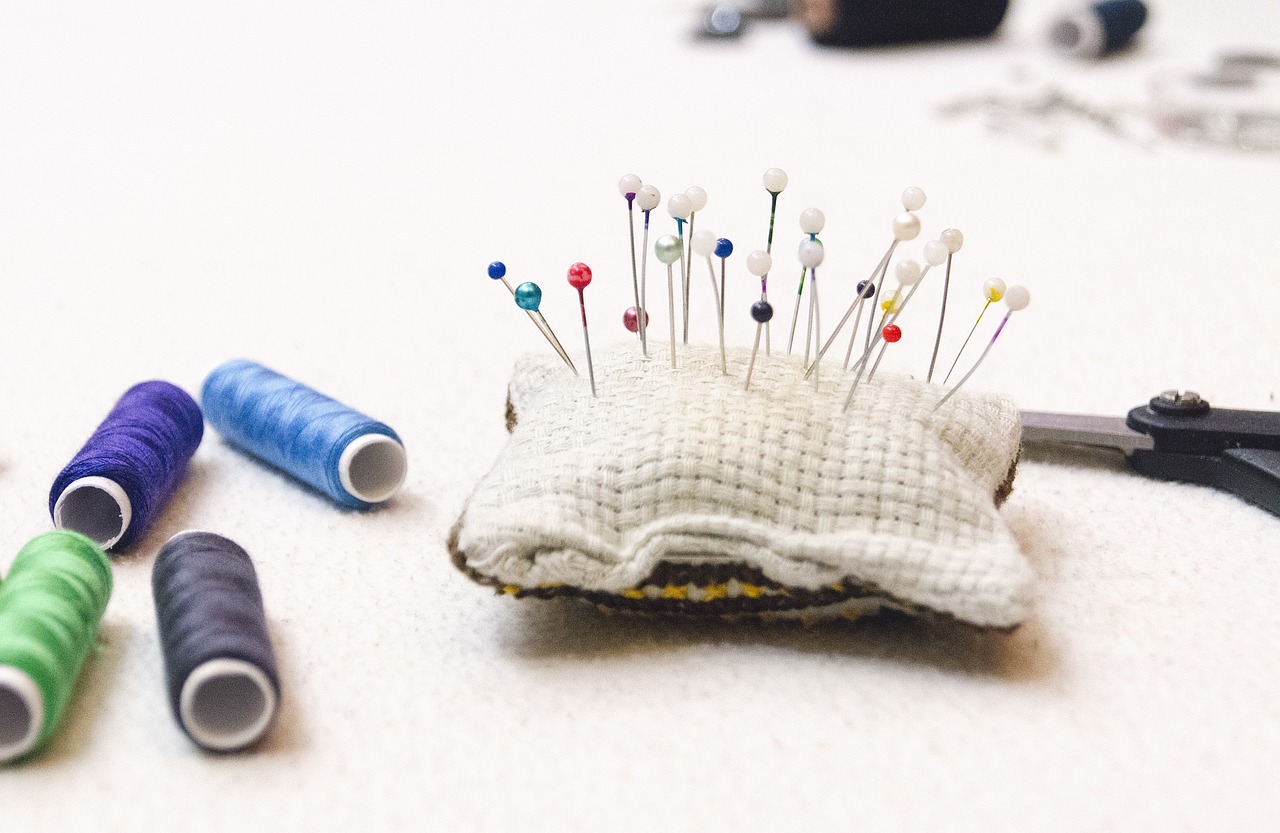
Measuring and cutting fabric is a fundamental skill that every young sewer should master. It's like the foundation of a house; without a solid base, everything else can fall apart. When kids embark on their tote bag project, they will discover that accurate measurements are crucial for ensuring that their creation turns out just right. They need to understand that fabric can behave differently depending on its type, and some materials may stretch or shift during the cutting process. This is where a little patience and practice come into play!
First, let's talk about measuring. Kids should start by using a measuring tape or a ruler to determine the dimensions they want for their tote bag. A simple rule of thumb is to measure twice and cut once—this prevents any costly mistakes! For a standard tote bag, a good size might be around 14 inches wide by 16 inches tall. However, the beauty of sewing is that they can customize these dimensions based on their preferences.
Once the measurements are taken, it's time for cutting. Here’s a tip: always lay the fabric flat on a sturdy surface and smooth out any wrinkles. Kids can use fabric scissors, which are sharper than regular scissors, to ensure clean edges. When cutting, they should follow these steps:
- Pin the fabric pieces together to prevent slipping.
- Use a rotary cutter for straight edges if available, as it can make the job easier.
- Cut slowly and carefully, following the lines they’ve drawn or measured.
By engaging in this process, children not only learn about precision but also develop a sense of ownership over their project. They’ll feel a rush of excitement as they see their fabric transform into a beautiful bag. It's this hands-on experience that builds their confidence and encourages them to tackle more complex sewing projects in the future.
Q: What if I make a mistake while measuring?
A: Mistakes happen! Just remember to measure again and adjust your fabric accordingly. It’s all part of the learning process.
Q: How can I ensure my cuts are straight?
A: Using a ruler or a cutting mat with grid lines can help guide your cuts. Practice makes perfect!
Q: What type of fabric is best for beginners?
A: Cotton fabric is a great choice for beginners because it’s easy to work with and comes in a variety of fun patterns.
Q: Can I use regular scissors instead of fabric scissors?
A: While you can use regular scissors, fabric scissors are designed to cut fabric more cleanly, which helps avoid frayed edges.
Adding Handles
This article explores five simple sewing projects that are perfect for children. These projects are designed to be fun, educational, and help kids develop their creativity and fine motor skills.
Creating a pillowcase is an excellent beginner project. Kids will learn basic sewing techniques while making something functional and personal for their space.
Sewing fabric bookmarks is a quick and engaging project. Children can express their creativity by choosing different fabrics and designs, making reading even more enjoyable.
Selecting the right fabric and thread is crucial for this project. Kids can experiment with colors and textures to create unique bookmarks that reflect their personalities.
Kids can add embellishments like buttons or fabric paint to personalize their bookmarks further. This encourages creativity and allows them to make their bookmarks truly one-of-a-kind.
Providing templates can help kids design their bookmarks easily. Templates guide them in cutting fabric accurately, ensuring a neat final product.
Teaching kids how to finish their bookmarks neatly will give them a sense of accomplishment. Simple sewing techniques can be used to complete the edges.
Making a tote bag is a fun project that teaches kids valuable sewing skills. It’s practical and allows them to carry their belongings stylishly.
Kids will learn the importance of measuring and cutting fabric accurately. This step is essential for ensuring their tote bag turns out well.
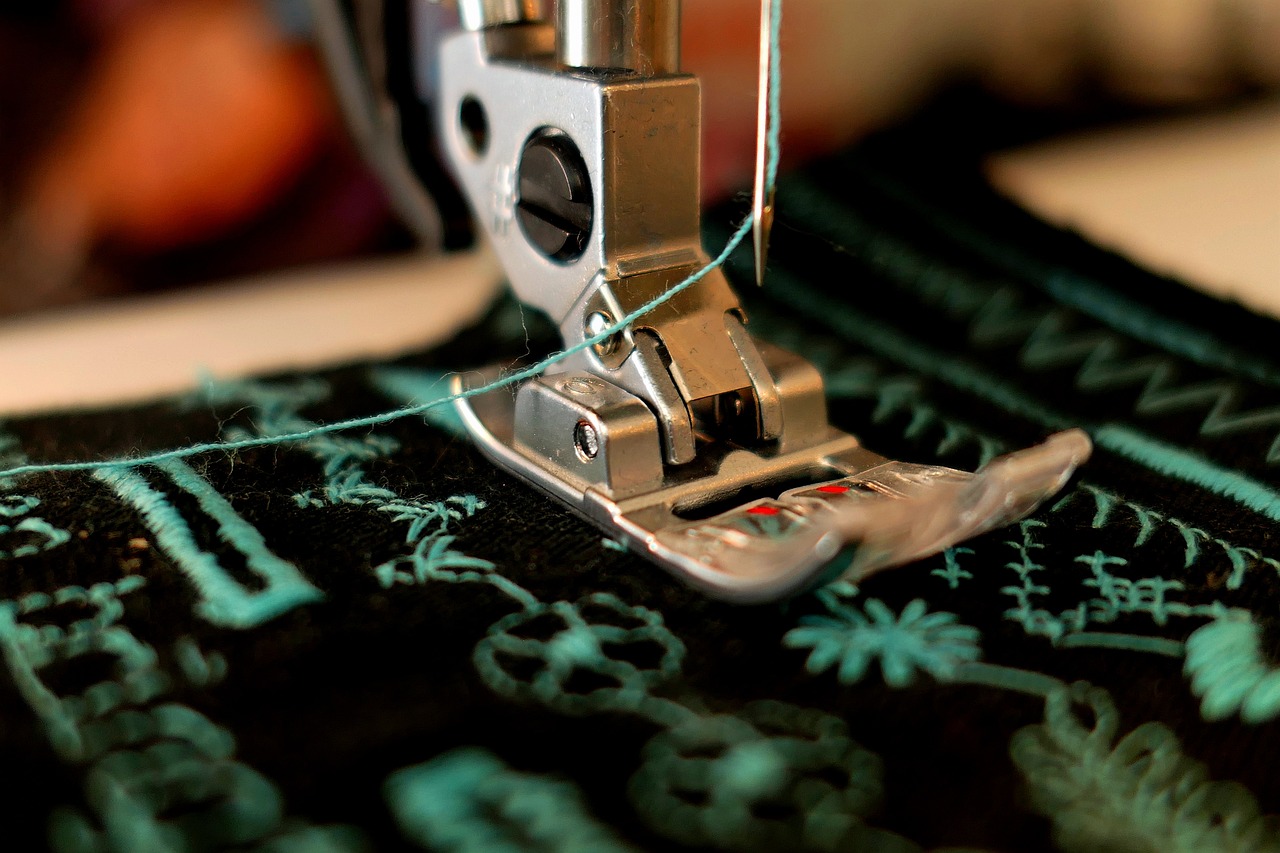
Adding handles to a tote bag is not just about functionality; it’s also a great way for kids to gain confidence in their sewing abilities. When selecting handles, children can choose from a variety of materials, such as cotton webbing, fabric strips, or even recycled materials like old belts. Each option offers a unique look and feel, allowing kids to express their style.
To attach the handles, kids should start by measuring the desired length and cutting the fabric accordingly. A good rule of thumb is to make the handles about 24 inches long, but this can vary based on personal preference. Once they have their fabric cut, they will fold the edges inward to create a clean finish before sewing them onto the bag. This not only reinforces the handles but also gives a polished look to the finished product.
Here’s a simple step-by-step guide to adding handles:
- Measure: Decide how long you want your handles to be.
- Cut: Cut the fabric or material to the desired length.
- Fold: Fold the fabric edges inwards for a neat finish.
- Sew: Attach the handles securely to the tote bag.
By completing this step, kids will feel a sense of pride in their work, knowing they’ve created something functional. Plus, they’ll have a stylish tote bag to show off to their friends!
Sewing a soft toy can be a delightful experience for kids. This project encourages imaginative play and helps develop their sewing skills.
Kids can create their own soft toy designs, fostering creativity. They can choose shapes, colors, and patterns that resonate with their interests.
Learning how to stuff and finish their toys properly is essential. This teaches kids the importance of taking their time for a polished final product.
A decorative wall hanging is a creative project that allows kids to express their artistic side. They can use various fabrics to create a unique piece for their room.
Selecting a theme for the wall hanging can inspire creativity. Kids can explore different colors and patterns that reflect their interests.
Teaching kids how to assemble various fabric pieces will enhance their sewing skills. This project encourages them to experiment with layout and design.
Q: What age is appropriate for kids to start sewing?
A: Kids as young as 6 can start with simple projects, but supervision and guidance are essential.
Q: Do I need a sewing machine for these projects?
A: While a sewing machine can speed up the process, many projects can be done by hand, making it accessible for all skill levels.
Q: How can I make sewing more fun for my child?
A: Incorporating themes, colors, and designs that interest your child can make sewing more enjoyable. Also, sewing together can create bonding moments!

Project 4: Simple Soft Toy
Sewing a soft toy can be a delightful experience for kids, sparking their imagination and creativity. This project not only allows children to create something they can cherish but also helps them develop their sewing skills in a fun and engaging way. Imagine the joy on their faces when they see their very own creation come to life! It's like bringing a piece of their imagination into the real world.
To start, kids can let their creativity run wild by designing their own soft toy. This is an opportunity for them to choose shapes, colors, and patterns that resonate with their interests. Whether it's a cuddly bear, a quirky monster, or a whimsical creature, the possibilities are endless! They can even sketch out their ideas on paper before diving into the sewing process, making it a thoughtful and personalized project.
Once they have a design in mind, the next step is to select the materials. Soft, colorful fabrics like fleece or cotton work wonderfully for this project. It's important to choose fabrics that not only look good but also feel good to touch. Kids can explore different textures, such as velvety or fluffy fabrics, to make their soft toys even more appealing. They might also want to consider using recycled materials for stuffing, like old fabric scraps or pillow stuffing, which adds an eco-friendly twist to their creation.
After gathering materials, the real fun begins! Kids will learn how to sew the pieces together, which is a crucial part of the process. They can use simple stitches like the running stitch or even experiment with a sewing machine if they feel adventurous. This hands-on experience is not just about sewing; it's about learning patience and the importance of precision. As they stitch the pieces together, they'll see their toy start to take shape, which is incredibly rewarding.
Once the basic structure is complete, it’s time for the stuffing! Kids will learn how to stuff their toys properly, ensuring they are soft and cuddly. This step is essential, as it teaches them the importance of taking their time to achieve a polished final product. They can also add little details like embroidered eyes or stitched smiles, giving personality to their creations. It's amazing how a few simple stitches can breathe life into a soft toy!
Finally, once the toy is stuffed and all the seams are neatly sewn, kids can take a step back and admire their handiwork. They might even want to name their new friend, further enhancing the emotional connection to their creation. This project not only teaches valuable sewing skills but also fosters a sense of accomplishment and pride. After all, who wouldn’t feel proud of a toy that they made with their own hands?
In summary, sewing a simple soft toy is a fantastic project for kids. It combines creativity, skill-building, and a whole lot of fun. So gather those materials, unleash your imagination, and let the sewing adventure begin!
Q: What age is appropriate for kids to start sewing soft toys?
A: Kids as young as 6 can start with simple projects, but it's essential to supervise them, especially when using needles or sewing machines.
Q: What materials do I need for making a soft toy?
A: You'll need fabric (like fleece or cotton), stuffing (like polyester fiberfill or recycled fabric scraps), and basic sewing supplies such as needles, thread, and scissors.
Q: Can I use a sewing machine for this project?
A: Yes! Using a sewing machine can make the process quicker and easier, but children should be supervised and taught how to use it safely.
Q: How can I help my child design their soft toy?
A: Encourage them to draw their ideas on paper, think about their favorite animals or characters, and choose colors and patterns that they love.
Designing the Toy
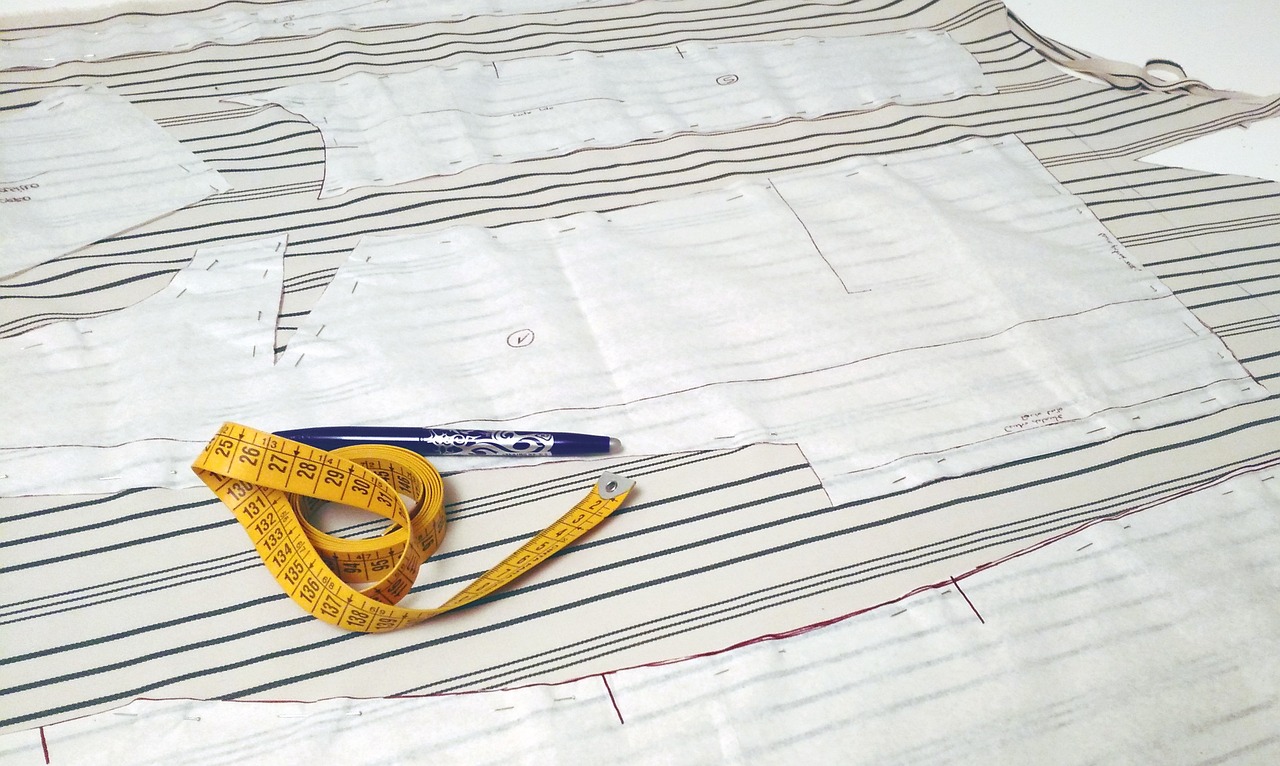
Designing a soft toy is where the magic truly begins! Imagine the joy on a child's face as they bring their own creation to life. This project not only boosts their creativity but also allows them to express their unique personality. When kids sit down to design their soft toy, they can let their imagination run wild! They might choose to create a cuddly animal, a whimsical creature, or even a character from their favorite story. The possibilities are endless!
To kick off the designing process, encourage kids to think about the following aspects:
- Shape: Will it be round, square, or perhaps a funny shape that doesn’t exist in the real world?
- Color: What colors represent their personality? Bright and bold or soft and pastel?
- Features: What kind of eyes, nose, and mouth will it have? Should it have wings or maybe even a tail?
Once they have a vision, it's helpful for kids to sketch their ideas on paper. This step can be incredibly rewarding as they see their thoughts taking form. A simple sketch can serve as a guide throughout the sewing process, ensuring they stay true to their original idea. Plus, it’s a great way to practice their drawing skills!
After sketching, kids can choose their fabrics. Here’s where the fun really begins! They can mix and match different textures, patterns, and colors to create a toy that is not only visually appealing but also feels great to touch. For instance, they might select a soft fleece for the body, shiny fabric for the eyes, and colorful cotton for the ears. This variety can make their toy truly stand out!
Lastly, remind them that there are no rules in creativity. If they want to add extra embellishments like ribbons, buttons, or even fabric paint, they should go for it! The more personal touches they add, the more special their toy will become. Ultimately, designing a soft toy is about having fun and letting their creativity shine through. So, grab those fabrics and let the sewing adventure begin!
Q: What age is appropriate for kids to start sewing their own toys?
A: Generally, children aged 6 and up can begin sewing simple projects with supervision. It’s essential to consider their maturity level and interest in the craft.
Q: Do I need special tools for kids to start sewing?
A: Basic tools like safety scissors, a needle, and thread are sufficient. You can also use fabric glue for younger kids who may not be ready to sew.
Q: How can I encourage my child if they become frustrated while sewing?
A: Remind them that mistakes are part of the learning process. Offer support and encouragement, and suggest taking breaks when needed to keep the experience enjoyable.
Stuffing and Finishing
This article explores five simple sewing projects that are perfect for children. These projects are designed to be fun, educational, and help kids develop their creativity and fine motor skills.
Creating a pillowcase is an excellent beginner project. Kids will learn basic sewing techniques while making something functional and personal for their space.
Sewing fabric bookmarks is a quick and engaging project. Children can express their creativity by choosing different fabrics and designs, making reading even more enjoyable.
Selecting the right fabric and thread is crucial for this project. Kids can experiment with colors and textures to create unique bookmarks that reflect their personalities.
Kids can add embellishments like buttons or fabric paint to personalize their bookmarks further. This encourages creativity and allows them to make their bookmarks truly one-of-a-kind.
Providing templates can help kids design their bookmarks easily. Templates guide them in cutting fabric accurately, ensuring a neat final product.
Teaching kids how to finish their bookmarks neatly will give them a sense of accomplishment. Simple sewing techniques can be used to complete the edges.
Making a tote bag is a fun project that teaches kids valuable sewing skills. It’s practical and allows them to carry their belongings stylishly.
Kids will learn the importance of measuring and cutting fabric accurately. This step is essential for ensuring their tote bag turns out well.
Sewing handles onto the tote bag is a crucial part of the project. Kids will gain confidence as they learn to attach different components securely.
Sewing a soft toy can be a delightful experience for kids. This project encourages imaginative play and helps develop their sewing skills.
Kids can create their own soft toy designs, fostering creativity. They can choose shapes, colors, and patterns that resonate with their interests.
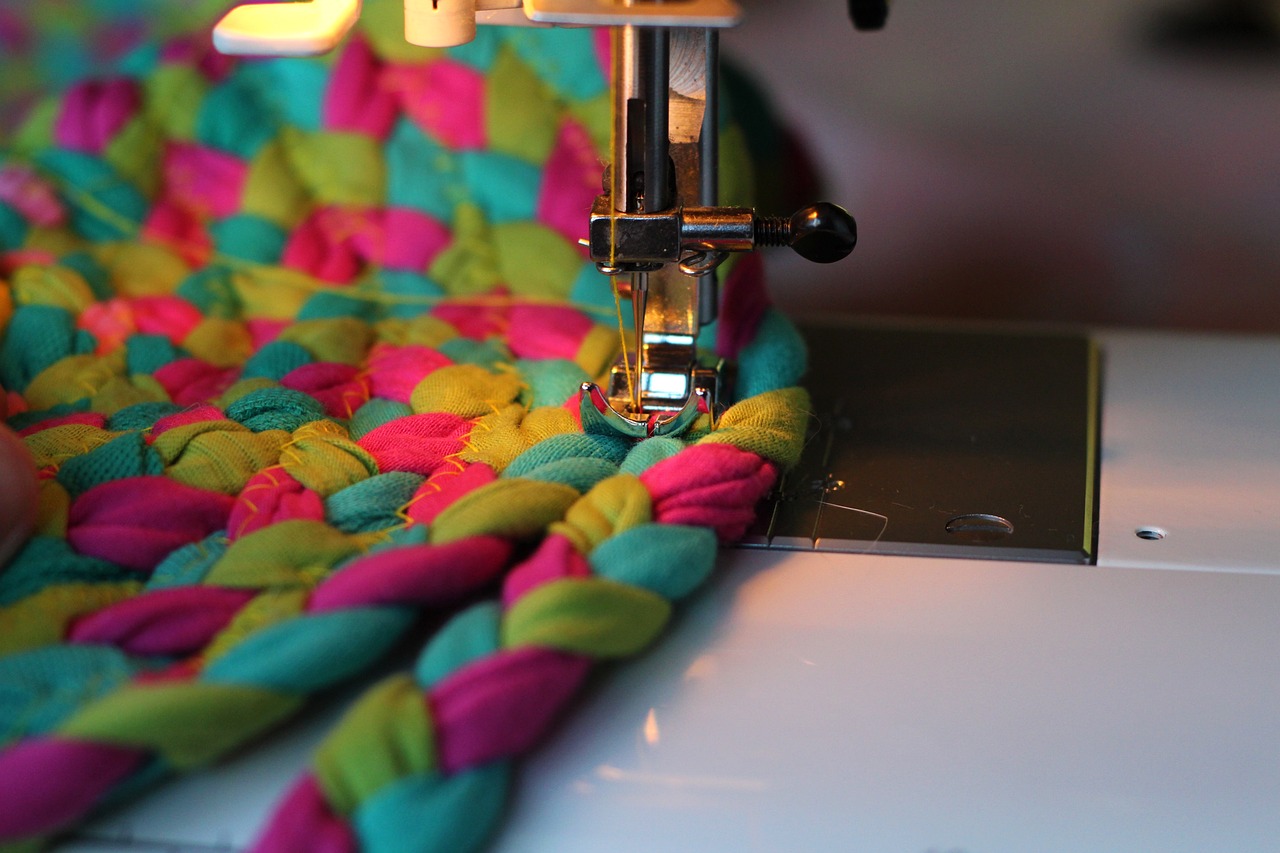
Learning how to stuff and finish their toys properly is essential. This teaches kids the importance of taking their time for a polished final product. When it comes to stuffing, kids can use a variety of materials such as polyester fiberfill, cotton, or even scraps of fabric. Each material has its own texture and feel, which can make the soft toy uniquely satisfying to hold.
Here are some key steps to keep in mind during the stuffing process:
- Even Distribution: Encourage kids to distribute the stuffing evenly throughout the toy. This helps maintain its shape and ensures it feels nice and cuddly.
- Not Overstuffed: Remind them not to overstuff the toy. A little give is important for a soft and huggable finish.
- Secure Closure: Once the toy is stuffed to their liking, they should sew the opening closed securely. This step is crucial to prevent the stuffing from spilling out.
Finishing touches can include giving the toy a final fluff and ensuring all seams are neat and tidy. This attention to detail not only enhances the toy's appearance but also instills a sense of pride in the young creators. After all, a well-finished toy is not just a project; it's a cherished companion that they can play with and show off!
A decorative wall hanging is a creative project that allows kids to express their artistic side. They can use various fabrics to create a unique piece for their room.
Selecting a theme for the wall hanging can inspire creativity. Kids can explore different colors and patterns that reflect their interests.
Teaching kids how to assemble various fabric pieces will enhance their sewing skills. This project encourages them to experiment with layout and design.
Q: What age is appropriate for kids to start sewing?
A: Generally, kids can start learning basic sewing skills around age 5 or 6 with supervision. Projects can be adjusted based on their skill level.
Q: What materials do I need to start sewing with kids?
A: Basic materials include fabric, thread, a sewing needle, scissors, and pins. For beginners, a sewing machine can be helpful, but hand sewing is also a great way to start.
Q: How can I make sewing more engaging for kids?
A: Incorporate fun themes or characters into projects, allow them to choose their fabrics, and celebrate their finished creations to keep their interest alive.
Project 5: Decorative Wall Hanging
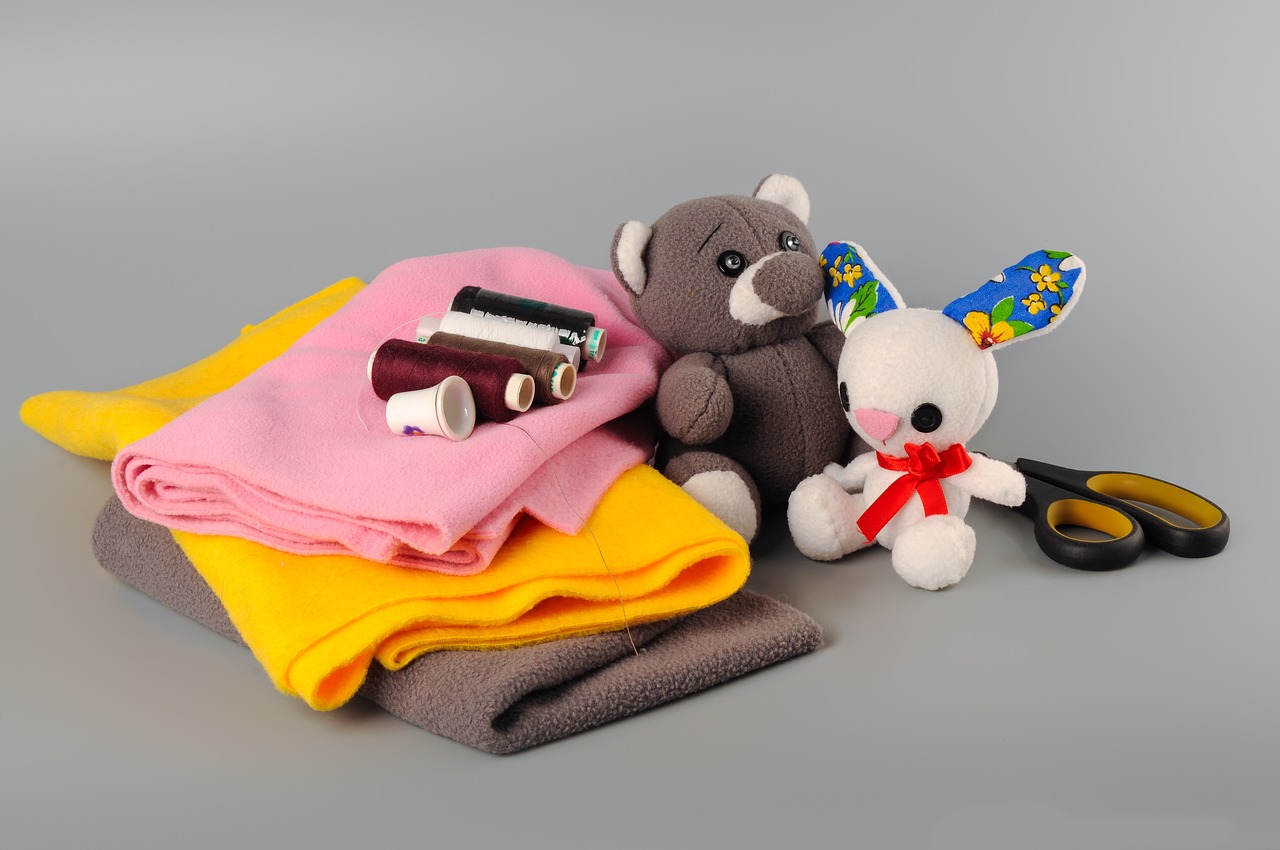
Creating a decorative wall hanging is not just a sewing project; it's an opportunity for kids to unleash their inner artists! This project allows children to explore their creativity while learning essential sewing skills. Imagine transforming a plain wall into a vibrant canvas that reflects their personality and interests! With various fabrics, colors, and patterns at their disposal, the possibilities are endless. Not only will they produce a beautiful piece of art, but they'll also gain a sense of pride and accomplishment as they showcase their work.
When starting this project, the first step is to choose a theme. This theme can be anything from nature, animals, or even their favorite colors. By selecting a theme, kids can channel their creativity into a cohesive design. For instance, if they choose a nature theme, they might opt for greens, browns, and floral patterns. This exploration encourages them to think critically about what they want to create and how to express it visually.
Next comes the fun part: assembling the wall hanging. Kids can cut various fabric pieces into different shapes and sizes, arranging them in a way that pleases their eye. This step is crucial as it allows them to experiment with layout and design. They might decide to create a large sun in the center with rays extending outward or perhaps a collection of stars scattered across the fabric. The key is to encourage them to play around with their designs, reminding them that there are no wrong choices in art!
To make the wall hanging even more unique, kids can incorporate additional elements such as beads, sequins, or even ribbons. Adding these embellishments can elevate their project from simple to stunning. For example, a few beads sewn onto the edges can create a beautiful border, while ribbons can add texture and movement to the piece. This not only enhances the visual appeal but also teaches them about layering and combining different materials.
Finally, once the assembly is complete, kids will need to finish their wall hanging. This could involve sewing the edges to prevent fraying or adding a backing to give it a more polished look. Teaching them these finishing techniques instills a sense of professionalism in their work. Plus, it’s a satisfying way to wrap up the project, knowing that they've created something truly special. Once hung up on the wall, their creation will serve as a daily reminder of their hard work and creativity.
- What materials do I need for a decorative wall hanging?
You'll need fabric, thread, scissors, a sewing machine (or needle for hand sewing), embellishments like beads or ribbons, and a backing material if desired. - How can I help my child choose a theme?
Encourage them to think about their favorite things, such as animals, colors, or hobbies. A fun brainstorming session can help spark ideas! - Are there any safety tips for kids using sewing tools?
Always supervise children when using scissors or sewing machines. Teaching them proper handling techniques is essential for their safety. - Can I display the wall hanging outdoors?
It’s best to use weather-resistant materials if you plan to hang it outside. Otherwise, keep it indoors to preserve its beauty.
Choosing a Theme
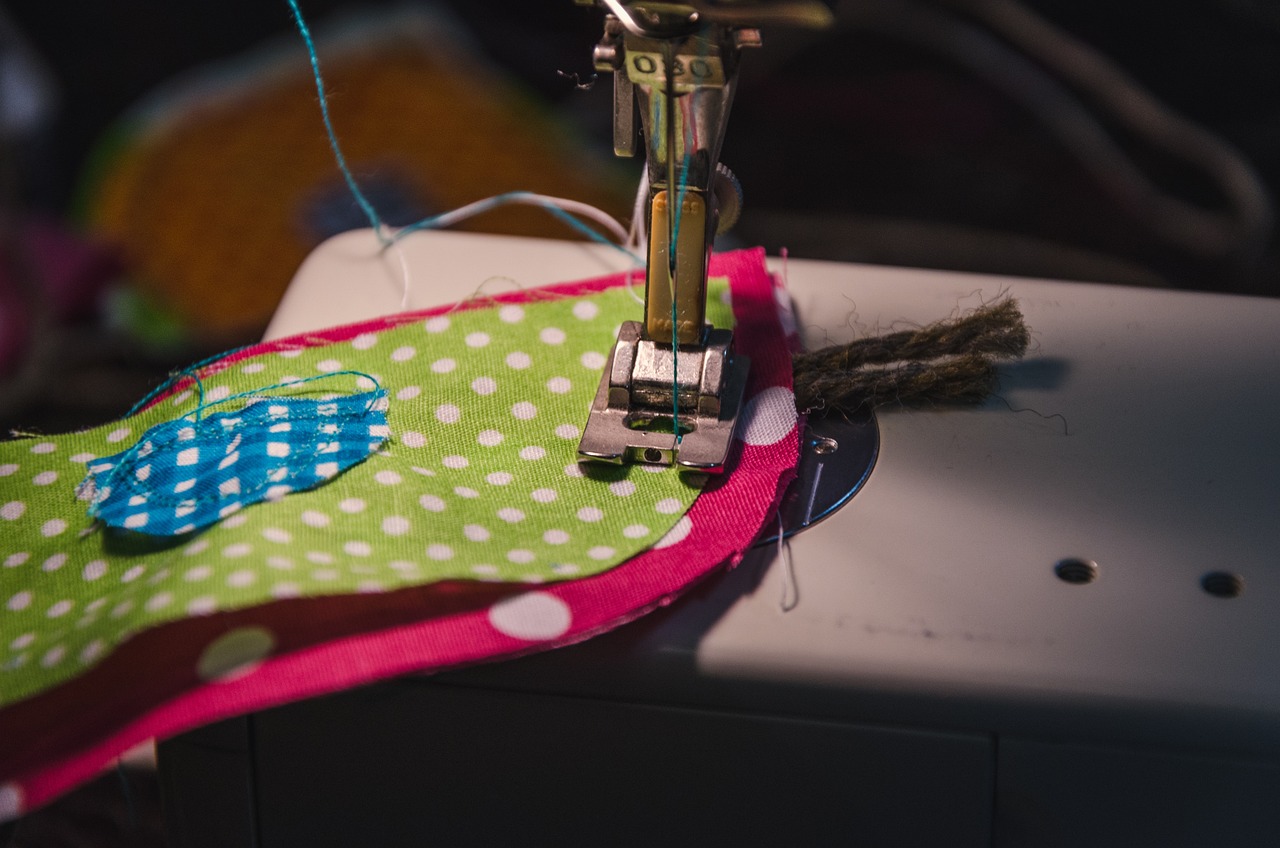
When it comes to creating a decorative wall hanging, is one of the most exciting parts of the project! It’s like setting the stage for a grand performance where your creativity can truly shine. Kids can let their imaginations run wild, exploring different themes that resonate with their interests and personalities. For instance, they might opt for a nature theme, featuring vibrant colors and patterns inspired by flowers, trees, and animals. Alternatively, a space theme could be captivating, with deep blues and shimmering stars that spark their curiosity about the universe.
To make the process even more engaging, kids can think about their favorite hobbies, characters, or even colors when selecting a theme. This personal touch not only makes the project more meaningful but also encourages them to invest their time and effort into creating something they will be proud of. Here are some ideas that can inspire theme selection:
- Nature: Flowers, trees, and wildlife.
- Fantasy: Fairies, dragons, and magical creatures.
- Space: Stars, planets, and astronauts.
- Sports: Favorite teams or activities.
- Animals: Pets or wild animals.
Once a theme is chosen, kids can start gathering fabric scraps, colors, and patterns that align with their vision. This is where the fun really begins! They can mix and match different fabrics, perhaps using a soft cotton for the background and a more textured fabric for the focal points. By layering these materials, they can create a visually stunning piece that not only looks great but also feels unique to them.
Moreover, this theme selection process can also serve as an educational opportunity. Kids can learn about different cultures, styles, and even historical contexts related to their chosen theme. For example, if they decide on a nature theme, they might explore various plants and animals, learning about their habitats and significance. This blend of creativity and education makes sewing projects like this not just a craft, but a multifaceted learning experience.
In essence, choosing a theme is not just about aesthetics; it's about self-expression. It allows children to reflect who they are while honing their sewing skills. As they stitch their way through the project, they’ll not only create a beautiful wall hanging but also a piece of art that tells a story—one that is uniquely theirs!
Q: What age is appropriate for kids to start sewing?
A: Generally, children as young as 5 years old can start with simple sewing projects under supervision. As they grow older, they can take on more complex tasks.
Q: What materials do I need for these sewing projects?
A: Basic materials include fabric, thread, scissors, a sewing machine (or needle for hand sewing), and embellishments like buttons or fabric paint.
Q: How can I help my child if they get frustrated while sewing?
A: Encourage them to take breaks and remind them that sewing is a skill that takes practice. Celebrate their progress and offer assistance when needed.
Q: Can these projects be done without a sewing machine?
A: Absolutely! Many of the projects can be completed by hand sewing, which can also be a great way for kids to learn the basics.
Q: How do I ensure safety while kids are sewing?
A: Always supervise children while they sew, especially when using sharp tools like scissors or sewing machines. Teach them about safety practices to prevent accidents.

Assembly Techniques
When it comes to creating a decorative wall hanging, mastering is crucial. This process not only enhances a child's sewing skills but also ignites their creative spark. To start, children should gather all their chosen fabric pieces, ensuring they have a variety of colors and textures to work with. It’s like assembling a puzzle; each piece contributes to the overall picture!
One effective technique is to lay out the fabric pieces on a flat surface before sewing. This allows kids to visualize how the final product will look and make adjustments as needed. Encourage them to play around with different arrangements, as this experimentation can lead to surprising and delightful results. Once they have a layout they love, it's time to secure the pieces together.
Using a temporary fabric adhesive or pins can help hold the pieces in place while sewing. This step is vital because it prevents any shifting during the sewing process, ensuring clean and precise seams. Kids can learn to use different types of stitches, such as straight stitches or zigzag stitches, depending on the fabric and design. Each stitch adds character to the wall hanging, much like brush strokes on a canvas.
After the pieces are sewn together, it's time to add any additional elements that will make the wall hanging unique. This could include embellishments like buttons, beads, or even fabric paint. Not only does this step allow for personal expression, but it also teaches kids the importance of detail in crafting. They can think of these embellishments as the icing on the cake, transforming their project from simple to stunning!
Finally, once all pieces are assembled and embellished, it’s important for kids to learn how to finish the edges neatly. This might involve folding the edges under and sewing them down or using a serger for a professional finish. The goal is to create a polished look that will last, giving kids a sense of pride in their work. In the end, the assembly techniques not only bring their vision to life but also instill a sense of accomplishment that will inspire them to take on even bigger projects in the future.
- What age is appropriate for kids to start sewing? Generally, children as young as 6 can start with simple projects, but it depends on their interest and fine motor skills.
- Do I need a sewing machine for these projects? While a sewing machine can speed up the process, many of these projects can be completed by hand, making them accessible for all skill levels.
- How can I encourage my child to be creative while sewing? Allow them to choose their fabrics, colors, and designs. Encourage them to experiment and make mistakes, as this is part of the learning process!
- What materials do we need for these projects? Basic materials include fabric, thread, scissors, pins, and a sewing machine or needle for hand sewing. Additional embellishments can enhance creativity.
Frequently Asked Questions
- What age is appropriate for kids to start sewing?
Generally, kids as young as 6 years old can start learning to sew with supervision. Simple projects like the pillowcase or fabric bookmarks are perfect for beginners. It’s all about introducing them to the basics in a fun way!
- Do I need a sewing machine for these projects?
While a sewing machine can make the projects quicker and easier, many of them can be done by hand. Starting with hand sewing helps kids develop their skills before moving on to a machine.
- What materials do I need for these sewing projects?
Basic materials include fabric, thread, scissors, and needles. For the tote bag and soft toy, you might also need stuffing. Don’t forget to let the kids pick their favorite colors and patterns to make it even more personal!
- Can these projects be modified for more advanced kids?
Absolutely! Once kids master the basics, they can add more complex designs or techniques. For instance, they could incorporate pockets in the tote bag or create unique shapes for their soft toys.
- How can I encourage my child’s creativity while sewing?
Encourage them to choose their own fabrics and designs. Let them experiment with embellishments like buttons or fabric paint. The more they personalize their projects, the more invested they’ll feel!
- What should I do if my child gets frustrated while sewing?
It’s normal for kids to feel frustrated at times. Remind them that sewing is a skill that takes practice. Offer help, but also encourage them to take breaks and come back to the project with fresh eyes.


