Sewing for Beginners: How to Get Started
If you've ever found yourself mesmerized by the rhythmic hum of a sewing machine or the vibrant colors of fabrics in a store, you're not alone! Sewing is not just a hobby; it’s a creative outlet that allows you to express your personality through fabric and thread. Whether you're looking to create stunning garments, unique home decor, or personalized gifts, this guide will help you embark on your sewing journey with confidence and creativity.
So, where do you begin? First things first, you need to understand that sewing is like learning a new language. It has its own vocabulary, tools, and techniques that might seem overwhelming at first. But don’t worry, every expert was once a beginner. In this article, we’ll break down the essentials of sewing into manageable chunks, ensuring you have all the information you need to get started.
Throughout this journey, you’ll discover how to choose the right sewing machine, gather essential supplies, and master basic techniques. Plus, we’ll share some simple projects tailored for beginners that will not only boost your confidence but also ignite your passion for sewing. So grab your fabric scissors, and let’s dive into the wonderful world of sewing!
Selecting a sewing machine can feel like standing in front of a vast ocean—so many options, yet where do you start? The right machine is crucial for your sewing success. Begin by considering the types of machines available. Here are a few key features to look for:
- Ease of Use: Look for machines with user-friendly controls and clear instructions.
- Stitch Variety: A good machine should offer a variety of stitches for different projects.
- Portability: If you plan to take your machine to classes or workshops, consider its weight and size.
Some beginner-friendly models include:
| Machine Model | Features | Price Range |
|---|---|---|
| Brother CS6000i | 60 built-in stitches, LCD display | $200 - $250 |
| Janome 2212 | 12 built-in stitches, easy to use | $150 - $200 |
| Singer Start 1304 | 6 built-in stitches, lightweight | $100 - $150 |
Choosing the right machine sets the foundation for your sewing adventures, so take your time and pick one that feels right for you!
Before you dive into your first project, it’s important to gather the right supplies. Think of your sewing supplies as the ingredients for a delicious recipe. You wouldn’t want to start cooking without the essential items, right? Here’s a quick rundown of must-have tools and materials:
- Fabric: Choose a fabric that matches your project, whether it's cotton for a quilt or denim for a bag.
- Sewing Machine: As discussed, this is your primary tool.
- Thread: Match the thread color to your fabric for a polished look.
- Scissors: Invest in a good pair of fabric scissors—they're worth it!
- Measuring Tools: A tape measure and ruler are essential for accurate cutting.
Having these supplies on hand will make your sewing experience much smoother and more enjoyable.
Fabrics are the heart and soul of your projects. Just like choosing the right paint for a masterpiece, selecting the right fabric can make or break your creation. Familiarizing yourself with various fabric types is crucial for sewing. Each fabric has unique characteristics that can affect the outcome of your project. For instance, lightweight fabrics like chiffon are perfect for flowing dresses, while sturdy fabrics like canvas are ideal for bags.
When diving into the world of fabrics, you’ll encounter two main categories: natural and synthetic. Natural fabrics, like cotton and linen, are breathable and eco-friendly but may require more care. On the other hand, synthetic fabrics, such as polyester and nylon, are durable and often wrinkle-resistant but may not be as breathable. Understanding these differences will help you choose the right material for your projects.
Proper fabric care is essential for longevity. After all, you want your creations to last! Here are a few tips for washing, drying, and storing fabrics:
- Always check the care label before washing.
- Use cold water for delicate fabrics to prevent shrinkage.
- Store fabrics in a cool, dry place to avoid mildew.
By taking care of your fabrics, you ensure that they remain in optimal condition for your sewing projects.
Now that you have your supplies and fabrics, it’s time to learn some fundamental sewing techniques. Think of these skills as the building blocks of your sewing journey. Start with threading your machine, which can feel like a puzzle at first. Once you’ve mastered that, practice basic stitches and seams. These techniques will serve as your foundation, allowing you to tackle more complex projects with ease.
Starting with easy projects can boost your confidence and keep your enthusiasm alive. Here are a couple of beginner-friendly sewing projects that will help you practice your new skills:
Creating a tote bag is a fantastic beginner project. You’ll need some fabric, a sewing machine, and a few basic supplies. Follow these steps:
- Cut two rectangles of fabric for the body of the bag.
- Cut two strips for the handles.
- Sew the sides of the rectangles together.
- Attach the handles securely.
This simple project will help you master straight seams and give you a functional item to show off!
Pillow covers are another simple project that can transform your living space. To make a pillow cover:
- Measure your pillow and cut fabric pieces accordingly.
- Sew the pieces together, leaving an opening for the pillow.
- Turn it inside out and insert the pillow.
With this project, you’ll practice your sewing skills while adding a personal touch to your home decor.
Connecting with fellow sewing enthusiasts can enhance your learning experience. Just like any other hobby, having a support system is invaluable. Consider joining online forums, local sewing groups, or social media communities. These platforms provide resources, inspiration, and a chance to share your projects with others who share your passion.
Q: What is the best sewing machine for beginners?
A: The Brother CS6000i is a popular choice due to its user-friendly features and versatility.
Q: How do I choose the right fabric for my project?
A: Consider the project type and desired outcome. Lightweight fabrics work well for flowy garments, while heavier fabrics are great for bags and home decor.
Q: How can I improve my sewing skills?
A: Practice is key! Start with simple projects and gradually challenge yourself with more complex designs.
Q: Where can I find sewing patterns?
A: Many websites offer free and paid sewing patterns. Local fabric stores often have pattern books as well.
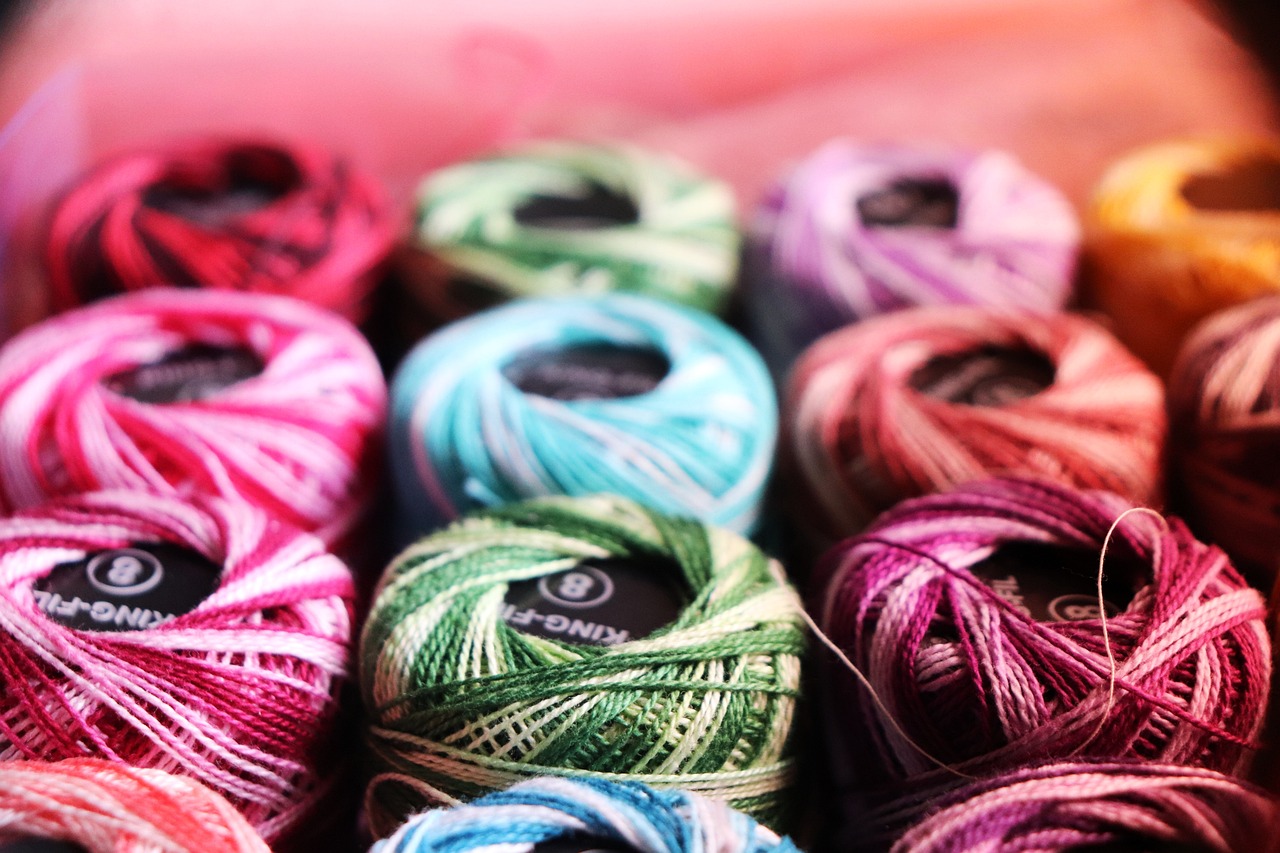
Choosing the Right Sewing Machine
Choosing the right sewing machine can feel like standing at the edge of a vast ocean, unsure of which wave to ride. With so many options available, it’s easy to get overwhelmed. But fear not! This guide will help you navigate through the sea of choices and find the perfect machine that suits your needs as a beginner. First, let’s look at the different types of sewing machines available.
There are primarily two categories of sewing machines: mechanical and electronic. Mechanical machines are typically more straightforward, making them ideal for beginners. They operate with knobs and levers, giving you a hands-on experience that helps you understand the basics of sewing. On the other hand, electronic machines offer a range of features such as automatic stitching, which can be a boon as you progress. However, they might feel a bit daunting at first.
When shopping for your sewing machine, consider the following key features:
- Stitch Variety: Look for machines that offer a variety of stitches, including straight, zigzag, and decorative stitches. This variety allows you to explore different techniques as you grow in your sewing journey.
- Ease of Use: A user-friendly machine with clear instructions and easy threading will make your initial sewing experiences much more enjoyable.
- Portability: If you plan to take your sewing machine to classes or sewing meet-ups, consider its weight and whether it comes with a carrying case.
- Budget: Sewing machines can range from affordable to high-end models. Set a budget that allows you to invest in a quality machine without breaking the bank.
Now, let’s dive into some beginner-friendly sewing machine recommendations:
| Machine Model | Type | Key Features | Price Range |
|---|---|---|---|
| Brother XM2701 | Mechanical | 27 built-in stitches, lightweight, easy threading | $100 - $130 |
| Janome 2212 | Mechanical | 12 built-in stitches, simple design, affordable | $150 - $180 |
| Brother CS6000i | Electronic | 60 built-in stitches, LCD display, automatic needle threader | $200 - $250 |
| Singer 7258 | Electronic | 100 built-in stitches, programmable needle up/down, easy to use | $200 - $300 |
As you can see, there’s a machine out there for every budget and skill level. When you find a machine that speaks to you, it’s like finding the perfect pair of shoes—comfortable, functional, and just right for your journey ahead. Remember, the best machine is one that fits your personal sewing style and needs.
Lastly, don’t hesitate to seek out reviews and watch video tutorials on the machines you’re considering. This will give you a clearer picture of how each model operates in real-world scenarios. Once you’ve made your choice, you’ll be ready to embark on your sewing adventure with confidence!
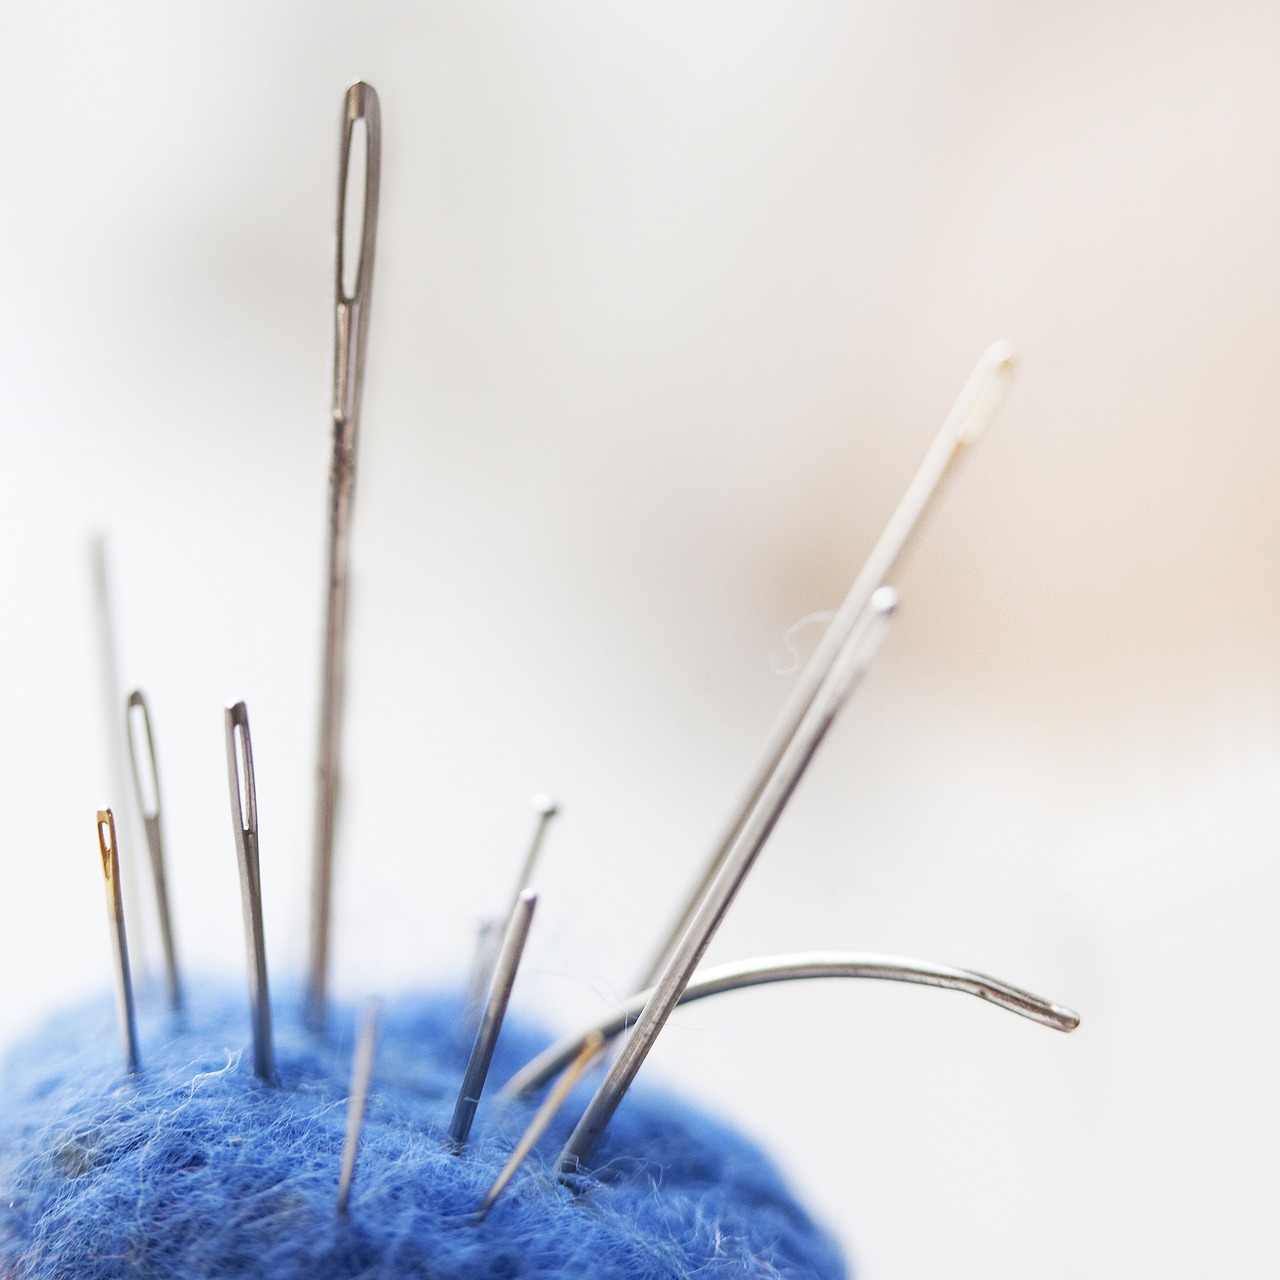
Essential Sewing Supplies
Before diving into the exciting world of sewing, it’s essential to gather the right tools and materials. Think of your sewing supplies as your trusty toolbox; the better equipped you are, the more enjoyable and successful your sewing journey will be. So, what do you really need to get started? Let’s break it down.
First and foremost, you’ll need a reliable sewing machine. This is your primary tool, and choosing the right one can set the tone for your entire sewing experience. Look for machines that are user-friendly and come with essential features like adjustable stitch lengths and built-in stitches. Brands like Brother and Singer offer fantastic beginner models that won’t break the bank.
Next up, let’s talk about fabric. The right fabric can make or break your project. As a beginner, it’s wise to start with cotton fabrics, which are easy to work with and forgiving. Once you get the hang of it, you can explore other materials like linen, denim, and knits. Remember, different fabrics have different characteristics, and understanding these will help you choose wisely.
In addition to fabric, you’ll need various notions and tools. Here’s a quick rundown of must-have supplies:
- Scissors: Invest in a good pair of fabric scissors; they’ll make cutting fabric much easier.
- Pins: These are essential for holding your fabric pieces together before sewing.
- Measuring Tape: Accurate measurements are crucial in sewing, so a flexible measuring tape is a must.
- Seam Ripper: Mistakes happen, and a seam ripper is your best friend for fixing them.
- Thread: Choose high-quality sewing thread that matches your fabric. Don’t skimp on this; it can affect your project’s durability.
Once you have these basics, you can start thinking about additional tools that can enhance your sewing experience. For instance, a rotary cutter and mat can make cutting straight lines a breeze, and a quilting ruler can help with precise measurements. But don’t feel pressured to buy everything at once; start with the essentials and build your collection as you progress.
Finally, organization is key! Consider investing in a storage solution for your supplies. A simple plastic bin or a dedicated sewing box can help keep everything tidy and easily accessible. After all, nothing kills creativity faster than a cluttered workspace!
In summary, gathering the right sewing supplies is like preparing for an adventure. With your sewing machine, fabric, and essential tools in hand, you’ll be ready to tackle your first projects with confidence. Remember, the journey of sewing is just as rewarding as the finished product, so enjoy every stitch!
Q: What is the best sewing machine for beginners?
A: Look for machines that are easy to use, such as those from Brother or Singer, which offer user-friendly features and good support.
Q: Can I start sewing without a sewing machine?
A: Yes! Many beginners start with hand sewing. It’s a great way to learn the basics before moving on to a machine.
Q: How do I choose the right fabric for my project?
A: Start with cotton for beginners. As you gain experience, you can explore other fabrics based on your project’s needs.
Q: What tools do I need to start sewing?
A: Essential tools include fabric scissors, pins, measuring tape, a seam ripper, and quality thread. Additional tools can be added as you progress.
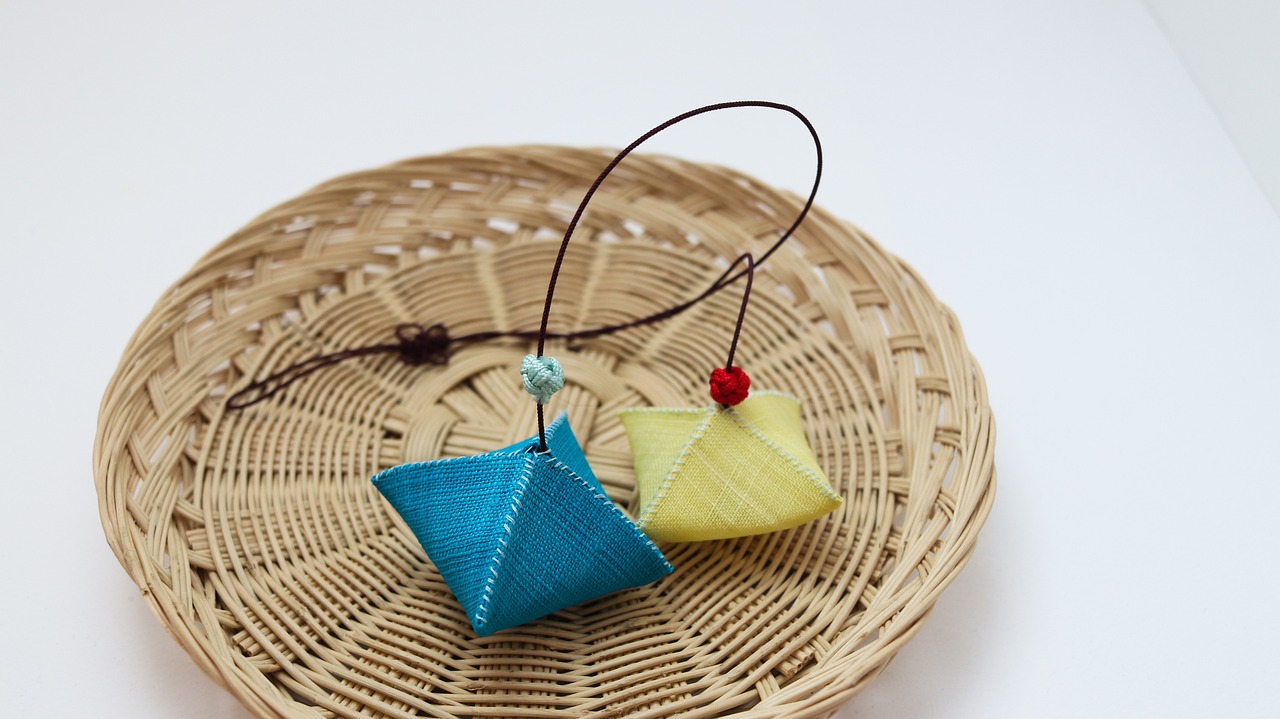
Understanding Fabrics
When diving into the world of sewing, one of the most crucial aspects to grasp is the different types of fabrics available. Think of fabric as the canvas for your masterpiece; the right choice can elevate your project from good to stunning. Each fabric has its own unique characteristics, and understanding these can help you make informed decisions as you embark on your sewing journey. So, let’s unravel the fabric mystery together!
Fabrics can generally be categorized into two main types: natural and synthetic. Natural fabrics, such as cotton, linen, and silk, are derived from plants and animals. They tend to be breathable, comfortable, and often have a luxurious feel. On the other hand, synthetic fabrics like polyester, nylon, and rayon are man-made and often more durable and resistant to wrinkles. Understanding the differences between these categories is essential for selecting the right fabric for your projects.
Here’s a quick breakdown of some popular fabric types and their typical uses:
| Fabric Type | Characteristics | Common Uses |
|---|---|---|
| Cotton | Soft, breathable, versatile | T-shirts, quilts, and home décor |
| Silk | Luxurious, smooth, drapes beautifully | Formal wear, scarves, and lingerie |
| Linen | Strong, absorbent, breathable | Summer clothing, tablecloths, and napkins |
| Polyester | Durable, wrinkle-resistant, affordable | Activewear, linings, and home furnishings |
| Denim | Heavyweight, durable, versatile | Jeans, jackets, and bags |
Now, let’s not forget about fabric care and maintenance. Just like a beloved pet, your fabrics need some TLC to stay in top shape! Proper washing, drying, and storing practices can significantly extend the life of your fabrics. For instance, cotton can usually withstand machine washing, while silk often requires a gentle hand wash or dry cleaning. Always check the care label for guidance, as it can save you from potential fabric disasters!
As you explore various fabrics, consider your project's purpose and the desired outcome. For example, if you're sewing a summer dress, a lightweight cotton or linen would be ideal for breathability. Conversely, if you're making a cozy winter quilt, heavier fabrics like flannel or fleece might be more appropriate. By taking the time to understand the fabrics at your disposal, you'll unlock endless possibilities for creativity and expression in your sewing projects.
In conclusion, the world of fabrics is vast and exciting. Whether you're drawn to the softness of cotton or the elegance of silk, knowing the ins and outs of different materials will make your sewing experience much more enjoyable. So, get out there, feel the fabrics, and let your imagination run wild!
Q: What is the best fabric for beginners?
A: Cotton is often recommended for beginners due to its ease of use, availability, and versatility.
Q: How can I tell if a fabric is high quality?
A: Look for fabrics that feel good to the touch, have a consistent weave, and do not fray easily. Checking the fabric's weight and drape can also give you clues about its quality.
Q: Are synthetic fabrics easier to work with than natural fabrics?
A: It depends on the project. Synthetic fabrics can be more durable and wrinkle-resistant, but natural fabrics often offer better breathability and comfort.
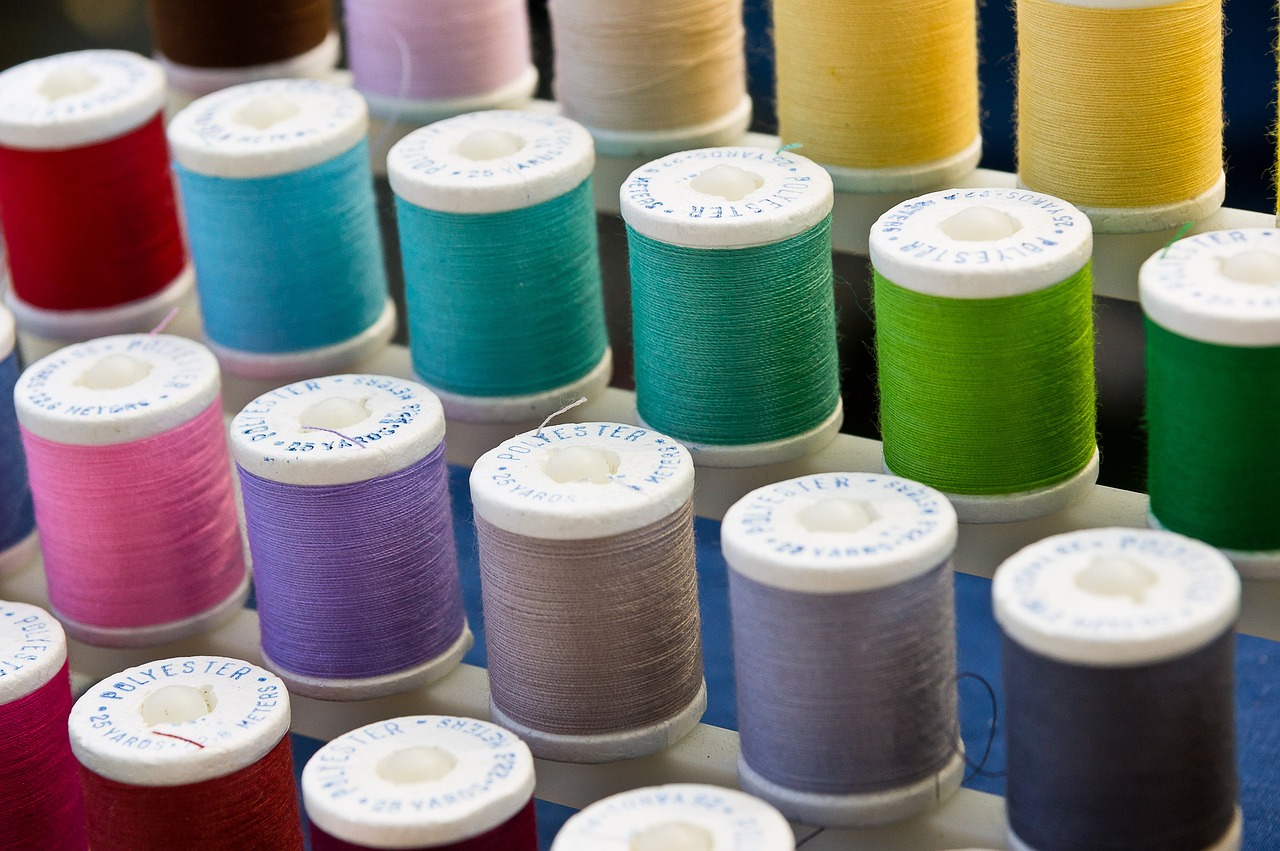
Natural vs. Synthetic Fabrics
When diving into the world of sewing, one of the first decisions you'll face is choosing the right fabric. It's like picking the perfect canvas for your masterpiece! Fabrics can be broadly categorized into two types: natural and synthetic. Each type has its own unique characteristics, benefits, and drawbacks that can significantly affect your sewing experience and the quality of your finished projects.
Natural fabrics are derived from plants and animals. Think cotton, linen, wool, and silk. These fabrics are celebrated for their breathability, comfort, and eco-friendliness. For example, cotton is soft, absorbent, and perfect for a variety of projects, from clothing to home decor. However, natural fabrics can shrink, wrinkle, and require more delicate care. They often need to be pre-washed before sewing to prevent any surprises later on.
On the other hand, synthetic fabrics are made from chemical processes and include materials like polyester, nylon, and spandex. These fabrics are usually more durable, resistant to wrinkles, and easier to care for. For instance, polyester is a popular choice for clothing because it retains its shape and color well. However, synthetic fabrics may not be as breathable as their natural counterparts, which can be a consideration depending on your project.
To help you navigate this fabric landscape, here’s a quick comparison:
| Fabric Type | Advantages | Disadvantages |
|---|---|---|
| Natural Fabrics |
|
|
| Synthetic Fabrics |
|
|
Ultimately, the choice between natural and synthetic fabrics boils down to your project needs and personal preferences. If you’re sewing a summer dress, natural fabrics might be the way to go for their breathability. Conversely, if you're creating a durable bag or outdoor gear, synthetic fabrics could be your best bet. Understanding these differences will not only enhance your sewing skills but also help you make informed choices that align with your creative vision.
Fabric Care and Maintenance
When it comes to sewing, understanding is just as crucial as mastering your sewing techniques. Think of your fabrics as the canvas for your creativity; if you don’t take care of them, your masterpieces may not stand the test of time. Proper care ensures that your fabrics remain vibrant, durable, and ready for your next project.
First and foremost, always check the care label on your fabric. This little tag provides essential information regarding washing, drying, and ironing. Each fabric type may have different requirements, and ignoring these can lead to shrinkage, color fading, or even damage. For instance, delicate fabrics like silk may require hand washing, while cotton can usually withstand machine washing.
Here are some key points to consider when caring for your fabrics:
- Washing: Use cold water for most fabrics to prevent shrinkage. For heavily soiled items, you might need to wash them in warm water, but be cautious.
- Drying: Air drying is often recommended, especially for delicate fabrics. If you must use a dryer, opt for a low heat setting.
- Ironing: Always check the iron settings. Some fabrics can scorch easily, while others may require steam for wrinkles.
Another aspect of fabric care is storing. Proper storage can prevent your fabrics from getting wrinkled, dusty, or damaged. Here are a few tips on how to store your fabrics effectively:
- Keep fabrics in a cool, dry place to avoid mold and mildew.
- Use acid-free tissue paper to wrap delicate fabrics, preventing creases.
- Avoid hanging heavy fabrics, as this can distort their shape over time.
Lastly, always be mindful of how you handle your fabrics. Keep them away from direct sunlight to prevent fading, and be cautious of sharp objects that might snag or tear. By following these simple care and maintenance tips, you can ensure that your fabrics remain in excellent condition, ready to be transformed into beautiful creations.
Q: How often should I wash my fabrics before sewing?
A: It’s generally a good idea to wash your fabrics before sewing, especially if they are prone to shrinkage. This ensures that your finished project maintains its size and shape after washing.
Q: Can I use fabric softener on all types of fabrics?
A: Not all fabrics are compatible with fabric softener. For example, it’s best to avoid using it on microfiber or moisture-wicking fabrics, as it can reduce their effectiveness.
Q: What’s the best way to remove wrinkles from fabric?
A: The best way to remove wrinkles depends on the fabric type. For most fabrics, a steam iron works wonders. If you’re dealing with delicate fabrics, consider using a garment steamer or hanging them in a steamy bathroom.
Q: How can I prevent my fabric from fading?
A: To prevent fading, store your fabrics away from direct sunlight and wash them in cold water with a gentle detergent. Adding a cup of white vinegar to the rinse cycle can also help set colors.
Basic Sewing Techniques
When you're diving into the world of sewing, mastering basic techniques is like learning the ABCs of a new language. These foundational skills will not only boost your confidence but also ensure that your projects turn out beautifully. So, let’s unravel the essential techniques that every beginner should know. First up is threading your sewing machine. This may seem daunting at first, but once you get the hang of it, it becomes second nature. Follow your machine's manual for guidance, and remember, practice makes perfect!
Next, you'll want to understand stitching. The most common stitch you'll use is the straight stitch, which is perfect for seams. To create a straight stitch, simply adjust your machine's settings, place your fabric under the presser foot, and gently guide the fabric through as you sew. It’s like guiding a ship through calm waters—steady and controlled. As you progress, you can explore other stitches like zigzag or decorative stitches to add flair to your projects.
Another fundamental technique is mastering basic seams. A seam is where two pieces of fabric are joined together, and there are several types to choose from. The most common is the plain seam, which is ideal for most sewing projects. To sew a plain seam, align your fabric pieces right sides together and sew along the edge, typically with a 1/4-inch seam allowance. Don’t forget to backstitch at the beginning and end to secure your stitches. If you want to get a bit fancy, consider learning about French seams or flat-felled seams, which provide a neat finish and added durability.
To help you visualize these techniques, here’s a simple
| Technique | Description | Uses |
|---|---|---|
| Threading the Machine | Setting up the machine with thread | All sewing projects |
| Straight Stitch | A basic stitch for seams | Most fabric types |
| Plain Seam | Joining two fabric pieces | Standard sewing |
| French Seam | A seam that encloses raw edges | Delicate fabrics |
| Flat-Felled Seam | A durable seam with a finished edge | Jeans, shirts |
As you practice these techniques, it’s essential to keep your workspace organized. A clutter-free area allows you to focus on your sewing without distractions. Consider investing in a few handy tools like fabric scissors, a seam ripper for correcting mistakes, and pins or clips to hold your fabric in place while you sew. Think of these tools as your trusty sidekicks on your sewing adventure—they’ll help you tackle any challenge that comes your way!
Lastly, don’t forget the importance of pressing your seams. A good iron can be your best friend in sewing. Pressing seams open or to one side not only gives your project a professional finish but also helps to set your stitches, making everything look crisp and polished. It’s like giving your fabric a little spa treatment before it makes its grand debut!
- What sewing machine is best for beginners? Look for a machine that is user-friendly, has a variety of stitches, and is within your budget. Brands like Brother and Singer offer great starter models.
- How do I choose the right fabric? Consider the project you’re working on. For beginners, cotton is a great choice as it's easy to work with and forgiving.
- What if I make a mistake while sewing? Don’t worry! Mistakes are part of the learning process. Use a seam ripper to remove stitches, and try again.
- How can I improve my sewing skills? Practice regularly, try different projects, and consider joining a local sewing class or online community for support and inspiration.
Simple Projects for Beginners
Starting your sewing journey can be both exciting and daunting, but the best way to ease into it is through simple projects that allow you to practice your skills without feeling overwhelmed. Think of these projects as your training wheels; they help you gain confidence and experience, paving the way for more complex creations down the line. So, let’s dive into a couple of beginner-friendly projects that are not only fun but also practical!
Creating a tote bag is an excellent choice for beginners. Not only is it a useful item that you can use daily, but it also allows you to experiment with different fabrics and techniques. To get started, you’ll need the following materials:
- Fabric (cotton is a great choice for beginners)
- Thread that matches your fabric
- Scissors or a rotary cutter
- A sewing machine
- Measuring tape
- Iron
Once you have your materials ready, follow these simple steps:
- Cut two rectangles of fabric for the bag body, typically 15” x 16”.
- Cut two strips for the handles, about 3” x 22”.
- Pin the fabric pieces right sides together and sew around the edges, leaving the top open.
- Turn the bag right side out, press with an iron, and then sew a straight stitch around the top edge to finish it off.
- For the handles, fold the strips in half lengthwise, press, and then fold the edges to meet in the center. Sew along the edges to secure.
- Attach the handles to the bag, and voila! You have your very own tote bag!
This project not only teaches you basic sewing techniques but also gives you a functional item you can be proud of. Plus, you can customize it with different fabrics and embellishments!
Pillow covers are another fantastic project for beginners. They are relatively simple to make and can dramatically change the look of your living space. To create a pillow cover, you will need:
- Fabric of your choice (consider using cotton or linen)
- Thread
- Pillow insert
- Measuring tape
- Scissors
- Iron
Here’s a straightforward method to make a pillow cover:
- Measure your pillow insert and add an inch for seam allowance. Cut two squares of fabric based on these measurements.
- Place the fabric squares right sides together and pin around the edges.
- Sew around three sides, leaving one side open for the pillow insert.
- Turn the cover right side out and press it with an iron.
- Insert the pillow and sew the open side closed either by hand or with a sewing machine.
This project is great for practicing your sewing skills while also allowing you to explore different fabric patterns and colors. You can create a whole collection of pillow covers to match your mood or the seasons!
As you tackle these projects, remember that practice makes perfect. Don’t be discouraged by mistakes; they are part of the learning process. The more you sew, the more comfortable you’ll become with your machine and the various techniques.
1. How long will it take to complete these projects?
Most beginners can complete a tote bag or pillow cover in a few hours, depending on their sewing speed and familiarity with the materials.
2. Do I need a fancy sewing machine to get started?
No, a basic sewing machine will suffice for these projects. Look for a machine that has straight and zigzag stitch options.
3. Can I use any fabric for these projects?
While you can experiment, starting with cotton is advisable due to its ease of use and versatility.
4. What if I make a mistake while sewing?
Mistakes are part of the learning journey! Just unpick the stitches and try again. You'll improve with each project.
Embrace the joy of sewing and let your creativity shine through these simple projects. Happy sewing!

Making a Tote Bag
Creating a tote bag is not only a fantastic way to dip your toes into the world of sewing, but it’s also a practical project that you can use in your everyday life. Imagine walking around with a bag you made yourself, showcasing your creativity and style! Plus, tote bags are versatile; they can be used for grocery shopping, carrying books, or even as a stylish accessory. So, let’s roll up those sleeves and get started on this exciting sewing adventure!
Before you begin, gather your materials. Here’s what you’ll need:
- Fabric: Choose a sturdy fabric like canvas or denim for durability.
- Thread: Use a thread that matches your fabric color. A polyester thread is a great choice for strength.
- Sewing Machine: Make sure your sewing machine is threaded and ready to go.
- Scissors: A good pair of fabric scissors will make cutting much easier.
- Measuring Tape: Accurate measurements are key to a well-fitted tote.
- Iron: Pressing your fabric will help achieve clean seams.
Now, let’s break down the steps to make your tote bag:
- Measure and Cut: Decide on the size of your tote bag. A common size is 15 inches wide by 16 inches high. Cut two pieces of fabric for the body of the bag and two strips for the handles, about 3 inches wide and 20 inches long.
- Prepare the Fabric: Before you start sewing, it’s essential to iron your fabric pieces. This will remove any wrinkles and ensure that your seams are crisp and neat.
- Sew the Body: Place the two body fabric pieces right sides together. Sew along the sides and bottom, leaving the top open. Use a straight stitch and a 1/4 inch seam allowance. Don’t forget to backstitch at the beginning and end for added strength!
- Create the Bottom Corners: To give your tote bag some depth, pinch the bottom corners and sew across them to create a triangle shape. This step is what transforms your flat fabric into a functional bag!
- Attach the Handles: Fold your handle strips in half lengthwise and sew along the open edge. Then, turn them inside out. Attach the handles to the inside of the bag, pinning them securely before sewing them in place.
- Finish the Top Edge: To give your tote a polished look, fold the top edge down about an inch and sew around the opening. This will prevent fraying and add a nice finish.
And there you have it! Your very own tote bag! This project not only enhances your sewing skills but also gives you a sense of accomplishment. Remember, practice makes perfect, so don’t worry if your first tote isn’t flawless. Each stitch is a step towards becoming a better sewer.
Q: Can I use any fabric for my tote bag?
A: While you can use various fabrics, it’s best to choose sturdy materials like canvas or denim to ensure your tote can carry heavier items without tearing.
Q: How can I personalize my tote bag?
A: You can personalize your tote by adding pockets, using different fabric patterns, or even embroidering your initials or a fun design on it!
Q: What if I don’t have a sewing machine?
A: No worries! You can sew your tote bag by hand, just keep in mind that it will take a bit longer, but it’s definitely doable!
Q: How do I care for my tote bag?
A: Most fabric tote bags can be machine washed on a gentle cycle. Always check the fabric care instructions before washing to maintain its quality.
Crafting Pillow Covers
Creating pillow covers is not only a fantastic way to dip your toes into the world of sewing, but it also allows you to add a personal touch to your home decor. Whether you want to brighten up your living room or add a splash of color to your bedroom, sewing your own pillow covers can be both fun and rewarding. Plus, the skills you acquire while making them will serve you well as you tackle more complex projects in the future!
To get started, you'll need a few essential materials. Here’s a quick rundown of what you’ll need:
- Fabric: Choose a fabric that complements your home decor. Cotton is a great choice for beginners due to its ease of use and availability.
- Thread: Make sure to select a thread color that matches or contrasts well with your fabric.
- Scissors: A good pair of fabric scissors will make cutting your fabric much easier.
- Sewing machine: If you don’t have one yet, check our previous section on choosing the right sewing machine!
- Pillow insert: Ensure you have the right size pillow insert for your cover.
Now, let’s walk through the steps to craft your very own pillow cover:
- Measure Your Pillow Insert: Start by measuring the dimensions of your pillow insert. A standard pillow insert is usually 18x18 inches, but you can adjust based on your preference.
- Cut Your Fabric: Cut two squares of fabric, each measuring 19x19 inches. This extra inch on each side allows for seam allowances.
- Pin the Fabric Together: Place the two squares right sides together and pin them in place. This will help keep everything aligned while you sew.
- Sew the Edges: Using a sewing machine, sew around the edges, leaving a gap of about 5 inches on one side. This gap will allow you to turn the fabric right side out and insert your pillow.
- Turn the Cover Inside Out: Carefully pull the fabric through the gap you left open, turning the cover right side out.
- Insert the Pillow: Place your pillow insert inside the cover, making sure it fits snugly.
- Close the Gap: Finally, either hand stitch or machine sew the open gap to finish your pillow cover.
And there you have it! A beautiful, custom-made pillow cover that showcases your creativity and sewing skills. As you practice, feel free to experiment with different fabrics, patterns, and embellishments like buttons or appliqués to really make your pillow covers stand out.
Remember, every sewing project is a chance to learn and improve. Don't be discouraged if your first pillow cover doesn't turn out perfect; think of it as a stepping stone in your sewing journey. The more you sew, the more confident you'll become!
Q: What type of fabric is best for pillow covers?
A: Cotton is a great choice for beginners due to its versatility and ease of handling. However, you can also experiment with fabrics like linen or canvas for a different look and feel.
Q: How do I wash my pillow covers?
A: Most cotton fabrics can be machine washed in cold water. Always check the care label on your fabric before washing to ensure longevity.
Q: Can I add a zipper to my pillow cover?
A: Absolutely! Adding a zipper can make your pillow covers removable and easier to clean. There are plenty of tutorials available online to guide you through the process.
Joining Sewing Communities
Embarking on your sewing journey can feel a bit like setting sail on uncharted waters. However, you don't have to navigate this adventure alone! Joining sewing communities can be a game-changer, providing you with support, inspiration, and a treasure trove of knowledge. Whether you're a novice or have some experience under your belt, connecting with others who share your passion can significantly enhance your learning experience.
Imagine walking into a room filled with people who are just as excited about fabric, patterns, and sewing techniques as you are! That's the magic of sewing communities. You can find them in various forms, from online forums and social media groups to local sewing clubs and workshops. Each community offers a unique flavor, and you might just discover your new best friends among fellow stitch enthusiasts.
Online platforms like Facebook, Reddit, and Instagram have vibrant sewing communities where you can ask questions, share your projects, and get feedback. For example, joining a Facebook group dedicated to sewing can provide you with instant access to a wealth of experience. You can post your sewing dilemmas, share photos of your latest creations, and receive encouragement from fellow members. It's like having a virtual sewing circle right at your fingertips!
Local sewing groups can also be incredibly rewarding. Many fabric stores and community centers host sewing meet-ups or classes. These gatherings not only allow you to learn new skills but also create a sense of camaraderie. You might find yourself swapping tips, sharing fabric scraps, or even collaborating on projects. Plus, there's nothing quite like the joy of sewing side by side with others, sharing laughter and stories as you stitch away.
When looking for a community to join, consider the following factors:
- Focus: Some groups may specialize in specific types of sewing, such as quilting, garment making, or embroidery. Choose a community that aligns with your interests.
- Size: Smaller groups might offer more intimate settings, while larger ones can provide a broader range of perspectives and experiences.
- Activity Level: Look for communities that are active and engaging, where members regularly post and interact.
In addition to connecting with others, being part of a sewing community can also open doors to various resources. You might discover local fabric sales, sewing workshops, or even online tutorials shared by fellow members. These resources can serve as valuable tools to help you grow your skills and confidence.
Finally, don't underestimate the power of sharing your own experiences. By contributing to discussions and offering your insights, you not only help others but also reinforce your own learning. Teaching is often the best way to solidify your knowledge, and you might find that your journey in sewing becomes even more fulfilling as you give back to the community.
So, whether you decide to dive into online forums or seek out local sewing groups, remember that joining a sewing community can transform your sewing experience from solitary to social. Embrace the connections you make, learn from others, and most importantly, have fun as you stitch your way through this creative journey!
| Question | Answer |
|---|---|
| How do I find a local sewing group? | Check local fabric stores, community centers, or online platforms like Meetup.com for sewing groups in your area. |
| Are online sewing communities as helpful as local ones? | Yes! Online communities can provide a wealth of information and support, often with members from around the world. |
| What if I'm shy about sharing my projects? | Start by commenting on others' posts and gradually share your work when you feel comfortable. Everyone starts somewhere! |
Frequently Asked Questions
-
What sewing machine should I buy as a beginner?
Choosing your first sewing machine can feel like standing in front of a candy store—so many options! Look for a machine that’s user-friendly, has a good range of stitches, and comes with essential features like an automatic needle threader and adjustable stitch length. Brands like Brother and Singer offer great beginner models that won’t break the bank.
-
What essential supplies do I need to start sewing?
Before you dive into sewing, make sure you have the basics. You’ll need fabric, thread, scissors, pins, and a measuring tape. Think of these as your trusty sidekicks on your sewing adventure! A good iron and ironing board are also crucial for keeping your projects crisp and professional.
-
How do I choose the right fabric for my project?
Choosing fabric is like picking the right ingredients for a recipe. You want to consider the project type and the fabric's characteristics. For beginners, cotton is a fantastic choice—it's easy to work with and forgiving. Always check the fabric's care instructions too, so you know how to keep your projects looking great!
-
What are some easy sewing projects for beginners?
If you’re just starting out, think simple! Projects like tote bags and pillow covers are perfect for honing your skills. They’re not only easy to make, but they also give you a sense of accomplishment. Plus, you get something useful at the end of it!
-
How can I join a sewing community?
Connecting with fellow sewing enthusiasts can be a game-changer! Look for local sewing groups, or dive into online forums and social media communities. Websites like Facebook and Reddit have vibrant sewing communities where you can share tips, ask questions, and find inspiration.
-
What basic sewing techniques should I learn first?
Start with the fundamentals! Master threading your machine, basic stitching, and simple seams. Think of these techniques as the building blocks of your sewing skills. Once you’ve got these down, you’ll be ready to tackle more complex projects!
-
How do I care for my fabrics?
Just like you wouldn’t toss your favorite shirt in the wash without a second thought, fabrics need care too! Always check the labels for washing instructions. Generally, pre-washing your fabric is a good idea to prevent any surprises later. Store your fabrics in a cool, dry place to keep them in top shape.


