A Deep Dive into the Different Types of Quilting Stitches
Quilting is more than just a craft; it's a passion, a way to express creativity, and a tradition that has been passed down through generations. Whether you're a novice or a seasoned quilter, understanding the various types of quilting stitches is essential for taking your projects to the next level. Each stitch has its unique purpose, aesthetic, and technique, allowing you to create stunning quilts that tell your story. In this article, we will explore the different types of quilting stitches, their applications, and how they can enhance your quilting experience.
Imagine standing in front of a beautifully crafted quilt, each stitch telling a story. The texture, the colors, and the patterns all come together to create a masterpiece. But what makes that quilt truly special? It's the stitches that hold it all together. From the simplest straight stitch to intricate decorative designs, every stitch plays a vital role in the overall appearance and durability of your quilt. As we delve into this world of quilting stitches, you’ll discover techniques that can elevate your craftsmanship and transform your projects into eye-catching works of art.
Before we jump into the details, let’s take a moment to understand why mastering these stitches is essential. Quilting stitches not only secure the layers of fabric but also add character and depth to your creations. They can be functional, decorative, or both, and knowing when and how to use each type can make a significant difference in your final product. So, grab your sewing machine or needle and thread, and let’s embark on this exciting journey through the world of quilting stitches!
To start, let’s cover the fundamental quilting stitches that every beginner should master. The most basic of these are the straight stitch and the zigzag stitch. The straight stitch is your go-to for most quilting projects; it’s simple, efficient, and versatile. Whether you’re piecing together quilt blocks or quilting layers, this stitch is essential.
The zigzag stitch, on the other hand, adds a bit of flair while also serving a functional purpose. It can be used to finish raw edges, preventing fraying, and can also be applied as a decorative element in your quilting. Understanding these basic stitches is crucial as they form the foundation for more advanced techniques.
As you progress, you’ll find that these basic stitches can be adapted and combined with other techniques to create unique effects. For instance, layering straight stitches with decorative ones can add texture and interest to your quilt. So, don’t be afraid to experiment and find your own style!
Once you’ve mastered the basics, it’s time to explore the world of decorative stitches. These stitches can transform a simple quilt into a stunning piece of art. Decorative stitches come in various forms, including appliqué stitches, which are vital for attaching fabric pieces to your quilt. They allow you to create intricate designs and patterns, adding a personal touch to your work.
Appliqué stitches are not just about functionality; they’re about creativity. By attaching different fabric pieces to a base layer, you can create beautiful scenes or patterns. There are several techniques to achieve this, and mastering them will open up a world of possibilities for your quilting projects. For example, using a buttonhole stitch can add a decorative edge to your appliqué, while a blind hem stitch can provide a clean finish, making your quilt look polished and professional.
The buttonhole stitch is a favorite among quilters for its versatility. It’s perfect for finishing edges and adding intricate details that can elevate your quilt's aesthetic. Learning how to execute this stitch effectively can make a significant difference in your quilting projects. It’s all about practice and understanding the rhythm of your sewing machine or needle.
On the other hand, the blind hem stitch is a game-changer for those looking for a clean finish. This technique allows you to finish quilt edges without visible stitching on the front, maintaining the quilt's beauty. This stitch is particularly useful for quilts that will be displayed or used frequently, as it enhances durability while keeping the design intact.
Machine quilting has revolutionized the quilting world, offering speed and precision that hand stitching sometimes cannot match. Various machine stitches can be utilized for quilting, allowing you to create intricate designs quickly. The key is to understand your machine and the settings that work best for each stitch.
1. What is the best stitch for beginners?
The straight stitch is the best starting point for beginners, as it is simple and versatile.
2. How do I choose the right thread for my quilting project?
Consider the fabric type and the desired finish. Cotton thread is often a good choice for quilting.
3. Can I mix hand and machine stitches in my quilting?
Absolutely! Many quilters use a combination of both to achieve unique textures and finishes.
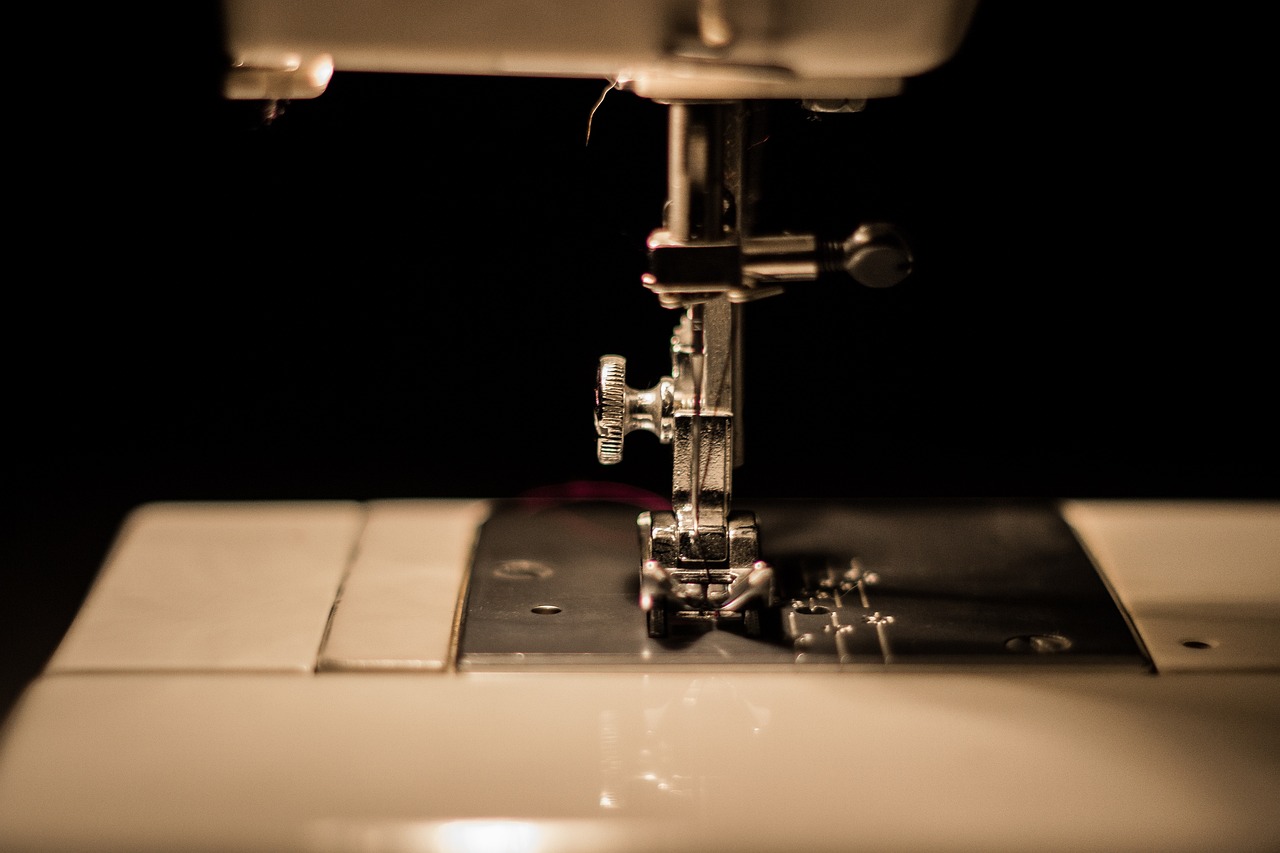
Understanding Basic Quilting Stitches
When diving into the world of quilting, understanding the basic stitches is like learning the ABCs of a new language. Every quilter, whether a novice or a seasoned pro, needs to grasp these fundamental techniques to create beautiful and cohesive projects. The two most essential stitches that form the backbone of quilting are the straight stitch and the zigzag stitch. Let’s explore these stitches and how they can elevate your quilting game.
The straight stitch is arguably the simplest yet most versatile stitch. It’s the go-to for piecing fabric together, and its straightforward nature makes it perfect for beginners. Imagine it as the foundation of a house; without it, everything else might crumble. When sewing with a straight stitch, ensure your fabric is aligned properly, and use an appropriate stitch length—typically between 2.0 to 3.0 mm. This will not only provide strength but also a neat finish.
On the other hand, the zigzag stitch is like the Swiss Army knife of quilting stitches. It’s incredibly useful for finishing raw edges, preventing fraying, and adding a decorative touch to your projects. When you think of zigzag stitches, picture the waves of the ocean—dynamic and versatile. You can adjust the width and length of the zigzag stitch depending on your fabric type and the effect you wish to achieve. For instance, a narrow zigzag is excellent for delicate fabrics, while a wider stitch can add texture and visual interest.
As you become more comfortable with these basic stitches, consider experimenting with their variations. For example, the decorative straight stitch can add a unique flair to your quilts, while the serger stitch can give a professional finish to your edges. The possibilities are endless, and this is where your creativity can truly shine.
To aid in your understanding, here’s a quick comparison table highlighting the key differences between the straight and zigzag stitches:
| Feature | Straight Stitch | Zigzag Stitch |
|---|---|---|
| Usage | Piecing fabric | Finishing edges, decorative |
| Strength | Strong and durable | Less strong, more flexible |
| Appearance | Straight line | Wave-like pattern |
| Best for | General sewing | Stretchy fabrics, decorative elements |
In conclusion, mastering basic quilting stitches is essential for anyone looking to enhance their quilting skills. The straight and zigzag stitches form the foundation of your quilting journey, allowing you to build upon them with more intricate techniques as you progress. So, grab your fabric and thread, and let’s get stitching!
Decorative Stitches for Quilting
When it comes to quilting, decorative stitches are like the icing on the cake. They can transform a simple quilt into a stunning work of art, adding personality and flair to your projects. Imagine taking a plain quilt and giving it a fresh twist with just a few creative stitches! These stitches not only enhance the visual appeal but also allow quilters to express their individuality and creativity. Whether you're looking to add some pizzazz to a traditional quilt or create a modern masterpiece, mastering decorative stitches is essential.
One of the most exciting aspects of decorative stitching is the variety available. From intricate patterns to bold designs, the choices are endless. Some popular decorative stitches include:
- Appliqué Stitches: These stitches are vital for attaching fabric pieces, allowing you to layer different materials for a unique look.
- Embellishment Stitches: Think of these as the jewelry of quilting. They can be used to add beads, sequins, or other decorative elements to your quilt.
- Free-Motion Quilting: This technique gives you the freedom to create any design you can imagine, making your quilt truly one-of-a-kind.
Each of these stitches brings its own charm and character to the quilting process. For example, appliqué stitches can create stunning visual contrasts by layering different fabrics, while embellishment stitches can add a touch of elegance and sophistication. Free-motion quilting, on the other hand, allows you to unleash your creativity, turning your quilt into a canvas for your imagination.
To help you get started, here are a few tips for incorporating decorative stitches into your quilting:
- Practice Makes Perfect: Start with simple designs and gradually move on to more complex patterns as you gain confidence.
- Choose the Right Fabric: Some fabrics hold stitches better than others, so be mindful of your choices.
- Experiment: Don’t be afraid to try new techniques and stitches. The beauty of quilting lies in its versatility!
As you dive into the world of decorative stitches, remember that each stitch tells a story. They can evoke emotions, memories, and a sense of belonging. So, whether you're crafting a quilt for a loved one or simply for yourself, let your stitches reflect your journey and creativity.
Appliqué stitches are crucial for attaching fabric pieces to a quilt. This technique allows quilters to layer different fabrics, creating a rich texture and visual interest. By using various appliqué stitches, you can achieve different effects, whether you want a clean finish or something more textured and whimsical. Consider using a combination of zigzag and straight stitches to add depth to your designs.
The buttonhole stitch is a popular choice for finishing edges and adding detail. It creates a beautiful, decorative edge that can enhance the overall look of your quilt. To execute this stitch effectively, make sure to keep your tension consistent and your stitches evenly spaced. This will ensure a professional finish that elevates your work.
If you're looking for a clean finish for quilt edges, the blind hem stitch is your go-to technique. This stitch allows you to secure the fabric without visible stitching on the front, giving your quilt a polished appearance. It’s particularly useful for quilts that will be displayed or gifted, as it adds a touch of elegance without detracting from the overall design.
In conclusion, decorative stitches are an integral part of the quilting process, allowing you to express your creativity while enhancing the beauty of your projects. As you explore different techniques and stitches, remember to have fun and let your personality shine through your work!
Q: What are some basic decorative stitches I should learn as a beginner?
A: Start with simple stitches like zigzag, straight, and appliqué stitches. These will give you a solid foundation to build upon.
Q: Can I use decorative stitches on any type of fabric?
A: While many decorative stitches can be used on various fabrics, it's essential to choose the right fabric that can hold the stitches well. Experiment to find what works best for your projects!
Q: How do I choose the right thread for decorative stitches?
A: The type of thread you choose can significantly impact the appearance of your stitches. Generally, cotton thread works well for most quilting projects, but you can experiment with specialty threads for added texture and shine.
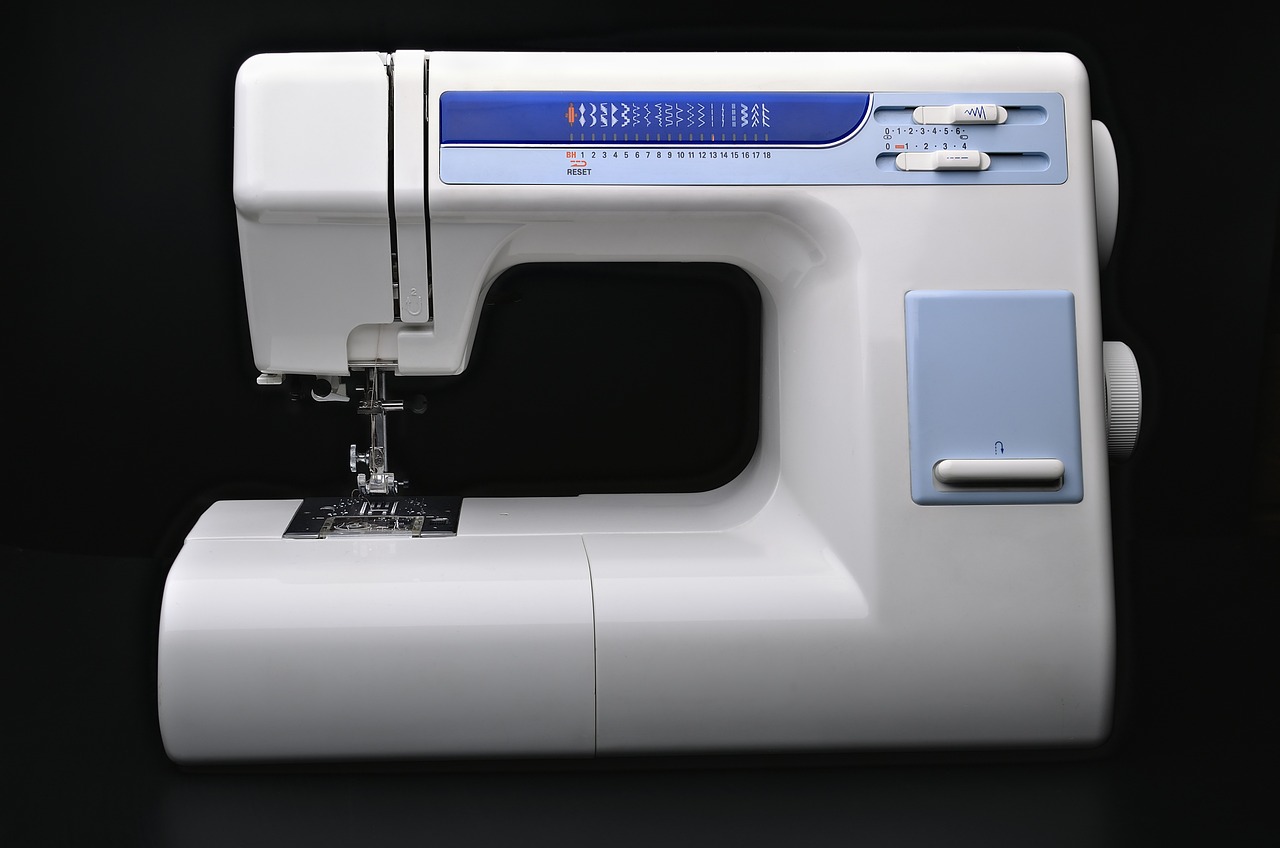
Appliqué Stitches
When it comes to quilting, play a vital role in adding character and depth to your projects. These stitches are not just about attaching fabric pieces; they are a way to express creativity and personalize your quilts. Imagine transforming a simple quilt into a vibrant tapestry of colors and textures, all thanks to the art of appliqué. Whether you’re a beginner or an experienced quilter, understanding the various techniques of appliqué stitches can elevate your craftsmanship to new heights.
At its core, appliqué is the process of sewing one fabric piece onto another, creating a layered effect that can be both functional and decorative. There are several techniques you can use, each offering its unique flair. Some of the most popular methods include the raw edge appliqué, where the edges of the fabric are left unfinished, giving a casual, modern look, and the turned edge appliqué, where the edges are tucked under for a more polished finish. Choosing the right technique can dramatically affect the overall appearance of your quilt.
To achieve beautiful appliqué designs, consider the following tips:
- Choose the Right Fabric: Lightweight fabrics work best for intricate designs, while sturdier fabrics can add dimension.
- Use Stabilizers: Employing a stabilizer can help prevent distortion during the stitching process, ensuring clean lines.
- Practice Your Stitches: Before diving into your quilt, practice on scrap fabric to perfect your technique.
One of the most common stitches used in appliqué is the zigzag stitch. This stitch is perfect for raw edge appliqué, as it secures the fabric while allowing for a bit of fraying, which can enhance the design's texture. Conversely, if you're aiming for a more refined look, the blind hem stitch can provide a nearly invisible finish, making it ideal for turned edge appliqué. The choice of stitch often depends on the desired aesthetic and the specific fabric used.
Incorporating appliqué stitches into your quilting projects is not just about technique; it's about storytelling. Each piece you add tells a story, whether it's a floral motif that represents your garden or a whimsical shape that reflects your personality. The beauty of appliqué lies in its versatility and the endless possibilities it offers. So grab your fabric, thread, and imagination, and start stitching your story today!
Q: What is the best fabric for appliqué?
A: Lightweight cotton or blends are ideal for appliqué, as they are easy to manipulate and come in various patterns and colors.
Q: Can I use a sewing machine for appliqué?
A: Absolutely! Many quilters prefer using a sewing machine for appliqué as it allows for speed and precision.
Q: How do I prevent fraying on raw edge appliqué?
A: Using a zigzag stitch or a fray check solution can help prevent fraying while adding a decorative touch to your quilt.
Buttonhole Stitch
The is a versatile and popular technique in the world of quilting, known for its ability to create a neat, finished edge while providing an attractive detail to your projects. Imagine it as the icing on the cake; it not only serves a functional purpose but also enhances the overall aesthetics of your quilt. This stitch can be used for various applications, such as securing appliqué pieces, finishing raw edges, or even creating decorative borders. Mastering the buttonhole stitch can elevate your quilting game, giving your creations that professional touch.
To execute the buttonhole stitch effectively, start by positioning the fabric pieces you want to join. As you work, keep in mind the following key steps:
- Secure the fabric: Begin by threading your needle with a strong thread that matches or complements your fabric. Knot the end of the thread and make a small stitch to anchor it.
- Stitch placement: Insert the needle from the back to the front of the fabric, pulling it through to create the first stitch. This should be at the edge of the fabric piece you're working on.
- Forming the stitch: Next, take a small bite of the fabric underneath, then pull the needle back up through the same spot where you started the first stitch, ensuring the thread loops around the edge.
- Repeat: Continue this pattern, spacing the stitches evenly to create a clean, consistent look. The distance between stitches can vary depending on your desired effect, but generally, a spacing of 1/8 to 1/4 inch works well.
One of the beauties of the buttonhole stitch is its adaptability. You can adjust the length and spacing of your stitches to create different effects, from a delicate, subtle finish to a bold, eye-catching outline. For instance, a tighter stitch may give a more refined look, while longer stitches can add a playful, whimsical touch to your quilt.
Additionally, the buttonhole stitch can be utilized in various quilting styles, whether you’re working on a traditional quilt or exploring modern designs. The key is to practice and experiment with different fabrics and threads to see what works best for your vision. So, grab your needle and thread, and let the buttonhole stitch add that extra flair to your quilting projects!
Blind Hem Stitch
The is a game-changer in the quilting world, especially when it comes to achieving a polished finish on quilt edges. Imagine you’ve spent countless hours piecing together beautiful fabrics, and now you want to ensure that the edges look just as stunning as the rest of your quilt. This is where the blind hem stitch shines! It allows you to secure the layers of your quilt while keeping the stitching nearly invisible on the front side, giving your project that professional touch.
To execute a blind hem stitch effectively, you’ll need to follow a few simple steps. First, prepare your quilt by folding the edge of the fabric under about ¼ inch. This creates a clean edge that will be hidden from view. Next, position your quilt under the sewing machine foot, ensuring that the folded edge is aligned with the guide of the foot. As you sew, the machine will catch just a few threads from the fabric on the front side, while the majority of the stitch remains concealed. This technique not only provides a neat finish but also enhances the durability of your quilt.
Here’s a quick overview of the benefits of using the blind hem stitch:
- Invisible Finish: The stitch is barely noticeable on the front, making it perfect for quilts where aesthetics matter.
- Strong Hold: It secures the layers of fabric effectively, preventing any fraying or unraveling over time.
- Versatility: This stitch can be used on various fabric types, making it a valuable addition to any quilter's toolkit.
While the blind hem stitch is relatively simple to master, it does require some practice to get the tension and alignment just right. Don’t be discouraged if your first attempts aren’t perfect; like any quilting technique, it takes time to develop your skills. Consider practicing on scrap fabric before diving into your quilt. This way, you can adjust your machine settings and get a feel for the stitch without the pressure of ruining your project.
In summary, the blind hem stitch is an essential technique for any quilter looking to achieve a clean and professional finish. By incorporating this stitch into your quilting repertoire, you’ll not only enhance the appearance of your quilts but also increase their longevity. So, grab your sewing machine and give it a try—you might just find it becomes one of your favorite stitching techniques!
Q: What is the main purpose of the blind hem stitch?
A: The blind hem stitch is primarily used to create an invisible finish on quilt edges, securing fabric layers without visible stitching on the front.
Q: Can I use the blind hem stitch on all types of fabric?
A: Yes, the blind hem stitch is versatile and can be used on a variety of fabric types, making it suitable for many quilting projects.
Q: How do I ensure the blind hem stitch is truly invisible?
A: To achieve an invisible finish, make sure to align the folded edge of the fabric correctly and adjust the stitch length and tension on your sewing machine as needed.
Q: Is the blind hem stitch durable enough for quilts?
A: Absolutely! The blind hem stitch not only looks great but also provides a strong hold, ensuring that your quilt remains intact over time.
Quilting with Machine Stitches
Machine quilting is like having a magic wand in your sewing room; it allows you to create stunning quilts with speed and precision that hand quilting simply can't match. Whether you're a seasoned quilter or just starting out, understanding the various machine stitches can elevate your quilting game to a whole new level. Imagine being able to whip up intricate designs in a fraction of the time it takes to hand stitch—sounds appealing, right?
One of the most exciting aspects of machine quilting is the versatility it offers. You can choose from a plethora of stitches, each with its unique charm and purpose. For instance, the straight stitch is your go-to for basic seams, while the zigzag stitch can add a decorative flair or help finish raw edges. But that's just the tip of the iceberg! Machine quilting opens the door to a world of creativity, allowing you to experiment with different patterns and textures.
Let’s take a closer look at some popular machine stitches that can enhance your quilting projects:
- Straight Stitch: This is the most fundamental stitch and is perfect for piecing quilt blocks together. It creates a clean, sharp line that is essential for any quilt.
- Zigzag Stitch: Ideal for finishing edges, this stitch can also be used decoratively. It adds texture and can help prevent fraying.
- Free Motion Quilting: This technique allows you to move the fabric freely under the needle, enabling you to create intricate designs and patterns. It's like drawing with thread!
When you decide to machine quilt, it's crucial to choose the right needle and thread for the job. A universal needle is often a safe bet for most quilting projects, but if you're working with thicker fabrics, you might want to opt for a quilting needle. Thread choice is equally important; cotton threads are popular for their durability and ease of use, while polyester threads offer a bit more stretch, making them suitable for more elastic fabrics.
Moreover, setting up your sewing machine for quilting can make a significant difference in your experience. Ensure that your feed dogs are lowered if you're doing free motion quilting, as this allows for smooth movement of the fabric. Also, consider using a walking foot when straight stitching through multiple layers, as it helps to evenly feed the fabric through the machine, preventing any puckering.
In summary, machine quilting is a fantastic way to bring your quilt designs to life quickly and efficiently. With the right techniques, tools, and a sprinkle of creativity, you can transform your quilting projects into stunning works of art. Don't be afraid to experiment with different stitches and settings—after all, quilting is all about expressing yourself and enjoying the process!
Q: What is the best machine for quilting?
A: The best machine for quilting largely depends on your needs. Look for features like a larger throat space, adjustable stitch length, and a variety of stitch options. Brands like Bernina, Brother, and Janome offer excellent quilting machines.
Q: Can I use my regular sewing machine for quilting?
A: Absolutely! Many quilters use their regular sewing machines for quilting. Just make sure to adjust the settings and use the right presser foot for the best results.
Q: How do I prevent fabric from shifting while quilting?
A: Using a walking foot can help feed multiple layers evenly, while basting your quilt layers together before quilting can also minimize shifting.
Q: What type of thread is best for machine quilting?
A: Cotton thread is often preferred for its strength and ease of use, but polyester thread can also be a great choice, especially for quilts that may need a bit more stretch.
Hand Quilting Techniques
Hand quilting is more than just a technique; it's an art form that has been passed down through generations. For many quilters, the act of stitching by hand is a meditative process, allowing for a unique connection between the quilter and their creation. While machine quilting has its advantages, hand quilting brings a level of intimacy and detail that is hard to replicate. In this section, we'll explore some essential hand quilting stitches that not only serve a functional purpose but also add character and charm to your quilts.
The running stitch is perhaps the most fundamental hand quilting technique. It consists of a simple series of small, evenly spaced stitches that run in a straight line. This stitch is not only easy to master but also versatile, making it perfect for both beginners and seasoned quilters alike. When you use the running stitch, you can create delicate patterns that enhance the quilt's texture and visual appeal. Think of it as the backbone of your quilt—strong, reliable, and essential for holding everything together.
Another vital technique is the whip stitch, which is often used for joining layers of fabric. This stitch is particularly useful when you want to keep the edges of your quilt neat and tidy. The whip stitch is executed by taking a small stitch through the top layer of fabric and then catching just a few threads of the underlying layer. This creates a secure hold without making the stitches visible on the front side of the quilt. Mastering the whip stitch can make your quilt look professionally finished, giving it that coveted polished look.
To help you visualize the differences between these stitches, here's a simple comparison table:
| Stitch Type | Purpose | Difficulty Level |
|---|---|---|
| Running Stitch | Basic stitching for quilting layers | Easy |
| Whip Stitch | Joining layers and finishing edges | Moderate |
Hand quilting also allows for personalization and creativity. You can experiment with various thread colors and fabrics, giving each quilt a unique flair. Imagine using a vibrant thread against a muted background fabric; the contrast can create a stunning visual effect that draws the eye. Plus, the tactile quality of hand-stitched quilts adds warmth and character, making them perfect for gifts or heirlooms.
As you delve into hand quilting, remember that practice makes perfect. Don't be disheartened if your first few attempts don't turn out as expected. Just like any art form, it takes time to develop your skills. So, grab your needle and thread, and let your creativity flow. Each stitch you make is a step closer to mastering this beautiful craft.
- What is the best thread to use for hand quilting? Cotton thread is often recommended for its strength and ease of use.
- How long should my stitches be? Aim for stitches that are about 1/4 inch in length for a balanced look.
- Can I use a thimble while hand quilting? Absolutely! A thimble can protect your fingers and help you push the needle through multiple layers of fabric.
Running Stitch
The is often regarded as the backbone of hand quilting techniques. This simple yet effective stitch is not only easy to learn but also incredibly versatile, making it a favorite among both beginners and seasoned quilters. Imagine it as the thread that binds not just fabric, but also the very essence of quilting tradition. With just a needle and thread, you can create beautiful patterns that tell a story, adding depth and character to your quilts.
To execute a running stitch, you will need to push the needle through the fabric, pulling it out on the opposite side, then repeating this process at regular intervals. The beauty of the running stitch lies in its simplicity. It can be used for various purposes, such as outlining shapes in appliqué, creating decorative patterns, or simply joining layers of fabric together. The result is a series of evenly spaced stitches that can be as subtle or as pronounced as you desire.
One of the key advantages of the running stitch is its adaptability. Whether you’re aiming for a classic look or a more contemporary aesthetic, this stitch can be tailored to suit your vision. For instance, if you want to add a touch of flair, you can experiment with different thread colors or even use multiple strands of thread to create a bolder effect. Additionally, the running stitch can be used in combination with other quilting techniques to enhance the overall design of your project.
Here's a quick breakdown of the running stitch's application:
| Application | Description |
|---|---|
| Outline Stitching | Perfect for defining shapes in appliqué and adding dimension. |
| Layer Joining | Used to hold quilt layers together securely. |
| Decorative Patterns | Can be arranged in various designs to enhance visual interest. |
When working with the running stitch, it's important to maintain consistent spacing and tension. This not only ensures a neat appearance but also contributes to the overall durability of your quilt. A common tip is to practice on scrap fabric before diving into your main project. This way, you can refine your technique and gain confidence in your stitching.
In conclusion, the running stitch is more than just a basic technique; it's a fundamental skill that opens the door to endless creative possibilities. Whether you're crafting a cozy quilt for your home or a unique gift for a loved one, mastering the running stitch will undoubtedly elevate your quilting game. So grab your needle and thread, and let your creativity flow!
- What is the best thread for running stitches? - Cotton thread is often recommended for its strength and versatility, but you can also experiment with polyester for a different finish.
- How can I ensure my running stitches are evenly spaced? - Use a fabric marking tool to lightly draw guidelines or practice on scrap fabric to develop a consistent rhythm.
- Can I use running stitches on machine quilting? - Yes, the running stitch can be mimicked on a sewing machine with a straight stitch setting, allowing for quick and precise work.
Whip Stitch
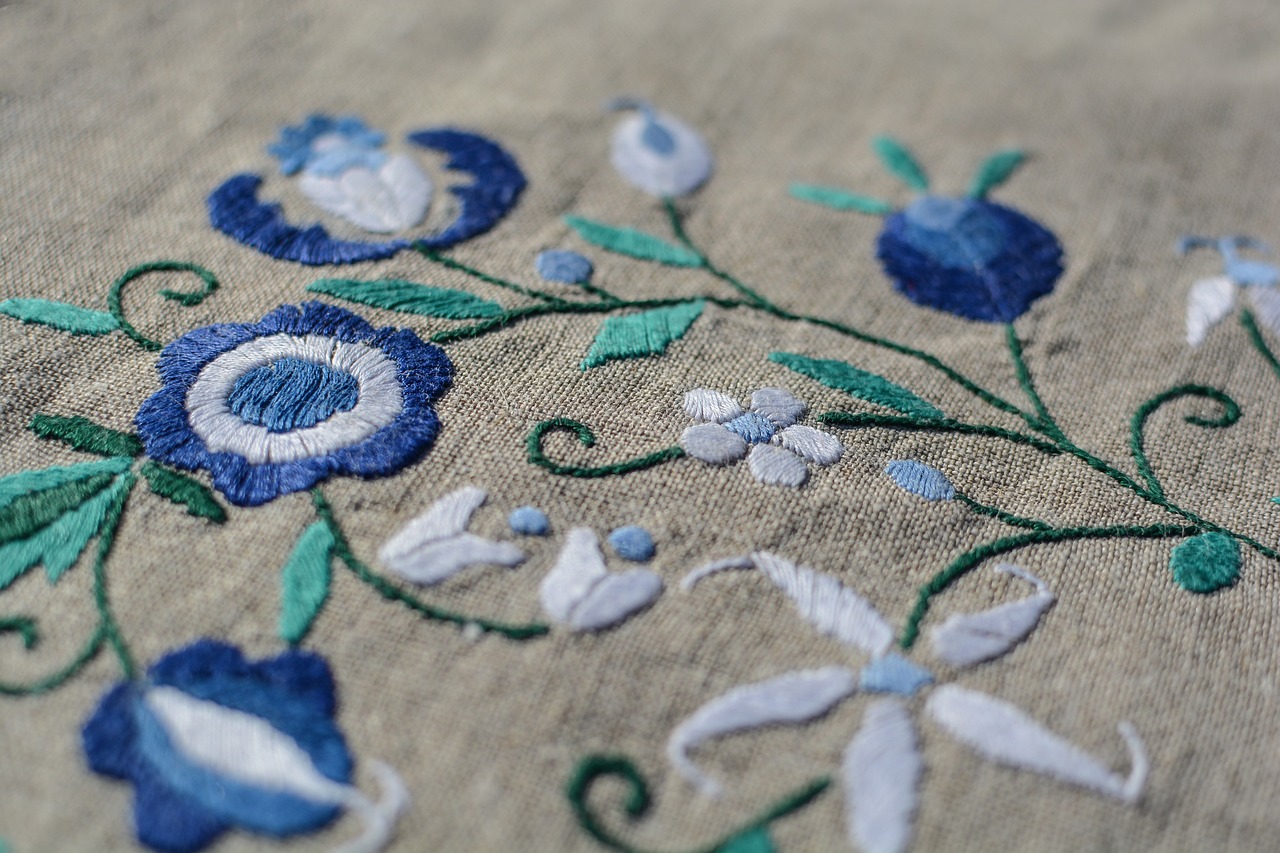
The is a fundamental hand stitching technique that quilters often rely on for joining layers of fabric seamlessly. Imagine it as the glue that holds your quilt together, ensuring that every piece is snugly in place while adding a touch of elegance to your project. This stitch is particularly beneficial when you're working with raw edges or when you need to attach a binding to the quilt's edge. It’s straightforward to learn, making it an excellent choice for both beginners and seasoned quilters alike.
To execute the whip stitch, you’ll want to start by aligning the edges of the fabrics you wish to join. Use a needle and thread that match the fabric color to keep your stitches discreet. Insert the needle from the back of the fabric to the front, taking a small bite of the top layer. Then, bring the needle down through the bottom layer, pulling the thread taut but not too tight—this ensures that your quilt remains flexible. The key is to keep your stitches evenly spaced and consistent, which will enhance the overall appearance of your quilt.
One of the best features of the whip stitch is its versatility. Not only can you use it for attaching quilt layers, but it’s also perfect for finishing the edges of appliqué pieces. For example, when you’re working on a quilt with intricate designs, the whip stitch can provide a clean, polished look that makes your work stand out. Additionally, if you’re looking to add a decorative touch, consider using contrasting thread colors to create a visible stitch that adds character to your quilt.
Here’s a quick overview of the whip stitch technique:
| Step | Description |
|---|---|
| 1 | Align the edges of the fabrics. |
| 2 | Insert the needle from the back to the front, taking a bite of the top layer. |
| 3 | Bring the needle down through the bottom layer. |
| 4 | Pull the thread taut and repeat. |
As you practice the whip stitch, you’ll find that it becomes second nature. It’s like riding a bike; once you get the hang of it, you’ll be able to whip through your quilting projects with ease. Plus, the satisfaction of seeing your layers come together flawlessly is truly rewarding. So, grab your needle and thread, and start stitching your way to beautiful quilts!
- What is the whip stitch used for? The whip stitch is primarily used for joining fabric layers and finishing edges in quilting.
- Is the whip stitch visible on the front of the quilt? If done with matching thread, the whip stitch can be nearly invisible on the front, but it can also be used decoratively with contrasting thread.
- Can I use the whip stitch for other sewing projects? Absolutely! The whip stitch is versatile and can be used in various sewing and crafting projects beyond quilting.
Choosing the Right Thread for Stitches
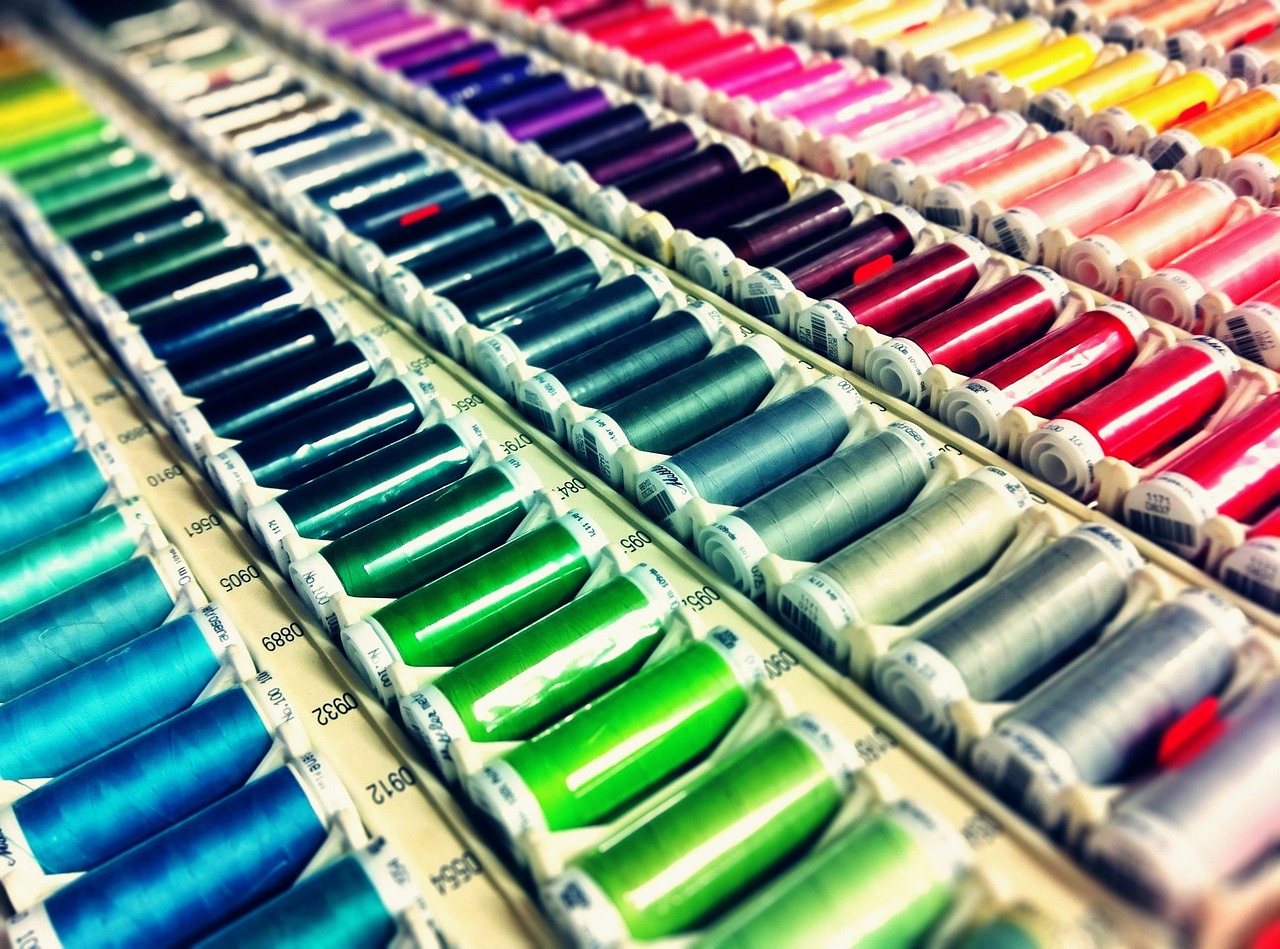
When it comes to quilting, the choice of thread can make or break your project. Selecting the right thread is not just about color; it’s about texture, weight, and material. Think of thread as the backbone of your quilt. Just as a strong foundation is essential for a sturdy house, the right thread ensures your quilt holds together beautifully and lasts for years. So, how do you make the right choice?
First, consider the material of the thread. Common options include cotton, polyester, and silk. Cotton thread is popular among quilters due to its natural feel and ability to blend seamlessly with fabric. It is ideal for hand quilting and provides a soft finish. Polyester, on the other hand, offers durability and resistance to fraying, making it a great choice for machine quilting. Silk thread is luxurious and adds a beautiful sheen, but it can be a bit more challenging to work with. Each material has its own set of advantages, so think about the look and feel you want for your quilt.
Next up is thread weight. This refers to the thickness of the thread, which can significantly impact your quilting. Thicker threads can create bold, visible stitches, while thinner threads offer a more delicate appearance. A common weight for quilting is 40-wt, which strikes a balance between durability and finesse. If you’re looking to add texture or dimension, consider using a heavier thread for decorative stitches. For piecing fabric together, a lighter thread weight can create a subtle finish that doesn’t overshadow the fabric’s design.
Additionally, you should pay attention to the color of the thread. Choosing the right hue can enhance your quilt’s overall aesthetic. You might opt for a thread that matches your fabric closely for a seamless look, or you could go for a contrasting color to make your stitches pop. Remember, a well-placed thread can be like the perfect seasoning in a dish—it enhances the flavor without overpowering the main ingredients.
Finally, let's talk about thread tension. This is crucial for achieving even stitches, whether you’re hand sewing or using a machine. If your thread tension is too tight, your stitches may pucker, while loose tension can lead to uneven stitching. It’s worth taking the time to adjust your machine settings or practice your hand technique to get this just right. A little patience can go a long way in ensuring your quilt turns out beautifully.
In summary, choosing the right thread for your quilting projects involves considering the material, weight, color, and tension. By taking the time to select the perfect thread, you not only enhance the quality of your work but also elevate your quilting experience. So, next time you’re at the fabric store, remember that your thread is just as important as your fabric!
- What type of thread is best for quilting? Cotton thread is widely recommended for quilting due to its natural feel and compatibility with most fabrics.
- How do I know which thread weight to use? A common choice is 40-wt for general quilting, but you can experiment with thicker or thinner threads depending on your project.
- Can I mix different types of thread in one quilt? Yes, but be mindful of how different materials and weights will interact with each other.
- How do I troubleshoot thread tension issues? Adjust the tension settings on your sewing machine and practice on scrap fabric to find the right balance.
Common Mistakes in Quilting Stitches
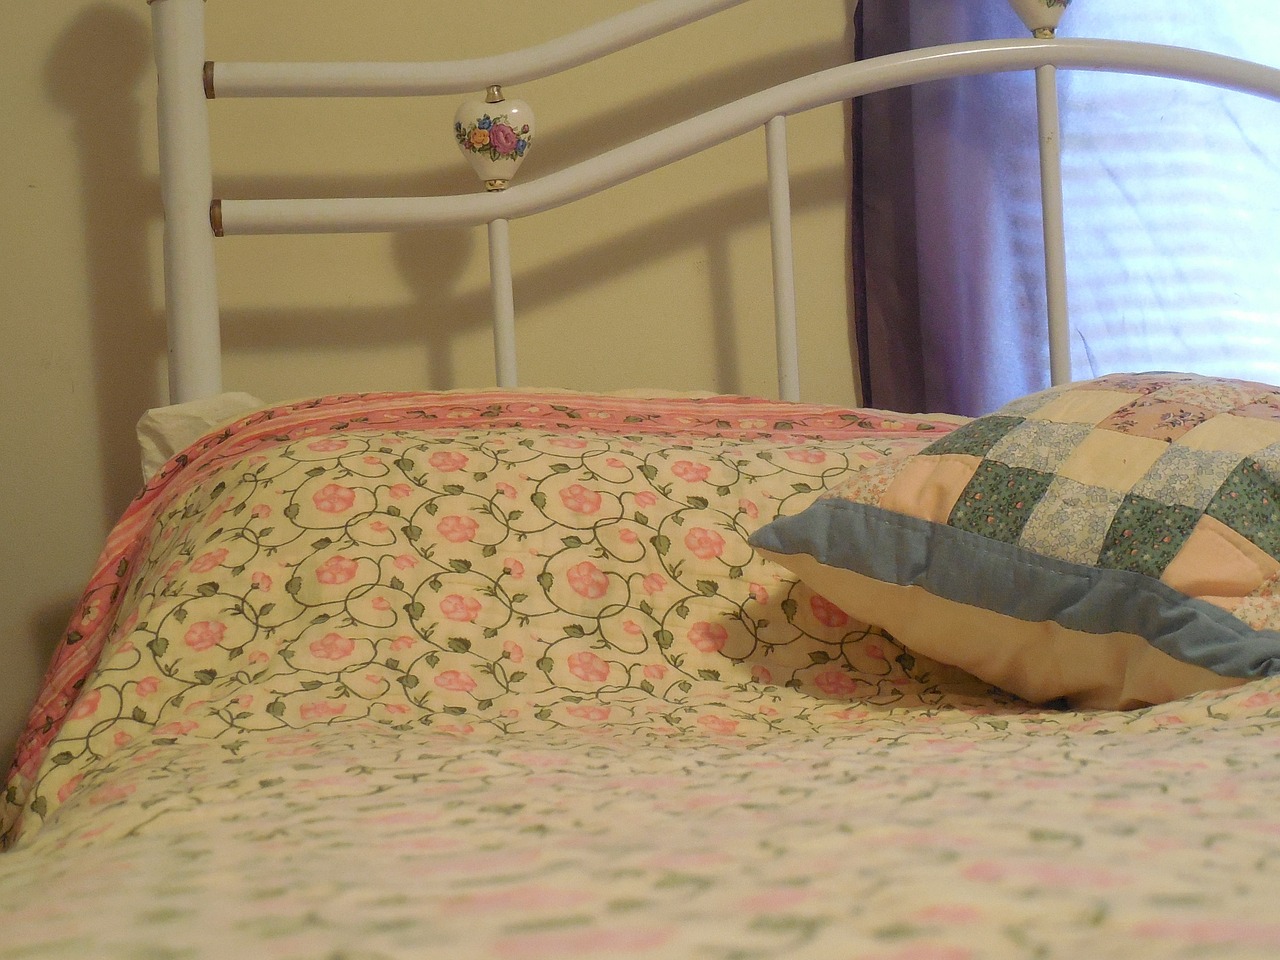
Quilting is an art that requires both skill and attention to detail. However, even the most experienced quilters can fall prey to common mistakes that may compromise their work. The journey of quilting can be as rewarding as it is challenging, and understanding these pitfalls can help elevate your craftsmanship to new heights. One of the most frequent errors is inconsistent stitch length. When stitches vary in size, it not only affects the overall aesthetic but can also lead to fabric puckering. To avoid this, try using a consistent guide, such as a marked line on your fabric or a foot with a guide.
Another mistake that many quilters make is neglecting to test their stitches on scrap fabric before starting on their actual project. This simple step can save you from a world of frustration, as it allows you to adjust tension and stitch length according to the specific fabric you’re using. Additionally, not securing your threads properly can lead to unraveling seams. Always remember to backstitch at the beginning and end of your seams. This ensures that your hard work stays intact.
Furthermore, many quilters underestimate the importance of choosing the right needle for the job. Using the wrong needle type can result in skipped stitches or damage to the fabric. For instance, a universal needle is great for most fabrics, but if you’re working with delicate materials, a finer needle is essential. It’s like trying to cut a cake with a butter knife; it just won’t work well!
Lastly, one of the biggest mistakes is not taking breaks. Quilting can be a time-consuming process, and fatigue can lead to careless errors. Make sure to step away occasionally to refresh your mind and eyes. Remember, the journey of quilting should be enjoyable, not a race!
| Mistake | Solution |
|---|---|
| Inconsistent stitch length | Use a guide for uniformity |
| Neglecting to test stitches | Always test on scrap fabric |
| Improper thread securing | Backstitch at seams |
| Wrong needle choice | Select appropriate needle type |
| Not taking breaks | Step away to refresh |
Q: What is the best way to avoid puckering in my quilt?
A: To avoid puckering, maintain a consistent stitch length and use the right tension settings on your sewing machine. Always test on scrap fabric first!
Q: How can I ensure my stitches are secure?
A: Always backstitch at the beginning and end of your seams to secure your stitches. This will help prevent unraveling over time.
Q: What needle should I use for quilting?
A: A universal needle works for most fabrics, but for delicate materials, opt for a finer needle to avoid damaging the fabric.
Q: How often should I take breaks while quilting?
A: It’s best to take short breaks every hour or so to rest your eyes and hands, which can help you maintain focus and avoid mistakes.
Innovative Stitches in Modern Quilting
In the world of quilting, innovation is the name of the game. Modern quilters are not just sticking to traditional techniques; they are breaking the mold and exploring new horizons with their stitching. The beauty of quilting lies in its adaptability, and today’s quilters are harnessing technology and creativity to develop stitches that add both functionality and flair to their projects. Have you ever wondered how a simple stitch can transform a quilt into a stunning piece of art? Let’s dive into some of the innovative stitches that are making waves in the quilting community.
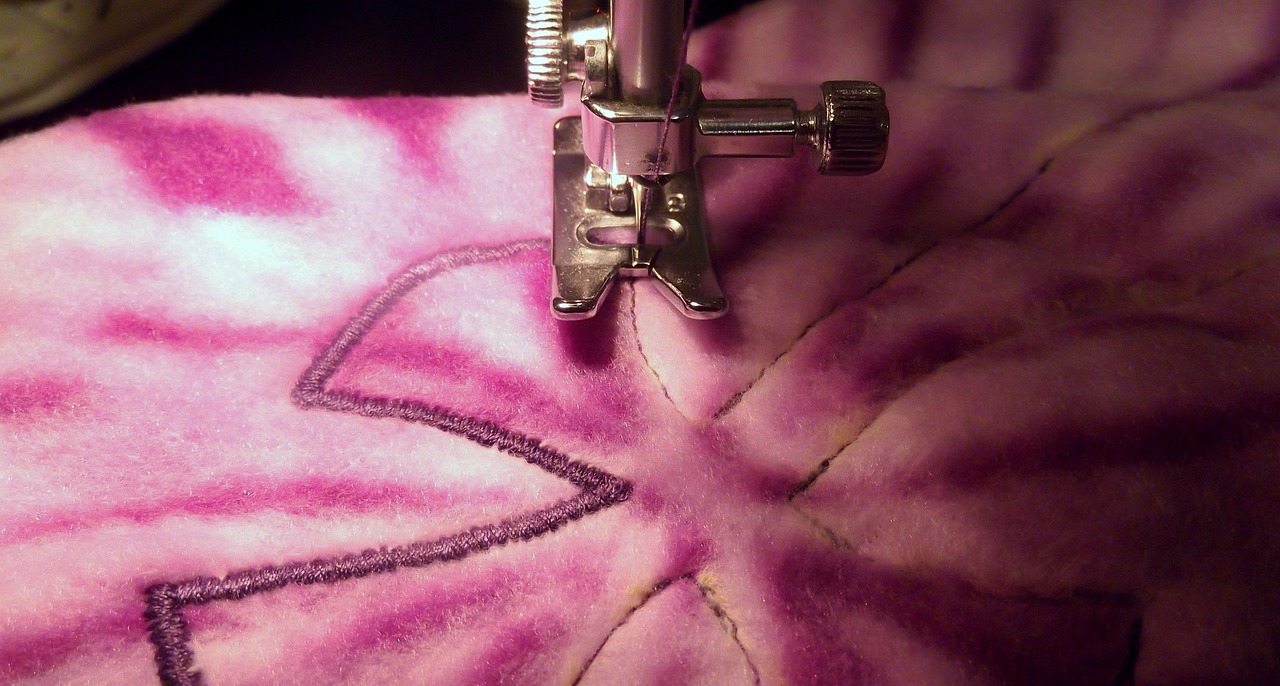
One of the most exciting trends in modern quilting is the use of free-motion quilting. This technique allows quilters to create intricate designs by moving the fabric freely under the needle. Unlike traditional quilting, where stitches follow a set path, free-motion quilting lets your imagination run wild. You can create anything from swirling patterns to detailed motifs, making each quilt a unique masterpiece. The thrill of seeing your ideas come to life with every stitch is what keeps many quilters hooked!
Another innovative approach is the use of variegated threads. These threads change color as you sew, adding depth and dimension to your quilts. Imagine using a thread that transitions from a deep blue to a bright turquoise as you quilt a wave pattern. This technique not only enhances the visual appeal of your work but also allows you to experiment with color in ways you never thought possible. The right thread can make your stitches pop and elevate your quilt from ordinary to extraordinary.
Moreover, modern quilters are embracing digital technology to create unique stitch patterns. With the advent of computerized sewing machines, quilters can now design custom stitches that reflect their personal style. These machines come equipped with software that allows users to create intricate designs that can be saved and reused. This innovation has opened up a world of possibilities, making it easier than ever to add a personal touch to every quilt.
To illustrate the impact of these innovative stitches, let’s take a look at a few examples:
| Stitch Type | Description | Application |
|---|---|---|
| Free-Motion Quilting | Allows for creative, unrestricted stitching | Creating intricate designs and patterns |
| Variegated Threads | Threads that change color while sewing | Adding depth and dimension to quilts |
| Digital Stitch Patterns | Custom designs created using sewing machine software | Personalizing quilts with unique designs |
As you can see, the world of quilting is constantly evolving, and these innovations are just the tip of the iceberg. Quilters are now experimenting with techniques like raw edge appliqué, where fabric edges are left unstitched for a more casual look, and trapunto, a method that creates a raised effect in the quilt. The possibilities are endless, and it’s this spirit of exploration that keeps the quilting community vibrant and engaged.
So, whether you’re a seasoned quilter or just starting out, don't be afraid to embrace these innovative stitches. They can breathe new life into your projects and help you express your creativity in ways you never imagined. Remember, quilting is not just about following rules; it’s about making your mark and telling your story through fabric and thread. So grab your needle, thread, and let your imagination run wild!
Q1: What is free-motion quilting?
A: Free-motion quilting is a technique that allows you to move the fabric freely under the needle, enabling you to create intricate designs without following a set path.
Q2: How do variegated threads enhance quilting?
A: Variegated threads change color as you sew, adding depth and dimension to your quilts, making them visually striking and unique.
Q3: Can I create custom stitch patterns with my sewing machine?
A: Yes! Many modern sewing machines come with software that allows you to design and save custom stitch patterns, enabling you to personalize your quilts.
Frequently Asked Questions
- What are the basic quilting stitches I should know as a beginner?
As a beginner, it’s essential to master basic stitches like the straight stitch and zigzag stitch. These foundational stitches form the backbone of quilting and help you get comfortable with your sewing machine or needlework.
- What are decorative stitches and how can they enhance my quilting projects?
Decorative stitches are unique stitching techniques that add flair and personality to your quilts. By incorporating these stitches, you can transform ordinary designs into stunning works of art, making your projects stand out.
- What is an appliqué stitch and why is it important?
An appliqué stitch is used to attach fabric pieces to a quilt, allowing for creative designs and patterns. Mastering this technique is crucial for any quilter looking to add dimension and detail to their work.
- How do I execute a buttonhole stitch effectively?
To execute a buttonhole stitch, start by bringing your needle up through the fabric, then create a small loop by going back down near the original point. Repeat this process, keeping the loops evenly spaced for a professional finish.
- What is the purpose of a blind hem stitch in quilting?
The blind hem stitch is perfect for finishing quilt edges without visible stitching on the front. It provides a clean and polished look, making it an excellent choice for quilts that will be displayed or gifted.
- What should I consider when choosing the right thread for quilting stitches?
When selecting thread, consider the type of fabric you're using, the stitch technique, and the desired finish. Different threads can dramatically affect the look and durability of your quilting, so choose wisely!
- What are some common mistakes to avoid in quilting stitches?
Common mistakes include uneven tension, incorrect stitch length, and using the wrong needle type. Being aware of these pitfalls and taking steps to avoid them can help you achieve flawless results in your quilting projects.
- How has modern quilting changed the way we use stitches?
Modern quilting embraces innovative stitching techniques, allowing quilters to experiment and push boundaries. This evolution has led to unique designs and styles that reflect contemporary aesthetics and creativity.


