Organizing Your Sewing Room: Tips and Tricks
Are you ready to transform your sewing room into a haven of creativity and productivity? Organizing your sewing space is not just about tidying up; it's about creating an environment where your imagination can run wild and your projects can thrive. A well-organized sewing room can enhance your creativity, making it easier to find inspiration and get to work. Imagine walking into a space where everything is in its place, and you can easily access your tools and materials. Sounds dreamy, right? Let’s dive into some practical tips and tricks that will help you achieve this sewing sanctuary.
Before you start rearranging furniture and buying storage containers, take a moment to assess your space. Understanding the dimensions and layout of your sewing room is crucial. Grab a tape measure and jot down the measurements of your room. Consider the following:
- Layout: How is your room currently organized? Are there any awkward corners or spaces that could be better utilized?
- Natural Light: Where does the light come from? Positioning your workstation near a window can make a world of difference.
- Access Points: Ensure that your sewing machine and tools are easily accessible without having to navigate around clutter.
Once you have a clear picture of your space, identify areas for improvement. Perhaps you have a corner that’s just begging for a cozy chair or a wall that could use some shelves. Remember, the goal is to create a space that feels inviting and functional.
Now that you’ve assessed your space, it’s time to choose the right storage solutions. Selecting appropriate storage options is essential for keeping your sewing supplies organized. The right storage can make everything from fabric to thread easily accessible. Here are some popular storage solutions that cater to various needs:
- Bins and Baskets: Perfect for storing fabric scraps, tools, and notions.
- Drawer Units: Great for keeping smaller items organized and out of sight.
- Clear Containers: Ideal for visibility, allowing you to see what you have at a glance.
When selecting storage, consider your personal style. Do you prefer a modern look with sleek containers, or do you lean towards a more rustic vibe with wicker baskets? Whatever your preference, make sure your storage solutions are both functional and aesthetically pleasing.
One of the most effective ways to enhance organization is by maximizing vertical space. Think about it: your walls are an untapped resource! Creative use of shelves, pegboards, and wall-mounted storage can keep your sewing area tidy while freeing up valuable floor space. Here are some ideas:
Wall-mounted organizers are perfect for keeping frequently used tools within reach. You can install pegboards to hang scissors, rulers, and other tools. Not only does this save space, but it also adds a fun, creative element to your room. When choosing and installing these organizers, consider:
- Placement: Install them at a height that’s comfortable for you.
- Accessibility: Ensure your most-used tools are easy to grab.
Open shelving can add both functionality and style to your sewing room. Display your fabric and supplies attractively while keeping them accessible. Color-coordinated fabrics or neatly arranged jars of buttons can turn your shelves into a decorative feature. Just remember to keep the items you use most often at eye level for easy access.
Organizing your drawers and containers is vital for a clutter-free workspace. Consider sorting and categorizing your supplies into specific groups. For instance, you could have one drawer for threads, another for needles, and a third for patterns. This way, you won’t have to dig through a jumbled mess when you’re in the creative zone. It’s all about making your supplies work for you!
A well-designed workstation enhances productivity. Consider how you can set up your sewing area for comfort and efficiency. Think about the ergonomics of your workstation. Your sewing machine should be at a comfortable height, and your chair should support good posture. You want to be able to sew for hours without feeling strained or fatigued.
Incorporating ergonomic principles into your sewing room design can prevent strain and injury. Adjust your chair and table height as needed. Consider using a chair with lumbar support and a footrest to keep your posture aligned. Remember, a comfortable sewing experience can lead to longer, more enjoyable creative sessions!
Proper lighting is crucial for detailed sewing tasks. Natural light is fantastic, but it’s not always available. Consider adding task lighting, such as adjustable lamps or LED strips, to brighten your workspace. Good lighting reduces eye strain and helps you see your work clearly, making it easier to create beautiful projects.
Once your sewing room is organized, maintaining that order is key. Set aside a few minutes at the end of each sewing session to tidy up. Put tools back in their designated spots and clear off your workspace. Consider creating a cleaning schedule to keep everything in check. This way, you can enjoy your sewing space without the burden of clutter weighing you down.
Q: How can I maximize small sewing room space?
A: Use vertical storage solutions like shelves and pegboards, and keep your workspace clear of unnecessary items.
Q: What are some budget-friendly storage options?
A: Look for bins, baskets, and organizers at thrift stores or use repurposed items from around your home.
Q: How often should I reorganize my sewing room?
A: It’s a good idea to reassess your space every few months or whenever you notice it becoming cluttered.
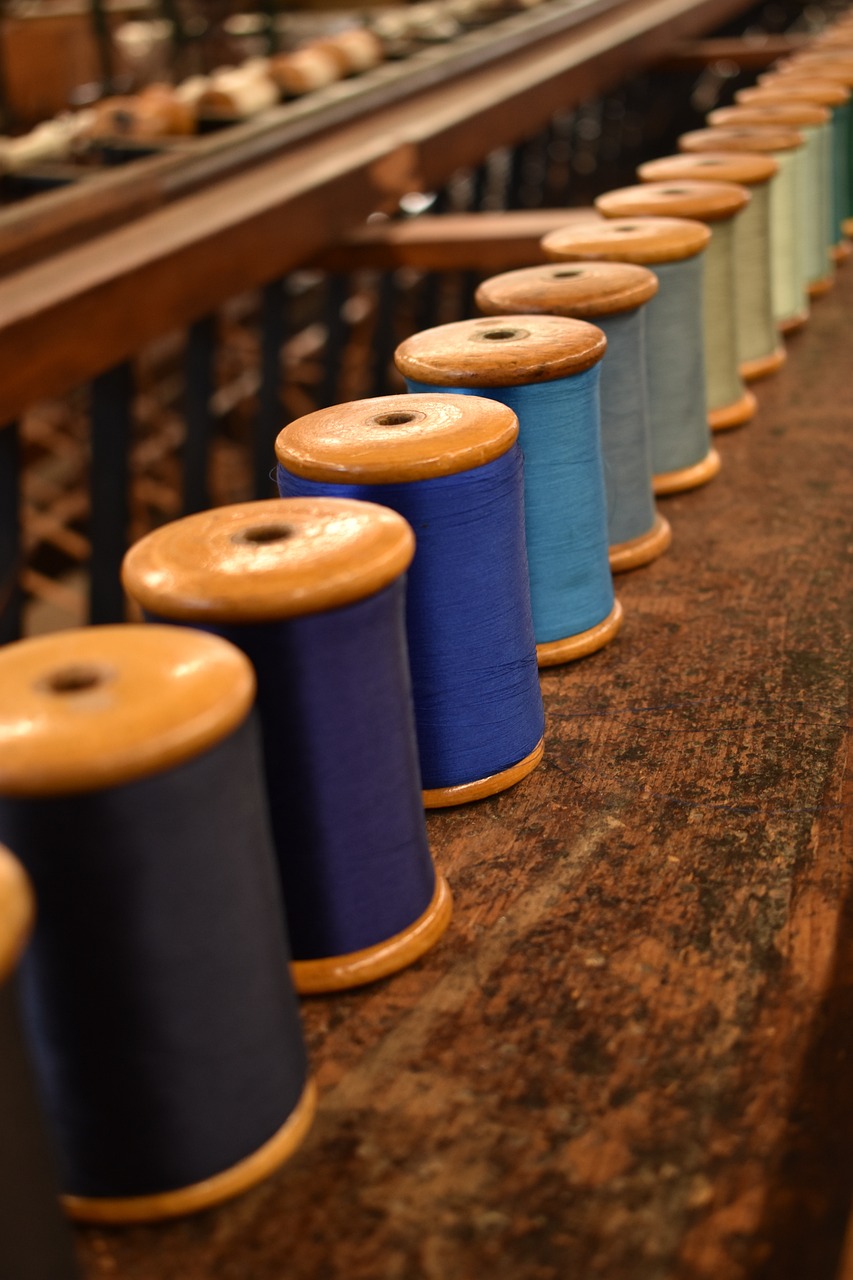
Assessing Your Space
Understanding the dimensions and layout of your sewing room is crucial to creating an efficient and inspiring workspace. When you first step into your sewing room, take a moment to observe the space around you. Is it cramped, cluttered, or does it feel just right? Assessing your space involves more than just measuring the floor area; it requires a keen eye for how you currently use the space and how you can improve it. Start by considering the following aspects:
- Dimensions: Measure the length, width, and height of your sewing room. This will help you understand what furniture and storage solutions will fit comfortably.
- Layout: Evaluate the current arrangement of your furniture. Is your sewing machine easily accessible? Are your tools within reach?
- Natural Light: Identify where the natural light comes from. Good lighting can significantly enhance your sewing experience.
- Traffic Flow: Consider how you move around the room. Is there enough space to maneuver comfortably, or do you find yourself bumping into things?
Once you have a clear picture of your sewing room's dimensions and layout, it's time to think about how you can optimize it. For instance, if your room is small, consider using multifunctional furniture, such as a sewing table that can double as a cutting area. If you have ample space, you might want to create distinct zones for different tasks—like cutting, sewing, and storing supplies—to streamline your workflow.
Additionally, think about the emotional aspect of your sewing room. Does it inspire creativity? Are there elements that make it feel cluttered or uninviting? Sometimes, a fresh coat of paint or adding personal touches like artwork or plants can transform a space from mundane to magical. Remember, your sewing room should be a reflection of your personality and a haven for your creativity.
As you assess your space, jot down notes or create a simple sketch of your room. This will help you visualize potential changes and improvements. You might find that even small adjustments can lead to a more organized and enjoyable sewing experience. Don't hesitate to think outside the box—perhaps a corner shelf or a rolling cart can provide the additional storage you need while keeping everything within arm's reach.
In summary, assessing your sewing room is the first step toward creating an organized and functional space. By understanding your room's dimensions, layout, and emotional impact, you can make informed decisions about how to optimize your sewing area for maximum creativity and productivity. So, grab a measuring tape, a notepad, and start envisioning the sewing room of your dreams!
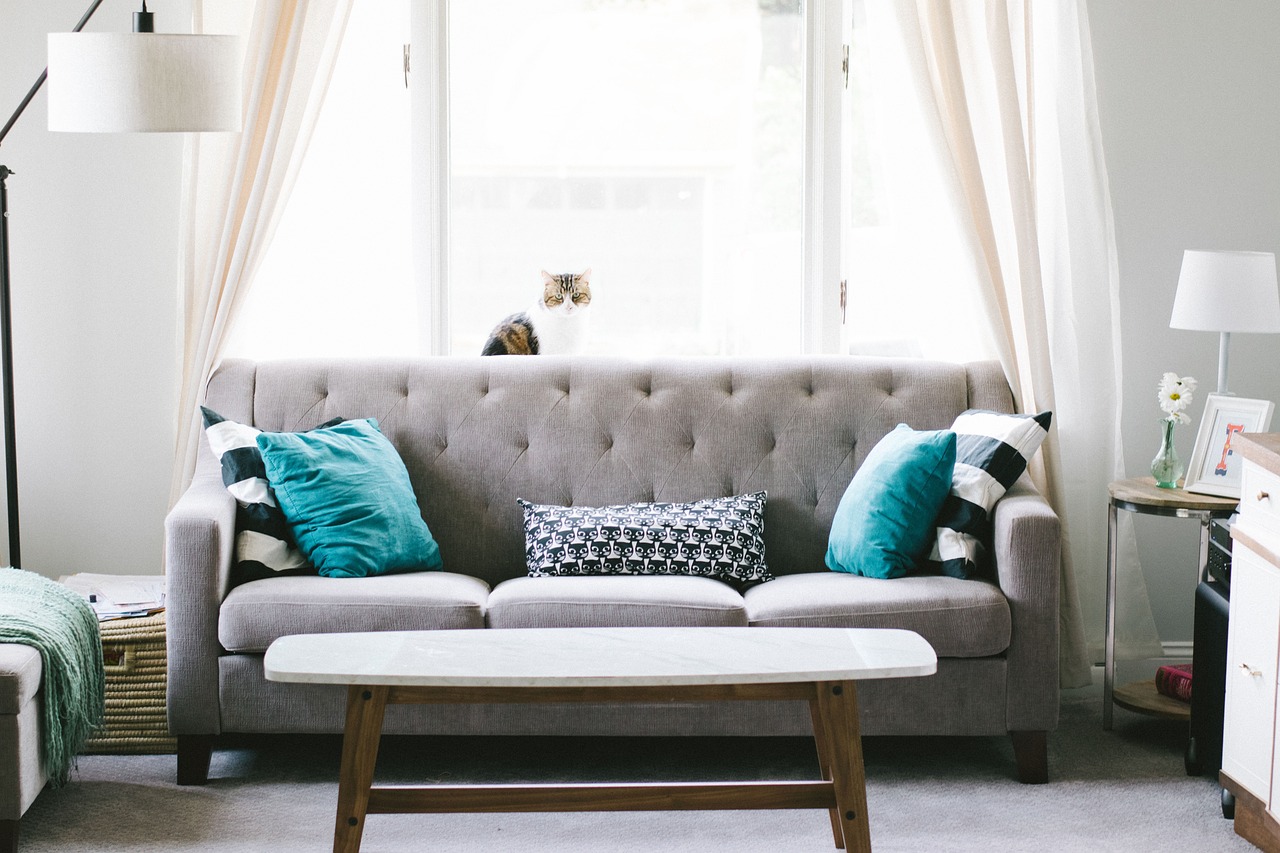
Choosing the Right Storage Solutions
When it comes to organizing your sewing room, choosing the right storage solutions is absolutely essential. Think of your sewing supplies as puzzle pieces; if you don’t have the right box to store them in, you’ll never be able to see the full picture. The ideal storage system not only keeps your materials in order but also makes it easier to access what you need when creativity strikes. So, how do you choose the best options for your space? Let’s dive into some practical and innovative ideas.
First and foremost, consider the types of materials you work with. Are you a fabric hoarder with stacks of colorful textiles, or do you lean more toward intricate notions and tools? Understanding your inventory is crucial. For instance, if you have a large fabric collection, you might want to invest in clear bins or shelves that allow you to see your options at a glance. On the other hand, if you have a plethora of small tools, drawer organizers can keep them sorted and easy to find.
Another factor to consider is the available space. Is your sewing room a cozy nook or a spacious studio? The solutions you choose will depend largely on your room's dimensions. For small spaces, vertical storage options like wall-mounted shelves or pegboards can be a game-changer. These solutions utilize the often-overlooked vertical space, allowing you to keep your floor area free for sewing projects. Imagine transforming a blank wall into a vibrant display of fabrics and tools, all while saving precious floor space!
Here are some popular storage solutions to consider:
- Fabric Bins: Use clear bins to store fabrics by color or type. This not only keeps them organized but also makes it easy to grab what you need.
- Drawer Organizers: These are perfect for small items such as threads, scissors, and buttons. You can customize them to fit your drawers perfectly.
- Rolling Carts: A mobile storage cart can be moved around your sewing room as needed, making it a versatile option for keeping supplies handy.
Don’t forget about the importance of labeling. Whether you use a label maker or simple tags, clear labels can save you a ton of time when searching for supplies. Imagine sifting through a chaotic drawer of sewing notions—frustrating, right? Now picture opening a neatly labeled drawer and finding exactly what you need in seconds. That’s the magic of organization!
Lastly, think about your personal style. Your sewing room should be a reflection of your creativity. Choose storage solutions that not only function well but also look great. For example, decorative baskets can add a touch of charm while keeping your space tidy. By incorporating both practicality and aesthetics, you create an environment that inspires your sewing projects.
In summary, selecting the right storage solutions is about understanding your needs, maximizing your space, and infusing your personal style into your sewing room. With the right approach, you can transform a cluttered space into a well-organized haven that fuels your creativity. Now, let’s keep that momentum going and explore how to create a functional workstation!

Utilizing Vertical Space
When it comes to organizing your sewing room, one of the most underutilized areas is the vertical space. Think about it: your walls are just waiting to be transformed into a treasure trove of organization! By maximizing this often-overlooked area, you can not only free up valuable floor space but also create an inspiring environment that fuels your creativity. Imagine walking into your sewing room and having everything you need right at your fingertips, neatly displayed and easily accessible. Sounds dreamy, right?
One of the best ways to start utilizing vertical space is by installing shelves. Not only do they provide a perfect platform for storing fabrics and supplies, but they also allow you to showcase your favorite materials. You could opt for open shelving, which adds a decorative touch while keeping everything visible. Just picture your beautifully arranged fabric rolls, color-coordinated and ready to inspire your next project! If you’re worried about dust, consider using clear storage bins on the shelves to keep everything tidy yet visible.
Another fantastic option is to incorporate pegboards into your sewing room. These versatile boards allow you to hang tools, scissors, and other frequently used items, keeping them within easy reach. You can customize your pegboard with hooks and baskets to suit your specific needs. For instance, you might have a section for scissors, another for threads, and even a small basket for your measuring tape. This not only keeps your tools organized but also adds a splash of personality to your walls!
Wall-mounted organizers are also a game-changer. They can be as simple as a few magnetic strips for holding metal tools or more complex systems with various compartments for different supplies. The beauty of these organizers is that they can be placed at eye level, making it so much easier to grab what you need without digging through drawers. Plus, they can be a fun DIY project! You can paint them to match your decor, making your sewing room a true reflection of your style.
To give you an idea of how you might set up your vertical space, here’s a simple layout:
| Vertical Space Solution | Description |
|---|---|
| Shelves | Open shelving for fabric and supplies, decorative and functional. |
| Pegboards | Customized hanging solutions for tools and accessories. |
| Wall-Mounted Organizers | Magnetic strips or compartment organizers for easy access. |
Finally, don’t forget about the power of hooks! They can be installed on walls or the side of furniture. You can hang everything from spools of thread to bags of notions. This not only keeps your supplies organized but also adds a pop of color to your space. Just imagine a vibrant array of threads hanging on the wall, ready to inspire your creativity!
Utilizing vertical space in your sewing room is all about thinking outside the box and making the most of what you have. By incorporating shelves, pegboards, wall-mounted organizers, and hooks, you can create a functional and stylish workspace that encourages your creativity to soar. So, take a moment to look up and see the potential that your walls hold—you might be surprised at how much more organized and inspiring your sewing room can become!
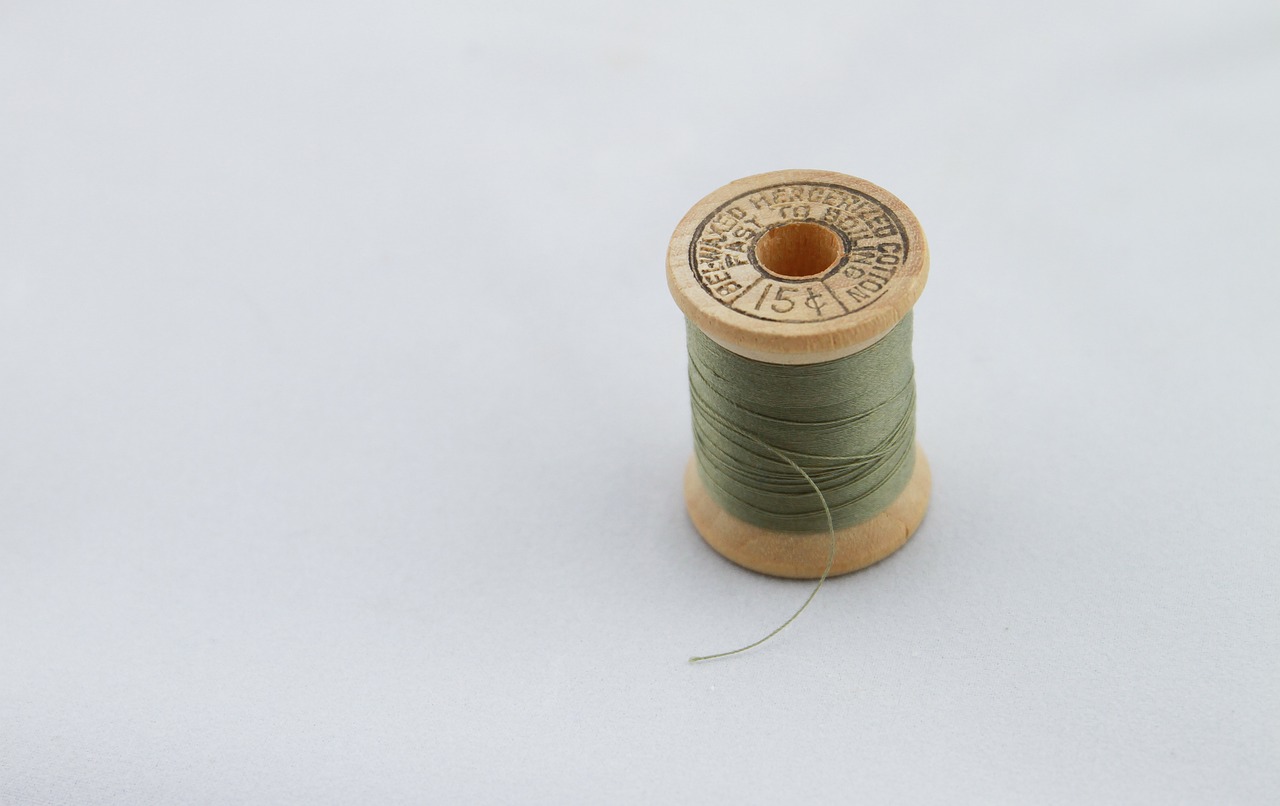
Wall-Mounted Organizers
When it comes to organizing your sewing room, are a game changer. They not only save precious floor space but also keep your tools and supplies within reach, making your sewing experience more efficient and enjoyable. Imagine walking into your sewing room and seeing everything neatly arranged on the walls, ready for you to grab at a moment's notice. It’s like having your own mini craft store right at your fingertips!
To get started, consider the types of wall-mounted organizers that best suit your needs. There are various options available, from simple hooks and pegboards to more elaborate shelving systems. Each has its unique benefits. For instance, pegboards allow you to customize your layout easily. You can move hooks around to accommodate different tools, ensuring that your most-used items are always accessible. Plus, they come in various colors and styles, so you can choose one that matches your aesthetic.
When selecting wall-mounted organizers, think about the tools and supplies you use most often. If you frequently reach for scissors, rotary cutters, or measuring tapes, consider placing them in a dedicated area on your wall. You might even create a designated “tool zone” where all your essential tools live. This way, you won’t waste time rummaging through drawers or bins when you’re in the creative zone.
Another fantastic option is to use magnetic strips to hold metal tools. These strips can be mounted on the wall and are perfect for keeping scissors and other metal items visible and easy to grab. Just picture it: a sleek, modern look with your tools displayed like art! Not only does this keep your space tidy, but it also adds a touch of flair to your sewing room.
As you plan your wall-mounted organizers, keep in mind the overall layout of your sewing room. You want to ensure that everything is within arm's reach while also maintaining a clear workspace. Consider the height at which you place your organizers. If you’re short on space, utilizing higher areas can help keep things off your work surface, but make sure you can still access everything comfortably. A good rule of thumb is to keep frequently used items at eye level.
Finally, don’t forget about the aesthetic appeal of your wall-mounted organizers. They can be both functional and stylish! Consider using decorative boxes or baskets to store smaller items like threads, buttons, and other notions. This not only keeps your supplies organized but also adds a pop of color and personality to your sewing room.
In summary, wall-mounted organizers are an essential aspect of any well-organized sewing room. They maximize space, improve accessibility, and can even enhance the overall look of your creative area. So, roll up your sleeves and get ready to transform your sewing space into a haven of creativity and productivity!
- What are the best materials for wall-mounted organizers?
Wood, metal, and plastic are popular choices. Metal pegboards are versatile, while wooden shelves can add warmth and style.
- How do I install wall-mounted organizers?
Most organizers come with installation kits. Make sure to use wall anchors if you're hanging heavy items, and always follow the manufacturer's instructions.
- Can I customize my wall-mounted storage?
Absolutely! Many organizers allow for adjustable hooks and shelves, so you can tailor the setup to fit your specific tools and supplies.
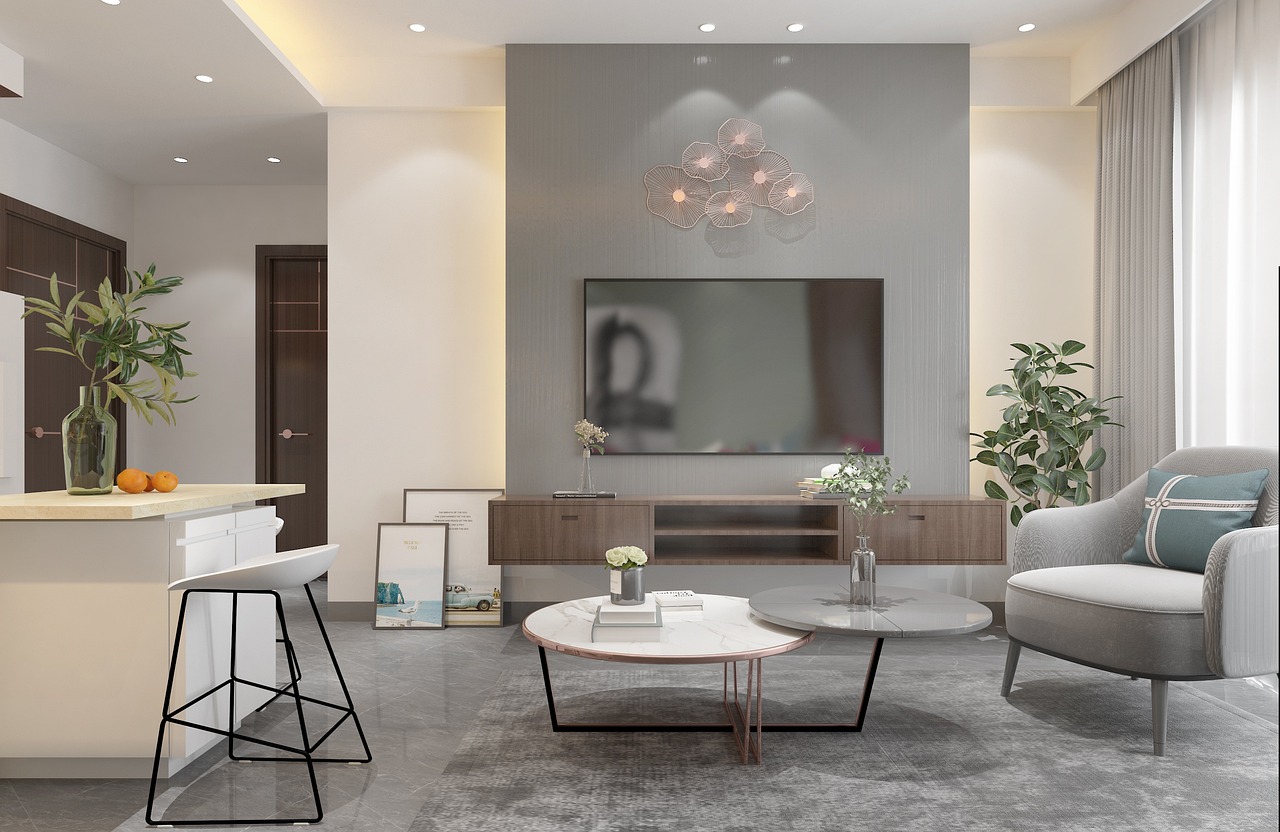
Open Shelving Ideas
Open shelving in your sewing room isn't just about storage; it’s an opportunity to showcase your creativity! Imagine your vibrant fabrics, colorful threads, and unique tools all displayed like a work of art. This approach not only keeps your supplies accessible but also transforms your space into a source of inspiration. When considering open shelving, think about both functionality and aesthetics. You want your shelves to be practical, but they should also reflect your personal style.
One fantastic idea is to use floating shelves. These shelves can be mounted at various heights, allowing you to create a visually appealing arrangement. You could place your most-used items at eye level for easy access, while less frequently used supplies can be stored higher up. By mixing and matching shelf sizes, you can create a dynamic look that breaks the monotony of traditional shelving. Additionally, consider using decorative baskets or bins on these shelves to organize smaller items while keeping the overall look tidy.
Another option is to incorporate glass-front cabinets into your design. These cabinets allow you to display your beautiful fabrics while keeping them dust-free. You can categorize your materials by color or type, making it easy to find what you need at a glance. Plus, the transparency of glass adds a touch of elegance to your sewing room. Don't forget to accessorize these cabinets with some stylish labels to enhance organization and add a personal touch!
For those who love a more rustic vibe, reclaimed wood shelves can add character to your sewing space. Not only are they eco-friendly, but they also provide a sturdy and stylish option for displaying your sewing supplies. You can complement these shelves with vintage jars for buttons and threads, creating a charming, cohesive look. The combination of natural textures and colorful supplies can make your sewing room feel inviting and warm.
Lastly, consider utilizing pegboards as part of your open shelving system. Pegboards are incredibly versatile and can be customized to fit your needs. Hang tools, scissors, and even small containers filled with buttons or needles for a functional yet stylish display. You can paint the pegboard in a color that complements your room or even cover it with fabric for a softer look.
In conclusion, open shelving can significantly enhance your sewing room's organization and aesthetic appeal. By mixing practical solutions with your personal style, you can create an inspiring workspace that keeps your supplies at your fingertips. Remember, the key is to maintain a balance between functionality and creativity, ensuring that your sewing area remains both efficient and enjoyable to work in.
- What materials are best for open shelving? - Wood, metal, and glass are popular choices, each offering unique aesthetics and durability.
- How can I prevent dust from settling on my open shelves? - Consider using decorative boxes or jars to store smaller items, and regularly clean your shelves to minimize dust buildup.
- Can I mix different types of shelving? - Absolutely! Combining different styles can create an eclectic and personalized look in your sewing room.
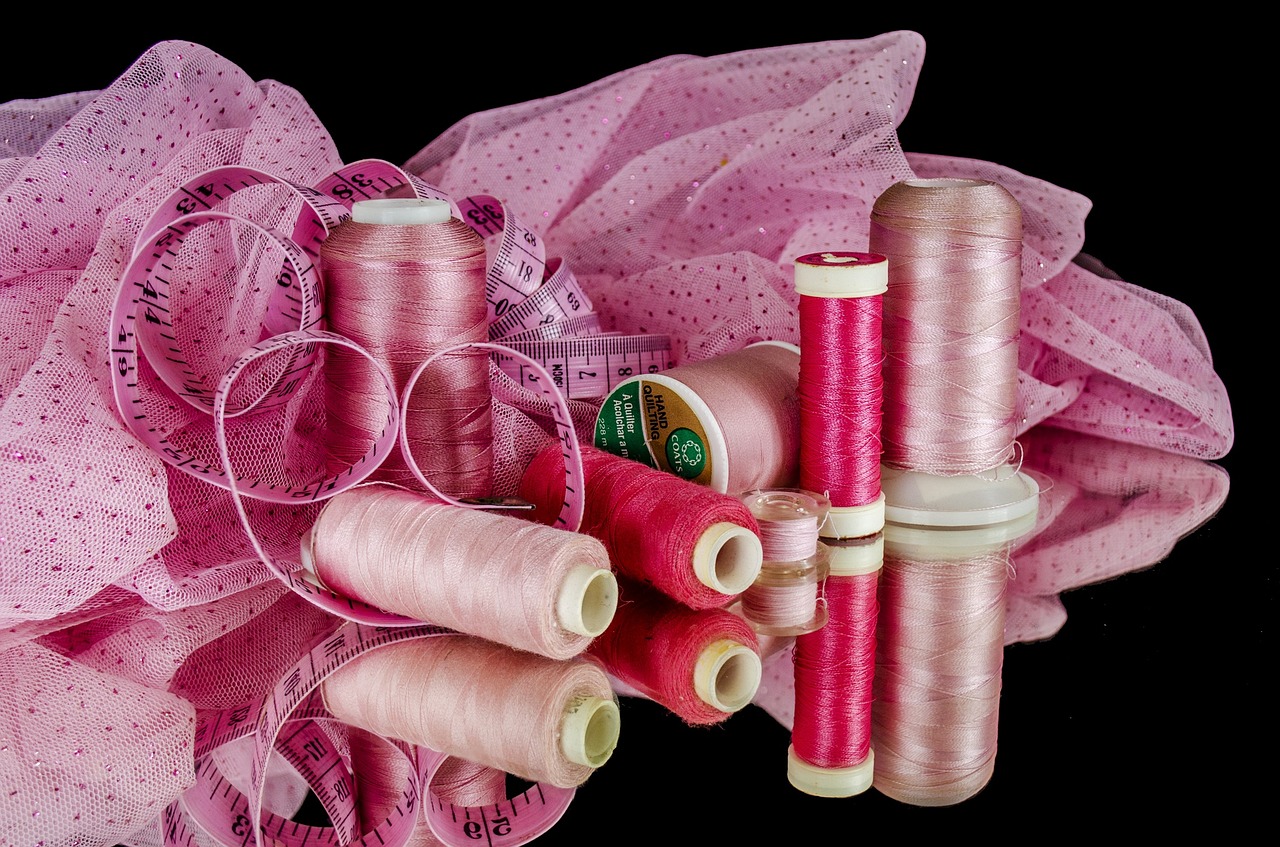
Drawer and Container Organization
When it comes to organizing your sewing room, plays a pivotal role in creating a clutter-free environment. Imagine opening a drawer and instantly finding that elusive pair of scissors or the perfect spool of thread without having to dig through a chaotic mess. Sounds dreamy, right? By implementing a few strategic methods, you can transform your storage into an efficient system that not only saves time but also enhances your creativity.
First off, let's talk about categorization. One of the best ways to keep your supplies organized is to sort them into categories. You can have separate containers or drawers for threads, fabrics, patterns, and tools. This way, everything has its place, and you won’t waste precious moments searching for items. For instance, you might consider dedicating a drawer to small tools like seam rippers, measuring tapes, and pins, while another can hold your fabrics sorted by color or type. This not only makes it easier to find what you need but also gives your sewing space a more cohesive look.
Now, let's dive into containers. Clear plastic bins are your best friends here! They allow you to see what's inside without opening them, which is a huge time-saver. You can stack them on shelves or tuck them away under your work table. Just make sure to label each bin clearly. A simple label maker can do wonders for your organization. You might label bins with categories like “Cotton Fabrics”, “Threads”, and “Patterns”. This way, your supplies are not just organized—they are also visually appealing.
Another fantastic tip is to utilize drawer dividers. These handy tools can help you create sections within your drawers, preventing items from mixing together. You can find adjustable dividers that fit most drawers, or you can even make your own using cardboard or foam. By dividing your space, you ensure that everything stays in its designated spot, making it easier to maintain order over time.
For those who have a larger collection of supplies, consider using a rolling cart. These carts can be moved around your sewing room as needed and can hold various items. You can dedicate different tiers of the cart to different categories, making it easy to transport your supplies wherever you need them. Plus, they add an element of fun to your space! Imagine wheeling over your cart to your work table, ready to dive into your next project.
Lastly, don't forget about the importance of regular maintenance. Once you've organized your drawers and containers, make it a habit to tidy up regularly. Set aside a few minutes each week to put things back in their place. This small effort will help you keep your sewing room organized in the long run, allowing you to focus on what you love most: sewing!
Q: How can I keep my sewing room organized if I have limited space?
A: Utilize vertical storage solutions like wall-mounted organizers and shelves to maximize your space. Consider multi-functional furniture, such as a sewing table with storage underneath.
Q: What are the best containers for organizing sewing supplies?
A: Clear plastic bins, drawer dividers, and rolling carts are excellent choices for organizing sewing supplies. They help keep everything visible and accessible.
Q: How often should I reorganize my sewing room?
A: It's a good idea to reassess your organization every few months. This allows you to adapt to any new supplies you may have acquired and ensure everything is still working for you.

Creating a Functional Workstation
When it comes to sewing, your workstation is much more than just a table and a sewing machine; it’s the heart of your creative process. A well-designed workstation not only enhances your productivity but also makes the entire sewing experience more enjoyable. Imagine walking into your sewing room and feeling an instant wave of inspiration because everything is perfectly organized and within reach. To achieve this, you need to consider several factors that will transform your sewing area into a functional oasis.
First and foremost, ergonomics plays a crucial role in how comfortable and efficient your sewing sessions will be. Have you ever found yourself hunched over your machine for hours, only to stand up and feel like you’ve run a marathon? That’s where ergonomic adjustments come into play. Start by ensuring your sewing chair provides adequate support. It should allow your feet to rest flat on the ground while your knees are slightly lower than your hips. This simple adjustment can make a world of difference in your comfort level.
Next, consider the height of your sewing table. Ideally, your sewing machine should be positioned so that your elbows are at a 90-degree angle when you’re working. If your table is too high or too low, it can lead to strain on your wrists and shoulders. You might even want to invest in a height-adjustable table that can cater to your needs, whether you’re sitting or standing. Remember, a comfortable sewing experience is not just about the tools; it’s about how you interact with them.
Now, let’s talk about lighting. Proper lighting is essential for detailed sewing tasks. Imagine trying to thread a needle or sew intricate patterns in dim light—frustrating, right? To avoid straining your eyes, incorporate multiple lighting sources in your workstation. A combination of overhead lighting and task lamps can illuminate your workspace effectively. You might also consider using LED lights for their brightness and energy efficiency. Positioning a lamp directly over your sewing machine can help you see every stitch clearly, allowing your creativity to flow without interruption.
Another aspect to think about is the layout of your workstation. The arrangement of your tools and materials can significantly impact your workflow. Think about the order in which you use your supplies. Keep your most frequently used items, such as scissors, threads, and pins, within arm’s reach. You can use small containers or trays to group similar items together, which not only keeps things organized but also makes it easier to find what you need quickly. Consider a small caddy that you can move around your workspace, allowing you to keep everything you need close by.
Incorporating a designated cutting area is also vital. If you have the space, set up a separate table for cutting fabric. This will keep your main sewing area free of clutter and allow for better precision when cutting. A self-healing cutting mat can protect your surfaces and provide a smooth cutting experience. Plus, having a dedicated space for cutting will help you stay focused and organized as you transition between different sewing tasks.
Finally, maintaining organization is key to keeping your workstation functional. It’s easy for things to pile up, especially when you’re in the creative zone. Make it a habit to tidy up after each project, returning tools and materials to their designated spots. You might even consider setting aside a few minutes at the end of each sewing session to reorganize your space. This not only helps in maintaining order but also prepares you for your next creative adventure.
By paying attention to ergonomics, lighting, layout, and organization, you can create a functional workstation that inspires creativity and enhances productivity. Think of it as your personal sewing sanctuary, where every stitch is a step toward bringing your creative visions to life.
- What is the best height for a sewing table? Ideally, when seated, your elbows should be at a 90-degree angle, allowing for comfortable sewing.
- How can I improve lighting in my sewing room? Use a combination of overhead lights and task lamps to ensure your workspace is well-lit.
- What should I keep within reach in my sewing area? Keep frequently used tools like scissors, threads, and pins close at hand for easy access.
- How can I maintain organization in my sewing room? Set aside time after each project to tidy up and return items to their designated places.

Ergonomic Considerations
When it comes to sewing, comfort is key. Have you ever spent hours hunched over your machine, only to stand up and feel like a pretzel? That’s where ergonomics comes into play. Designing your sewing room with ergonomics in mind not only enhances your comfort but also boosts your productivity. Think of your sewing space as a well-oiled machine; every part needs to work together seamlessly to create a harmonious environment.
Start with your sewing chair. It should be adjustable and provide good lumbar support. If your chair feels like a rock, consider investing in a cushioned seat or even a chair with a footrest. This will help reduce strain on your back and legs, allowing you to focus on your projects rather than your discomfort. Remember, a good chair is like a good friend; it supports you through thick and thin!
Next, let’s talk about your sewing table. The height of your table should allow your arms to rest comfortably while you sew. If you find yourself reaching or straining, it might be time to adjust your setup. An ideal table height is typically around elbow level when you are seated. If you can’t adjust your table, consider using a height-adjustable desk or adding risers to your existing table. This small change can make a world of difference.
Additionally, keep your most-used tools within easy reach. You don’t want to be stretching or bending awkwardly to grab your scissors or rotary cutter. Use wall-mounted organizers or desktop caddies to keep these items handy. This not only minimizes strain but also helps to keep your workspace tidy. Imagine having everything you need right at your fingertips—sounds dreamy, doesn’t it?
Another important aspect is lighting. Proper lighting can significantly reduce eye strain, making it easier to see those intricate details in your fabric. Consider using a combination of natural light and task lighting. A good desk lamp with adjustable brightness can illuminate your workspace without casting harsh shadows. You might even want to explore LED lights that mimic natural sunlight, providing a bright and inviting atmosphere.
To summarize, here are some key ergonomic considerations for your sewing room:
- Invest in a comfortable, adjustable chair.
- Ensure your sewing table is at the right height.
- Keep frequently used tools within easy reach.
- Utilize proper lighting to reduce eye strain.
By taking these steps, you can transform your sewing area into a haven of comfort and creativity. Remember, a well-designed workspace is not just about aesthetics; it’s about creating an environment that allows your creativity to flow without the hindrance of discomfort. So, are you ready to make your sewing room a place where you can sew in comfort and style?
Q1: How can I tell if my sewing chair is ergonomic?
A1: An ergonomic sewing chair should support your lower back, allow your feet to rest flat on the floor, and enable your arms to rest comfortably at elbow height.
Q2: What are some signs that my sewing table is too high or too low?
A2: If you find yourself reaching up or bending down excessively while sewing, or if your shoulders feel tense, it’s likely that your table height needs adjusting.
Q3: How important is lighting in a sewing room?
A3: Proper lighting is crucial as it minimizes eye strain and helps you see details clearly, making your sewing tasks easier and more enjoyable.
Lighting Solutions
When it comes to sewing, lighting is not just an afterthought; it's a game-changer. Imagine trying to thread a needle or match the perfect fabric colors in dim light—frustrating, right? Proper lighting can transform your sewing room from a daunting task zone into a vibrant, creative haven. The right lighting not only enhances visibility but also boosts your mood and productivity. So, let’s dive into some effective lighting solutions that can illuminate your sewing space!
First and foremost, consider the natural light available in your sewing room. If you have windows, make the most of them! Position your sewing table near the light source to take advantage of the daylight. However, keep in mind that natural light can be inconsistent, especially on cloudy days or during the evening. This is where artificial lighting comes into play. A combination of ambient, task, and accent lighting can create a well-lit environment.
Ambient lighting is your room's general illumination. Think overhead fixtures or ceiling lights that provide a warm glow throughout the entire space. Choose LED bulbs for energy efficiency and longevity. They come in various color temperatures, so opt for a daylight-like hue (around 5000K) to mimic natural light, which is ideal for sewing tasks.
Next, let’s talk about task lighting. This is crucial for detailed work, such as sewing, cutting, or hand-stitching. A good task light should be adjustable and focused. Desk lamps with flexible arms are perfect for directing light exactly where you need it. Consider using magnifying lamps if you often work with tiny details or intricate patterns. They not only illuminate but also magnify your work, making it easier to see those fine stitches.
Accent lighting is another layer that can add both functionality and style to your sewing room. Use strip lights under shelves or along your sewing table to create a cozy atmosphere. They can highlight your fabric stash or sewing supplies, turning your room into a creative showcase. You might also consider using floor lamps in corners to add warmth and depth to the space.
To give you a clearer picture, here’s a simple table summarizing the different types of lighting you can incorporate into your sewing room:
| Type of Lighting | Description | Examples |
|---|---|---|
| Ambient Lighting | General illumination for the entire room | Ceiling fixtures, LED bulbs |
| Task Lighting | Focused light for detailed work | Desk lamps, magnifying lamps |
| Accent Lighting | Decorative lighting that adds warmth | Strip lights, floor lamps |
Lastly, don’t forget about the placement of your lighting fixtures. Ensure that your light sources are not casting shadows over your workspace. A common trick is to position your task lighting on the opposite side of your dominant hand. For example, if you’re right-handed, place your lamp on the left side to avoid casting shadows over your work. This small adjustment can make a huge difference in your sewing experience.
In conclusion, investing in the right lighting solutions for your sewing room is essential for creating an inviting and productive atmosphere. With a mix of natural and artificial light, along with a thoughtful arrangement of fixtures, you can illuminate your creative space and keep your sewing projects bright and enjoyable!
- What is the best type of lighting for a sewing room? A combination of ambient, task, and accent lighting works best to ensure a well-lit and functional workspace.
- How can I reduce eye strain while sewing? Use adjustable task lighting and ensure your workspace is well-lit to minimize shadows and glare.
- Are LED lights suitable for a sewing room? Yes, LED lights are energy-efficient and provide bright, consistent lighting ideal for detailed sewing tasks.
Maintaining Organization
Once you've successfully organized your sewing room, the real challenge begins: maintaining that organization. Think of your sewing space like a garden; if you don’t tend to it regularly, weeds will start to pop up and chaos will ensue. To keep your sewing room looking neat and functional, it’s essential to implement a few straightforward strategies that will help you stay on top of your supplies and equipment.
One of the best ways to maintain organization is to establish a routine for tidying up. Just like brushing your teeth every morning, make it a habit to spend a few minutes at the end of each sewing session putting things back in their designated places. This simple act can prevent clutter from accumulating and makes it easier to dive into your next project without the distraction of a messy workspace.
Another effective strategy is to create a system for sorting and categorizing your supplies. For instance, you could designate specific containers or drawers for different types of materials, such as threads, fabrics, and tools. Labeling these storage options can save you time and frustration when you're searching for that perfect shade of thread or a specific tool. Consider using clear containers or boxes so you can easily see what's inside without having to rummage through everything.
It's also beneficial to periodically reassess your sewing space. Just like a room in your home, your sewing area will evolve as you acquire new supplies and tools. Set aside time every few months to evaluate what you have, what you use, and what you can let go of. This not only keeps your space organized but also ensures that you're surrounded by items that inspire you. If something hasn’t been used in a while, consider donating it or finding a new home for it.
Lastly, involve yourself in a community of fellow sewing enthusiasts. Sharing tips and tricks with others can keep you motivated and inspired. You might find that others have creative solutions to common organization problems that you hadn't considered. Plus, participating in sewing groups or online forums can provide a sense of accountability; when you know others are watching your progress, you're more likely to keep your space tidy.
- How often should I organize my sewing room? It's a good idea to do a quick tidy-up after each sewing session and a more thorough organization every few months.
- What are the best storage solutions for small sewing rooms? Consider vertical storage options like shelves and wall-mounted organizers, as well as multi-functional furniture.
- How can I keep track of my sewing supplies? Use labeled containers and consider keeping an inventory list to track your supplies.
- What should I do with supplies I no longer use? Donate them to local charities, schools, or sewing groups where they can be put to good use.
Frequently Asked Questions
- What is the best way to assess my sewing room space?
Start by measuring your sewing room dimensions and taking note of the layout. Identify areas that feel cramped or cluttered. Consider how you use the space: do you need more room for cutting, sewing, or storage? By understanding your needs, you can create a more efficient setup that enhances your creativity.
- How can I choose the right storage solutions for my sewing supplies?
Think about your specific needs and the types of supplies you have. Options like clear bins, fabric drawers, and shelving units can help keep everything organized. Make sure to choose storage that is both functional and visually appealing, as this can inspire your creativity. Don’t forget to label everything for easy access!
- What are some creative ways to utilize vertical space in my sewing room?
Vertical space is a goldmine for organization! Consider installing shelves, pegboards, or wall-mounted organizers. These tools can hold everything from scissors to spools of thread, keeping them within easy reach. Think of your walls as an extension of your workspace—make them work for you!
- How do I create a functional workstation for sewing?
Your workstation should be designed for comfort and efficiency. Ensure your sewing machine is at the right height, and consider using an ergonomic chair. Good lighting is also essential; try task lights or natural light sources to reduce eye strain while you sew. A well-planned workstation can dramatically increase your productivity!
- What lighting solutions are best for a sewing room?
Bright, adjustable lighting is key for detailed sewing tasks. Consider using a combination of overhead lights, task lamps, and natural light. LED lights are energy-efficient and provide excellent visibility. Position your lights to minimize shadows and ensure you can see your work clearly.
- How can I maintain organization in my sewing room over time?
Establish a routine for tidying up after each project. Regularly assess your supplies and declutter items you no longer use. Incorporate storage solutions that make it easy to put things back in their place. By making organization a habit, you can keep your sewing room functional and inspiring!


