The Ultimate List of Quilting Terms and Definitions
This article provides a comprehensive overview of essential quilting terminology, helping both beginners and seasoned quilters understand the language of quilting, enhancing their skills and knowledge in this creative craft. Whether you are just starting out or have been quilting for years, understanding the terminology can make a significant difference in your quilting journey. It’s like learning a new language; once you grasp the basics, everything else starts to fall into place. So, let’s dive into the world of quilting terms and definitions that will empower you to communicate better, make informed decisions, and ultimately create stunning quilts.
Understanding fundamental quilting terms is crucial for beginners. This section covers essential vocabulary that every quilter should know to navigate the quilting world with confidence and clarity. One of the first terms you might encounter is quilt sandwich, which refers to the three layers of a quilt: the top, the batting, and the backing. Each layer plays a vital role in the overall structure and aesthetics of the finished quilt. Additionally, terms like block—a single unit of a quilt top—and binding—the fabric that finishes the edges of a quilt—are crucial for any quilter to understand. Familiarizing yourself with these terms will not only enhance your quilting skills but also help you connect with fellow quilters.
Explore various quilting techniques that can elevate your projects. This section delves into methods like piecing, appliqué, and quilting styles that contribute to beautiful quilt designs. For instance, piecing is a foundational technique where fabric pieces are sewn together to form a quilt top. It's essential to understand the different piecing methods available, as each can dramatically affect the outcome of your quilt. Additionally, appliqué adds a decorative touch by sewing fabric shapes onto a background, allowing for endless creativity and personalization in your projects.
Piecing refers to the process of sewing together fabric pieces to create a quilt top. This subsection discusses different piecing methods and tips for achieving precise results. It's often said that "the beauty of a quilt lies in its pieces," and mastering piecing techniques can truly unlock the potential of your quilt designs. From traditional patchwork to more modern designs, understanding the nuances of piecing can transform your quilting experience.
Strip piecing is an efficient method of sewing long strips of fabric together. This section explains how to utilize this technique to save time and enhance accuracy in quilt-making. Imagine cutting long strips of fabric and sewing them together in a systematic way; it’s like assembling a puzzle where each piece fits perfectly. This method not only speeds up the process but also ensures that your pieces are uniform, which is crucial for achieving that polished look in your quilts.
Foundation piecing involves sewing fabric to a paper or fabric base. This subsection details the advantages of this technique and how it can improve intricate quilt designs. Foundation piecing is like having a safety net for your fabric; it provides stability and precision, especially when working with complex patterns. By using a foundation, you can create stunningly detailed designs that might be challenging with traditional piecing methods.
Appliqué is a decorative technique where fabric shapes are sewn onto a background. This section outlines various appliqué methods, including needle-turn and raw-edge techniques. Think of appliqué as the icing on the cake of your quilt; it adds a layer of beauty and intricacy that can truly make your quilts stand out. Whether you prefer the clean edges of raw-edge appliqué or the more refined look of needle-turn appliqué, mastering these methods will expand your creative possibilities.
An essential aspect of quilting is having the right tools and supplies. This section reviews must-have items like rotary cutters, mats, and rulers that enhance the quilting experience. Just as a painter needs brushes and paints, a quilter requires specific tools to bring their vision to life. Investing in quality tools can make the quilting process smoother and more enjoyable, allowing you to focus on creativity rather than frustration.
Cutting tools are vital for precise fabric preparation. This subsection highlights the best cutting tools, their uses, and tips for maintaining them for longevity. A good rotary cutter can be your best friend in quilting; it slices through fabric like butter, ensuring clean edges and accurate shapes. Remember, keeping your blades sharp is essential for achieving the best results; dull blades can lead to uneven cuts and a less polished final product.
Accurate measurements are crucial in quilting. This section discusses various measuring tools, including rulers and tape measures, and how to use them effectively for successful quilting projects. Think of measuring tools as your quilt's GPS; they guide you in the right direction and help you avoid costly mistakes. Whether you’re cutting fabric or aligning pieces, having the right measuring tools on hand is key to achieving precision in your work.
- What is the best fabric for quilting? Cotton is the most popular choice due to its durability and ease of use.
- How do I choose a quilting pattern? Consider your skill level and the type of quilt you want to create, then explore patterns that inspire you.
- What tools do I need to start quilting? Basic tools include a rotary cutter, cutting mat, rulers, and fabric scissors.
- Can I quilt without a sewing machine? Yes, hand quilting is a traditional method that many quilters still enjoy!
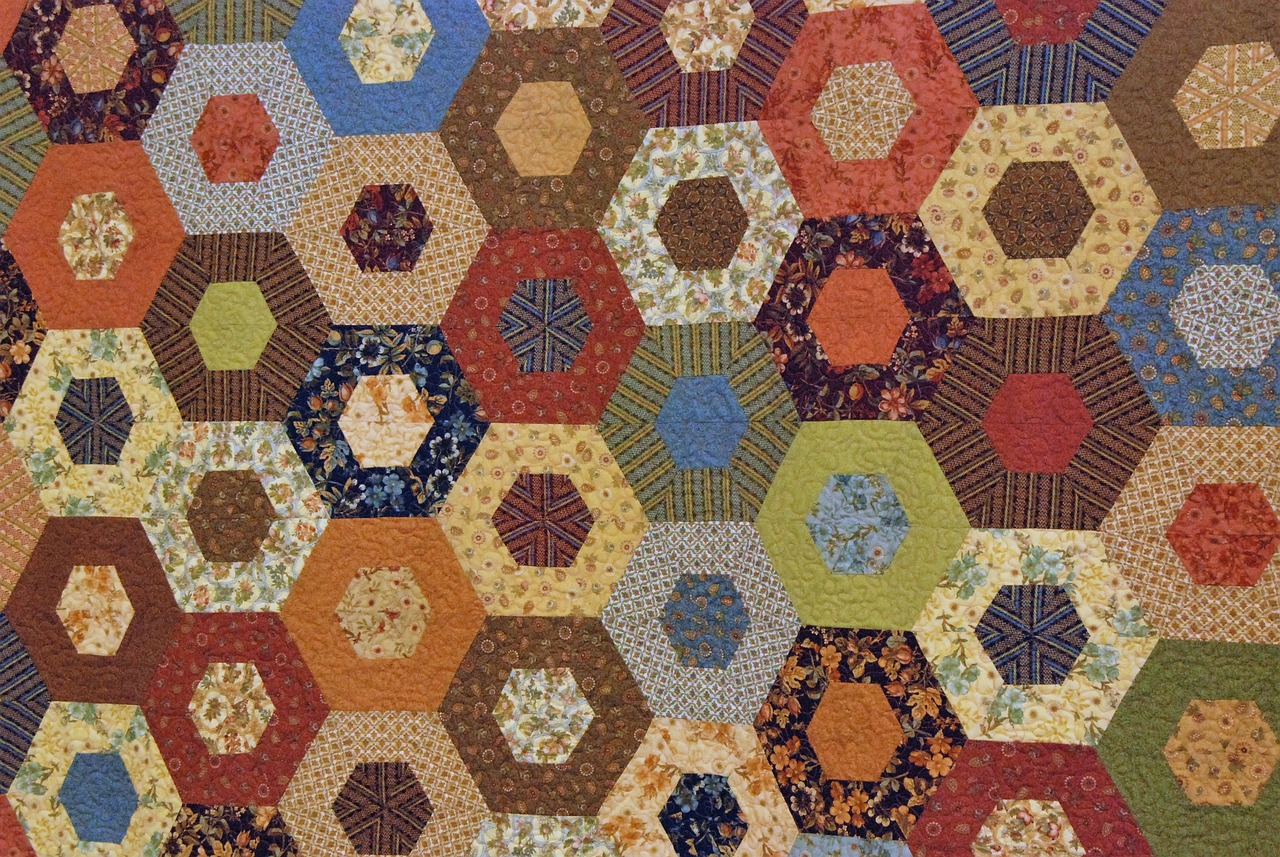
Basic Quilting Terms
Understanding fundamental quilting terms is crucial for beginners. When you first step into the world of quilting, it can feel like you’ve entered a foreign land filled with jargon and specialized language. But don’t worry! This section will help you break down those barriers and get comfortable with the essential vocabulary that every quilter should know. Think of it as your quilting dictionary, guiding you through the creative process with confidence and clarity.
Let’s start with some of the most basic terms you'll encounter:
- Quilt: A quilt is a three-layered textile made up of a top layer, a middle layer (batting), and a backing layer. It’s not just a blanket; it’s a canvas for your creativity!
- Block: A block refers to a square or rectangular section of a quilt top. Each block can feature different patterns or colors, and when combined, they create the overall design.
- Batting: Batting is the middle layer of a quilt, providing warmth and thickness. It can be made from various materials, including cotton, polyester, or wool.
- Backing: The backing is the fabric layer on the back of the quilt. It’s often larger than the quilt top to ensure a clean finish.
As you delve deeper into quilting, you’ll also encounter terms related to techniques and styles. For instance, appliqué is a method where fabric shapes are sewn onto a quilt top, adding a decorative touch. On the other hand, piecing refers to the process of sewing together different fabric pieces to create the quilt top. These techniques can transform your quilt from simple to stunning!
Another important term to know is seam allowance, which is the space between the edge of the fabric and the line of stitching. Typically, a quarter-inch seam allowance is standard in quilting, but it’s essential to be consistent throughout your project to ensure everything lines up perfectly.
Understanding terms like fat quarter—a piece of fabric measuring 18” x 22”—can also help you shop more effectively for quilting supplies. Fat quarters are popular among quilters because they provide a generous amount of fabric for various projects without breaking the bank.
In addition to these basic terms, you’ll also hear about binding, which is the finishing touch that wraps around the edges of your quilt, giving it a polished look. It’s like the icing on the cake—essential for a beautiful finish! Another term you may come across is quilt sandwich, which refers to the layered assembly of the quilt top, batting, and backing before quilting begins. It’s a crucial step that sets the stage for the actual quilting process.
Lastly, don’t overlook the importance of quilt labels. These little tags can be sewn onto the back of your quilt to provide information such as the date it was made, the name of the quilter, and even a special message. Think of it as your quilt’s birth certificate!
In summary, familiarizing yourself with these basic quilting terms will not only enhance your understanding of the craft but also empower you to communicate with fellow quilters. Whether you’re chatting with a friend at a quilting bee or browsing online forums, you’ll feel right at home with your newfound vocabulary. So grab your fabric and let’s get quilting!
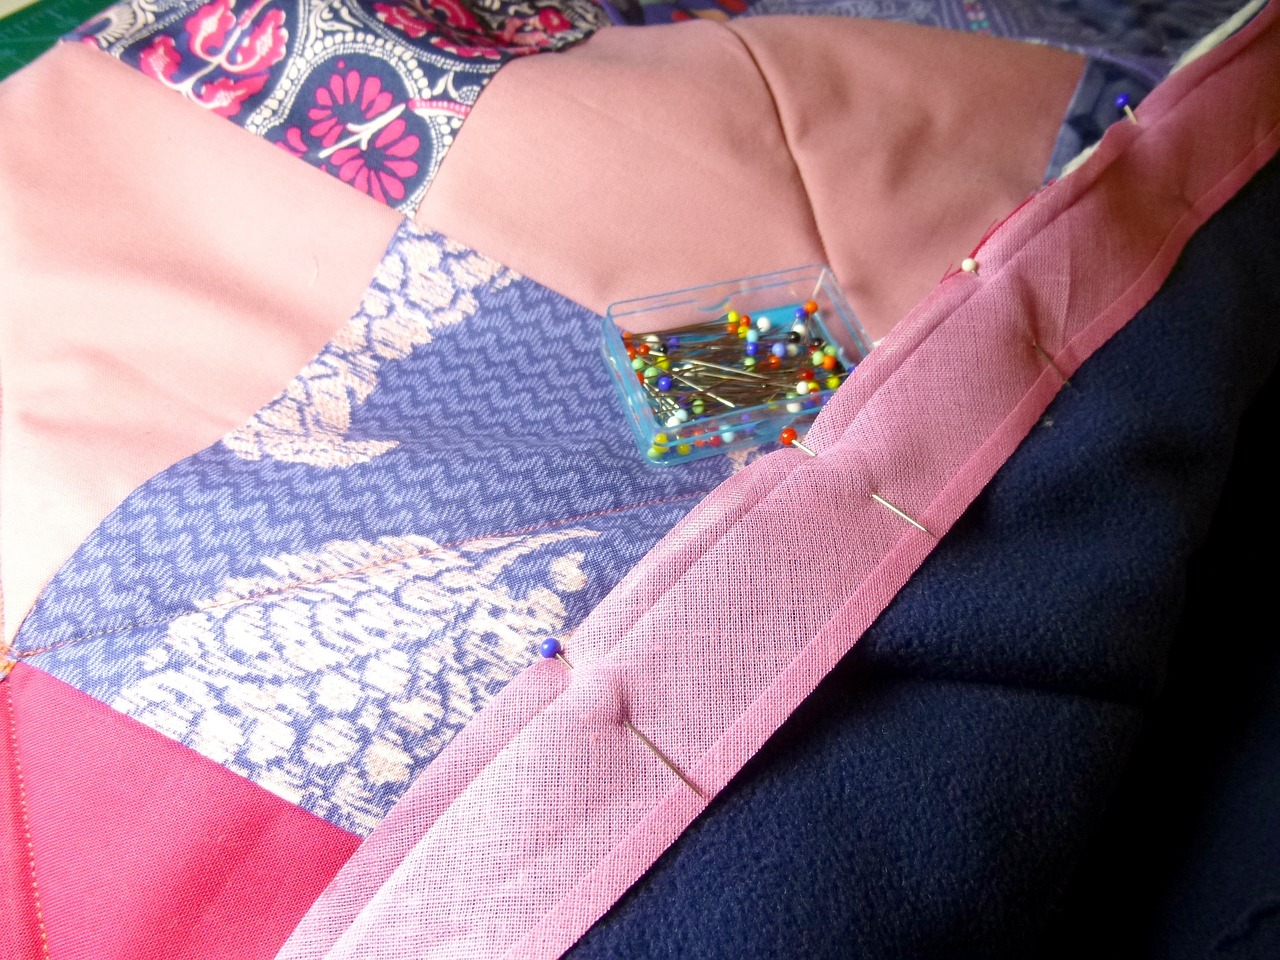
Quilting Techniques
Quilting is not just about stitching fabric together; it's an art form that combines creativity, precision, and technical skill. Understanding various can truly elevate your projects and transform simple fabric into stunning quilts that tell a story. Whether you’re a novice or a seasoned quilter, exploring these techniques will not only enhance your skills but also inspire your creativity. So, let’s dive into the world of quilting techniques and discover the magic behind them!
One of the most fundamental techniques in quilting is piecing. This process involves sewing together different pieces of fabric to create a quilt top. It’s like assembling a puzzle where each piece contributes to the overall picture. There are several methods of piecing, each with its own unique benefits. For instance, strip piecing allows you to sew long strips of fabric together, which can drastically reduce the time spent on projects. Imagine the satisfaction of seeing your quilt top come together in a fraction of the time!
Another popular technique is foundation piecing, which involves sewing fabric onto a paper or fabric base. This method is particularly useful for intricate designs and ensures that your pieces stay perfectly aligned. Think of it like building a house; the foundation is essential for stability and structure. By utilizing foundation piecing, you can create stunning, complex patterns without the fear of misalignment.
Next up, we have appliqué, a decorative technique where fabric shapes are sewn onto a background fabric. This technique allows for endless creativity, as you can create intricate designs and add layers to your quilts. There are different appliqué methods, such as needle-turn and raw-edge appliqué. Needle-turn appliqué involves turning the edges of the fabric under as you sew, resulting in a clean finish. On the other hand, raw-edge appliqué leaves the edges exposed, giving a more casual, playful look to your quilt. The choice of method can dramatically change the aesthetic of your project, so it's worth experimenting with both!
When exploring these techniques, it’s important to have the right tools and supplies on hand. Quality cutting tools, measuring tools, and sewing machines can make a world of difference in the precision and ease of your quilting projects. Investing in a good rotary cutter, a self-healing mat, and a reliable quilting ruler can greatly enhance your piecing and appliqué techniques. Remember, a well-equipped quilter is a happy quilter!
In summary, mastering various quilting techniques, including piecing and appliqué, can significantly enhance your quilting journey. Each technique brings its own unique flair to your projects, allowing you to express your creativity and individuality. So grab your fabric, gather your tools, and let your imagination run wild!
Q: What is the best technique for beginners?
A: For beginners, starting with basic piecing techniques is recommended. As you gain confidence, you can explore more advanced methods like appliqué and foundation piecing.
Q: How can I improve my piecing accuracy?
A: To improve accuracy, always use a 1/4-inch seam allowance, press your seams flat, and consider using a quilting ruler for cutting fabric pieces.
Q: What tools do I need to start quilting?
A: Essential tools include a rotary cutter, cutting mat, quilting ruler, sewing machine, and fabric scissors. These tools will help you achieve precision in your quilting projects.
Q: Can I mix different quilting techniques in one project?
A: Absolutely! Mixing techniques like piecing and appliqué can create unique and beautiful designs. Don’t be afraid to experiment and find your own style!
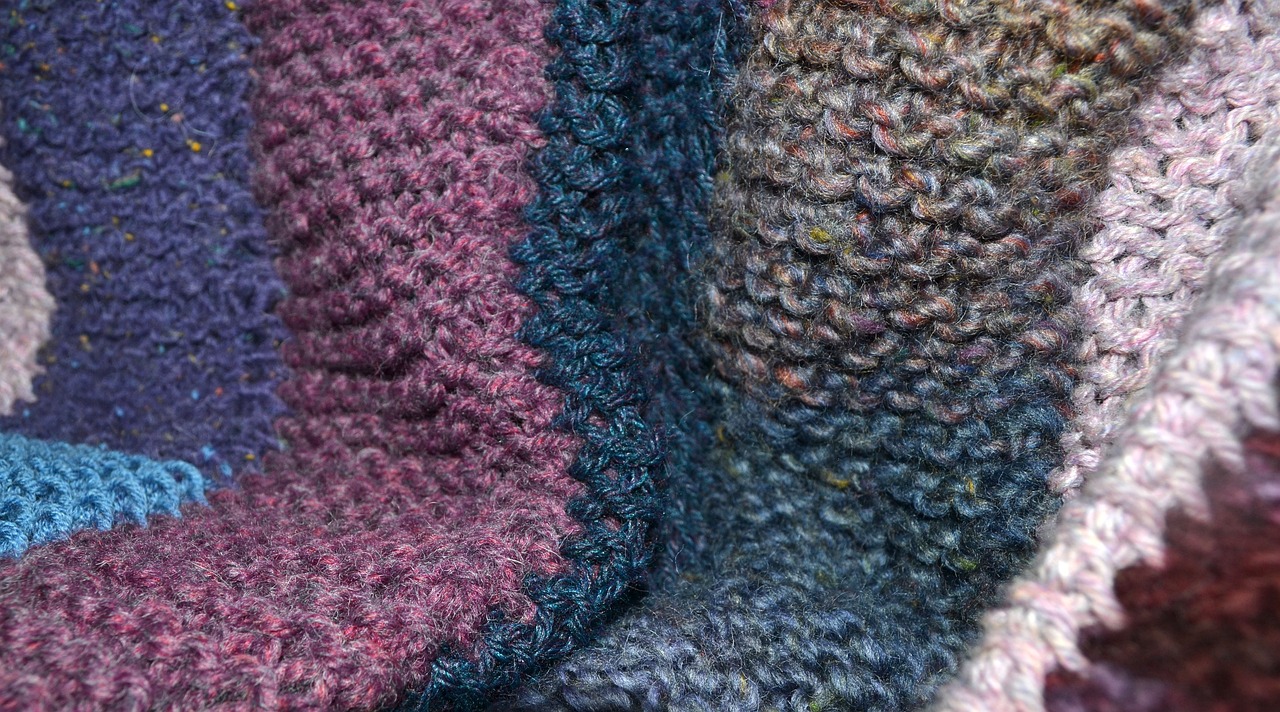
Piecing Techniques
Piecing is a fundamental skill in quilting, serving as the backbone of any quilt top. It involves sewing together various fabric pieces to create a cohesive design. Whether you're a novice or a seasoned quilter, mastering piecing techniques can significantly enhance your quilting projects. Think of piecing as assembling a jigsaw puzzle; each piece must fit perfectly to reveal the final image. The beauty of quilting lies in the variety of piecing methods available, each offering unique advantages and creative possibilities.
One of the most popular piecing techniques is strip piecing. This method involves sewing long strips of fabric together before cutting them into smaller pieces. It’s a time-saving technique that allows quilters to work efficiently while maintaining accuracy. By cutting fabric into strips of equal width, you can create a consistent look across your quilt. Imagine whipping up a quilt in half the time because you’ve streamlined your fabric preparation! Strip piecing is especially useful for quilts with repeating patterns, making it a favorite among quilters who enjoy working with bold designs.
Another effective method is foundation piecing, which involves sewing fabric to a paper or fabric base. This technique is particularly advantageous for intricate designs, as it provides a stable foundation that helps maintain the shape of your pieces. With foundation piecing, you can create complex blocks that would be challenging to achieve with traditional piecing methods. The key is to sew your fabric pieces onto the foundation in a specific order, ensuring that everything lines up perfectly. This technique can be likened to building a house; a solid foundation leads to a sturdy structure. Plus, once you’ve mastered this technique, you’ll find it opens up a whole new world of creative possibilities!
To help you understand these piecing techniques better, here’s a quick comparison:
| Technique | Description | Advantages |
|---|---|---|
| Strip Piecing | Sewing long strips of fabric together before cutting. | Efficient, consistent, and great for repeating patterns. |
| Foundation Piecing | Sewing fabric to a paper or fabric base for stability. | Allows for intricate designs and maintains shape. |
In addition to these methods, it’s important to consider your fabric choices and how they affect your piecing. Selecting the right fabric can make all the difference in achieving precise seams and a polished finish. Always remember to press your seams as you go; this simple step can prevent distortion and ensure that your quilt top lies flat. Just like a well-pressed shirt looks more polished, a well-pressed quilt top will elevate your project to the next level.
In conclusion, piecing techniques are essential for any quilter looking to create stunning quilts. By exploring methods like strip piecing and foundation piecing, you can enhance your skills and expand your creative horizons. So grab your fabric, thread, and sewing machine, and start piecing together your next masterpiece!
- What is the best fabric for piecing? - Cotton fabric is generally preferred for piecing due to its durability and ease of handling.
- How do I ensure accurate seams? - Use a quarter-inch foot on your sewing machine and always measure your seams before cutting.
- Can I use a sewing machine for all piecing techniques? - Yes, most piecing techniques can be done with a sewing machine, but some may require hand sewing for intricate designs.
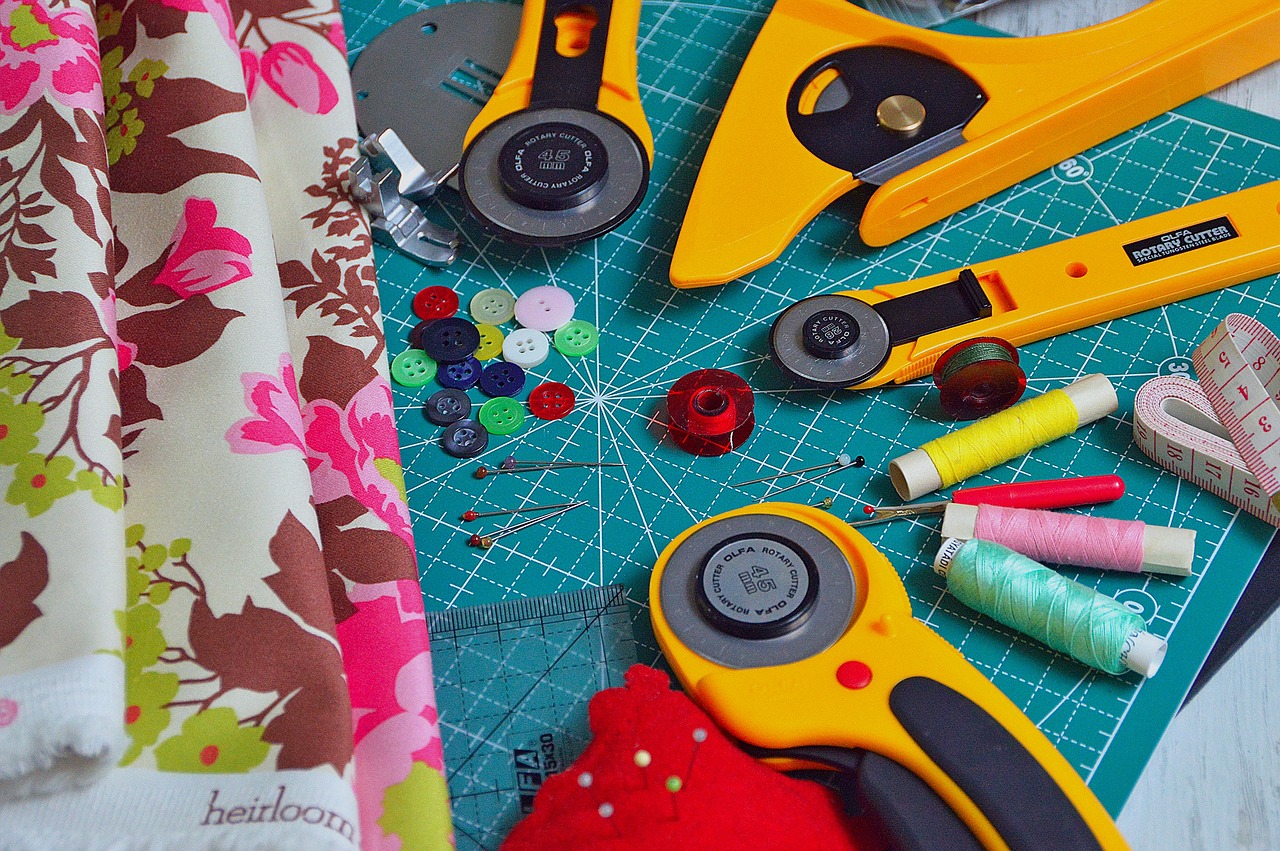
Strip Piecing
Strip piecing is a game-changer for quilters looking to save time without sacrificing quality. Imagine being able to sew long strips of fabric together, creating a visually stunning quilt top with minimal effort. This technique is not just efficient; it's also incredibly versatile. By cutting your fabric into strips, you can easily mix and match colors and patterns, resulting in a unique design that reflects your personal style.
To get started with strip piecing, you'll want to gather your materials. The beauty of this method is that you can use any fabric scraps you have lying around. Just make sure they are cut into even strips. A common width for these strips is 2.5 inches, but feel free to experiment with different sizes to achieve various effects. Once your strips are ready, it's time to sew!
When piecing your strips together, it's important to maintain accuracy. Here are some tips to ensure your strip piecing is as precise as possible:
- Press your seams: After sewing, press your seams open or to one side, depending on your design. This will help eliminate bulk and ensure your quilt lays flat.
- Use a consistent seam allowance: Whether you choose a quarter-inch or another measurement, consistency is key to achieving a polished look.
- Chain piecing: This technique allows you to sew multiple strips in one go without cutting the thread between pieces, saving you time and thread.
One of the most exciting aspects of strip piecing is the ability to create intricate patterns with relative ease. You can arrange your strips in various orientations to produce stunning effects, such as zigzags, chevrons, or even more complex designs like the "rail fence" pattern. The possibilities are endless!
Additionally, strip piecing is an excellent way to use up fabric scraps. Instead of letting those leftover pieces gather dust, you can transform them into beautiful quilts that tell a story. Plus, it's an eco-friendly approach to quilting, as it minimizes waste and maximizes creativity.
In summary, strip piecing is not just a technique; it's a way to approach quilting with a fresh perspective. By embracing this method, you'll find that quilting can be both efficient and enjoyable. So, gather those strips, fire up your sewing machine, and let your creativity flow!
Q: What is the best fabric to use for strip piecing?
A: You can use any fabric that you love! Cotton is a popular choice due to its durability and ease of handling, but feel free to experiment with other fabrics as well.
Q: How do I calculate the length of strips needed for my quilt?
A: The length of your strips will depend on your quilt design and the size of the blocks you plan to create. A good rule of thumb is to cut strips longer than the finished size of your blocks to allow for seam allowances.
Q: Can I use strip piecing for complex quilt designs?
A: Absolutely! Strip piecing can simplify the construction of complex designs, making it easier to piece together intricate patterns without getting overwhelmed.
Foundation Piecing
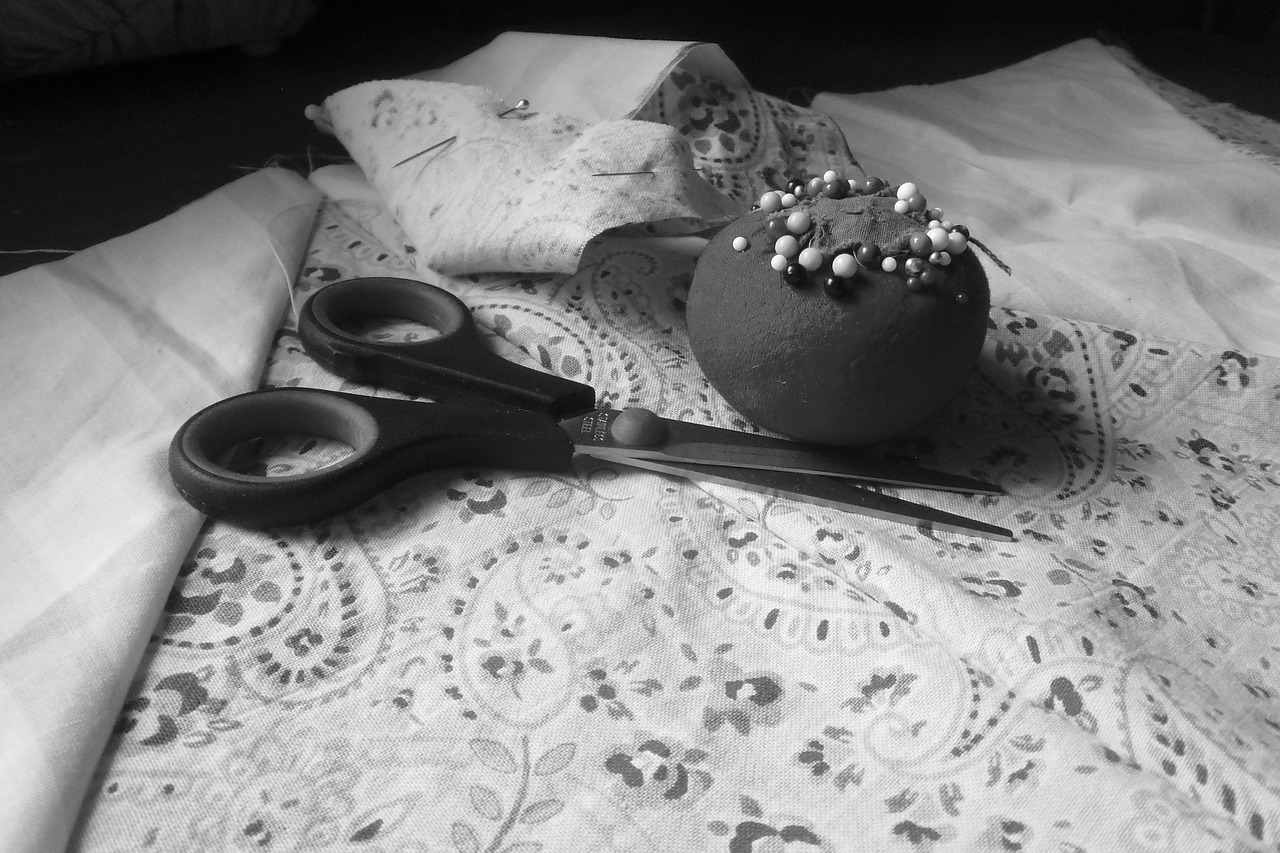
Foundation piecing is a fascinating quilting technique that has gained popularity among quilters for its ability to produce intricate designs with precision. This method involves sewing fabric pieces onto a foundation material, which can either be paper or fabric. The beauty of foundation piecing lies in its capacity to create complex patterns that would be challenging to achieve with traditional piecing methods. It's like building a house; you need a solid foundation to ensure everything else stands strong and looks great!
One of the primary advantages of foundation piecing is the accuracy it provides. By sewing on a foundation, quilters can easily align fabric pieces without worrying about stretching or distortion. This is particularly beneficial when working with small pieces or when creating detailed designs, such as those found in quilting blocks or geometric patterns. Additionally, foundation piecing allows for a greater variety of fabric choices, enabling quilters to experiment with different textures and colors without compromising the overall design.
To get started with foundation piecing, you'll need a few essential supplies:
- Foundation Material: You can use specialized foundation paper, regular printer paper, or even lightweight fabric.
- Fabric: Choose your fabric pieces wisely, considering both color and pattern to enhance your design.
- Rotary Cutter and Mat: These tools are crucial for cutting your fabric pieces accurately.
- Iron: Pressing your seams as you go is vital for achieving crisp, clean lines.
Once you have your materials ready, the process begins! Start by printing or drawing your design on the foundation material. Next, cut your fabric pieces according to the sizes indicated in your pattern. The fun part comes when you start sewing! Lay the first fabric piece right side up on the foundation, then place the second piece right side down, aligning the edges. Sew along the seam line, flip it over, and press it down. This technique allows you to build your quilt top in a systematic way, ensuring that each piece fits perfectly into the overall design.
As you continue sewing, you might find it helpful to keep a seam allowance guide handy. This can be a simple piece of paper marked with the seam allowances you'll be using. It serves as a quick reference to ensure that your seams are consistent, making your final quilt look polished and professional.
In conclusion, foundation piecing is not just a technique; it's a gateway to unleashing your creativity. Whether you're a beginner or a seasoned quilter, this method can elevate your projects to new heights. So grab your fabric, choose a design, and start piecing together your next masterpiece!
Q: What is foundation piecing?
A: Foundation piecing is a quilting technique where fabric pieces are sewn onto a foundation material, allowing for greater accuracy and the ability to create intricate designs.
Q: Can I use any type of paper for foundation piecing?
A: Yes, you can use various types of paper, including printer paper, but specialized foundation paper is often recommended for the best results.
Q: Is foundation piecing difficult for beginners?
A: While it may seem complex at first, many beginners find foundation piecing easier than traditional piecing due to the accuracy it provides. With practice, it becomes a fun and rewarding technique!
Appliqué Methods
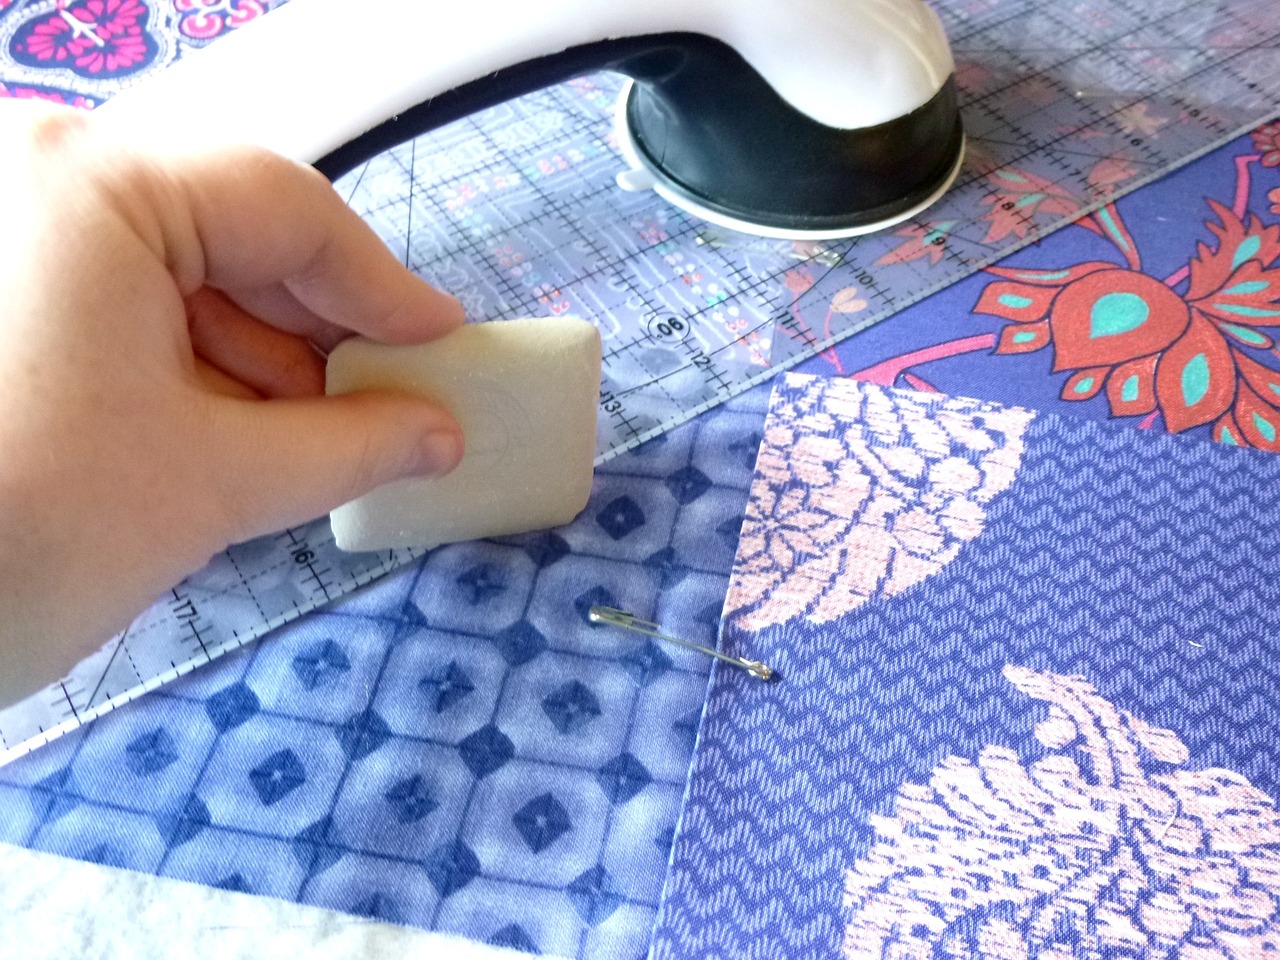
When it comes to adding that special touch to your quilting projects, appliqué techniques stand out as a creative way to enhance your designs. Appliqué is the art of sewing fabric shapes onto a background fabric, allowing you to create intricate patterns and stunning visual effects. Whether you're a beginner or a seasoned quilter, understanding the different appliqué methods can open up a world of possibilities for your quilts.
One of the most popular methods is needle-turn appliqué. This technique involves turning under the edges of the fabric shape as you sew it onto the background. It requires a bit of practice to master, but the results can be breathtaking. The beauty of needle-turn appliqué lies in its ability to create smooth, clean edges that give your quilt a professional finish. It’s like painting with fabric—each stitch is a brushstroke that brings your design to life.
On the other hand, if you’re looking for a quicker method, raw-edge appliqué might be your best bet. In this technique, you leave the edges of the fabric shape raw, which can create a more casual, textured look. This method is especially popular for modern quilts, where the focus is often on bold colors and playful designs. You can fuse the fabric shapes onto the background using a fusible web, then simply stitch around the edges. This technique is not only faster but also allows for a bit of fraying, which adds character to your quilt.
For those who love precision, fusible appliqué combines the best of both worlds. By using a fusible web, you can adhere your fabric shapes to the background before sewing. This method ensures that the pieces stay in place while you work, making it easier to achieve crisp lines and intricate designs. Plus, it minimizes the risk of shifting or bunching, which can be a challenge with other methods.
Here’s a quick comparison of these three popular appliqué methods:
| Method | Pros | Cons |
|---|---|---|
| Needle-Turn Appliqué | Clean edges, professional finish | Time-consuming, requires practice |
| Raw-Edge Appliqué | Quick, adds texture | Edges may fray, less formal look |
| Fusible Appliqué | Precise, easy to handle | Can be stiff, requires additional materials |
In addition to these methods, there are countless variations and styles to explore. You might find yourself mixing techniques to create unique effects—like combining needle-turn with raw-edge for a whimsical, layered look. The key is to experiment and find what resonates with your personal style.
As you delve into the world of appliqué, remember that practice makes perfect. Don’t be afraid to make mistakes; they often lead to the most beautiful and unexpected results. Each stitch is a step towards mastering this delightful craft, and before you know it, you’ll be creating quilts that tell your story through fabric.
- What is the best fabric for appliqué? Lightweight cotton is often recommended for its ease of handling and versatility.
- Can I use a sewing machine for appliqué? Absolutely! Many quilters use their sewing machines for appliqué, especially for raw-edge and fusible methods.
- How do I prevent fraying in raw-edge appliqué? Using a fabric stabilizer or a zigzag stitch around the edges can help minimize fraying.

Quilting Tools and Supplies
When it comes to quilting, having the right tools and supplies is like having a well-stocked kitchen for a chef. You wouldn't want to whip up a gourmet meal without the right utensils, would you? Similarly, the world of quilting requires a set of essential tools that can make your crafting experience smoother and more enjoyable. From cutting to measuring, each tool plays a pivotal role in bringing your creative vision to life.
First and foremost, let's talk about cutting tools. A good rotary cutter is indispensable for any quilter. It allows for precise cuts that are crucial when working with multiple layers of fabric. Pair this with a self-healing cutting mat, which protects your surfaces and prolongs the life of your blades. Don't forget to invest in a quality ruler, as this will help you measure and cut your fabric accurately. The combination of these tools can significantly reduce the time you spend preparing your materials.
Next up, we have measuring tools. Accurate measurements are the backbone of successful quilting. Rulers come in various sizes and shapes, so it's essential to choose the right one for your project. A clear, marked ruler is ideal for ensuring that your cuts are precise. Additionally, a flexible tape measure is a great companion for measuring curves and odd shapes that rulers can't handle. Always keep these tools close at hand, as they will help you avoid costly mistakes and fabric waste.
Now, let's not overlook the importance of notions. These small items can make a big difference in your quilting experience. Pins, for example, are essential for holding fabric layers together before sewing. You might also want to consider using fabric clips, especially for thicker layers. A good quality seam ripper is another must-have; it’s an unassuming tool that can save you from frustration when you need to correct a mistake. Having these notions organized in a dedicated sewing box can help you stay focused and efficient.
To give you a clearer picture, here is a
| Tool | Purpose |
|---|---|
| Rotary Cutter | For precise fabric cutting |
| Cutting Mat | Protects surfaces and extends blade life |
| Ruler | For accurate measuring and cutting |
| Tape Measure | For measuring curves and odd shapes |
| Pins | For holding fabric layers together |
| Seam Ripper | For correcting mistakes |
Finally, let's talk about the importance of storage. Keeping your tools organized can save you time and stress. Consider investing in a dedicated sewing box or a rolling cart where you can store your supplies neatly. This way, you'll always know where to find what you need, allowing you to focus more on your quilting projects rather than searching for lost tools.
In summary, having the right quilting tools and supplies is crucial for anyone looking to dive into this rewarding craft. By equipping yourself with essential cutting and measuring tools, along with handy notions and proper storage solutions, you'll set yourself up for success. Remember, the right tools can make all the difference between a frustrating experience and a joyful journey into the world of quilting!
1. What are the most essential tools for beginner quilters?
For beginners, the most essential tools include a rotary cutter, cutting mat, ruler, pins, and a sewing machine. These tools will help you get started on your first quilt with ease.
2. How do I maintain my cutting tools?
To maintain your cutting tools, regularly replace the blades of your rotary cutter, clean your cutting mat, and store your rulers flat to prevent warping.
3. Can I use regular scissors for cutting fabric?
While you can use regular scissors, a rotary cutter provides more precision and is generally faster for cutting multiple layers of fabric.
4. How do I choose the right ruler for my quilting projects?
Choose a ruler that is clear and has measurements marked in both inches and centimeters. A non-slip feature can also be beneficial for maintaining accuracy while cutting.
Cutting Tools
When it comes to quilting, having the right cutting tools is absolutely essential. Imagine trying to create a beautiful quilt without the proper equipment—it's like trying to bake a cake without a mixer! The precision of your cuts can significantly impact the overall look and feel of your quilt, making cutting tools a top priority for any quilter, whether you're just starting or you've been stitching for years.
One of the most popular cutting tools in the quilting world is the rotary cutter. This handy device features a circular blade that allows for clean, straight cuts through multiple layers of fabric. It's particularly useful for cutting long strips or intricate shapes, making it a favorite among quilters. To ensure safety and longevity, always use a cutting mat underneath when using a rotary cutter, as it protects your surfaces and keeps your blade sharp.
Another indispensable tool is the quilter's ruler. These rulers are designed specifically for quilting and come in various shapes and sizes, allowing for accurate measurements and angles. When paired with a rotary cutter, a quilter's ruler can help you achieve those precise cuts that are crucial for piecing your quilt together. Remember to choose a ruler that has clear markings and a non-slip backing for ease of use.
In addition to rotary cutters and rulers, scissors also play a vital role in a quilter's toolkit. While rotary cutters are excellent for larger pieces, a good pair of fabric scissors is perfect for trimming threads, cutting small pieces, or making detailed cuts. Investing in high-quality scissors can make a world of difference, as they will stay sharper longer and provide a cleaner cut.
To help you navigate the world of cutting tools, here's a quick overview of some must-have items:
| Tool | Purpose | Tips |
|---|---|---|
| Rotary Cutter | For cutting multiple layers of fabric | Always use a cutting mat |
| Quilter's Ruler | For measuring and cutting straight lines | Choose a non-slip ruler for accuracy |
| Fabric Scissors | For detailed cuts and trimming | Invest in high-quality scissors |
Maintaining your cutting tools is just as important as choosing the right ones. Regularly replace the blades of your rotary cutter to ensure clean cuts, and keep your scissors sharpened. A dull blade can lead to jagged edges and frustration, which is the last thing you want when working on your masterpiece!
In conclusion, cutting tools are the backbone of any successful quilting project. By equipping yourself with the right tools and maintaining them properly, you’ll not only enhance your quilting experience but also improve the quality of your work. So, are you ready to take your quilting to the next level? Grab those cutting tools and let your creativity flow!
- What is the best rotary cutter for beginners? - A 45mm rotary cutter is often recommended for beginners due to its versatility.
- How often should I replace my rotary cutter blade? - It's best to replace your blade every 5-10 projects or whenever you notice it becoming dull.
- Can I use regular scissors for quilting? - While you can use regular scissors, investing in fabric scissors will yield better results.
Measuring Tools
When it comes to quilting, accurate measurements are paramount. Think of it like baking a cake; if you don’t measure your ingredients correctly, the end result might be a flop! In quilting, the same principle applies. Whether you're cutting fabric or piecing blocks together, having the right measuring tools can make all the difference. So, let’s dive into some of the essential measuring tools every quilter should have in their arsenal.
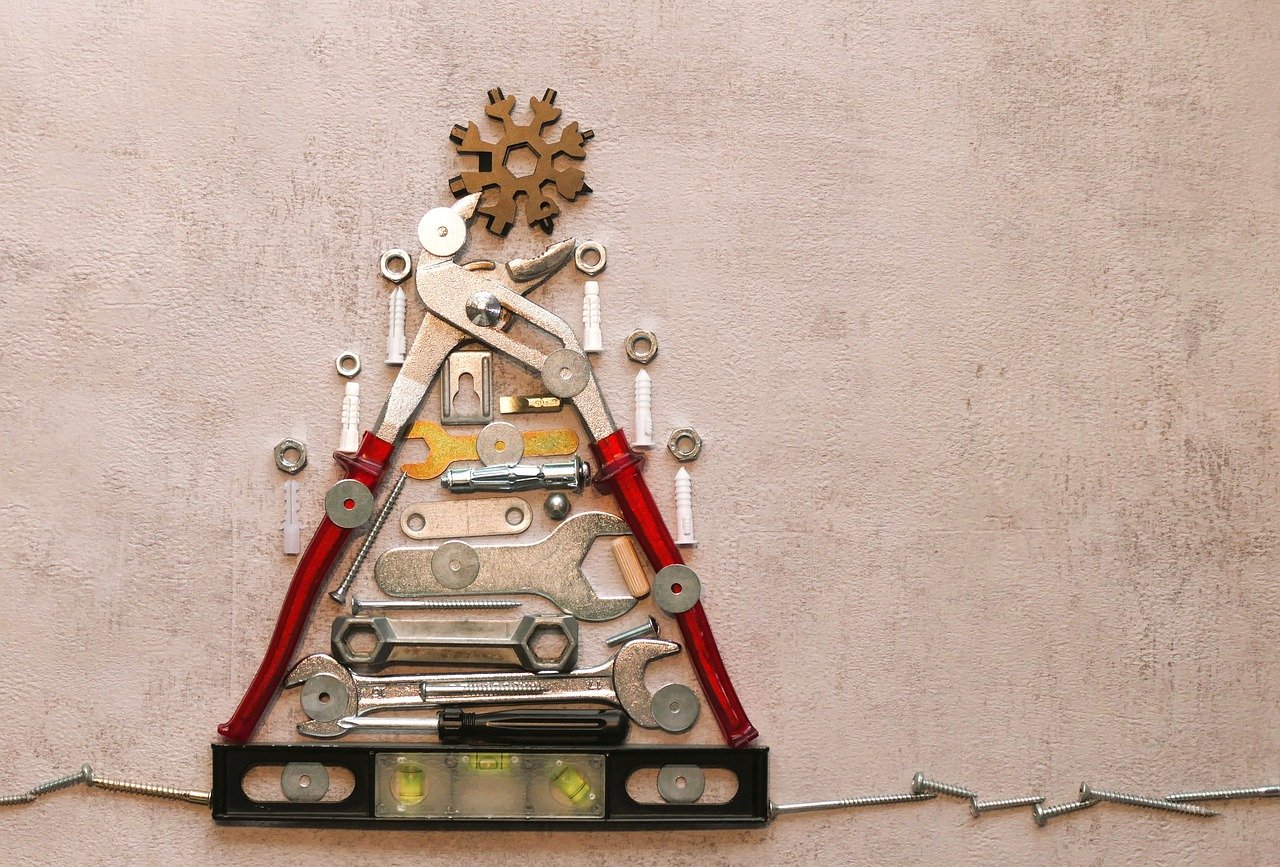
First on the list is the quilter's ruler. This isn’t just any ordinary ruler; it’s specifically designed for quilting. Typically made of clear acrylic, these rulers come with grid lines and angle markings that help you cut your fabric accurately. You can find them in various sizes, but a 6” x 24” ruler is a versatile choice that can handle most quilting tasks. Remember, when using your ruler, always ensure it’s aligned correctly with your fabric to avoid any mishaps.
Next up is the measuring tape. This tool is especially handy for measuring larger pieces of fabric or for ensuring your quilt top is the right size before you start quilting. A flexible measuring tape allows you to easily wrap it around curves or corners, making it an invaluable addition to your quilting toolkit. Always keep one nearby; it’s a quilter’s best friend!
Another essential tool is the square ruler. This tool is crucial for ensuring that your blocks are perfectly squared up. If your pieces aren’t squared, your quilt will end up looking wonky, and nobody wants that! A square ruler typically comes in sizes like 6.5” x 6.5” or 12.5” x 12.5”. Use it to check your blocks after cutting and before piecing them together.
For those who love precision, a digital fabric scale can be a game-changer. This tool allows you to weigh your fabric, which can be particularly useful when working with larger projects or when you need to know how much fabric you have left. Knowing the weight can help you estimate how much more you might need for your project, ensuring you don’t run short halfway through your quilt.
Let’s not forget about the seam gauge. This little tool is perfect for measuring seam allowances and hems. It’s compact and easy to use, making it a great choice for quick measurements. Plus, it often comes with a sliding marker that can help you keep track of your desired seam allowance. This is particularly handy for beginners who might still be getting the hang of consistent seam widths.
To sum it up, having the right measuring tools is crucial for successful quilting. Here’s a quick reference table to summarize the essential tools:
| Measuring Tool | Purpose |
|---|---|
| Quilter's Ruler | For precise cutting with grid lines and angle markings. |
| Measuring Tape | For measuring larger pieces and ensuring overall size accuracy. |
| Square Ruler | To ensure blocks are perfectly squared before piecing. |
| Digital Fabric Scale | To weigh fabric for better estimation of fabric needs. |
| Seam Gauge | For measuring seam allowances and hems accurately. |
With these tools in hand, you’ll be well on your way to creating beautiful quilts that are not only stunning but also perfectly constructed. Remember, the key to a great quilt lies in the details, and measuring tools are your best allies in achieving that perfection!
- What is the best ruler size for beginners? A 6” x 24” ruler is versatile and great for most projects.
- How often should I replace my measuring tools? Replace them when they show signs of wear, such as scratches on rulers or if they no longer give accurate measurements.
- Can I use regular rulers for quilting? While you can, quilting rulers are designed specifically for fabric and provide better accuracy.
- What should I look for in a measuring tape? Look for a flexible tape that has both metric and imperial measurements for versatility.
Frequently Asked Questions
- What are the basic quilting terms I should know?
When starting your quilting journey, familiarizing yourself with basic terms like quilt top, batting, and binding is essential. These terms form the foundation of your quilting vocabulary and help you communicate with other quilters more effectively.
- What is the difference between piecing and appliqué?
Great question! Piecing involves sewing together pieces of fabric to create the quilt top, while appliqué is a decorative technique where you sew fabric shapes onto a background fabric. Both methods can be used together to create stunning quilt designs.
- What tools do I need to get started with quilting?
To dive into quilting, you'll need some essential tools. Consider investing in a rotary cutter, cutting mat, and ruler for precision cutting. Additionally, a good sewing machine and quality fabric are crucial for producing beautiful quilts.
- How do I maintain my cutting tools?
Keeping your cutting tools in top shape is important! Always use a self-healing cutting mat to protect your blades, and regularly replace dull rotary cutter blades. Cleaning your tools after each use can also prolong their lifespan.
- What are some common quilting techniques?
There are numerous quilting techniques to explore! Some popular ones include strip piecing for efficiency, foundation piecing for intricate designs, and various appliqué methods like needle-turn and raw-edge. Each technique offers unique benefits and creative opportunities.
- How can I improve my measuring skills in quilting?
Improving your measuring skills is all about practice! Use a clear ruler for accurate measurements and double-check your fabric cuts. Taking your time to measure and cut precisely will lead to better-fitting pieces and a more polished quilt.
- What should I do if I make a mistake while quilting?
Don't fret! Mistakes are a part of the learning process. Depending on the error, you may be able to fix it by unpicking stitches or adjusting your pieces. Remember, every quilter has been there, and sometimes those "mistakes" can lead to unique designs!


