Quick and Easy Sewing Projects for the Weekend
Are you ready to unleash your creativity and dive into the wonderful world of sewing? Whether you're a seasoned seamstress or a curious beginner, the weekend is the perfect time to embark on some quick and easy sewing projects. With just a few hours to spare, you can craft functional and stylish items that not only beautify your space but also give you a sense of accomplishment. Imagine transforming simple fabric into delightful creations that reflect your personality and style. The best part? You don’t need to invest a lot of time or money to achieve stunning results!
In this article, we’ll explore a variety of sewing projects that are perfect for a weekend adventure. From tote bags that you can take shopping, to charming fabric coasters that protect your surfaces while adding a personal touch, there is something for everyone. Each project is designed to be simple yet rewarding, allowing you to enjoy the process of creating without feeling overwhelmed. So, grab your sewing machine, gather your materials, and let’s get started!
Not only will these projects help you hone your sewing skills, but they also offer a fantastic opportunity to use up those fabric scraps lying around your home. It’s like a mini treasure hunt, where you can discover hidden gems in your stash and turn them into beautiful items. Plus, the sense of satisfaction that comes from making something with your own hands is truly unmatched. So, are you ready to transform your weekend into a creative sewing spree? Let’s dive into the details of each project!
As you embark on your sewing journey, you may have some questions. Here are a few common queries that can help you get started:
- What type of fabric should I use for beginners? Start with cotton fabric, as it’s easy to work with and comes in a variety of colors and patterns.
- Do I need a fancy sewing machine? Not at all! A basic sewing machine with straight and zigzag stitch capabilities is perfect for these projects.
- How can I avoid common sewing mistakes? Take your time, read through the instructions carefully, and practice basic stitches on scrap fabric before starting your project.
With these tips in mind, you’re well on your way to a fun and fulfilling weekend of sewing!
[Simple Tote Bags]
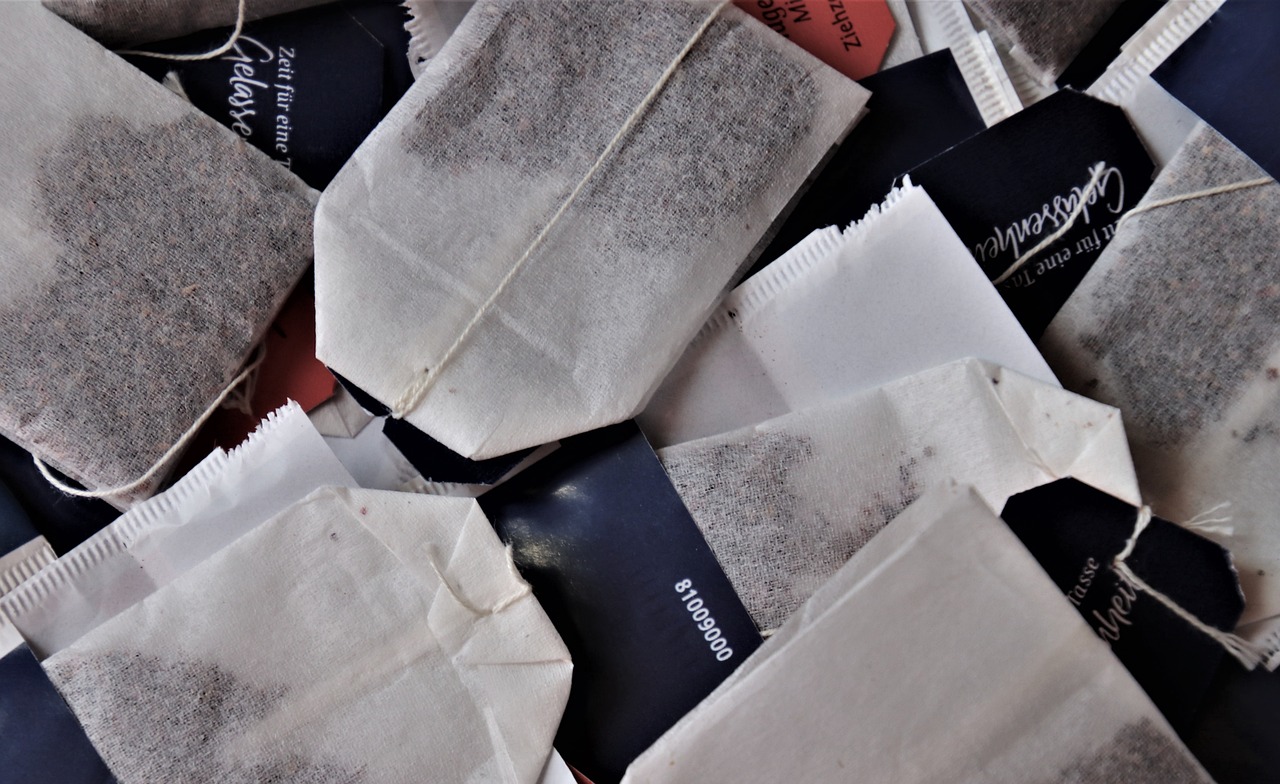
Are you ready to dive into the world of sewing with a project that’s not only fun but also incredibly functional? Making simple tote bags is the perfect way to express your creativity while crafting something useful for everyday life. Whether you're heading to the grocery store, the beach, or just need a stylish way to carry your essentials, a tote bag is the answer! Plus, it’s a fantastic way to utilize those fabric scraps you might have lying around.
Creating a tote bag is easier than you might think, and it requires only a few basic materials. Here’s what you’ll need:
- Fabric (canvas, cotton, or any sturdy material)
- Thread that matches your fabric
- Scissors
- Sewing machine (or needle and thread for hand sewing)
- Measuring tape
- Iron
Now, let’s talk about the customization aspect! One of the best parts about making your own tote bag is that you can design it to fit your style. Want a pocket for your phone or keys? No problem! Prefer a longer strap for comfort? You got it! The possibilities are endless. You can even experiment with different fabric patterns, colors, and textures to make your tote truly unique.
Here’s a simple step-by-step guide to get you started:
- Cut Your Fabric: Decide on the size of your tote bag. A common size is 15” wide by 16” tall. Cut two pieces of fabric for the front and back, and two strips for the handles (about 22” long).
- Prepare the Handles: Fold each handle strip in half lengthwise, press with an iron, then unfold. Fold the edges into the center and press again. Sew along the open edge to secure.
- Sew the Main Pieces: Place the two main fabric pieces right sides together and sew along the sides and bottom, leaving the top open.
- Attach the Handles: Turn the bag inside out, then pin the handles to the top edge of the bag, making sure they are evenly spaced. Sew them in place.
- Finish the Top: Fold the top edge down about an inch and press. Sew around the top to give it a clean finish.
With just a few steps, you have a beautiful, handmade tote bag that’s ready to be used! The satisfaction of carrying something you’ve made yourself is truly unparalleled. Plus, you’ll be helping the environment by reducing the need for plastic bags. Talk about a win-win!
Before you start sewing, remember to gather all your materials and set up a comfortable workspace. This will help you focus on the fun part—creating! And if you run into any issues, don’t hesitate to search for tutorials online or ask fellow crafters for advice. The sewing community is incredibly supportive, and you’ll find plenty of inspiration along the way.
Q: Can I use any type of fabric for my tote bag?
A: While you can technically use any fabric, it’s best to choose something sturdy like canvas or cotton, especially if you plan to carry heavier items.
Q: How can I make my tote bag waterproof?
A: You can use waterproof fabric or apply a waterproofing spray to your finished tote to protect it from spills and rain.
Q: What if I don’t have a sewing machine?
A: No worries! You can hand sew your tote bag. Just be prepared for it to take a little longer, but the result will still be just as satisfying!
[Fabric Coasters]
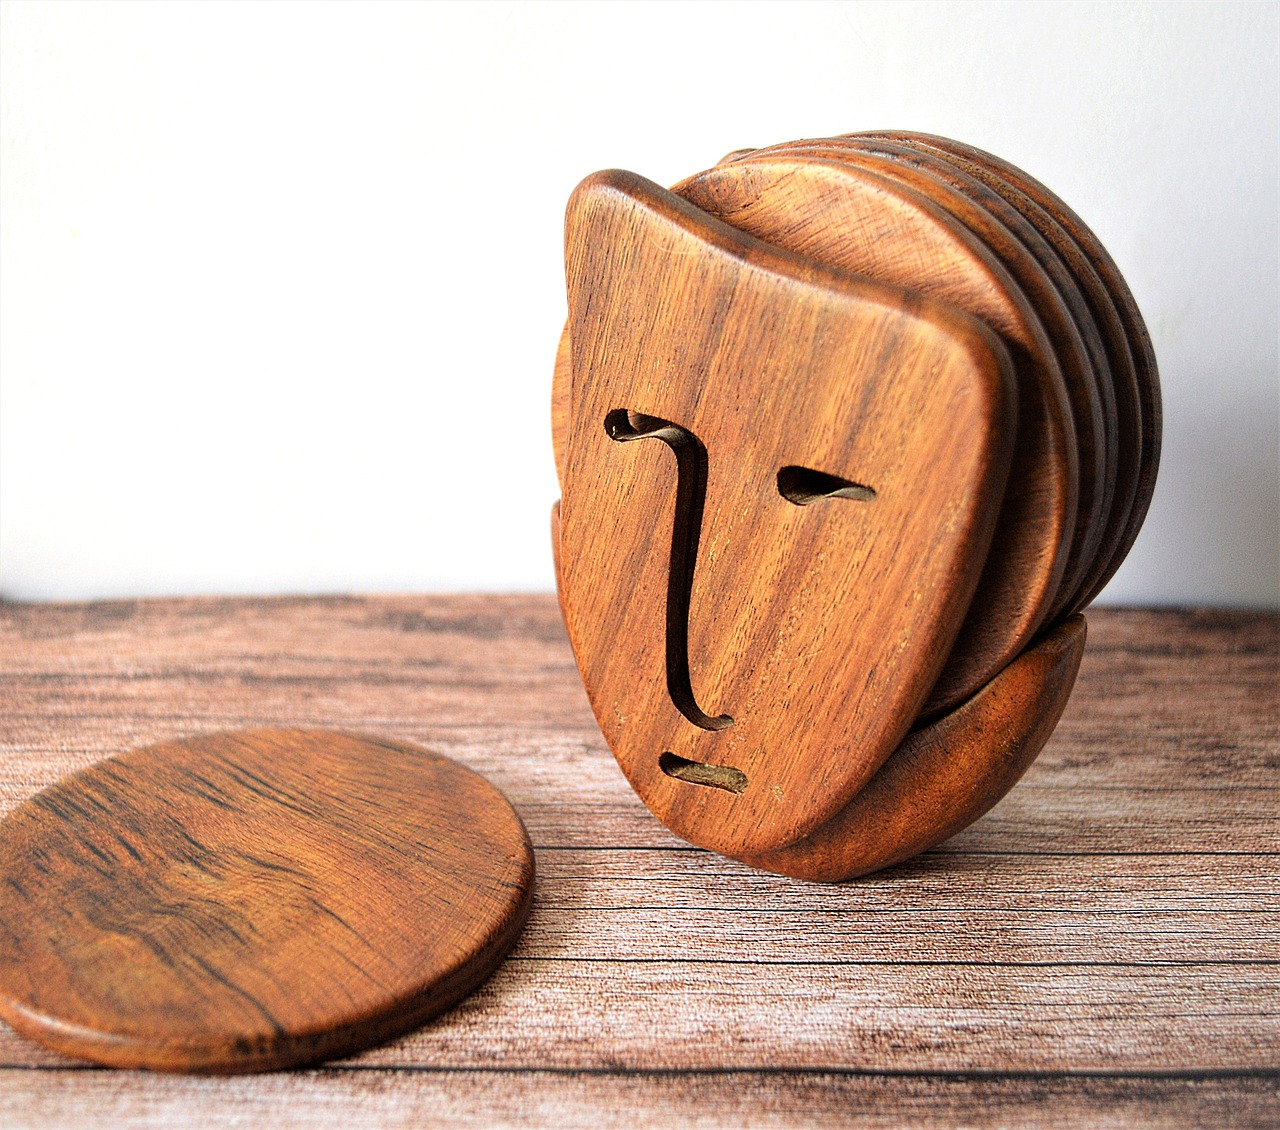
Creating charming fabric coasters is not only a fantastic way to protect your surfaces, but it's also a delightful opportunity to add a personal touch to your home decor. Imagine sipping your favorite beverage while resting it on a coaster that you crafted with your own hands! This quick project is perfect for those leftover fabric scraps that you just can't bear to throw away. Whether you want to match your coasters to your living room or add a pop of color to your kitchen, the possibilities are endless.
To start, let's think about the materials you'll need. You can use a variety of fabrics, from cotton to felt, and even old clothes or linens that you no longer use. The key is to choose materials that are absorbent and durable. You might also want to include some batting or interfacing to give your coasters a bit of extra thickness and protection. Here's a simple table to summarize the materials:
| Material | Purpose |
|---|---|
| Fabric Scraps | Main material for coasters |
| Batting | Provides thickness and absorbency |
| Thread | For sewing the pieces together |
Now that you have your materials ready, let’s dive into the creative process! Making fabric coasters is a fun way to experiment with colors and patterns. You can go for a uniform look or mix and match different fabrics for a patchwork effect. This project is all about expressing your style and creativity. Plus, it’s a great conversation starter when guests come over!
If you’re feeling adventurous, why not try your hand at patchwork coasters? This technique allows you to combine various fabric pieces, creating unique designs that reflect your personality. You can cut out squares or circles from your chosen fabrics and sew them together in any pattern you like. This project is not only enjoyable but also a fantastic way to use up those small fabric pieces that are too good to toss!
For patchwork coasters, gather the following materials:
- Assorted fabric scraps
- Batting or felt for the inner layer
- Thread that matches or contrasts with your fabric
- Scissors and a rotary cutter for precise cutting
Follow these easy steps to sew your patchwork coasters:
- Cut your fabric scraps into uniform squares or circles.
- Lay out your pieces to determine the design.
- Pin the fabric pieces together, right sides facing.
- Sew around the edges, leaving a small opening for turning.
- Turn the coaster right side out, and press it flat.
- Finally, sew up the opening and give your coaster a final press.
By following these steps, you’ll have a set of beautiful, handmade coasters that not only protect your surfaces but also showcase your creativity. So, gather your fabric scraps, put on your favorite music, and let the sewing begin!
Q: Can I use any type of fabric for coasters?
A: Yes, you can use various types of fabric, but it's best to choose absorbent materials like cotton for better functionality.
Q: How do I wash my fabric coasters?
A: Fabric coasters are usually machine washable. Just make sure to check the fabric care instructions before washing.
Q: Can I make coasters in different shapes?
A: Absolutely! While squares and circles are common, feel free to get creative with shapes like hearts or stars.
[Patchwork Coasters]
Creating patchwork coasters is not just a sewing project; it's a delightful way to express your creativity while crafting something practical. These coasters are perfect for protecting your surfaces from unsightly water rings and scratches, all while adding a splash of color and personality to your home. Imagine sitting down with a warm cup of coffee, resting it on a coaster that you designed yourself! The beauty of patchwork coasters lies in their versatility; you can use a variety of fabric scraps, making this project both eco-friendly and economical.
To get started on your patchwork coasters, gather an assortment of fabric pieces. You can mix and match patterns and colors to create a unique look that reflects your style. Don't worry if you're not a sewing expert; this project is perfect for beginners! The process is simple and allows you to experiment with different combinations until you find the perfect design. Plus, it’s a fantastic way to use up those leftover fabric scraps that are just taking up space in your craft stash.
When you’re ready to start sewing, you’ll need a few essential materials:
- Fabric scraps (cotton works best)
- Batting or felt for added thickness
- Thread that matches your fabric
- Scissors and a rotary cutter for precision
- A sewing machine or needle for hand sewing
Here’s a quick overview of the steps you’ll take to create your patchwork coasters:
- Cut Your Fabric: Start by cutting your fabric scraps into squares or rectangles. A typical size for coasters is about 4x4 inches, but you can adjust this based on your preference.
- Arrange Your Pieces: Lay out your fabric pieces in a patchwork pattern that you love. Feel free to play around with the arrangement until it feels just right!
- Sew the Pieces Together: Begin sewing the pieces together, starting with the first two. Once they are sewn, continue adding pieces until your patchwork top is complete.
- Add Batting: Cut a piece of batting or felt to the same size as your patchwork top. This will give your coasters a sturdy feel.
- Finish the Coaster: Place the patchwork top on the batting, right sides facing each other, and sew around the edges, leaving a small opening for turning. Turn the coaster right side out, close the opening, and give it a final press with an iron.
As you sew, remember that the beauty of patchwork is in its imperfections. Each coaster will be unique, showcasing your personal touch. Once you’ve made a set, consider gifting them to friends or using them as party favors. They’re not only functional but also a great conversation starter!
Q: Can I use any type of fabric for patchwork coasters?
A: While you can use various fabrics, cotton is recommended for its durability and ease of sewing. Avoid heavy fabrics that may not lay flat.
Q: How do I wash my patchwork coasters?
A: It's best to hand wash them in cold water and air dry to maintain their shape and colors.
Q: What if I don't have a sewing machine?
A: No problem! You can hand sew your patchwork coasters using a needle and thread. Just be patient, and you'll achieve great results.
[Materials Needed]
Before diving into the delightful world of sewing patchwork coasters, it's essential to gather all the materials you'll need. Having everything at hand not only streamlines the process but also makes the experience much more enjoyable. So, let’s break down what you’ll require:
First and foremost, you'll need fabric scraps. These can be remnants from previous projects or any leftover pieces you have lying around. The beauty of using scraps is that you can mix and match different colors and patterns, creating a unique look for each coaster. Aim for cotton fabrics, as they are easy to work with and come in a myriad of designs.
Next, you’ll need some batting. Batting serves as the padding for your coasters, giving them a bit of cushion and ensuring they can withstand the heat from hot mugs. You can find batting at any craft store, and it's available in various thicknesses. A medium weight is often ideal for coasters.
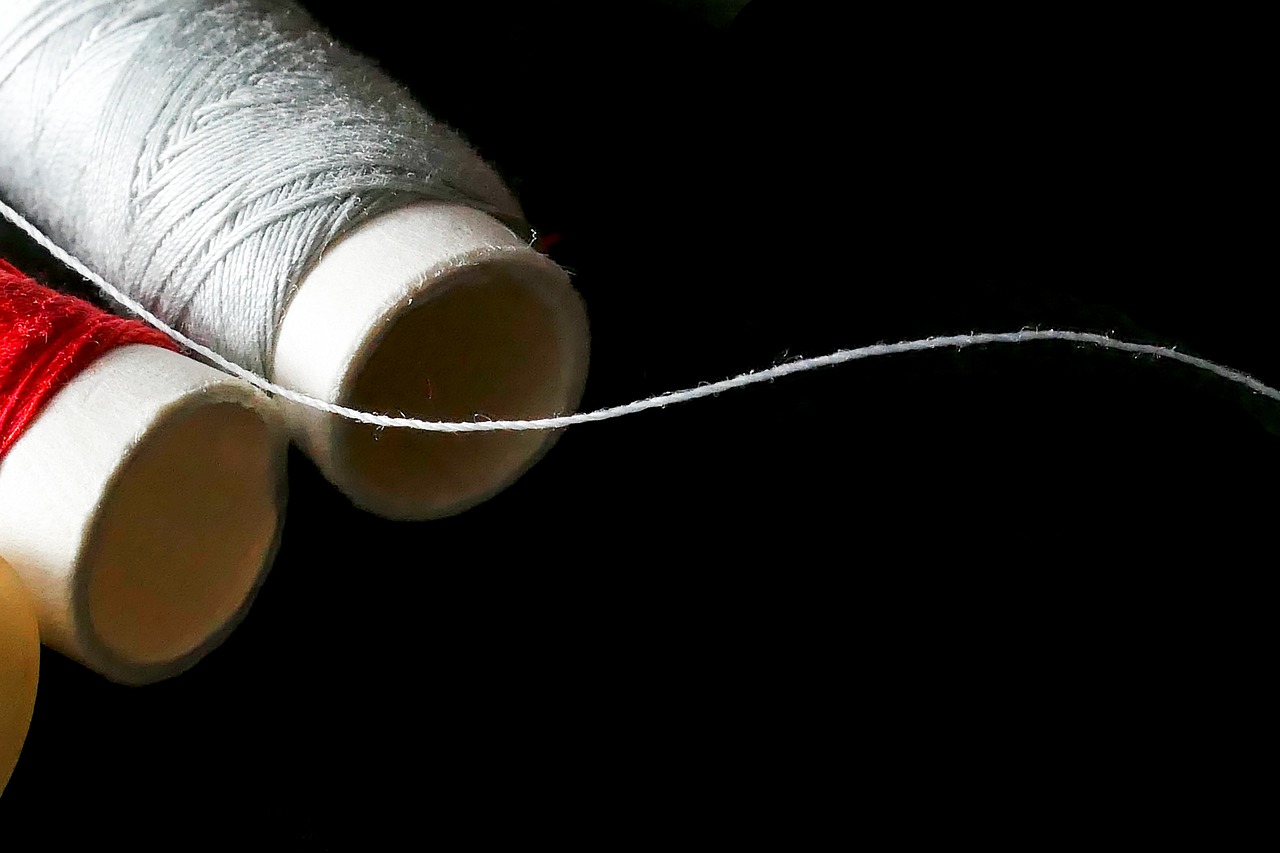
Don’t forget about thread. Choose a color that complements your fabric, or go for a contrasting shade to add an extra pop. This choice can significantly impact the overall aesthetic of your coasters. A basic sewing thread will do the trick, but if you're feeling adventurous, consider using decorative threads for added flair.
In addition to these primary materials, having a few essential tools will enhance your sewing experience:
- Sewing Machine: A reliable sewing machine will speed up the process and provide a more professional finish.
- Scissors: A good pair of fabric scissors is crucial for clean cuts.
- Rotary Cutter and Mat: If you have them, these tools can make cutting fabric scraps a breeze.
- Ruler and Fabric Marker: These are handy for measuring and marking your fabric accurately.
- Iron: Pressing your fabric before and after sewing ensures crisp seams and a polished look.
Gathering these materials and tools will set you up for a successful sewing session. With everything prepared, you're ready to unleash your creativity and craft some stunning patchwork coasters that not only protect your surfaces but also add a personal touch to your home decor.
Q: Can I use any type of fabric for my coasters?
A: While you can technically use any fabric, cotton is the best choice due to its durability and ease of use. It also absorbs moisture well, making it ideal for coasters.
Q: How do I wash my fabric coasters?
A: It's recommended to hand wash your coasters in cold water and lay them flat to dry. This will help maintain their shape and prevent any potential shrinkage.
Q: Can I use leftover batting from other projects?
A: Absolutely! Just ensure that the batting is clean and in good condition. Mixing different types of batting can also create interesting textures.
Q: How can I make my coasters more decorative?
A: You can add embellishments like buttons, embroidery, or fabric paint to personalize your coasters further. The sky's the limit when it comes to creativity!

[Step-by-Step Instructions]
Creating your own patchwork coasters can be a delightful and fulfilling experience. Not only do they add a personal touch to your home, but they also provide a fantastic way to utilize those fabric scraps you've been saving. Let’s dive into the step-by-step instructions to help you craft these charming coasters!
First, gather your materials. You’ll need:
- Fabric scraps in various colors and patterns
- Batting or felt for the inner layer
- Thread that matches or contrasts with your fabric
- Sewing machine or needle and thread for hand sewing
- Scissors and a rotary cutter (optional, but handy)
- Iron for pressing
Once you have your materials ready, the next step is to cut your fabric. Aim for squares or rectangles that are 5 inches by 5 inches. You can mix and match different fabrics to create a unique look. For each coaster, cut two pieces of fabric and one piece of batting. This layering is what gives your coasters that professional feel.
Now, let’s layer your fabrics. Start with one piece of fabric facing up, then place the batting on top, and finally, add the second piece of fabric, this time facing down. This layering method ensures that when you flip your coaster over, the right sides of the fabric will be visible.
Next, it’s time to sew! Begin by sewing around the edges of your layered fabric, leaving a small gap (about 2-3 inches) on one side for turning. Use a straight stitch and make sure to backstitch at the beginning and end to secure your seams. Once you’ve sewn around the edges, carefully trim the corners to reduce bulk, which will help your coasters lay flat once turned.
Now, turn your coaster right side out through the gap you left. Use a pencil or a blunt object to push out the corners gently, making sure they are nice and sharp. After turning, it’s essential to press your coaster with an iron to flatten it and give it a polished look. Make sure to press the seam allowance at the gap inward so that it aligns with the rest of the coaster.
Finally, close the gap. You can either hand stitch it closed for a neat finish or top stitch all around the coaster, which will also add an extra decorative touch. If you choose to top stitch, be sure to sew close to the edge, which will help secure everything in place.
And voilà! You’ve created a beautiful patchwork coaster that is not only functional but also a reflection of your creativity. Repeat the process with your other fabric scraps, and soon you’ll have a lovely set of coasters to brighten up your coffee table.
Q: Can I use any type of fabric for coasters?
A: Yes, you can use cotton, linen, or even repurpose old clothing. Just ensure the fabric is absorbent enough to handle spills.
Q: How do I wash my fabric coasters?
A: You can hand wash them or machine wash on a gentle cycle. Just be sure to air dry to maintain their shape.
Q: What if I want to make larger coasters?
A: Simply adjust the size of your fabric pieces while maintaining the ratio. Just remember to keep the batting the same size as your fabric!
Q: Can I add embellishments to my coasters?
A: Absolutely! You can sew on buttons, appliqué designs, or even add embroidery for a personal touch.
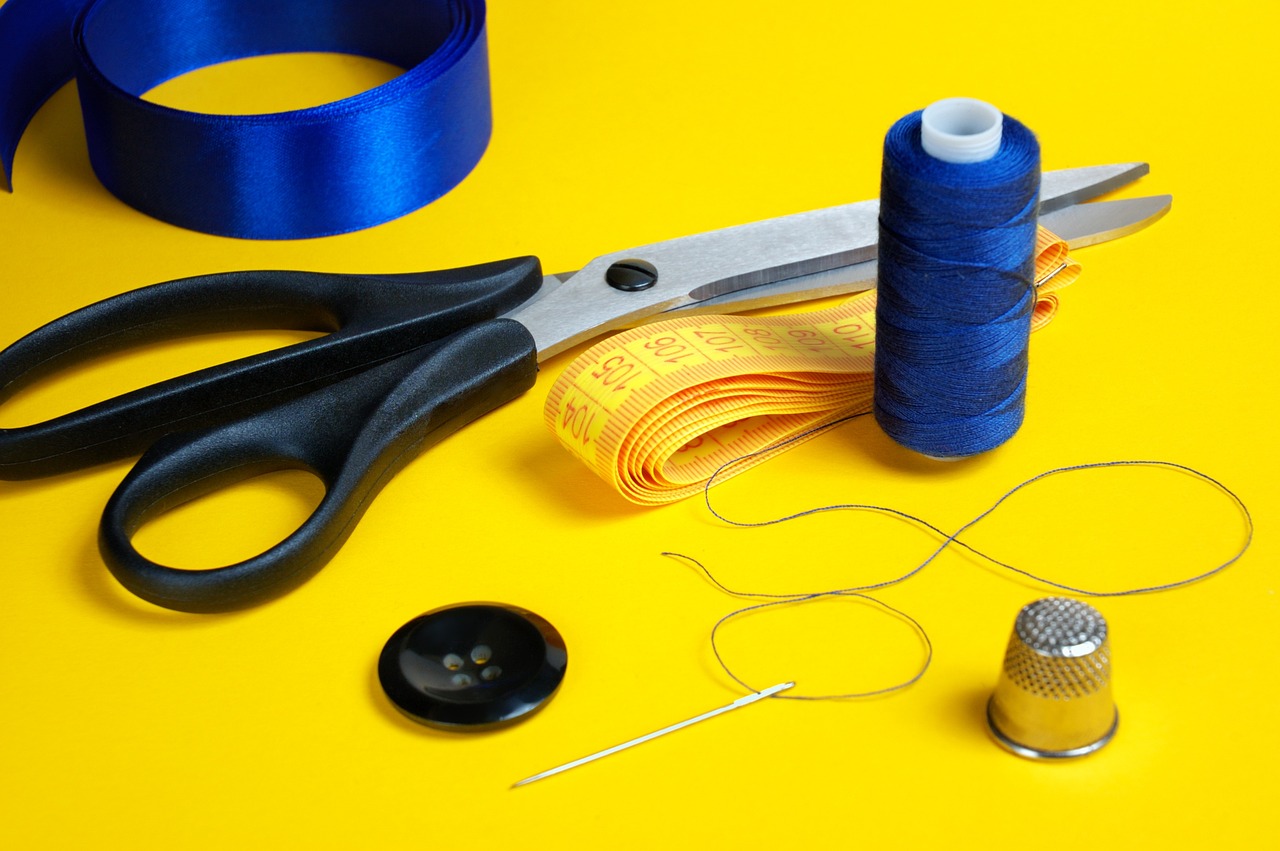
[Quilted Coasters]
Quilted coasters are not just functional; they are a delightful way to showcase your creativity and sewing skills. Imagine sipping your favorite beverage while resting it on a beautifully crafted coaster that you made yourself! These coasters offer a perfect blend of durability and style, making them an excellent addition to any coffee table or dining space. Plus, they are a fantastic way to use up fabric scraps you might have lying around. Who knew that those leftover pieces could transform into something so charming?
Creating quilted coasters involves layering fabric with batting, which not only adds a lovely texture but also enhances the coasters' ability to absorb moisture and protect your surfaces. The process is simple and can be completed in just a few hours, making it an ideal weekend project. You can experiment with different fabrics, colors, and patterns, allowing your personality to shine through in each unique piece. Whether you prefer a modern look or something more whimsical, the possibilities are endless!
To get started, you'll need a few essential materials:
- Fabric scraps (cotton works best)
- Batting or felt for insulation
- Thread that matches your fabric
- Scissors or a rotary cutter
- Ruler and fabric marking pen
Once you've gathered your materials, the next step is to cut your fabric and batting into squares or circles, depending on your desired coaster shape. A standard size for coasters is about 4 to 5 inches. After cutting, layer your fabric and batting, placing the right sides of the fabric together, with the batting on the bottom. Pin the layers in place to prevent any shifting while sewing.
Now comes the fun part: sewing! Using a sewing machine, stitch around the edges, leaving a small opening to turn the coaster right side out. After turning it, carefully push out the corners to ensure they are nice and sharp. Finally, top-stitch around the edge for a polished finish. This not only secures the opening but also adds an extra decorative touch.
Quilted coasters make for fantastic gifts, too! You can create a set in coordinating fabrics and present them in a lovely box or tied with a ribbon. Imagine the joy on your friend's face when they receive a handmade gift that is both practical and beautiful. So, roll up your sleeves and let your creativity flow; you might just find that making quilted coasters becomes your new favorite hobby!
Q: Can I use any type of fabric for quilted coasters?
A: While you can use various fabrics, cotton is the best choice due to its durability and ease of washing. Avoid stretchy fabrics as they may distort during sewing.
Q: How do I wash my quilted coasters?
A: You can machine wash them on a gentle cycle and tumble dry on low. For best results, avoid bleach to maintain the colors and integrity of the fabric.
Q: Can I make these coasters in different shapes?
A: Absolutely! While squares and circles are the most common shapes, feel free to get creative with other shapes like hearts or stars for a fun twist.

[Pillow Covers]
Transforming ordinary pillows into stylish decor pieces with custom-made pillow covers is not just a fun weekend project; it’s an opportunity to express your creativity and personalize your living space. Whether you’re looking to refresh your home decor or create thoughtful gifts for friends and family, sewing your own pillow covers is a rewarding endeavor that requires minimal sewing skills. With just a few yards of fabric, some basic sewing tools, and a little bit of time, you can create beautiful, one-of-a-kind pillow covers that reflect your personal style.
One of the best things about making pillow covers is the wide range of fabric choices available. From vibrant prints to soft neutrals, the options are endless. You can even mix and match fabrics to create a unique look. Imagine a cozy living room adorned with pillows that perfectly complement your color scheme or seasonal decor. It’s like adding the finishing touches to a masterpiece, making your space feel complete and inviting.
When it comes to sewing pillow covers, there are several methods you can choose from, each with its own charm. The envelope closure method is particularly popular among beginners because it’s simple and doesn’t require any zippers or buttons. This technique allows you to easily remove and wash your covers, making it a practical choice for everyday use. On the other hand, if you’re feeling adventurous, you might want to try your hand at zippered pillow covers. Although this method is slightly more advanced, it adds a touch of sophistication and allows for a snug fit on your pillows.
To help you get started, here’s a quick overview of the materials you’ll need:
- Fabric of your choice (consider the size of your pillows)
- Sewing machine
- Thread that matches your fabric
- Scissors or rotary cutter
- Measuring tape
- Iron for pressing seams
With your materials ready, let’s dive into the step-by-step process of sewing your pillow covers. First, measure your pillows to determine the size of the fabric pieces you’ll need. Remember to add a seam allowance, typically around ½ inch. Cut your fabric accordingly and start by sewing the edges, ensuring you keep everything neat and aligned. If you’re opting for the envelope closure, remember to fold and hem the edges of the back piece before attaching it to the front. For zippered covers, follow the specific instructions for inserting the zipper, as this will give your pillow a polished and professional finish.
As you sew, don’t forget to take your time and enjoy the process. It’s easy to rush through, but the joy of creating something with your own hands is worth savoring. Plus, each stitch is a step toward mastering your sewing skills. Once you’ve completed your pillow covers, take a moment to admire your work. You’ll likely find that the satisfaction of having made something beautiful for your home is immensely rewarding.
In conclusion, sewing pillow covers is a delightful and fulfilling project that can transform your living space. Whether you choose the easy envelope closure or the more advanced zippered option, you’ll not only enhance your decor but also gain valuable sewing experience. So gather your materials, unleash your creativity, and let your sewing machine bring your vision to life!
Q: How do I choose the right fabric for my pillow covers?
A: Consider the purpose of the pillows. For decorative pillows, feel free to choose bold patterns and colors. For everyday use, opt for durable fabrics like cotton or canvas that can withstand wear and tear.
Q: Can I use old clothes to make pillow covers?
A: Absolutely! Upcycling old clothes is a fantastic way to create unique pillow covers while being environmentally friendly. Just make sure to choose fabrics that are still in good condition.
Q: How do I wash my pillow covers?
A: It depends on the fabric you used. Generally, you can machine wash them in cold water and tumble dry on low. Always check the care label for specific instructions.

[Envelope Closure]
When it comes to sewing pillow covers, the envelope closure method is a game-changer for both beginners and seasoned crafters. This technique not only allows for easy removal and washing of the covers but also provides a neat and professional finish. Imagine transforming your ordinary pillows into stylish decor pieces without the hassle of zippers or buttons! With just a few simple steps, you can create beautiful pillow covers that enhance the aesthetic of your living space.
The envelope closure consists of two overlapping fabric pieces that form a pocket for your pillow. This design is not only functional but also adds a touch of elegance to your pillows. You can choose to use different fabrics or patterns for each side, giving you the opportunity to switch up your decor effortlessly. For instance, you might prefer a bold print on one side and a solid color on the other, making it easy to match your pillow to any room theme.
To get started with the envelope closure, first, measure your pillow. A good rule of thumb is to add an extra 2-3 inches to both the width and height for a comfortable fit. This extra fabric allows for the overlap that secures the pillow inside. Once you have your measurements, cut your fabric accordingly. For example, if your pillow measures 18 inches square, you would cut two pieces of fabric measuring 18 x 20 inches.
After cutting your fabric, it's time to prepare the edges. Start by hemming the overlapping edges of the two fabric pieces. This step is crucial as it prevents fraying and gives your pillow cover a polished look. To hem, fold the edge over by about half an inch, press it with an iron, and then sew along the folded edge. Repeat this for both overlapping edges.
Next, lay one piece of fabric right side up, and place the second piece on top, right side down, aligning the edges. Pin the pieces together, ensuring that the hemmed edges overlap in the center. Sew around the perimeter of the fabric, leaving a half-inch seam allowance. Once you've sewn all the way around, trim the corners to reduce bulk and make your corners sharper when you turn the cover right side out.
Finally, turn your pillow cover right side out and insert your pillow. Voila! You have a beautiful, functional pillow cover that is easy to change and wash, all thanks to the envelope closure method. Not only is this technique straightforward, but it also opens up a world of creativity with fabric choices and designs.
- Can I use any fabric for my pillow covers? Yes! You can use cotton, linen, or even upholstery fabric, depending on the look and feel you want.
- How do I care for my pillow covers? Most fabric pillow covers can be machine washed on a gentle cycle. Always check the care label for specific instructions.
- What if my pillow is an unusual size? No problem! Just adjust your fabric measurements accordingly, adding extra inches for the overlap as needed.
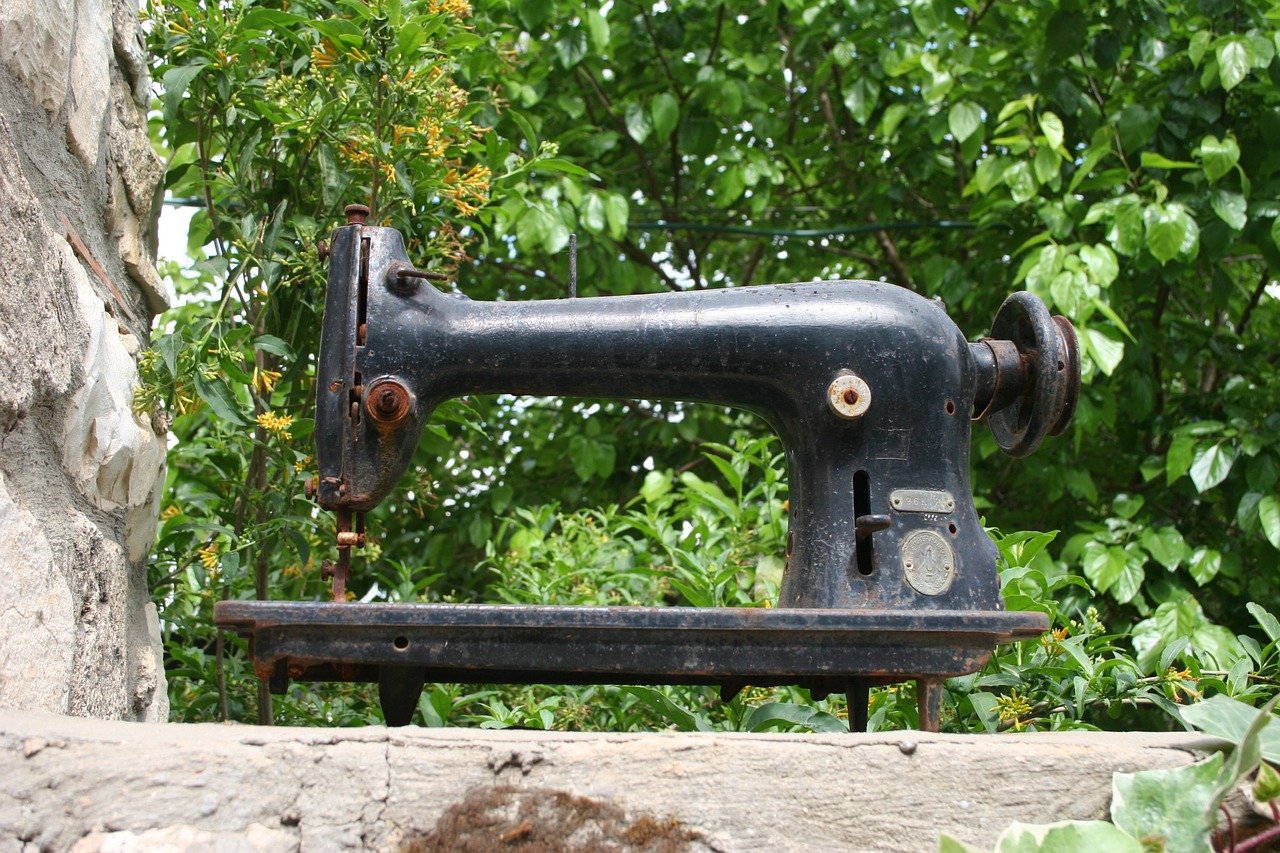
[Zippered Pillow Covers]
If you're looking to elevate your home decor while showcasing your sewing skills, zippered pillow covers are the way to go! Not only do they provide a sleek and polished look, but they also make it incredibly easy to change out your pillow covers whenever you fancy a new style. Imagine being able to switch up your living room's vibe with just a zip! This project may require a bit more finesse than the envelope closure method, but don’t worry; I’ll guide you through every step of the way.
Before diving into the sewing, let's gather the essential materials you'll need:
- Fabric: Choose a fabric that complements your decor. Cotton, linen, or even canvas works wonderfully.
- Zipper: A standard zipper that matches your fabric is ideal. The length will depend on your pillow size.
- Thread: Ensure it matches your fabric for a seamless look.
- Sewing machine: A basic sewing machine will do just fine for this project.
- Measuring tape: Accurate measurements are key to a perfect fit.
Now that we have our materials, let’s get into the nitty-gritty of making your zippered pillow covers. First, measure your pillow and cut your fabric accordingly. You’ll need two pieces of fabric, typically cut a bit larger than your pillow to allow for seams. For instance, if your pillow measures 18 inches, cut your fabric pieces to 19 inches to give yourself a little breathing room.
Next, it’s time to sew in the zipper. This step can feel daunting, but with a little practice, you’ll be a pro in no time! Lay one fabric piece right side up and place the zipper face down along one edge. Pin it in place and sew along the zipper edge. After that, attach the second fabric piece to the other side of the zipper, pinning it in place before sewing. Once done, you’ll want to press the seams flat to give it a clean finish.
After you’ve sewn both sides, it’s time to close up the pillow cover. With the fabric right sides together, sew along the remaining edges, leaving a small gap to turn it inside out. Once you’ve flipped it, poke out the corners for a crisp look, and then you can finally insert your pillow! Zip it up, and voila! You’ve created a stunning zippered pillow cover that not only serves a practical purpose but also adds a touch of elegance to your space.
To help you visualize the process, here’s a quick overview of the steps in a table format:
| Step | Description |
|---|---|
| 1 | Measure and cut your fabric pieces. |
| 2 | Pin and sew the zipper to the first fabric piece. |
| 3 | Attach the second fabric piece to the other side of the zipper. |
| 4 | Sew the remaining edges together, leaving a gap. |
| 5 | Turn the pillow cover inside out and insert the pillow. |
Remember, practice makes perfect! The more you sew, the more confident you'll become. And soon enough, you'll be whipping up zippered pillow covers like a seasoned pro. So, grab your sewing machine and get started on this fun project. You'll be amazed at how a simple zipper can transform your pillows into stylish decor pieces!
Q: Can I use any type of fabric for zippered pillow covers?
A: Absolutely! Just make sure to choose a fabric that is durable and suitable for home decor.
Q: What if I don't have a sewing machine?
A: You can sew by hand, but it may take more time. It’s definitely doable if you're up for the challenge!
Q: How do I choose the right zipper length?
A: A good rule of thumb is to select a zipper that is at least a few inches shorter than the side of your pillow. For an 18-inch pillow, a 16-inch zipper works well.

[Fabric Bunting]
Brighten up any space with colorful fabric bunting! This delightful project is not only simple but also incredibly versatile, making it perfect for parties, celebrations, or just to add a splash of color to your home decor. Imagine walking into a room filled with vibrant flags fluttering in the breeze, instantly lifting your spirits. The best part? You can customize your bunting to fit any theme or occasion, whether it's a birthday bash, a baby shower, or simply to cheer up your living space on a rainy day.
To get started, you'll want to consider the fabrics you’ll use. Selecting the right materials is crucial for creating eye-catching bunting. Think about using a mix of different textures and patterns to create a visually appealing display. For instance, you could combine solid colors with floral prints, or even incorporate some fun patterns like polka dots or stripes. The possibilities are endless! Here’s a quick overview of some fabric options you might consider:
| Fabric Type | Best For | Notes |
|---|---|---|
| Cotton | Everyday bunting | Easy to sew and comes in a variety of prints |
| Canvas | Outdoor bunting | Durable and weather-resistant |
| Linen | Elegant occasions | Gives a sophisticated look, but can be more challenging to work with |
| Felt | Crafty projects | No fraying edges, easy to cut into shapes |
Once you’ve gathered your fabrics, it’s time to think about how you’ll hang your bunting. There are various methods for securing your fabric flags, each offering a unique look and feel. You could sew the flags onto a long strip of bias tape for a clean finish, or use twine for a rustic vibe. When hanging your bunting, consider the space you’re decorating—are you draping it across a doorway, or perhaps stringing it along a wall? Make sure to secure it properly so it stays in place during the festivities!
Creating fabric bunting is not just about the end result; it's about the process too! As you cut, sew, and arrange your flags, you’ll find joy in the creativity and the personal touch you bring to your home. Plus, it’s a fantastic way to use up fabric scraps and unleash your inner designer. So grab your sewing machine, choose those vibrant fabrics, and let your imagination run wild!
- How long should I make my bunting? The length of your bunting will depend on where you plan to hang it. A good rule of thumb is to allow about 12 inches between each flag, and to have at least 3 feet of tape or twine on either end for hanging.
- Can I wash my fabric bunting? Yes! If you use cotton or other washable fabrics, you can simply toss it in the washing machine on a gentle cycle. Just be sure to let it air dry to maintain its shape.
- What if I don't have a sewing machine? No problem! You can hand-sew your bunting or even use fabric glue for a no-sew option, especially if you’re using felt.
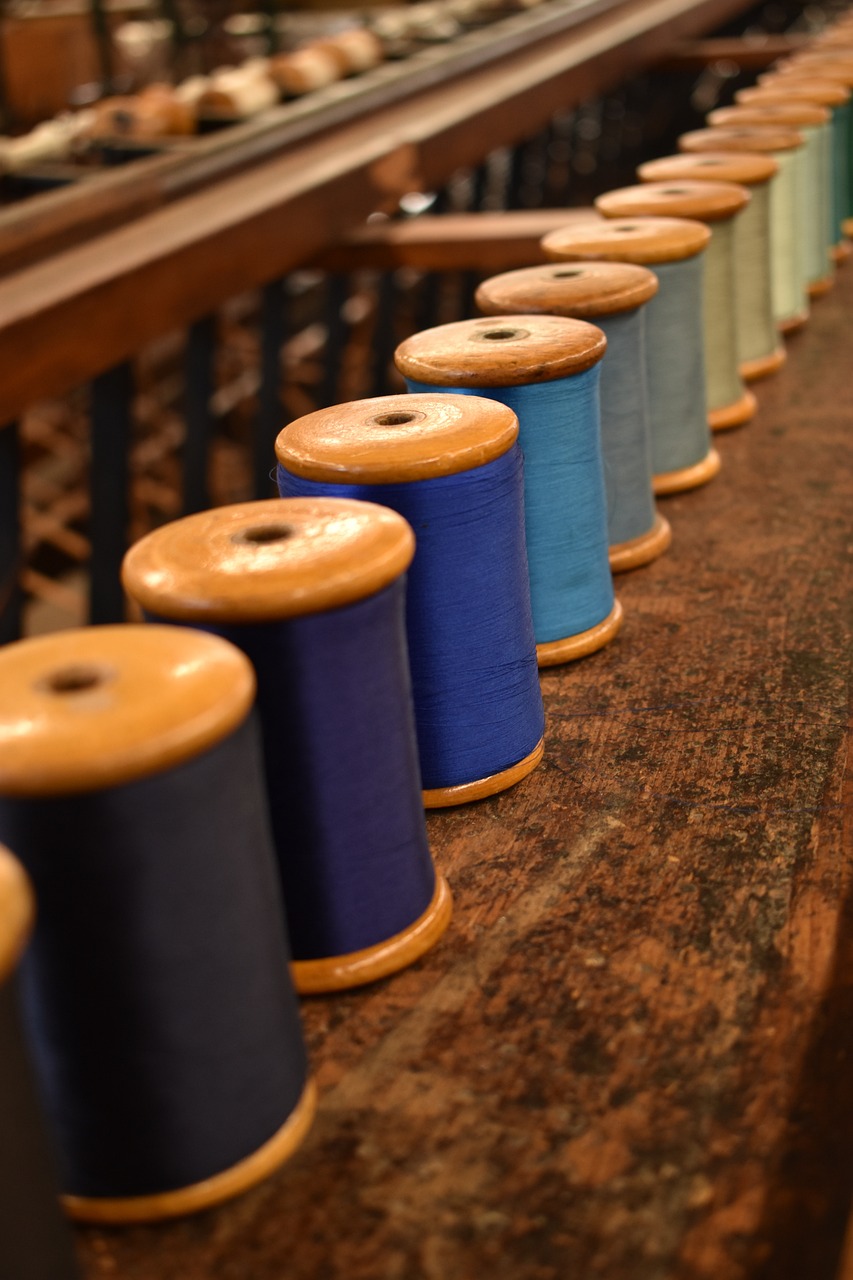
[Choosing Fabrics]
When it comes to creating your own fabric bunting, the choice of fabric is crucial. The right fabric can transform a simple project into a stunning visual statement that captures the essence of your theme or occasion. So, how do you choose the perfect fabric? First, consider the purpose of your bunting. Are you making it for a birthday party, a wedding, or perhaps a cozy home decor accent? Each occasion may call for different colors, patterns, and textures.
Next, think about the color scheme. You want your bunting to complement the overall aesthetic of the space or event. For a festive celebration, vibrant colors and playful patterns can create a lively atmosphere. On the other hand, if you're crafting bunting for a more subdued setting, opt for softer hues and elegant fabrics. A great way to visualize this is by creating a mood board. Gather fabric swatches, paint samples, and even photos that inspire you. This can guide your selection process and help you maintain a cohesive look.
Now, let’s talk about fabric types. Different materials have distinct characteristics that can affect how your bunting looks and hangs. Here are a few popular options:
- Cotton: This fabric is a staple for bunting. It's easy to sew, comes in a vast array of colors and patterns, and holds its shape well.
- Canvas: For a more durable option, canvas is excellent. It’s thicker, making it ideal for outdoor events where the bunting may be exposed to wind and weather.
- Silk or Satin: If you're aiming for a touch of elegance, consider silk or satin. These fabrics drape beautifully and can add a luxurious feel to your bunting, perfect for weddings or formal events.
Additionally, think about the weight of the fabric. Lighter fabrics may flutter in the breeze, while heavier fabrics will hang more straight. If you want your bunting to have a bit of movement, a mix of weights can create a dynamic visual effect. Don't forget to consider the texture as well. Mixing textures can add depth and interest to your bunting, making it more visually appealing.
Finally, always remember to pre-wash your fabric before you start sewing. This step is essential to prevent any shrinkage or color bleeding after your bunting is complete. By washing your fabric first, you ensure that your beautiful creation will stay vibrant and in shape for years to come.
Q: Can I use old clothes or fabric scraps for bunting?
A: Absolutely! Upcycling old clothes or using fabric scraps is a fantastic way to create unique bunting while being eco-friendly. Just ensure the fabrics are clean and in good condition.
Q: How do I secure the bunting for outdoor use?
A: For outdoor events, consider using heavier fabrics or adding weights to the bottom of each flag to prevent them from blowing away. You can also use strong twine or rope for added durability when hanging.
Q: What is the best way to hang my bunting?
A: You can use ribbon, string, or even wooden dowels to hang your bunting. Make sure whatever you choose is sturdy enough to support the weight of the fabric.
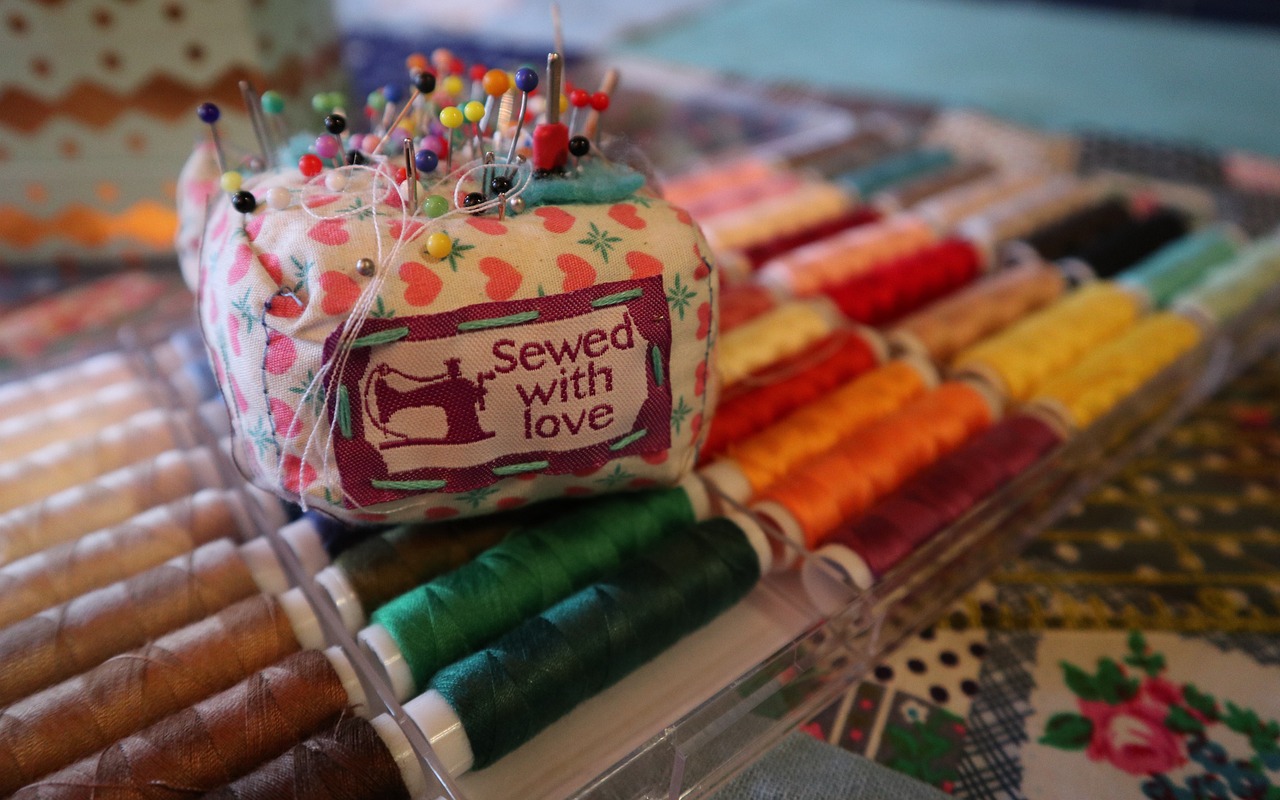
[Hanging Techniques]
When it comes to displaying your beautiful fabric bunting, the way you hang it can make all the difference. Not only does a well-hung bunting look more polished, but it also enhances the overall ambiance of your space. Whether you're preparing for a party, a cozy gathering, or simply want to brighten up your home, understanding the best hanging techniques will ensure your bunting shines. So, let's dive into some effective methods!
One of the simplest ways to hang your bunting is by using string or twine. This method is not only easy but also adds a rustic charm to your decor. To do this, cut a length of string that is longer than the bunting itself, allowing for some extra length on either end for tying. Then, use small clothespins or clips to attach the bunting flags to the string. This technique allows for easy adjustments and rearrangements, making it perfect for those who like to change their decor often.
If you're looking for a more permanent solution, consider using adhesive hooks or nails. For this method, simply measure the desired height and spacing of your bunting, then mark the spots on the wall where you’ll place the hooks or nails. This way, your bunting will be securely fastened, and you won’t have to worry about it falling down during a lively gathering. However, be mindful of the wall surface to avoid damage when removing the hooks or nails later.
Another creative option is to use curtain rods or poles. This method not only looks elegant but also allows for easy sliding and rearranging of the bunting. You can attach the bunting flags directly to the rod with fabric clips or simply slide them on if they have a pocket. This technique is particularly great for larger spaces or outdoor settings where you want to create a festive atmosphere.
For those who want to get a bit more crafty, consider making a fabric loop to hang your bunting. This involves sewing a small loop at the top of each flag, allowing you to slide them onto a string or rod. This technique not only secures the flags but also gives a neat, finished look. Plus, you can customize the loops with different fabrics or colors to match your bunting theme!
To summarize, here are some popular hanging techniques for your fabric bunting:
- String or Twine: Easy and adjustable.
- Adhesive Hooks or Nails: Secure and permanent.
- Curtain Rods or Poles: Elegant and flexible.
- Fabric Loops: Customizable and neat.
With these hanging techniques, you can ensure your fabric bunting not only looks fantastic but also stays in place, allowing you to enjoy your beautiful creations without worry. So, grab your bunting and get ready to transform your space into a vibrant, inviting environment!
Q: How do I choose the right fabric for my bunting?
A: When selecting fabric, consider the theme or color scheme of your event. Bright, bold patterns work well for festive occasions, while softer tones can create a more elegant atmosphere. Remember, mixing and matching different fabrics can add a unique touch to your bunting!
Q: Can I use bunting outdoors?
A: Yes! Just ensure that the fabric is suitable for outdoor use, as some materials may fade or deteriorate in direct sunlight or moisture. Consider using outdoor fabric or treating your bunting with a fabric protector for longevity.
Q: How can I store my bunting when not in use?
A: To keep your bunting looking fresh, store it in a cool, dry place. You can fold it neatly and place it in a storage box or hang it up to avoid creases. If using fabric, ensure it is clean and dry before storing to prevent mildew.
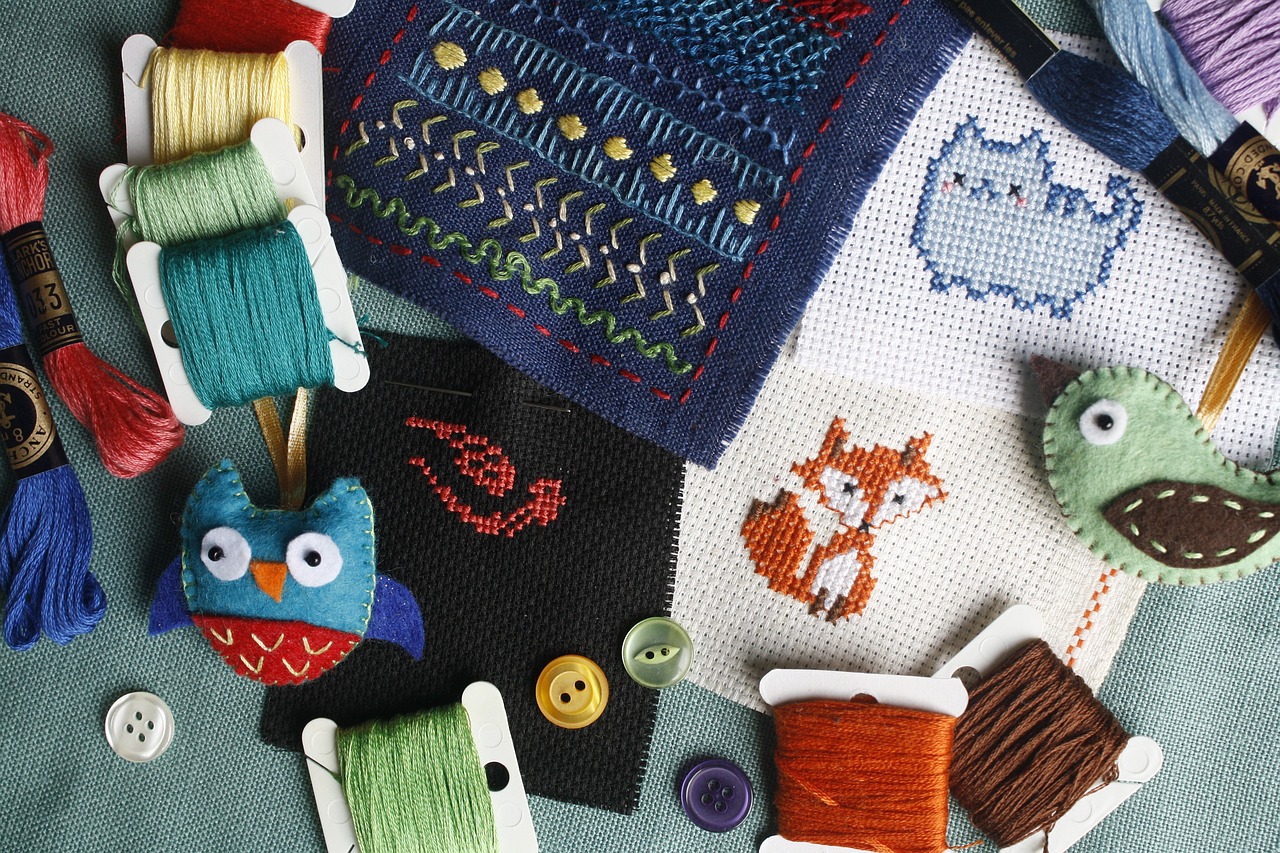
[Sewing Machine Basics]
Understanding the basics of your sewing machine is crucial for a seamless sewing experience. Whether you're a novice or someone with a bit of experience, knowing how to operate your machine effectively can make all the difference. It’s like having a trusty sidekick by your side, ready to help you conquer those fabric challenges!
First things first, let’s talk about the essential parts of your sewing machine. Familiarizing yourself with these components can help you troubleshoot issues and enhance your sewing skills. Here’s a quick overview:
| Part | Function |
|---|---|
| Needle | Pierces the fabric to create stitches. |
| Presser Foot | Holds the fabric in place while sewing. |
| Feed Dogs | Moves the fabric under the needle. |
| Bobbin | Holds the thread that forms the stitches from the underside. |
| Tension Dial | Controls the tightness of the stitches. |
Next up, threading your machine properly is a fundamental skill every sewer should master. A well-threaded machine is like a well-tuned engine; it runs smoothly and efficiently. If you’re unsure how to thread your machine, don’t worry! Most machines come with a handy guide, and you can always find tutorials online. Just remember, threading techniques may vary slightly depending on the brand and model.
Maintaining your sewing machine is equally important. Think of it like taking care of a pet; regular feeding and grooming keep it healthy and happy! Here are some simple maintenance tips:
- Clean the machine regularly: Dust and lint can accumulate, affecting performance.
- Oil the moving parts: This helps keep everything running smoothly.
- Check the needle: Replace it frequently to avoid fabric snags.
By taking these small steps, you can ensure your sewing machine remains in top condition, allowing you to focus on creating beautiful pieces rather than troubleshooting problems.
As you dive into your weekend sewing projects, remember that practice makes perfect. Don’t be discouraged by initial mistakes; instead, view them as learning opportunities. With each project, you’ll become more comfortable with your machine and more confident in your sewing abilities. So, roll up those sleeves, and let’s get sewing!
Q: How often should I clean my sewing machine?
A: It's recommended to clean your machine after every few projects, especially if you're sewing with fabrics that shed lint.
Q: What type of needle should I use for different fabrics?
A: Use universal needles for most fabrics, but consider specialty needles like ballpoint for knits or sharp needles for woven fabrics.
Q: Can I use any thread in my sewing machine?
A: It's best to use high-quality thread that matches your project. Polyester thread is versatile and works well for most sewing tasks.
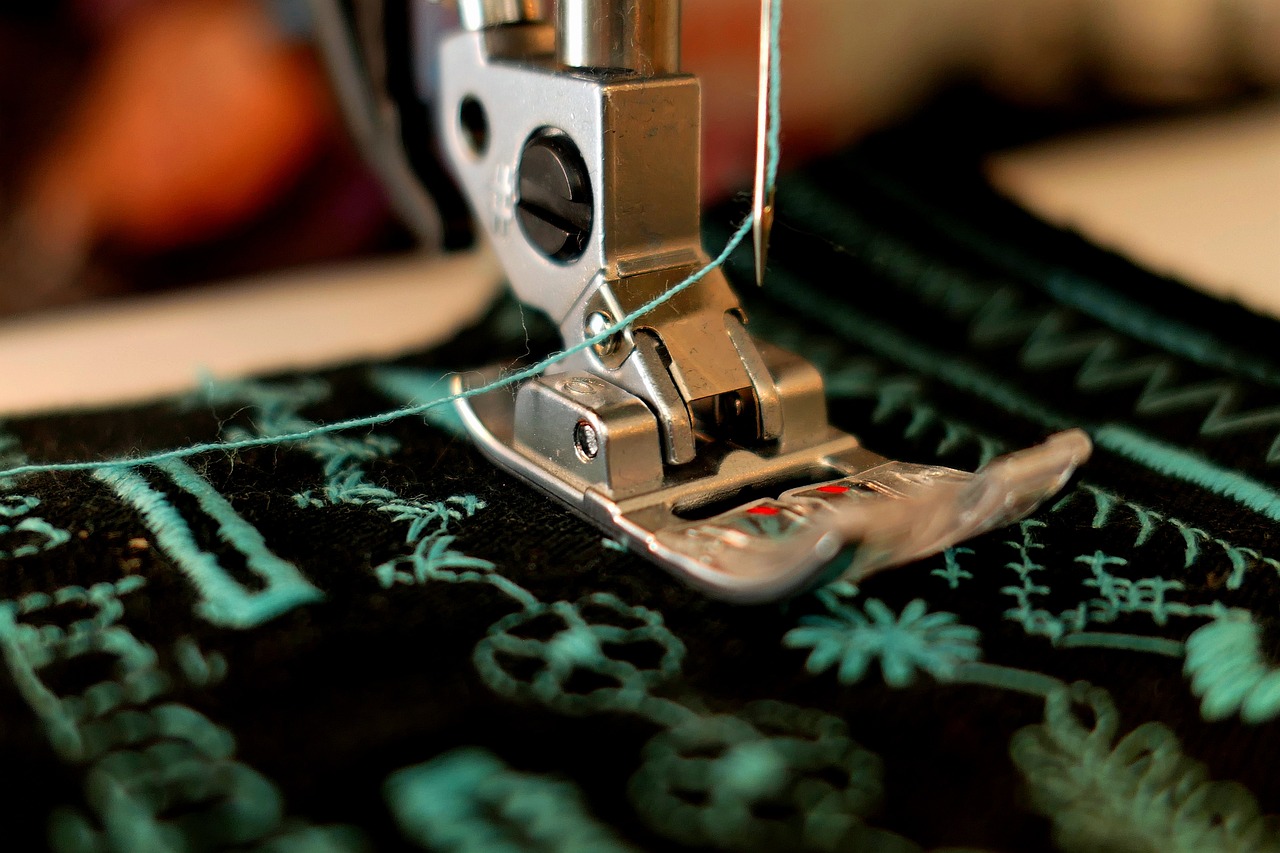
[Threading Your Machine]
Threading your sewing machine might seem like a daunting task, especially for beginners, but it’s a crucial skill that can dramatically improve your sewing experience. Think of it as the lifeline of your sewing process; without properly threaded machines, you might find yourself tangled in frustration instead of fabric! So, let’s break it down step by step to make it as easy as pie.
First, you need to gather your supplies. Ensure you have your sewing machine, a spool of thread, and a bobbin. Most machines will have a diagram on them indicating the threading path, which can be incredibly helpful. Follow these general steps to get started:
- Place the spool of thread: Position the spool on the spool pin, ensuring it's secure.
- Guide the thread: Follow the threading path as indicated on your machine. This typically involves threading through a tension disc and a guide.
- Thread the needle: Make sure to thread the needle from front to back, using the needle threader if available.
- Insert the bobbin: Place the bobbin into its case, ensuring the thread unwinds in the correct direction.
- Pull the threads: After threading, pull both the needle and bobbin threads to ensure they are taut.
It's essential to check that the thread is not too tight or too loose. A well-threaded machine will glide smoothly over your fabric, while a poorly threaded one will lead to skipped stitches or even breakage. If you encounter any issues, don’t hesitate to consult your machine’s manual for troubleshooting tips.
Now, let’s talk about some common mistakes to avoid while threading your machine:
| Mistake | Solution |
|---|---|
| Skipping the tension discs | Always ensure the thread is properly seated within the tension discs to avoid uneven tension. |
| Incorrect needle threading | Make sure the thread goes through the needle from the front to the back; otherwise, you’ll have issues with stitching. |
| Bobbin not inserted correctly | Check the bobbin’s direction; it should unwind in the correct direction for your machine. |
Remember, practice makes perfect! The more you thread your machine, the more comfortable you'll become. Soon, you’ll be threading like a pro, ready to tackle those exciting weekend sewing projects. Happy sewing!
Q: How often should I thread my machine?
A: You should thread your machine each time you change the thread color or if you’re experiencing issues with stitching.
Q: What should I do if my thread keeps breaking?
A: Check your threading, ensure you're using the correct needle for your fabric, and verify that the tension is set properly.
Q: Can I use any type of thread?
A: It’s best to use thread that is appropriate for your fabric type. For example, use cotton thread for cotton fabrics and polyester thread for synthetic fabrics.
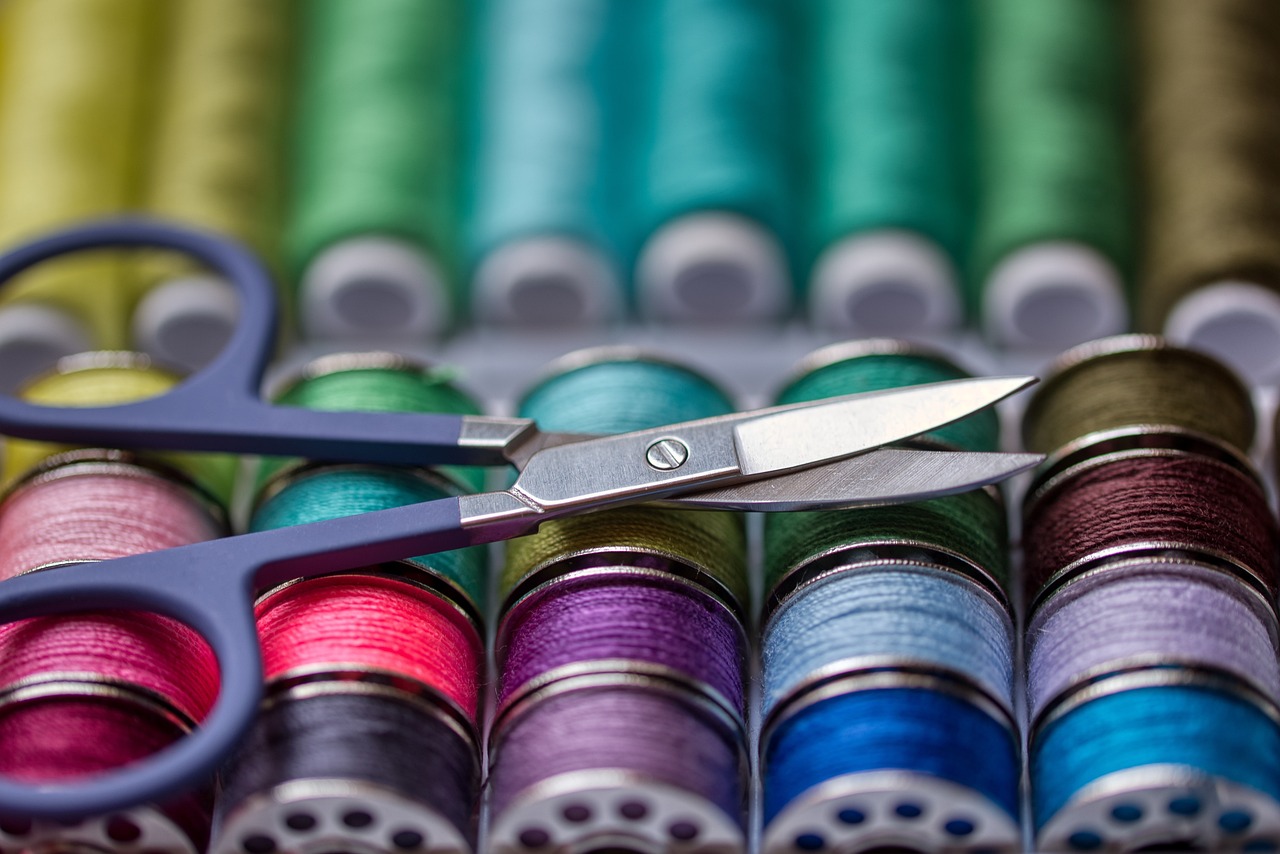
[Maintaining Your Machine]
Maintaining your sewing machine is crucial for ensuring its longevity and optimal performance. Just like a car needs regular oil changes, your sewing machine requires attention to keep it running smoothly. By following a few simple maintenance steps, you can avoid frustrating breakdowns and enjoy a seamless sewing experience. So, what should you do to keep your machine in top shape?
First and foremost, regular cleaning is essential. Dust and lint can accumulate in various parts of your machine, particularly around the bobbin area and feed dogs. To clean your machine, you’ll need a small brush, a soft cloth, and sometimes a vacuum attachment designed for delicate electronics. Gently brush away any debris, taking care not to damage any components. You might also want to refer to your machine's manual for specific cleaning instructions.
Next, lubricating your machine is a key part of maintenance. Many modern machines have self-lubricating systems, but for those that don't, a few drops of sewing machine oil on the designated areas can work wonders. This helps to keep the moving parts functioning smoothly and reduces wear and tear. Always check your manual for the correct oiling points and recommended oil type.
Additionally, it's important to check the tension settings regularly. If your stitches are coming out uneven or if you're experiencing puckering, it might be time to adjust the tension. This can be a bit tricky, but with practice, you’ll learn to recognize the signs of improper tension. Remember, a well-tensioned machine produces beautiful stitches!
Lastly, consider scheduling a professional servicing at least once a year. Even if you’re diligent about maintenance, a professional can spot issues you might overlook and ensure that your machine is running at peak performance. Think of it as a health check-up for your sewing machine!
In summary, maintaining your sewing machine involves:
- Regular cleaning to remove dust and lint.
- Lubricating moving parts as needed.
- Checking and adjusting tension settings.
- Scheduling professional servicing annually.
By incorporating these practices into your sewing routine, you’ll not only extend the life of your machine but also enhance your overall sewing experience. So grab your tools and get started on that maintenance – your sewing machine will thank you!
Q: How often should I clean my sewing machine?
A: It's a good idea to clean your machine after every few projects, or at least once a month if you sew regularly. This prevents lint buildup and keeps your machine running smoothly.
Q: Can I use any oil for my sewing machine?
A: No, it's best to use oil specifically designed for sewing machines. Check your machine's manual for recommendations on the best type of oil to use.
Q: What are the signs that my sewing machine needs servicing?
A: If you notice unusual noises, skipped stitches, or inconsistent tension, it may be time for a professional check-up. Regular servicing can help prevent these issues from becoming serious problems.
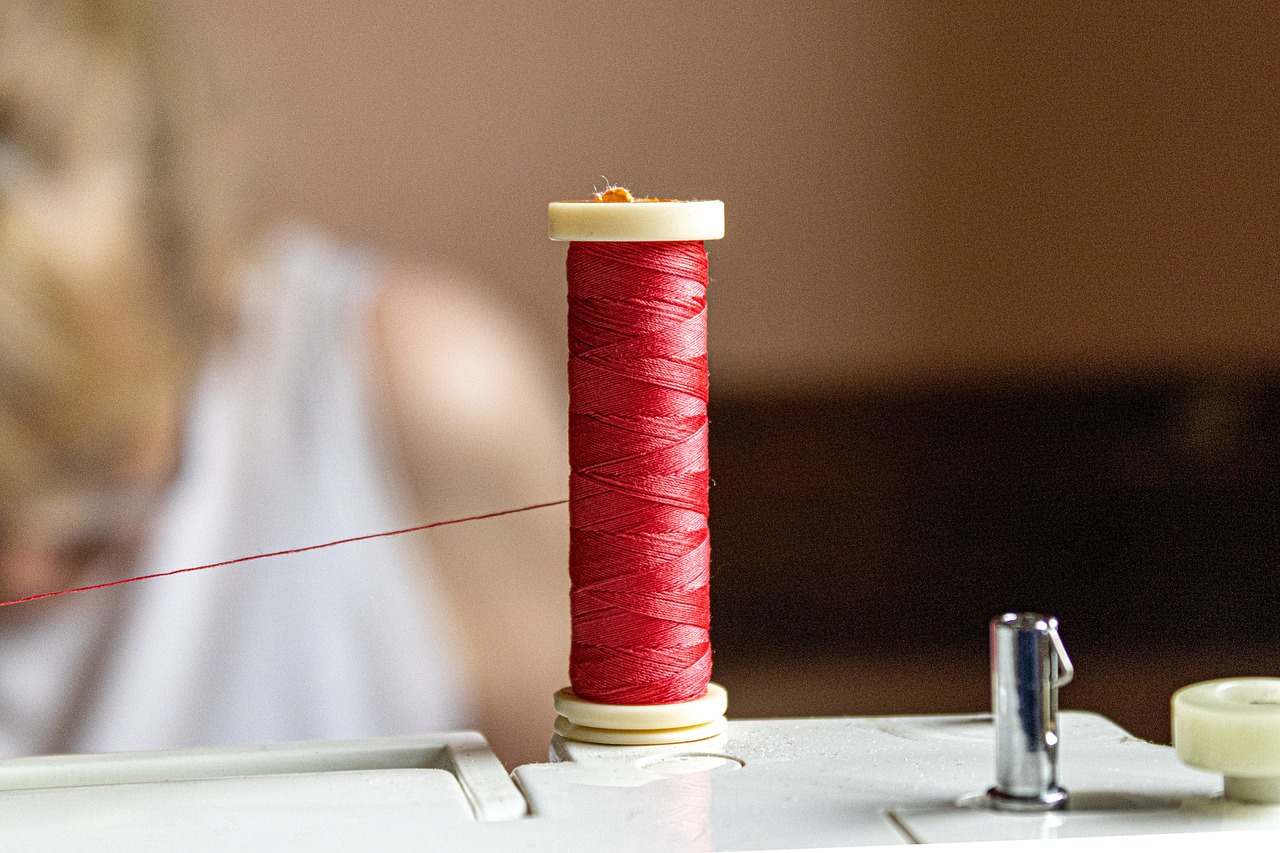
[Tips for Beginners]
Starting your sewing journey can feel like stepping into a whole new world filled with vibrant fabrics and endless possibilities. But don't worry! With a few essential tips, you'll be well on your way to creating beautiful handmade items. First and foremost, selecting the right fabric is crucial. Beginners often feel overwhelmed by the vast array of choices available. It’s best to start with cotton or linen as they are forgiving and easy to work with. As you gain confidence, you can experiment with more challenging materials like knits or silks.
In addition to fabric, having the right tools can make all the difference. Here are some must-have tools for your sewing kit:
- Fabric scissors: Invest in a good pair to ensure clean cuts.
- Measuring tape: Accurate measurements are key to successful projects.
- Seam ripper: Mistakes happen; this tool will be your best friend.
- Pins and a pin cushion: Keep your fabric in place while sewing.
Another tip for beginners is to practice basic stitches. Familiarize yourself with straight stitches, zigzag stitches, and backstitching. These foundational techniques will serve you well as you tackle more complex projects. Don't hesitate to use scrap fabric for practice; it’s a great way to build your skills without the pressure of ruining a precious piece of material.
As you embark on your sewing adventures, remember that patience is key. It’s easy to get frustrated, especially when things don’t go as planned. Embrace the learning process and treat mistakes as opportunities to grow. Each project will teach you something new, and soon enough, you'll find your rhythm.
Finally, consider joining a sewing community, whether online or in your local area. Sharing experiences, asking questions, and learning from others can provide invaluable support and inspiration. Plus, it can be a lot of fun to connect with fellow crafters!
Here are some common questions that beginners often have when starting their sewing journey:
| Question | Answer |
|---|---|
| What sewing machine should I buy as a beginner? | Look for a machine that is user-friendly, has a few basic stitches, and fits within your budget. Brands like Brother and Singer offer great starter machines. |
| How do I choose the right fabric for my project? | Consider the project type and your skill level. Cotton is a great choice for beginners, while heavier fabrics like denim may require more experience. |
| Is it necessary to follow patterns? | While patterns can be helpful, they are not mandatory. Once you feel confident, you can start experimenting with your own designs! |
| How can I improve my sewing skills? | Practice regularly, take classes, watch tutorials online, and don’t be afraid to ask for help from more experienced sewists. |
[Essential Tools]
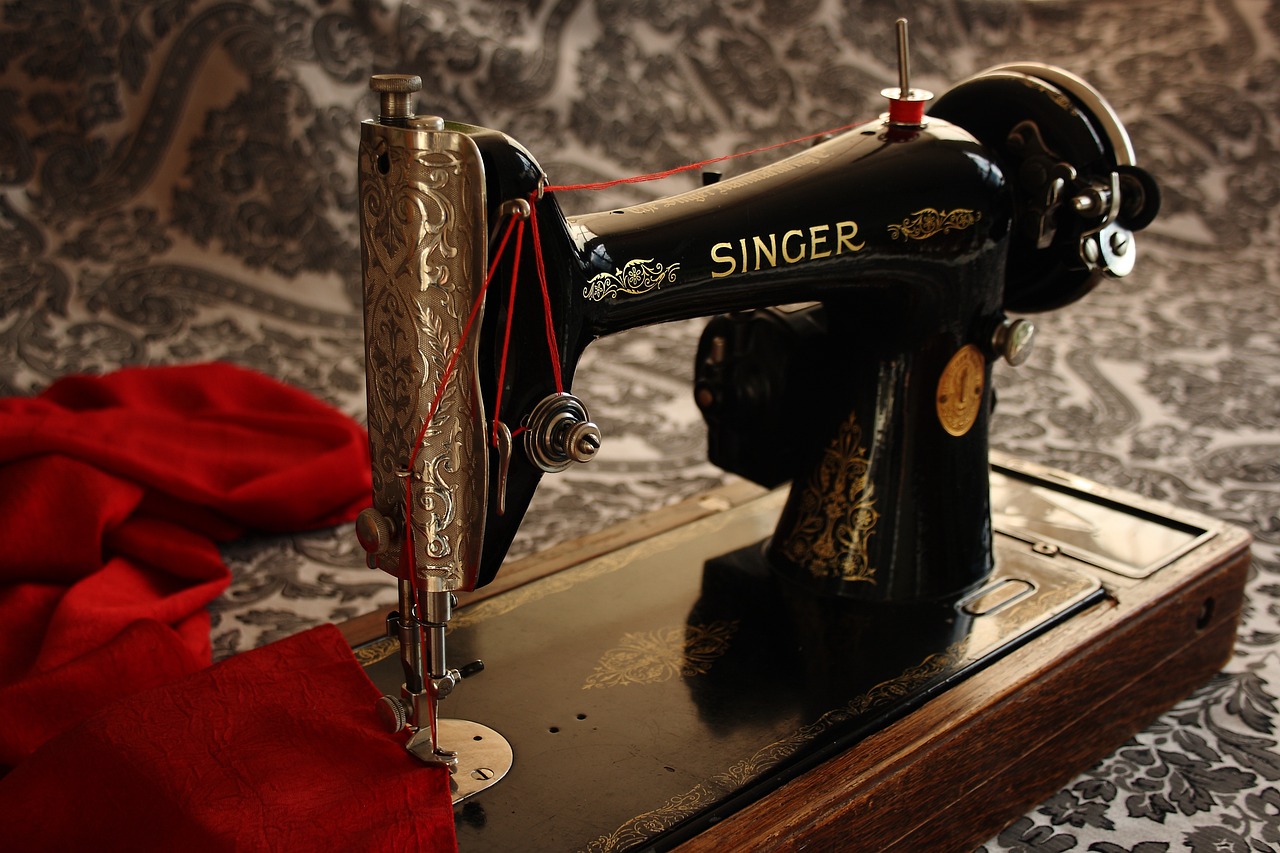
When diving into the world of sewing, having the right tools can make all the difference between a frustrating experience and a delightful one. Think of your sewing tools as your trusty sidekicks—they're there to help you navigate through the fabric jungle with ease and precision. So, what exactly do you need to get started? Let's break it down!
First off, a sewing machine is your best friend. Whether you're a beginner or a seasoned pro, a reliable machine can help you tackle a range of projects. If you're just starting, look for a machine with user-friendly features and basic stitches. Don't forget to familiarize yourself with its settings and functions, as this knowledge will empower you to sew with confidence.
Next on the list is fabric scissors. A good pair of fabric scissors is essential for cutting your materials cleanly. Using regular scissors can lead to frayed edges and uneven cuts, which can be a nightmare when trying to sew pieces together. Invest in a quality pair and keep them sharp; they will serve you well for years to come.
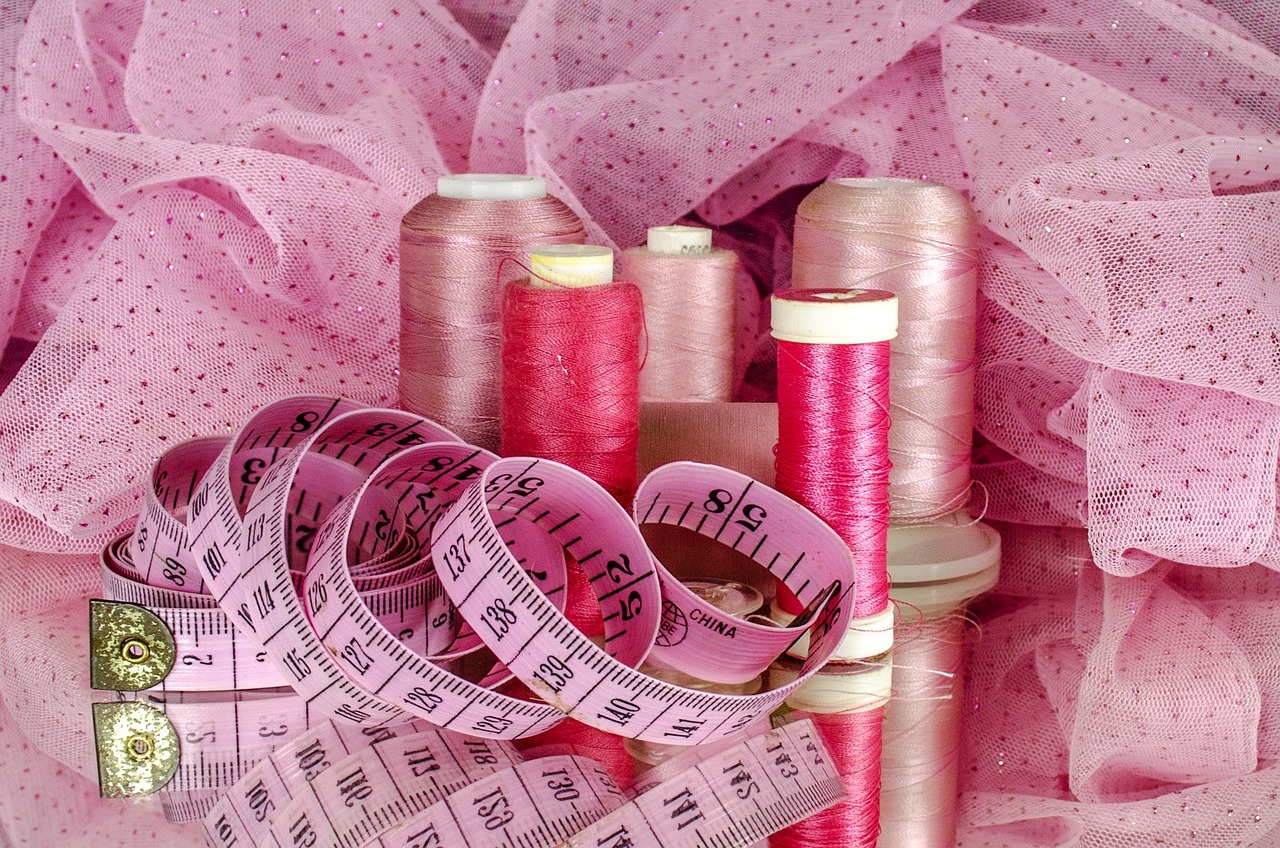
You'll also want to have a measuring tape handy. Accurate measurements are crucial in sewing, as they ensure your pieces fit together perfectly. A flexible measuring tape can easily wrap around curves and corners, making it easier to get precise dimensions for your projects.
Don’t overlook the importance of pins and a pin cushion. Pins help hold your fabric pieces together while you sew, preventing them from shifting out of place. A pin cushion keeps your pins organized and within reach, so you’re not searching for them in a sea of fabric. Plus, it adds a touch of charm to your sewing space!
Lastly, consider adding a seam ripper to your toolkit. Mistakes happen, and a seam ripper is the perfect tool for fixing them. It allows you to carefully remove stitches without damaging your fabric, saving you time and frustration.
In summary, here’s a quick table to recap the essential tools:
| Tool | Purpose |
|---|---|
| Sewing Machine | For stitching fabric pieces together. |
| Fabric Scissors | For cutting fabric cleanly. |
| Measuring Tape | For taking accurate measurements. |
| Pins & Pin Cushion | For holding fabric pieces in place. |
| Seam Ripper | For removing stitches and fixing mistakes. |
With these essential tools in your sewing kit, you'll be well-equipped to tackle any project that comes your way. Remember, the right tools not only enhance your sewing experience but also boost your confidence as you create beautiful handmade items.
Q: Do I need an expensive sewing machine to start sewing?
A: Not at all! While high-end machines offer advanced features, many affordable options are perfect for beginners. Look for a machine that is easy to use and has the basic stitches you need.
Q: How do I choose the right fabric for my project?
A: Consider the project's purpose and the type of finish you want. For beginners, cotton is a great choice as it’s easy to work with and comes in a variety of colors and patterns.
Q: Can I sew without a sewing machine?
A: Yes! Hand sewing is a viable option for smaller projects or if you're just starting out. Just be prepared for a bit more time and effort.
Q: How do I maintain my sewing machine?
A: Regularly clean your sewing machine, oil it according to the manufacturer's instructions, and always use the correct needle and thread for your fabric to keep it in good condition.
[Common Mistakes]
When diving into the world of sewing, especially as a beginner, it's easy to stumble upon a few common pitfalls. Understanding these common mistakes can save you time, frustration, and fabric! One of the biggest errors newcomers make is not pre-washing their fabric. You might think, "Why bother? It's new!" But trust me, pre-washing helps to remove any chemicals and shrinkage that could ruin your hard work later. Imagine finishing a beautiful tote bag only to find it shrunk after the first wash!
Another frequent misstep is skipping the measurements. It’s tempting to eyeball it, but that can lead to disastrous results. A project that looks good in your mind may not translate well in reality. Always measure twice and cut once! This age-old adage rings especially true in sewing. If you're working with patterns, be sure to check the size and fit; patterns can be misleading, and what seems like a perfect size can turn out to be a size too small or too large.
Additionally, many beginners neglect to read the instructions thoroughly before starting. You might think you can just wing it, but each project has its unique quirks and requirements. Take a moment to read through the entire guide. It’s like a treasure map; you wouldn’t want to miss the 'X' that marks the spot! Also, ensure you have all your materials ready before you start sewing. There's nothing worse than getting halfway through a project only to realize you're missing a crucial item.
Another common oversight is using the wrong needle for your fabric type. Did you know that different fabrics require different needles? For instance, using a universal needle on delicate fabrics like chiffon can lead to snags and tears. Always check your fabric type and match it with the appropriate needle to avoid this mistake. If you’re unsure, here’s a quick reference table:
| Fabric Type | Recommended Needle |
|---|---|
| Cotton | Universal Needle |
| Denim | Jeans Needle |
| Knits | Ballpoint Needle |
| Silk | Microtex Needle |
Lastly, be cautious about your thread tension. If your stitches are too loose or too tight, it can ruin the entire look of your project. Adjusting the tension can seem daunting, but it's a simple fix that can make a world of difference. Remember, practice makes perfect! Don't be discouraged by mistakes; instead, view them as learning opportunities. Each project you tackle will build your skills and confidence, paving the way for even more complex creations in the future.
Q: What should I do if I make a mistake while sewing?
A: Mistakes are part of the learning process! If you make a mistake, assess whether it can be fixed. Often, you can unpick stitches and redo sections. Don’t hesitate to reach out to sewing communities for advice!
Q: How can I improve my sewing skills?
A: Practice is key! Start with simple projects and gradually tackle more complex ones. Additionally, consider joining a sewing class or online tutorial to learn new techniques.
Q: What is the best fabric for beginners?
A: Cotton is one of the best fabrics for beginners due to its ease of handling and forgiving nature. It’s also widely available and comes in a variety of prints and colors.
Q: How do I choose the right sewing machine?
A: Look for a machine that suits your needs. If you’re a beginner, consider a machine with basic stitches and easy threading. Reading reviews and asking for recommendations can also help you make a decision.
[Conclusion]
As you wrap up your weekend sewing projects, take a moment to reflect on the joy and satisfaction that comes from creating something with your own hands. Whether you’ve crafted a simple tote bag, charming fabric coasters, or stylish pillow covers, each project adds a unique touch to your home and showcases your personal style. The skills you've gained over the weekend not only enhance your sewing abilities but also boost your confidence in tackling future projects.
Remember, sewing is not just about the final product; it’s also about the journey. Each stitch tells a story, and every fabric choice reflects your personality. So, don’t hesitate to experiment with different colors, patterns, and techniques. The beauty of sewing lies in its limitless possibilities. As you dive deeper into this creative world, you’ll discover that there’s always something new to learn and explore.
To ensure that you continue to grow as a crafter, consider setting aside time each weekend for sewing. Whether it's completing a small project or practicing new techniques, consistency is key. And don’t forget to share your creations with friends and family; you might inspire someone else to pick up a needle and thread!
In closing, as you enjoy the fruits of your labor, remember that the skills you’ve developed and the items you’ve created are not just functional but also imbued with your personal touch. You’ve added a bit of heart and home to your surroundings, and that’s something truly special.
Here are some common questions new sewers often have:
- What is the best fabric for beginners? Cotton is often recommended due to its ease of use and availability.
- How do I choose the right sewing machine? Look for a machine that suits your project needs, has good reviews, and offers user-friendly features.
- Can I sew without a sewing machine? Absolutely! Hand sewing is a great way to start and can be very rewarding.
- What should I do if I make a mistake? Mistakes are part of the learning process! Most errors can be fixed, so don’t be afraid to experiment.
Frequently Asked Questions
- What are some quick sewing projects for beginners?
If you're just starting out, projects like simple tote bags and fabric coasters are perfect. They require minimal sewing skills and can be completed in just a few hours, making them ideal for a weekend crafting session!
- How do I choose the right fabric for my projects?
When selecting fabric, consider the purpose of your project. For example, if you're making coasters, opt for durable fabrics that can withstand spills. If you're creating pillow covers, feel free to experiment with different textures and patterns to match your decor.
- Can I customize my sewing projects?
Absolutely! One of the best parts of sewing is the ability to personalize your items. Whether it's adjusting the size of a tote bag or choosing unique fabric combinations for coasters, the sky's the limit!
- What tools do I need to get started with sewing?
Essential tools include a sewing machine, fabric scissors, pins, and thread. As you progress, you may want to add more specialized tools, but these basics will set you up for success.
- How do I maintain my sewing machine?
Regular maintenance is key! Make sure to clean your machine after each project, oil it as needed, and check for any threading issues. This will ensure your machine runs smoothly and lasts for years.
- What are common mistakes beginners make in sewing?
Common pitfalls include not reading the pattern thoroughly, using the wrong type of fabric, or not measuring accurately. Don't worry; these mistakes are part of the learning process! Just take your time and practice.
- How long does it take to complete a sewing project?
It really depends on the project and your skill level. Simple projects like fabric coasters can take just an hour or two, while more complex items like zippered pillow covers might take a few hours. The key is to enjoy the process!


