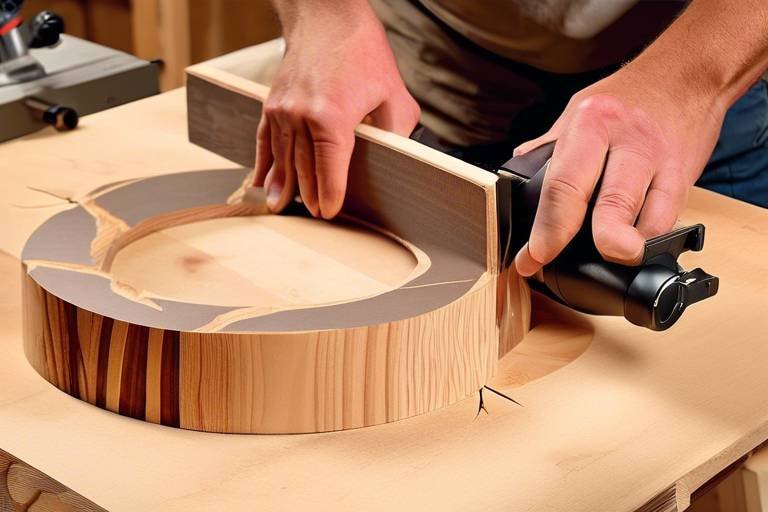
Five Tips for Making a Wooden Bench
Creating a wooden bench can be a rewarding project, offering both functionality and a touch of personal flair to your outdoor or indoor space. Whether you're a seasoned woodworker or a beginner looking to dive into the world of DIY, this article provides practical advice for crafting a wooden bench. We'll cover essential techniques, materials, and design considerations to ensure a successful and enjoyable woodworking project. So, grab your tools, and let’s get started!
Choosing the appropriate type of wood is crucial for durability and aesthetics. Imagine your bench sitting proudly in your garden or living room; the right wood can make it a centerpiece. Popular choices include cedar, which is naturally resistant to rot, and oak, known for its strength and beautiful grain. Each type of wood has its own characteristics that influence the overall look and longevity of your bench. For instance, pine is budget-friendly and easy to work with, but it might not hold up as well outdoors compared to hardwoods like teak or mahogany.
Having the right tools can make or break your woodworking project. You wouldn’t attempt to bake a cake without the right utensils, right? Similarly, a well-equipped workshop is essential for crafting your bench. Here are some essential tools you’ll need:
- Measuring Tape: For accurate measurements.
- Miter Saw: For making precise cuts.
- Drill: For joining pieces together.
- Sander: For smoothing edges and surfaces.
Each tool has a specific function, and knowing how to use them effectively will ensure your project runs smoothly. For instance, a miter saw can help you achieve those perfect angles, while a drill will help you secure your pieces tightly.
Accurate measurements and precise cutting are vital for a well-constructed bench. Think about it: if your cuts are off, even the sturdiest wood won’t save you from a wobbly bench! To ensure a perfect fit and alignment, always measure twice and cut once. Use a square to mark your cuts accurately and consider using clamps to hold your wood in place while you cut. This will not only improve safety but also enhance your accuracy.
A miter saw is an invaluable tool for making precise cuts. It’s like having a magic wand in your workshop! To use it effectively, ensure you adjust the angle for beveled cuts and always keep your hands clear of the blade. Practice on scrap wood if you’re unsure; it’s better to make mistakes there than on your actual project!
Both hand saws and power saws have their advantages. Hand saws are quieter and give you more control, making them ideal for intricate cuts. On the other hand, power saws save time and effort, especially for larger projects. If you’re just starting out, consider which style fits your woodworking approach better. Do you enjoy the traditional method, or are you looking for efficiency?
Proper assembly techniques are essential for a sturdy and stable bench. Think of it as the backbone of your project. Explore various methods for joining wood pieces together, such as using wood glue, screws, or dowels. Each method has its own strength and aesthetic appeal. For instance, pocket hole joinery can create a clean look while providing excellent strength. Make sure to pre-drill holes to prevent the wood from splitting, especially with hardwoods.
The finishing touches can elevate the appearance and longevity of your bench. This is where your bench goes from being just another piece of furniture to a stunning addition to your space. Discover different finishing options, including stains, sealants, and paints, to protect your wood and enhance its beauty. A good finish not only improves the look but also adds a layer of protection against the elements.
Selecting the right finish is key to achieving the desired look. Do you want a natural wood look, or are you leaning towards a bold color? Learn about various finishes available and how they can affect the color, texture, and durability of your wooden bench. For example, an oil finish can enhance the grain, while a paint can offer a pop of color. Always test your finish on a scrap piece of wood to see how it reacts.
Regular maintenance is essential for preserving your bench's condition. Just like you wouldn’t neglect a beloved pet, your wooden bench deserves attention too! Find out practical tips for cleaning, repairing, and maintaining your wooden bench to ensure it lasts for years to come. Simple steps like applying a fresh coat of sealant annually can make a world of difference. If you notice any scratches or dents, don’t fret! A little sanding and re-staining can restore its beauty.
Q: What type of wood is best for outdoor benches?
A: Cedar and teak are excellent choices for outdoor benches due to their natural resistance to weather and insects.
Q: How do I prevent my bench from warping?
A: Use high-quality wood and apply a protective sealant to help prevent moisture absorption.
Q: Can I paint my wooden bench?
A: Absolutely! Just ensure you use a paint that is suitable for outdoor use if it will be placed outside.
Q: How often should I maintain my wooden bench?
A: It’s a good idea to check your bench at least once a year for any signs of wear and to reapply finish as needed.
Selecting the Right Wood
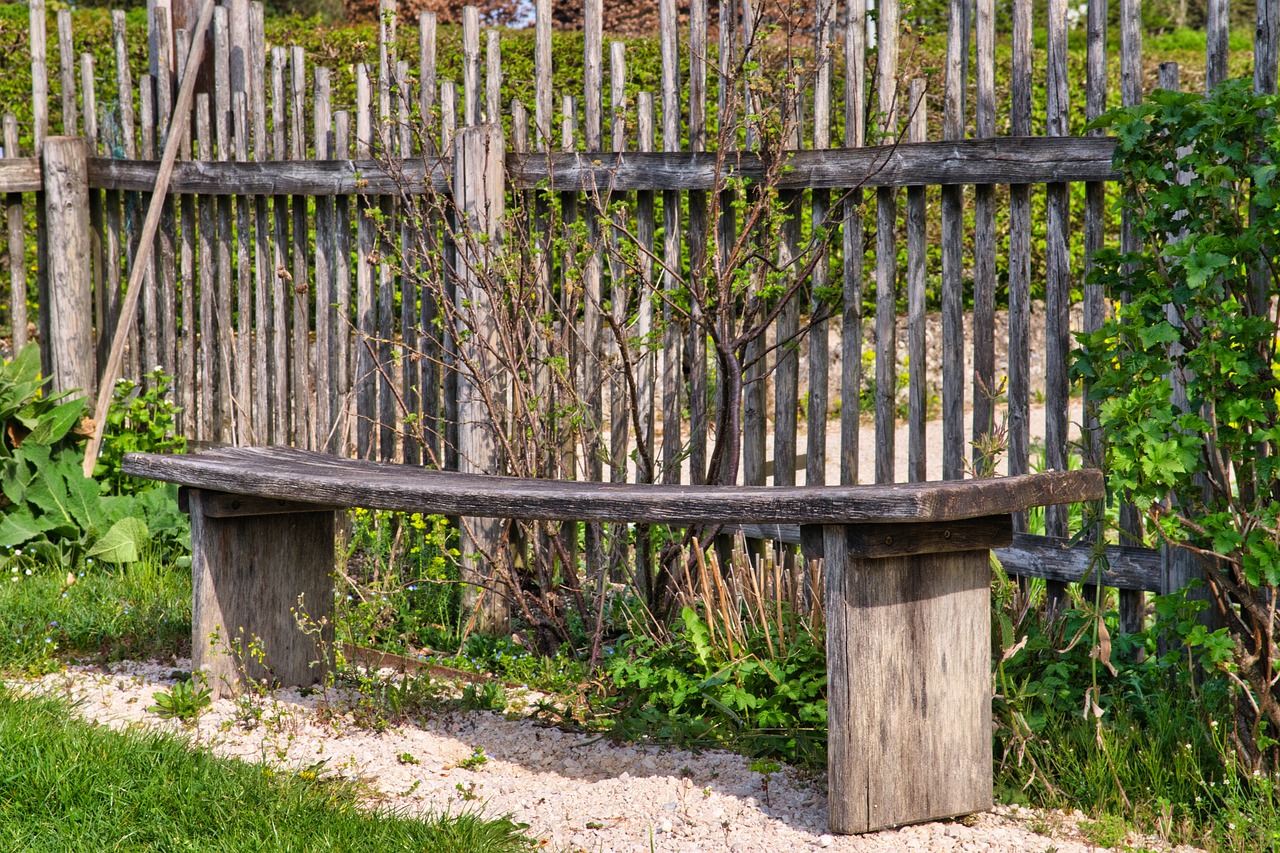
Choosing the appropriate type of wood is crucial for both the durability and aesthetics of your wooden bench. Imagine sitting on a bench that not only feels sturdy but also complements your garden or patio beautifully. The right wood can make all the difference! When selecting wood, you should consider factors such as weather resistance, appearance, and workability. Each type of wood has its unique characteristics that can influence the overall look and longevity of your bench.
For outdoor benches, you'll want to prioritize woods that can withstand the elements. Here are some popular options:
- Teak: Renowned for its natural oils that resist moisture, making it an excellent choice for outdoor furniture.
- Cedar: Lightweight and resistant to decay, cedar has a beautiful reddish hue and a pleasant aroma.
- Redwood: Similar to cedar, redwood is durable and resistant to warping, but it can be more expensive.
- Pine: A budget-friendly option that can be treated for outdoor use, though it may require more maintenance.
Each of these woods brings its own unique charm and functionality. For instance, teak is often seen as the gold standard for outdoor furniture due to its durability and rich color, while cedar is favored for its lighter weight and natural resistance to insects. If you’re leaning towards a more rustic or farmhouse style, pine may be your go-to, especially if you're willing to apply protective treatments.
Beyond aesthetics, consider the workability of the wood. Some woods are easier to cut, shape, and finish than others. For example, hardwoods like oak and maple offer durability but can be challenging to work with if you're not experienced. On the other hand, softer woods like pine are much easier to handle, making them ideal for beginners. Think of it like cooking; some ingredients are straightforward to work with, while others may require more skill and preparation.
In summary, selecting the right wood for your bench involves balancing durability, appearance, and workability. Take your time to research and even feel the wood in person if possible. After all, you want your bench to not only be a functional piece of furniture but also a beautiful addition to your outdoor space.
Essential Tools for the Job
When it comes to crafting a wooden bench, having the right tools at your fingertips is absolutely crucial. Imagine trying to bake a cake without the proper ingredients; it just wouldn’t turn out right! Similarly, your woodworking project relies heavily on the tools you choose. The right tools not only make your job easier but also ensure that your bench is built to last. So, what are these essential tools? Let’s dive in!
First up on the list is the measuring tape. This tool is your best friend when it comes to achieving precise dimensions. You wouldn’t want your bench to be wobbly or uneven, right? A good measuring tape will help you measure lengths accurately and mark them clearly on your wood. Pair it with a square to ensure your angles are just right. Trust me, a square can save you from a lot of headaches down the line!
Next, let’s talk about cutting tools. A miter saw is an invaluable asset for making those clean, angled cuts that will give your bench a professional look. It’s like having a magic wand that transforms your wood into perfectly cut pieces. However, if you’re looking for versatility, a circular saw is also a great option. It can handle a variety of cuts and is especially handy for larger pieces of wood. But remember, safety first! Always wear protective gear when using power tools.
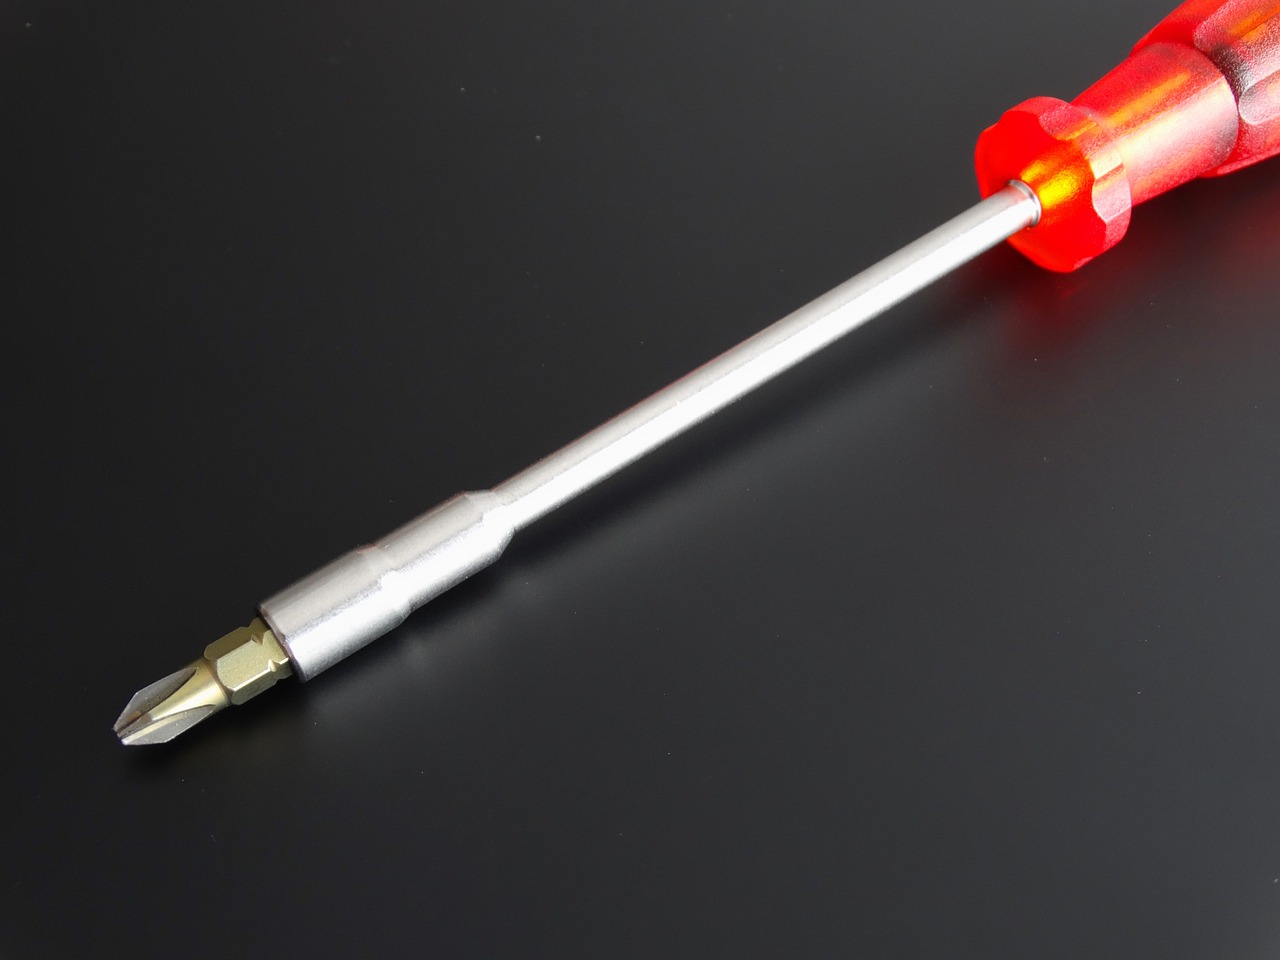
Now that you have your pieces cut, it’s time for assembly. Here’s where a drill comes into play. This tool is essential for creating holes and driving screws, ensuring that your bench is sturdy and secure. You might also want to have a screwdriver set handy, as it can make adjustments and tightening a breeze. But wait, there’s more! Don’t forget about wood glue. While screws are great for holding things together, a little wood glue can add extra strength, making your bench even more durable.
Finally, let’s not overlook the importance of finishing tools. A sanding block or an orbital sander is key to achieving that smooth finish that makes your bench look like a piece of art. It’s like putting the icing on the cake; it transforms your hard work into something truly beautiful. Once you’ve sanded your bench to perfection, you’ll want to protect it with a good finish, which leads to the next section of our woodworking journey.
In summary, here’s a quick look at the essential tools you’ll need:
| Tool | Function |
|---|---|
| Measuring Tape | For precise measurements |
| Miter Saw | For clean, angled cuts |
| Circular Saw | Versatile cutting tool |
| Drill | For creating holes and driving screws |
| Sanding Block/Orbital Sander | For smoothing surfaces |
By ensuring you have these tools ready before you start your project, you’ll set yourself up for success. Remember, woodworking is as much about the journey as it is about the destination. So, gather your tools, roll up your sleeves, and let’s get crafting!
Q: What is the most important tool for building a wooden bench?
A: While all tools play a vital role, the measuring tape and miter saw are often considered the most important for achieving precise cuts and measurements.
Q: Can I build a wooden bench without power tools?
A: Yes! You can use hand tools like a hand saw and a hand drill, but it may require more time and effort.
Q: How do I maintain my woodworking tools?
A: Keep your tools clean and dry, oil moving parts, and store them in a dry place to prevent rust.
Measuring and Cutting Techniques
When it comes to crafting a wooden bench, are the backbone of your project. Imagine trying to assemble a puzzle with pieces that don't fit together; that's what happens when your measurements are off. To ensure your bench turns out just right, you'll want to take your time with these crucial steps. First, always start with a good measuring tape. A reliable tape will help you get the most accurate dimensions for your pieces. Remember, "measure twice, cut once" is not just a saying; it's a mantra that can save you from costly mistakes.
Next, let's talk about how to measure effectively. It's not just about getting the numbers right; it's about understanding the context. For instance, if you're creating a bench that will be placed against a wall, consider the wall’s irregularities. Use a level to ensure your measurements are straight and true. Additionally, when marking your cuts, use a sharp pencil or a marking knife for precision. This will help you avoid any fuzzy lines that can lead to uneven cuts.
Now, onto the cutting part. You have a couple of options here: hand saws or power saws. Each has its own benefits, and your choice largely depends on your comfort level and the complexity of your design. For straight cuts, a table saw can offer clean, professional results. However, if you're looking to make intricate cuts or angles, a miter saw is your best friend. It allows for precise angles and can handle various wood thicknesses with ease.
Here's a quick comparison of the two:
| Type of Saw | Advantages | Disadvantages |
|---|---|---|
| Hand Saw | Portable, no electricity required, great for small projects | More physical effort, less precision on large cuts |
| Power Saw | High precision, faster cuts, ideal for larger projects | Requires electricity, can be dangerous without proper training |
Whichever saw you choose, ensure you have a stable work surface and that your wood is securely clamped down. This will minimize movement and ensure cleaner cuts. Also, remember to wear safety gear like goggles and gloves to protect yourself from dust and splinters.
Finally, after cutting, always check your pieces for fit before moving on to assembly. It's a good idea to dry-fit your pieces together to ensure everything aligns properly. This step can save you time and frustration down the line, allowing you to make any necessary adjustments before committing to the final assembly.
- What tools do I need for measuring and cutting wood? You'll need a measuring tape, a square, a pencil or marking knife, and a saw (hand saw or power saw).
- How do I ensure my cuts are straight? Use a straight edge or a guide to help keep your cuts aligned. A miter saw also helps achieve precision.
- What is the best wood for beginners? Pine is a great choice for beginners due to its affordability and ease of use.
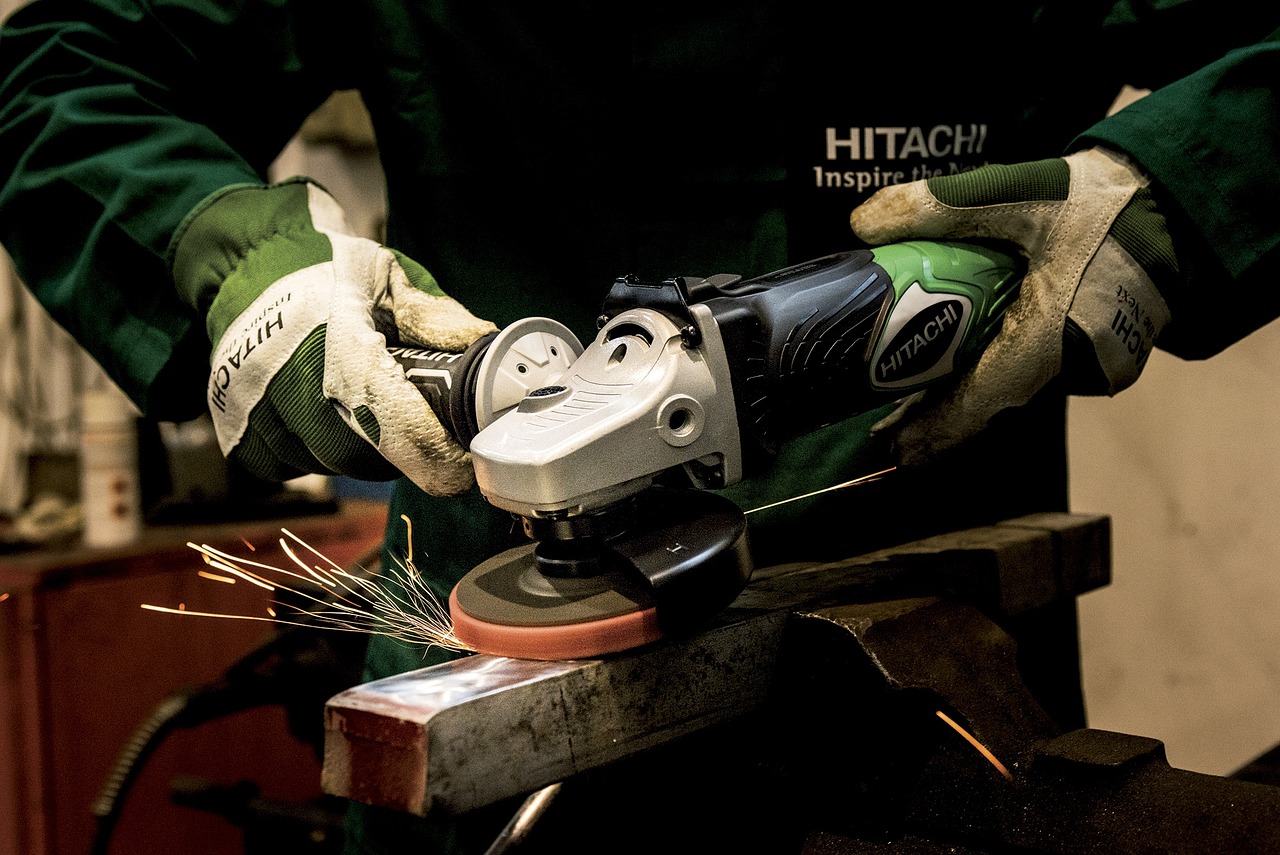
Using a Miter Saw
When it comes to woodworking, precision is everything, and that's where a miter saw shines like a diamond in the rough. This powerful tool is designed to make accurate crosscuts and miters in a workpiece, which is essential for creating a wooden bench that not only looks great but is also structurally sound. Imagine trying to fit two pieces of wood together at an angle, only to find they don't align properly; it's a frustrating scenario that can easily be avoided with the right tools.
Using a miter saw effectively involves understanding its features and how to handle it safely. First off, you'll want to familiarize yourself with the different types of miter saws available, such as compound miter saws and sliding miter saws. While both serve the same basic purpose, a sliding miter saw allows for wider cuts, making it a versatile option for larger projects. However, if you're working with smaller pieces, a standard compound miter saw will do the trick just fine.
Before you start cutting, it's crucial to set your saw to the correct angle. Most miter saws come with a built-in angle gauge, allowing you to adjust the blade to your desired degree with ease. For a wooden bench, you might often need to make 45-degree cuts to create a neat, professional-looking frame. Once you've set your angle, secure your wood firmly against the fence, ensuring it won't move during the cut. A good tip here is to use clamps for extra stability, especially when dealing with longer pieces.
As you begin to cut, always remember to keep your hands clear of the blade, and wear appropriate safety gear, such as goggles and ear protection. The sound of a miter saw can be quite loud, and the last thing you want is to end up with a splinter in your eye or worse. When you press the trigger, let the blade reach full speed before making contact with the wood. This not only ensures a cleaner cut but also prolongs the life of your blade.
Once you've made your cuts, take a moment to inspect the edges. They should be smooth and free of splinters. If you notice any rough spots, a quick pass with sandpaper will smooth them out nicely. Remember, the goal is to create joints that fit together seamlessly, enhancing both the aesthetic and structural integrity of your bench.
In summary, using a miter saw is all about precision and safety. With the right setup and technique, you can create beautiful, accurate cuts that will elevate your woodworking project to the next level. So, whether you're a seasoned pro or a DIY enthusiast, mastering the miter saw will undoubtedly enhance your woodworking skills.
- What is the difference between a compound and sliding miter saw?
A compound miter saw allows you to make angled cuts, while a sliding miter saw can also slide along a rail, enabling you to cut wider pieces of wood. - How do I maintain my miter saw?
Regularly clean the saw, check the blade for wear, and ensure that the alignment is correct to maintain accuracy. - Can I use a miter saw for other types of cuts?
Yes, you can use a miter saw for a variety of cuts, including crosscuts and bevel cuts, depending on the type of saw you have.
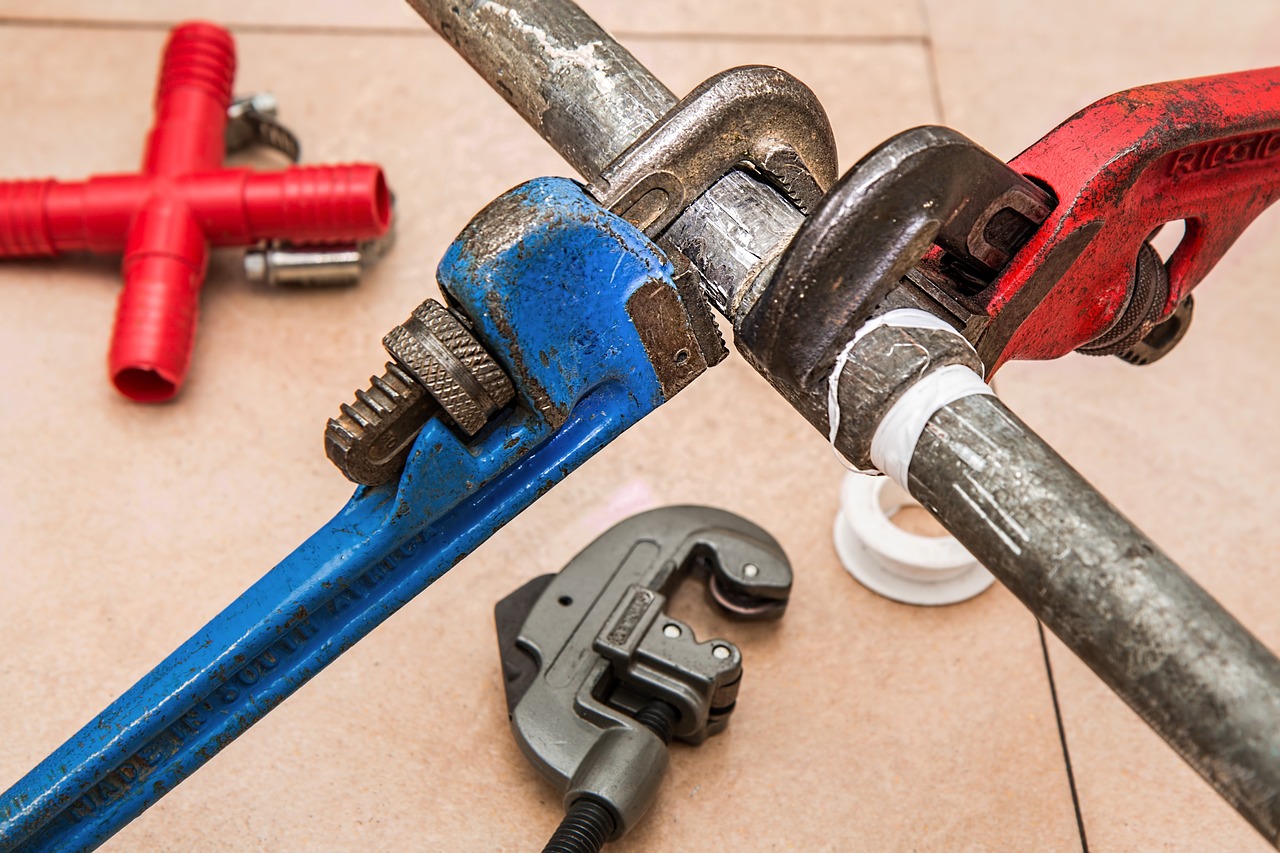
Hand Saw vs. Power Saw
When it comes to woodworking, the debate between hand saws and power saws can be as heated as a summer day in the workshop. Each tool has its own unique set of advantages and disadvantages, making the choice largely dependent on your specific needs and preferences. So, let's dive into the nitty-gritty of both options!
Hand saws are the traditional choice, often favored by purists who appreciate the art of woodworking. They offer a level of control and precision that can be hard to achieve with power tools. Imagine slicing through wood like a chef dicing vegetables; the tactile feedback and the ability to feel the material as you work can be incredibly satisfying. Plus, hand saws are generally more affordable and require no electricity, making them perfect for those who want to work off the grid or in small spaces.
On the flip side, power saws are the speed demons of the woodworking world. With a simple pull of the trigger, you can make quick, clean cuts that would take much longer with a hand saw. This is especially beneficial for larger projects or when you're working with thicker materials. Power saws come in various forms, such as circular saws, jigsaws, and miter saws, each designed for specific tasks. They can save you a significant amount of time and effort, allowing you to focus on the creative aspects of your project rather than the labor-intensive cutting process.
However, with great power comes great responsibility! Power saws require a bit of a learning curve and can be intimidating for beginners. They also pose safety risks, so it's crucial to follow all safety guidelines and wear appropriate protective gear. In contrast, hand saws, while still requiring caution, are generally safer and can be used in tighter spaces without the fear of kickback or mishaps.
Here's a quick comparison to help you weigh your options:
| Feature | Hand Saw | Power Saw |
|---|---|---|
| Control | High | Moderate |
| Speed | Slow | Fast |
| Cost | Low | Higher |
| Portability | Very portable | Less portable |
| Learning Curve | Easy to learn | Steeper learning curve |
| Safety | Generally safer | Potentially dangerous |
Ultimately, the choice between a hand saw and a power saw boils down to your personal style and the specific requirements of your woodworking project. If you enjoy the meditative process of manual cutting and value precision, a hand saw might be your best friend. On the other hand, if you're looking to crank out projects quickly and efficiently, a power saw could be the way to go. Whichever you choose, remember that both tools can coexist in your workshop, allowing you to tackle any project with the right approach!
- Which is better for beginners, a hand saw or a power saw? It depends on personal preference. A hand saw is easier to control and safer for beginners, while a power saw can speed up the learning process.
- Can I use a hand saw for large projects? Yes, but it may take significantly more time and effort compared to using a power saw.
- What safety gear should I wear when using a power saw? Always wear safety goggles, ear protection, and a dust mask to protect yourself while operating power saws.
- Are hand saws more affordable than power saws? Generally, yes. Hand saws are typically less expensive and require no electricity.

Assembly Techniques
When it comes to building a wooden bench, the you choose can significantly impact the overall strength and stability of your project. Think of assembly as the backbone of your bench; without a solid backbone, even the most beautifully crafted bench can fall apart. There are several methods you can employ to join wood pieces together, each with its own advantages and best applications. From traditional joinery techniques to modern fastening methods, understanding these options can help you create a bench that not only looks good but also stands the test of time.
One of the most popular methods for assembling a wooden bench is the use of pocket hole joinery. This technique involves drilling angled holes into one piece of wood and then using screws to attach it to another piece. It’s a straightforward method that allows for a clean finish, as the screws are hidden from view. Pocket holes are particularly useful when you want to avoid visible fasteners on the bench's surface, giving it a sleek and polished appearance.
Another effective assembly technique is the mortise and tenon joint. This traditional method has been used for centuries and is renowned for its strength. A tenon is cut on the end of one piece of wood, which fits snugly into a mortise cut into another piece. This joint can be reinforced with glue or wooden pegs for added durability. Although it requires more skill and precision than pocket hole joinery, the mortise and tenon joint is a testament to craftsmanship, providing a robust connection that will hold up against heavy use.
For those looking for a quicker assembly method, consider using brackets and metal fasteners. These can be particularly useful for beginners or those who may not have access to advanced woodworking tools. Metal brackets can be easily attached to the corners or joints of your bench, providing a strong hold without the need for complex joinery. While this method might not have the aesthetic appeal of traditional techniques, it can save time and effort, especially for larger projects.
Regardless of the method you choose, it’s essential to ensure that all pieces are aligned correctly during assembly. Misalignment can lead to a bench that wobbles or doesn’t sit evenly. To achieve proper alignment, consider using clamps to hold the pieces in place while you secure them. This not only helps in maintaining alignment but also allows for a more accurate assembly process.
In summary, the assembly techniques you choose can greatly influence the durability and aesthetics of your wooden bench. Whether you opt for pocket hole joinery, mortise and tenon joints, or metal fasteners, each method has its unique benefits. The key is to select a technique that aligns with your skill level, tools available, and the overall design you envision for your bench. Remember, a sturdy assembly will not only enhance the functionality of your bench but also ensure it remains a cherished piece in your outdoor or indoor space for years to come.
- What is the best assembly technique for a beginner? If you're new to woodworking, pocket hole joinery is a great choice due to its simplicity and ease of use.
- How can I ensure my joints are strong? Using glue in conjunction with your chosen joint method, like mortise and tenon, can significantly increase the strength of your assembly.
- Are metal fasteners reliable for outdoor benches? Yes, as long as you use weather-resistant fasteners, they can provide a durable solution for outdoor furniture.
Finishing Touches
Once you’ve meticulously crafted your wooden bench, it’s time for the that will not only enhance its aesthetic appeal but also protect it from the elements. Think of the finish as the final layer of armor, safeguarding your creation while showcasing the natural beauty of the wood. Whether you want a rustic look or a sleek modern finish, the options are plentiful.
When selecting a finish, consider how you want your bench to look and feel. There are several types of finishes available, each with its unique properties. Here’s a quick rundown:
- Stains: These penetrate the wood, enhancing its natural grain while adding color. They come in a variety of shades, allowing you to customize the look of your bench.
- Sealants: These provide a protective layer against moisture and UV rays, ensuring your bench can withstand outdoor conditions. Sealants can be clear or tinted, depending on your preference.
- Paints: If you’re looking for something bold and colorful, paint is the way to go. It offers complete coverage and can transform the appearance of your bench entirely.
Each finish has its own application method and drying time, so it’s essential to read the instructions carefully. For instance, stains typically require a clean, dry surface and may need to be applied in multiple coats to achieve the desired depth of color. Sealants, on the other hand, often need to be reapplied annually to maintain their protective qualities.
Another crucial aspect to consider is the environment where your bench will reside. If it’s outdoors, opt for finishes specifically designed for outdoor use, as they’ll offer better protection against the elements. If it’s indoors, you have a bit more flexibility in choosing finishes that suit your décor.
Lastly, don't forget about the application process. A well-applied finish can make all the difference. Use high-quality brushes or foam applicators for an even coat, and always work in a well-ventilated area to avoid inhaling fumes. Patience is key; allow each coat to dry thoroughly before applying the next one to achieve that professional look.
Choosing the right finish is not just about aesthetics; it’s about ensuring the longevity of your bench. For instance, if you live in a humid climate, a water-resistant sealant is a must to prevent warping and decay. On the other hand, if you prefer a natural look, a clear sealant can enhance the wood’s grain without altering its color.
Take a moment to consider the maintenance involved with each type of finish. Some finishes require more upkeep than others. For example, while paint may need periodic touch-ups, a good sealant can last for years with minimal attention.
Once your bench is finished and looking fabulous, maintaining its condition is essential for ensuring it lasts for years. Regular cleaning is crucial; simply wipe down your bench with a damp cloth to remove dust and debris. For deeper cleaning, use a mild soap solution and avoid harsh chemicals that could damage the finish.
If you notice any scratches or wear over time, don’t fret! You can easily touch up the finish by lightly sanding the affected area and reapplying the same stain or sealant. This simple maintenance can keep your bench looking as good as new, allowing you to enjoy it for many seasons to come.
Q: How often should I reapply the finish on my wooden bench?
A: It depends on the type of finish and the environmental conditions. Generally, outdoor sealants should be reapplied annually, while indoor finishes may last longer.
Q: Can I use any type of paint on my wooden bench?
A: Not all paints are suitable for wood. Make sure to select a paint specifically designed for wood surfaces, especially if the bench will be outdoors.
Q: What should I do if my bench gets wet?
A: If your bench gets wet, dry it off immediately to prevent water damage. Regularly applying a sealant will help protect it from moisture.

Choosing the Right Finish
When it comes to crafting a wooden bench, one of the most important decisions you'll make is . The finish not only enhances the aesthetic appeal of your bench but also protects it from the elements, ensuring its longevity. Think of the finish as the icing on a cake; it can transform something simple into a stunning centerpiece. So, how do you go about selecting the perfect finish?
First, consider the environment where your bench will reside. Will it be indoors, where it’s shielded from moisture, or outdoors, exposed to rain and sun? For outdoor benches, you'll want a finish that can withstand the elements. Options like marine varnish or exterior-grade polyurethane are excellent choices, as they provide a durable protective layer against UV rays and water damage.
Next, think about the look you want to achieve. Different finishes can drastically change the appearance of your wood. For example, if you want to highlight the natural grain of the wood, a clear finish like tung oil or Danish oil can be ideal. These oils penetrate the wood, providing a rich, warm glow without obscuring its beauty. On the other hand, if you desire a splash of color, a stain followed by a clear coat can give your bench a unique character. Remember, the color you choose can set the mood for your outdoor space, so pick wisely!
Another factor to consider is durability. Some finishes require more maintenance than others. For instance, while oil finishes are easy to apply, they might need reapplication every year or so. In contrast, a high-quality polyurethane finish can last several years, making it a more low-maintenance option. Here’s a quick comparison of some common finishes:
| Finish Type | Durability | Maintenance | Appearance |
|---|---|---|---|
| Oil (e.g., Tung, Danish) | Moderate | Annual reapplication | Enhances natural grain |
| Polyurethane (Oil-based) | High | Every 3-5 years | Glossy, protective |
| Exterior Varnish | Very High | Every 2-3 years | Rich color, UV protection |
| Paint | High | Every 5-7 years | Variety of colors, hides grain |
Finally, don't forget about the application process. Some finishes are straightforward to apply with a brush, while others may require a spray application for an even coat. Be sure to follow the manufacturer's instructions for the best results. And remember, patience is key! Allow ample drying time between coats to achieve a smooth, professional-looking finish.
In conclusion, choosing the right finish for your wooden bench is a blend of personal preference, functional needs, and environmental considerations. Take your time to explore your options, and you'll be rewarded with a beautiful and durable bench that you can enjoy for years to come.
- What is the best finish for outdoor furniture? Marine varnish or exterior-grade polyurethane are recommended for outdoor use due to their durability against moisture and UV rays.
- How often should I reapply the finish? It depends on the type of finish. Oil finishes may need reapplication every year, while polyurethane can last 3-5 years.
- Can I change the finish on my bench later? Yes, you can change the finish, but it may require sanding down the existing finish to ensure proper adhesion of the new one.

Maintenance Tips
When it comes to keeping your wooden bench in tip-top shape, regular maintenance is like giving your favorite pair of shoes a good polish—it not only enhances their appearance but also extends their lifespan. To ensure your bench stands strong against the elements and everyday wear and tear, consider the following essential maintenance tips.
First and foremost, cleaning your bench regularly is crucial. Dust, dirt, and debris can accumulate over time, leading to scratches and dullness. A simple solution is to use a soft cloth or a gentle brush to wipe down the surface. For more stubborn stains, a mild soap mixed with water will do the trick. Just remember to avoid harsh chemicals that can strip away the natural oils of the wood.
Next up is sealing. If your bench is exposed to the outdoors, applying a protective sealant is a must. This acts as a barrier against moisture, UV rays, and other environmental factors that can cause the wood to warp or fade. Consider reapplying the sealant every year or so, depending on your local climate. In areas with high humidity or extreme temperatures, you might need to do this more frequently.
Another key aspect of maintenance is repairing any damage promptly. If you notice any cracks, chips, or loose joints, don’t wait until they worsen. Small repairs can often be done with wood glue or filler, while larger issues might require professional help. Keeping your bench in good repair not only maintains its aesthetic appeal but also ensures its structural integrity.
Lastly, let’s not forget about seasonal checks. As the seasons change, so do the conditions your bench faces. In the fall, for instance, it’s wise to clear away fallen leaves and debris that can trap moisture. In the winter, consider covering your bench or moving it to a sheltered area to protect it from snow and ice. By being proactive, you can prevent many common issues before they arise.
In summary, maintaining your wooden bench is not just about keeping it looking good; it's about ensuring it remains a cherished part of your outdoor space for years to come. Regular cleaning, sealing, repairing damage, and seasonal checks will keep your bench not only functional but also beautiful. So roll up your sleeves and give your bench the care it deserves!
- How often should I clean my wooden bench? It's best to clean your bench at least once a month, or more frequently if it’s exposed to dirt and debris.
- What type of sealant should I use? Look for a high-quality outdoor wood sealant that offers UV protection and is suitable for your specific climate.
- Can I use regular cleaning products on my bench? Avoid harsh chemicals; instead, opt for mild soap and water or products specifically designed for wood care.
- How do I repair a crack in my bench? Small cracks can be filled with wood filler, while larger issues may require professional repairs.
Frequently Asked Questions
- What type of wood should I use for my bench?
Choosing the right wood is crucial for both durability and aesthetics. Hardwoods like oak or maple are excellent choices for their strength and beautiful grain. However, if you're looking for something more budget-friendly, softwoods like pine or cedar can also work well, especially for outdoor benches.
- What tools do I need to build a wooden bench?
To get started on your bench project, you'll need some essential tools. A miter saw is great for making precise cuts, while a power drill will help with assembling the pieces. Don't forget about a measuring tape, clamps, and sandpaper to ensure everything fits perfectly and has a smooth finish.
- How do I ensure accurate measurements and cuts?
Accuracy is key! Always double-check your measurements before cutting. Use a measuring tape and a square to mark your wood clearly. When cutting, take your time and use a steady hand to ensure clean edges. Practice makes perfect, so don’t rush through this step!
- What are the best assembly techniques for a sturdy bench?
For a solid assembly, consider using wood glue along with screws or dowels to join your pieces. Pocket hole joinery is another great method that provides strength and keeps your joints hidden. Make sure to clamp your pieces together while the glue dries to maintain alignment.
- How can I finish my wooden bench to protect it?
Finishing your bench is vital for protection and aesthetics. You can choose from stains, sealants, or paints. Stains will enhance the wood's natural beauty, while sealants provide a protective layer against moisture and UV rays. Always follow the manufacturer's instructions for the best results!
- What maintenance does my wooden bench need?
Regular maintenance is essential to keep your bench looking great. Clean it periodically with a mild soap solution and a soft cloth. If you notice any scratches or wear, consider sanding the affected areas and reapplying your finish to maintain its beauty and durability.


