Top 10 Quilting Hacks for More Efficient Sewing
Discover essential quilting hacks that streamline your sewing process, enhance creativity, and improve the overall quality of your projects, making quilting more enjoyable and efficient for everyone, from beginners to seasoned quilters. Quilting is not just a hobby; it’s a form of art that requires both precision and passion. Whether you’re crafting a cozy quilt for your home or creating a thoughtful gift for a loved one, these tips will help you navigate the quilting world with ease and confidence.
A tidy workspace can significantly boost productivity. Imagine trying to paint a masterpiece in a cluttered room; it’s almost impossible! The same goes for quilting. By decluttering and organizing your quilting area, you create an efficient environment that fosters creativity and focus. Start by sorting your fabrics by color or size and keeping your tools within arm’s reach. Consider using clear containers or a pegboard to display your tools. This way, you can easily grab what you need without rummaging through piles of supplies, saving you precious time and energy.
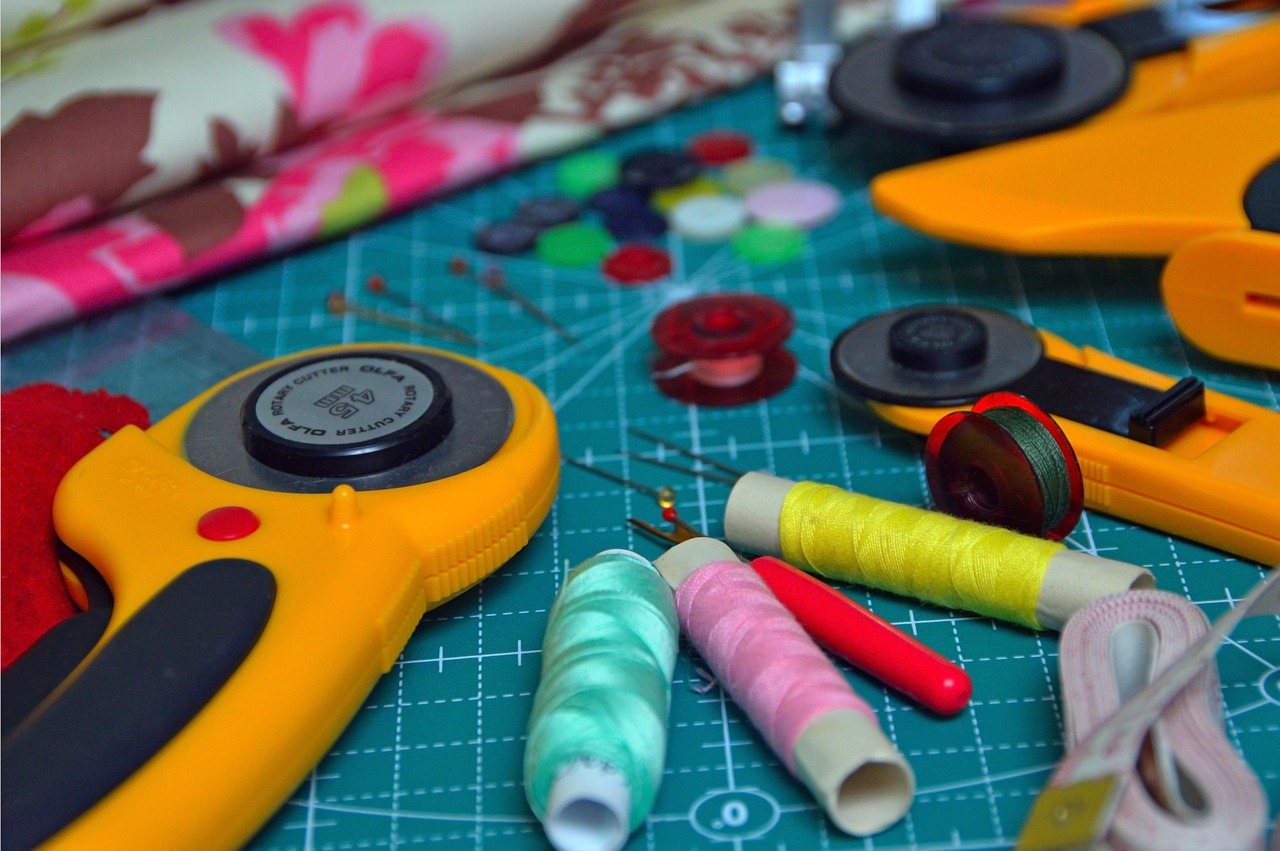
The right tools can make all the difference in quilting. Think of them as the secret ingredients in your favorite recipe. Explore essential tools that enhance precision and speed, ensuring your projects come together smoothly and efficiently. Investing in quality tools, such as a good rotary cutter, can drastically improve your cutting accuracy. But what about those scissors you’ve had since high school? They might not be up for the job anymore!
Understanding the advantages of rotary cutters over traditional scissors can help you make informed choices for your cutting tasks, saving time and effort in the process. Rotary cutters glide through multiple layers of fabric with ease, making them perfect for cutting quilt pieces. In contrast, scissors can be cumbersome and less precise, especially for intricate cuts. If you haven’t tried a rotary cutter yet, you might just be missing out on a game changer!
Discover must-have quilting notions that simplify tasks, from marking tools to seam rippers, making your sewing experience more efficient and enjoyable. Here’s a quick rundown of some essential notions:
- Seam Ripper: A lifesaver for correcting mistakes.
- Fabric Markers: For marking lines and patterns without leaving permanent marks.
- Cutting Mat: Protects your surfaces and prolongs the life of your rotary cutter.
Pre-cutting fabric into manageable pieces can save time during the sewing process. Think of it as prepping your ingredients before cooking. By having everything ready to go, you can focus on the fun part—sewing! Learn techniques for efficient cutting that prepare you for a smoother quilting experience. For instance, consider cutting all your pieces at once rather than one at a time. This method not only saves time but also ensures that your pieces are consistent in size, leading to a more polished final product.
Chain piecing is a time-saving method that allows you to sew multiple pieces of fabric together without cutting the thread. It’s like a production line for quilters! Discover how to implement this technique effectively to maximize your sewing efficiency. By keeping your pieces connected, you can reduce the amount of time spent on starting and stopping your sewing machine, leading to a faster and more enjoyable quilting experience.
Uncover the advantages of chain piecing, including reduced thread waste and increased sewing speed, making it a favorite among quilters looking to maximize efficiency. Not only does it save time, but it also helps maintain uniformity in your quilt pieces, which is crucial for achieving that professional finish.
Learn key tips for mastering chain piecing, ensuring that your pieces come out uniform and ready for the next steps in your quilting project. Always keep an eye on your seam allowances and make sure to press your seams open after sewing to prevent bulkiness. This attention to detail will pay off in the long run!
Proper ironing techniques can enhance the quality of your quilt. Think of ironing as the finishing touch that brings your quilt to life. Explore methods that save time while ensuring seams are flat and fabric is prepared for sewing. Instead of ironing each piece individually, consider stacking and pressing multiple layers at once. This not only saves time but also helps in maintaining the fabric’s shape and integrity.
Quilting software can simplify planning and design. Imagine having a virtual assistant that helps you visualize projects, calculate fabric requirements, and keep track of your quilting progress! Discover how technology can streamline your quilting process, making it easier to experiment with different designs and layouts without cutting into your fabric.
Proper fabric storage techniques can prevent damage and make finding materials easier. Learn how to organize your fabric stash for quick access and efficiency. Consider using clear bins or shelves to categorize your fabrics by color or type. This not only keeps your space tidy but also inspires creativity as you can easily see what you have at your disposal.
Using scrap fabric creatively can enhance your quilting projects while reducing waste. Explore innovative ways to incorporate scraps into your designs for unique results. From patchwork quilts to small accessories, scraps can add character and charm to your projects. Plus, it’s a fantastic way to practice new techniques without the pressure of using your best fabric!
Regular maintenance of your sewing machine is crucial for optimal performance. Think of it as giving your car a tune-up to ensure it runs smoothly. Discover essential tips for keeping your machine in top shape, ensuring smooth sewing experiences. Regularly clean your machine, oil it as needed, and don’t forget to check the tension settings. A well-maintained machine will save you time and frustration in the long run!
Q: What is the best way to organize my quilting supplies?
A: Use clear containers and label them for easy access. Consider organizing by type or color to make finding supplies a breeze.
Q: How can I prevent my fabric from fraying?
A: Use pinking shears to cut edges or apply a fray check solution to the edges of your fabric to keep them from unraveling.
Q: What are some beginner-friendly quilting patterns?
A: Start with simple patterns like squares or stripes. These are easy to sew and allow you to practice your skills without feeling overwhelmed.

1. Organizing Your Workspace
Discover essential quilting hacks that streamline your sewing process, enhance creativity, and improve the overall quality of your projects, making quilting more enjoyable and efficient for everyone, from beginners to seasoned quilters.
A tidy workspace can significantly boost productivity. Imagine trying to bake a cake in a messy kitchen—it's chaotic and frustrating, right? The same goes for quilting! When your quilting area is cluttered, it’s hard to focus on the creative process. Start by decluttering your space; remove anything that doesn’t belong or that you haven’t used in the last few projects. This simple act can transform your environment into a haven for creativity.
Next, consider the layout of your workspace. Arrange your tools and materials so that everything is within arm's reach. This not only saves time but also keeps your workflow smooth. For instance, keep your sewing machine, cutting mat, and iron in a triangle formation, allowing easy access and reducing the need to get up constantly.
Utilizing storage solutions can also make a significant difference. Invest in clear bins or labeled containers to store your fabric, threads, and tools. This way, you can quickly find what you need without rummaging through piles of materials. Here are some ideas for effective storage:
- Clear Bins: These allow you to see your fabric at a glance.
- Drawer Organizers: Perfect for keeping small tools like pins, needles, and threads sorted.
- Wall-Mounted Racks: Great for hanging rulers and cutting mats, keeping them off your workspace.
Creating a designated area for each type of project can also enhance your efficiency. For example, have a specific spot for your current project, separate from your fabric stash and tools. This way, when inspiration strikes, you can dive right in without wasting time searching for supplies.
Lastly, don’t forget about the importance of good lighting. A well-lit workspace can reduce eye strain and help you see colors and details more clearly, which is crucial when working on intricate designs. Consider adding task lighting, such as a bright lamp, to illuminate your sewing area effectively.
By organizing your workspace, you’re not just creating a functional area; you’re setting the stage for your quilting success. A clean, well-arranged environment can inspire creativity and make the sewing process more enjoyable. So, roll up your sleeves, declutter, and watch how your quilting projects transform!
Q: How often should I organize my quilting workspace?
A: It's a good idea to tidy up your workspace after each project and do a more thorough organization every few months to maintain efficiency.
Q: What are some quick tips for keeping my workspace tidy?
A: Regularly put tools back in their designated spots, use bins for small items, and set aside a few minutes at the end of each sewing session to clean up.
Q: How can I make the most out of a small quilting space?
A: Use vertical storage solutions, such as shelves and wall-mounted racks, and consider multi-functional furniture that can serve as both storage and workspace.
2. Choosing the Right Tools
Discover essential quilting hacks that streamline your sewing process, enhance creativity, and improve the overall quality of your projects, making quilting more enjoyable and efficient for everyone, from beginners to seasoned quilters.
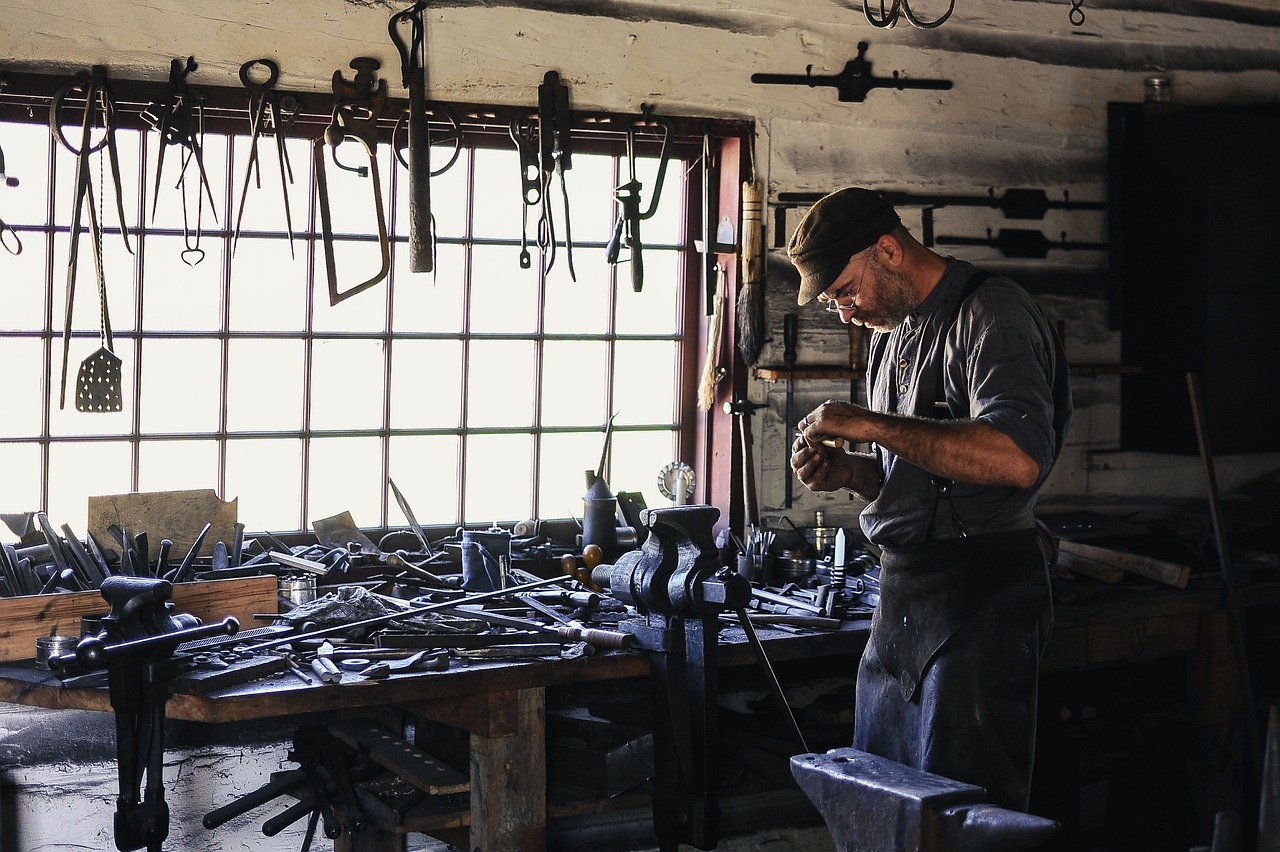
When it comes to quilting, choosing the right tools can make all the difference in your experience and the quality of your finished project. Imagine trying to bake a cake without the right measuring cups or mixing bowls—it just wouldn't work, right? The same principle applies to quilting. Having the right tools at your disposal not only saves time but also enhances precision, allowing your creative ideas to come to life seamlessly.
First things first, let’s talk about cutting tools. A rotary cutter is often considered a quilter's best friend. It allows for quick and accurate cuts, especially when you’re working with multiple layers of fabric. Unlike traditional scissors, which can be cumbersome and less precise, a rotary cutter glides through fabric like a hot knife through butter. Just imagine the difference it makes when you can cut through layers without the hassle of lifting and repositioning your fabric repeatedly.
Next up are essential notions that every quilter should have in their toolbox. These little tools can drastically improve your sewing experience. Consider investing in:
- Seam Rippers: A must-have for correcting mistakes.
- Marking Tools: Tailor’s chalk or fabric pens help you transfer patterns accurately.
- Quilting Clips: These can hold layers together better than pins, especially for thick fabrics.
Each of these tools serves a specific purpose and can help you achieve a more polished look in your quilting projects. For instance, using marking tools ensures that your seams are perfectly aligned, which is crucial for achieving that professional finish.
But let’s not forget about the importance of your sewing machine. It’s the heart of your quilting experience. A machine that is well-suited for quilting can handle multiple layers of fabric and has a variety of stitch options to choose from. Investing in a quality sewing machine can make your quilting journey much smoother and more enjoyable. Just like a painter needs the right brushes to create a masterpiece, a quilter needs a reliable machine to bring their vision to life.
In summary, choosing the right tools is essential for a successful quilting experience. From cutting tools to essential notions and a dependable sewing machine, each element plays a vital role in your quilting journey. So, before you dive into your next project, take a moment to assess your toolkit and consider what you might be missing. You’ll be amazed at how the right tools can transform your quilting experience!
Q: What are the essential tools for a beginner quilter?
A: For beginners, essential tools include a rotary cutter, cutting mat, quilting ruler, seam ripper, and basic sewing machine. These tools will help you get started with confidence and ease.
Q: How do I choose the right sewing machine for quilting?
A: Look for a machine with a larger throat space, multiple stitch options, and a walking foot attachment. These features will make quilting much easier and more enjoyable.
Q: Can I use regular scissors for quilting?
A: While you can use regular scissors, a rotary cutter is highly recommended for its efficiency and precision, especially when cutting multiple layers.
2.1 Rotary Cutters vs. Scissors
When it comes to quilting, the tools you choose can make or break your experience. One of the most debated topics among quilters is the choice between rotary cutters and scissors. Each tool has its unique advantages, but understanding when to use each can significantly enhance your quilting efficiency.
Rotary cutters are often hailed as the go-to tool for cutting fabric. Their circular blade glides smoothly over fabric, allowing for precise and straight cuts. This is particularly beneficial when working with multiple layers of fabric or when cutting intricate shapes. Imagine slicing through a cake with a hot knife—that's the kind of smoothness a rotary cutter provides. Plus, they can save you a ton of time, especially when you're in the zone and cutting multiple pieces for your quilt.
On the other hand, scissors have their place in the quilting world too. They are perfect for detailed work, such as trimming threads or cutting out small pieces where precision is key. While rotary cutters excel in speed, scissors offer the control needed for those intricate details. Think of them as the fine-tipped marker to your rotary cutter's broad brush. However, using scissors for larger cuts can lead to fatigue, especially if you're cutting through multiple layers of fabric.
Here’s a quick comparison of the two:
| Feature | Rotary Cutters | Scissors |
|---|---|---|
| Speed | Fast for multiple layers | Slower for larger cuts |
| Precision | Excellent for straight cuts | Great for detailed work |
| Comfort | Less strain on hands | Can cause fatigue over time |
| Versatility | Best for larger projects | Ideal for small, intricate cuts |
Ultimately, the choice between rotary cutters and scissors often comes down to personal preference and the specific tasks at hand. Many seasoned quilters keep both tools handy, switching between them as the project demands. So, whether you’re whizzing through fabric with a rotary cutter or carefully snipping away with scissors, the right tool can make quilting a more enjoyable and efficient process.
2.2 Essential Notions to Consider
When it comes to quilting, having the right tools can drastically improve your experience and the quality of your projects. Among these tools are essential notions that every quilter should consider adding to their toolkit. These items not only enhance your efficiency but also make the sewing process more enjoyable. Let's delve into some of the must-have notions that can transform your quilting journey.
First and foremost, marking tools are crucial for precision in quilting. Whether you opt for fabric pens, chalk, or water-soluble markers, having a reliable marking tool allows you to transfer patterns and measurements onto your fabric with ease. This is especially important when it comes to intricate designs where accuracy is key. Imagine trying to cut a perfect curve without any guidelines—it's like attempting to navigate a maze blindfolded!
Next up is the seam ripper. This small but mighty tool is a lifesaver when things don't go as planned. Mistakes happen, and being able to quickly and efficiently remove stitches can save you from a lot of frustration. Think of it as your safety net in the world of quilting—always there to catch you when you fall. Investing in a quality seam ripper can make all the difference in your sewing experience.
Another essential notion is the rotary mat. Pairing it with a rotary cutter, a cutting mat provides a safe, flat surface to cut fabric accurately. This combination not only speeds up the cutting process but also helps in achieving clean edges, which are vital for a professional finish. Without a cutting mat, your fabric may suffer from wear and tear, leading to jagged edges and uneven cuts—definitely not the look you want!
Additionally, consider adding pins and clips to your arsenal. While traditional pins are great for holding fabric layers together, quilt clips can be incredibly useful for thicker layers or when working with delicate materials. They provide a firm grip without distorting the fabric, ensuring your pieces stay aligned as you sew. It's like having a trusty assistant by your side—always ready to help keep things in place!
Finally, don't overlook the importance of thread. Selecting the right type and weight of thread can make a significant difference in the overall look and durability of your quilt. High-quality thread not only reduces the risk of fraying but also enhances the aesthetic appeal of your project. It's the finishing touch that can elevate your work from ordinary to extraordinary.
In summary, investing in essential notions like marking tools, seam rippers, rotary mats, pins, and quality thread can greatly enhance your quilting experience. These tools not only improve efficiency but also allow you to express your creativity with confidence. So, gather your notions, and let the sewing adventure begin!
- What is the most important notion for beginners? While all notions are valuable, a good seam ripper and marking tools are essential for beginners to navigate mistakes and create accurate designs.
- How do I choose the right thread for my quilt? Consider the fabric type and the quilt's intended use. Cotton thread is generally a safe bet for most quilting projects.
- Can I use regular scissors instead of a rotary cutter? While you can use scissors, a rotary cutter is more efficient for cutting multiple layers and achieving precise edges.
3. Pre-Cutting Fabric
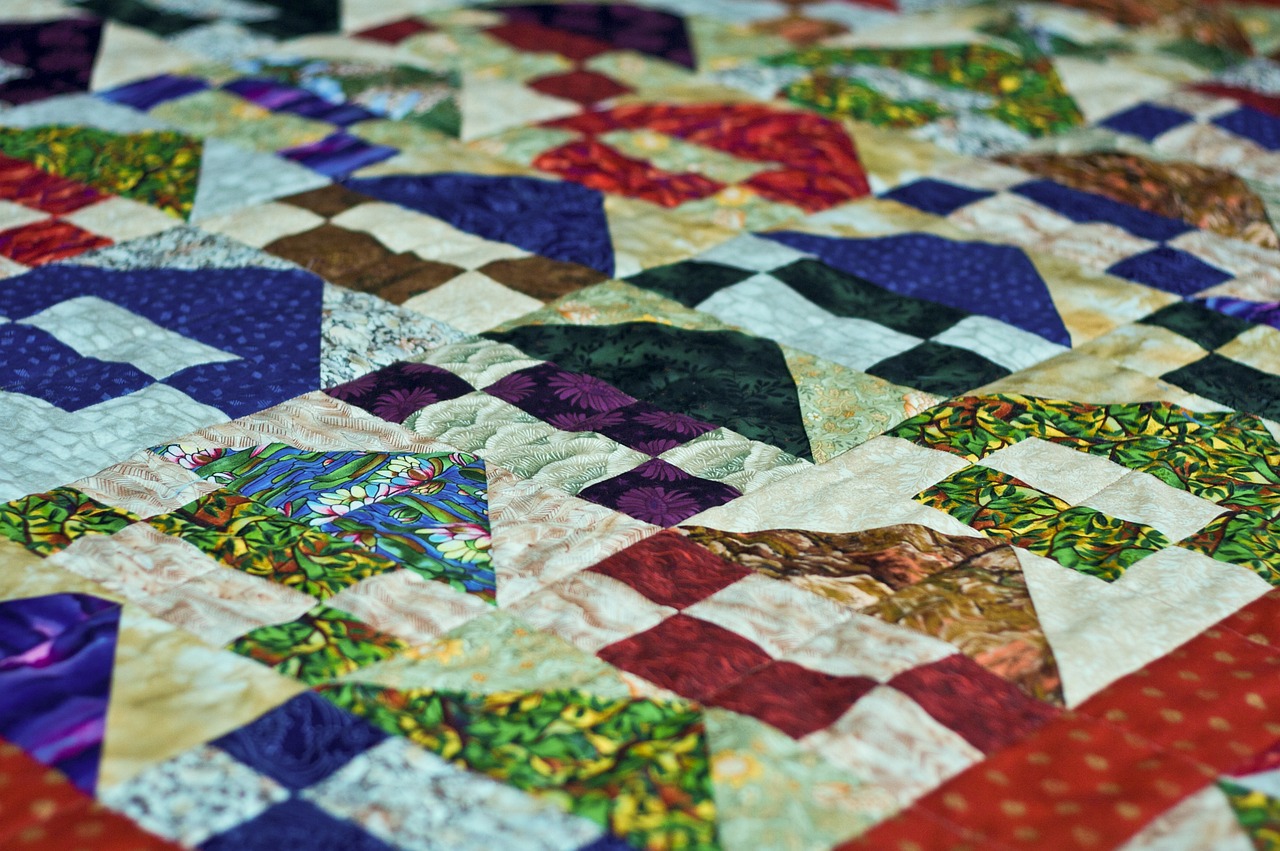
Pre-cutting fabric is a game-changer in the quilting world, allowing you to save precious time during the sewing process. Imagine diving into a project where all your fabric pieces are already cut to size, just waiting to be stitched together. This not only streamlines your workflow but also enhances your creativity, as you can focus more on the artistic aspects of quilting rather than the tedious cutting phase.
To make the most out of your pre-cutting session, consider organizing your fabric into manageable pieces before you even start sewing. This approach can make a world of difference. Here are some effective techniques you can adopt:
- Plan Your Design: Before cutting, sketch out your quilt design or use quilting software to visualize your project. This helps you determine how much fabric you need and the sizes of the pieces required.
- Use a Rotary Cutter: A rotary cutter combined with a cutting mat makes cutting fabric much quicker and more precise than using scissors. Ensure your blade is sharp for the best results.
- Layer Your Fabric: When cutting multiple pieces, layer your fabric. This not only speeds up the process but also ensures that your pieces are uniform in size.
Additionally, having a dedicated cutting area can significantly improve your efficiency. Make sure your cutting mat is large enough to accommodate your fabric pieces, and keep your tools within arm's reach. This setup creates a seamless cutting experience, allowing you to move from cutting to sewing in no time.
One of the most rewarding aspects of pre-cutting is the flexibility it offers. You can prepare various fabric pieces ahead of time and store them in labeled containers. This way, when inspiration strikes, you can quickly grab your pre-cut pieces and start sewing without delay. It’s like having a quilt kit ready to go at a moment's notice!
In conclusion, pre-cutting fabric is not just about saving time; it’s about enhancing your overall quilting experience. By implementing these techniques, you’ll find yourself enjoying the sewing process more, with less stress and more creativity at your fingertips.
Q: What tools do I need for pre-cutting fabric?
A: Essential tools include a rotary cutter, cutting mat, ruler, and sharp scissors for any touch-ups.
Q: How do I store my pre-cut fabric pieces?
A: Use labeled containers or plastic bags to keep your pre-cut pieces organized and protected from dust and damage.
Q: Can I pre-cut fabric for any quilting project?
A: Yes! Pre-cutting can be applied to any quilting project, regardless of size or complexity. It’s all about planning and preparation.
4. Chain Piecing Techniques
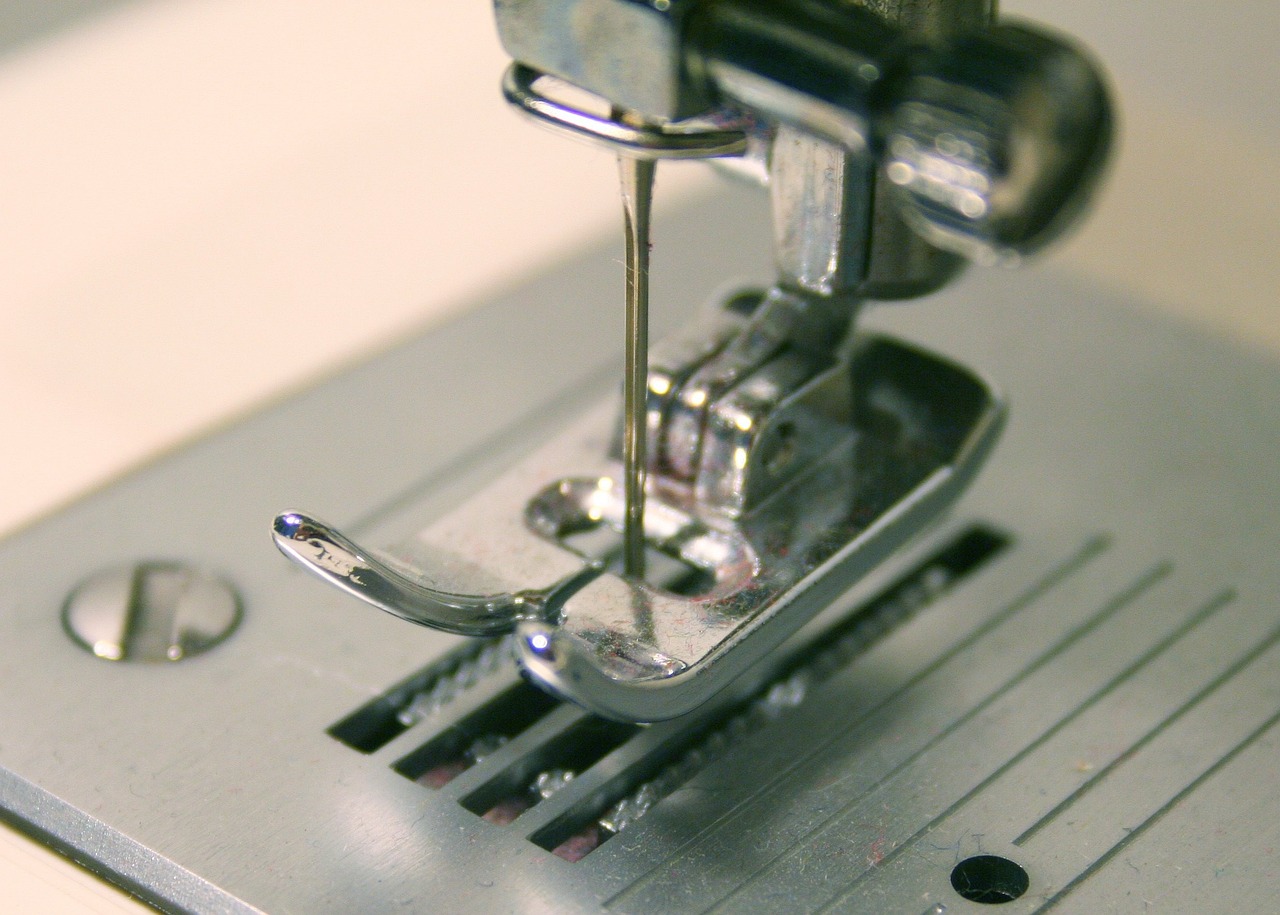
Chain piecing is a revolutionary technique that can transform your quilting experience, allowing you to sew multiple pieces of fabric together without the need to cut the thread between each piece. Imagine a conveyor belt of creativity where your fabric flows seamlessly from one piece to the next! This method not only speeds up the sewing process but also helps maintain consistent seam allowances, which is crucial for achieving that professional finish. By keeping your pieces connected, you save time and thread, making it a favorite among quilters who are always looking for ways to maximize efficiency.
To get started with chain piecing, you’ll want to gather your fabric pieces and arrange them in the order you plan to sew. It’s like prepping for a race; the more organized you are, the smoother the process will be. Begin by sewing the first two pieces together, and instead of cutting the thread, simply feed the next piece into the machine. This technique allows you to create a long chain of sewn pieces, which can be trimmed down later. It’s a simple yet effective way to increase your productivity!
Now, let’s delve into the benefits of chain piecing. Not only does it reduce thread waste, but it also increases your sewing speed significantly. When you’re in the groove of sewing, it’s easy to lose your momentum if you have to stop and start frequently. Chain piecing keeps that momentum going, allowing you to focus on the creative aspects of your quilting rather than the mundane tasks. Plus, it minimizes the time spent at the machine, giving you more time to enjoy your projects.
To ensure successful chain piecing, consider these key tips:
- Maintain consistent seam allowances: This is vital for ensuring that your quilt pieces fit together perfectly. Use a quarter-inch foot if possible.
- Keep your fabric aligned: Make sure your pieces are lined up correctly as you feed them through the machine. This prevents any misalignment that could affect the overall look of your quilt.
- Trim your threads: After sewing your chain, take a moment to trim the threads between each piece. This will help you avoid tangling and keep your workspace tidy.
Incorporating chain piecing into your quilting routine can feel like discovering a secret passageway in a familiar place; it opens up new avenues for creativity and efficiency. So, grab your fabric and start chaining those pieces together. You’ll be amazed at how quickly you can progress through your projects!
1. What is chain piecing?
Chain piecing is a sewing technique that involves stitching multiple pieces of fabric together in a continuous chain without cutting the thread in between each piece. This method saves time and thread while maintaining consistent seam allowances.
2. Can I use chain piecing for all quilting projects?
Yes! Chain piecing can be used for most quilting projects, especially those that involve piecing together multiple blocks or units. It’s a versatile technique that can enhance your efficiency.
3. Do I need special tools for chain piecing?
No special tools are required, but using a quarter-inch foot can help maintain accurate seam allowances. Just your sewing machine and fabric are all you really need!
4.1 Benefits of Chain Piecing
Chain piecing is one of those magical techniques that can transform your quilting experience from a tedious chore into a smooth, flowing process. Imagine sitting down at your sewing machine, and instead of stopping to cut threads after every single piece, you can keep your momentum going. That's the essence of chain piecing! By sewing multiple pieces of fabric together in a continuous chain, you not only save time but also enhance the overall quality of your work.
One of the most significant benefits of chain piecing is the reduction of thread waste. When you sew pieces together without cutting the thread between them, you minimize the amount of thread that gets wasted, which can add up over time. This not only saves you money but also contributes to a more environmentally friendly quilting practice. Imagine being able to use that saved thread for another project instead!
Additionally, chain piecing increases your sewing speed. Since you’re not stopping to cut the thread, you can keep your sewing machine humming along, allowing you to complete more blocks in a shorter amount of time. This is especially beneficial when working on large quilts where efficiency is key. The rhythm of chain piecing can actually be quite meditative, making the process enjoyable rather than laborious.
Another advantage is the consistency it brings to your quilt pieces. When you chain piece, the fabric pieces are fed through the machine in quick succession, which helps maintain uniformity in stitching. This is crucial for ensuring that all your blocks fit together perfectly when it comes time to assemble your quilt. No more wonky seams or mismatched pieces!
In summary, chain piecing is not just a technique; it’s a game changer in the quilting world. By embracing this method, you can enjoy:
- Less thread waste - Saving materials and money.
- Increased speed - Getting more done in less time.
- Consistent results - Ensuring your quilt pieces align perfectly.
So why not give chain piecing a try? You might just find that it revolutionizes your quilting projects and makes the entire process more enjoyable!
Q: What is chain piecing?
A: Chain piecing is a sewing technique where multiple pieces of fabric are sewn together in a continuous chain without cutting the thread between each piece. This saves time and reduces thread waste.
Q: Can beginners use chain piecing?
A: Absolutely! Chain piecing is a great technique for quilters of all skill levels. It simplifies the sewing process and can help beginners gain confidence in their sewing abilities.
Q: Do I need special tools for chain piecing?
A: No special tools are required, but having a good quality sewing machine and a rotary cutter can enhance your experience and efficiency.
4.2 Tips for Successful Chain Piecing
When it comes to mastering chain piecing, there are several key tips that can make your sewing experience not just easier, but also more enjoyable. First and foremost, ensure that your fabric pieces are cut accurately. Precision in cutting lays the foundation for a smoother piecing process. If your pieces are uneven, it can lead to frustrating misalignments later on. A rotary cutter is often the best tool for this job, as it allows for clean, straight cuts that save you time and effort.
Another important tip is to maintain a consistent seam allowance. A standard seam allowance in quilting is typically 1/4 inch, but whatever you choose, stick to it throughout your project. This consistency will ensure that your blocks fit together perfectly, creating a polished final product. To help with this, consider using a seam guide on your sewing machine. This little tool can be a game-changer, providing you with a visual reference to keep your seams uniform.
Additionally, keep your sewing machine thread tension in check. Proper tension is crucial for achieving even stitches, which is especially important when chain piecing multiple pieces together. If you notice that your stitches are too tight or too loose, don't hesitate to adjust the tension settings on your machine. A well-tuned machine will make your chain piecing experience much smoother.
While you're sewing, try to keep your pieces organized. As you chain piece, it's easy for fabric to get tangled or misplaced. Consider using a small basket or a tray to keep your pieces separate and in order. This will not only save you time but also reduce stress as you work through your project. You might even want to label your pieces if you're working with multiple colors or patterns to avoid confusion.
Finally, don't forget to press your seams as you go. While it might be tempting to wait until the end, pressing after every few pieces can help you catch any issues early on. It also helps to keep your seams flat and neat, which is essential for a professional-looking quilt. Use a good quality iron and consider investing in a pressing mat for better results.
In summary, successful chain piecing hinges on a few key practices: accurate cutting, consistent seam allowances, proper thread tension, organized workspace, and timely pressing. By paying attention to these details, you can enhance your quilting efficiency and enjoy the process even more!
- What is chain piecing? Chain piecing is a sewing technique where multiple pieces of fabric are sewn together in a continuous chain, allowing for faster assembly.
- How do I maintain the right seam allowance? Use a seam guide or a marked line on your sewing machine to ensure that you consistently sew at the same distance from the edge of the fabric.
- Can I chain piece with different fabric types? Yes, you can chain piece with different fabric types, but ensure they have similar thicknesses for the best results.
- What should I do if my stitches are uneven? Check your thread tension settings and make sure your fabric is feeding evenly through the machine.

5. Efficient Ironing Techniques
When it comes to quilting, efficient ironing techniques can make a world of difference. Proper ironing not only helps in achieving crisp seams but also ensures that the fabric lays flat, making your quilting experience smoother and more enjoyable. Imagine trying to sew two pieces of fabric together that are wrinkled and uneven; it’s like trying to build a house on a shaky foundation! So, let’s dive into some effective strategies to keep your fabric looking its best.
First off, investing in a high-quality iron can be a game changer. A steam iron with adjustable temperature settings allows you to tackle various fabric types without the fear of scorching or damaging them. Additionally, a good ironing board with a padded cover can provide a stable surface that enhances your ironing experience. You might even consider using a pressing cloth for delicate fabrics to protect them from direct heat.
Next, consider your ironing technique. Instead of moving the iron back and forth, try lifting it and placing it down on the fabric. This technique minimizes the risk of stretching the fabric and ensures that you get a nice, even press. For seams, press them open rather than to one side. This technique helps reduce bulk and makes it easier to sew the next pieces together.
Another tip is to iron in sections. Start with smaller pieces and work your way up to larger sections. This method allows you to maintain control and ensures that every part of your fabric receives the attention it deserves. Additionally, using a spray bottle filled with water can help in achieving a perfect press. Lightly misting the fabric before ironing can help release stubborn wrinkles and give you a crisp finish.
Lastly, maintaining a consistent ironing routine can significantly improve your quilting efficiency. Set aside specific times during your sewing process to iron, rather than waiting until the end. This habit not only keeps your workspace tidy but also allows you to catch any issues early on, saving you time and frustration later.
- How often should I iron my fabric while quilting? It's best to iron after every major step, such as after cutting and piecing, to ensure everything lays flat.
- Can I use a regular iron for quilting? Yes, but a steam iron with adjustable settings will yield better results, especially for various fabric types.
- What is a pressing cloth, and do I need one? A pressing cloth is a protective layer placed between the iron and fabric to prevent scorching. It’s particularly useful for delicate fabrics.
6. Using Quilting Software
In today's digital age, quilting software has become a game-changer for many quilters, whether you're a novice just starting out or a seasoned pro looking to streamline your process. Imagine having a virtual assistant that can help you visualize your quilt designs, calculate fabric requirements, and even keep track of your progress! That's precisely what quilting software offers, making it an invaluable tool in your quilting arsenal.
One of the most significant advantages of using quilting software is its ability to help you plan your projects with precision. With just a few clicks, you can create intricate quilt patterns on your computer screen, adjusting colors and shapes until you find the perfect combination. This not only boosts your creativity but also saves you from the frustration of trial and error when you’re working with physical fabric. Plus, many software options come equipped with features that allow you to print templates directly from your designs, making it easier than ever to get started.
When selecting quilting software, consider some of the following features that can enhance your quilting experience:
- Design Tools: Look for software that offers a variety of design tools, such as the ability to create blocks, borders, and layouts.
- Fabric Calculators: A good quilting program should help you calculate how much fabric you’ll need for your project, taking the guesswork out of fabric shopping.
- Progress Tracking: Some software includes features to log your progress, helping you stay motivated and organized throughout your quilting journey.
For those who love to experiment, many quilting software programs allow you to play with different fabrics and colors virtually. This means you can see how a certain fabric will look in your quilt without cutting a single piece. It’s like having a fabric swatch book that comes to life! Additionally, many programs offer a library of pre-designed patterns that can inspire your next project or serve as a jumping-off point for your creativity.
However, it’s essential to choose software that fits your skill level and needs. Some programs may be overwhelming for beginners, while others might not have enough features for advanced quilters. Before making a purchase, consider trying out free trials or demos to see which software feels right for you. Remember, the goal is to enhance your quilting experience, not complicate it!
In summary, incorporating quilting software into your workflow can significantly improve both your creativity and efficiency. By leveraging technology, you can focus more on the fun aspects of quilting while minimizing the tedious tasks. So why not give it a try? You might just find that it transforms the way you quilt!
Q: What are some popular quilting software options?
A: Some popular quilting software options include EQ8, Electric Quilt, and Quilt Pro. Each has unique features tailored to different quilting needs.
Q: Is quilting software user-friendly for beginners?
A: Many quilting software programs offer user-friendly interfaces and tutorials, making them accessible for beginners. Look for options with comprehensive support resources.
Q: Can I use quilting software on my tablet or phone?
A: Yes, some quilting software is available as mobile apps, allowing you to design and plan your quilts on the go!

7. Storing Fabric Effectively
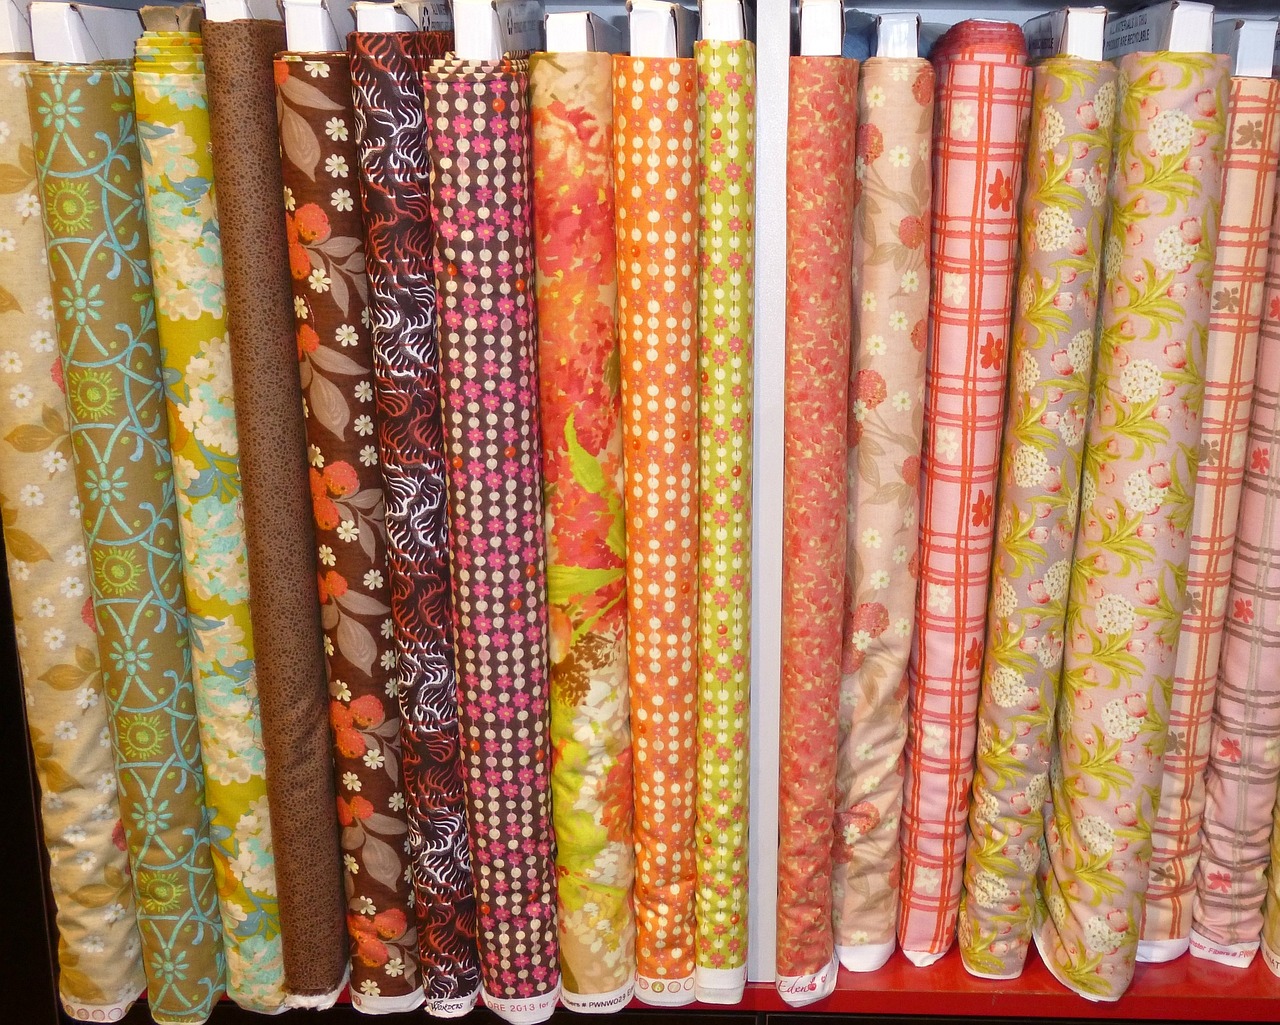
When it comes to quilting, effective fabric storage is just as important as the sewing itself. A well-organized fabric stash not only saves time but also helps you avoid the frustration of searching for that perfect piece of fabric in a chaotic pile. Imagine trying to find a needle in a haystack; that’s what it feels like when your fabric is disorganized! So, let’s dive into some practical strategies to keep your fabric collection neat and accessible.
First off, consider the type of storage solutions you want to use. Clear plastic bins are a popular choice because they allow you to see your fabrics at a glance. This visibility can spark inspiration and make it easier to grab what you need without rummaging through stacks. Additionally, using labeling systems can further enhance your organization. Label your bins by color, type, or project to streamline your selection process. Here’s a simple table to help you decide on suitable storage options:
| Storage Type | Advantages | Disadvantages |
|---|---|---|
| Clear Plastic Bins | Visibility, stackable, protects from dust | Can be bulky, may require space |
| Fabric Shelves | Easy access, decorative | Dust accumulation, requires careful arrangement |
| Drawer Units | Organized, hidden from view | Less visible, can lead to forgetfulness |
Another effective technique is to fold your fabric neatly. This not only saves space but also prevents creases and wrinkles that can occur when fabric is shoved into a bin. Try the file folding method, where you fold fabrics vertically and store them upright in a bin. This way, you can see all your options at once, making it easy to pick the right fabric for your next project.
Moreover, don’t forget about temperature and humidity when storing your fabric. Fabrics can be sensitive to environmental conditions. It’s best to keep your stash in a cool, dry place to prevent mold and deterioration. If you live in a humid area, consider using silica gel packets in your storage bins to absorb moisture. This little hack can save you from potential disasters down the line!
Lastly, embrace the idea of using vertical space. Shelving units or wall-mounted organizers can help you utilize every inch of your craft room. Hanging fabric on a pegboard or using wall pockets can free up valuable floor space while keeping your materials accessible. Remember, the goal is to create a space that inspires you to quilt, not one that overwhelms you with clutter.
- How often should I reorganize my fabric stash?
It's a good idea to reassess your fabric organization every few months, especially after completing projects. - Can I store fabric in the attic or basement?
It's best to avoid these spaces as they can be prone to temperature fluctuations and humidity. - What’s the best way to prevent fabric from fading?
Store fabrics away from direct sunlight to maintain their vibrant colors.
8. Incorporating Scrap Fabric
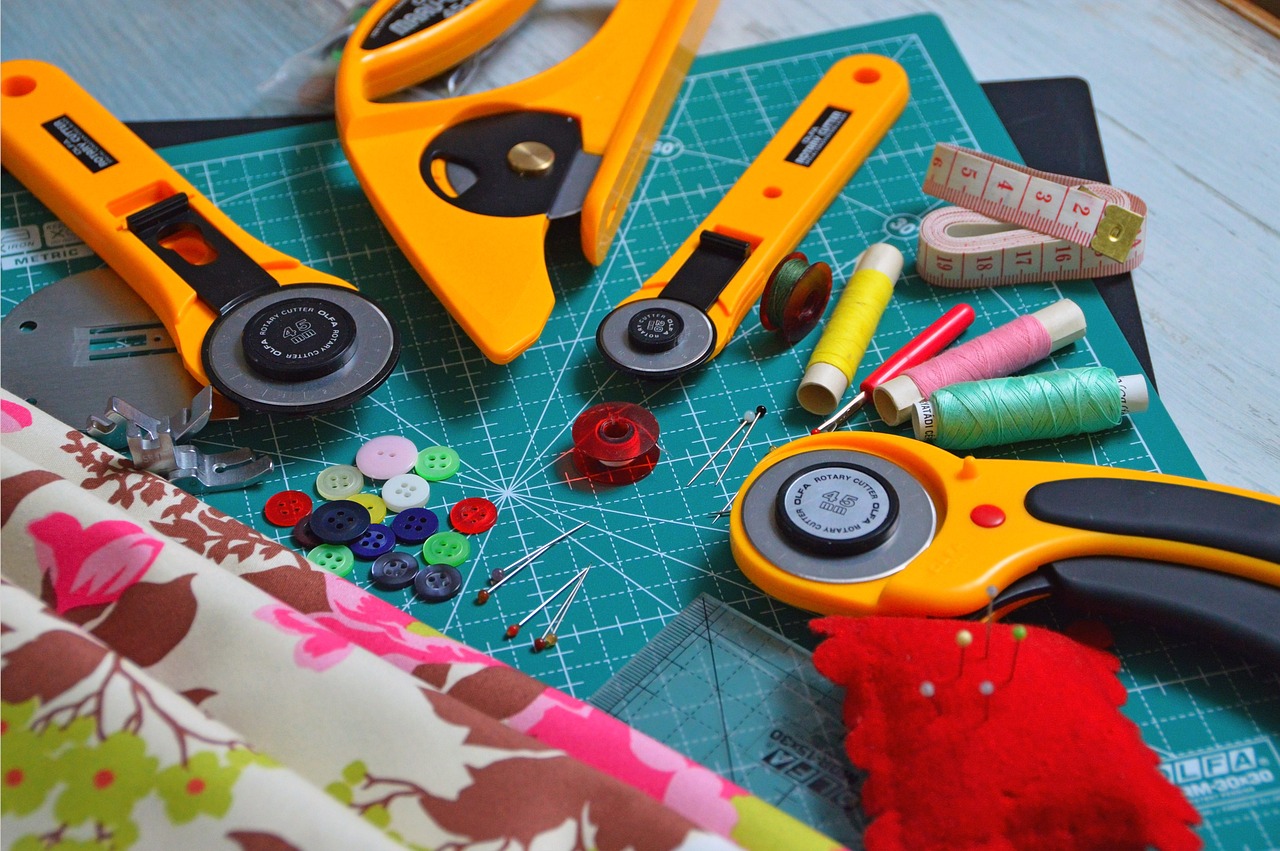
Scrap fabric is often seen as a nuisance, a leftover from bigger projects that might just end up in the trash. But what if I told you that these little pieces of fabric could be transformed into something extraordinary? Incorporating scrap fabric into your quilting projects not only reduces waste but also sparks creativity and adds a unique touch to your quilts. Imagine taking what would have been discarded and turning it into a stunning design that tells a story. Whether you're a beginner or a seasoned quilter, embracing scraps can elevate your quilting game.
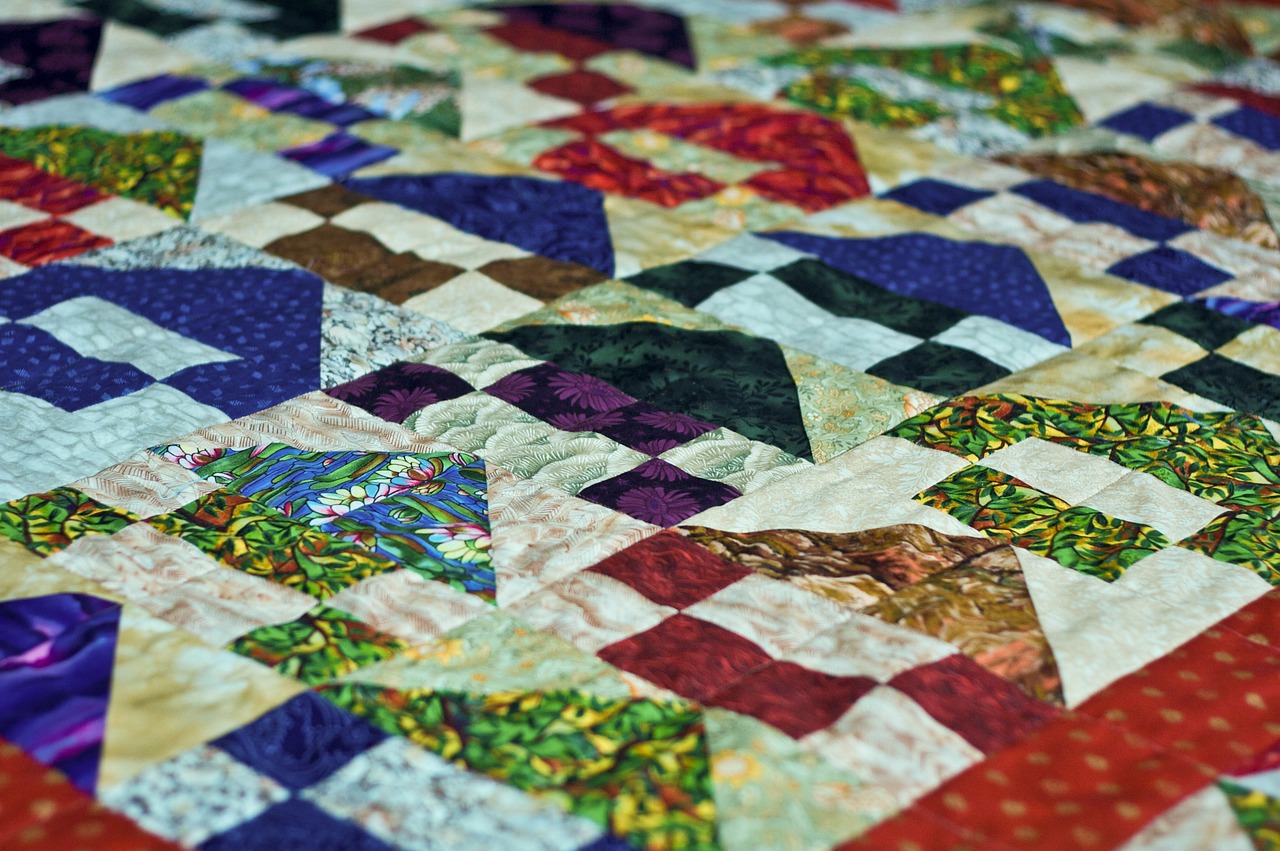
One of the simplest ways to incorporate scrap fabric is to create a scrappy quilt. These quilts are made entirely from leftover pieces, allowing for a playful mix of colors and patterns. You can use a variety of techniques to bring your scraps together, such as combining different shapes or even using them as a border. The beauty of a scrappy quilt lies in its uniqueness; no two will ever be the same. Plus, it gives you the freedom to experiment with your fabric collection without the pressure of perfection.
Another great method is to create patchwork blocks. By sewing together small pieces of fabric, you can form blocks that can be used in larger projects or as standalone pieces. This technique not only helps utilize scraps but also allows you to practice your sewing skills. You might find that creating these blocks becomes a fun and meditative process, almost like piecing together a puzzle. To get started, gather your scraps and cut them into uniform sizes; then, let your imagination run wild!
Don't forget about appliqué! This technique allows you to add scrap pieces as decorative elements on your quilts. You can cut shapes from your scraps and sew them onto a larger piece of fabric, creating a beautiful design that stands out. Whether it's flowers, stars, or abstract shapes, appliqué can turn a simple quilt into a work of art. Plus, it’s an excellent way to use smaller scraps that might otherwise be too tiny for other projects.
For those who love a challenge, consider creating a scrap fabric mosaic. This technique involves arranging small pieces of fabric in a way that creates an image or pattern. It requires a bit more planning and precision, but the results can be absolutely stunning. You can use this method to create wall hangings or decorative quilts that are sure to impress. Think of it as a fabric version of a mosaic tile art piece—every little scrap plays a vital role in the overall picture.
Lastly, remember that incorporating scrap fabric can also be a collaborative effort. Consider hosting a scrap swap with fellow quilters. This can be a fun way to exchange pieces you may not use and gain new fabrics for your projects. It’s a win-win situation—everyone gets to declutter their stash while expanding their creative possibilities.
In conclusion, scrap fabric is an invaluable resource for quilters. By embracing these remnants, you not only contribute to a more sustainable quilting practice, but you also open the door to endless creative opportunities. So the next time you find yourself with leftover fabric, don’t toss it aside. Instead, let it inspire you to create something beautiful and unique!
Q: What can I do with very small scraps of fabric?
A: Small scraps can be used for various projects, such as making patchwork blocks, appliqué designs, or even fabric cards. You can also use them for stuffing in toys or as filler in larger quilting projects.
Q: How do I organize my scrap fabric?
A: Consider sorting your scraps by color, size, or type of fabric. You can use bins, baskets, or even clear ziplock bags to keep everything tidy and easily accessible. This organization will make it easier to find the perfect piece when inspiration strikes!
Q: Can I use scraps from non-quilting projects?
A: Absolutely! As long as the fabric is suitable for quilting (like cotton or cotton blends), feel free to incorporate scraps from other sewing projects. Just make sure they are clean and in good condition.
9. Maintaining Your Sewing Machine
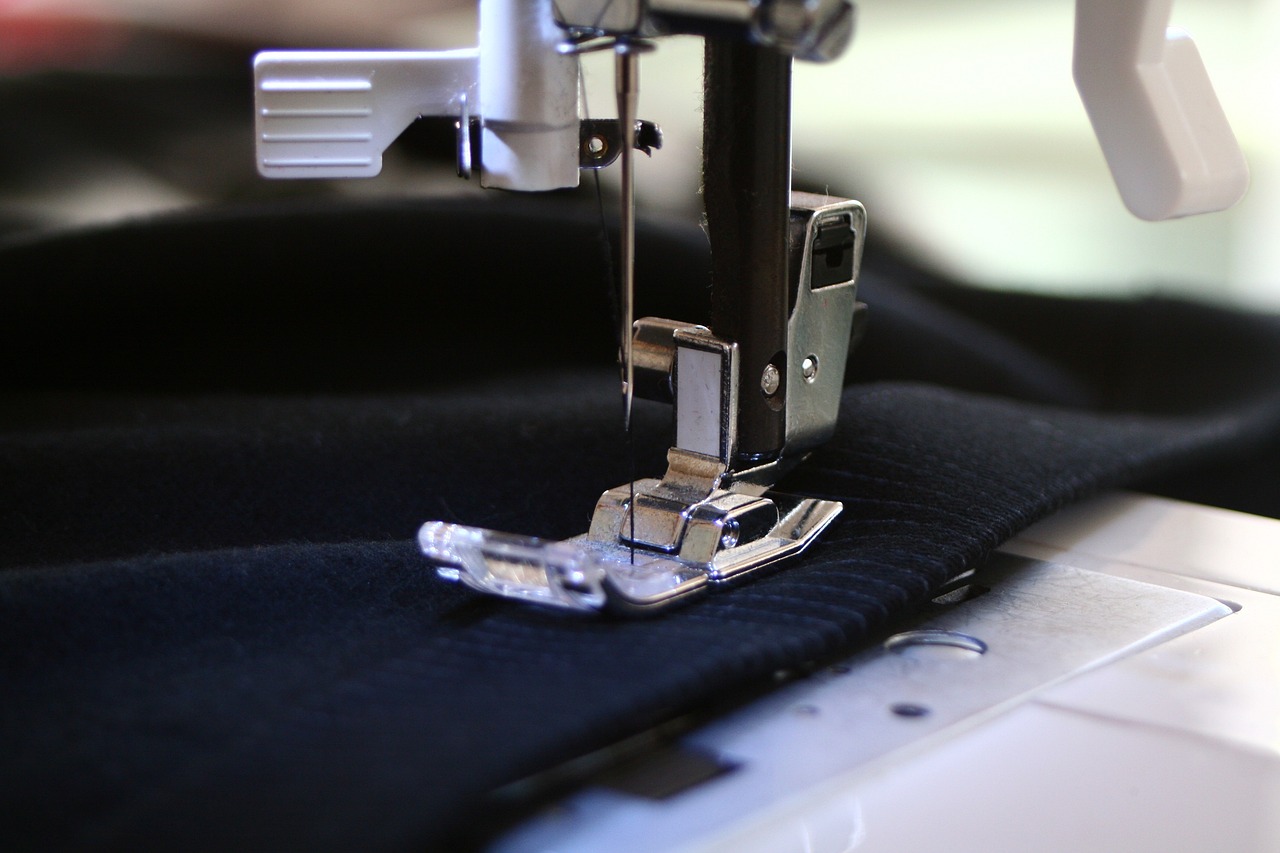
Regular maintenance of your sewing machine is crucial for optimal performance. Just like a car needs oil changes and tune-ups, your sewing machine requires consistent care to ensure smooth operation and longevity. Neglecting this aspect can lead to frustrating sewing experiences, such as skipped stitches or even complete breakdowns. So, what can you do to keep your sewing machine in top shape? Let's dive into some essential tips!
First and foremost, cleaning your machine is vital. Dust and lint can accumulate in various parts, particularly around the bobbin area and feed dogs. To clean your machine effectively, follow these steps:
- Unplug your machine to ensure safety.
- Remove the needle and presser foot.
- Use a small brush or a vacuum attachment to remove lint from the bobbin case and surrounding areas.
- Wipe down the exterior with a soft cloth.
Next, oiling your sewing machine is just as important. Most modern machines come with self-lubricating parts, but it’s a good practice to check your manual for specific instructions. If your machine requires oiling, make sure to use the recommended type of sewing machine oil and apply it sparingly to the designated areas. This will not only keep the machine running smoothly but also extend its lifespan.
Another critical aspect of maintenance is checking the tension. If your stitches are uneven or if the fabric is puckering, it might be time to adjust the tension settings. A quick test on a scrap piece of fabric can help you determine if adjustments are needed. Remember, the right tension is key to achieving those perfect seams!
Furthermore, it’s essential to replace worn parts promptly. Items like needles and bobbins can wear out over time, affecting your sewing quality. A dull needle can cause skipped stitches and fabric damage, while a damaged bobbin can lead to thread jams. Make it a habit to check these components regularly and replace them as needed.
Finally, always refer to your machine's manual for specific maintenance guidelines. Each machine is unique, and understanding its requirements will help you maintain it better. Additionally, consider scheduling a professional service once a year, especially if you sew frequently. This can help catch any potential issues before they become significant problems.
Here are some common questions regarding sewing machine maintenance:
- How often should I clean my sewing machine? It's best to clean your machine after every few sewing projects or at least once a month if you sew regularly.
- Can I use any oil for my sewing machine? No, always use oil specifically designed for sewing machines to avoid damage.
- What are the signs that my sewing machine needs maintenance? Look out for unusual noises, skipped stitches, or fabric jamming. These are indicators that it’s time for a check-up.
Frequently Asked Questions
- What are some essential tools I need for quilting?
When starting your quilting journey, having the right tools can make a world of difference! Essential tools include a rotary cutter, cutting mat, quilting ruler, and a good sewing machine. Don't forget about notions like pins, seam rippers, and marking tools—they're lifesavers!
- How can I effectively organize my quilting workspace?
A tidy workspace can significantly boost your productivity. Start by decluttering your area and organizing your tools and fabrics in labeled bins or drawers. Keeping everything within arm's reach will help you focus more on your creativity and less on searching for supplies!
- What is chain piecing, and how does it save time?
Chain piecing is a sewing technique where you sew multiple pieces of fabric together in a continuous chain without cutting the thread between them. This method not only saves time but also reduces thread waste, making it a favorite among quilters looking to maximize efficiency.
- How can I maintain my sewing machine for optimal performance?
Regular maintenance is key to keeping your sewing machine running smoothly. Make sure to clean the bobbin area, oil the machine as recommended, and change the needle regularly. A well-maintained machine will make your sewing experience much more enjoyable!
- What are some efficient ironing techniques for quilting?
Proper ironing techniques can enhance the quality of your quilt. Instead of just pressing seams, try using a steam iron to help flatten them out completely. Also, consider using a pressing cloth to protect your fabric and achieve crisp edges.
- How can I creatively use scrap fabric in my quilting projects?
Don't throw away those fabric scraps! You can incorporate them into your quilting projects by creating patchwork designs, using them for appliqué, or even making small items like coasters or bags. This not only reduces waste but also adds a unique touch to your quilts!
- What are the benefits of using quilting software?
Quilting software can simplify your planning and design process. It allows you to visualize your projects, calculate fabric requirements, and keep track of your progress. This technology can save you time and help you avoid costly mistakes!
- How should I store my fabric to prevent damage?
Proper fabric storage is crucial for maintaining the quality of your materials. Store fabrics in a cool, dry place and consider using clear bins or shelves to keep them organized and visible. Avoid direct sunlight to prevent fading, and always fold them neatly to avoid creases.
- Why is pre-cutting fabric beneficial?
Pre-cutting fabric into manageable pieces can save you a lot of time during the sewing process. By preparing your fabric ahead of time, you can focus on the actual sewing rather than spending precious minutes cutting pieces when you're ready to quilt.


