How to Use a Sewing Machine: A Step-by-Step Guide
Welcome to the wonderful world of sewing! If you've ever wanted to create your own clothing, home decor, or even little gifts for your loved ones, you’re in the right place. This guide provides essential steps and tips for beginners to effectively use a sewing machine, ensuring a smoother sewing experience and the creation of beautiful projects. It’s like learning to ride a bike; once you get the hang of it, you’ll be zooming around in no time!
Familiarizing yourself with the components and functions of your sewing machine is crucial. Think of your sewing machine as a friend; the more you understand it, the better your relationship will be! Let's break down the main parts:
| Part | Function |
|---|---|
| Needle | Pierces the fabric to create stitches. |
| Presser Foot | Holds the fabric in place while sewing. |
| Bobbin | Holds the lower thread that interlocks with the upper thread. |
| Feed Dogs | Moves the fabric through the machine as you sew. |
By understanding these components, you’ll feel more comfortable and confident when you sit down to sew.
Creating an organized and efficient workspace is key to successful sewing. Imagine trying to cook in a cluttered kitchen; it’s just not going to work! Here’s how to set up your area to minimize distractions and enhance productivity:
- Choose a well-lit area to avoid straining your eyes.
- Keep all your tools within arm's reach to maintain your flow.
- Clear any clutter that might distract you from your sewing project.
By ensuring a tidy workspace, you’ll find that your sewing experience becomes much more enjoyable and productive.
Discover the basic tools and materials you need for sewing. From fabric choices to thread types, having the right supplies can make all the difference. Here’s a quick rundown:
- Fabric: The heart of your project. Choose wisely!
- Thread: Essential for stitching everything together.
- Scissors: For cutting fabric and threads.
- Measuring Tape: To ensure accuracy in your projects.
With these essentials in hand, you’re ready to start sewing!
Selecting the appropriate fabric for your project is vital. Think of fabric as the canvas for your masterpiece; the wrong choice can throw off the entire vibe! Here are some common fabric types and their suitability:
- Cotton: Great for beginners, easy to work with.
- Silk: Luxurious but requires more skill to handle.
- Denim: Durable but can be tough on your machine.
By understanding the characteristics of different fabrics, you can make informed decisions that will enhance your sewing projects.
Different projects require different threads. Just like you wouldn’t use a butter knife to chop vegetables, you need the right thread for your fabric! Here’s a quick overview:
- All-purpose thread: Ideal for most sewing projects.
- Heavy-duty thread: Best for thicker fabrics like denim.
- Silk thread: Perfect for delicate fabrics.
Choosing the right thread can significantly affect the outcome of your sewing project, so don’t overlook this step!
Proper setup of your sewing machine is essential for smooth operation. It’s like tuning a guitar before playing a song; you want everything to be just right! Here’s a simple guide to get you started:
1. Thread the machine according to the manual.
2. Wind the bobbin and insert it into the machine.
3. Adjust the tension settings based on your fabric choice.
By following these steps, you’ll ensure that your machine is ready for action, making your sewing experience much more enjoyable.
Mastering fundamental sewing techniques is crucial for beginners. Think of these skills as the building blocks of your sewing journey. Essential techniques include:
- Straight stitching
- Zigzag stitching
- Backstitching
These techniques are the foundation of sewing, and once you’ve got them down, you’ll be ready to tackle more complex projects!
Practice makes perfect! Just like learning to play an instrument, you need to hone your skills over time. Here are some tips on how to practice your stitching techniques effectively:
- Start with scrap fabric to avoid wasting materials.
- Focus on maintaining an even seam allowance.
- Experiment with different stitch types to see how they look.
By practicing regularly, you’ll build confidence and improve your skills before tackling larger projects.
Mistakes are part of the learning process. Don’t let them discourage you! Here are some common sewing errors and how to troubleshoot them:
- Skipped stitches: Check your needle and thread tension.
- Fabric puckering: Ensure you’re using the right presser foot.
- Thread jams: Rethread your machine and check for tangles.
By addressing these issues, you’ll overcome challenges and continue your sewing journey with ease.
Q: How do I choose the right sewing machine?
A: Consider your sewing needs, budget, and the features you desire. Read reviews and try machines in-store if possible.
Q: What’s the best way to learn sewing?
A: Start with online tutorials, take a class, or follow a sewing book. Practice is key!
Q: How do I maintain my sewing machine?
A: Regularly clean it, oil it as needed, and follow the manufacturer's maintenance guidelines.
Understanding Your Sewing Machine
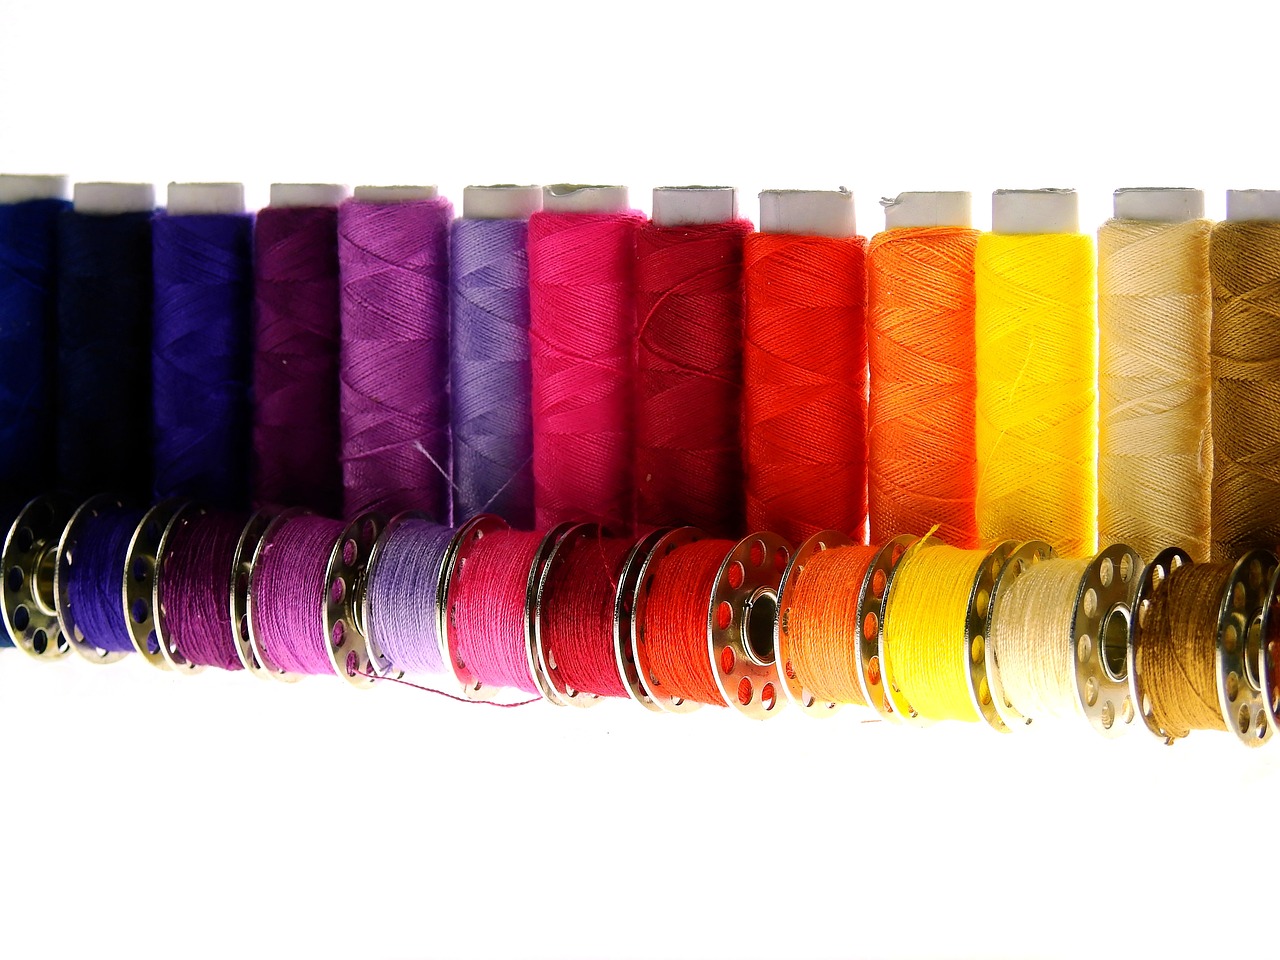
When you first lay your eyes on a sewing machine, it can feel a bit overwhelming, right? But don't worry! Understanding your sewing machine is the first step towards conquering it. Just like getting to know a new friend, familiarizing yourself with the components and functions of your sewing machine can make all the difference. Each part has its own role, and knowing what they do will help you feel more comfortable and confident as you start your sewing journey.
Let’s break down the main parts of your sewing machine:
| Part | Function |
|---|---|
| Presser Foot | This holds the fabric in place while you sew. Think of it as a gentle hand that keeps everything steady. |
| Needle | The needle is what pierces through the fabric and creates the stitches. It’s like the artist’s brush on a canvas! |
| Bobbins | Bobbins hold the lower thread. They work in tandem with the needle to create stitches, like a duet in a song. |
| Feed Dogs | These are the little teeth under the presser foot that move the fabric along as you sew. They’re the unsung heroes of your sewing machine! |
| Stitch Selector | This allows you to choose different types of stitches. It’s like picking the perfect filter for your photos! |
Now that you know the main parts, let's talk about their functions in a bit more detail. The presser foot is essential because it keeps your fabric from slipping while you sew. You might find different types of presser feet for various tasks, like zippers or buttonholes. The needle comes in various sizes and types, so make sure you choose the right one for your fabric. For instance, a fine needle is perfect for delicate fabrics, while a thicker needle is better for heavier materials.
Understanding the bobbins is crucial too. They are often overlooked, but a properly wound bobbin can save you from a lot of headaches. Make sure your bobbin is threaded correctly, as this affects the quality of your stitches. The feed dogs are another important component; they help move your fabric as you sew. If they aren’t working properly, you might find your fabric bunching up or not moving at all.
Lastly, the stitch selector is your gateway to creativity. Whether you want to create a simple straight stitch or an intricate zigzag pattern, the stitch selector is where the magic happens. Take some time to experiment with different stitches and see what you like best!
Remember, getting to know your sewing machine is like building a relationship. The more time you spend with it, the more comfortable you’ll become. So, don’t rush! Take a moment to explore and understand each part and function. Soon enough, you’ll be sewing like a pro!
Preparing Your Workspace
Creating an organized and efficient workspace is key to successful sewing. Imagine trying to cook a gourmet meal in a cluttered kitchen—it's chaotic, right? The same goes for sewing! To make your sewing experience enjoyable and productive, you need a space that feels inviting and functional. Start by choosing a dedicated area where you can spread out your materials without constantly having to clear things away. A sturdy table or desk is essential, as it provides a stable surface for your sewing machine and fabric.
Next, consider the lighting in your workspace. Good lighting can make a world of difference when it comes to seeing the details of your fabric and stitching. Natural light is fantastic, but if that's not an option, invest in a bright, adjustable lamp that can illuminate your sewing area. You want to avoid straining your eyes while you work!
Now, let’s talk about organization. A well-organized workspace not only boosts your productivity but also enhances your creativity. Here are some tips to keep your sewing area tidy:
- Use Storage Solutions: Invest in clear bins or drawers to store your fabric, threads, and tools. This way, everything has its place, and you can easily find what you need.
- Keep Essentials Within Reach: Have your most-used tools, like scissors, pins, and seam rippers, nearby. A small caddy or a wall-mounted organizer can help keep these items handy.
- Designate a Cutting Area: If possible, set aside a space for cutting fabric. This will help prevent your sewing table from becoming cluttered with fabric scraps.
Another aspect to consider is minimizing distractions. If you can, choose a quiet corner in your home where you can focus on your sewing projects without interruptions. Turn off the TV, silence your phone, and let others know that you’re in your creative zone. Think of it like a meditation session—your sewing time is precious, and you want to make the most of it!
Lastly, don't forget to personalize your workspace. Add a splash of color with a fun fabric swatch, hang up inspiring quotes, or display your finished projects. A workspace that reflects your personality can make the sewing process even more enjoyable. Remember, your sewing area is not just a place to work; it's a haven for creativity!
Q: How can I keep my sewing workspace tidy?
A: Regularly declutter your workspace, use storage bins for supplies, and keep frequently used tools within arm's reach.
Q: What type of lighting is best for sewing?
A: Natural light is ideal, but if that’s not available, use a bright, adjustable lamp to reduce eye strain.
Q: How can I minimize distractions while sewing?
A: Choose a quiet space, turn off distractions like the TV and phone, and communicate with others that you need focused time.
Essential Tools and Materials
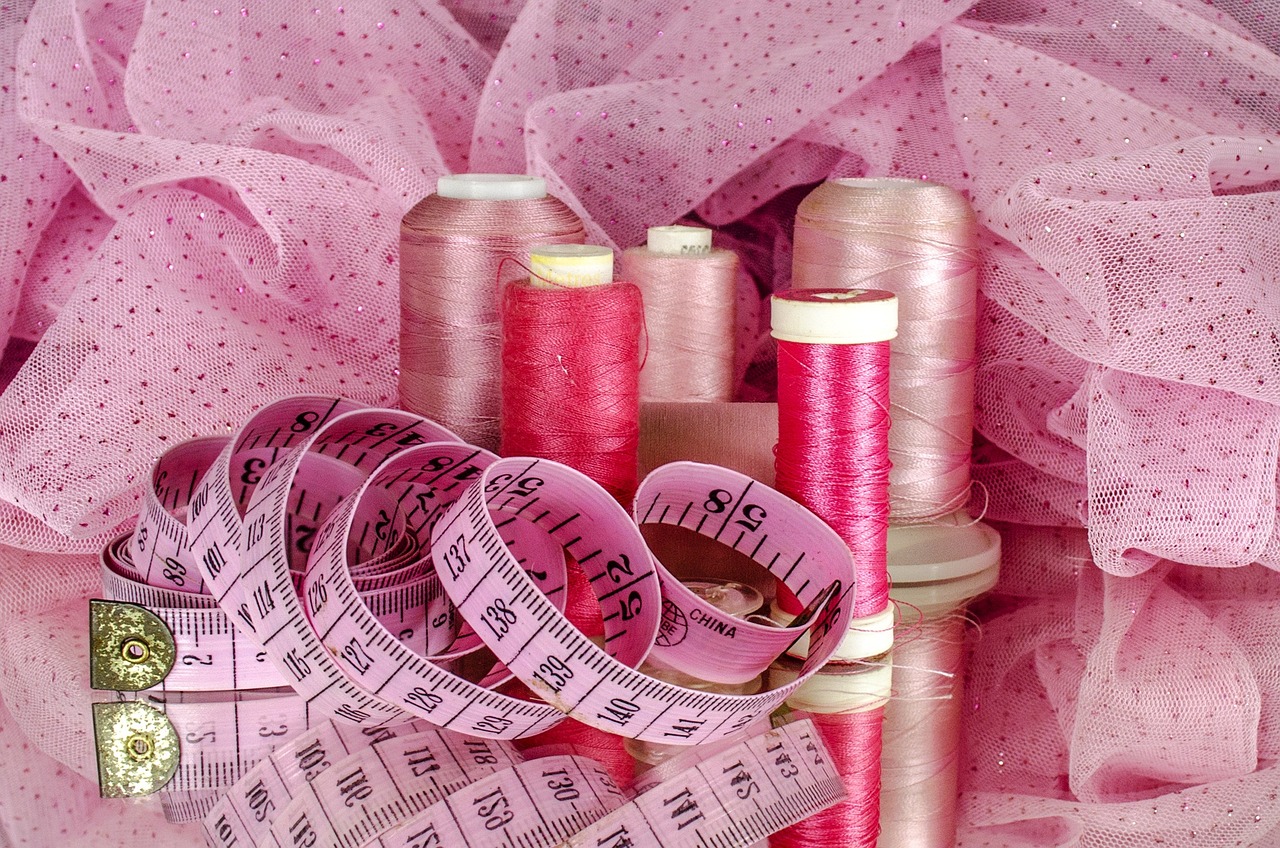
When diving into the world of sewing, having the right tools and materials can make all the difference between a frustrating experience and a joyful one. Imagine trying to bake a cake without the right ingredients; it just wouldn’t turn out well! Similarly, sewing requires a specific set of essentials to help you create beautiful projects with ease.
First and foremost, let’s talk about the sewing machine itself. This is your primary tool, and understanding its features is crucial. Make sure to familiarize yourself with the different settings and attachments that come with your machine, as they can greatly enhance your sewing capabilities. Additionally, having a good quality sewing machine needle is vital. Needles come in various sizes and types, each designed for specific fabrics. For instance, using a universal needle for most projects is a safe bet, but if you’re working with knits or delicate fabrics, you’ll want to switch to a ballpoint or a microtex needle.
Next on the list is thread. Just like a painter needs the right colors to create a masterpiece, a sewer needs the right thread to ensure the seams are strong and durable. Polyester thread is a popular choice due to its strength and versatility, but cotton thread is excellent for quilting projects. Always keep a selection of colors on hand to match your fabric choices. To give you a better idea, here’s a quick comparison:
| Thread Type | Best For |
|---|---|
| Polyester | General sewing, stretchy fabrics |
| Cotton | Quilting, natural fabrics |
| Silk | Delicate fabrics, formal wear |
Now, let’s not forget about fabric. Choosing the right fabric can be overwhelming, especially with so many options available. Consider the weight, texture, and drape of the fabric you select. For beginners, cotton is a fantastic choice as it’s easy to work with and forgiving of mistakes. However, if you’re feeling adventurous, you might want to explore other materials like linen, denim, or even jersey knit for a variety of projects.
Additionally, having a few essential sewing tools on hand will make your sewing experience much smoother. Here are some must-haves:
- Scissors: A good pair of fabric scissors is essential for clean cuts.
- Pins: Use pins to hold fabric pieces together before sewing.
- Measuring tape: Accurate measurements are crucial, so keep this handy!
- Seam ripper: Mistakes happen, and this tool is a lifesaver for correcting them.
Lastly, don’t underestimate the importance of a well-organized workspace. Having a designated area with all your tools and materials within reach can help you stay focused and productive. Consider investing in storage solutions like bins or baskets to keep everything tidy and easily accessible.
In conclusion, gathering the right tools and materials is the first step in your sewing journey. With a solid foundation, you’ll find that sewing can be an incredibly rewarding and creative outlet. So, gather your supplies, roll up your sleeves, and get ready to unleash your creativity!
Q: What is the best sewing machine for beginners?
A: Look for a machine that is user-friendly, has basic stitches, and comes with a manual. Brands like Brother and Singer offer excellent options for beginners.
Q: How do I choose the right fabric for my project?
A: Consider the project type, the fabric's weight, and its stretch. Cotton is great for beginners, while knits require a bit more skill.
Q: Can I use any thread for my sewing machine?
A: Not all threads are created equal! Always check your machine's manual for recommended thread types and sizes.
Q: How often should I clean my sewing machine?
A: It’s a good idea to clean your machine after every few projects, or at least once a month, to keep it running smoothly.
Choosing the Right Fabric
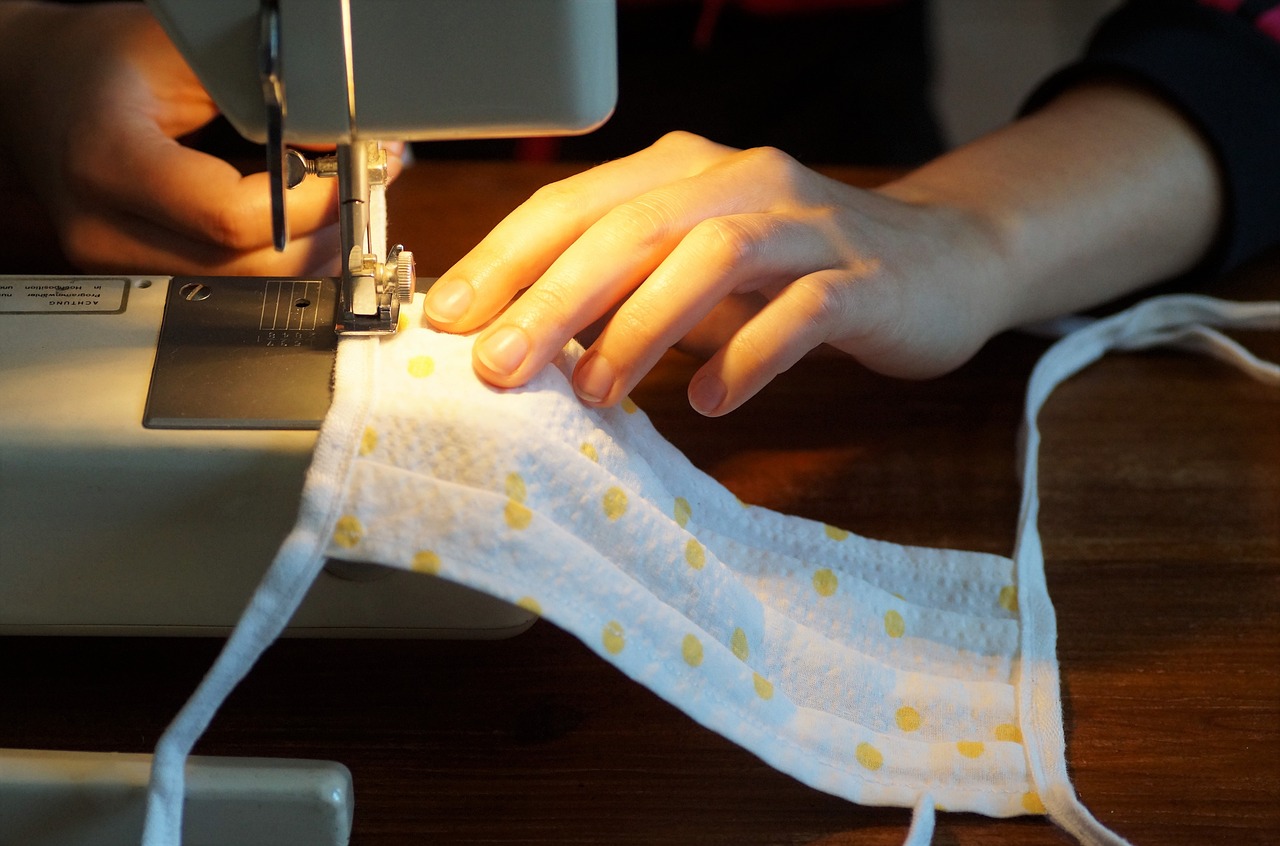
When it comes to sewing, one of the most important decisions you'll make is for your project. The fabric can make or break your creation, much like the icing on a cake. Imagine trying to frost a cake with a thick, lumpy icing—it just wouldn't work, right? Similarly, using the wrong fabric can lead to frustrating results. So, how do you navigate the sea of fabric options available? Let's dive in!
First and foremost, consider the purpose of your project. Are you making a cozy quilt, a stylish dress, or perhaps some practical curtains? Each of these projects requires different fabric characteristics. For instance, quilting typically requires cotton fabrics, which are sturdy and easy to work with, while a flowing dress might call for lighter fabrics like chiffon or silk.
Next, you'll want to pay attention to the weight of the fabric. Fabric weights are categorized as light, medium, or heavy, and each serves different purposes:
| Fabric Weight | Best For |
|---|---|
| Lightweight | Dresses, blouses, and linings |
| Medium Weight | Pants, skirts, and quilts |
| Heavyweight | Jackets, upholstery, and bags |
Additionally, texture plays a significant role in your fabric choice. Some fabrics are smooth and slippery, while others are textured or have a nap (like velvet). The texture can affect how the fabric drapes and how easy it is to sew. For example, slippery fabrics may require more pins and careful handling to avoid shifting during sewing.
Another vital aspect to consider is the stretch of the fabric. If you're working on a fitted garment, you might want to opt for fabrics with some stretch, like jersey or spandex blends. On the other hand, if you're making structured pieces, non-stretch fabrics like cotton or denim will do the trick.
Lastly, don't forget about the care instructions for the fabric. Some fabrics are machine washable, while others may require dry cleaning or hand washing. Always check the care label before making a purchase to ensure it aligns with your lifestyle and maintenance preferences.
In summary, choosing the right fabric is a blend of understanding your project’s needs, the fabric's characteristics, and your personal preferences. So next time you're at the fabric store, take a moment to consider these factors. Your sewing projects will thank you for it!
- What is the best fabric for beginners? Cotton is often recommended for beginners due to its ease of use and availability.
- Can I use any fabric for a sewing project? Not all fabrics are suitable for every project. It's essential to choose a fabric that complements the design and function.
- How do I know if a fabric is high quality? Look for consistent texture, no loose threads, and a good weight for its intended use.
Understanding Thread Types
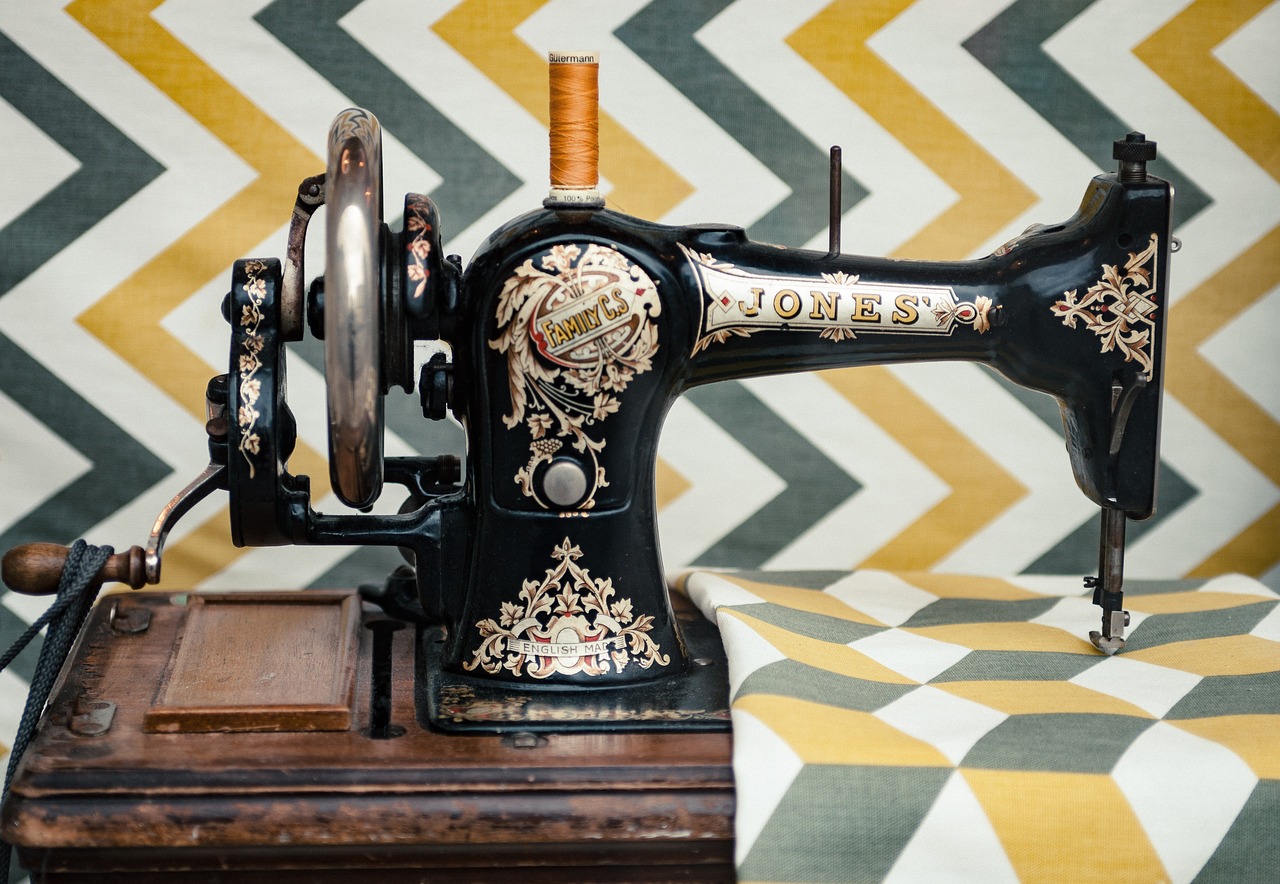
When it comes to sewing, choosing the right thread is just as important as selecting the perfect fabric. Think of thread as the lifeline of your project; it holds everything together and can make or break your creation. There are various types of threads available, each designed for specific purposes, so understanding them will help you achieve the best results. Let’s dive into the world of sewing threads!
First, let's discuss the most common types of threads you'll encounter:
- Cotton Thread: This is a versatile option that’s great for most projects. It’s strong, easy to work with, and comes in a wide range of colors. Cotton thread is perfect for quilting and general sewing.
- Polyester Thread: Known for its durability and stretchability, polyester thread is ideal for sewing stretchy fabrics. It’s also resistant to fading and shrinking, making it a favorite among many sewists.
- Nylon Thread: If you need something that can handle heavy-duty tasks, nylon thread is your go-to. It's often used for upholstery and outdoor gear due to its strength and resistance to abrasion.
- Silk Thread: This luxurious option is perfect for delicate fabrics and adds a beautiful finish to your projects. Silk thread is often used in hand sewing and for fine garments.
Each of these threads has its own unique properties and is suitable for different sewing tasks. For example, if you're working on a quilt, cotton thread will provide the right texture and strength, while polyester is better suited for garments that require a bit of stretch.
Now, let’s talk about thread weight. Thread weight is an important factor to consider when selecting your thread. It refers to the thickness of the thread, which can significantly impact the look and feel of your finished project. Here’s a quick overview of common thread weights:
| Thread Weight | Common Uses |
|---|---|
| 30 wt | Heavy-duty projects, quilting |
| 40 wt | General sewing, embroidery |
| 50 wt | Fine sewing, piecing |
| 60 wt | Delicate fabrics, detailed embroidery |
When selecting thread for your project, consider both the type and weight. A good rule of thumb is to match the thread weight to the fabric weight; this will help you achieve a balanced and professional-looking finish. For instance, using a heavier thread on lightweight fabric can lead to puckering, while a lightweight thread on heavy fabric may not provide enough strength.
In conclusion, understanding the different types of threads and their respective uses will empower you to make informed choices for your sewing projects. Remember, the right thread can enhance the quality of your work and ensure that your creations last. So next time you're at the fabric store, take a moment to consider the thread that will best complement your fabric and project!
1. Can I use any thread for my sewing machine?
While most sewing machines can handle a variety of threads, it's essential to choose the right type and weight for your specific project to avoid complications.
2. How do I know what thread weight to use?
A good starting point is to match the thread weight to the fabric weight. Consult the fabric's label or ask for assistance at the fabric store if you're unsure.
3. Is polyester thread better than cotton thread?
It depends on the project. Polyester thread is more durable and stretchy, while cotton thread is preferred for quilting and general sewing due to its natural fiber composition.
4. Can I mix different types of thread in one project?
Yes, but be cautious. Mixing threads can lead to varying tensions and results, so it's best to test on a scrap piece first.
Setting Up Your Machine
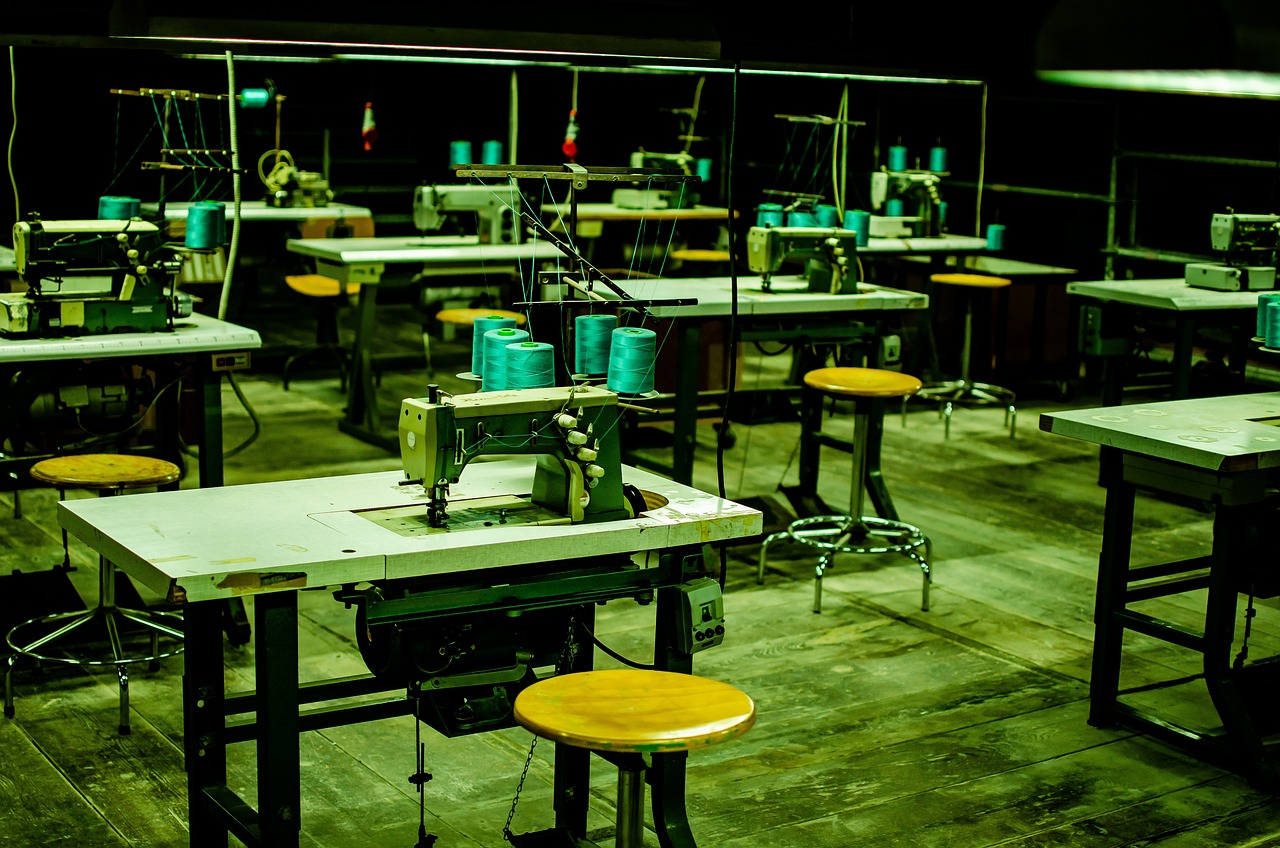
Setting up your sewing machine is like preparing a canvas before painting; it’s essential for achieving beautiful results. To get started, you'll want to ensure that your machine is on a sturdy, flat surface with adequate lighting. This not only makes it easier to see your work but also helps prevent any accidental bumps that could disrupt your sewing. So, grab your machine and let’s dive into the setup process!
First things first, you need to thread your machine. This can seem daunting at first, but once you get the hang of it, you’ll be threading like a pro in no time. Start by raising the presser foot, which allows the tension discs to open up. Then, follow the threading path outlined on your machine—most machines have a handy diagram that shows you where to go. Be sure to pull the thread through each guide and make it snug, but not overly tight. A well-threaded machine is crucial for smooth sewing.
Next, let’s talk about winding the bobbin. The bobbin is like the hidden engine of your sewing machine, and it’s just as important as the upper thread. To wind the bobbin, place your thread on the spool pin and follow the winding instructions specific to your machine. Typically, you’ll need to engage the bobbin winder, which allows the thread to wrap around the bobbin evenly. Make sure to wind it until it’s full but not overfilled, as this can cause threading issues. Once that’s done, place the bobbin into its case, ensuring it’s threaded correctly—this is a common spot for beginners to make mistakes, so double-check the orientation!
Now, let’s adjust the settings for optimal performance. Depending on the type of fabric you’re using, you may need to tweak the stitch length and width. For instance, if you're working with a lightweight fabric, a shorter stitch length can provide better control and prevent puckering. Conversely, a longer stitch length works well for heavier fabrics. Many machines come with preset settings for different fabrics, so don’t hesitate to consult your manual for guidance.
Finally, before you start sewing, it’s a good idea to do a test run. Grab a scrap piece of fabric similar to your project and run a few stitches. This practice allows you to check the tension and stitch quality, ensuring everything is just right before you dive into your main project. If the stitches look uneven or the tension seems off, you can make adjustments accordingly. Remember, sewing is as much about the journey as it is about the destination!
In summary, setting up your sewing machine involves threading the machine, winding the bobbin, adjusting settings, and testing your stitches. With these steps, you’ll create a solid foundation for your sewing adventures. So, roll up those sleeves and get ready to create something beautiful!
- How often should I clean my sewing machine? It's recommended to clean your machine after every few projects to prevent dust and lint buildup.
- What should I do if my thread keeps breaking? Check the threading path, ensure the needle is appropriate for your fabric, and verify that the tension is set correctly.
- Can I use any type of thread in my sewing machine? Not all threads are created equal! Always check your machine's manual for recommended thread types.

Basic Sewing Techniques
Mastering the fundamentals of sewing is like learning to ride a bike; once you get the hang of it, you’ll be cruising along in no time! The world of sewing opens up endless possibilities for creativity, and understanding basic sewing techniques is the first step on this exciting journey. In this section, we’ll dive into essential skills like straight stitching, zigzag stitching, and backstitching. These techniques form the backbone of sewing, allowing you to create everything from simple pillowcases to intricate garments.
Let’s start with straight stitching, the most fundamental stitch in sewing. It’s the bread and butter of your sewing repertoire. This technique involves sewing two pieces of fabric together in a straight line, which is crucial for almost every project you’ll undertake. To achieve a perfect straight stitch, ensure your fabric is aligned properly and guide it gently as you sew. Remember, practice makes perfect! The more you sew, the more comfortable you’ll become with maintaining a straight line.
Next up is the zigzag stitch. Think of this stitch as your sewing machine’s superhero cape—it adds versatility to your projects! The zigzag stitch is particularly useful for finishing raw edges, preventing fraying, and providing stretch in knit fabrics. To create a zigzag stitch, simply adjust your machine settings to the zigzag option. You’ll find that this stitch not only reinforces seams but also adds a decorative touch to your projects. Try experimenting with different widths and lengths to see what works best for your fabric.
Now, let’s talk about backstitching. This technique is your safety net, ensuring your seams stay secure. Backstitching involves sewing a few stitches forward and then reversing to sew over them again. It’s typically done at the beginning and end of a seam to lock in your stitches. This small but mighty technique can save you from potential wardrobe malfunctions and keeps your projects looking professional. Remember, a little backstitching goes a long way!
As you embark on your sewing journey, it’s essential to practice these techniques regularly. Set aside time to create small projects, like a simple tote bag or a pillow cover, where you can apply what you’ve learned. Not only will this help you gain confidence, but it will also allow you to experiment with different fabrics and patterns. The key is to enjoy the process and embrace the learning curve!
To further enhance your skills, consider keeping a sewing journal. Document your projects, techniques practiced, and any challenges faced. This reflection can be incredibly valuable as you progress. Plus, it’s a great way to see how far you’ve come!
In the spirit of continuous learning, let’s address some common questions that beginners might have about sewing techniques:
- What is the best way to practice sewing techniques? Start with small projects that focus on one technique at a time. This could be as simple as sewing straight lines on scrap fabric.
- How can I fix uneven stitches? Uneven stitches can often be fixed by adjusting the tension on your sewing machine. Make sure to test on scrap fabric before starting your project.
- Is it necessary to backstitch every time? While it’s not mandatory, backstitching is highly recommended to secure your seams and prevent unraveling.
Practicing Stitching
When it comes to sewing, practice truly makes perfect! Just like learning to ride a bike or play a musical instrument, the more you sew, the better you become. But how do you go about practicing your stitching techniques effectively? First, it's important to set aside some dedicated time for sewing practice. Think of it as a fun date with your sewing machine! Grab some scrap fabric, because this is where the magic happens without the pressure of ruining a project.
Start by experimenting with different types of stitches. For instance, you can begin with the straight stitch, which is the most basic and widely used stitch. Once you're comfortable with that, move on to the zigzag stitch, which is great for finishing raw edges and adding a decorative touch. As you practice, pay attention to your speed; it’s often tempting to rush, but sewing at a steady pace will yield better results.
Another effective way to practice is by creating a stitching sampler. This is essentially a small piece of fabric where you can try out various stitches, settings, and techniques. You can include:
- Straight stitches
- Zigzag stitches
- Curved stitching
- Backstitching
This sampler not only serves as a reference for future projects but also allows you to see your progress over time. Plus, it’s a great way to get familiar with your sewing machine’s settings and capabilities.
Don’t forget to incorporate some fun challenges into your practice sessions! Try sewing around curves or making small hems. These tasks will help you develop control and precision, which are essential skills in sewing. If you find yourself making mistakes, remember that it’s all part of the learning process. Embrace those errors as opportunities to improve!
Lastly, consider joining a sewing group or taking a class. This can provide you with valuable feedback and tips from experienced sewers. Plus, it’s a fantastic way to meet like-minded individuals who share your passion. So, grab that fabric, set up your machine, and let the stitching adventures begin!
Q: How often should I practice sewing?
A: Aim for at least a couple of hours a week. Consistency is key to improving your skills!
Q: What fabrics should I use for practice?
A: Start with inexpensive cotton or muslin. These fabrics are forgiving and easy to work with.
Q: How can I fix mistakes while practicing?
A: Don’t panic! Most mistakes can be fixed by unpicking stitches with a seam ripper or adjusting your settings. Learning to troubleshoot is part of the journey.
Fixing Common Mistakes
When diving into the world of sewing, it's inevitable that you'll encounter a few bumps along the way. But don’t worry! Mistakes are merely stepping stones to mastering your craft. One of the most common issues beginners face is thread bunching. This typically occurs when the tension is off or the thread is not threaded correctly. If you notice that the thread is getting tangled under the fabric, it’s a sign that you need to check your threading and tension settings. Remember, your sewing machine is like a car; if the gears aren’t aligned, it won’t run smoothly!
Another frequent hiccup is skipped stitches. This can be frustrating, especially when you’re in the flow of creating something beautiful. Skipped stitches often happen due to a dull needle or incorrect needle type for the fabric you’re using. Always ensure that your needle is sharp and appropriate for the task at hand. For example, a universal needle works well for most fabrics, but if you’re working with knits, a ballpoint needle is your best friend.
And let’s not forget about uneven seams. If your seams are not straight, it can throw off the entire look of your project. To combat this, practice guiding your fabric evenly while sewing. You can use the edge of the presser foot as a guide or mark your fabric with a fabric marker to ensure you stay on track. Think of it like driving; you need to keep your eyes on the road to stay in your lane!
When you encounter these mistakes, it’s essential to stay calm and troubleshoot methodically. Here’s a quick guide to help you fix some of the most common sewing errors:
| Mistake | Possible Cause | Solution |
|---|---|---|
| Thread Bunching | Incorrect tension or threading | Re-thread the machine and adjust tension settings |
| Skipped Stitches | Dull or incorrect needle | Change the needle to a sharper or appropriate type |
| Uneven Seams | Improper guiding of fabric | Use the presser foot edge as a guide or mark fabric |
As you continue your sewing journey, remember that every mistake is an opportunity to learn. Embrace them, and don’t hesitate to seek help from sewing communities online or at your local fabric store. They can provide valuable insights and tips that can help you refine your skills. With practice and patience, you’ll soon find that fixing these common mistakes becomes second nature!
- How do I know if my sewing machine is threaded correctly? A good indicator is that the thread should flow smoothly without any bunching or tangling. If you're unsure, consult your machine's manual for threading instructions.
- What type of needle should I use for different fabrics? Generally, use a universal needle for most fabrics. However, for knits, opt for a ballpoint needle, and for heavier fabrics like denim, a denim needle is best.
- How can I improve my sewing skills? Practice regularly, take classes, or join a sewing group. The more you sew, the more comfortable and skilled you will become!
Frequently Asked Questions
- What are the basic components of a sewing machine?
A sewing machine typically consists of several key components including the needle, presser foot, bobbin, thread tension dial, and feed dogs. Understanding these parts will help you operate your machine more effectively and troubleshoot any issues that arise.
- How do I set up my sewing machine for the first time?
To set up your sewing machine, start by placing it on a sturdy table. Next, plug it in and turn it on. Follow your machine’s manual to thread the needle, wind the bobbin, and adjust the tension settings. It’s like preparing a canvas before you start painting; the better your setup, the smoother your sewing experience will be!
- What types of fabric are best for beginners?
Beginners should start with cotton fabric as it is easy to work with, forgiving when it comes to mistakes, and widely available. Other good options include quilting fabric or medium-weight fabrics. Think of it like choosing the right bike for your first ride; you want something that feels comfortable and manageable.
- How can I prevent common sewing mistakes?
To avoid common sewing mistakes, take your time, double-check your measurements, and practice your stitching techniques on scrap fabric. It’s also helpful to keep your workspace organized to minimize distractions. Remember, every expert was once a beginner!
- What should I do if my sewing machine jams?
If your sewing machine jams, first stop sewing immediately to prevent damage. Check for tangled threads, ensure the bobbin is correctly inserted, and clean the feed dogs. It’s like a traffic jam; sometimes, you just need to clear the road to get moving again!
- How do I choose the right thread for my project?
Selecting the right thread depends on the fabric you’re using and the type of project. For lightweight fabrics, opt for fine threads, while heavier fabrics may require thicker threads. Always match the thread type to the fabric for the best results—think of it as pairing the right shoes with your outfit!
- Can I use my sewing machine for quilting?
Absolutely! Many sewing machines have quilting feet and settings that make them suitable for quilting projects. Just ensure you have the appropriate needle and thread for quilting, and you’re all set to create beautiful quilts!
- What maintenance does my sewing machine need?
Your sewing machine requires regular maintenance, including cleaning the bobbin area, oiling the machine if necessary, and checking the needle for wear. Think of it as giving your car a tune-up; regular care keeps everything running smoothly and extends the life of your machine.


