
How to Fix Tension Problems with Your Sewing Machine
Welcome to the world of sewing! If you’ve ever found yourself frustrated with your sewing machine, you’re not alone. One of the most common issues that sewists face is tension problems. Whether you're a seasoned pro or just starting out, understanding how to fix these tension issues can make a world of difference in the quality of your sewing projects. Imagine crafting a beautiful quilt or a stylish dress, only to have your stitches look uneven or your fabric bunch up. It’s enough to make anyone want to toss their machine out the window! But fear not, because in this article, we’ll provide you with a comprehensive guide to identifying and resolving tension issues, ensuring smooth operation and high-quality stitching. So, roll up your sleeves and let’s dive into the mechanics of sewing machine tension!
Tension in a sewing machine is like the heartbeat of your sewing process. It's crucial for achieving balanced stitches, which means that both the upper and lower threads work together harmoniously. Think of it as a dance: if one partner is too tight or too loose, the performance will be off. The tension affects how the thread interacts with the fabric, which is essential for achieving that perfect stitch. If the tension is too tight, the fabric may pucker, and if it’s too loose, you might end up with loose, floppy stitches. Understanding how tension works can help you troubleshoot effectively and make adjustments as needed.
Now that we’ve covered the basics, let’s explore some of the most frequent tension problems that can arise during sewing. These issues can lead to a variety of frustrating symptoms, including:
- Uneven Stitches: Stitches that vary in length and tension.
- Thread Breakage: Frustrating when your thread snaps mid-seam.
- Fabric Puckering: When the fabric gathers unevenly, creating a bumpy surface.
Each of these problems can stem from various causes, such as incorrect tension settings, improper threading, or even the type of fabric you’re using. By identifying the symptoms, you can then work towards finding the right solution.
Recognizing the signs of incorrect tension is key to troubleshooting effectively. Here are some specific symptoms to keep an eye out for:
Loose stitches can lead to unraveling and poor seam strength. If you notice that your stitches appear to be sagging or if they’re easily pulled apart, it’s a sign that your upper tension is too loose. To improve stitch quality, you may need to tighten the tension dial. A good rule of thumb is to make small adjustments and test your stitches on a scrap piece of fabric.
On the flip side, tight stitches can cause fabric damage and thread breakage. If your fabric is pulling or if the thread snaps frequently, it’s likely that your tension is too tight. Loosening the tension slightly can help alleviate this issue. Remember, a balanced tension is essential for smooth sewing!
Diagnosing tension issues doesn’t have to be a daunting task. Start with a visual inspection of your sewing machine. Check if the thread is threaded correctly and if the bobbin is inserted properly. Performing some test sewing on scrap fabric can also help pinpoint the root cause. If the stitches look inconsistent, it’s time to adjust the tension settings.
Now that you’ve identified the problem, let’s talk about how to adjust the tension settings on your sewing machine. This process involves both the upper and lower tensions, and it’s essential for achieving optimal results in your sewing projects.
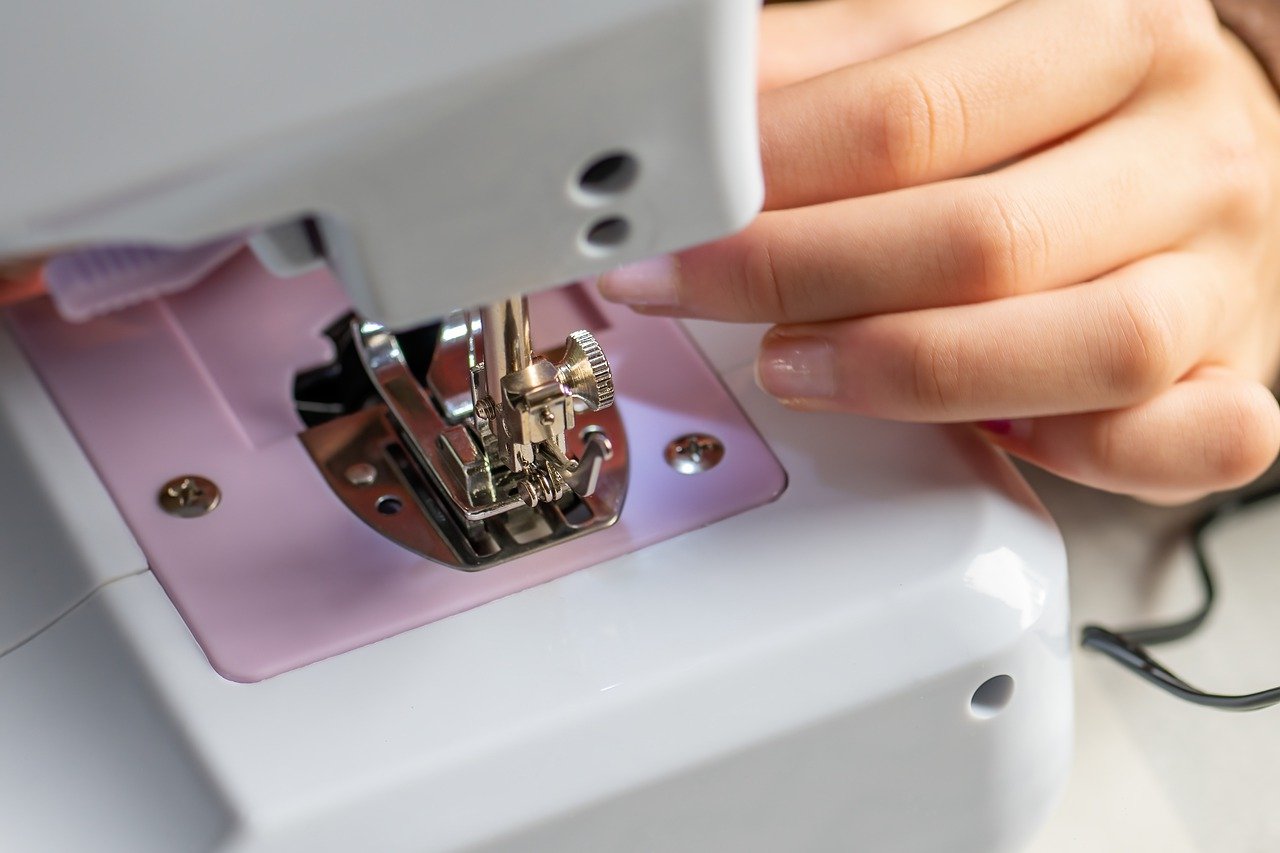
To adjust the upper tension, locate the tension dial on your machine. This dial controls how tightly the upper thread is pulled through the fabric. For most fabrics, a tension setting between 4 and 5 works well. However, for thicker fabrics, you may need to increase the tension slightly. Always test your adjustments on a scrap piece of fabric before continuing with your project.
Lower tension is equally important for balanced stitch formation. To adjust it, you’ll need to access the bobbin case. Look for a small screw that controls the tension of the lower thread. Turning it clockwise will increase the tension, while turning it counterclockwise will decrease it. Again, testing is key—make sure to sew a few stitches on scrap fabric to see if the adjustments have made a difference.
To avoid tension problems in the future, regular maintenance is crucial. Here are some best practices to keep in mind:
- Regularly clean your sewing machine to remove lint and dust.
- Always thread your machine following the manufacturer’s instructions.
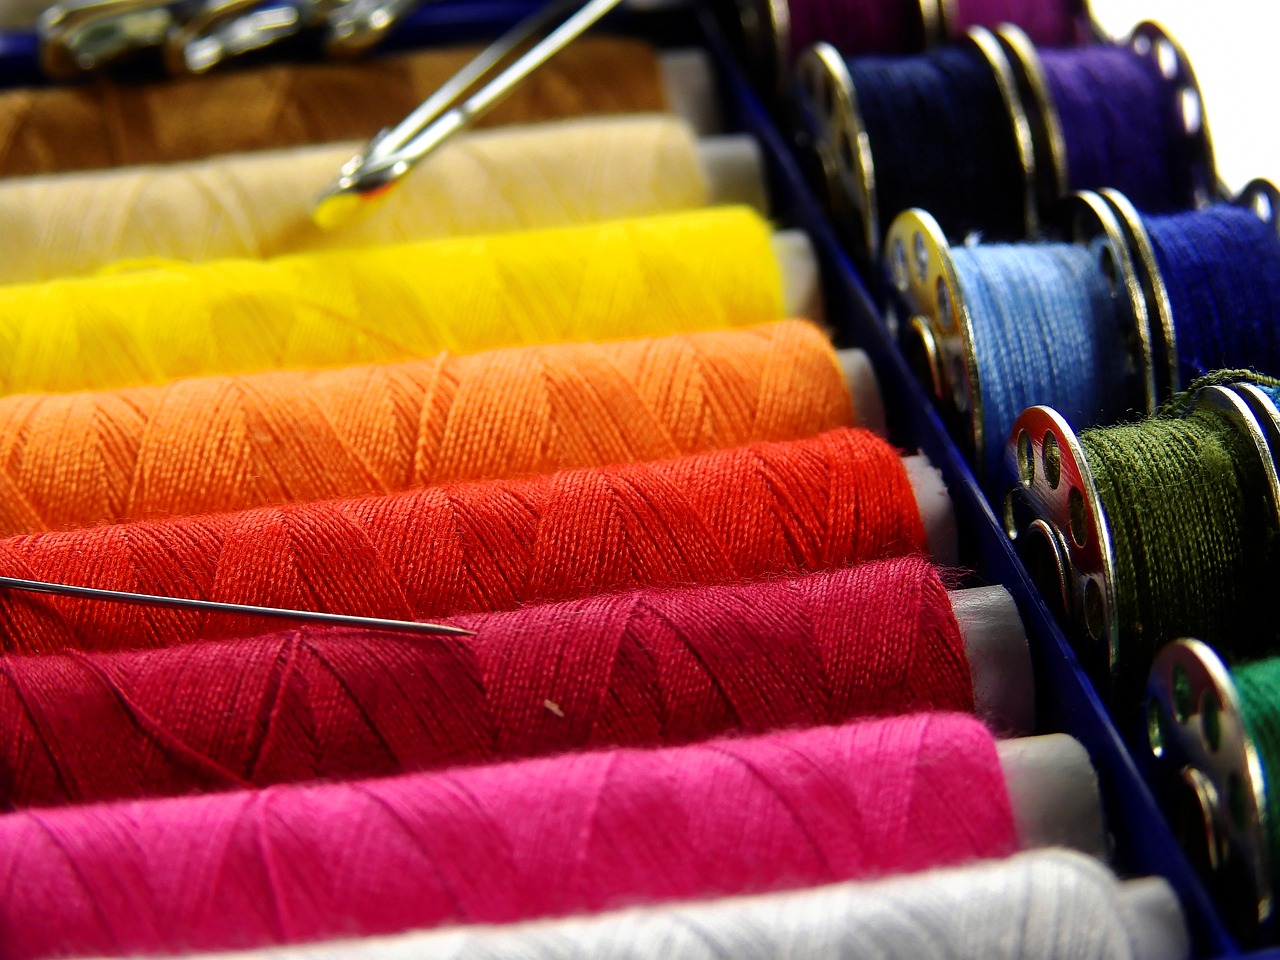
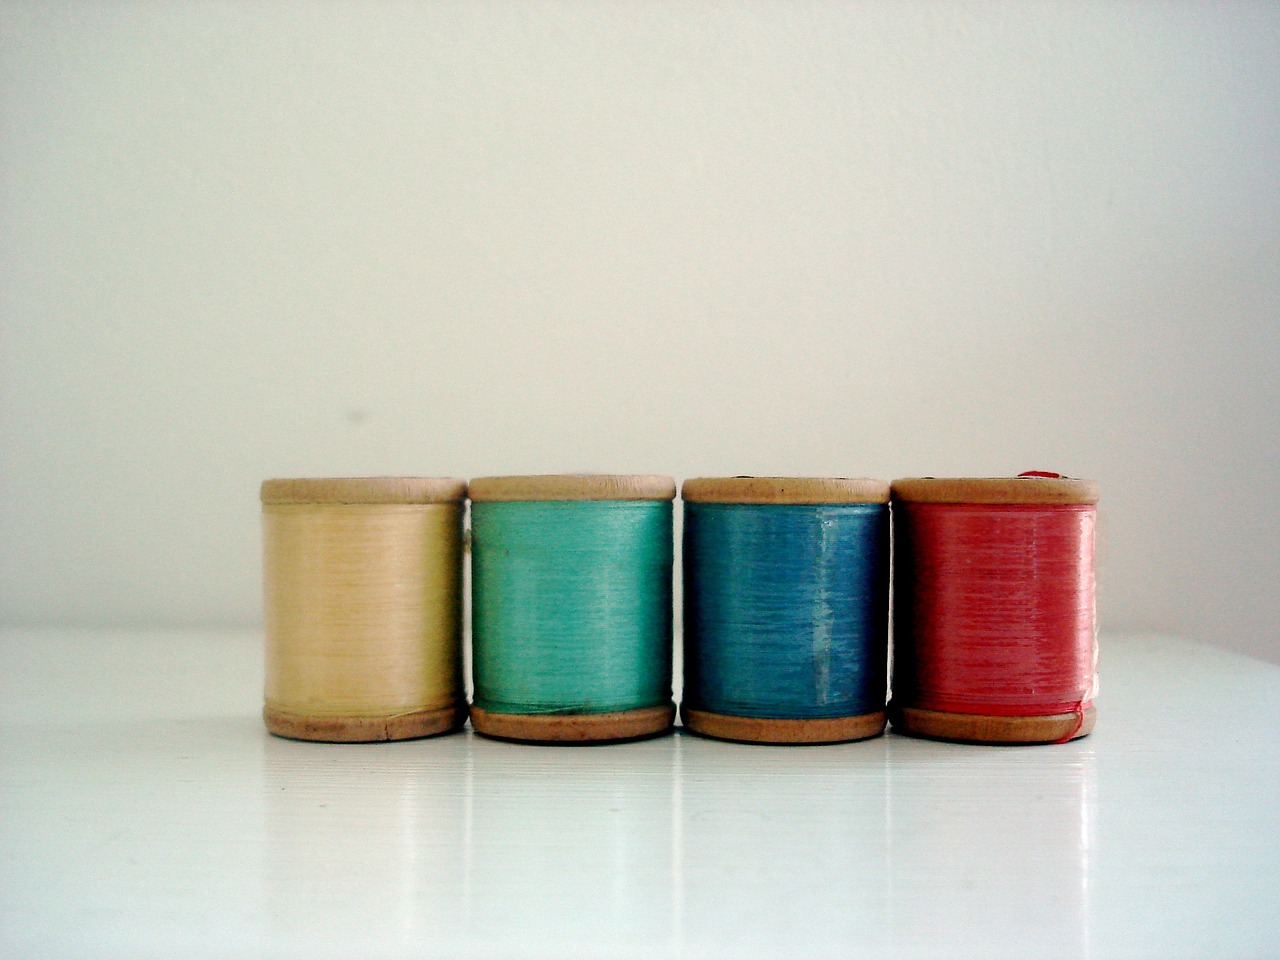
- Choose the right type of thread and needle for your fabric.
By following these tips, you can help ensure that your sewing machine runs smoothly and that you achieve beautiful, consistent stitches every time.
1. How do I know if my tension is too tight or too loose?
If your stitches are breaking or if the fabric is puckering, your tension is likely too tight. Conversely, if your stitches look loose or uneven, your tension may be too loose.
2. Can I fix tension problems without a technician?
Yes! Many tension issues can be resolved with simple adjustments to the tension dial and proper threading. However, if problems persist, it may be wise to consult a professional.
3. How often should I clean my sewing machine?
It’s a good practice to clean your sewing machine after every few projects or at least once a month to prevent lint buildup.
By understanding and addressing tension issues, you can enhance your sewing experience and create stunning projects that you’ll be proud of. Happy sewing!
Understanding Tension Mechanics
This article provides a comprehensive guide to identifying and resolving tension issues commonly faced in sewing machines, ensuring smooth operation and high-quality stitching for all your sewing projects.
When it comes to sewing, tension mechanics play a pivotal role in achieving that perfect stitch. Think of tension as the delicate balance between the upper and lower threads; if one is too tight or too loose, the harmony is disrupted, leading to unsatisfactory results. The tension control on your sewing machine adjusts how tightly the threads are pulled, which directly influences the way they interact with each other and the fabric. This interaction is crucial because it determines whether your stitches are evenly spaced, securely locked, or a tangled mess.
Imagine this: you’re trying to bake a cake. If you add too much flour, the cake becomes dense and dry; too little, and it's a gooey disaster. Similarly, with sewing, if the tension is off, your fabric may pucker, your stitches may break, or worse, you may end up with a project that looks more like a craft fail than a masterpiece. Understanding how to adjust your machine's tension settings is essential for every sewer, whether you're a novice or a seasoned pro.
At the heart of tension mechanics are two main components: the upper tension and the lower tension. The upper tension is managed by a dial on your sewing machine, which adjusts the tension of the thread coming from the spool. The lower tension, on the other hand, is controlled by a bobbin case and is equally important for achieving balanced stitches. When both tensions are set correctly, the threads interlock perfectly in the fabric, creating strong, even stitches.
To visualize this, consider a simple table that outlines the relationship between tension settings and their effects on stitching:
| Tension Setting | Effect on Stitching |
|---|---|
| Too Loose | Results in loose stitches that can easily unravel. |
| Too Tight | Causes fabric damage and thread breakage. |
| Just Right | Produces balanced, even stitches that hold well. |
In conclusion, mastering the mechanics of tension is not just about turning a dial; it’s about understanding the relationship between your threads and fabric. By recognizing how these elements work together, you can troubleshoot issues effectively and create beautiful, professional-looking sewing projects. So, the next time you sit down at your machine, remember that the secret to sewing success lies in the tension!
Identify the most frequent tension problems that arise during sewing, such as uneven stitches, thread breakage, and fabric puckering, along with their potential causes and symptoms.
Recognizing the signs of incorrect tension can help you troubleshoot effectively. This section details the specific symptoms to watch for, aiding in timely adjustments.
Loose stitches can lead to unraveling and poor seam strength. Learn how to identify this issue and make necessary adjustments to improve stitch quality.
Tight stitches can cause fabric damage and thread breakage. Here, we discuss how to spot this problem and the steps to correct it.
Learn effective methods for diagnosing tension issues in your sewing machine, including visual inspections and test sewing techniques to pinpoint the root cause of the problem.
Discover how to properly adjust the tension settings on your sewing machine, including both upper and lower tensions, to achieve optimal results in your sewing projects.
This section covers the steps to adjust the upper tension, including how to use the tension dial effectively for various fabrics and threads.
Understand the importance of lower tension and how to adjust it correctly, ensuring a balanced stitch formation for different sewing techniques.
Learn preventative measures to avoid tension problems in the future, including regular maintenance tips and best practices for threading and fabric selection.
In this section, we aim to address some common queries regarding sewing machine tension:
- What is the ideal tension setting for my sewing machine? - The ideal setting varies by fabric and thread type, so it's essential to test and adjust accordingly.
- How often should I check my tension settings? - It's a good practice to check tension settings whenever you change fabric or thread.
- Can I fix tension problems myself? - Yes! With some basic troubleshooting and adjustments, many tension issues can be resolved at home.
Common Tension Issues
When it comes to sewing, tension is everything. Imagine trying to create a beautiful piece of fabric art, only to find that your stitches are a jumbled mess. Frustrating, right? Common tension issues can turn your sewing dreams into nightmares, but don’t worry! Understanding these problems is the first step towards achieving the flawless seams you desire.
One of the most prevalent tension problems is uneven stitches. This occurs when the upper and lower threads do not interact properly, leading to a stitch pattern that looks more like a roller coaster than a straight line. Uneven stitches can manifest as loops on the fabric's surface or tight spots that can compromise the integrity of your work. The causes of uneven stitches can range from incorrect tension settings to using incompatible thread and fabric combinations.
Another common issue is thread breakage. If you find yourself constantly rethreading your machine, it’s a sign that something is wrong. Thread breakage can be caused by a variety of factors, including excessive tension, poor-quality thread, or even a damaged needle. Each time the thread snaps, it not only interrupts your workflow but can also lead to frustration and wasted materials.
Lastly, let’s talk about fabric puckering. Have you ever finished a seam only to discover that the fabric has gathered in a way that resembles a wrinkled shirt? Puckering usually happens when the tension is too tight, pulling the fabric inwards and creating an undesirable effect. This not only detracts from the overall appearance of your project but can also affect how the garment fits.
To help you better understand these issues, here’s a quick reference table summarizing the common tension problems:
| Problem | Symptoms | Potential Causes |
|---|---|---|
| Uneven Stitches | Loops on fabric, inconsistent stitch length | Incorrect tension settings, incompatible thread/fabric |
| Thread Breakage | Frequent rethreading, broken threads | Excessive tension, poor-quality thread, damaged needle |
| Fabric Puckering | Gathered fabric, wrinkled seams | Tight tension, improper fabric handling |
By keeping an eye out for these common tension issues, you can troubleshoot effectively and keep your sewing projects on track. Remember, sewing is as much about the journey as it is about the destination. So, don’t let tension problems derail your creative process!
Q: How do I know if my tension is too tight or too loose?
A: You can perform a simple test by sewing a few stitches on a scrap piece of fabric. If the stitches appear bunched up or if the fabric is puckering, your tension is likely too tight. Conversely, if the stitches are loose and the thread is easily pulled, your tension may be too loose.
Q: Can the type of fabric affect tension?
A: Absolutely! Different fabrics have varying thicknesses and textures, which can influence how the thread interacts with the material. Always adjust your tension settings based on the fabric you are using.
Q: What should I do if I can't resolve the tension issues?
A: If you've tried adjusting the tension settings and the problems persist, it may be time to consult your sewing machine's manual or seek help from a professional technician.
Symptoms of Incorrect Tension
When it comes to sewing, tension is everything. If your sewing machine is not set up correctly, you might find yourself grappling with a myriad of issues that can turn your creative projects into frustrating experiences. Recognizing the symptoms of incorrect tension is crucial to ensuring that your sewing endeavors remain enjoyable and productive. So, what should you be on the lookout for?
First off, one of the most common signs of tension trouble is uneven stitches. If you notice that your stitches are not forming consistently, with some appearing tighter than others, this is a clear indicator that something is off. Uneven stitches can lead to a variety of problems, including fabric puckering and even thread breakage. Imagine trying to create a beautiful quilt, only to have it marred by irregular stitching! It's enough to make anyone want to pull their hair out.
Another symptom to watch for is thread breakage. If your thread keeps snapping while you sew, it’s likely due to either too much tension or too little. This can be incredibly frustrating, especially when you’re in the groove of sewing. You might find yourself constantly re-threading your machine, which can feel like a never-ending cycle of annoyance.
Additionally, fabric puckering is a telltale sign that your tension settings need attention. If your fabric looks like it’s been wrinkled or crumpled after sewing, it’s a strong indication that the tension is not balanced. This can happen when the upper thread is too tight, pulling the fabric in ways it shouldn’t be. Think of it like trying to pull a rubber band too tight; it will eventually buckle under the pressure!
To help you better understand these symptoms, here’s a quick table summarizing the key signs of incorrect tension:
| Symptom | Description |
|---|---|
| Uneven Stitches | Stitches vary in tightness, leading to poor seam quality. |
| Thread Breakage | Frequent snapping of thread during sewing. |
| Fabric Puckering | Wrinkles or crumples appear in the fabric post-sewing. |
By keeping an eye out for these symptoms, you can quickly diagnose tension problems before they escalate into larger issues. Remember, sewing should be a joy, not a chore! If you notice any of these signs, don’t hesitate to make adjustments to your machine. After all, a well-tuned sewing machine is your best friend in any crafting journey.
Q: What causes tension problems in sewing machines?
A: Tension issues can arise from various factors, including improper threading, incorrect tension settings, or using the wrong type of thread for your fabric.
Q: How often should I check my sewing machine's tension?
A: It's a good practice to check your machine's tension before starting a new project, especially if you're switching fabrics or threads.
Q: Can I fix tension problems myself?
A: Yes! Many tension issues can be resolved with simple adjustments. However, if problems persist, it may be best to consult a professional.
Loose Stitches
Loose stitches can be a real headache when you're trying to create beautiful, durable seams. Imagine you're working on a lovely quilt, and as you sew, you notice that the stitches are not holding the fabric together as they should. Instead of a neat, professional finish, you end up with a messy, unraveling seam. This is often a sign that your sewing machine's tension is off, and it can lead to frustration and wasted materials. So, what causes these pesky loose stitches, and how can you fix them?
There are several factors that can contribute to loose stitches. First and foremost, the upper tension setting may be too low. When this happens, the thread does not pull tight enough, resulting in stitches that are loose and floppy. Additionally, using the wrong type of thread or needle can also lead to this issue. For instance, if you're using a heavy fabric but a light thread, you'll likely encounter loose stitches. Similarly, a dull or incorrect needle can cause the thread to not catch properly, leading to uneven stitching.
Another common culprit is improper threading. If the upper thread isn't threaded correctly through the tension discs, it can lead to inconsistent tension. It's essential to ensure that the thread is seated properly to avoid these issues. Additionally, if the bobbin is not wound evenly or if the bobbin case is not inserted correctly, you may also experience loose stitches. To help you identify these issues, here's a quick checklist:
- Check the upper tension dial and adjust it to a higher setting.
- Ensure that you're using the correct thread type for your fabric.
- Inspect the needle for dullness or damage and replace it if necessary.
- Confirm that the upper thread is threaded correctly through the machine.
- Examine the bobbin for even winding and proper placement.
Once you've identified the potential causes, making adjustments can be straightforward. Start by increasing the upper tension slightly and test a few stitches on a scrap piece of fabric. If the stitches are still loose, continue to adjust until you achieve a balanced stitch. Remember, it’s often a matter of trial and error, so don’t get discouraged if it takes a few attempts to get it just right!
In conclusion, addressing loose stitches is crucial for achieving high-quality sewing results. By understanding the underlying causes and taking the necessary steps to adjust your sewing machine's tension, you can ensure that your projects turn out beautifully every time. So, next time you encounter loose stitches, don’t panic! Just follow these tips, and you’ll be back to sewing with confidence in no time.
Q: What are the signs of loose stitches?
A: Signs include uneven stitching, stitches that feel loose to the touch, and seams that unravel easily.
Q: How can I prevent loose stitches in the future?
A: Regularly check and adjust your tension settings, use the correct thread and needle for your fabric, and ensure proper threading of your sewing machine.
Q: Can loose stitches damage my fabric?
A: Yes, loose stitches can lead to fabric damage, especially if the seam unravels or if the fabric is pulled during sewing.
Tight Stitches
Tight stitches can be a real pain when it comes to sewing. They often lead to unwanted consequences like fabric damage and thread breakage. Imagine trying to create a beautiful quilt, only to find your fabric is puckering and your thread is snapping like a twig under pressure. Not exactly the outcome you were hoping for, right? So, let’s dive into how to spot this issue and what steps you can take to correct it.
The first sign of tight stitches is often visible on the fabric itself. You might notice that the stitches are pulling the fabric inwards, creating a bunched-up appearance. This can happen for several reasons, and understanding these causes is crucial for any sewist. Here are some common culprits:
- Incorrect Tension Settings: This is the most common reason for tight stitches. If the tension dial is set too high, it can pull the thread too tightly.
- Using the Wrong Needle: A needle that’s too small for the thread or fabric can create tension issues. Make sure you’re using the right size needle for your project.
- Thread Quality: Poor quality or old thread can lead to breakage and tension problems. Always opt for high-quality threads to ensure smooth sewing.
To diagnose tight stitches, start by examining your sewing machine settings. Check the tension dial and consider adjusting it to a lower setting. It’s often a good idea to make small adjustments and test sew a scrap piece of fabric. This approach allows you to see the effects of your changes without ruining your main project.
Another effective method for resolving tight stitches is to check your needle. If you suspect it’s too small, swap it out for a larger size. This simple change can make a world of difference. Additionally, ensure that your needle is inserted correctly and isn’t damaged. A bent or dull needle can also contribute to tension issues.
Lastly, don’t underestimate the importance of using the right thread. If you’re working with a heavier fabric, consider using a thicker thread that can handle the tension without breaking. By being mindful of these factors, you can significantly reduce the chances of encountering tight stitches in your sewing projects.
In summary, tight stitches are not just a minor annoyance; they can lead to significant problems if left unaddressed. By regularly checking your machine settings, using the right needle and thread, and making adjustments as needed, you can ensure that your sewing experience remains enjoyable and productive. So, the next time you find yourself struggling with tight stitches, remember these tips, and you’ll be back to sewing smoothly in no time!
Q: What should I do if my stitches are still tight after adjusting the tension?
A: If adjusting the tension doesn’t help, try changing the needle and ensuring you’re using the correct thread for your fabric type.
Q: Can fabric type affect stitch tightness?
A: Absolutely! Heavier fabrics may require different tension settings compared to lighter fabrics, so always adjust accordingly.
Q: How often should I check my sewing machine settings?
A: It’s a good practice to check your settings before starting any new project, especially if you’re switching between different types of fabric.
Diagnosing Tension Problems
When it comes to sewing, diagnosing tension problems can feel like trying to solve a mystery. But fear not! With a little patience and observation, you can uncover the root cause of your sewing machine's tension issues. First, it's crucial to understand that tension affects how the thread interacts with the fabric, and even the smallest discrepancy can lead to a big mess in your sewing projects. So, how do you get started? Let's dive in!
Begin by performing a visual inspection of your machine. Check for any visible signs of wear or damage, especially around the tension discs and thread path. A simple dusting or cleaning can sometimes make all the difference. Next, thread your machine as per the manufacturer's guidelines, ensuring that the thread is seated correctly in the tension discs. This may sound trivial, but improper threading is a common culprit behind tension problems.
Once you've confirmed that everything is threaded correctly, it's time to do some test sewing. Grab a scrap piece of the fabric you plan to use and sew a few lines. Pay close attention to the stitches. Are they even? Do they look smooth and balanced? If you notice issues, it’s time to diagnose further. Look for the following symptoms:
- Loose stitches: If your stitches appear loose or are unraveling, this often indicates that your upper tension is too low.
- Tight stitches: Conversely, if the stitches are pulling the fabric together too tightly, your upper tension could be too high.
- Thread breakage: Frequent thread breakage can signal that the tension is set too high, causing undue stress on the thread.
- Puckering: If your fabric is puckering, it may be a sign of uneven tension between the upper and lower threads.
To further diagnose, consider the type of fabric and thread you're using. Different materials can require different tension settings. For example, a lightweight fabric like silk will behave differently than a heavier fabric like denim. Additionally, the type of thread matters; cotton threads may need different tension adjustments compared to polyester threads.
Another effective method is to check the bobbin tension. If the upper tension seems fine but you're still having issues, the bobbin tension might be off. Remove the bobbin case and inspect it closely. You can adjust the bobbin tension by turning the screw on the side of the bobbin case slightly. A small adjustment can yield significant results!
Lastly, if you're still struggling to diagnose the problem, don't hesitate to consult your sewing machine manual. Many manufacturers provide troubleshooting guides that can help you identify specific tension issues related to your machine model.
Remember, diagnosing tension problems is a combination of observation, testing, and adjustment. With practice, you'll become adept at identifying issues and making the necessary corrections, ensuring that your sewing projects turn out just as you envisioned!
- What is the most common tension problem? The most common tension problem is uneven stitches, which can result from incorrect upper or lower tension settings.
- How do I know if my upper tension is too high? If your stitches look tight and the fabric is puckering, it’s likely that your upper tension is too high.
- Can thread type affect tension? Absolutely! Different thread types can require different tension settings for optimal results.
- How often should I check my sewing machine tension? It's a good practice to check your tension settings at the beginning of each new project or whenever you change fabrics or threads.

Adjusting Tension Settings
Adjusting the tension settings on your sewing machine is crucial for achieving the best results in your sewing projects. The right tension ensures that your stitches are neither too tight nor too loose, which can lead to a multitude of problems. Think of tension like a musical instrument; if it’s not tuned correctly, the sound can be off. Similarly, if your sewing machine tension isn’t set right, the quality of your stitches will suffer. So, let’s dive into how to make those adjustments!
First, it’s essential to understand that there are two primary tension settings on a sewing machine: the upper tension and the lower tension. Each plays a significant role in how the thread interacts with the fabric. The upper tension controls the thread coming from the spool, while the lower tension manages the thread coming from the bobbin. If either of these tensions is off, you’ll likely encounter issues like uneven stitches or thread breakage.
To begin adjusting the upper tension, locate the tension dial on your machine. This dial usually has numbers ranging from 0 to 9 or similar, indicating the tension level. A good starting point for most fabrics is around 4. However, different fabrics may require different settings. For instance:
- Lightweight fabrics: Lower the tension to around 2-3.
- Medium-weight fabrics: Keep it at 4.
- Heavyweight fabrics: Increase the tension to about 5-6.
After adjusting the upper tension, it’s time to check the lower tension. This can be a bit trickier since it’s often hidden in the bobbin case. To adjust the lower tension, you’ll typically find a small screw on the side of the bobbin case. Turning this screw clockwise will tighten the tension, while turning it counterclockwise will loosen it. A good rule of thumb is to make small adjustments, about a quarter turn at a time, and test the results with a few stitches.
Once you’ve made your adjustments, it’s time to test your sewing machine. Grab a scrap piece of the same fabric you’ll be using for your project and sew a few lines. Inspect the stitches closely. Are they even? Do they look balanced? If not, repeat the adjustment process until you achieve the desired results. Remember, patience is key. Just like a chef perfecting a recipe, it may take a few tries to get your tension settings just right!
In summary, adjusting tension settings is a vital part of sewing that can dramatically affect your results. By understanding how to tweak both the upper and lower tensions, you’re setting yourself up for success in all your sewing endeavors. Whether you’re crafting a simple pillowcase or a complex garment, the right tension will make all the difference!
- How often should I check my sewing machine tension?
It’s a good practice to check your tension settings whenever you change fabrics or threads. Regular maintenance can also help prevent tension issues. - What if I can’t get the tension right?
If you’re struggling to adjust the tension, it may be helpful to consult your sewing machine’s manual or seek advice from a professional technician. - Can I use the same tension settings for all types of fabric?
No, different fabrics require different tension settings. Always test on a scrap piece first!
Upper Tension Adjustment
When it comes to sewing, the upper tension of your machine plays a crucial role in achieving that perfect stitch. If you've ever found yourself frustrated with uneven seams or thread that seems to misbehave, it’s likely time to take a closer look at your upper tension settings. The upper tension is primarily controlled by a dial, which allows you to adjust the amount of tension applied to the thread as it passes through the machine. This adjustment is particularly important when working with different types of fabrics and threads, as each material has its own unique characteristics.
To start adjusting the upper tension, first, ensure that your sewing machine is properly threaded. A common mistake is incorrect threading, which can lead to tension problems. After confirming that everything is threaded correctly, you can begin tweaking the tension dial. Generally, a lower tension setting is suitable for lighter fabrics, while heavier fabrics require a higher tension setting. But how do you know what’s just right for your project? It often comes down to trial and error.
As you adjust the tension, it’s a good idea to perform a test sew on a scrap piece of the same fabric you plan to use for your project. This allows you to see how the thread interacts with the fabric in real-time. If you notice that the stitches are too loose, you may need to increase the tension by turning the dial clockwise. Conversely, if the stitches appear too tight, a counterclockwise adjustment might be in order. Keep an eye on the thread as it stitches; it should lie flat against the fabric without pulling or puckering.
Here’s a quick overview of how to adjust the upper tension effectively:
- Identify the Fabric: Determine the type of fabric you are using (lightweight, medium, or heavyweight).
- Check Thread Type: Consider the type of thread—cotton, polyester, or specialty threads may require different tension settings.
- Test Sew: Always do a test sew after making adjustments to see how the stitches look.
Additionally, keep in mind that the upper tension should be balanced with the lower tension. If you find that adjusting the upper tension alone doesn't resolve your issues, it may be worth checking the lower tension as well. Achieving that sweet spot where both tensions work harmoniously is the key to beautiful seams and stitches.
Lastly, regular maintenance of your sewing machine can help prevent tension issues from arising in the first place. Clean your machine regularly, oil it as recommended, and always use the correct needle and thread for your projects. By doing so, you’re not just fixing problems; you’re also enhancing your sewing experience and ensuring that your machine operates smoothly for years to come.
Q: How do I know if my upper tension is too tight or too loose?
A: If your stitches are puckering or the thread is breaking, your tension may be too tight. Conversely, if your stitches are loose and the fabric is not being held together well, your tension may be too loose.
Q: Can I adjust the upper tension while sewing?
A: It’s best to stop sewing before making adjustments to the tension dial. This ensures you get accurate results without risking damage to your fabric or machine.
Q: What should I do if adjusting the upper tension doesn't fix my stitching problems?
A: If adjustments to the upper tension don’t resolve your issues, check the lower tension and ensure your machine is threaded correctly. Additionally, inspect your needle for damage and consider the type of fabric and thread being used.
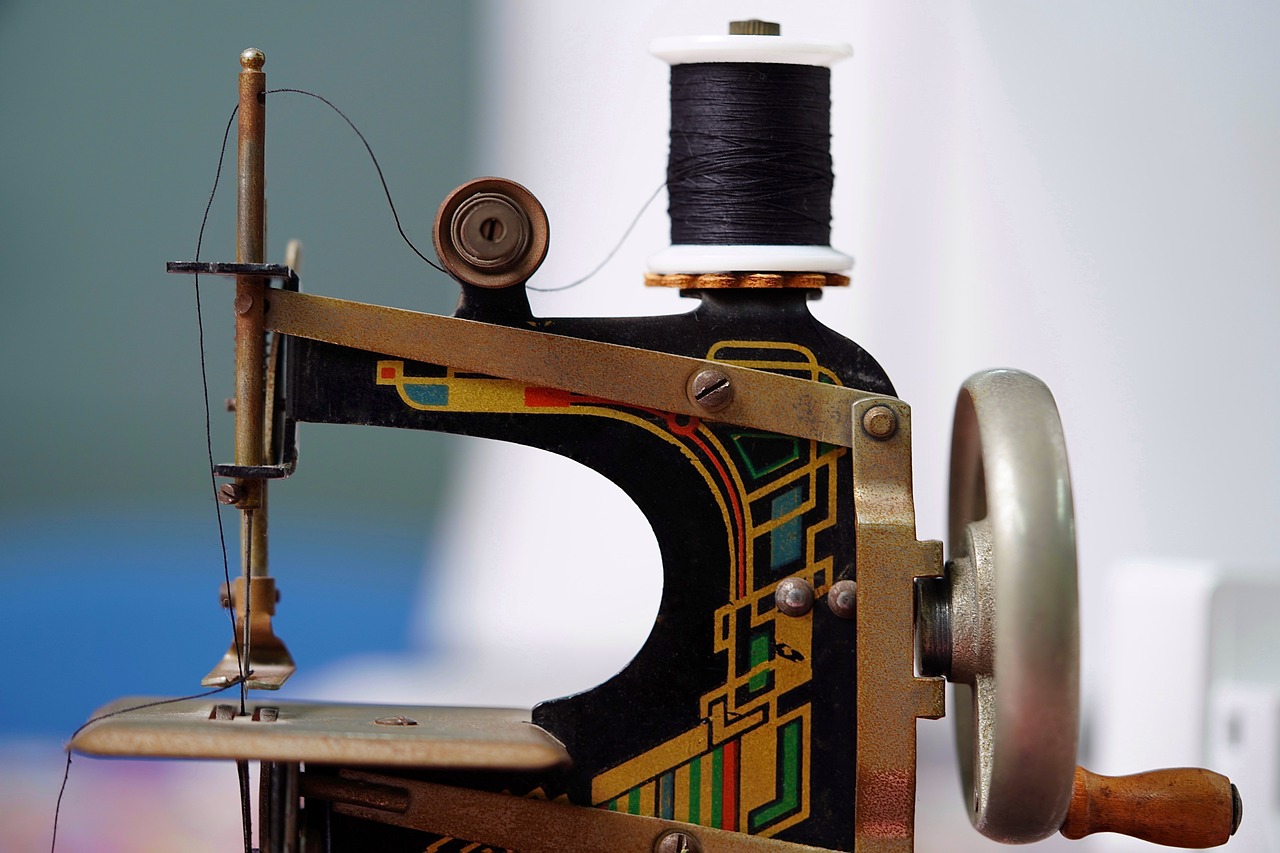
Lower Tension Adjustment
Adjusting the lower tension on your sewing machine is crucial for achieving that perfect stitch. If you’ve ever noticed that your stitches look uneven or that the fabric is puckering, the lower tension could be the culprit. The lower tension is primarily controlled by the bobbin case, and understanding how to adjust it can make a world of difference in your sewing projects.
To begin with, ensure you have the right tools at hand. You’ll need a screwdriver (usually a small one), your sewing machine manual for reference, and some scrap fabric that is similar to what you’ll be sewing. This will help you test your adjustments without risking your actual project. Now, let’s dive into the steps you should follow to adjust the lower tension.
First, remove the bobbin case from your sewing machine. This is typically done by lifting a latch or pressing a button, depending on your machine's model. Once you have the bobbin case out, examine it closely. You might notice a small tension screw on the side of the case. This is where the magic happens! Turning this screw clockwise will increase the tension, while turning it counterclockwise will decrease it.
Next, test your adjustments. After making a small adjustment (about a quarter turn is a good start), reinsert the bobbin case and thread your machine. Now, sew a few lines on your scrap fabric. Check the stitches closely: are they balanced? Do they look tight or loose? If they’re not quite right, don’t worry! Adjust the tension screw again and repeat the process.
Here’s a quick reference table to help you understand the effects of your adjustments:
| Adjustment Direction | Tension Effect |
|---|---|
| Clockwise | Increases tension |
| Counterclockwise | Decreases tension |
Remember, the goal is to achieve a balanced stitch where the top and bottom threads interlock perfectly in the middle of the fabric. If you notice that the top thread is showing through to the back, it’s a sign that the lower tension is too loose. Conversely, if the bottom thread is visible on the top, the lower tension may be too tight. It’s all about finding that sweet spot!
Lastly, keep in mind that different fabrics and threads may require different tension settings. A heavier fabric might need a tighter lower tension, while lighter fabrics may call for a looser setting. Always take the time to test and adjust as necessary. With practice, adjusting the lower tension will become second nature, and your sewing projects will benefit from the improved stitch quality!
- How often should I adjust my lower tension? It’s a good idea to check your tension settings whenever you switch fabrics or threads, as different materials can behave differently.
- What if I can't find the tension screw? If you're having trouble locating the tension screw, refer to your sewing machine manual. It will have diagrams specific to your model.
- Can I damage my machine by adjusting the tension? As long as you make small adjustments and follow your manual, it’s safe to adjust the tension. Just be cautious and don’t force any parts.

Preventing Future Tension Issues
When it comes to sewing, preventing tension issues is just as crucial as fixing them. After all, a stitch in time saves nine, right? By incorporating a few simple habits into your sewing routine, you can significantly reduce the likelihood of encountering tension problems down the line. First and foremost, regular maintenance of your sewing machine is paramount. Just like a car needs an oil change, your sewing machine requires periodic cleaning and lubrication to keep it running smoothly. Dust, lint, and old thread can accumulate in the machine, leading to tension inconsistencies that can derail your projects.
Another key factor is the correct threading of your machine. Always ensure that you follow the manufacturer's guidelines for threading, as improper threading can create a host of issues, including tension problems. If you find yourself struggling with a particularly tricky fabric, consider taking a moment to double-check your threading and adjust your tension settings accordingly. This small step can save you a lot of headaches later on.
Fabric selection also plays a significant role in maintaining proper tension. Different fabrics have varying thicknesses and textures, which can affect the way thread interacts with the material. For instance, working with heavier fabrics like denim or canvas may require adjustments to your tension settings compared to lighter fabrics like cotton or silk. To help you navigate these differences, here's a handy table that categorizes common fabrics and their recommended tension settings:
| Fabric Type | Recommended Upper Tension | Recommended Lower Tension |
|---|---|---|
| Cotton | 3-5 | 3-5 |
| Silk | 2-4 | 2-4 |
| Denim | 5-7 | 4-6 |
| Knits | 4-6 | 4-6 |
Lastly, always be mindful of the type of thread you are using. Not all threads are created equal! Some threads are designed for specific fabrics or sewing techniques, and using the wrong type can lead to tension issues. For instance, using a heavy-duty thread on lightweight fabric can create excessive tension, leading to breakage or uneven stitches. Always choose a thread that complements your fabric choice for optimal results.
In conclusion, by adopting these preventative measures, you can keep your sewing machine in top shape and reduce the chances of tension problems disrupting your creative flow. Regular maintenance, correct threading, careful fabric selection, and appropriate thread usage are your best allies in achieving smooth, high-quality stitches every time you sew. Remember, a little attention to detail goes a long way in the world of sewing!
- What are the signs of tension problems in sewing? Look out for uneven stitches, thread breakage, and fabric puckering.
- How often should I clean my sewing machine? It's best to clean your machine after every few projects or at least once a month.
- Can using the wrong thread cause tension issues? Yes, using a thread that doesn’t match your fabric type can lead to problems.
- What should I do if I can't fix the tension issue myself? Consult your sewing machine manual or take it to a professional for servicing.
Frequently Asked Questions
- What are the common signs of tension problems in my sewing machine?
Common signs include uneven stitches, thread breakage, and fabric puckering. If you notice that your stitches look inconsistent or if the thread keeps snapping, it’s a clear indicator that something’s off with your tension settings.
- How can I adjust the upper tension on my sewing machine?
To adjust the upper tension, locate the tension dial on your machine. Start by testing your stitches on a scrap piece of fabric. If the stitches are too loose, turn the dial to a higher number; if they’re too tight, lower the number. It’s all about finding that sweet spot!
- What should I do if my stitches are too loose?
If your stitches are too loose, first check the upper tension settings and increase them as needed. Also, ensure that the thread is properly threaded through the machine and that the presser foot is down while sewing, as this can affect stitch tightness.
- Can I fix tension problems without professional help?
Absolutely! Many tension issues can be diagnosed and fixed at home. By understanding the mechanics of your machine and following some basic troubleshooting steps, you can often resolve these problems without needing to call in a pro.
- How often should I check the tension on my sewing machine?
It’s a good practice to check your tension settings every time you change fabrics or threads, as different materials can require different tensions. Regular maintenance checks will also help keep your machine in top shape!
- What causes thread breakage during sewing?
Thread breakage can be caused by several factors, including incorrect tension settings, using the wrong type of thread for your fabric, or even a damaged needle. Always ensure that you’re using compatible materials and that your machine is properly threaded.
- How can I prevent future tension issues?
To prevent future tension problems, make sure to perform regular maintenance on your sewing machine, such as cleaning and oiling it. Additionally, always thread your machine correctly and choose the right needle and thread for your fabric type.


