DIY Decor for Kitchen: Creative Backsplash Ideas
Are you tired of your kitchen looking drab and uninspired? Want to add a splash of personality without breaking the bank? Well, you're in luck! Transforming your kitchen with a creative backsplash is not only a fun DIY project but also a fantastic way to express your style. Imagine walking into a kitchen that reflects your unique taste and creativity, making it a welcoming space for family and friends. With a plethora of innovative and budget-friendly ideas at your disposal, you can easily elevate your kitchen’s aesthetics and functionality. Let’s dive into the world of DIY backsplashes that will leave your guests in awe!
Before you embark on your backsplash adventure, it's essential to select the right material. The backsplash is not just a decorative element; it plays a crucial role in protecting your walls from splashes and stains. Here are a few popular options to consider:
- Tile: A classic choice that comes in various shapes, colors, and finishes.
- Wood: Adds warmth and a rustic touch, perfect for farmhouse-style kitchens.
- Glass: Offers a sleek, modern look and can make your kitchen feel more spacious.
Each of these materials has its unique benefits and styles, allowing you to choose one that perfectly complements your kitchen's theme. For instance, if you’re aiming for a modern aesthetic, a glass backsplash could be your best bet, while a wood option might be ideal for a cozy, rustic vibe.
Tile backsplashes are incredibly versatile and have become a staple among DIY enthusiasts. With countless patterns, colors, and layouts, tiles can significantly enhance your kitchen's visual appeal and functionality. Whether you prefer a traditional look or something more contemporary, tiles offer a solution for everyone. For example, the classic subway tile has made a comeback, but it’s not just about the tile itself; it’s about how you choose to arrange it!
Subway tiles are a timeless choice for backsplashes. Their clean lines and simple design can work with any kitchen decor. But why stop at the basic arrangement? You can get creative with various patterns to achieve a modern or vintage look. Some popular arrangements include:
- Stacked: A sleek, contemporary look that emphasizes straight lines.
- Offset: A classic brick pattern that adds a touch of texture.
- Chevron: A bold choice that creates a dynamic visual effect.
By experimenting with these patterns, you can create a stunning focal point that draws the eye and enhances the overall ambiance of your kitchen.
The herringbone pattern is a sophisticated choice that can add an elegant touch to your kitchen. Installing a herringbone tile backsplash may seem daunting, but with the right tools and a little patience, it’s entirely achievable. Start by laying out your tiles in a herringbone pattern on the floor to visualize the design before adhering them to the wall. This layout not only adds depth but also creates a unique visual flow that can make your kitchen feel more dynamic.
If you're looking to create visual interest and depth, consider a diagonal tile installation. This approach can make a small kitchen feel larger and more open. To achieve this look, simply set your tiles at a 45-degree angle. It’s a simple trick that makes a huge impact! Just remember to cut your tiles carefully to maintain a clean edge, and you’ll be amazed at how this small change can transform your space.
Incorporating bold colors into your backsplash can truly make a statement. Don’t be afraid to step outside the box and choose vibrant hues that reflect your personality. Whether you opt for a single color or a mix of shades, the key is to balance it with the rest of your kitchen decor. For example, a bright blue backsplash can pop against white cabinets, creating a fresh and inviting atmosphere. So, how do you choose the right colors? Consider your kitchen's overall color scheme and think about how different shades can complement or contrast with existing elements.
If you're feeling adventurous, why not consider unconventional materials for your backsplash? Reclaimed wood and metal are fantastic options that can introduce a unique aesthetic to your kitchen. These materials not only look great but also tell a story, adding character and charm. Imagine a backsplash made from weathered wood planks that give your kitchen a cozy, farmhouse feel. Or picture sleek metal tiles that add a modern, industrial touch. The possibilities are endless!
Wood backsplashes can add warmth and character to your kitchen. However, it’s essential to treat the wood properly to ensure durability and resistance to moisture. Consider using a food-safe sealant to protect it from spills and splashes. When installing, opt for a staggered pattern to create a more dynamic look. The natural grains and textures of wood can create a stunning visual impact, making your kitchen feel more inviting.
Metal backsplashes offer a sleek, modern touch that can elevate your kitchen's design. With various types of metal available, such as stainless steel, copper, or aluminum, you can choose one that fits your style. Metal backsplashes are also easy to clean and maintain, making them a practical choice for busy kitchens. Installation is typically straightforward, as many metal tiles come with adhesive backs. Just peel and stick, and you’ll have a contemporary look in no time!
Q1: How do I choose the right backsplash for my kitchen?
A1: Consider your kitchen's overall style, color scheme, and the material's durability. Think about how the backsplash will complement your cabinets and countertops.
Q2: Can I install a backsplash myself?
A2: Absolutely! Many backsplashes can be installed as DIY projects. Just ensure you have the right tools and follow the installation instructions carefully.
Q3: What’s the best material for a backsplash?
A3: It depends on your style and needs. Tile is popular for its versatility, while wood offers warmth, and metal provides a modern edge. Choose what resonates with you!
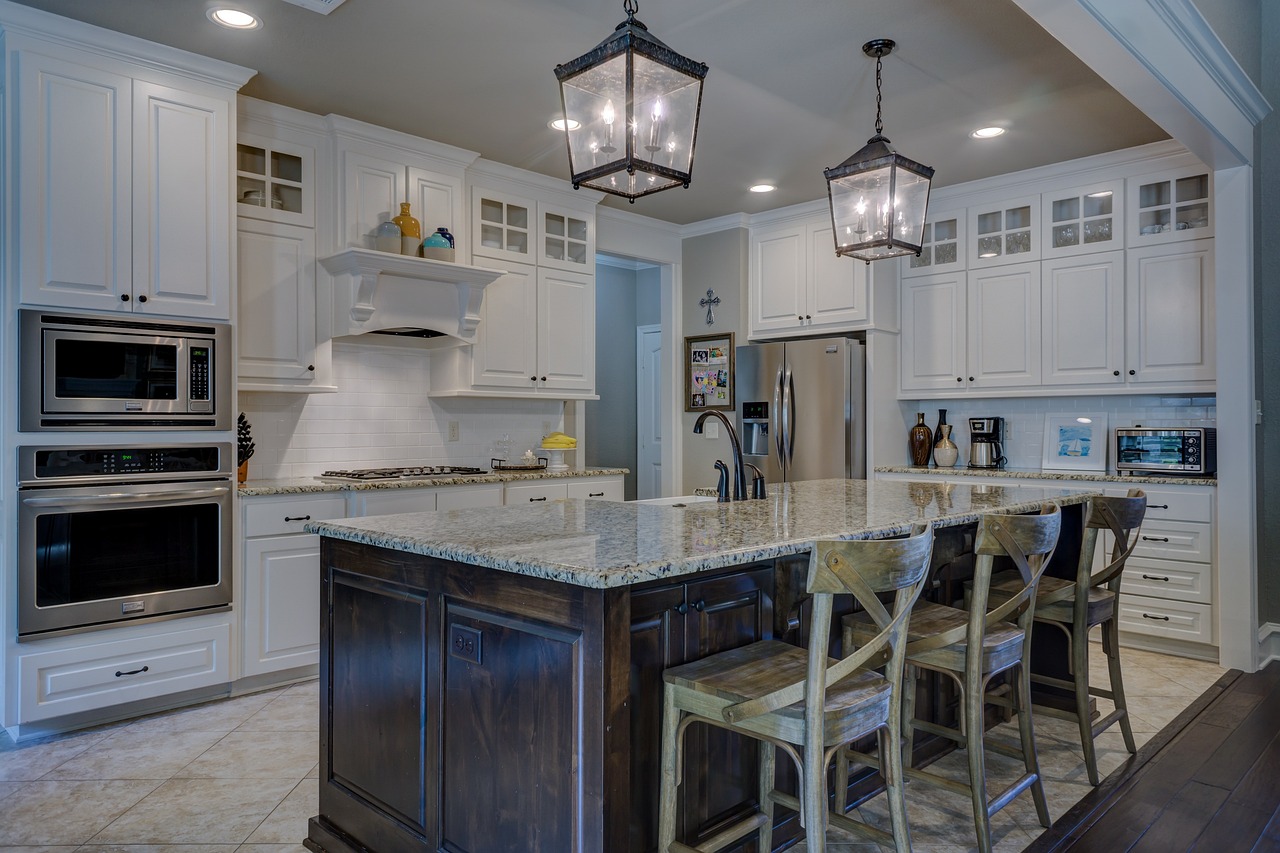
Choosing the Right Material
When it comes to selecting the right material for your kitchen backsplash, the choices can be both exciting and overwhelming. After all, this is a space that not only needs to be functional but also reflect your personal style. Think of your backsplash as the jewelry of your kitchen; it should complement and enhance the overall design while also standing up to the rigors of daily life. So, what options do you have? Let’s dive into some popular materials that can transform your kitchen into a culinary haven.
Tile is perhaps the most common choice for backsplashes, and for good reason. It comes in a myriad of colors, shapes, and sizes, making it incredibly versatile. From classic ceramic tiles to sleek porcelain and even intricate mosaics, you can find a tile that suits your aesthetic. One of the biggest advantages of tile is its durability; it can withstand heat, moisture, and spills, making it perfect for a bustling kitchen environment. Plus, it’s relatively easy to install for DIY enthusiasts.
Another fantastic option is wood. While it may seem unconventional, wood backsplashes can add a warm, rustic charm to your kitchen. However, it’s crucial to treat the wood properly to protect it from moisture and stains. This can involve sealing it with a food-safe finish or using reclaimed wood for a more eco-friendly approach. Imagine the rich, textured look of natural wood juxtaposed against sleek modern appliances—it’s a stunning combination!
Then there’s glass, which can bring a touch of elegance and modernity to your kitchen. Glass backsplashes are available in various colors and can even be backlit for a dramatic effect. They are easy to clean and maintain, making them a practical choice for busy kitchens. However, installation can be tricky, so it might be best to enlist the help of a professional if you opt for this sleek option.
To help you visualize the benefits of each material, here’s a quick comparison:
| Material | Durability | Maintenance | Style |
|---|---|---|---|
| Tile | High | Easy | Versatile |
| Wood | Moderate | Moderate | Rustic |
| Glass | High | Easy | Modern |
Ultimately, the right material for your backsplash will depend on your personal style, budget, and how much maintenance you're willing to commit to. Are you looking for something that stands out and makes a statement, or do you prefer a more subtle approach? Each material has its unique charm and can significantly impact the overall vibe of your kitchen. So, take your time, explore your options, and choose a backsplash that not only enhances your kitchen's aesthetics but also works well with your lifestyle.
Q: Can I mix different materials for my backsplash?
A: Absolutely! Mixing materials can add depth and interest to your kitchen design. Just ensure that the colors and textures complement each other for a cohesive look.
Q: How do I clean my backsplash?
A: Cleaning methods will vary depending on the material. For tile, a simple solution of vinegar and water works wonders. Wood may require specific wood cleaners, while glass can be cleaned with standard glass cleaner.
Q: Is it difficult to install a backsplash myself?
A: It depends on the material and your DIY skills. Tile backsplashes are often manageable for beginners, while glass may need professional installation. Always read up on installation techniques before starting your project.
Tile Backsplash Designs
When it comes to transforming your kitchen, few elements can make as significant an impact as a well-designed tile backsplash. Tile backsplashes are not only functional, protecting your walls from splashes and stains, but they also serve as a canvas for your creativity, allowing you to express your personal style. With a myriad of options available, from classic to contemporary, the possibilities are endless. Are you ready to dive into the world of tile backsplash designs that can elevate your kitchen's aesthetic?
One of the most appealing aspects of tile backsplashes is their versatility. You can mix and match different colors, shapes, and sizes to create a unique look that resonates with your kitchen's theme. Whether you're aiming for a rustic farmhouse vibe or a sleek modern aesthetic, there’s a tile design that can perfectly complement your vision. Let’s explore some exciting tile backsplash designs that can inspire your next DIY project!
Subway tiles are a timeless classic that has made a significant comeback in recent years. Their simple, rectangular shape makes them incredibly versatile, allowing for various arrangements that can drastically change the look of your kitchen. For instance, you can lay them in a traditional straight pattern for a clean and uniform look, or you can opt for a more dynamic approach by arranging them in a staggered pattern or a basketweave design to add visual interest. The choice of color also plays a crucial role; white subway tiles can create a bright and airy feel, while darker shades can add drama and sophistication.
If you're looking to add a touch of elegance to your kitchen, consider the herringbone layout. This pattern, characterized by its zigzag design, can create a stunning focal point that draws the eye. Installing a herringbone tile backsplash may seem daunting, but with the right tools and a bit of patience, you can achieve a professional-looking finish. Start by measuring your space carefully, and then cut your tiles at a 45-degree angle to create the herringbone effect. The result? A backsplash that not only protects your walls but also elevates your kitchen design to new heights.
Another captivating option is the diagonal installation of tiles. This layout can create an illusion of space, making your kitchen appear larger and more open. By installing tiles at an angle, you introduce an element of surprise that can breathe new life into a traditional kitchen design. To achieve this look, simply lay your tiles diagonally across the surface, ensuring that you maintain consistent spacing for a polished finish. The diagonal pattern can work exceptionally well with larger tiles, enhancing the overall depth and dimension of your backsplash.
Incorporating bold colors into your tile backsplash can also make a powerful statement. Imagine a vibrant blue or a fiery red tile that catches the light and becomes the centerpiece of your kitchen. Such colors can evoke emotions and set the mood, making your cooking space feel lively and inviting. When choosing colors, consider the overall color palette of your kitchen to ensure a harmonious blend.
Ultimately, the key to a stunning tile backsplash lies in your creativity and willingness to experiment. Whether you choose classic subway tiles, intricate herringbone patterns, or bold colors, each design option offers a unique way to enhance your kitchen's beauty and functionality. So, roll up your sleeves and get ready to transform your cooking space into a work of art!
- What type of tile is best for a backsplash? Ceramic and porcelain tiles are popular choices due to their durability and ease of cleaning. Glass tiles can also add a unique touch, while natural stone offers a more rustic feel.
- Can I install a tile backsplash myself? Absolutely! With the right tools, materials, and a bit of patience, many homeowners successfully tackle this DIY project.
- How do I clean my tile backsplash? A mixture of warm water and mild detergent is usually sufficient. Avoid abrasive cleaners that can scratch the tile surface.
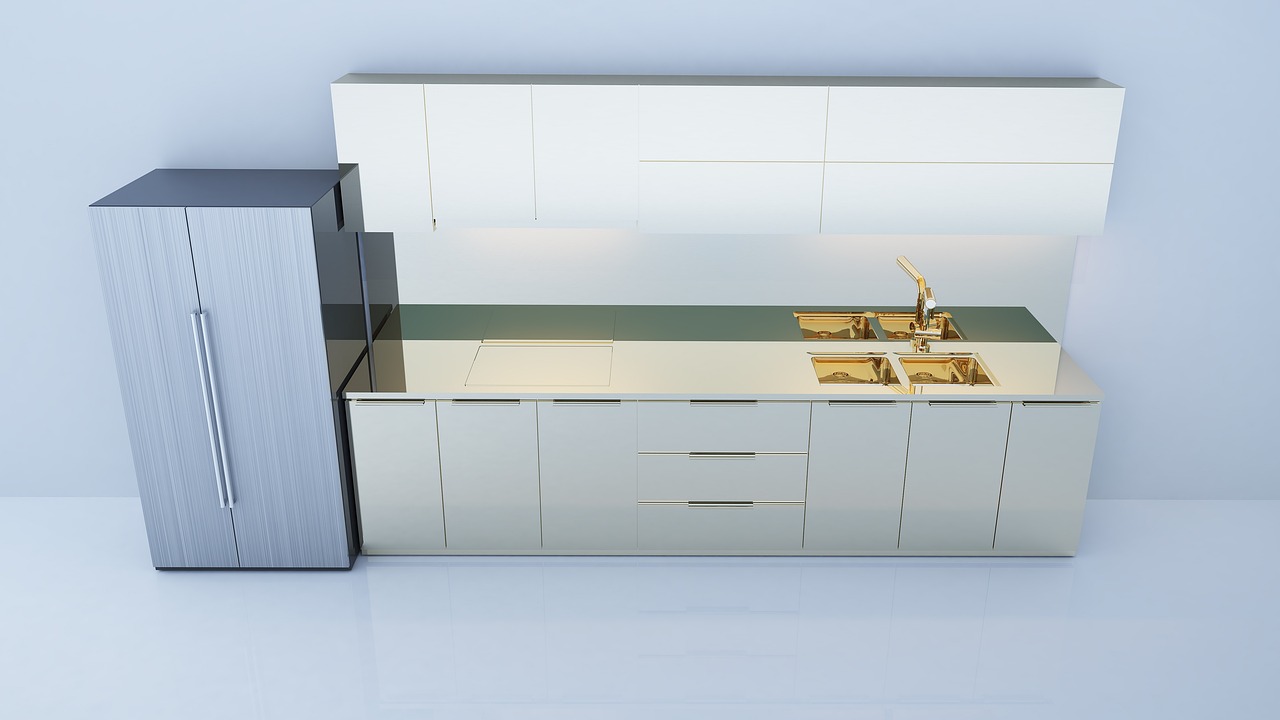
Subway Tile Patterns
When it comes to backsplashes, subway tiles are a timeless choice that can effortlessly elevate the aesthetics of any kitchen. Their clean lines and classic appearance make them a favorite among homeowners and designers alike. But did you know that the way you arrange these tiles can dramatically change the look and feel of your space? That's right! The arrangement of subway tiles can create various styles, from sleek and modern to charmingly vintage. Let's dive into some exciting patterns you can use to transform your kitchen!
One of the most popular patterns is the traditional staggered brick layout. This arrangement mimics the look of classic brickwork and adds a touch of rustic charm. It’s simple yet effective, making it perfect for both contemporary and farmhouse-style kitchens. To achieve this look, simply offset each row by half a tile. This creates a visually appealing rhythm that draws the eye and adds depth to your backsplash.
For a more modern twist, consider the vertical stack layout. This pattern involves stacking the tiles directly on top of each other without any offset. The result? A sleek, elongated look that can make your kitchen feel taller and more spacious. It’s an excellent choice for smaller kitchens where you want to create an illusion of height. Plus, it’s super easy to install!
Another captivating option is the herringbone pattern. This design involves arranging the tiles in a zigzag formation, creating a dynamic and sophisticated look. While it may seem complex, with a little patience and attention to detail, you can achieve this stunning effect in your own home. The herringbone pattern works exceptionally well in larger kitchens, making a bold statement without overwhelming the space.
Lastly, don't overlook the option of using color variations within your subway tile layout. Mixing and matching different colored tiles can create a playful and personalized backsplash that reflects your unique style. Imagine alternating between classic white and a vibrant blue or green tile. This approach not only adds visual interest but also allows you to express your personality in your kitchen design.
In summary, subway tiles are incredibly versatile, and their patterns can significantly impact your kitchen's overall design. Whether you opt for a classic staggered layout, a sleek vertical stack, a dynamic herringbone, or a colorful mix, these tiles can transform your space into something truly special. So, roll up your sleeves and get ready to unleash your creativity!
- What is the best adhesive for subway tiles? - A thin-set mortar is typically recommended for installing subway tiles, as it provides a strong bond and is easy to work with.
- Can I install subway tiles myself? - Absolutely! With the right tools and a bit of patience, many DIY enthusiasts successfully install subway tiles.
- How do I clean subway tile backsplashes? - Regular cleaning with mild soap and water is usually sufficient. For tougher stains, a mixture of vinegar and baking soda can work wonders!

Herringbone Layout
The is not just a pattern; it’s a statement. Imagine walking into your kitchen and being greeted by the mesmerizing zig-zag of tiles that dance across the wall, catching the light in all the right ways. This design is akin to wearing a tailored suit—it instantly elevates the entire space, adding an air of sophistication and style. If you’re ready to infuse your kitchen with this dynamic look, let’s dive into how to achieve that stunning herringbone effect.
First things first, preparation is key! Before laying your herringbone backsplash, make sure to gather your materials. You’ll need tiles (of course), adhesive, a tile cutter, spacers, and grout. The beauty of a herringbone pattern is that it can be achieved with various tile types, including ceramic, porcelain, or even natural stone. Each option brings its own unique flair, so choose what resonates with your kitchen's overall aesthetic.
To begin the installation, it’s crucial to mark the center of your wall. This will serve as a guide to ensure that your pattern is symmetrical and visually appealing. From there, start laying your tiles in a zig-zag pattern. Each tile should be placed at a 45-degree angle to the wall, forming a V-shape. This might sound tricky, but with a little patience and precision, you’ll be amazed at how it all comes together. Here’s a simple breakdown of the steps:
- Measure and mark: Use a level to ensure your lines are straight.
- Apply adhesive: Spread it evenly on the wall with a notched trowel.
- Lay the tiles: Start from the center and work your way outwards.
- Insert spacers: This will help maintain even gaps between the tiles.
- Grout: Once the adhesive has set, fill the gaps with grout and wipe away any excess.
One of the most exciting aspects of the herringbone layout is the endless possibilities for customization. You can play with different tile colors, sizes, and materials to create a backsplash that reflects your personality. For instance, consider using a mix of matte and glossy tiles for a textured effect, or opt for vibrant colors to make your kitchen pop. The herringbone pattern also works beautifully with contrasting grout colors, which can add even more depth and dimension to your design.
Lastly, don’t forget about lighting! The right lighting can enhance the beauty of your herringbone backsplash, making it a focal point in your kitchen. Under-cabinet lighting or pendant lights can cast a warm glow, emphasizing the intricate pattern and colors of your tiles. It’s like putting a spotlight on your masterpiece, ensuring that every guest notices your hard work and creativity.
In conclusion, a herringbone layout is more than just a design choice; it’s an opportunity to express your unique style and elevate your kitchen to new heights. With a bit of planning and creativity, you can transform your cooking space into a stunning visual delight that you’ll be proud to show off. So grab your tools and get ready to create a backsplash that’s as functional as it is fabulous!
Here are some common questions regarding the herringbone layout for kitchen backsplashes:
- Can I use any type of tile for a herringbone pattern? Yes! You can use ceramic, porcelain, or natural stone tiles. Just make sure they are suitable for kitchen environments.
- Is the herringbone pattern difficult to install? While it requires careful planning and precision, with the right tools and a bit of patience, anyone can achieve this look!
- What grout color should I use? This depends on your personal style. A contrasting grout can make the pattern pop, while a matching color can create a seamless look.
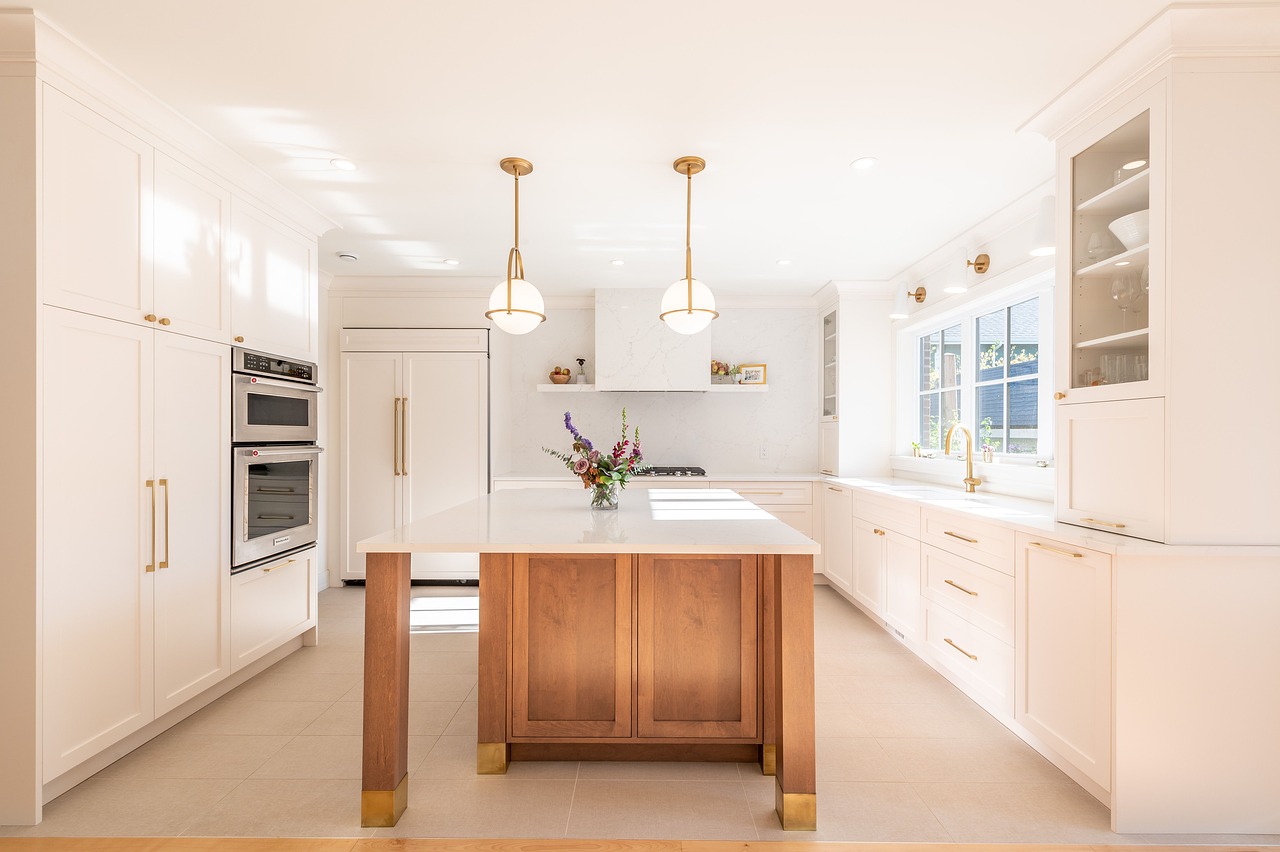
Diagonal Installation
When it comes to adding a bit of flair to your kitchen backsplash, is a game-changer. This technique doesn’t just break the monotony of traditional horizontal or vertical tile layouts; it creates a dynamic visual that draws the eye and adds depth to the space. Imagine walking into your kitchen and being greeted by tiles that seem to dance across the wall, creating an illusion of movement and space. Sounds intriguing, right?
To achieve this look, you’ll need to plan your layout carefully. Start by determining the center point of your backsplash area. This will be your focal point, and from there, you’ll work outwards. Diagonal tiles can create a stunning effect, especially when paired with contrasting grout colors. For instance, using light tiles with dark grout can make the diagonal lines pop, enhancing the overall aesthetic. But wait, there’s more! Here are some tips to consider:
- Choose the Right Tile Size: Larger tiles can make a bold statement, while smaller tiles allow for more intricate designs.
- Use a Level: Keeping everything aligned is crucial. A level will ensure your tiles are straight, even when installed diagonally.
- Plan Your Cuts: Diagonal cuts can be tricky. Make sure to plan ahead to minimize waste and achieve a professional finish.
As you embark on this DIY journey, remember that preparation is key. Gather all your materials before starting: tiles, adhesive, grout, spacers, and tools like a tile cutter and a trowel. Once you have everything ready, it’s time to get your hands dirty! Apply adhesive to the wall, starting from the center and working your way outwards. Lay your tiles diagonally, pressing them firmly into the adhesive. Use spacers to maintain even gaps for grout, which will be added later.
One of the most exciting aspects of diagonal installation is its ability to transform the perception of space. A small kitchen can feel larger and more open with tiles arranged diagonally, while a spacious kitchen gets an added touch of sophistication. So, if you’re looking to make a statement, diagonal installation is definitely worth considering. And remember, the beauty of DIY is that you can express your personal style. Whether you opt for bold colors or subtle tones, the choice is yours!
Once your tiles are in place, let them set for the recommended time before applying grout. This ensures everything is secure and ready for the finishing touches. After grouting, wipe off any excess with a damp sponge and allow it to dry completely. When you step back and admire your handiwork, you’ll likely feel a rush of pride knowing you’ve created something truly unique and beautiful.
In conclusion, diagonal tile installation is not just a trend; it’s a fantastic way to add character and depth to your kitchen. So why not give it a try? Your kitchen deserves a splash of creativity, and with a little effort, you can achieve a stunning backsplash that will impress your family and friends.
Q1: Can I use any type of tile for diagonal installation?
A1: Yes, you can use various types of tiles, including ceramic, porcelain, or glass. Just ensure they are suitable for kitchen use and can withstand moisture.
Q2: Is diagonal installation more difficult than traditional layouts?
A2: While it requires a bit more planning and precision, with the right tools and patience, anyone can achieve a beautiful diagonal backsplash.
Q3: How do I clean and maintain a diagonal tile backsplash?
A3: Regular cleaning with a mild detergent and water is sufficient. Avoid harsh chemicals that can damage the grout or tiles.
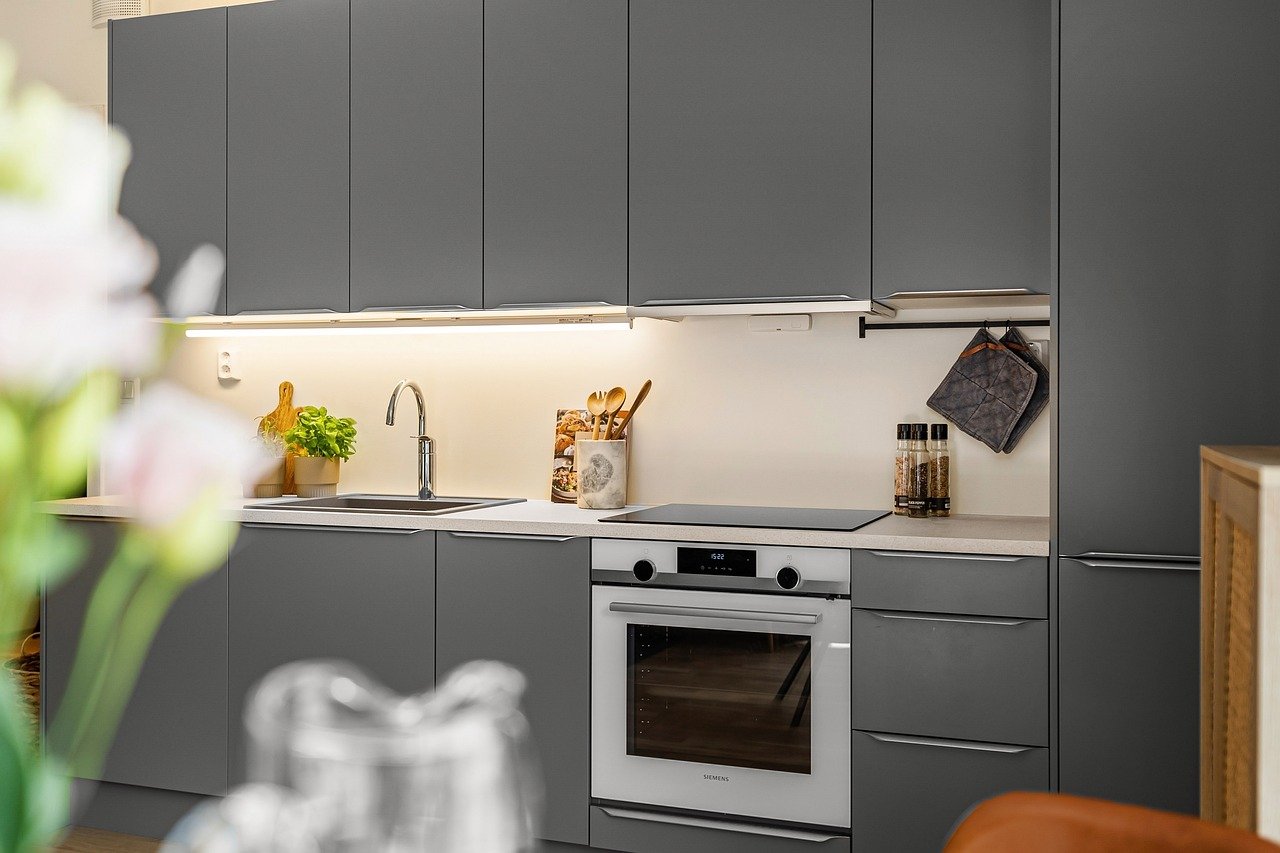
Creative Use of Color
When it comes to kitchen design, the backsplash is your canvas, and color is your paint! Using bold hues can transform a mundane kitchen into a vibrant culinary haven. Imagine stepping into a space where the walls sing with energy and warmth, inviting you to whip up your favorite dishes. But how do you choose the right colors that not only pop but also harmonize with your overall decor? Let’s dive into some creative ways to use color in your backsplash!
First, consider the color wheel as your best friend. Complementary colors, those that sit opposite each other on the wheel, can create a stunning contrast that draws the eye. For instance, pairing a bright turquoise tile with a warm orange accent can evoke the feel of a sunny beach getaway. If you want a more cohesive look, analogous colors—those that sit next to each other—can create a serene and harmonious environment. Think of soft greens with gentle yellows, reminiscent of a lush garden.
Another exciting option is to incorporate a gradient effect into your backsplash. This technique involves blending colors seamlessly to create a stunning ombre effect. Imagine a backsplash that transitions from a deep navy blue at the bottom, representing the ocean, to a light sky blue at the top, mimicking a clear day. This not only adds depth but also gives your kitchen a unique flair that’s sure to impress your guests.
Don’t shy away from using patterns to enhance your color scheme! Whether it’s geometric shapes, floral designs, or even abstract art, incorporating patterns can add a playful touch to your kitchen. For example, a bold black and white geometric tile can serve as a stunning focal point, while colorful accent tiles can be used sparingly to add just the right amount of pizzazz. Remember, balance is key; too much color can overwhelm, while just the right amount can elevate your space.
Additionally, consider the finish of your tiles. Glossy tiles reflect light, making colors appear brighter and more vibrant. On the other hand, matte finishes can provide a softer, more muted look that can be equally stunning. Mixing finishes can also create a dynamic visual effect—just think of how a glossy red tile can pop against a matte white background!
Lastly, don’t forget about the power of accessories. Color doesn’t have to be limited to just the tiles. Think about incorporating colorful kitchenware, wall art, or even plants that can complement your backsplash. A vibrant bowl of lemons or a bright red kettle can tie together your color scheme while adding a personal touch to your kitchen.
In conclusion, the creative use of color in your kitchen backsplash can dramatically impact the overall feel of your space. Whether you opt for bold contrasts, soothing gradients, or playful patterns, the key is to let your personality shine through. So grab your paintbrush and tiles, and let your kitchen tell your unique story!
- What colors work best for a small kitchen? Lighter colors can make a small kitchen feel larger and more open. Consider soft pastels or whites for a fresh look.
- How can I incorporate color without overwhelming my space? Use color as an accent. Choose one or two bold colors and pair them with neutral tones to maintain balance.
- Can I mix different colors and patterns? Absolutely! Just ensure that the colors complement each other and that there’s a cohesive theme throughout your kitchen.
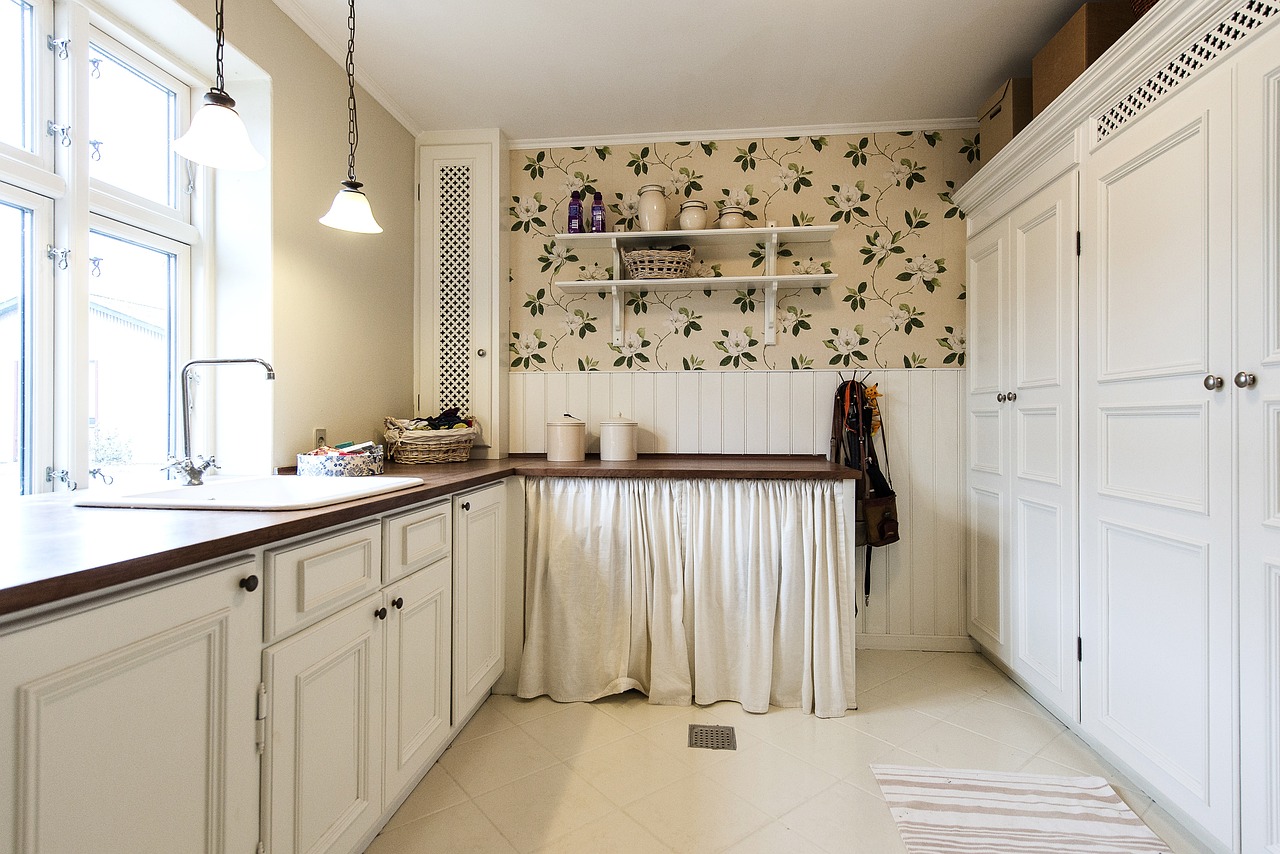
Alternative Materials
When it comes to kitchen backsplashes, the traditional choices of tile or glass might come to mind first, but why not think outside the box? Using can add a unique flair to your kitchen, showcasing your personality and creativity. Imagine stepping into a kitchen that tells a story through its backsplash. It's not just about functionality; it's about making a statement! So, let's dive into some exciting options like reclaimed wood and metal, which can transform your cooking space into a work of art.
First up, we have reclaimed wood. This material is not only eco-friendly but also brings a rustic charm that can warm up the sleekest of modern kitchens. Imagine the rich textures and colors that reclaimed wood can offer! You can opt for a weathered look that adds character or go for a more polished finish if you prefer a contemporary vibe. The beauty of wood is its versatility; it can complement various styles, from farmhouse chic to industrial elegance. However, it's essential to treat the wood properly to prevent moisture damage, especially in a kitchen environment. A good sealant can work wonders in preserving its beauty while ensuring it withstands the daily hustle and bustle of cooking.
Next, let’s talk about metal backsplashes. If you want to channel a sleek, modern aesthetic, metal is your go-to choice. Stainless steel, copper, and aluminum can all bring a shiny, contemporary feel to your kitchen. Not only do they look stunning, but they’re also incredibly practical. Metal is resistant to heat and stains, making it an ideal material for a backsplash that sees a lot of action. You can create a cohesive look by matching your metal backsplash with other kitchen elements, such as appliances or fixtures. Plus, the reflective surface can help brighten up the space, making your kitchen feel larger and more inviting.
Here’s a quick comparison of the two materials:
| Material | Pros | Cons |
|---|---|---|
| Reclaimed Wood |
|
|
| Metal |
|
|
Incorporating these alternative materials into your kitchen backsplash not only enhances the visual appeal but also adds a layer of functionality. Whether you lean towards the rustic charm of reclaimed wood or the sleek sophistication of metal, there’s no doubt that your kitchen will become a conversation starter. So, are you ready to roll up your sleeves and embark on a DIY adventure that transforms your kitchen into a stunning culinary haven?
Q: How do I maintain a wood backsplash?
A: To maintain a wood backsplash, regularly clean it with a damp cloth and mild detergent. Ensure it is properly sealed to protect against moisture and stains.
Q: Can I use metal backsplashes behind my stove?
A: Yes, metal backsplashes are heat-resistant and perfect for areas behind the stove. Just be sure to install them correctly and maintain them to avoid scratches.
Q: Are alternative materials more expensive than traditional tile?
A: It depends on the material and source. Reclaimed wood can sometimes be more affordable, while high-end metals may cost more. Always shop around for the best deals!
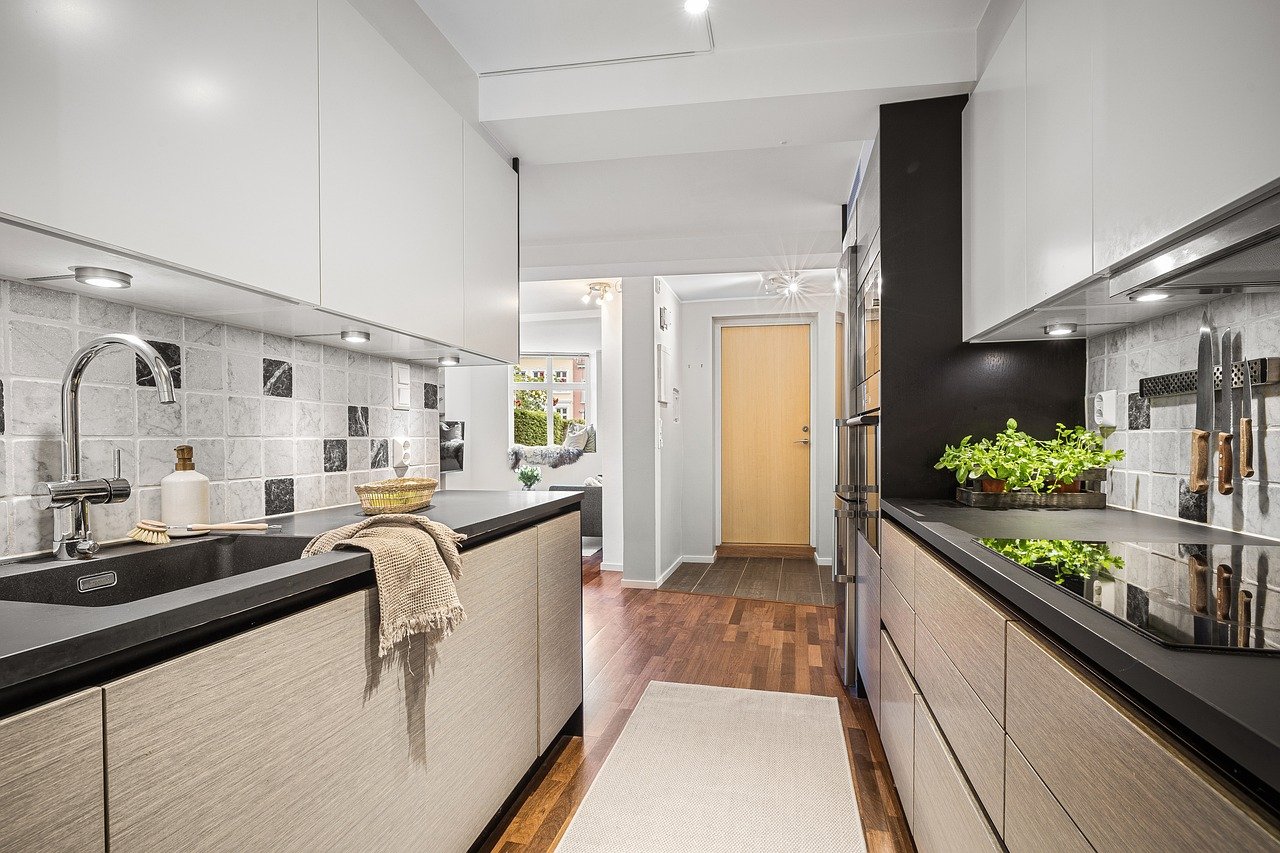
Wood Backsplashes
When it comes to adding a touch of warmth and character to your kitchen, are an exceptional choice. Unlike traditional materials, wood brings a natural and inviting feel that instantly transforms the space. Imagine cooking in a kitchen that feels like a cozy cabin or a chic farmhouse; that’s the magic of wood! However, it’s essential to treat and install your wood properly to ensure it lasts and looks stunning.
First off, let’s talk about the types of wood you might consider. Some popular choices include maple, oak, and cedar. Each type has its own unique grain and color variations, allowing you to customize the look of your kitchen. For instance, maple offers a light and airy feel, while oak provides a more rustic and robust appearance. Cedar, on the other hand, has a distinct aroma and natural resistance to moisture, making it an excellent choice for kitchens.
Before diving into installation, it’s crucial to prepare the wood. You’ll want to treat it with a food-safe sealant to protect against moisture and stains. This step is vital because kitchens tend to get messy, and the last thing you want is to ruin your beautiful backsplash with grease or water damage. After treatment, the installation process can begin. You can choose to create a full backsplash or just a feature wall, depending on your style and space.
When installing a wood backsplash, consider the following tips to achieve the best results:
- Measure Carefully: Precision is key! Measure your space accurately to ensure a perfect fit.
- Use the Right Adhesive: A strong adhesive is essential for keeping the wood in place. Look for construction adhesive specifically designed for wood.
- Leave Gaps for Expansion: Wood expands and contracts with temperature changes, so it’s wise to leave small gaps around the edges.
Once installed, the wood backsplash can be stained or left natural, depending on your preference. If you opt for staining, consider a color that complements your kitchen cabinets and countertops. A rich walnut stain can add depth, while a lighter finish can keep the space feeling open and airy.
Lastly, maintaining your wood backsplash is relatively simple. Regular cleaning with a damp cloth and occasional reapplication of sealant will keep it looking fresh and vibrant. So, if you’re searching for a way to elevate your kitchen’s aesthetic while adding a personal touch, a wood backsplash might just be the perfect solution!
Q: Can I use reclaimed wood for my backsplash?
A: Absolutely! Reclaimed wood adds a unique charm and history to your kitchen. Just ensure it’s properly treated to withstand moisture.
Q: How do I clean a wood backsplash?
A: Use a soft, damp cloth to wipe down your wood backsplash. Avoid harsh chemicals that can damage the finish.
Q: Is wood a practical choice for kitchen backsplashes?
A: Yes, when treated correctly, wood can be a practical choice. Just be mindful of moisture and ensure you maintain it regularly.
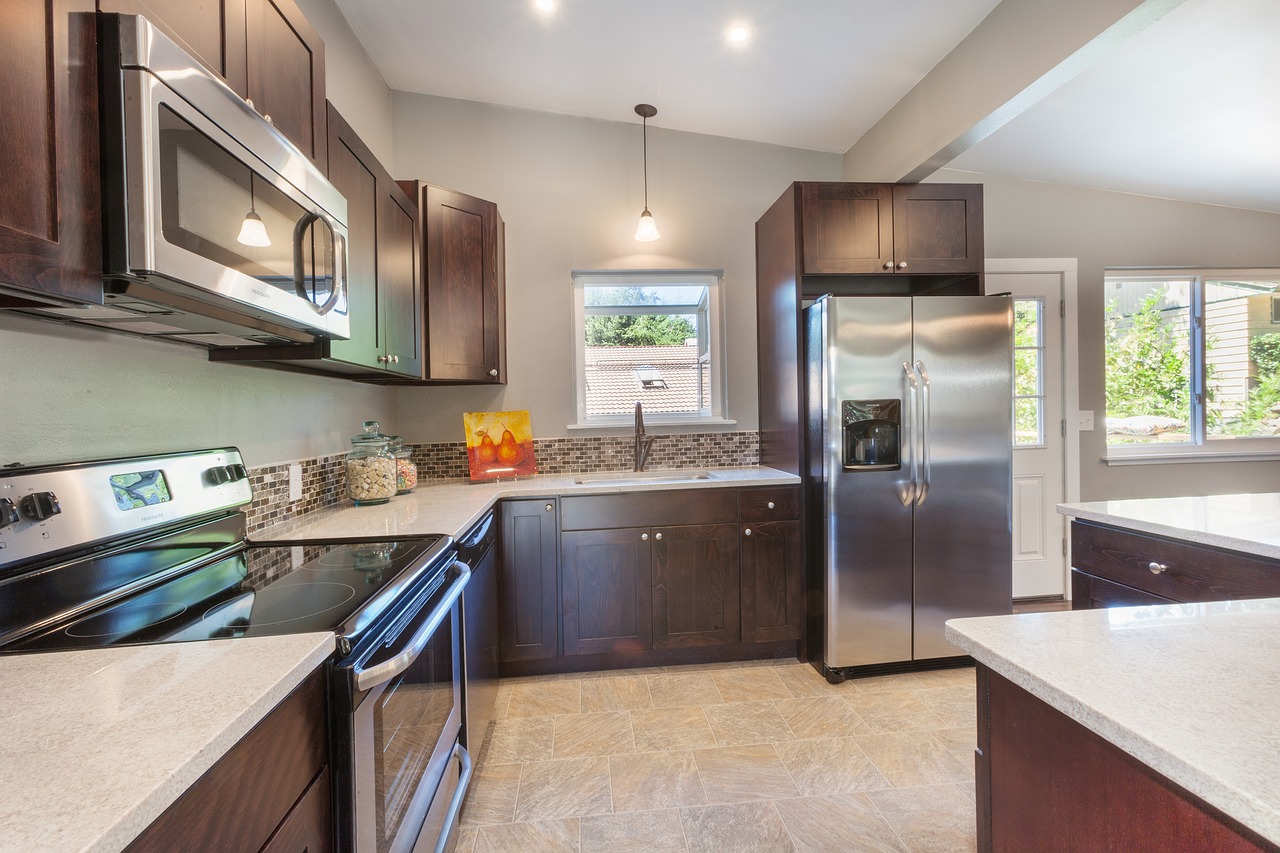
Metal Backsplashes
When it comes to kitchen design, are becoming increasingly popular for their sleek, modern appearance and durability. Imagine stepping into a kitchen that reflects not only your style but also your personality. Metal backsplashes can do just that! They add a touch of sophistication and can easily complement a variety of design themes, from industrial chic to contemporary elegance.
There are several types of metal that you can choose from, each offering unique benefits:
- Stainless Steel: This is a classic choice for many kitchens due to its resistance to heat and stains. It's also incredibly easy to clean, making it a practical option for busy cooks.
- Aluminum: Lightweight and corrosion-resistant, aluminum can be an affordable alternative. It can be easily cut and shaped, allowing for creative designs.
- Copper: If you want to make a bold statement, copper is your go-to. It develops a beautiful patina over time, adding character and warmth to your kitchen.
- Brass: For a touch of luxury, brass backsplashes can provide a stunning contrast against darker cabinetry or countertops.
When installing a metal backsplash, consider the following tips to achieve the best results:
- Preparation: Ensure the surface is clean and smooth before installation. This will help the adhesive bond better and prevent any issues down the line.
- Measurement: Measure your space accurately. Metal can be tricky to cut, so precise measurements will save you time and materials.
- Adhesive: Use a strong adhesive specifically designed for metal. This will ensure that your backsplash stays in place for years to come.
- Finishing Touches: Consider adding a sealant to protect your metal backsplash from scratches and tarnishing, especially for materials like copper and brass.
One of the most exciting aspects of using a metal backsplash is the ability to create a custom look. You can mix and match different metals or even combine them with other materials, like wood or tile, to create a one-of-a-kind design. For instance, a stainless steel backsplash paired with reclaimed wood shelves can create a stunning contrast that is both modern and rustic.
In terms of maintenance, metal backsplashes are relatively low-maintenance. Regular cleaning with mild soap and water is usually sufficient to keep them looking their best. However, be cautious with abrasive cleaners, as they can scratch the surface. If you choose a material like copper, you might want to embrace its natural aging process, which can add to its charm.
In conclusion, metal backsplashes are an excellent choice for anyone looking to enhance their kitchen's aesthetic while ensuring functionality. They offer a unique blend of style and practicality, making them a worthwhile investment for your home. So, why not consider adding a metal backsplash to your kitchen? It could be just the transformation you’ve been dreaming of!
Q: Are metal backsplashes easy to clean?
A: Yes, metal backsplashes are generally easy to clean with mild soap and water. Just avoid abrasive cleaners that can scratch the surface.
Q: Can I install a metal backsplash myself?
A: Absolutely! With the right tools and materials, a DIY installation is achievable. Just make sure to measure accurately and follow the manufacturer's instructions for best results.
Q: What type of metal is best for a backsplash?
A: It depends on your style and needs. Stainless steel is popular for its durability, while copper offers a unique aesthetic that develops character over time.
Frequently Asked Questions
- What materials can I use for my kitchen backsplash?
You have a variety of options when it comes to backsplash materials! Popular choices include tile, wood, and glass. Each material brings its own unique style and benefits to your kitchen. For instance, tile is versatile and easy to clean, while wood adds warmth and character.
- How do I choose the right tile pattern for my backsplash?
Choosing the right tile pattern can really elevate your kitchen's look! Consider classic options like subway tiles arranged in different patterns, or go for a more dynamic look with a herringbone layout. The key is to pick a pattern that complements your overall kitchen design and makes you excited every time you walk in!
- Can I use reclaimed wood for my backsplash?
Absolutely! Reclaimed wood can add a rustic charm to your kitchen. Just make sure to properly treat and seal the wood to protect it from moisture and heat. This way, you can enjoy its beauty without worrying about wear and tear!
- What are the benefits of using metal backsplashes?
Metal backsplashes offer a sleek and modern aesthetic that can make your kitchen feel contemporary and stylish. They are also incredibly durable and easy to clean, making them a practical choice for busy kitchens. Plus, they can reflect light, giving your space a brighter feel!
- How difficult is it to install a DIY backsplash?
Installing a DIY backsplash can be a fun project! The difficulty level really depends on the materials and patterns you choose. Simple tile layouts are usually beginner-friendly, while more intricate designs like diagonal or herringbone may require a bit more skill. But don't worry—there are plenty of resources and tutorials available to guide you!
- What color should I choose for my backsplash?
When it comes to color, the sky's the limit! Think about the mood you want to create in your kitchen. Bold colors can make a statement and energize the space, while softer hues can create a calm and inviting atmosphere. Just remember to choose colors that complement your cabinets and countertops for a cohesive look!


