Creating a DIY Yarn Wall Hanging for Your Bedroom
Are you ready to transform your bedroom into a cozy sanctuary with a touch of creativity? A DIY yarn wall hanging might just be the perfect project for you! Not only does it add a splash of color and texture to your space, but it also allows you to express your personality and style. Imagine walking into your room and being greeted by a beautiful tapestry of yarn that you crafted yourself. How satisfying would that be? In this article, we’ll guide you through the entire process, from selecting the right yarn to hanging your masterpiece on the wall. So, whether you’re a seasoned crafter or a curious beginner, grab your supplies and let’s dive into the world of yarn art!
Selecting the appropriate yarn is crucial for your wall hanging's aesthetic and durability. With so many options available, it can be overwhelming to choose the right one. But don't worry! We’ll break it down for you. First, consider the different types of yarn available, as each offers its own unique characteristics. For instance, cotton yarn is soft and breathable, making it perfect for a lightweight wall hanging. Wool, on the other hand, adds warmth and texture, ideal for a more rustic look. Acrylic yarn is budget-friendly and comes in a wide range of colors, making it a popular choice among DIY enthusiasts.
Understanding the different types of yarn available can help you make informed choices. Here’s a quick overview:
| Type of Yarn | Benefits |
|---|---|
| Cotton | Soft, breathable, and easy to work with. |
| Wool | Warm, durable, and adds texture. |
| Acrylic | Budget-friendly, wide color selection, and easy to care for. |
Choosing a cohesive color scheme can enhance the visual appeal of your wall hanging. Think about the colors already present in your bedroom. Are they warm and inviting, or cool and calming? You want your yarn wall hanging to complement these tones. Consider using a color palette that consists of 3-5 colors. This can create a harmonious look without overwhelming the eye. For example, if your bedroom features soft pastels, opt for yarns in similar shades to maintain that serene vibe.
Incorporating various textures can add depth and interest to your wall hanging. Mixing yarn types—like combining soft cotton with chunky wool—can create a delightful contrast that draws the eye. Additionally, think about incorporating other materials, such as feathers or beads, to elevate your design further. The goal here is to create a piece that feels dynamic and inviting, much like a cozy blanket on a chilly day.
Properly measuring and cutting your yarn is essential for achieving the desired length and shape. Start by determining how long you want your wall hanging to be. A good rule of thumb is to cut pieces that are 1.5 times longer than the finished length you desire. This extra length will allow for knots and loops. Once you’ve measured, use sharp scissors to cut your yarn cleanly. This step is crucial, as frayed ends can make your project look messy.
Different weaving techniques can create varied patterns and styles in your wall hanging. From simple knots to intricate loops, the techniques you choose will significantly impact the overall look of your piece. Don't be afraid to experiment! Mix and match different methods to find what resonates with you.
Mastering basic knotting techniques is fundamental for creating a sturdy wall hanging. Start with simple knots, such as the square knot or the lark's head knot. These knots will serve as the foundation for your weaving process. Once you feel comfortable, you can explore more complex knots to add flair and sophistication to your design.
For those looking to elevate their wall hanging, advanced weaving patterns can offer intricate designs. Techniques like the herringbone pattern or chevron can add complexity and beauty to your project. Don’t hesitate to look for tutorials online or in crafting books for inspiration. Remember, practice makes perfect, and each attempt will bring you closer to mastering your craft!
Adding finishing touches can elevate your wall hanging from good to great. Consider embellishments like beads, tassels, or even small wooden accents to make your piece truly unique. Once you’re satisfied with your design, it’s time to think about how to hang it. There are various methods, such as using a wooden dowel or a decorative branch, to display your creation.
Properly hanging your wall hanging is key to showcasing your hard work. Make sure to choose a location that receives enough light to highlight the colors and textures of your yarn. Use sturdy hooks or nails to ensure your piece hangs securely. Remember, the way you present your art can significantly enhance its impact!
Caring for your yarn wall hanging ensures its longevity. Regularly dust it with a soft cloth to keep it looking fresh and vibrant. If your wall hanging is made from natural fibers, consider spot cleaning with a damp cloth if it gets dirty. With just a little care, your beautiful creation can brighten your bedroom for years to come!
- How long does it take to make a yarn wall hanging? The time can vary depending on the complexity of your design, but most projects can be completed in a few hours to a couple of days.
- Can I use recycled materials? Absolutely! Incorporating recycled yarn or materials can add a unique touch and promote sustainability.
- What if I make a mistake? Don't worry! Crafting is all about experimentation. You can always undo knots or adjust your design as you go.
Choosing the Right Yarn
When it comes to creating a stunning yarn wall hanging, the choice of yarn is absolutely crucial. Imagine your wall hanging as a beautiful tapestry that reflects your personal style and enhances the ambiance of your bedroom. The right yarn not only affects the aesthetic appeal but also the durability of your masterpiece. So, let's dive into the world of yarn and explore the options available to you!
First off, you’ll want to consider the material of the yarn. Each type brings its own unique qualities to the table:
- Cotton: Known for its softness and breathability, cotton yarn is perfect for a lightweight wall hanging. It holds its shape well and is available in a plethora of colors.
- Wool: If you’re after warmth and texture, wool is your best friend. It’s great for creating depth and can be dyed in vibrant shades, giving your wall hanging a cozy feel.
- Acrylic: This synthetic option is budget-friendly and comes in an extensive range of colors. Acrylic yarn is also very durable, making it an excellent choice for beginners.
Next, let’s talk about color schemes. Choosing the right colors can make or break your wall hanging. You might want to select colors that complement your existing bedroom decor or create a bold contrast to make a statement. Consider using a color wheel to find harmonious color combinations. For example:
| Color Combination | Description |
|---|---|
| Monochromatic | Different shades of a single color for a subtle look. |
| Complementary | Colors opposite each other on the color wheel for a striking contrast. |
| Analogous | Colors next to each other on the wheel for a harmonious blend. |
Lastly, let’s not forget about texture. Mixing different types of yarn can add visual interest and depth to your wall hanging. You can incorporate various yarns, such as combining smooth cotton with fluffy wool, to create a stunning contrast. Additionally, consider adding other materials like beads or feathers for an extra touch of creativity. This way, your wall hanging won't just be a piece of decor; it will tell a story!
In conclusion, choosing the right yarn involves considering the material, color, and texture. Take your time to explore different options and don’t hesitate to experiment. After all, the beauty of DIY projects lies in the personal touch you bring to them. So, gather your materials, unleash your creativity, and let your yarn wall hanging reflect your unique style!
Essential Tools and Materials
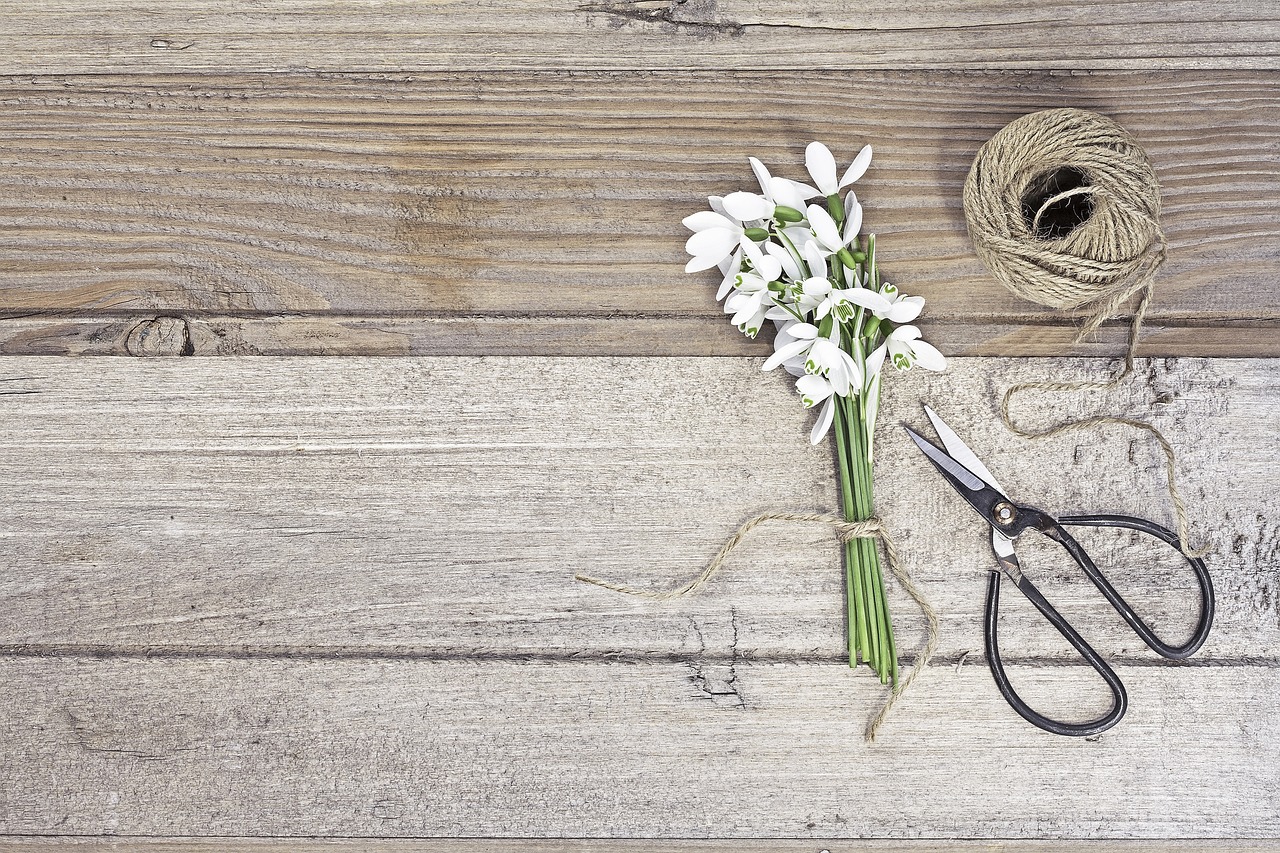
Before diving into the exciting world of DIY yarn wall hangings, it's crucial to gather all the you’ll need for a smooth crafting experience. Think of this as your treasure map—the right tools will lead you to the beautiful creation you envision. So, what exactly do you need? Let’s break it down!
First and foremost, you’ll need a selection of yarn. The type of yarn you choose can significantly impact the look and feel of your wall hanging. Whether you go for soft cotton, cozy wool, or versatile acrylic, each option has its unique charm. Don’t forget to consider the colors! A vibrant palette can add life to your space, while muted tones can create a calming atmosphere. You might even want to mix textures for a more dynamic appearance.
Next up, you’ll need some tools to help you along the way. Here’s a quick rundown of what you should have on hand:
- Scissors: A good pair of fabric scissors will make cutting your yarn a breeze.
- Wooden dowels: These will serve as the base for your wall hanging. Choose a size that fits your desired dimensions.
- Measuring tape: Accurate measurements are essential for a polished look.
- Yarn needle: This will help you weave in the ends of your yarn and secure your work.
- Glue (optional): For added security, you might want to use fabric glue to hold certain elements together.
Now that you have your tools, let’s talk about the workspace. It’s important to set up a comfortable and well-lit area where you can spread out your materials and work without distractions. A clear table or desk can make a world of difference! You might also want to have some crafting paper or a notebook handy to jot down your ideas and sketches. After all, a little planning can go a long way!
In summary, gathering the right tools and materials is the foundation of a successful DIY yarn wall hanging project. With your yarn, scissors, wooden dowels, measuring tape, and yarn needle ready to go, you’re well on your way to crafting a stunning piece of art for your bedroom. So, roll up your sleeves, and let’s get creative!
Q: What type of yarn is best for beginners?
A: For beginners, acrylic yarn is often recommended because it's affordable, easy to work with, and comes in a wide variety of colors. Cotton yarn is also a great choice for its durability and softness.
Q: How do I choose the right colors for my wall hanging?
A: Consider the existing color scheme in your bedroom. Look for colors that complement your decor, or go for contrasting shades to make your wall hanging pop. You can also use a color wheel for inspiration!
Q: Can I use other materials besides yarn?
A: Absolutely! Feel free to incorporate other materials like fabric scraps, beads, or even feathers to add unique textures and elements to your wall hanging.
Q: How do I maintain my yarn wall hanging?
A: To keep your wall hanging looking fresh, gently dust it with a soft cloth or use a lint roller. If it gets dirty, spot clean with a damp cloth and mild detergent.
Types of Yarn
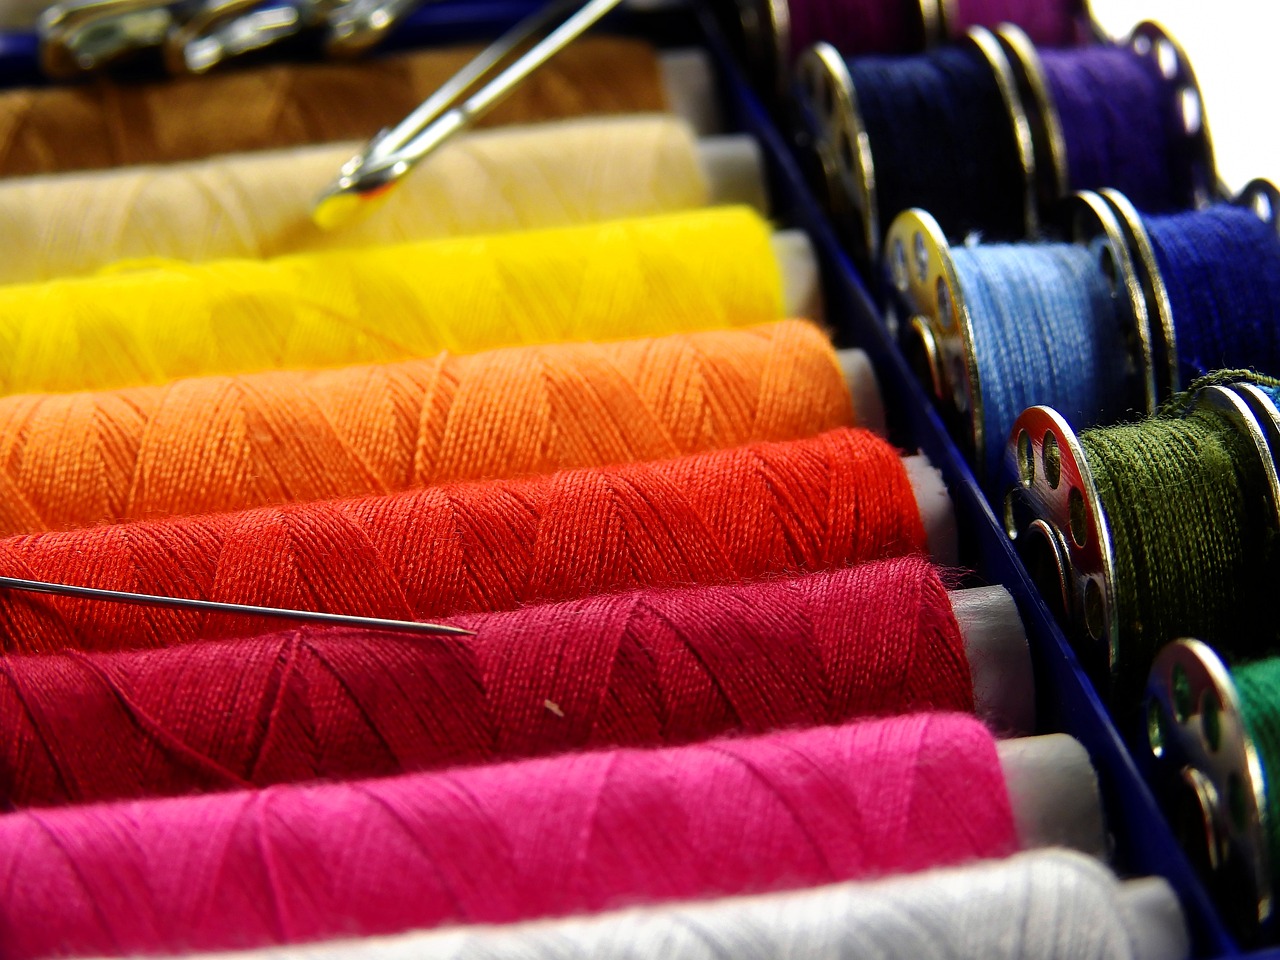
When it comes to creating your DIY yarn wall hanging, the type of yarn you choose can significantly impact both the aesthetic and durability of your piece. There are several types of yarn available, each with its own unique qualities that can enhance your project in different ways. Let’s dive into the most popular types of yarn and discover their benefits.
Cotton yarn is a fantastic option if you’re looking for something soft and breathable. It’s perfect for wall hangings because it holds its shape well and comes in a wide array of colors. Plus, cotton is easy to clean, making it a practical choice for items that might collect dust over time. If you want a natural look, cotton yarn is definitely the way to go.
On the other hand, wool yarn offers a different texture and warmth that can add a cozy feel to your wall hanging. Wool fibers are naturally elastic, which helps your creation maintain its structure over time. However, keep in mind that wool can be a bit more challenging to work with, especially if you’re new to crafting. It can also be slightly more expensive, but the rich texture it provides can be worth the investment.
Lastly, we have acrylic yarn, which is often favored for its versatility and affordability. Acrylic is synthetic, making it durable and resistant to fading, which is perfect if your wall hanging will be exposed to sunlight. This type of yarn comes in a plethora of colors and textures, allowing you to experiment with different styles without breaking the bank. However, it’s important to note that acrylic might not have the same luxurious feel as cotton or wool.
| Type of Yarn | Benefits | Considerations |
|---|---|---|
| Cotton | Soft, breathable, easy to clean | Can be less stretchy |
| Wool | Warm, elastic, holds shape | Can be pricier and harder to work with |
| Acrylic | Affordable, durable, wide color range | Less luxurious feel |
In summary, your choice of yarn can set the tone for your entire wall hanging. Whether you go for the softness of cotton, the warmth of wool, or the versatility of acrylic, each type has its own charm and character. So, consider the look and feel you want to achieve, and don’t hesitate to mix and match different yarns for a unique texture and appearance. After all, crafting is all about expressing your creativity!
Q1: Can I mix different types of yarn in my wall hanging?
A1: Absolutely! Mixing different types of yarn can create beautiful textures and depth in your wall hanging. Just ensure that the yarns you choose complement each other in terms of color and thickness.
Q2: What is the best yarn for beginners?
A2: Acrylic yarn is often recommended for beginners due to its affordability and ease of use. It’s forgiving and comes in a wide range of colors, making it perfect for experimenting.
Q3: How do I know how much yarn I need?
A3: The amount of yarn you need depends on the size and complexity of your wall hanging. A good rule of thumb is to start with at least 2-3 skeins, and adjust based on your design as you go along.
Color Schemes
When it comes to creating a stunning DIY yarn wall hanging, the color scheme you choose can dramatically influence the overall vibe of your bedroom. Imagine walking into your space and being greeted by a harmonious blend of colors that not only complement each other but also resonate with your personal style. It's like the perfect playlist; each color plays its part to create a beautiful symphony. So how do you go about selecting the right colors? Let's dive in!
First off, consider the existing color palette of your bedroom. Are your walls painted in soft pastels, or do you have bold, vibrant hues? Your wall hanging should enhance these colors rather than compete with them. For instance, if your walls are a calming shade of blue, incorporating shades of white, cream, or even soft greys into your yarn can create a serene atmosphere. On the other hand, if your bedroom features warm tones like terracotta or mustard, earthy yarn colors like rust, ochre, or deep greens can bring out the warmth in your space.
Another exciting approach is to use a monochromatic scheme. This involves selecting different shades of the same color. For example, if you choose blue, you could mix light blue, navy, and teal yarns. This technique adds depth and interest while maintaining a cohesive look. Alternatively, you could opt for a complementary color scheme, where you select colors that are opposite each other on the color wheel. Think of pairing a soft lavender with a rich yellow or a deep blue with a warm orange. This creates a striking contrast that can make your wall hanging pop!
Don't forget about texture when considering your color scheme. Different yarn types can reflect light differently, which can affect how colors appear. For instance, a shiny acrylic yarn will look different compared to a matte cotton yarn, even if they are the same color. Mixing textures can add a layer of intrigue to your wall hanging, making it not just visually appealing but also tactilely interesting.
To help visualize your color choices, you might want to create a simple color palette. Here’s a quick example:
| Color Type | Example Colors |
|---|---|
| Monochromatic | Light Blue, Sky Blue, Navy |
| Complementary | Lavender & Yellow, Blue & Orange |
| Analogous | Red, Red-Orange, Orange |
Finally, don't hesitate to experiment! Sometimes the best combinations come from unexpected pairings. Grab a few yarn samples, play around with different arrangements, and see what speaks to you. Your wall hanging is a reflection of your creativity and personal style, so let your imagination run wild!
- What is the best yarn for beginners? Cotton yarn is often recommended for beginners due to its ease of use and availability in various colors.
- How do I choose a color scheme for my wall hanging? Consider the existing colors in your room, and think about whether you want a monochromatic, complementary, or analogous color scheme.
- Can I mix different types of yarn in my wall hanging? Absolutely! Mixing different yarn types can add texture and visual interest to your project.
- How do I maintain my yarn wall hanging? Regularly dusting and gently spot cleaning with a damp cloth can help keep your wall hanging looking fresh.
Textural Considerations
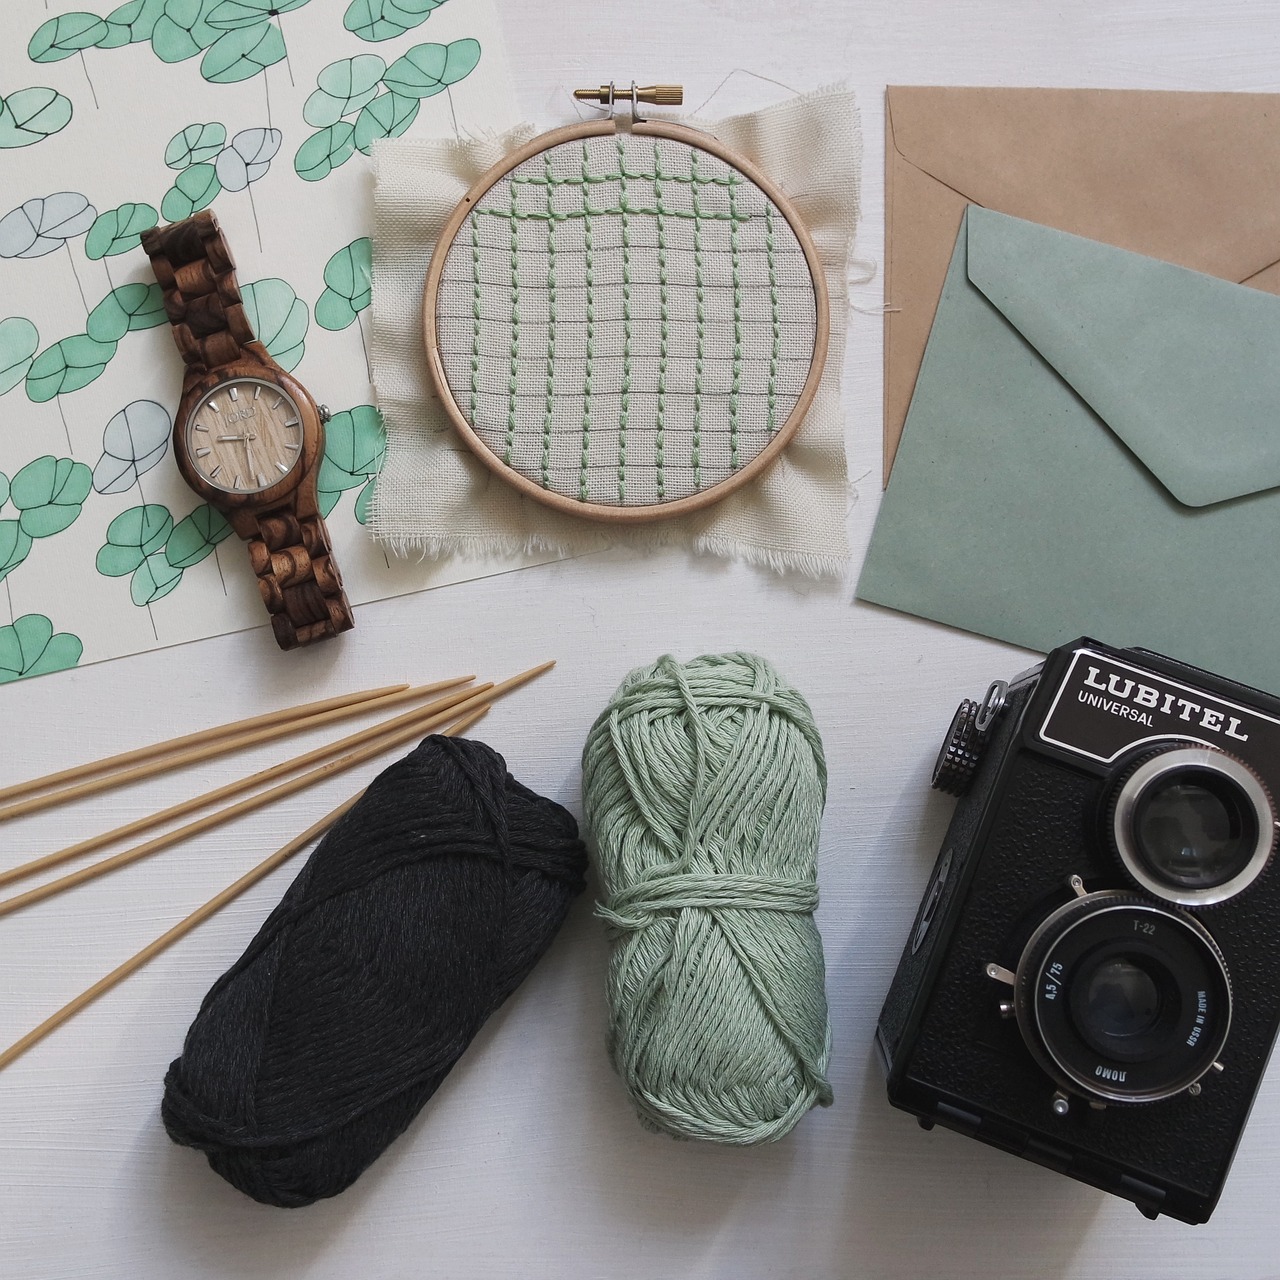
When it comes to creating a stunning yarn wall hanging, texture is your secret weapon. Think of texture as the fairy dust that transforms a simple craft into a captivating work of art. By incorporating different yarn types and additional materials, you can add depth and dimension that will make your wall hanging pop off the wall. Imagine a beautiful tapestry that not only catches the eye but also invites people to touch it, exploring the various textures you've created. This tactile experience can elevate your decor and make your space feel more inviting.
To achieve a well-rounded textural experience, consider mixing yarn types. For instance, combining a soft, fluffy yarn with a sleek, shiny yarn can create a stunning contrast that draws attention. You might choose to use cotton yarn for its durability and crispness, alongside wool yarn, which offers warmth and a cozy feel. The juxtaposition of these materials can produce a dynamic visual effect, making your wall hanging not just a decorative piece but a conversation starter.
Additionally, don’t shy away from incorporating non-yarn materials into your design. Think about using elements like feathers, beads, or even wooden accents. These additions can introduce new textures and colors, enriching your wall hanging's overall aesthetic. For example, a few strategically placed wooden beads can add an earthy feel, while feathers can lend a whimsical touch. The key is to ensure that these materials harmonize with your chosen yarns, creating a cohesive look that enhances your bedroom decor.
As you experiment with different textures, remember to keep balance in mind. Too many conflicting textures can overwhelm the viewer, while a well-balanced design can create a sense of harmony. Aim for a mix that feels intentional, where each texture serves a purpose and contributes to the overall design. You might even find it helpful to create a mood board or a small sample of your textures before committing to the final design. This way, you can visualize how everything will come together and make adjustments as needed.
In conclusion, embracing textural considerations in your yarn wall hanging project is a fantastic way to showcase your creativity and personal style. By thoughtfully selecting and combining different yarns and materials, you can craft a piece that not only looks beautiful but also feels inviting and unique. So, roll up your sleeves, let your imagination run wild, and get ready to create a masterpiece that reflects your personality and enhances your bedroom's charm!
- What type of yarn is best for beginners? Cotton yarn is often recommended for beginners due to its ease of use and availability in various colors.
- How do I choose the right colors for my wall hanging? Consider the existing color palette of your bedroom. You can use a color wheel to find complementary colors that will harmonize well.
- Can I use other materials besides yarn? Absolutely! Incorporating materials like feathers, beads, or ribbons can add unique textures and enhance your design.
- How do I care for my yarn wall hanging? Regularly dust your wall hanging and avoid direct sunlight to prevent fading. If needed, spot clean with a damp cloth.

Measuring and Cutting Yarn
When it comes to creating a stunning yarn wall hanging, measuring and cutting your yarn accurately is a game changer. Think of it as preparing the canvas for a masterpiece; if your measurements are off, the whole artwork can end up looking skewed or unbalanced. You want your wall hanging to have that perfect flow and symmetry, so let’s dive into how to do this right!
First, grab your measuring tape and decide on the desired length of your yarn strands. A good rule of thumb is to cut your yarn about twice the length you want for your final piece. This extra length allows for knots and any weaving techniques you might employ. For instance, if you want a finished strand that hangs down about 30 inches, cutting it to 60 inches will give you the flexibility you need.
Next, it’s time to cut! Make sure to use a sharp pair of scissors for a clean cut. Dull scissors can fray the ends of your yarn, which can be a real pain when you’re trying to achieve a polished look. As you cut, lay your yarn flat and use your measuring tape to ensure each piece is the same length. You can even create a template by cutting one piece to the right length and using it as a guide for the rest. This will save you time and keep everything uniform.
If you’re using multiple colors or textures, consider grouping your yarn pieces by color or type before cutting. This way, you can easily switch between different yarns while working, making the process smoother. Also, be mindful of how many strands you want for each color. A well-balanced color distribution can make your wall hanging visually appealing and cohesive.
Once you have all your pieces cut, it’s a good idea to organize them neatly. You can use a small container or a simple cardboard box to keep everything in place. This saves you from the frustration of tangled yarn when you’re ready to start weaving. Plus, it creates a little workspace that feels inviting and organized—just like the finished product you’re aiming for!
Finally, take a moment to double-check your lengths and colors. A quick review can save you from having to redo any part of your project later on. Remember, the more care you put into this initial stage, the better your wall hanging will turn out. So, grab your yarn, measure twice, cut once, and get ready to weave your beautiful creation!
- What is the best type of yarn for wall hangings? Cotton yarn is often recommended for its durability and ease of use, but wool and acrylic can also work well depending on the desired texture and look.
- How do I know how much yarn to buy? It’s best to buy extra yarn to ensure you have enough for your project. A good estimate is to purchase about 10% more than your calculated needs.
- Can I mix different yarn types in my wall hanging? Absolutely! Mixing textures can add depth and interest to your design, just be mindful of how they will interact during the weaving process.
Weaving Techniques
When it comes to creating a stunning yarn wall hanging, the you choose can make all the difference! Imagine transforming simple strands of yarn into a vibrant tapestry that tells a story or adds a splash of color to your bedroom. There are a variety of methods to explore, each offering its own unique flair and style. Whether you're a beginner or an experienced crafter, understanding these techniques will empower you to unleash your creativity.
One of the most popular methods is knotting. This technique involves tying the yarn in various ways to create intricate patterns. It's like weaving a tale with every knot you tie. For beginners, mastering a few basic knots can set a solid foundation for your wall hanging. Think of it as learning the ABCs of weaving; once you grasp the fundamentals, you can start crafting more complex designs. Some essential knots to consider include:
- Square Knot: Perfect for joining two strands together.
- Half Hitch: Great for creating a spiral effect.
- Overhand Knot: Simple yet effective for securing the ends.
As you progress, you may want to dive into advanced weaving patterns. These techniques can elevate your wall hanging from simply good to absolutely stunning. For instance, the twining technique involves intertwining two or more strands of yarn, creating a rich, textured appearance. This method can add a sense of depth and dimension, making your piece truly stand out. Another fascinating technique is looping, where you create loops of yarn that can add a playful touch to your design. Imagine the soft, fluffy texture it can bring!
To help you visualize these techniques, here's a simple comparison table of the basic and advanced methods:
| Technique | Skill Level | Description |
|---|---|---|
| Knotting | Beginner | Basic knots to secure yarn and create patterns. |
| Twining | Intermediate | Intertwining strands for texture and depth. |
| Looping | Advanced | Creating loops for a fluffy, playful effect. |
Experimenting with these techniques can be a delightful journey. Don’t be afraid to mix and match methods! The beauty of crafting is that there are no strict rules—only guidelines to inspire your creativity. As you weave, take a moment to reflect on the process. Each strand you add is a step towards creating something uniquely yours.
And remember, practice makes perfect. The more you weave, the more comfortable you'll become with these techniques. So grab your yarn, unleash your imagination, and start creating a wall hanging that will not only beautify your bedroom but also tell a story of your crafting adventure!
Q: What type of yarn is best for beginners?
A: Acrylic yarn is a great choice for beginners because it's affordable, comes in a variety of colors, and is easy to work with.
Q: How can I hang my yarn wall hanging?
A: You can use wooden dowels, adhesive hooks, or even a decorative branch to hang your wall hanging.
Q: How do I care for my yarn wall hanging?
A: Regularly dust it off and avoid exposing it to direct sunlight to prevent fading. If it gets dirty, gently spot clean with a damp cloth.

Basic Knotting Techniques
Knotting is the backbone of any yarn wall hanging, and mastering a few basic techniques can significantly elevate your crafting game. Think of knots as the foundation of a house; without a solid base, everything else may crumble. Whether you're a newbie or a seasoned crafter, understanding these fundamental knots will help you create a sturdy and visually appealing wall hanging that can withstand the test of time.
To kick things off, let’s dive into the most essential knotting techniques you’ll need:
- Square Knot: This is the classic knot that every crafter should know. To tie a square knot, take two strands of yarn, cross the right strand over the left, and then pull it through the loop. Next, cross the left strand over the right and pull it through again. This knot is not only secure but also creates a neat and tidy finish.
- Half Hitch Knot: The half hitch is a simple yet effective knot that can be used to attach yarn to a dowel or another strand. To create a half hitch, wrap the yarn around the dowel and pull it through the loop you just made. This knot is great for adding decorative elements to your wall hanging.
- Double Knot: For those moments when you need extra security, the double knot is your best friend. Simply tie a regular knot, then tie another knot on top of it. This technique is particularly useful for securing your yarn at the end of your project.
Each of these knots serves a unique purpose and can be used in various combinations to create intricate designs. Think of them as the building blocks of your wall hanging, allowing you to explore your creativity while ensuring that your work remains intact. As you practice these techniques, you’ll find that they become second nature, enabling you to focus more on your design rather than the mechanics of knotting.
Remember, the key to mastering these knots is practice. Grab some scrap yarn and a dowel, and spend a little time getting comfortable with each technique. Before you know it, you'll be able to tie knots with your eyes closed, freeing you to experiment with more complex patterns and styles. So, roll up your sleeves, and let’s get knotting!
Q1: How do I choose the right type of yarn for knotting?
A1: The best yarn for knotting is one that is sturdy yet flexible. Cotton yarn is often recommended for beginners due to its durability and ease of use. However, if you're looking for something softer, acrylic yarn is also a great choice.
Q2: Can I use different types of yarn in one wall hanging?
A2: Absolutely! Mixing different types of yarn can add texture and visual interest to your wall hanging. Just ensure that the yarns you select are compatible in terms of thickness and weight.
Q3: How do I ensure my knots stay secure?
A3: It's essential to pull your knots tightly and double-check them before moving on to the next step. If you're concerned about security, you can always apply a small dab of fabric glue to your knots for added assurance.
Q4: What if I make a mistake while knotting?
A4: Mistakes are part of the crafting process! If you find that a knot isn’t right, simply undo it and try again. The beauty of working with yarn is that it’s forgiving, allowing you to experiment and learn as you go.
Advanced Weaving Patterns
When it comes to creating a stunning yarn wall hanging, can truly take your project to the next level. These patterns not only enhance the visual complexity of your design but also showcase your skills as a crafter. Imagine walking into your bedroom and being greeted by a beautiful tapestry of colors and textures that you created with your own hands! Sounds amazing, right?
Before diving into the intricate world of advanced patterns, it’s beneficial to have a grasp on the basic techniques. Once you’re comfortable with the foundational knots and weaves, you can experiment with various styles that will make your wall hanging stand out. Here are a few popular advanced patterns you might consider:
- Chevron Pattern: This zigzag design is a crowd favorite. It involves a series of diagonal lines that create a striking visual effect. It’s perfect for adding a modern twist to your decor.
- Diamond Weave: The diamond pattern creates a stunning geometric effect that can add elegance to any space. Using a mix of yarns can make this design pop even more!
- Macramé Techniques: Incorporating macramé knots into your wall hanging can add a unique flair. These knots can create intricate designs that are both beautiful and sturdy.
To help you visualize these patterns, consider the following table that outlines the materials and techniques needed for each:
| Pattern | Materials Needed | Basic Techniques |
|---|---|---|
| Chevron | Two or more colors of yarn | Knotting, looping |
| Diamond | Thicker yarn for structure | Weaving, knotting |
| Macramé | Macramé cord, beads (optional) | Square knots, lark's head knots |
As you explore these patterns, remember that creativity is your best friend. Don’t hesitate to mix and match techniques. For instance, you can combine the chevron pattern with macramé knots to create a truly unique piece. The beauty of crafting is that there are no hard and fast rules; it’s about expressing your personal style and making something that resonates with you.
In addition to these patterns, you can also experiment with color gradients and layering techniques. By using different shades of the same color, you can create a mesmerizing ombre effect that adds depth to your wall hanging. Layering different textures, such as incorporating fabric strips or beads, can also enhance your piece, making it a true work of art.
Ultimately, the key to mastering advanced weaving patterns is practice. Don’t be discouraged if your first attempts don’t turn out as expected. Each piece you create is a stepping stone toward honing your skills. So, grab your yarn, unleash your imagination, and let your creativity flow!
Q: How do I choose the right yarn for advanced patterns?
A: Opt for yarns that have good tensile strength and are easy to work with. Cotton and wool are excellent choices because they hold their shape well and are available in various colors and textures.
Q: Can I combine different yarns in one wall hanging?
A: Absolutely! Mixing different yarns can create interesting textures and depth in your design. Just make sure they have similar thickness for a cohesive look.
Q: What if I'm not skilled in advanced techniques?
A: Start with simpler patterns and gradually work your way up. There are plenty of tutorials available online that can guide you through each step.
Q: How long does it take to complete a wall hanging?
A: The time varies based on the complexity of the design and your skill level. A simple wall hanging may take a few hours, while more intricate designs could take several days.
Finishing Touches
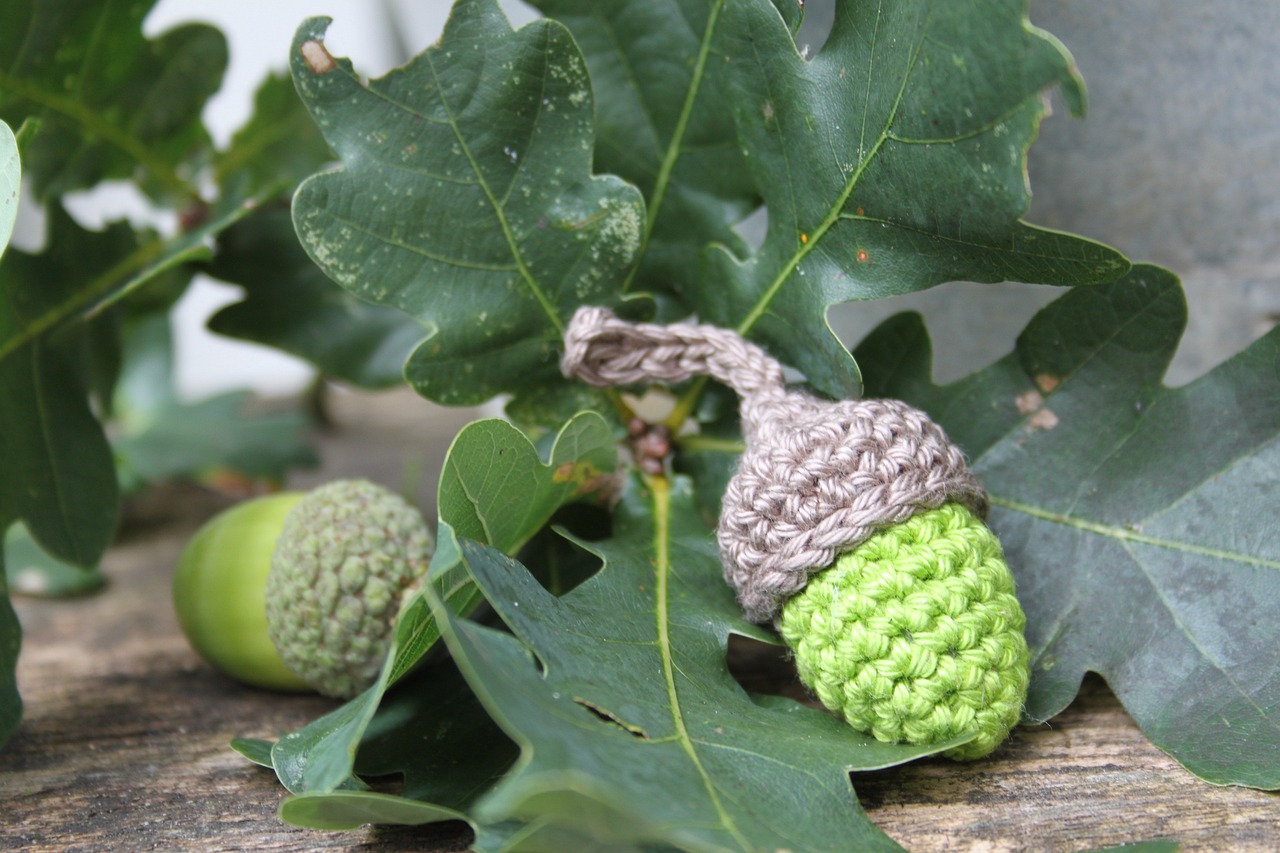
When it comes to your DIY yarn wall hanging, the are what truly elevate your creation from a simple craft project to a stunning piece of art. These final steps can transform your wall hanging into a focal point of your bedroom decor, making it not just a decoration but a conversation starter. So, let’s dive into the details of how to perfect your masterpiece!
First and foremost, consider adding some embellishments. This could be anything from beads and feathers to small wooden charms or even dried flowers. These elements can create a sense of depth and personality in your wall hanging. For example, if you’re using a bohemian style, adding natural elements like feathers can enhance the organic feel of your design. On the other hand, if you’re leaning towards a more modern aesthetic, sleek metallic beads might be the perfect touch.
Next, let’s talk about how to hang your wall hanging. The method you choose can significantly affect how your piece is displayed. Here are a few popular methods:
- Wooden Dowel: This is a classic choice. Simply attach your yarn to a wooden dowel and hang it using twine or string. It’s simple, effective, and allows for easy adjustments.
- Command Strips: If you want to avoid nails or hooks, command strips are a great option! They are easy to use and won’t damage your walls.
- Picture Frame Hanger: For a more polished look, you can frame your wall hanging. This option adds a sophisticated touch and makes it easy to switch out designs.
After hanging, it's essential to check that your wall hanging is straight and secure. Take a step back and look at it from different angles. You want to ensure it hangs just right, creating that perfect visual impact. If it seems off, don’t hesitate to make adjustments until you achieve that flawless look.
Lastly, let’s discuss the care and maintenance of your yarn wall hanging. Over time, dust and dirt can accumulate, dulling its vibrant colors. To keep your piece looking fresh and vibrant, consider the following maintenance tips:
- Gently shake or vacuum your wall hanging with a soft brush attachment to remove dust.
- If it gets stained, spot clean with a damp cloth and mild soap, but avoid soaking it.
- Keep it out of direct sunlight to prevent fading.
By paying attention to these finishing touches, you’ll ensure that your yarn wall hanging not only looks amazing but also lasts for years to come. So, get creative with your embellishments, choose the right hanging method, and don’t forget to care for your beautiful creation. Your bedroom will thank you!
1. What type of yarn is best for wall hangings?
While it depends on your personal style, cotton yarn is often preferred for its durability and ease of use. Wool adds warmth, and acrylic is great for vibrant colors. Consider mixing them for added texture!
2. How do I clean my yarn wall hanging?
Dust your wall hanging regularly with a soft brush or vacuum. For stains, use a damp cloth with mild soap. Avoid soaking it to prevent damage.
3. Can I use other materials besides yarn?
Absolutely! Incorporating materials like fabric, ribbon, or even natural elements like twigs can add unique textures and styles to your wall hanging.
4. What if I want to change the design later?
If you want to update your wall hanging, simply unhang it and rework it with new colors or patterns. Yarn is versatile and allows for easy modifications!
5. How do I ensure my wall hanging stays straight when hung?
Use a level to ensure it's straight when hanging. If you notice it tilting, adjust the hanging method or use additional support like a second dowel.

Hanging Your Wall Hanging
Once you've poured your heart and soul into creating a stunning yarn wall hanging, the last thing you want is for it to be poorly displayed. Properly hanging your wall hanging is crucial, not just for showcasing your hard work, but also for ensuring it remains in pristine condition. So, how do you go about doing this? Well, let's dive into some effective methods that will make your masterpiece shine!
First, consider the location where you want to hang your creation. Is it going to be a focal point above your bed, or perhaps a cozy accent in your reading nook? The placement can significantly impact the overall aesthetic of your bedroom. Once you've decided on the perfect spot, it’s time to think about the hanging method. You have several options, each with its own advantages:
- Nail or Hook: This is the most straightforward method. Simply use a small nail or a decorative hook to hang your wall hanging. Make sure to choose a sturdy nail that can support the weight of your yarn masterpiece.
- Wooden Dowel: If your wall hanging has a top edge that can be secured, threading a wooden dowel through the top can provide a clean and polished look. You can then use twine or string to hang the dowel from a hook or nail.
- Adhesive Strips: For those who want to avoid damaging their walls, adhesive strips can be a great alternative. They are easy to use and can hold lightweight pieces securely.
When hanging your piece, ensure it’s level. A crooked wall hanging can be distracting and take away from the beauty of your creation. You can use a level tool or simply step back and take a look from a distance to ensure it’s hanging straight. Additionally, consider the height at which you hang your wall hanging. A good rule of thumb is to place it at eye level, which typically ranges from 57 to 60 inches from the floor, depending on your personal preference and the room's layout.
Finally, don’t forget to step back and admire your work! Hanging your yarn wall hanging should be a rewarding experience, allowing you to appreciate the time and effort you put into crafting it. With the right placement and hanging method, your wall hanging will not only enhance your bedroom decor but also serve as a beautiful reminder of your creativity.
Here are some common questions people have when it comes to hanging their yarn wall hangings:
- How do I know if my wall can support the weight of my hanging? It's important to assess the weight of your wall hanging and ensure that the hanging method you choose is appropriate for your wall type. For heavier pieces, consider using wall anchors or screws.
- Can I hang my wall hanging outside? If your yarn wall hanging is made from durable materials, you can hang it outside. However, be cautious of weather conditions that may cause fading or damage.
- What if I want to change the location of my wall hanging? If you’re using adhesive strips, they can be easily removed and repositioned without damaging the wall. For nails or hooks, simply fill in the holes and touch up the paint if necessary.

Care and Maintenance
Caring for your yarn wall hanging is essential to ensure it remains a vibrant and eye-catching piece in your bedroom. Just like a beloved plant needs water and sunlight, your wall hanging requires some TLC to keep it looking its best. Here are some key tips to maintain its beauty:
First and foremost, dusting should be a regular part of your cleaning routine. Over time, dust and dirt can accumulate on the fibers, dulling their colors and textures. A gentle approach works best; use a soft cloth or a feather duster to lightly brush away any dust. For those who have a more intricate design, you might want to use a vacuum cleaner with a brush attachment on a low setting. This will help you reach those nooks and crannies without damaging the yarn.
Next, consider the environment where your wall hanging is displayed. If it’s near a window, you might want to think about the sunlight exposure. Prolonged direct sunlight can fade the colors of your yarn, especially if it’s made of natural fibers. To mitigate this, you can either rotate the hanging periodically or use sheer curtains to diffuse the light. Additionally, be mindful of humidity levels. High humidity can lead to mold growth, especially in wool yarns. If you live in a particularly humid area, consider using a dehumidifier in your space.
When it comes to washing, always check the yarn label for specific care instructions. Most yarn wall hangings should not be submerged in water, as this can lead to warping or damage. Instead, if your piece needs a deeper clean, spot clean it with a damp cloth and a mild detergent. For stubborn stains, a gentle scrub with a soft-bristled toothbrush can work wonders. Always allow your wall hanging to air dry completely before rehanging it.
Lastly, think about storage if you ever decide to take your wall hanging down. Avoid folding it, as this can create creases. Instead, roll it up gently and store it in a cool, dry place. If you have multiple wall hangings, consider using a garment bag to keep them safe from dust and pests.
By following these simple care and maintenance tips, your yarn wall hanging can remain a stunning focal point in your bedroom for years to come. Remember, just like any piece of art, it deserves the attention and respect that enhances its beauty and longevity.
- How often should I dust my yarn wall hanging? It's best to dust it at least once a month or whenever you notice dust accumulating.
- Can I wash my yarn wall hanging? Spot cleaning is recommended. Avoid submerging it in water unless the yarn label specifically states it's safe to do so.
- What should I do if my wall hanging gets wet? Gently blot the area with a dry cloth and allow it to air dry completely. Avoid direct heat sources.
- How can I prevent fading from sunlight? Consider rotating your wall hanging or using sheer curtains to diffuse direct sunlight.
Frequently Asked Questions
- What type of yarn is best for a wall hanging?
Choosing the right yarn is essential for both aesthetics and durability. Cotton yarn is a great choice for its softness and versatility, while wool adds warmth and texture. Acrylic yarn is budget-friendly and comes in a wide range of colors, making it perfect for beginners.
- How do I choose a color scheme for my wall hanging?
When selecting a color scheme, consider the existing decor in your bedroom. Aim for colors that complement your furniture and bedding. You can use a color wheel to find harmonious combinations or go for a monochromatic look for a more understated elegance.
- What tools do I need to create a yarn wall hanging?
Essential tools include yarn, scissors, a wooden dowel or branch for hanging, measuring tape, and optional embellishments like beads or feathers. Having these tools ready will make your crafting experience smooth and enjoyable.
- What are some basic weaving techniques I should know?
Start with basic knotting techniques such as the square knot or lark's head knot. These foundational knots will help you create secure and stylish patterns. As you gain confidence, you can explore more advanced techniques and patterns.
- How can I ensure my wall hanging lasts?
To maintain the longevity of your yarn wall hanging, keep it away from direct sunlight to prevent fading. Regularly dust it off and avoid exposing it to moisture. If it gets dirty, spot clean with a damp cloth and let it air dry.
- What are some creative ways to hang my wall hanging?
You can use adhesive hooks, nails, or even a decorative clip to hang your wall hanging. Make sure to choose a method that suits the weight of your creation and complements your bedroom's style.


