Beautiful DIY Vases to Adorn Your Space
Are you tired of looking at the same old decor in your home? Do you wish to add a splash of creativity and personal touch to your space? Well, you’re in for a treat! This article explores creative and beautiful DIY vase ideas that can enhance your home decor. Whether you're a seasoned DIY enthusiast or a beginner looking to dabble in arts and crafts, these ideas are designed to inspire you. Imagine walking into your living room and being greeted by stunning vases that reflect your unique style and personality. From elegant glass jars to rustic upcycled bottles, there’s a world of possibilities waiting for you. So, grab your crafting supplies, and let’s dive into the fascinating world of DIY vases!
When it comes to creating stunning DIY vases, selecting the right materials is crucial. The materials you choose can significantly impact the overall look and feel of your vases. Here are some common materials you can consider:
- Glass: Clear glass vases offer a timeless elegance and can be easily decorated.
- Ceramic: These vases provide a sturdy option and can be painted or glazed in various colors.
- Upcycled Items: Old bottles, jars, and even tin cans can be transformed into unique vases, making them an eco-friendly choice.
Choosing materials that resonate with your personal style is essential. Think about the vibe you want to create in your space. Do you want something modern and sleek, or are you leaning towards a more rustic and cozy feel? The right materials will help you achieve that vision.
Glass jars are incredibly versatile and easy to transform into beautiful vases. They come in various shapes and sizes, making them perfect for any decor style. You can keep them simple or go all out with decorations. The best part? You probably have some old jars lying around your home just waiting for a new purpose!
To decorate and personalize glass jars, consider the following techniques:
One of the most effective ways to enhance the appearance of glass jar vases is through painting. You can use different types of paint to achieve stunning effects. Here are a couple of popular techniques:
- Spray Paint: Quick and easy, spray paint can give your jars a sleek, uniform look.
- Acrylics: Perfect for more intricate designs, acrylic paints allow for creativity and detail.
Ombre effects can add depth and dimension to your glass jar vases. To create this gradient look, start with a base color and gradually blend in a lighter or darker shade. It’s like watching a sunset captured in a jar! This technique is simple yet incredibly effective, making your vases stand out.
If you're looking to add intricate designs, stenciling is the way to go. You can find stencils in various patterns, from floral to geometric designs. Simply apply the stencil to your jar and use a sponge or brush to fill in the design with paint. This method allows you to achieve a professional finish without needing advanced skills.
Incorporating natural elements into your glass jar vases can enhance their beauty and create a rustic touch. Consider using materials like:
- Stones: Fill the bottom of your jar with colorful stones for a pop of color.
- Sand: Layering sand can create a beautiful beachy vibe.
- Twigs: Adding twigs or branches can give your vases a natural, organic look.
Upcycling old bottles into vases is not only an eco-friendly option but also a stylish one. You can create stunning centerpieces that tell a story while helping the environment. Plus, it’s a fantastic way to repurpose items that would otherwise go to waste. Think about all those glass bottles you’ve accumulated—now they can shine as beautiful vases!
Cutting bottles requires precision and care. To safely create unique vase shapes, consider these methods:
- Score and Snap: Use a glass cutter to score the bottle, then carefully snap it along the line.
- Heat Method: Heat the bottle with hot water and then cool it rapidly to create a clean break.
Always wear protective gear when cutting bottles to ensure safety!
Adding decorative wraps can elevate the look of your upcycled bottle vases. Materials like twine, fabric, or lace can enhance their appeal and add a personal touch. Imagine a rustic twine wrap around a glass bottle filled with fresh flowers—it's a simple yet elegant statement piece!
Creating seasonal decor with DIY vases allows you to refresh your space throughout the year. You can adapt your vases for different seasons and holidays by changing the contents or decorations. For instance, in spring, fill your vases with vibrant flowers, while in autumn, consider using dried leaves or pinecones. This approach not only keeps your decor fresh but also allows you to express your creativity throughout the year.
Q: What materials are best for DIY vases?
A: Glass, ceramic, and upcycled items are great choices for DIY vases. Choose materials that fit your style!
Q: Can I use any paint on glass jars?
A: Yes, but make sure to use paint designed for glass surfaces for the best results.
Q: How do I safely cut glass bottles?
A: Use a glass cutter and wear protective gear. Consider the score and snap method for safety.
Q: How can I incorporate seasonal themes into my vases?
A: Change the contents or decorations of your vases according to the season or upcoming holidays for a fresh look!
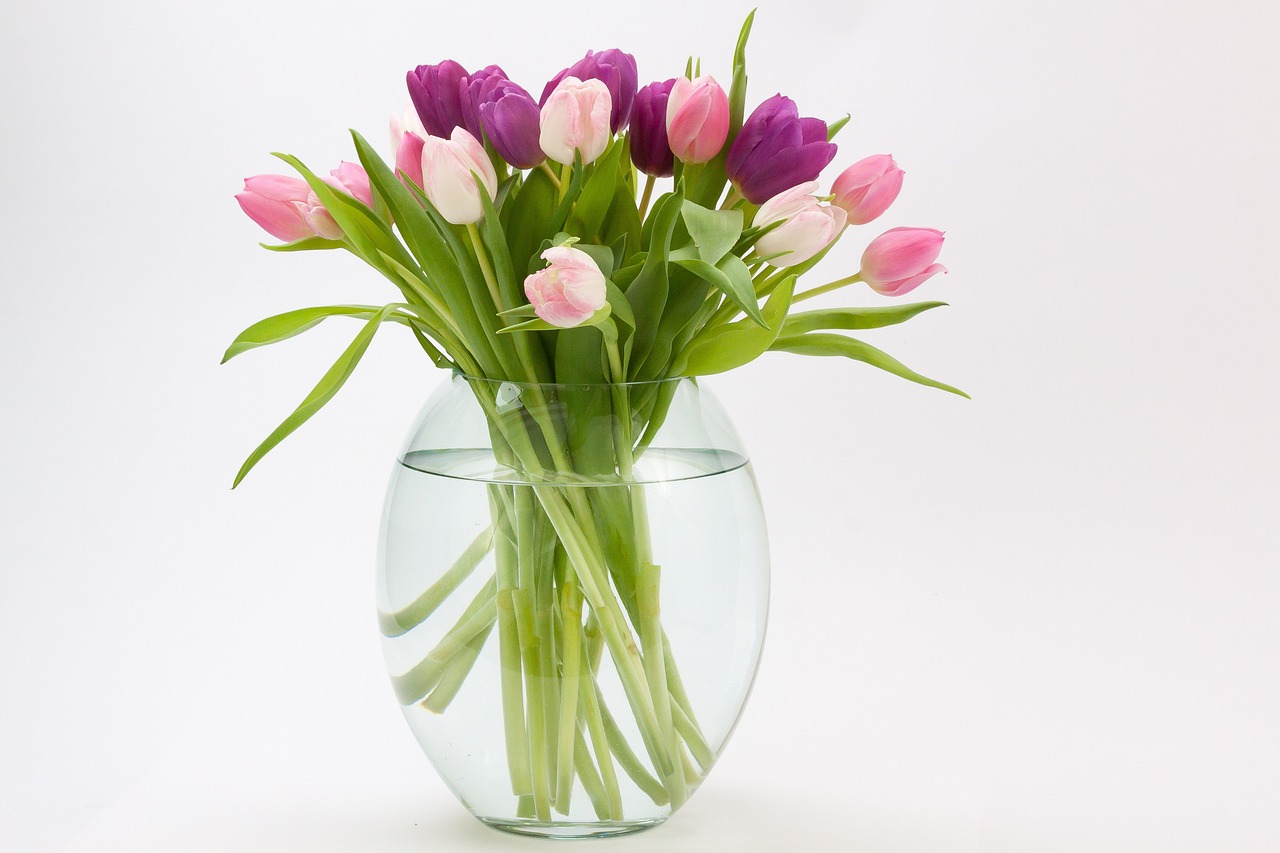
Choosing the Right Materials
When it comes to creating stunning DIY vases, the choice of materials is absolutely crucial. You want to ensure that your vases not only look good but also reflect your personal style and fit seamlessly into your home decor. So, what are the best materials to consider? Let's dive into some popular options!
Firstly, glass is a classic choice. It’s versatile, easy to work with, and can be transformed in countless ways. Whether you’re using old jars, bottles, or even store-bought glass vases, the transparency of glass allows you to showcase beautiful floral arrangements or decorative elements inside. Plus, glass can be painted or adorned with various embellishments to match any decor style.
Next up, we have ceramic. Ceramic vases are often more durable than glass and come in a variety of colors and designs. They can add a touch of elegance to your space, especially if you opt for hand-painted or uniquely shaped pieces. If you’re feeling adventurous, consider trying your hand at pottery. Creating your own ceramic vases can be an incredibly rewarding experience!
Don’t forget about upcycled materials. Using items you already have at home not only saves money but also helps the environment. Think about old tin cans, mason jars, or even wooden crates. These items can be transformed into beautiful vases with just a little creativity. For example, a simple tin can can be painted and decorated with twine to create a rustic look, perfect for farmhouse-style decor.
To give you a clearer idea of what materials you might want to use, here’s a quick comparison table:
| Material | Pros | Cons |
|---|---|---|
| Glass | Versatile, transparent, easy to paint | Fragile, can break easily |
| Ceramic | Durable, elegant, available in various designs | Heavier, may be more expensive |
| Upcycled Items | Eco-friendly, cost-effective, unique | May require more effort to transform |
In conclusion, the materials you choose for your DIY vases can significantly influence the final look and feel of your creations. Whether you lean towards the elegance of glass and ceramic or the charm of upcycled items, each option has its unique advantages. So, gather your materials and let your creativity flow!
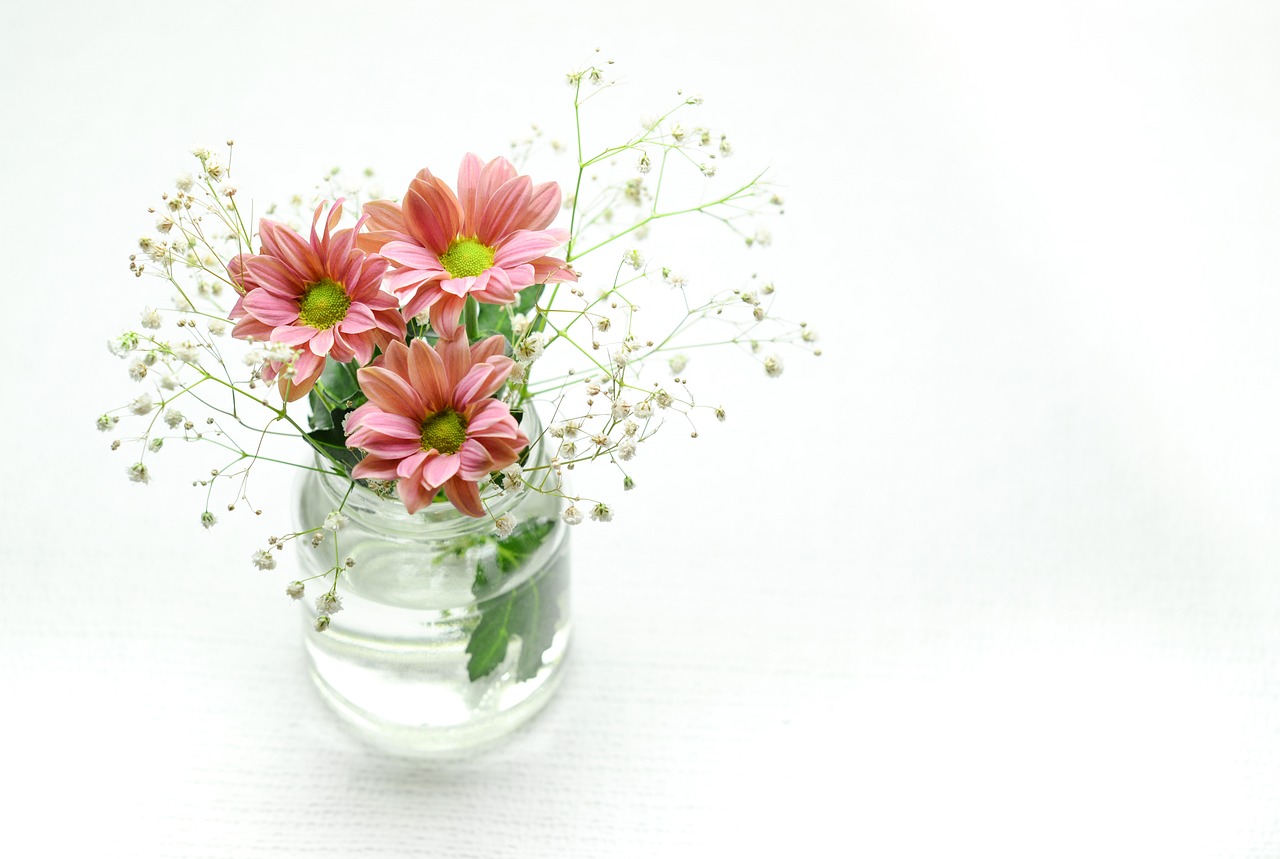
Simple Glass Jar Vases
Glass jars are not just for storing food or keeping your pantry organized; they can be transformed into stunning vases that add a personal touch to your home decor. The beauty of glass jar vases lies in their versatility and accessibility. Whether you have an old mason jar lying around or a decorative glass container, you can easily create a unique piece that reflects your style. Imagine walking into a room and being greeted by a vibrant bouquet of flowers arranged in a beautifully decorated glass jar. It’s an instant mood booster!
To get started on your DIY journey, consider the various ways to decorate and personalize your glass jars. You can paint them, wrap them in twine, or even create a layered effect with sand and stones. The options are endless! Here are a few ideas to inspire your creativity:
- Painted Glass Jars: A splash of color can instantly elevate a plain glass jar. Use acrylic paints, spray paints, or even chalk paint to create a look that complements your decor.
- Natural Elements: Incorporating natural elements like pebbles, sand, or dried flowers can add a rustic charm to your vases. These materials not only look great but also bring a piece of nature indoors.
- Layering Techniques: Try layering different materials inside the jar, such as colored sand or small stones, to create depth and interest.
One of the best parts of using glass jars for vases is that they are incredibly easy to customize. You can choose colors and designs that match your existing decor or even create themed vases for special occasions. For instance, during the fall, you might opt for warm colors and add some mini pumpkins or pinecones for a seasonal touch.
Moreover, glass jar vases are perfect for any occasion, be it a casual dinner with friends or a formal gathering. You can create centerpieces that dazzle your guests without spending a fortune. Just think about the conversations that will spark when guests admire how you transformed something so ordinary into a stunning centerpiece!
Now, let’s dive deeper into some painting techniques that can take your glass jar vases to the next level:
Painting your glass jars is a fantastic way to add a splash of color and personality. Here are some popular techniques to consider:
- Spray Paint: This is a quick and easy method to cover large areas. Choose a color that matches your decor and spray evenly for a smooth finish.
- Acrylic Paint: Perfect for detailed designs, acrylic paint can be applied with brushes or sponges. You can create intricate patterns or even abstract art on your jars!
For those who want to experiment with more advanced techniques, consider trying out ombre effects or stenciling designs. These methods can add a professional touch to your DIY projects.
The ombre effect is a stunning way to blend colors and create depth. To achieve this look, start with a lighter shade at the top of the jar and gradually blend into a darker hue at the bottom. This gradient effect can make your vase the focal point of any room!
If you're looking to add some intricate designs to your glass jars, stenciling is the way to go. You can purchase stencils or create your own using cardstock. Simply secure the stencil on the jar and apply your paint. This technique allows for endless creativity, whether you want floral patterns, geometric shapes, or even personalized messages.
Incorporating these techniques will not only enhance the visual appeal of your glass jar vases but also give you a sense of accomplishment as you watch your creative vision come to life. So, gather your materials, unleash your imagination, and start crafting beautiful glass jar vases that will brighten up your space!
Painting Techniques
When it comes to transforming your glass jar vases, the right can make all the difference. Whether you're aiming for a sleek modern look or a rustic charm, the methods you choose will define your vase's personality. One of the simplest yet most effective ways to revamp a glass jar is through spray painting. This technique allows for even coverage and a smooth finish, making it perfect for those who want to achieve a professional look without the fuss. Just remember to work in a well-ventilated area and cover surfaces to avoid any unwanted splatters!
If you prefer a more hands-on approach, acrylic paints are a fantastic option. They come in a myriad of colors and can be mixed to create custom shades. To start, simply clean your glass jar thoroughly and apply a base coat of your chosen color. Once dry, you can use a brush or sponge to add layers or patterns. The beauty of acrylics is that they dry quickly, allowing you to build up your design without long waiting times.
Now, let’s talk about the ombre effect. This trendy technique creates a beautiful gradient that can add depth and dimension to your vases. To achieve this look, you'll need two or more shades of paint. Start by applying the lightest color at the bottom of the jar and gradually blend in the darker shade as you move up. A damp sponge can help you achieve that seamless transition. The result? A stunning vase that catches the eye and adds a touch of elegance to your decor!
Another exciting method is stenciling. This allows you to incorporate intricate designs into your vases, making them truly unique. You can purchase pre-made stencils or create your own using cardstock or plastic sheets. Simply secure the stencil to the jar with painter’s tape, then use a sponge or brush to apply paint over the stencil. Once removed, you’ll be left with a crisp design that looks professionally done. It’s a great way to personalize your vases for special occasions or to match your home decor.
Incorporating these painting techniques will not only enhance the aesthetic appeal of your glass jar vases but also allow you to express your creativity. So, gather your supplies, put on some music, and let your imagination run wild as you create beautiful, one-of-a-kind pieces that reflect your style!
- What type of paint works best for glass? Acrylic paint is commonly recommended for glass surfaces as it adheres well and dries quickly. For a more durable finish, consider using specially formulated glass paint.
- Can I use spray paint on glass? Yes, spray paint is an excellent option for glass. Just ensure you use a paint specifically designed for glass to achieve the best results.
- How do I seal my painted vases? To protect your painted designs, consider applying a clear sealant or spray varnish once the paint is completely dry.
- Can I wash my painted vases? It’s best to hand wash your painted vases with mild soap and water to preserve the paint. Avoid soaking them or using abrasive materials.
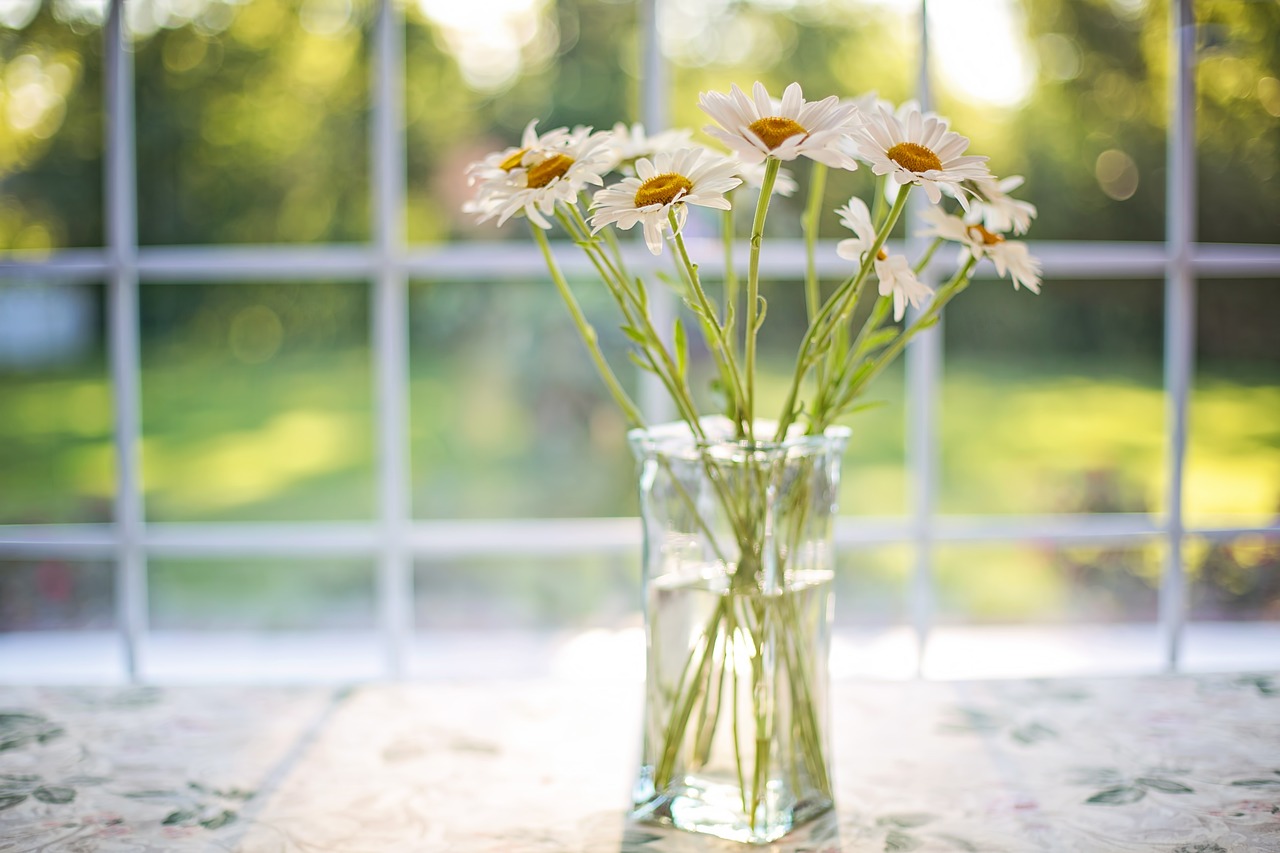
Ombre Effects
When it comes to adding a touch of elegance and creativity to your DIY glass jar vases, are a game changer. This technique allows you to blend colors seamlessly, creating a stunning gradient that can elevate the look of any vase. Imagine a beautiful transition from a deep navy blue at the bottom to a soft sky blue at the top—it's like capturing the essence of a sunset in your home decor!
To achieve this mesmerizing effect, you don’t need to be a professional artist. All you need are a few basic supplies and a bit of patience. Start with a clean glass jar, and choose your paint colors wisely. The key is to select shades that complement each other. You might opt for two to three colors that flow well together. For instance, a vibrant orange fading into a warm yellow can bring a cheerful vibe to your space, especially during the summer months.
Here’s a simple step-by-step guide to create your own ombre effect:
- Gather Your Supplies: You’ll need glass jars, acrylic or spray paint, painter’s tape, a paintbrush or sponge, and a clear sealant.
- Prep Your Jar: Clean the glass jar thoroughly and ensure it’s dry before you start painting.
- Tape Off Sections: Use painter’s tape to section off the part of the jar where you want the ombre effect. This will help create a clean line between colors.
- Start Painting: Begin with the darkest color at the bottom. Apply it evenly, then gradually blend in the lighter color as you move up the jar. You can use a sponge or brush to dab and blend the edges where the colors meet, achieving that beautiful gradient.
- Dry and Seal: Allow the paint to dry completely, then finish with a clear sealant to protect your masterpiece.
Don’t be afraid to experiment with different color combinations and techniques. You can even try using a sponge dabbing method for a more textured look or a spray paint technique for a smooth finish. The beauty of DIY projects lies in the freedom to express your creativity!
Once you’ve mastered the art of ombre painting, you can use this technique on various types of vases, not just glass jars. Consider applying it to ceramic pots or even metal containers for a chic, cohesive look throughout your home. The ombre effect can be tailored for any season—think pastel shades for spring or rich jewel tones for fall.
Incorporating ombre effects into your DIY vases not only enhances their aesthetic appeal but also allows you to showcase your personal style. So grab your paintbrush and get ready to transform ordinary glass jars into stunning works of art that will surely impress your guests!
Q: Can I use any type of paint for the ombre effect?
A: While acrylic paint is recommended for its versatility and ease of use, you can also use spray paint. Just ensure that the paint is suitable for glass surfaces.
Q: How do I prevent the paint from chipping off?
A: Using a clear sealant after the paint has dried will help protect your design. Make sure to follow the instructions on the sealant for the best results.
Q: Can I create an ombre effect on other materials?
A: Absolutely! The ombre technique can be applied to various materials like ceramic, wood, and even fabric. Just adjust your painting method accordingly.
Q: How long does it take for the paint to dry?
A: Drying times can vary based on the type of paint used. Generally, acrylic paint can dry within 30 minutes to an hour, while spray paint may take longer. Always check the manufacturer's instructions.
Stenciling Designs
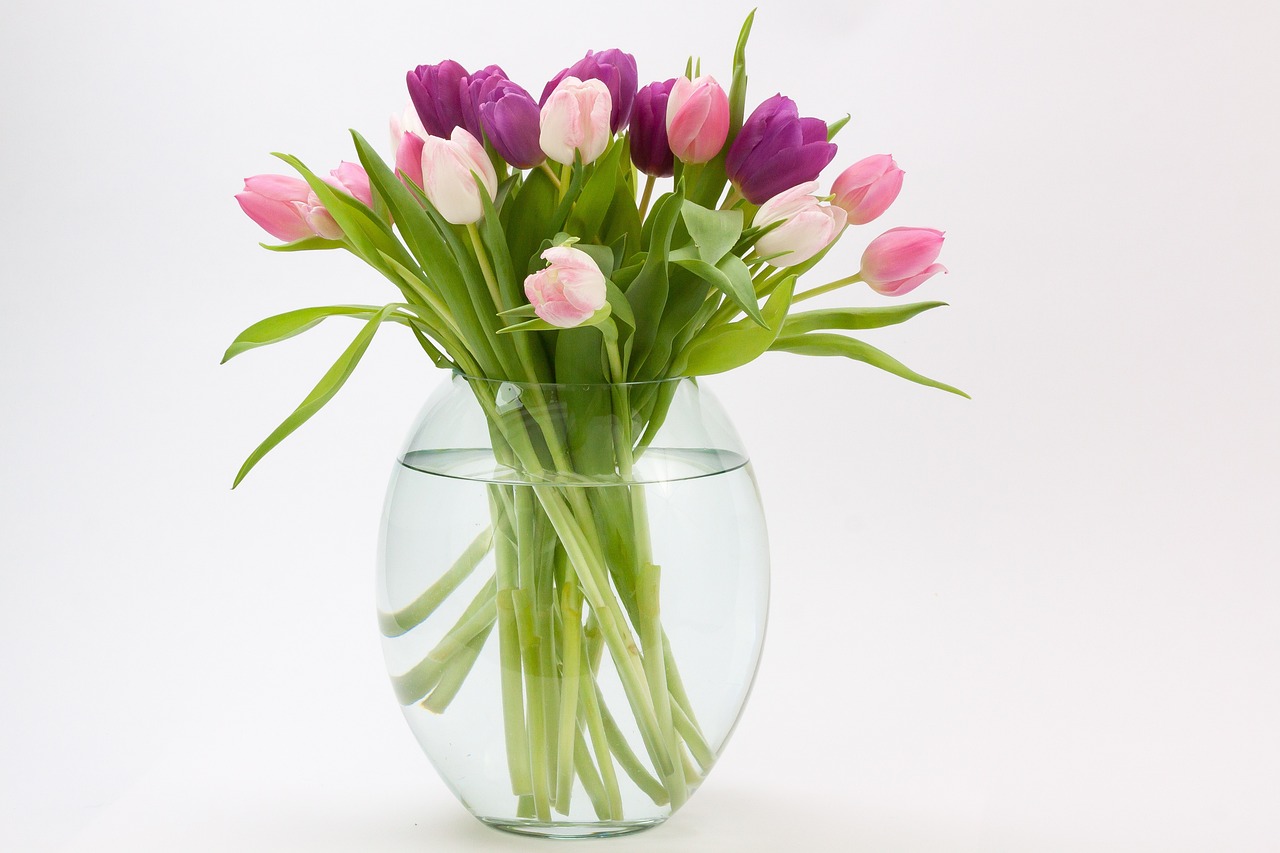
Stenciling is a fantastic way to add a touch of **intricacy** and **personal flair** to your glass jar vases. Imagine transforming a simple jar into a stunning piece of art that catches the eye of anyone who walks into your space. The beauty of stenciling lies in its versatility; you can choose from a range of designs—from elegant florals to geometric patterns—that resonate with your style. Let’s dive into the world of stenciling and explore how you can achieve a professional finish with relative ease.
To get started, you’ll need a few basic supplies: stencils, adhesive spray, acrylic paint, and a sponge or brush. The first step is to select your stencil design. You can either purchase pre-made stencils or create your own using cardstock or plastic sheets. If you’re feeling creative, why not design a stencil that reflects your personality or the season? For example, a leaf pattern could be perfect for autumn, while a snowflake design would shine during winter.
Once you have your stencil ready, the next step is to prepare the glass jar. Make sure it's clean and dry; a little rubbing alcohol can help remove any residues. Then, use the adhesive spray to attach the stencil to the jar. This will prevent any paint from seeping underneath, ensuring a crisp, clean design. Now comes the fun part—painting! Use a sponge or brush to apply the acrylic paint over the stencil. It’s best to use a **dabbing motion** rather than brushing, as this helps to prevent the paint from bleeding under the edges.
After you’ve painted the design, carefully lift the stencil away while the paint is still wet. This will reveal your masterpiece! If you want to add more depth, consider layering different colors or using a contrasting shade for the stencil. Once the paint dries, you can seal it with a clear acrylic spray to protect your design from scratches and fading.
Stenciling not only allows you to create beautiful vases but also opens up a world of possibilities for customizing your home decor. You can use this technique on various surfaces, so why stop at glass? Try stenciling on wood, fabric, or even metal for a cohesive look throughout your home. The only limit is your imagination!
In summary, stenciling is a **fun** and **creative** way to elevate your DIY vase projects. With just a few materials and a bit of patience, you can turn ordinary glass jars into stunning decorative pieces that reflect your unique style. So grab your supplies and let your creativity flow!
- What type of paint is best for glass stenciling? Acrylic paint is highly recommended as it adheres well to glass and is available in various colors.
- Can I use stencils on other materials? Absolutely! Stencils can be used on wood, fabric, metal, and even walls for a cohesive decor theme.
- How do I clean my stencils after use? You can wash your stencils with warm, soapy water. Just be sure to dry them thoroughly before storing.
- Is stenciling easy for beginners? Yes! With a little practice, anyone can master stenciling. Start with simple designs to build your confidence.
Adding Natural Elements
Incorporating natural elements into your DIY glass jar vases can truly elevate their aesthetic appeal and bring a touch of the outdoors inside your home. Imagine walking into a room filled with the earthy scent of pine or the calming presence of smooth river stones. These elements not only enhance the beauty of your vases but also create a connection to nature that can be incredibly grounding. Whether you’re going for a rustic vibe or a more modern look, natural elements can seamlessly blend into your design.
One of the simplest ways to add natural elements is by using stones, sand, or even twigs. For instance, layering colorful stones at the bottom of a glass jar can add an interesting texture and color contrast to your floral arrangements. You can create a stunning visual effect by choosing stones that complement the colors of the flowers you plan to use. Similarly, sand can serve as a beautiful base, especially if you opt for colored sand. It’s like painting a canvas, but instead, you’re creating a vibrant foundation for your vase.
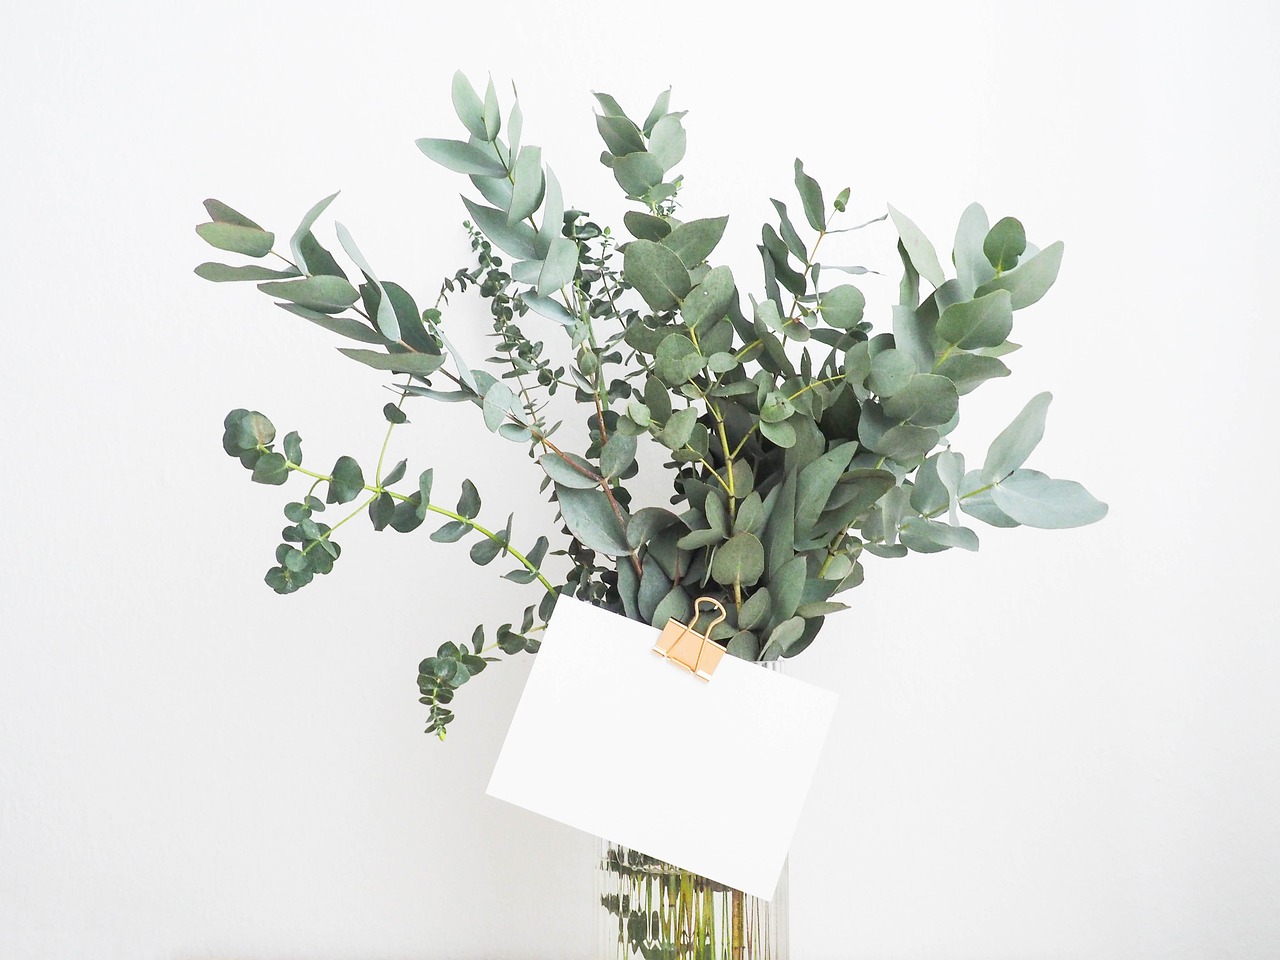
Another enchanting idea is to incorporate twigs or branches into your arrangement. A few slender twigs can add height and dimension, turning a simple bouquet into a striking centerpiece. You can even spray paint the twigs in metallic colors or leave them in their natural state for a more organic look. The contrast between the delicate flowers and the sturdy twigs can create a captivating visual balance.
Here’s a quick breakdown of some natural elements you might consider:
- Stones: Perfect for adding texture and color.
- Sand: Great for a colorful base, especially in clear vases.
- Twigs: Ideal for height and structure in your arrangements.
- Flowers: Use wildflowers or dried flowers for a natural feel.
Additionally, you can think outside the box by incorporating elements like moss or dried leaves. Moss can be used to cover the base of your arrangement, providing a lush, green look that contrasts beautifully with the glass. Dried leaves, on the other hand, can be scattered around the vase or even layered within the glass for a rustic autumnal feel. The possibilities are endless, and the best part is that you can customize your vases to suit any season or occasion!
Finally, don’t forget about the power of fragrance. Adding natural elements like herbs or scented flowers can infuse your space with delightful aromas. Imagine a vase filled with rosemary and lavender—beautiful to look at and heavenly to smell! When you incorporate these natural elements, you’re not just decorating; you’re creating an experience that appeals to all the senses.
Q: What are some good natural elements to use in DIY vases?
A: Some popular options include stones, sand, twigs, moss, and dried flowers. You can mix and match these elements to create a unique look.
Q: How do I ensure that the natural elements I use are safe for my flowers?
A: Always wash natural elements like stones and twigs to remove dirt and potential pests. Avoid using any elements that may leach harmful substances into the water.
Q: Can I use artificial flowers with natural elements?
A: Absolutely! Artificial flowers can be paired beautifully with natural elements, allowing for low-maintenance arrangements that still look vibrant and fresh.
Upcycled Bottle Vases
Upcycling old bottles into vases is not just a **creative** endeavor; it's an eco-friendly choice that allows you to express your personal style while contributing to sustainability. Imagine transforming a simple glass bottle, once destined for the recycling bin, into a stunning centerpiece that catches the eye and sparks conversation. With just a few tools and a sprinkle of creativity, you can turn these everyday items into beautiful decorative pieces that reflect your unique taste and personality.
When starting your journey into upcycled bottle vases, the first step is to gather materials. Look around your home for old glass or plastic bottles. These could be anything from wine bottles to soda bottles or even unique shaped bottles that once held sauces or oils. The beauty of using bottles is that they come in various shapes and sizes, offering endless possibilities for design. Once you have your collection, it’s time to get creative and think about how you want to decorate them.
One popular method for enhancing the aesthetic of your upcycled bottle vases is through cutting. Cutting bottles requires precision and care, but the results can be stunning. You can create different heights and shapes that will add visual interest to your decor. There are several techniques available for cutting bottles safely, such as using a glass cutter or even a DIY method involving heat and cold water. Be sure to wear protective gear and follow safety guidelines to ensure a smooth process.
After you’ve cut your bottles to your desired shape, it’s time to think about decoration. This is where the fun really begins! You can wrap your bottles with various materials to give them a fresh look. Here are some ideas:
- Twine or Jute: Wrapping twine around the bottle creates a rustic, farmhouse-style look that’s perfect for a cozy home.
- Fabric: Use colorful fabric scraps to wrap around the bottle, securing them with glue or stitches for a fun, eclectic vibe.
- Lace: For a touch of elegance, lace can be wrapped around the neck of the bottle, giving it a delicate, vintage feel.
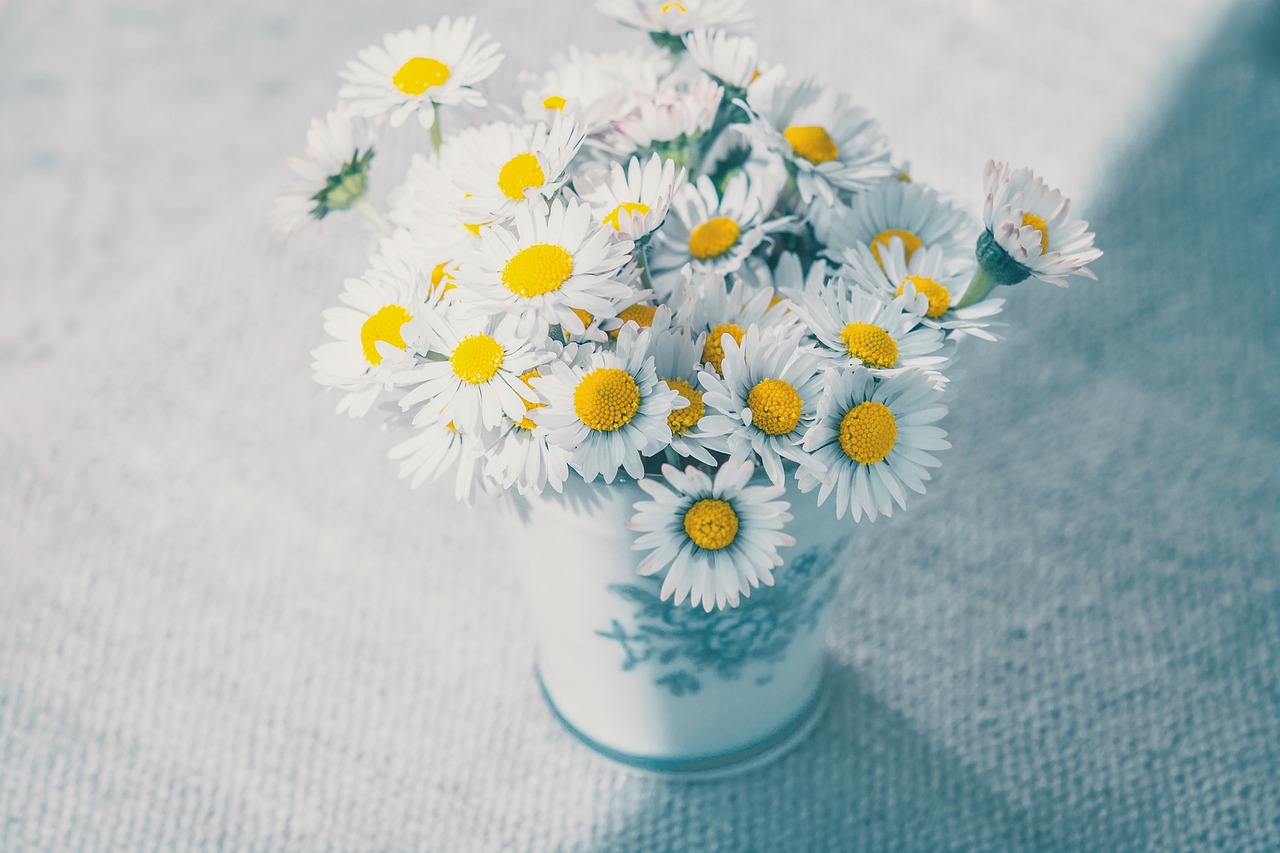
Once you’ve decorated your upcycled bottle vases, consider filling them with seasonal flowers or even dried plants. This not only adds color and life to your space but also allows you to change the decor based on the season. For instance, in spring, vibrant flowers like tulips or daisies can brighten up your home, while in the fall, dried wheat or branches can create a warm, earthy ambiance.
In conclusion, upcycled bottle vases are a fantastic way to combine creativity with sustainability. They allow you to personalize your home decor while making a positive impact on the environment. So, the next time you finish a bottle, think twice before tossing it out—your future vase might just be waiting to be created!
Q: What types of bottles are best for upcycling into vases?
A: Any glass or plastic bottle can be used! Wine bottles, soda bottles, and even unique shaped bottles work well. Just ensure they are clean and safe to use.
Q: How do I safely cut a bottle?
A: You can use a glass cutter or a DIY method involving heat and cold water. Always wear protective gear and follow safety guidelines to avoid injury.
Q: Can I use artificial flowers in my upcycled bottle vases?
A: Absolutely! Artificial flowers are a great option for long-lasting decor, and they come in various styles and colors to suit your aesthetic.
Cutting Techniques
When it comes to transforming old bottles into stunning vases, mastering the art of cutting is essential. This process can be both exciting and daunting, as it requires precision and a steady hand. But don't worry! With the right techniques and tools, you can create beautiful shapes that will make your vases the talk of the town. First, it’s important to gather your supplies. You’ll need a glass cutter, safety goggles, and a heat source, such as boiling water or a candle, to help with the cutting process.
One popular method to cut bottles is the score and snap technique. Start by marking the area where you want to cut the bottle. Using the glass cutter, gently score a line around the bottle, applying even pressure. Once you've scored the line, heat the scored area with a candle flame or boiling water. The sudden change in temperature will cause the glass to crack along the score line, allowing you to snap the bottle apart. This technique is great for creating simple, clean cuts, but it does require a bit of practice to get right.
Another effective method is the two-bottle method. For this, you’ll need two bottles of different sizes. Place the smaller bottle inside the larger one and score the outer bottle at the desired height. Once you’ve scored it, use the heat method to crack the larger bottle. This technique can create unique shapes and is especially useful if you want to create a multi-layered vase. It’s a fun way to play with dimensions and add a creative twist to your designs.
For those who are a bit more adventurous, consider using a glass saw. This tool allows for more intricate cuts and shapes, enabling you to create artistic designs that are sure to impress. However, using a glass saw requires careful handling and safety precautions. Always wear protective gear and work in a well-ventilated area to avoid inhaling any glass dust.
Remember, practice makes perfect! Don’t be discouraged if your first few attempts don’t turn out as expected. Keep experimenting with different techniques and tools until you find what works best for you. With patience and creativity, you’ll soon master the art of cutting bottles and be well on your way to crafting stunning DIY vases that reflect your unique style.
- What tools do I need to cut bottles?
You will need a glass cutter, safety goggles, and a heat source like boiling water or a candle. - Is it safe to cut glass bottles at home?
Yes, as long as you take proper safety precautions, such as wearing goggles and working carefully. - Can I use any type of bottle for DIY vases?
Most glass bottles work well, but thicker glass can be more challenging to cut. - What should I do with the sharp edges after cutting?
Sand the edges down with sandpaper or a glass file to ensure they are smooth and safe to handle.
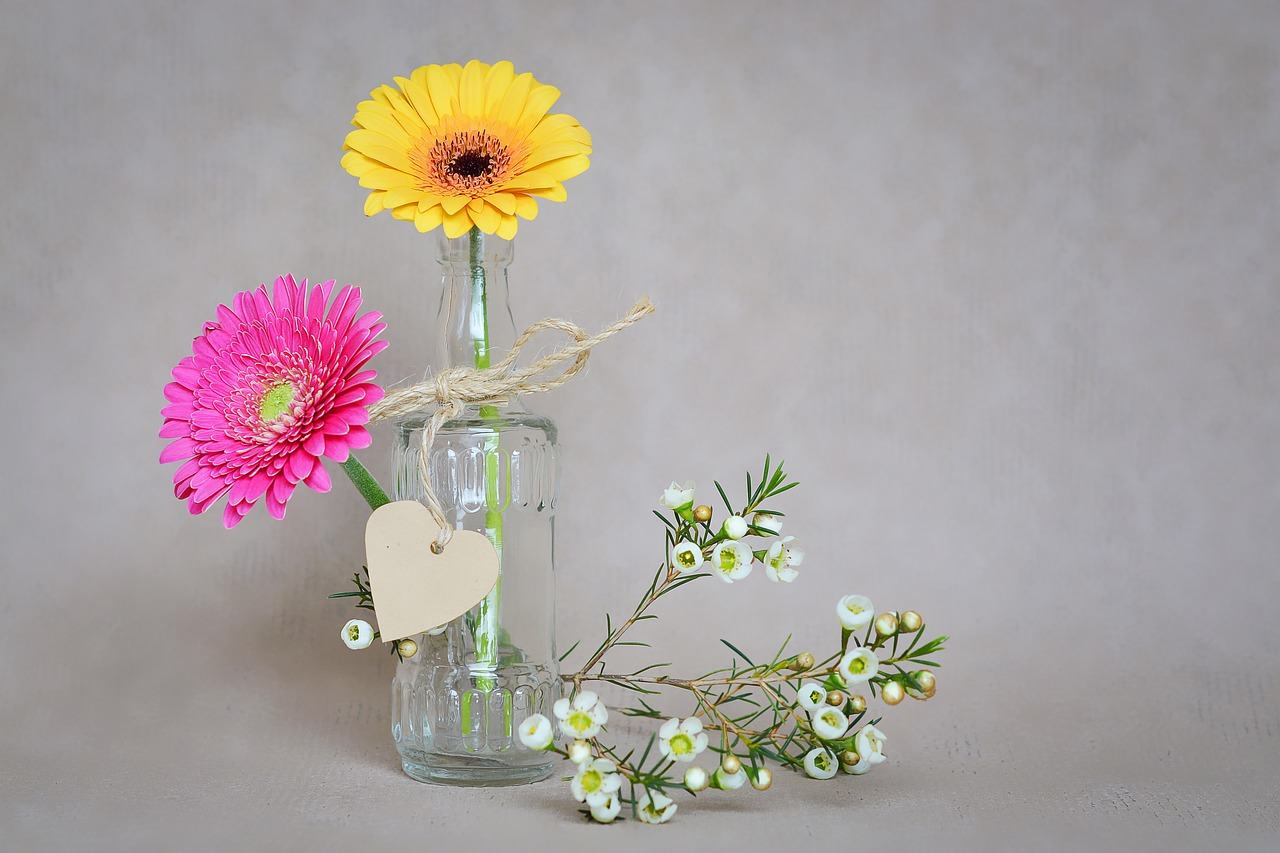
Decorative Wraps
When it comes to elevating the aesthetic of your upcycled bottle vases, are a game-changer. Imagine transforming a simple glass bottle into a stunning centerpiece that captures attention and sparks conversation. The beauty of decorative wraps lies in their versatility; you can use a variety of materials to achieve different looks, from rustic charm to elegant sophistication. Whether you’re going for a boho vibe or a sleek modern finish, the right wrap can make all the difference.
One of the most popular materials for decorative wraps is twine. This natural fiber adds a rustic touch that’s perfect for farmhouse-style decor. Wrapping twine around the neck of the bottle or spiraling it down the sides creates a textured look that feels warm and inviting. You can even enhance the twine with a few sprigs of dried flowers or greenery for an organic feel.
If you’re leaning towards a more colorful approach, consider using fabric wraps. A piece of vibrant fabric can breathe life into an otherwise plain bottle. You can choose patterns that match your home decor or seasonal themes. For example, floral prints work wonderfully in spring, while rich, warm colors are perfect for autumn. To attach the fabric, simply use a hot glue gun or fabric glue, ensuring it stays securely in place.
Another creative option is to use lace or ribbon. These materials can add a touch of elegance and are particularly suited for special occasions such as weddings or anniversaries. Wrapping lace around the bottle and securing it with a bow can create a delicate and romantic look. Additionally, you can layer different materials for a more complex design. For instance, start with twine, add a layer of lace, and finish with a decorative ribbon for a truly unique piece.
To inspire your creativity, here’s a simple table showcasing various decorative wrap materials and their corresponding styles:
| Material | Style | Best For |
|---|---|---|
| Twine | Rustic | Farmhouse decor |
| Fabric | Colorful | Seasonal themes |
| Lace | Elegant | Special occasions |
| Ribbon | Chic | Gift wrapping |
Don’t be afraid to experiment with different combinations! The more you play around with textures and colors, the more unique your vases will become. You might even discover a new favorite style that perfectly complements your home. Remember, the goal is to express your creativity and reflect your personal taste through these beautiful DIY projects.
1. What materials can I use for decorative wraps?
You can use a variety of materials such as twine, fabric, lace, and ribbon. Each material offers a different aesthetic and can be combined for unique designs.
2. How do I attach the wraps to the bottle?
You can use hot glue or fabric glue to secure the wraps in place. Make sure to press firmly so that it adheres well.
3. Can I change the wraps according to the seasons?
Absolutely! Changing the wraps based on seasons or holidays is a great way to refresh your decor and keep things interesting.
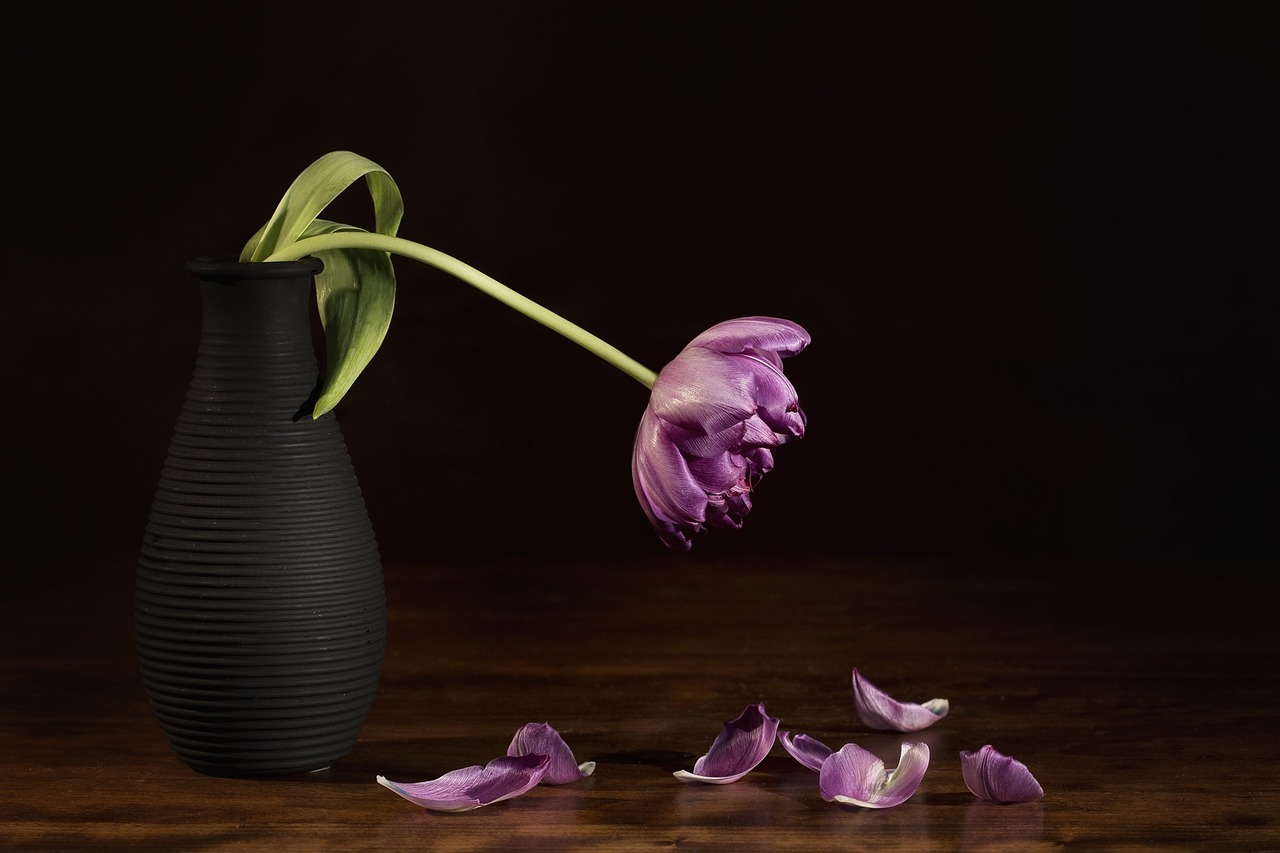
Seasonal Decor Ideas
Creating seasonal decor with DIY vases is not only a fun activity but also a fantastic way to keep your home feeling fresh and inviting throughout the year. Think of your vases as a blank canvas that can be transformed with the changing seasons. Whether it’s the vibrant blooms of spring or the warm hues of autumn, your vases can reflect the beauty of each season in a unique way. For instance, in the spring, you might want to fill your vases with cheerful daffodils or tulips, while in the summer, bright sunflowers can bring a burst of sunshine into your home.
One of the most exciting aspects of seasonal decor is the opportunity to experiment with colors, textures, and even scents. Imagine walking into your living room and being greeted by the sweet aroma of fresh flowers in a beautifully painted vase that matches the season's palette. You can easily switch out the contents of your vases to align with holidays too. For example, during Halloween, you can fill a vase with mini pumpkins and autumn leaves, creating a cozy and festive atmosphere.
Here are a few ideas to help you get started:
- Spring: Use pastel colors and floral arrangements. Consider adding some moss or decorative stones at the bottom for a natural touch.
- Summer: Go for bright, tropical flowers like hibiscus and orchids. Incorporate seashells or sand at the base of your vase to evoke a beachy vibe.
- Autumn: Fill your vases with seasonal foliage, pinecones, and branches. Rich oranges, reds, and browns can create a warm and inviting atmosphere.
- Winter: Use evergreen branches, berries, and even ornaments in your vases for a festive touch. You might also want to incorporate candles for a cozy glow.
Another fun idea is to create themed vases for specific holidays. For instance, during Christmas, you can use a glass jar vase and fill it with ornaments, faux snow, and a candle on top for a beautiful centerpiece. Not only will this enhance your decor, but it will also serve as a conversation starter when guests come over. You can even create a table centerpiece that changes with each holiday, allowing you to showcase your creativity and personal style.
Don’t forget the power of lighting when it comes to seasonal decor. A well-placed vase can catch the light beautifully, especially if you use glass or reflective materials. You can even incorporate fairy lights into your vases for an enchanting effect during the darker months. The glow of the lights combined with seasonal elements creates a magical ambiance that can brighten up any space.
In conclusion, seasonal decor using DIY vases is a delightful way to express your creativity and keep your home feeling lively and welcoming. By utilizing different materials, colors, and arrangements, you can easily adapt your vases to reflect the beauty of each season. So, gather your materials, let your imagination run wild, and start crafting vases that will enhance your home throughout the year!
Q: How can I make my DIY vases last longer?
A: To ensure your DIY vases last, consider using waterproof sealants for painted designs and avoid placing them in direct sunlight for extended periods to prevent fading.
Q: What types of flowers are best for seasonal arrangements?
A: Choose flowers that are in season for the best results. For example, tulips and daffodils in spring, sunflowers in summer, chrysanthemums in fall, and holly in winter.
Q: Can I use artificial flowers in my vases?
A: Absolutely! Artificial flowers can add a pop of color and last throughout the year without maintenance. They are perfect for those who want a low-effort decor solution.
Q: How do I clean my DIY vases?
A: Cleaning your vases is simple! Use warm soapy water and a soft cloth for glass vases, and for painted vases, avoid soaking them to preserve the paint.
Frequently Asked Questions
- What materials are best for making DIY vases?
When it comes to crafting beautiful DIY vases, the materials you choose can make all the difference! Popular options include glass, ceramic, and even upcycled items like old bottles or jars. Each material has its unique charm and can be tailored to fit your personal style and decor.
- How can I decorate glass jar vases?
Decorating glass jar vases is a fun and creative process! You can use various painting techniques, such as spray paint or acrylics, to give your jars a fresh look. Adding ombre effects or using stencils for intricate designs can also elevate your creations. Don't forget to incorporate natural elements like stones or sand for an added touch of rustic charm!
- Is it safe to cut glass bottles for vases?
Cutting glass bottles can be safe if done with the right tools and techniques. Always use a glass cutter or a specialized bottle cutter and wear protective gear like gloves and goggles. Take your time and follow safety guidelines to ensure a successful and safe crafting experience!
- What are some ideas for seasonal decor with DIY vases?
Seasonal decor is a fantastic way to keep your home feeling fresh throughout the year! You can adapt your DIY vases by filling them with seasonal flowers, leaves, or even decorative items like pinecones for winter or seashells for summer. Get creative and let the changing seasons inspire your designs!
- Can I use fabric or twine to decorate my upcycled bottle vases?
Absolutely! Using fabric, twine, or lace as decorative wraps can add texture and personality to your upcycled bottle vases. Simply wrap your chosen material around the bottle and secure it with glue or twine. This not only enhances the visual appeal but also adds a personal touch to your home decor.


