A Handy Guide to Fixing Common Sewing Problems
This article provides solutions to frequent sewing issues, helping you troubleshoot and enhance your sewing experience. Discover practical tips and techniques to overcome challenges and improve your skills. Sewing can be a delightful hobby, but it’s not without its frustrations. Whether you’re a seasoned pro or just starting out, you’ve likely encountered a few hiccups along the way. Fear not! With the right knowledge and tools, you can tackle these common problems head-on and transform them into learning opportunities.
Imagine you’re in the middle of a project, and suddenly, your thread breaks or your fabric starts bunching up. It’s like hitting a brick wall, isn’t it? But instead of throwing your sewing machine out the window, take a deep breath and remember that every problem has a solution. In this handy guide, we’ll delve into the most common sewing problems you may face and provide you with effective solutions. From thread tension troubles to dealing with puckering, we’ve got you covered!
Let’s embark on this sewing journey together! You’ll learn how to adjust your machine, choose the right tools, and apply techniques that will not only save your project but also enhance your overall sewing experience. So, grab your sewing kit and let’s get started on fixing those pesky sewing problems!
Understanding thread tension is crucial for achieving professional-looking stitches. If your stitches are too loose or too tight, it can turn a beautiful fabric into a messy project. This section covers common tension problems and how to adjust your sewing machine for optimal results. The first step is to check your machine’s manual; it often contains specific instructions for adjusting tension. A good rule of thumb is to start with the manufacturer's recommended settings and make small adjustments as needed.
When troubleshooting thread tension, consider the following:
- Loose Stitches: If your stitches are too loose, try increasing the tension dial. This will pull the thread tighter and create more even stitches.
- Tight Stitches: Conversely, if your stitches are too tight, decrease the tension. This allows the fabric to move more freely and reduces puckering.
- Check Your Thread: Sometimes, the issue lies in the type of thread you’re using. Ensure you’re using the correct thread weight for your fabric.
Fabric bunching can ruin your sewing project. It’s frustrating to see your carefully chosen fabric turn into a wavy mess. Learn how to prevent and fix this issue by adjusting your sewing technique and machine settings for smoother fabric handling. One of the key factors to consider is the type of presser foot you’re using. The right presser foot can make a world of difference in how the fabric feeds through the machine.
The presser foot plays a vital role in fabric feeding. Using the appropriate presser foot for different fabrics can avoid bunching and ensure even stitching. For instance, a standard presser foot works well for most fabrics, but if you’re dealing with thicker materials, consider using a walking foot or a Teflon foot.
Using a walking foot can help manage layers and prevent slipping when sewing multiple fabric layers. This foot has additional feed dogs on the top that work in conjunction with the machine’s feed dogs, ensuring that all layers move together smoothly. It’s especially useful for quilting or sewing knits.
A Teflon foot is ideal for sewing sticky or slippery materials like vinyl or leather. This foot glides over these surfaces, providing better control and preventing bunching. If you frequently work with these types of fabrics, investing in a Teflon foot is a smart choice.
Needle problems can lead to skipped stitches and fabric damage. Choosing the right needle is crucial for your sewing success. Always match the needle type and size to your fabric, as using the wrong needle can cause all sorts of issues. For example, a universal needle works well for woven fabrics, while a ballpoint needle is better for knits.
Puckering occurs when the fabric gathers unevenly, often leading to a less-than-desirable finish. Explore techniques to minimize puckering during sewing, including proper fabric handling and stitch selection. To prevent puckering, consider using a longer stitch length, which can help distribute the fabric more evenly. Additionally, using stabilizers can provide extra support, especially for lightweight fabrics.
Different stitch types can affect fabric behavior. Understanding which stitches help prevent puckering is essential for achieving the best results. For example, a straight stitch is generally less likely to cause puckering than a zigzag stitch. Always test your stitches on a scrap piece of fabric before committing to your project.
Proper ironing can eliminate puckering. Discover effective ironing methods to smooth out your fabric before and after sewing for a polished finish. Always iron on the wrong side of the fabric when possible, and use steam to help relax the fibers. A pressing cloth can also protect delicate fabrics from direct heat.
Q: What should I do if my thread keeps breaking?
A: Check your thread tension, ensure you’re using the right needle, and make sure your thread is properly threaded through the machine.
Q: How can I prevent fabric from slipping while sewing?
A: Use a walking foot or a Teflon foot, and consider using clips instead of pins to hold layers together.
Q: Why does my fabric pucker after sewing?
A: Puckering can be caused by incorrect tension, the wrong stitch type, or inadequate pressing. Make adjustments as needed to minimize this issue.
Thread Tension Troubles
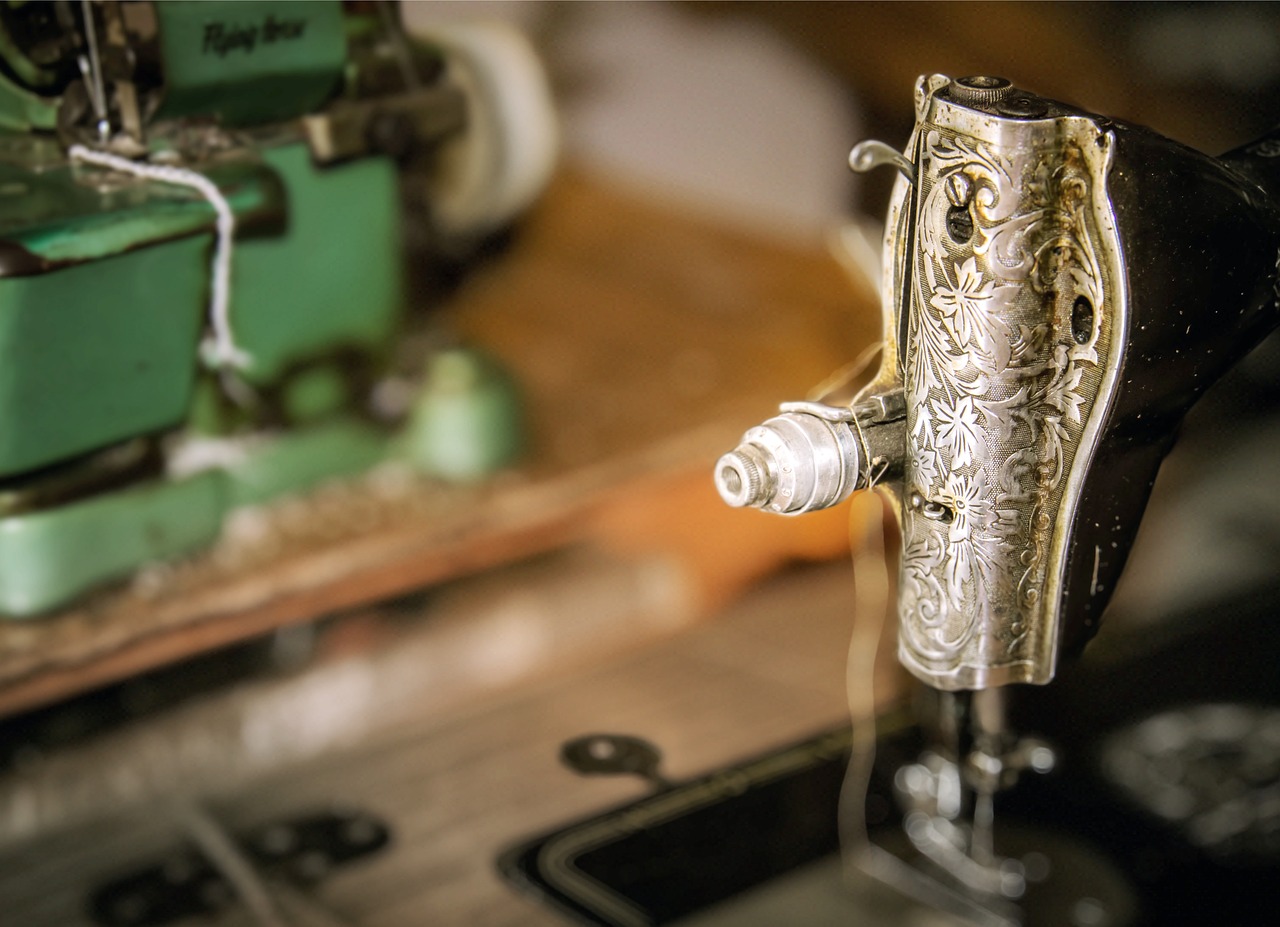
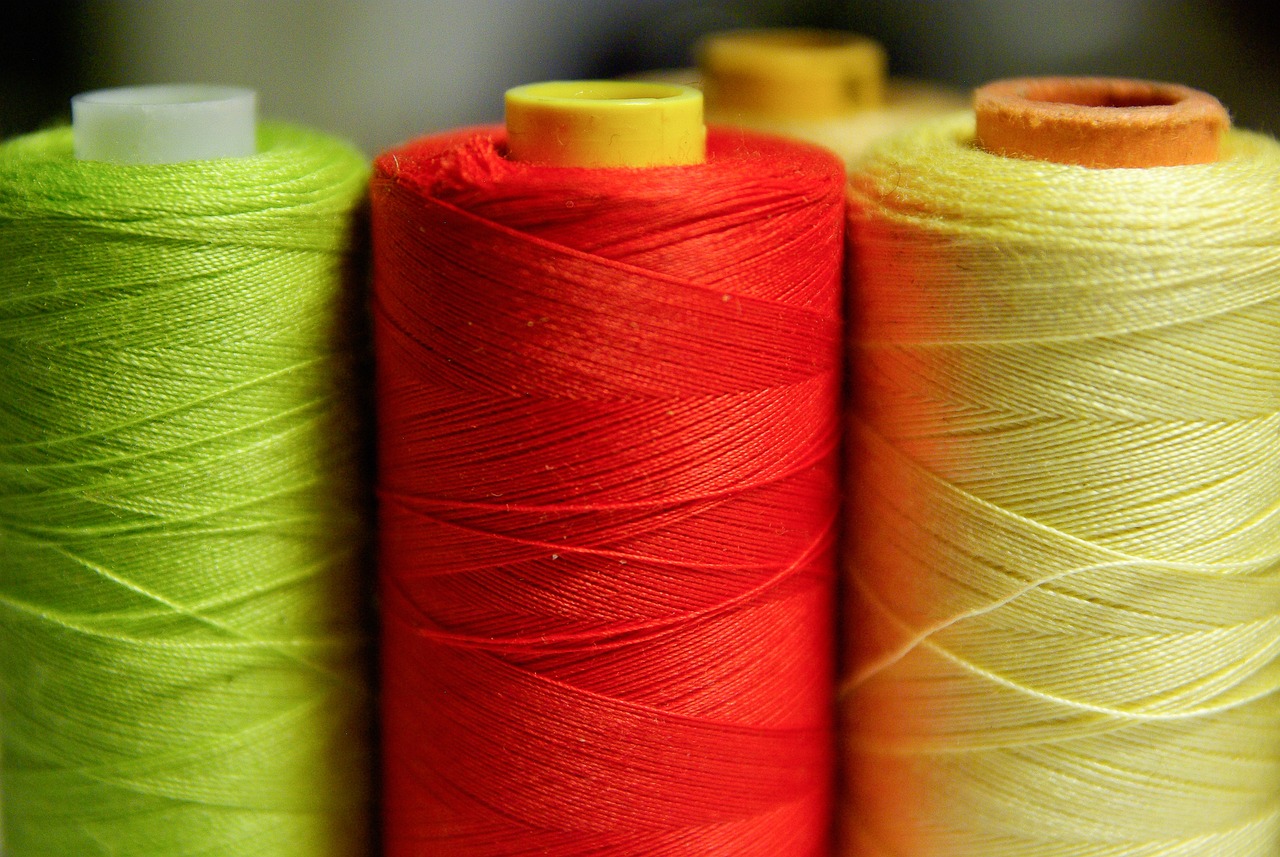
Understanding thread tension is crucial for achieving professional-looking stitches. If your threads are too tight, you might find that your fabric puckers or gathers unnaturally, while loose tension can lead to a messy, tangled stitch. So, how do you know if your tension is off? A simple test is to sew a few lines on a scrap piece of fabric. Observe the stitches closely: do they look even and balanced? If not, it’s time to make some adjustments!
Most modern sewing machines come with a tension dial that allows you to easily modify the tension settings. Typically, the tension is measured on a scale from 0 to 9, with 4 or 5 being the standard setting for most fabrics. If you’re working with thicker fabrics, you may need to increase the tension slightly, while lighter fabrics might require a reduction. It’s all about finding that sweet spot that works for your specific project.
Here’s a quick guide to help you troubleshoot common tension problems:
| Tension Issue | Possible Causes | Solutions |
|---|---|---|
| Stitches are too tight | High tension setting, incorrect thread type | Lower the tension, check thread compatibility |
| Stitches are too loose | Low tension setting, thread not seated properly | Increase the tension, re-thread the machine |
| Thread breaking | Incorrect needle size, poor quality thread | Use a larger needle, switch to high-quality thread |
It’s also worth noting that the type of thread you use can significantly impact your tension settings. For example, if you’re sewing with a thicker thread, you might need to adjust the tension accordingly. Always refer to your sewing machine manual for specific recommendations based on the fabric and thread you’re using.
Another factor to consider is the condition of your sewing machine. A machine that hasn’t been serviced in a while may have issues that affect tension, such as dirt or lint buildup. Regular maintenance can go a long way in ensuring your machine operates smoothly, so don’t skip that part!
In summary, mastering thread tension is essential for any sewing enthusiast looking to improve their skills. By paying attention to your machine settings and understanding the materials you’re working with, you’ll be well on your way to creating beautiful, professional-looking projects.
Fabric Bunching
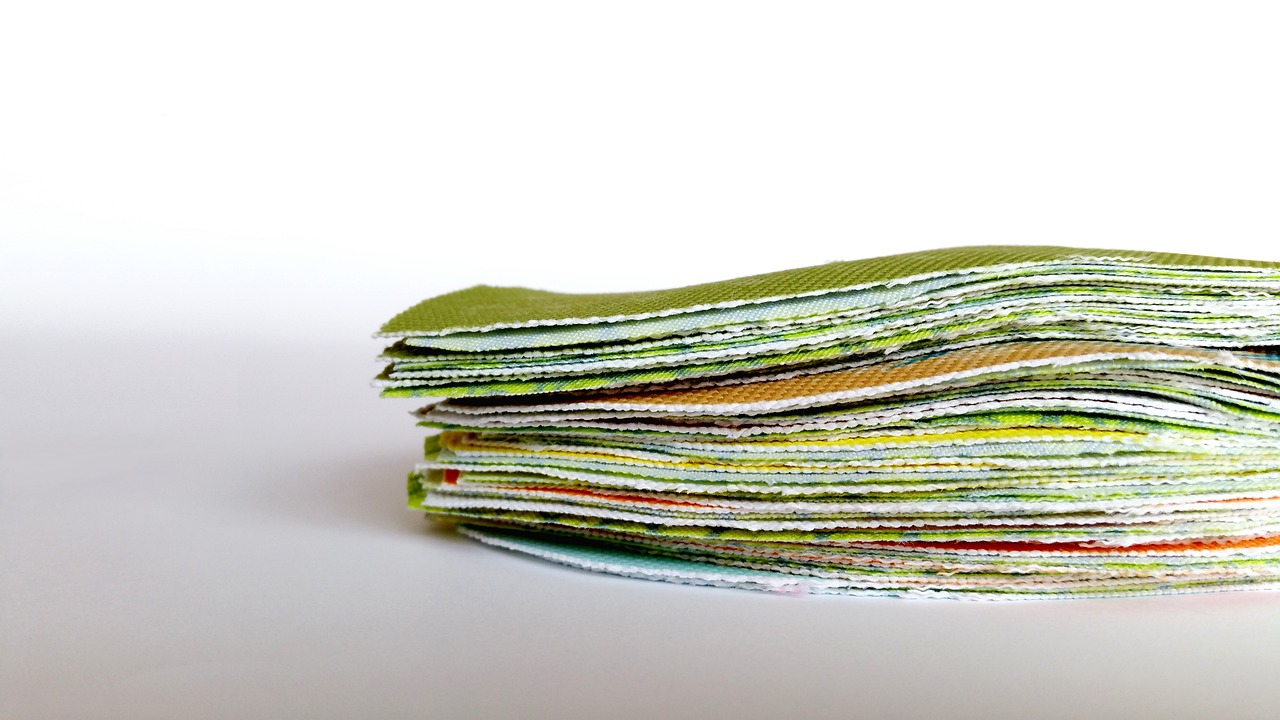
Ah, fabric bunching—the bane of every sewing enthusiast's existence! It's that frustrating moment when your carefully cut fabric suddenly decides to throw a party of wrinkles and gathers, ruining your beautiful project. But fear not! Understanding the causes of fabric bunching and knowing how to fix it can transform your sewing experience from chaotic to seamless. So, let’s dive into the world of fabric handling and discover how to keep those pesky gathers at bay!
Fabric bunching can occur for a variety of reasons, often linked to both your sewing technique and your machine settings. One common culprit is incorrect thread tension. If your tension is too tight, it can pull the fabric and create unwanted gathers. Conversely, if the tension is too loose, the fabric may shift and bunch up as you sew. To achieve that perfect stitch, it's essential to adjust your thread tension according to the fabric type you’re using. A good rule of thumb is to test on a scrap piece of fabric before diving into your main project.
Another factor contributing to fabric bunching is the way you feed the fabric through the machine. If you're not guiding the fabric evenly, it can lead to uneven stitching and, ultimately, bunching. To prevent this, always ensure that you're using your hands to guide the fabric gently, rather than forcing it through the machine. Think of it like steering a car—smooth, controlled movements yield the best results!
Now, let’s talk about the importance of the presser foot. The right presser foot can make a world of difference when it comes to fabric feeding. For instance, using a walking foot is a game-changer when dealing with multiple layers or slippery fabrics. This foot helps to evenly feed the fabric from both the top and bottom, minimizing the risk of bunching. It’s like having a second pair of hands helping you out! On the other hand, if you’re working with sticky materials, a Teflon foot can provide the grip you need to keep everything moving smoothly.
In addition to these techniques, consider the stitch type you're using. Certain stitches are more prone to causing puckers and gathers than others. For instance, a straight stitch is generally less likely to cause bunching compared to a zigzag stitch. Understanding which stitch works best for your fabric type can significantly improve your results. If you're unsure, always refer to your sewing machine manual or do a little research online to find the best stitch for your specific project.
Lastly, let’s not forget about the importance of proper fabric preparation. Before you even start sewing, make sure to iron your fabric to remove any wrinkles. This simple step can help ensure that your fabric lays flat and feeds evenly through your machine. A well-pressed fabric is like a blank canvas—ready for you to create your masterpiece without any distractions!
In conclusion, fabric bunching can be a frustrating hurdle in the sewing process, but with the right techniques and tools, you can easily navigate around it. By adjusting your thread tension, choosing the right presser foot, and selecting the appropriate stitch, you can keep those pesky gathers at bay and enjoy a smooth sewing experience.
- What causes fabric bunching? Fabric bunching can be caused by incorrect thread tension, uneven fabric feeding, and using the wrong presser foot.
- How can I prevent fabric bunching? To prevent bunching, ensure proper thread tension, use the appropriate presser foot, and guide your fabric evenly as you sew.
- What is a walking foot? A walking foot is a special presser foot that helps to evenly feed multiple layers of fabric, making it ideal for preventing bunching.
- Why is ironing important before sewing? Ironing removes wrinkles and helps the fabric lay flat, which can significantly reduce the chances of bunching during sewing.
Choosing the Right Presser Foot
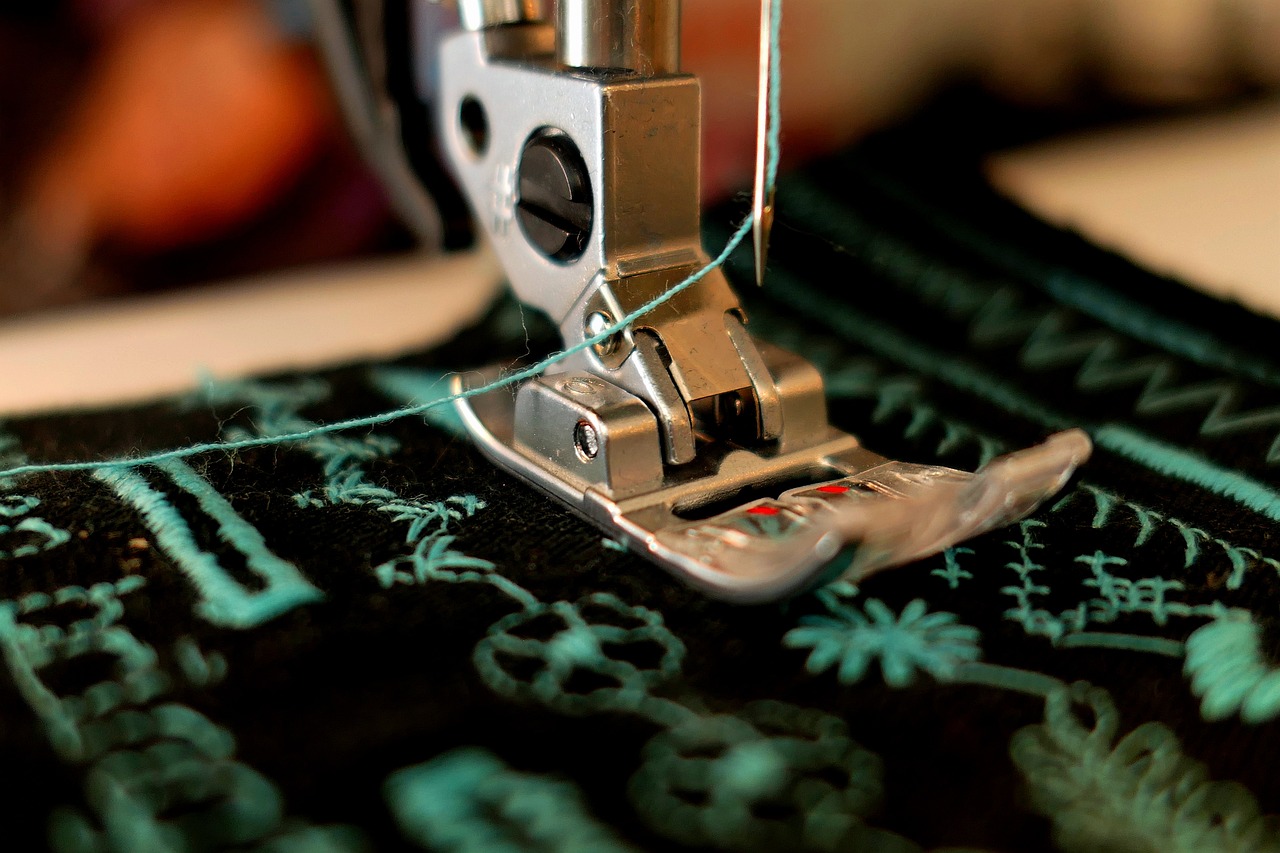
When it comes to sewing, the presser foot is like the unsung hero of your machine. It might seem small and insignificant, but choosing the right presser foot can make a **huge** difference in how your fabric feeds through the machine. Imagine trying to bake a cake without the right pan; it just wouldn’t turn out right! Similarly, using the wrong presser foot can lead to all sorts of problems, including fabric bunching, uneven stitches, and frustration. So, let’s dive into how to choose the right presser foot for your projects.
First off, it’s essential to understand that different fabrics require different handling. For instance, if you're working with lightweight fabrics like chiffon or silk, a standard presser foot might not provide the grip you need. Instead, you might want to opt for a walking foot, which helps to move multiple layers of fabric evenly through the machine. This is particularly useful when sewing quilts or when layering fabrics that tend to slip against each other.
On the other hand, if you’re sewing thicker materials like denim or leather, a jeans foot or a walking foot is your best bet. These presser feet have a higher lift and can handle the bulk, ensuring that your stitches remain even and consistent. Think of it as using a sturdy vehicle to navigate rough terrain; you wouldn’t want to take a sports car off-roading!
Here’s a quick breakdown of some common presser feet and their uses:
| Presser Foot Type | Best For |
|---|---|
| Standard Foot | General sewing on lightweight to medium fabrics |
| Walking Foot | Layered fabrics, quilting, slippery materials |
| Zipper Foot | Installing zippers and piping |
| Buttonhole Foot | Sewing buttonholes with precision |
| Teflon Foot | Sewing sticky or slippery fabrics like vinyl or leather |
Now that you have an idea of what each foot does, it's time to think about your specific project. Are you making a garment, a quilt, or perhaps a home decor item? Each of these projects may require a different approach. For example, when sewing garments, using a zigzag foot can help with stretch fabrics, allowing for a little give in the seams. On the flip side, if you’re working on a quilt, a walking foot will keep those layers from shifting, leading to a more polished final product.
Lastly, don’t forget to experiment! Sometimes the best way to find out which presser foot works for you is to try them out on scraps of your fabric. You might be surprised at how much easier your sewing becomes with the right tools. So, the next time you sit down at your machine, take a moment to consider which presser foot will help you achieve the best results. Remember, the right presser foot is not just an accessory; it’s a game-changer!
- What is the difference between a walking foot and a standard foot? A walking foot has additional feed dogs that help move multiple layers of fabric evenly, while a standard foot relies on the machine's feed dogs alone.
- Can I use a walking foot for all types of fabric? While a walking foot is versatile, it's best suited for layered or slippery fabrics. For lightweight fabrics, a standard foot might be more appropriate.
- How do I know which presser foot to use? Consider the fabric type and the project requirements. Refer to your sewing machine manual for guidance on compatible presser feet.
Walking Feet for Challenging Fabrics
When it comes to sewing, challenging fabrics can often feel like a nightmare. You know the ones: slippery silks, thick layers of denim, or even quilted materials that seem to have a mind of their own. If you've ever found yourself wrestling with your fabric instead of enjoying the creative process, then it's time to consider investing in a walking foot. This nifty little attachment can make a world of difference in how your sewing machine handles tricky materials.
A walking foot is designed to help feed multiple layers of fabric evenly through your machine. Unlike a standard presser foot, which can sometimes allow the top layer to move faster than the bottom layer (leading to those frustrating puckers and misalignments), a walking foot has built-in feed dogs that grip the fabric from the top. This means that both layers of fabric move together in harmony, making your sewing experience much smoother.
So, when should you reach for a walking foot? Here are a few scenarios:
- Layered Projects: If you're working on quilts or garments that involve multiple layers, a walking foot is your best friend.
- Slippery Fabrics: For materials like satin or silk, the walking foot helps keep everything in place, preventing those annoying slips.
- Heavy Fabrics: When tackling thick fabrics like denim or canvas, a walking foot provides the extra grip needed for an even stitch.
Using a walking foot is as simple as attaching it to your machine, just like you would with any other presser foot. Once it's in place, you can adjust your machine settings as needed. Keep in mind that you might need to change your stitch length or tension for optimal results, depending on the fabric you're working with. It's always a good idea to do a test run on a scrap piece of fabric before diving into your main project.
In summary, if you want to take your sewing to the next level and tackle those challenging fabrics with confidence, a walking foot is a must-have tool in your sewing arsenal. Not only will it make your life easier, but it will also help you achieve professional-looking results that you can be proud of. So, the next time you find yourself struggling with fabric that just won't cooperate, remember the magic of the walking foot!
Q: What is a walking foot?
A: A walking foot is a special presser foot that helps feed multiple layers of fabric evenly through your sewing machine, making it ideal for challenging fabrics.
Q: Can I use a walking foot on any sewing machine?
A: Most sewing machines are compatible with walking feet, but it's always best to check your machine's manual or consult with your dealer to ensure proper fit.
Q: Do I need to adjust my machine settings when using a walking foot?
A: Yes, you may need to adjust your stitch length and tension depending on the type of fabric you are using to achieve the best results.
Q: Will a walking foot prevent all fabric slipping?
A: While a walking foot significantly reduces slipping, it may not eliminate it entirely with very slippery fabrics. Always test on a scrap piece first.
Using a Teflon Foot
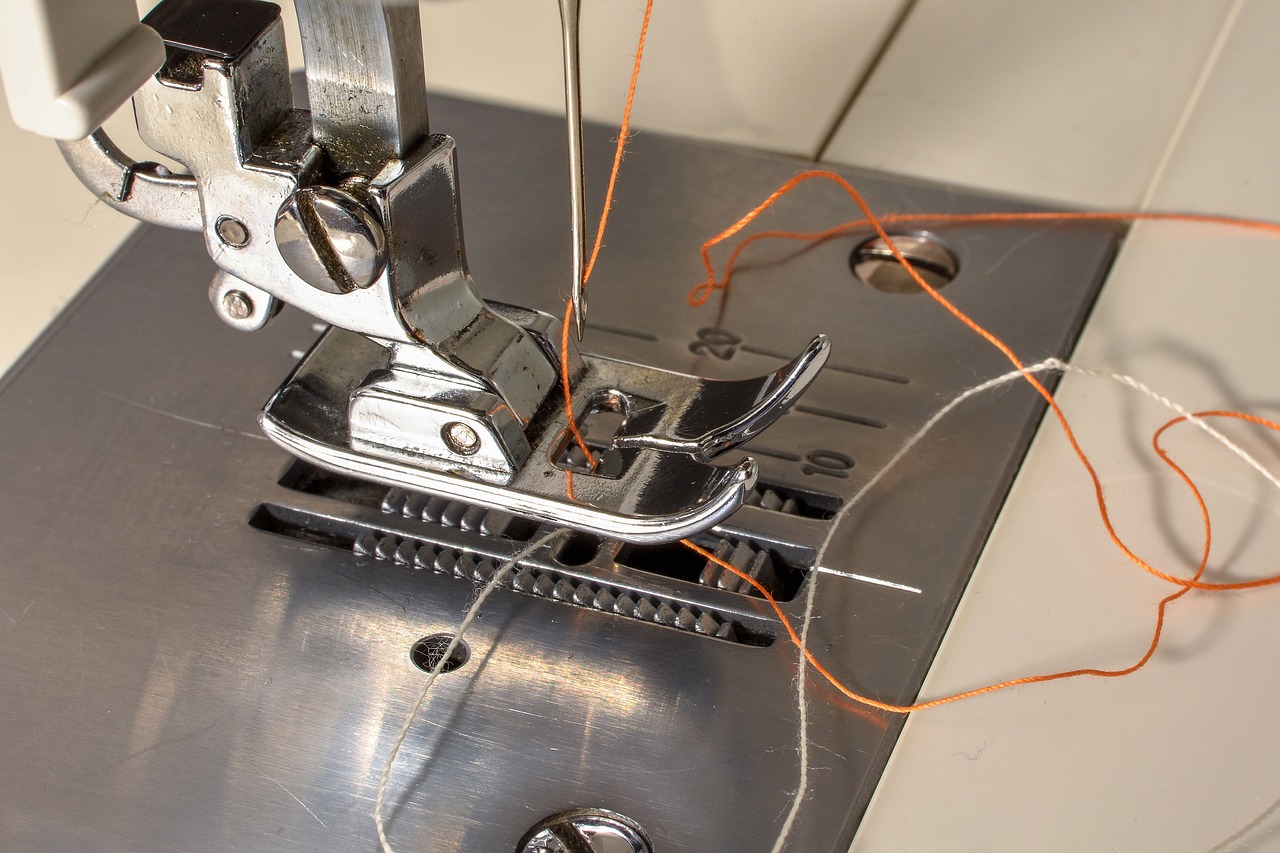
When it comes to sewing with tricky materials, a Teflon foot can be your best friend. If you've ever tried to work with fabrics like vinyl, leather, or other slippery materials, you know how frustrating it can be when they just won't cooperate. The Teflon foot is specially designed to glide over these surfaces, allowing for smooth and even stitching without the usual struggles. Imagine trying to walk on ice—it's slippery, and you can easily lose your footing. Now, think of the Teflon foot as your special pair of ice skates, designed to help you navigate those tricky fabrics with ease.
One of the standout features of a Teflon foot is its smooth surface, which reduces friction between the fabric and the presser foot. This is particularly important when dealing with materials that tend to stick or shift, as it helps maintain consistent pressure and prevents the fabric from bunching or puckering. You’ll find that using a Teflon foot can significantly improve your sewing experience, especially when working with multiple layers of fabric or thicker materials.
To get started with a Teflon foot, simply replace your standard presser foot with the Teflon one. Make sure to adjust your sewing machine settings accordingly, as some fabrics may require different stitch lengths or tensions. It's also a good idea to test your setup on a scrap piece of fabric first. This way, you can fine-tune your machine and ensure that everything is running smoothly before you dive into your actual project.
Here are a few tips to keep in mind when using a Teflon foot:
- Use a longer stitch length: This can help prevent the fabric from puckering.
- Don’t force the fabric: Let the machine do the work; guide the fabric gently.
- Experiment with different fabrics: Each fabric may behave differently, so adjustments may be necessary.
In summary, using a Teflon foot can transform your sewing projects involving slippery or sticky materials. By reducing friction and allowing for smoother fabric movement, you'll find that your stitches are more even and your projects are completed with greater ease. So the next time you’re gearing up to sew something challenging, don’t forget to give the Teflon foot a try—you might just be amazed at the difference it makes!
Q: Can I use a Teflon foot on all types of sewing machines?
A: Most sewing machines are compatible with Teflon feet, but it's always best to check your machine's manual for compatibility information.
Q: Do I need to change my needle when using a Teflon foot?
A: While it's not always necessary, using a needle designed for thicker or specialty fabrics can help achieve better results.
Q: Can I use a Teflon foot for quilting?
A: Yes, a Teflon foot can be beneficial for quilting, especially when working with multiple layers or fabrics that tend to stick together.
Common Needle Issues
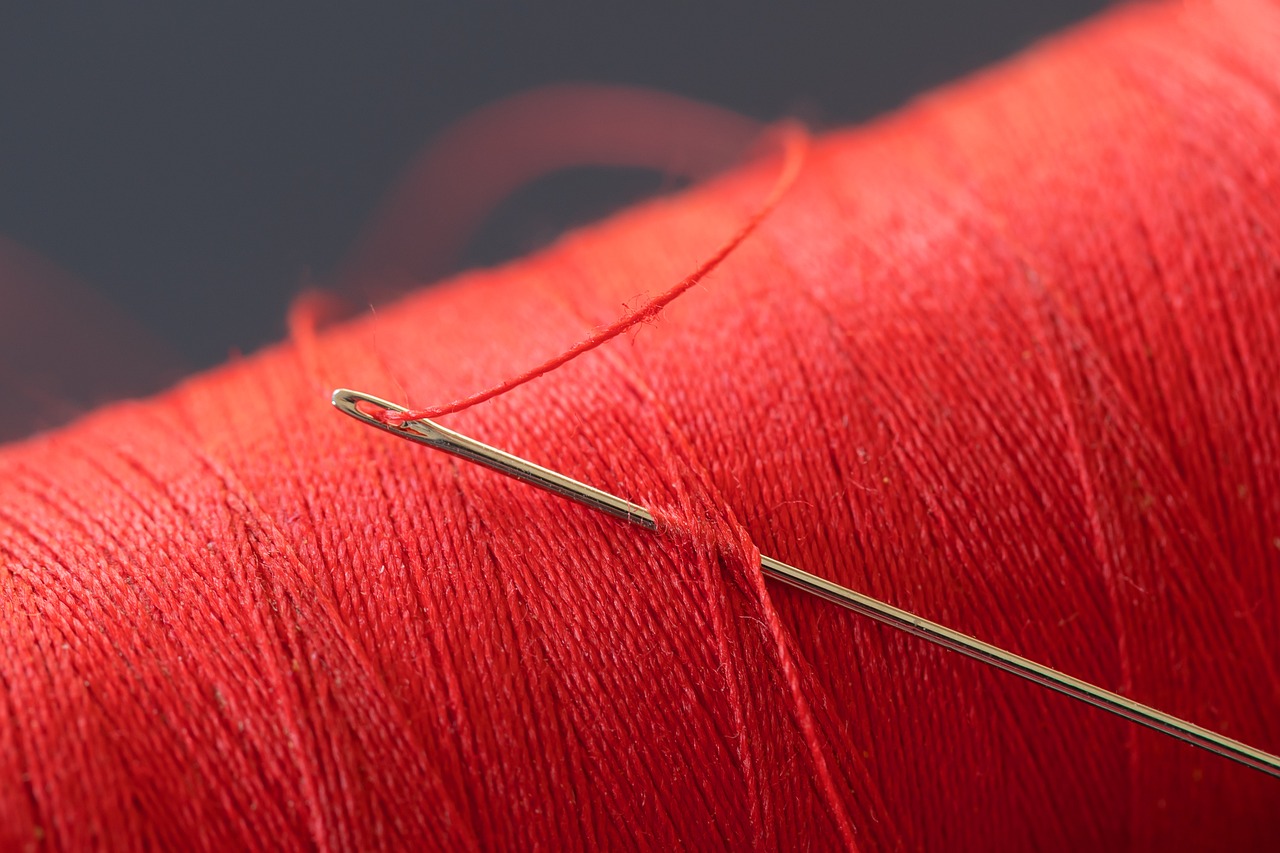
When it comes to sewing, the needle is your best friend, but it can also be the source of some frustrating problems. Just imagine trying to create a beautiful garment, only to find that your needle is skipping stitches or causing fabric damage. It's enough to make anyone want to throw their sewing machine out the window! But fear not, because understanding common needle issues can help you troubleshoot effectively and get back to sewing smoothly.
One of the most prevalent problems is skipped stitches. This can occur for several reasons, and it's essential to identify the culprit. First, ensure that you are using the correct needle type for your fabric. For instance, using a universal needle on thick fabrics can lead to skipped stitches. Instead, opt for a heavier needle, such as a denim or a leather needle, depending on your material. Additionally, check if your needle is bent or dull, as this can also cause issues. A quick needle change can often resolve the problem.
Another common issue is needle breakage. If your needle keeps breaking, it can be incredibly frustrating. This usually occurs due to incorrect needle size or type, but it can also happen if the needle is improperly inserted. Make sure the needle is inserted fully and securely in the needle clamp. If you're sewing thick layers of fabric, consider using a needle designed for heavy fabrics to prevent breakage. Additionally, sewing too fast can lead to needle fatigue, so take your time and let the machine do the work.
Fabric damage is another concern that can arise from using the wrong needle. If you notice snags or holes in your fabric, it might be time to reevaluate your needle choice. For delicate fabrics such as chiffon or silk, a fine needle is essential. Using a needle that is too thick can easily ruin these materials. Always match the needle to the fabric type; this simple adjustment can save you from a world of headaches.
To help you better understand the relationship between needle types and their suitable fabrics, here’s a handy reference table:
| Needle Type | Best For |
|---|---|
| Universal Needle | Most woven and knit fabrics |
| Ballpoint Needle | Knit fabrics, stretch fabrics |
| Denim Needle | Denim and heavy-weight fabrics |
| Microtex Needle | Silk and delicate fabrics |
| Leather Needle | Leather and vinyl |
Lastly, always remember to change your needle regularly. A good rule of thumb is to change your needle after every project or every 8 hours of sewing. This practice not only helps avoid many of the issues we've discussed but also contributes to achieving cleaner, more professional-looking stitches.
- How do I know which needle to use for my fabric? Always refer to the fabric's weight and type; use the table above as a guideline.
- What should I do if my needle keeps breaking? Check for proper insertion, use the correct size and type, and avoid sewing too quickly.
- Can I use a universal needle for all fabrics? While universal needles are versatile, they may not be suitable for very thick or delicate fabrics.
- How often should I change my sewing needle? It’s best to change your needle after every project or every 8 hours of sewing.
Dealing with Puckering
Puckering can be one of the most frustrating issues you encounter while sewing. It occurs when the fabric gathers unevenly, creating unsightly ripples that can ruin the overall appearance of your project. Imagine working hard on a beautiful garment, only to have it marred by those pesky puckers. But fear not! With the right techniques and a little know-how, you can minimize puckering and achieve a smooth, professional finish.
One of the first steps in dealing with puckering is to understand its causes. Puckering can result from a variety of factors, including improper tension settings, unsuitable stitch types, and even the way you handle the fabric. To tackle this issue effectively, you'll want to pay close attention to your sewing machine's settings and your fabric handling techniques. For instance, if your thread tension is too tight, it can pull the fabric and lead to puckering. Conversely, if it’s too loose, the stitches may not hold the fabric flat. Regularly checking and adjusting your tension can make a world of difference!
Another crucial aspect to consider is the type of stitch you are using. Different stitches can behave differently on various fabrics, which is why it’s essential to choose wisely. For example, a straight stitch may work well on cotton, but it could cause puckering on stretch fabrics. In such cases, consider using a zigzag stitch or a stretch stitch that allows for more give. Understanding the relationship between your fabric and stitch type can help you avoid puckering altogether.
In addition to stitch selection, proper fabric handling is vital. When sewing, make sure you are not pulling or stretching the fabric as you guide it through the machine. Instead, let the machine do the work! If you find that your fabric is still puckering, it might be time to implement some ironing techniques. Ironing can help smooth out any puckers that have already formed and can also prepare your fabric before you start sewing. Always use the appropriate heat setting for your fabric type and consider using steam to relax the fibers.
Here’s a quick overview of some techniques you can use to minimize puckering:
- Use the right thread tension: Adjust your machine’s tension settings to find the sweet spot for your fabric.
- Select suitable stitch types: Choose stitches that complement your fabric’s characteristics.
- Handle fabric gently: Avoid pulling or stretching the fabric as you sew.
- Iron properly: Use steam and the correct heat settings to smooth out any puckering.
By implementing these strategies, you can significantly reduce the likelihood of puckering in your sewing projects. Remember, sewing is as much about technique as it is about creativity. So, take your time, experiment with different settings and stitches, and soon you'll be sewing like a pro!
Q: What causes puckering in sewing?
A: Puckering can be caused by improper thread tension, unsuitable stitch types, and incorrect fabric handling techniques.
Q: How can I prevent puckering when sewing stretchy fabrics?
A: To prevent puckering on stretchy fabrics, use a stretch stitch or zigzag stitch, and ensure your tension settings are adjusted appropriately.
Q: Is ironing necessary to fix puckering?
A: While ironing can help smooth out puckers, it’s best to prevent them by using the right techniques during sewing. However, ironing can be a helpful last step.
Choosing the Right Stitch Type
When it comes to sewing, the stitch type you choose can make all the difference in the world. It's like picking the right tool for a job; using a hammer to drive in a screw just won't cut it! Different fabrics react uniquely to various stitches, and understanding this can help you prevent issues like puckering, which can be a real headache. So, how do you decide which stitch is best for your project? Let’s dive in!
First off, consider the fabric you’re working with. For example, lightweight fabrics such as silk or chiffon often require a narrow zigzag stitch to maintain their delicate structure without causing damage. On the other hand, if you're sewing heavier fabrics like denim or canvas, a straight stitch is typically your best bet, as it provides the strength needed to hold those layers together. It's almost like choosing between a gentle caress and a firm handshake—each has its place!
Another important factor is the stitch length. A longer stitch can be beneficial when working with knits, as it allows for some stretch without breaking the thread. Conversely, a shorter stitch length is ideal for tight curves or intricate designs, as it gives you more control over your fabric. Think of it as adjusting the gears on a bike; the right gear can make your ride smoother and more efficient.
Additionally, you might want to experiment with decorative stitches. These can add flair to your projects, transforming a simple hem into a stunning feature. However, be cautious; while decorative stitches can enhance your work, they can also create puckering if not used appropriately. Always test your stitches on a scrap piece of fabric first—it's like a rehearsal before the big performance!
Here’s a quick summary of common stitch types and their uses:
| Stitch Type | Best For | Notes |
|---|---|---|
| Straight Stitch | Most fabrics, especially woven | Strong and reliable |
| Zigzag Stitch | Stretch fabrics, finishing edges | Allows for some stretch |
| Overlock Stitch | Seams and edges | Prevents fraying |
| Decorative Stitches | Embellishing projects | Use sparingly to avoid puckering |
In conclusion, choosing the right stitch type is essential for achieving a polished finish on your sewing projects. Take the time to understand your fabric and the purpose of your stitches. By doing so, you’ll not only enhance the quality of your work but also enjoy the sewing process that much more. Remember, sewing is as much about creativity as it is about technique, so don't hesitate to experiment!
- What is the best stitch for stretchy fabrics? A zigzag stitch is ideal as it allows for movement and flexibility.
- How can I prevent puckering when sewing? Choose the right stitch type, use a proper needle, and ensure your fabric is handled carefully.
- Should I always use a straight stitch? Not necessarily; it depends on the fabric and the project. Always consider the specific requirements of your fabric.

Ironing Techniques
When it comes to sewing, ironing is not just a finishing touch; it's an essential step that can dramatically influence the outcome of your projects. Have you ever spent hours sewing only to find that your fabric looks wrinkled and uneven? That's where effective ironing techniques come into play! The right method can eliminate puckering and give your garments that polished, professional look.
First off, let's talk about the importance of pre-ironing your fabric. Before you even cut your fabric, it’s a good idea to give it a light press. This helps to remove any creases that could throw off your measurements. Use a steam iron for this step, as the moisture can help relax the fibers. Just remember, different fabrics react differently to heat. For instance, delicate fabrics like silk need a lower temperature, while cotton can handle a higher setting.
Once you've cut your fabric, ironing during the sewing process is crucial. As you sew, you should be pressing seams open or to one side. This not only helps to reduce puckering but also allows the fabric to lay flatter, making it easier to sew the next pieces together. A good rule of thumb is to press after every major step—don't skip this! It may feel tedious, but your final product will thank you.
After your garment is fully assembled, it’s time for the final press. Here’s where you can really make your hard work shine. Start by laying the garment on a flat, heat-resistant surface. Use a pressing cloth if you're working with delicate fabrics to avoid direct contact with the iron, which can scorch or shine the material. For areas that are prone to puckering, like seams and hems, consider using a tailor's ham or a sleeve board to get into those tricky spots. These tools help you press curves and contours without creating new wrinkles.
Another effective technique is the use of steam. If your iron has a steam function, use it liberally! The steam helps to relax the fibers, making it easier to smooth out any stubborn puckers. For particularly stubborn areas, you can even hold the iron slightly above the fabric and let the steam do the work. Just be cautious not to burn your fabric—always test on a scrap piece first!
Lastly, let’s not forget about the importance of setting seams. After you’ve sewn a seam, press it while it’s still warm, then open it up and press it again. This helps to set the stitches in place and can prevent future puckering. You might be surprised at how much of a difference this small step can make!
In summary, mastering ironing techniques is a game-changer for anyone serious about sewing. By incorporating these tips into your routine, you’ll not only enhance the appearance of your finished projects but also improve your overall sewing experience. So, next time you're tempted to skip the iron, remember: a little heat can go a long way!
- How often should I iron my fabric? It's best to iron your fabric every time you cut a new piece and after each major sewing step.
- Can I use a steam iron on all types of fabric? No, delicate fabrics require lower temperatures and should be ironed with care to avoid damage.
- What is a pressing cloth, and do I need one? A pressing cloth is a protective layer that you can place between the iron and your fabric to prevent scorching. It's especially useful for delicate materials.
Frequently Asked Questions
- What should I do if my sewing machine is skipping stitches?
If your sewing machine is skipping stitches, it could be due to a few reasons. First, check if you are using the correct needle for your fabric type. A dull or damaged needle can cause skipped stitches. Also, ensure that the needle is installed correctly and that the thread is threaded properly through the machine. Lastly, adjusting the thread tension might help; if it's too tight, it can lead to skipped stitches.
- How can I prevent fabric bunching while sewing?
To prevent fabric bunching, first, make sure you are using the right presser foot for your fabric type. For slippery or heavy fabrics, a walking foot or Teflon foot can make a world of difference. Additionally, try to sew at a consistent speed and avoid pulling the fabric while stitching. If the fabric is bunching, it might also be worth checking your thread tension settings.
- What is the best way to deal with puckering in my seams?
Puckering can be frustrating, but there are effective ways to minimize it. Start by selecting the appropriate stitch type; for example, a longer stitch length can help reduce puckering. Additionally, ensure that you are handling the fabric gently and using the right presser foot. Ironing your fabric before sewing can also help; a good press can smooth out any wrinkles and prepare the fabric for a clean finish.
- How often should I clean my sewing machine?
Cleaning your sewing machine regularly is essential for its longevity and performance. It's a good practice to clean it after every few sewing projects, especially if you're working with lint-prone fabrics. Make sure to remove the bobbin case and clean out any lint or dust. Lubricating the machine as per the manufacturer's instructions is also important to keep it running smoothly.
- Can I use any type of thread for my sewing projects?
While it might be tempting to use any thread you have on hand, it's best to choose the right type for your project. Cotton thread works well for most fabrics, but if you're sewing stretchy materials, consider using polyester or specialty threads designed for elastic fabrics. Always check the thread weight and type to ensure compatibility with your needle and fabric.


