Quilting 101: Tips and Tricks for Quilting Beginners
Welcome to the wonderful world of quilting! If you're a beginner, you might feel a mix of excitement and apprehension as you embark on this creative journey. But don't worry! This article provides essential insights for beginners in quilting, covering fundamental techniques, tools, and creative ideas to help you start your quilting journey with confidence and creativity. Just imagine transforming simple pieces of fabric into a beautiful quilt that not only keeps you warm but also tells a story. Are you ready to dive in? Let’s get started!
Selecting the appropriate fabric is crucial for quilting success. The fabric you choose can make or break your project, so it’s essential to understand the various types available. Fabrics come in different materials, such as cotton, flannel, and polyester, each with unique characteristics. Cotton is the most popular choice among quilters due to its durability and ease of handling. Flannel, on the other hand, offers a cozy feel, making it perfect for quilts intended for colder weather. When choosing fabric, consider the following:
- Weight: Heavier fabrics tend to be more durable, while lighter fabrics can create delicate designs.
- Prints: Bold prints can add vibrancy, while solids can provide a calming effect.
- Colorfastness: Always pre-wash your fabrics to avoid bleeding colors in your finished quilt.
By carefully selecting your fabrics, you can ensure that your quilt not only looks stunning but also stands the test of time.
Understanding the basic tools needed for quilting can significantly enhance your experience. Investing in quality tools will make your quilting journey smoother and more enjoyable. Here’s a rundown of must-have tools:
- Rotary Cutter: This tool allows for precise cutting of fabric.
- Cutting Mat: Protects your surfaces and extends the life of your rotary cutter.
- Quilting Ruler: Essential for measuring and cutting straight lines.
- Iron: A good iron is crucial for pressing seams and ensuring crisp edges.
Maintaining your tools is just as important as choosing them. Keep your rotary cutter blades sharp and clean your cutting mat regularly to ensure optimal performance.
Accurate cutting is vital in quilting. The right cutting tools can make a world of difference in the precision of your quilt. Rotary cutters are favored by many quilters because they allow for quick and accurate cuts. When using a rotary cutter, always cut away from your body and use a cutting mat to protect your surfaces. Scissors can also be useful for smaller cuts, but they require a steady hand and can be less efficient for larger pieces.
Proper measurements ensure your quilt pieces fit together seamlessly. Measuring tools like quilting rulers and tape measures are indispensable. A clear acrylic ruler with grid lines helps you measure accurately and cut straight lines. Remember, “measure twice, cut once” is not just a saying; it's a golden rule in quilting!
Pressing is an essential step in quilting that can’t be overlooked. Using a good-quality iron and pressing mat will help you achieve crisp seams and a professional finish. Always press your seams open or to one side, depending on your pattern instructions. This attention to detail will pay off when you assemble your quilt.
Organizing your quilting supplies can improve efficiency and creativity. Consider using clear bins for fabric storage, which allows you to see your options at a glance. A dedicated sewing basket for tools can also help keep everything in one place, making it easier to find what you need when inspiration strikes.
Learning fundamental techniques is essential for beginners. Start with piecing—the process of sewing fabric pieces together. It’s the foundation of quilt-making. You’ll also want to familiarize yourself with appliqué, where you sew smaller pieces of fabric onto a larger piece, and various quilting stitches that add texture and character to your quilt.
Piecing involves sewing fabric pieces together to create a quilt top. Mastering straight seams and corner matching will help you create beautiful designs. Don’t be afraid to experiment with different shapes and angles—this is where your creativity can shine!
Understanding different quilting stitches is vital for adding texture. You can choose between hand quilting and machine quilting. Hand quilting gives your project a personal touch, while machine quilting is faster and can produce intricate designs. Explore both methods to find what works best for you!
Designing a quilt allows for personal expression. This is your chance to let your creativity flow! Start by choosing patterns that resonate with you, then select colors that reflect your style. Don’t be afraid to mix and match—sometimes the most unexpected combinations yield the most beautiful results.
Color selection can significantly impact your quilt's appearance. Basic color theory principles, like complementary and analogous colors, can help you create harmonious quilt designs. Think of your quilt as a painting; the right colors can evoke emotions and set the tone for your entire project.
Quilt patterns can simplify the design process. You can find countless patterns online or in quilting magazines. When using a pattern, feel free to adapt it to your preferences—change the colors, adjust the size, or mix in your own unique elements to make it truly yours.
Completing your quilt involves several finishing steps that are just as important as the initial sewing. Binding, labeling, and caring for your quilt ensures it lasts for years to come. A well-bound quilt not only looks great but also prevents fraying.
Binding is the final touch that frames your quilt. You can choose between machine and hand sewing methods, depending on your comfort level and the look you want to achieve. A neatly applied binding will give your quilt a polished finish that you can be proud of!
Proper care ensures your quilt remains in excellent condition. Always wash your quilt according to the fabric's care instructions. Store your quilt in a cool, dry place to prevent damage. If repairs are needed, don’t hesitate to patch up any worn areas—think of it as giving your quilt a little TLC!
1. What type of fabric is best for beginners?
Cotton is highly recommended for beginners due to its ease of handling and availability in various prints and colors.
2. How do I choose a quilting pattern?
Start with simple patterns that match your skill level. As you gain confidence, you can explore more complex designs.
3. Can I quilt without a sewing machine?
Yes! Hand quilting is a valid and beautiful method that many quilters enjoy.
4. How do I care for my quilt?
Follow the care instructions for your fabric. Generally, a gentle wash and air drying are recommended to preserve the quilt's integrity.
With these tips and tricks, you're well on your way to creating stunning quilts that reflect your personality and creativity. Happy quilting!
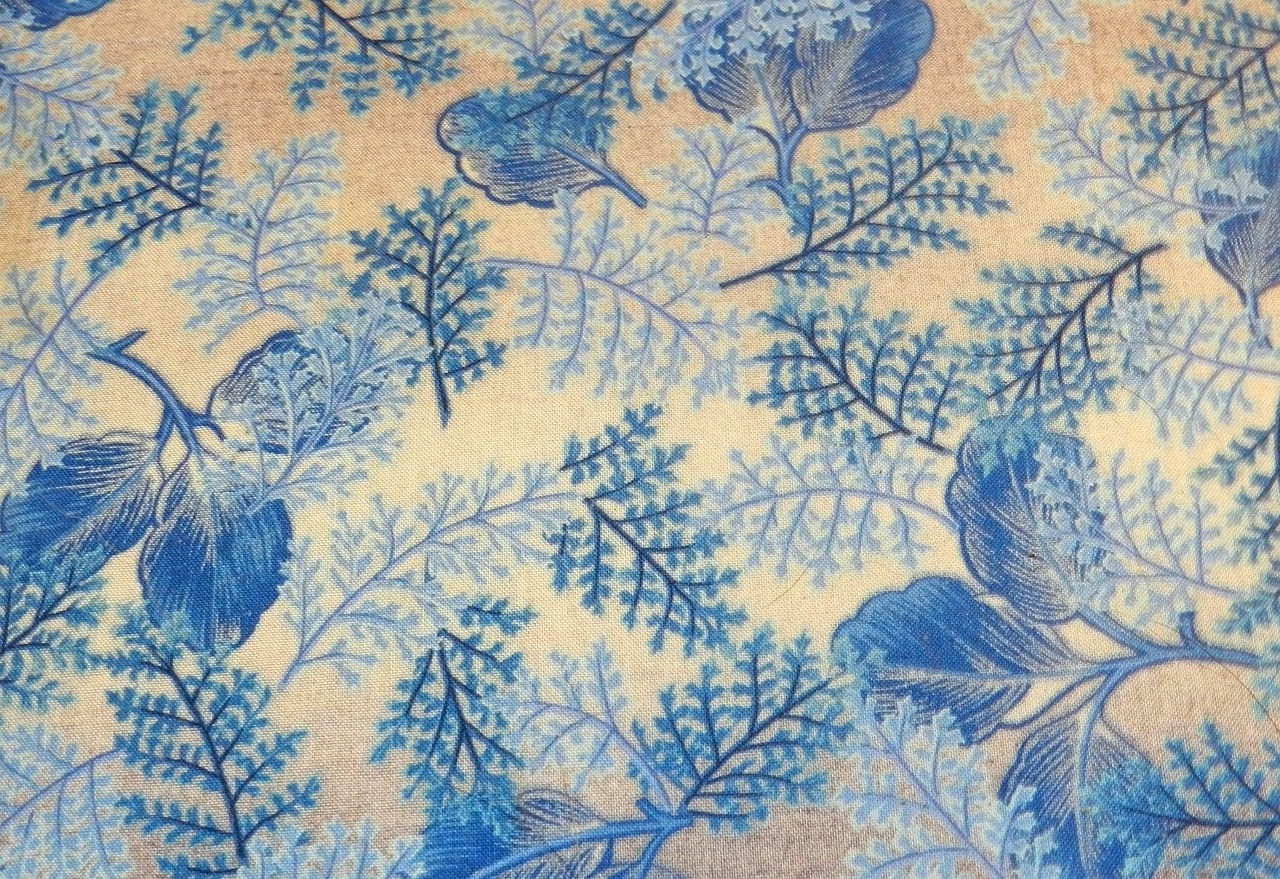
Choosing the Right Fabric
When it comes to quilting, is like laying the foundation of a house; it sets the tone for everything that follows. The fabric you select not only influences the overall look of your quilt but also affects its durability and how it drapes. So, how do you make the right choice? Let’s dive into the world of quilting fabrics!
First off, you’ll encounter a variety of fabric types, each with its own unique characteristics. For instance, cotton is the most popular choice among quilters due to its versatility, ease of use, and vibrant prints. It’s breathable, easy to sew, and can withstand multiple washes. On the other hand, fabrics like flannel offer a cozy feel, making them perfect for warm quilts, especially in colder climates.
When selecting your fabric, consider the weight and texture. Lighter fabrics, such as lawn or voile, can be great for delicate quilts but may require more care during the quilting process. Heavier fabrics, like canvas or denim, can add durability but might be challenging to sew through multiple layers. Additionally, think about the color and print. Bold patterns can make a statement, while softer colors can create a more subdued, vintage look.
| Fabric Type | Characteristics | Best For |
|---|---|---|
| Cotton | Versatile, durable, vibrant | All types of quilts |
| Flannel | Soft, warm, cozy | Warm quilts for winter |
| Muslin | Lightweight, plain | Quilting practice, backing |
| Batiks | Colorful, intricate patterns | Artistic quilts, modern designs |
Another essential factor is the pre-washing of your fabric. Many fabrics can shrink or bleed colors when washed, which can ruin your quilt if not addressed beforehand. Pre-washing helps to ensure that your fabric retains its size and color during the quilting process. So, don’t skip this step!
Finally, always trust your instincts. When you see a fabric that speaks to you, don’t hesitate! Quilting is all about personal expression, and your fabric choices should reflect your unique style. Whether you’re drawn to bold colors or soft pastels, the fabric you choose will tell your story. So take your time, explore different options, and have fun with it!
Essential Quilting Tools
When embarking on your quilting journey, having the right tools at your disposal can make all the difference. Imagine trying to bake a cake without the proper utensils; it would be a messy affair! Similarly, quilting requires specific tools that not only enhance your experience but also ensure precision and creativity in your projects. From cutting to pressing, each tool plays a vital role in crafting beautiful quilts. So, let’s dive into the essential quilting tools that every beginner should consider adding to their toolkit.
First and foremost, cutting tools are indispensable in quilting. The most popular cutting tool is the rotary cutter, which allows for smooth, precise cuts through multiple layers of fabric. Pair it with a self-healing cutting mat to protect your surfaces and extend the life of your blade. If you prefer a more traditional approach, a good pair of fabric scissors is essential for trimming and cutting smaller pieces. Remember, investing in quality cutting tools can save you time and frustration in the long run!
Accurate cutting is vital in quilting. Here are some popular cutting tools:
- Rotary Cutter: Ideal for cutting straight lines swiftly.
- Fabric Scissors: Perfect for detailed cutting and trimming.
- Cutting Mat: Protects your surfaces and prolongs the life of your blades.
Next up are measuring tools. Proper measurements ensure your quilt pieces fit together seamlessly, much like the pieces of a jigsaw puzzle. A clear acrylic ruler with marked measurements is a must-have, as it helps you measure and cut fabric accurately. Additionally, a good quality tape measure is handy for larger pieces or when working with patterns that require more extensive measurements.
When it comes to measuring, consider these tools:
- Acrylic Ruler: Provides precision for cutting and measuring.
- Tape Measure: Useful for larger projects and pattern measurements.
Don’t overlook the importance of pressing tools. Pressing is an essential step in quilting that helps set seams and gives your quilt a professional finish. A quality iron is crucial, but it’s equally important to have a good pressing mat. A pressing mat can protect your surfaces and provide a better pressing experience. Some quilters even prefer using a mini iron for smaller pieces and intricate work.
Here are some pressing tools to consider:
- Iron: Choose one with adjustable heat settings for different fabrics.
- Pressing Mat: A thick mat can help distribute heat evenly.
Another aspect of quilting that often goes unnoticed is storage solutions. Organizing your quilting supplies can significantly improve your efficiency and creativity. You wouldn’t want to dig through a chaotic mess to find that perfect fabric, would you? Consider investing in clear bins or drawers to keep your fabric sorted by color or project. Additionally, a dedicated sewing caddy can help you keep your tools close at hand while you work.
Efficient storage can be achieved through:
- Clear Bins: Great for organizing fabric by color or type.
- Sewing Caddy: Keeps all your essential tools in one place.
In summary, having the right quilting tools can elevate your quilting experience from chaotic to creative. Remember, quality over quantity is key; investing in good tools will pay off in the long run. So, gather your essential tools, and you’ll be well on your way to creating stunning quilts that reflect your unique style!
Q: What is the most essential tool for beginners in quilting?
A: While all tools are important, a rotary cutter, cutting mat, and ruler are often considered the most essential for beginners.
Q: Can I use regular scissors for quilting?
A: Yes, but fabric scissors are specifically designed to cut fabric cleanly and accurately, making them a better choice.
Q: How do I maintain my quilting tools?
A: Regularly clean your tools, store them properly, and replace blades as needed to ensure optimal performance.
Cutting Tools
When it comes to quilting, accurate cutting is not just important; it's absolutely crucial. Imagine trying to assemble a puzzle with pieces that don't fit together—frustrating, right? That's exactly what happens when your fabric pieces aren’t cut correctly. To help you avoid this common pitfall, let's delve into the world of cutting tools that every quilter should consider.
The most essential cutting tool in your quilting arsenal is the rotary cutter. This handy gadget resembles a pizza cutter but is specifically designed for fabric. With its sharp, circular blade, it allows you to cut through multiple layers of fabric with ease. When using a rotary cutter, always pair it with a self-healing cutting mat to protect your surfaces and prolong the life of your blades. Trust me, investing in a good mat is worth every penny!
Another trusty companion for any quilter is a pair of fabric scissors. While rotary cutters are fantastic for straight lines, scissors excel in navigating curves and intricate designs. Look for scissors that are specifically designed for fabric; they will make your cutting experience much smoother. Remember, dull scissors can lead to jagged edges, so keep them sharpened and ready for action!
For those who appreciate precision, a craft knife can be a game-changer. This tool is perfect for detailed cutting, especially when working with templates or intricate designs. Its fine blade allows for sharp, clean cuts, ensuring that your quilt pieces fit together perfectly. Just be cautious—these blades are incredibly sharp, so always cut away from your body and store them safely when not in use.
To help you visualize the differences between these cutting tools, here's a quick comparison:
| Tool | Best For | Pros | Cons |
|---|---|---|---|
| Rotary Cutter | Straight cuts on multiple layers | Fast and efficient | Can be dangerous if not handled properly |
| Fabric Scissors | Curved cuts and detailed work | Easy to control | Slower for large cuts |
| Craft Knife | Intricate designs and templates | Precision cutting | Requires steady hands |
In addition to these primary tools, you might also want to consider a cutting ruler. A good ruler not only helps you measure but also provides a straight edge for cutting with your rotary cutter. Look for one with clear markings and a non-slip backing to keep it securely in place while you work. Remember, a quilter's success often hinges on the precision of their cuts, so don’t skimp on these essential tools!
In summary, having the right cutting tools can transform your quilting experience from chaotic to seamless. With a rotary cutter, fabric scissors, and a craft knife in your toolkit, you’ll be well-equipped to tackle any project that comes your way. So, gear up, get cutting, and let your creativity flow!
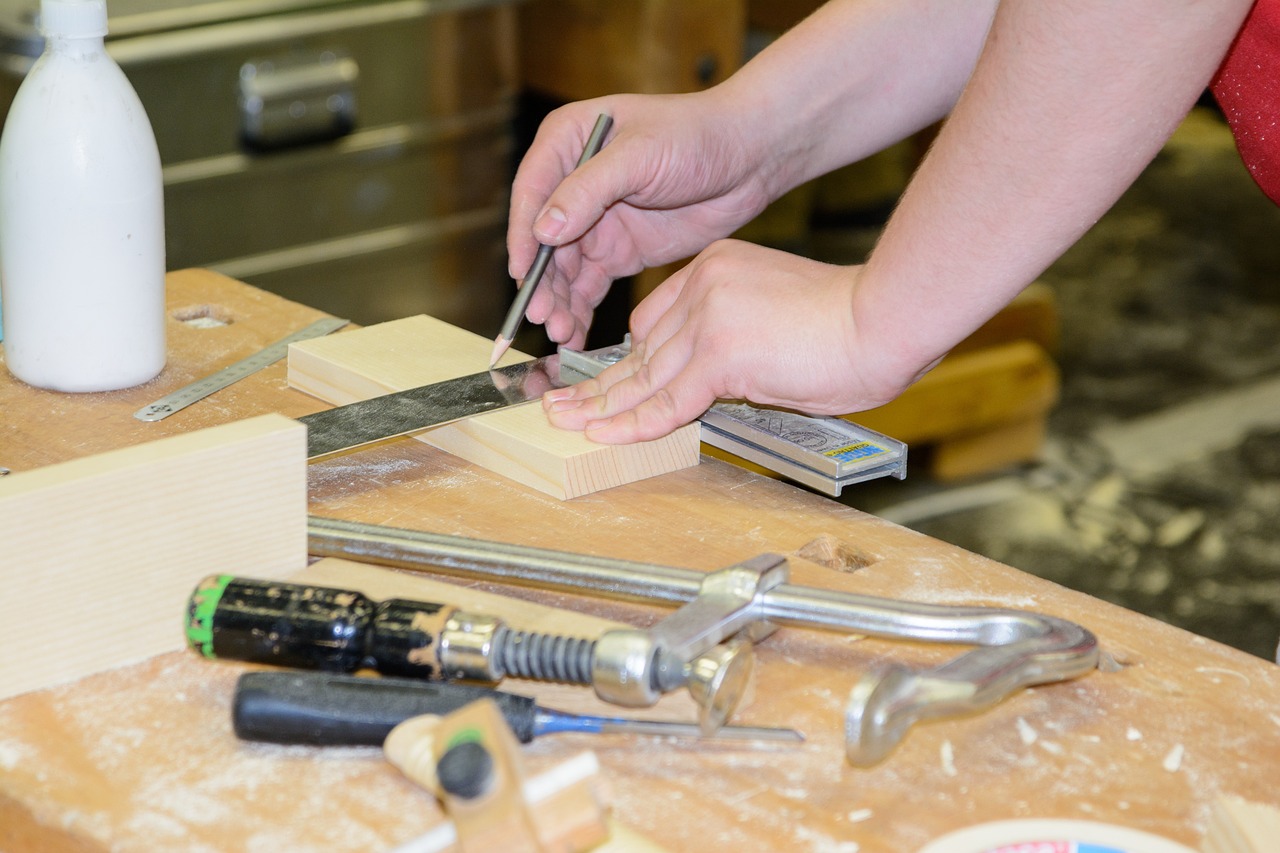
Measuring Tools
When it comes to quilting, accurate measurements are the backbone of a successful project. Imagine trying to build a house without a ruler—chaos, right? The same principle applies to quilting. Having the right measuring tools not only ensures that your fabric pieces fit together seamlessly but also saves you from the frustration of having to redo your work. So, what are the essential measuring tools you should have in your quilting arsenal?
First and foremost, a quilting ruler is a must-have. These rulers are typically made of clear acrylic, allowing you to see your fabric underneath while providing precise measurements. Look for rulers that have both inch and metric markings, as this versatility can come in handy depending on your project. Additionally, many quilting rulers come with grid lines and angles, which can help you cut fabric at various angles with ease.
Next up is the tape measure. This tool is invaluable for measuring larger pieces of fabric or even the dimensions of your quilt. A flexible tape measure allows you to wrap around curves and corners, ensuring you get accurate measurements every time. When using a tape measure, make sure to pull it taut but not overly tight to avoid inaccuracies.
Another essential tool is the square ruler, which is particularly useful for ensuring your quilt blocks are perfectly square. This tool helps you check that your seams are straight and that your blocks are the correct dimensions. It’s particularly handy when you’re piecing together multiple blocks and need everything to align perfectly.
To add a little more detail, here's a quick comparison of the measuring tools mentioned:
| Measuring Tool | Purpose | Best Features |
|---|---|---|
| Quilting Ruler | Precise cutting and measuring | Clear acrylic, grid lines, angle markings |
| Tape Measure | Measuring larger areas | Flexible, easy to store, retractable |
| Square Ruler | Ensuring blocks are square | Helps check seams, perfect for piecing |
In summary, investing in high-quality measuring tools can make your quilting experience not only easier but also more enjoyable. Remember, the goal is to make your quilt as beautiful as possible, and that starts with getting your measurements right. So, grab your rulers and tape measures, and let’s get quilting!
- What is the best type of ruler for quilting?
Clear acrylic rulers with grid lines and angle markings are ideal for quilting as they provide accuracy and visibility. - How do I measure fabric accurately?
Always pull your tape measure taut but not overly tight, and double-check your measurements before cutting. - Can I use a regular measuring tape for quilting?
Yes, but a flexible tape measure designed for sewing is preferred for its ease of use and accuracy.
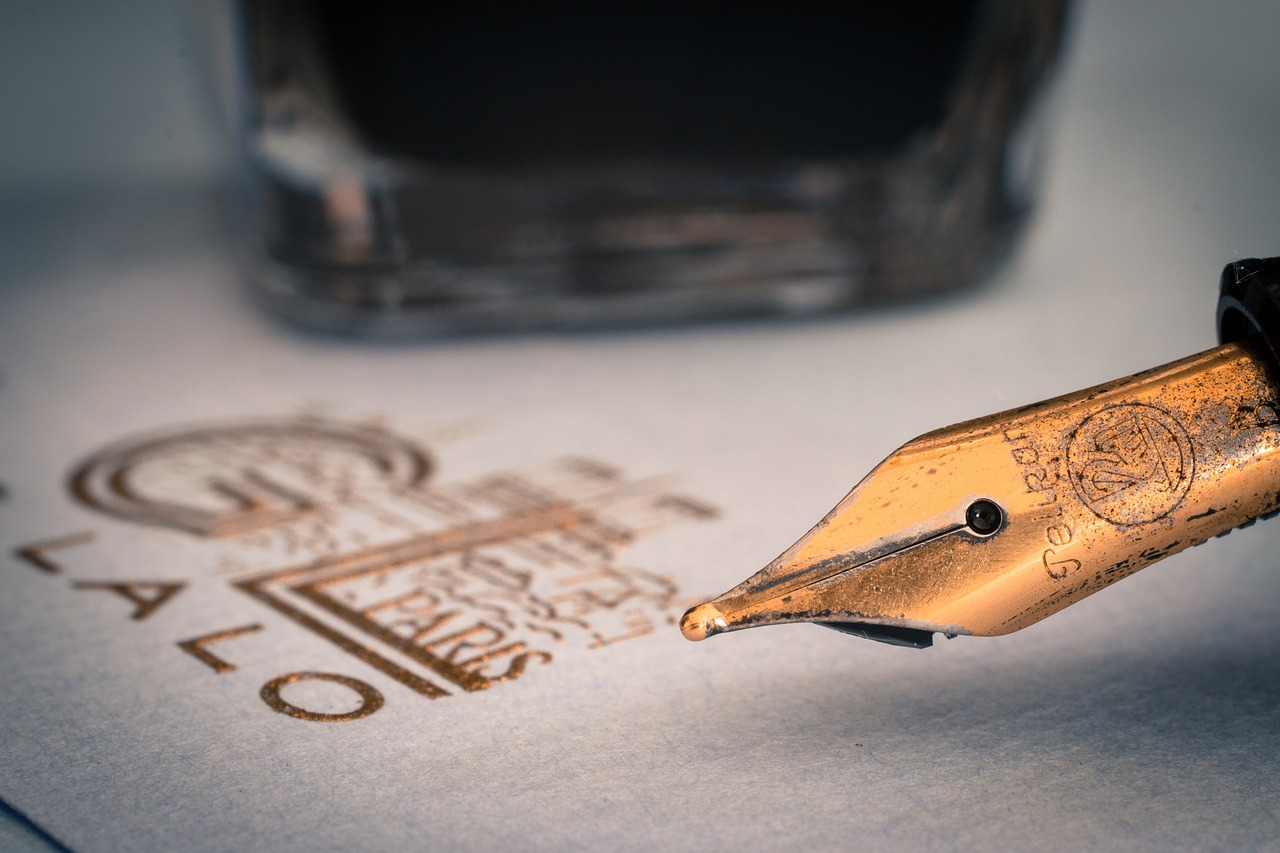
Pressing Tools
Pressing tools are an essential part of the quilting process, playing a crucial role in ensuring that your quilt pieces come together smoothly and look professional. Unlike ironing, which is more about removing wrinkles, pressing involves lifting the iron and placing it down on the fabric without sliding it around. This technique helps to avoid stretching or distorting your fabric pieces, which is vital for achieving those crisp seams that make a quilt truly shine.
When it comes to pressing tools, there are a few key items that every quilter should have in their arsenal:
- Iron: A good-quality iron is indispensable. Look for one that has a steam function, as steam can help to relax the fibers of the fabric, making it easier to press seams flat.
- Pressing Mat: A dedicated pressing mat can make a world of difference. Unlike an ordinary ironing board, a pressing mat is usually made from materials that reflect heat, allowing for better pressing results. They come in various sizes, so choose one that fits your workspace.
- Tailor's Ham: This tool is fantastic for pressing curved seams. It allows you to shape your fabric without flattening it, which is particularly useful for areas like sleeves or curves in your quilt blocks.
- Pressing Cloth: Sometimes, fabrics can be sensitive to heat. A pressing cloth can protect your fabric from direct contact with the iron, preventing scorching or shiny spots. You can use a simple piece of cotton fabric or purchase a specialized pressing cloth.
Using these pressing tools effectively can significantly enhance the quality of your quilting projects. Always remember to set your iron to the appropriate temperature for the type of fabric you are using. For instance, cotton fabric can handle higher heat, while synthetic fabrics require lower temperatures to prevent damage. Additionally, it's wise to keep your iron clean; mineral deposits from water can build up over time, so regularly check and clean the soleplate to ensure smooth operation.
Incorporating pressing into your quilting routine not only helps to create a neat and tidy appearance but also makes the sewing process easier. Properly pressed seams lie flatter, making it simpler to piece your quilt together accurately. So, next time you sit down to quilt, don’t skip this crucial step—your quilt will thank you!
Q: Why is pressing important in quilting?
A: Pressing is essential because it helps to set seams, flatten fabric, and ensure that your quilt pieces fit together accurately. It contributes to the overall quality and appearance of your finished quilt.
Q: Can I use any iron for quilting?
A: While you can use any iron, it's best to choose one with a steam function and adjustable temperature settings. This versatility allows you to work with different fabric types without damaging them.
Q: What is a tailor's ham and when should I use it?
A: A tailor's ham is a pressing tool used for curved seams. You should use it when you need to press areas that have a curve, such as sleeves or curved quilt blocks, to maintain their shape without flattening them.
Q: How do I clean my iron?
A: To clean your iron, ensure it is unplugged and cool. You can use a mixture of vinegar and water or specialized iron cleaners to remove any deposits from the soleplate. Always refer to your iron's manual for specific cleaning instructions.

Storage Solutions
When it comes to quilting, having a well-organized workspace can make a world of difference. Imagine trying to create a masterpiece while sifting through a chaotic pile of fabrics and tools. Not only does it waste precious time, but it can also lead to frustration. That’s why investing in effective storage solutions is essential for any quilting enthusiast. The right organization can spark creativity and streamline your quilting process, allowing you to focus on what you love most – sewing!
First, consider using clear storage bins for your fabrics. These bins allow you to see your fabric choices at a glance, making it easy to find the perfect piece for your next project. You can categorize your fabrics by color, type, or project, ensuring that everything is within reach. Additionally, using labeled bins can help you maintain order and prevent the dreaded “fabric avalanche” that happens when you open a drawer or cabinet.
Next, let’s talk about tools. A dedicated tool organizer can keep your essential items, such as rotary cutters, rulers, and scissors, in one place. Look for a caddy or a rolling cart that can be easily moved around your workspace. This way, you can have your tools right by your side while you work, without having to dig through drawers. For smaller items, like pins and needles, consider using a magnetic pin holder or small containers to prevent spills and keep everything tidy.
For your quilting patterns and books, a vertical file organizer can be a game-changer. Instead of stacking everything in a pile, which can lead to dog-eared pages and lost patterns, keep them upright and accessible. You can even create a system to categorize patterns by season, difficulty level, or project type. This not only saves space but also makes it easy to find inspiration whenever you need it.
Finally, don’t forget about your workspace itself. A well-organized cutting table can enhance your quilting experience. Consider using a large cutting mat that can accommodate various fabric sizes, and keep your most-used tools within arm's reach. Adding a pegboard above your cutting area can help you store items like rulers and scissors, keeping them visible and accessible. Remember, a clutter-free workspace is not just about aesthetics; it improves your focus and efficiency.
In summary, effective storage solutions are vital for any quilter. By implementing clear bins for fabrics, dedicated organizers for tools, vertical files for patterns, and an organized workspace, you can create a quilting environment that inspires creativity and productivity. So, roll up your sleeves, get organized, and let the quilting adventures begin!
- What is the best way to store fabric?
Using clear storage bins and categorizing by color or type is highly recommended for easy access and visibility. - How can I organize my quilting tools?
A rolling cart or dedicated tool organizer can keep your essential items handy while maintaining a tidy workspace. - What should I do with my quilting patterns?
Using a vertical file organizer will help you keep patterns accessible and prevent damage. - How can I maintain an organized cutting area?
Utilize a large cutting mat and pegboard for easy access to your most-used tools.
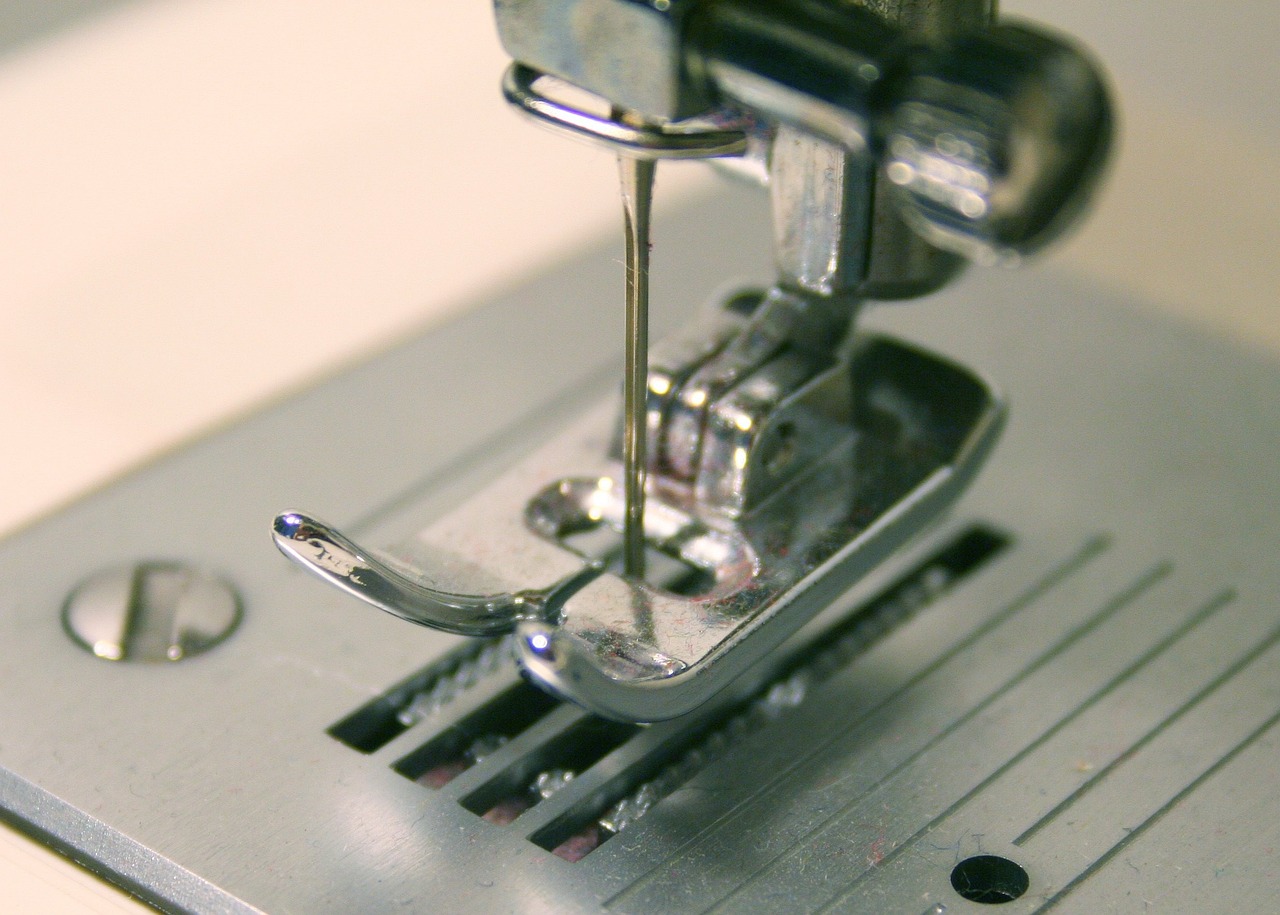
Basic Quilting Techniques
When it comes to quilting, mastering the basic techniques is your first step towards creating beautiful and intricate designs. Just like learning to ride a bike, these foundational skills will give you the confidence to explore more advanced quilting methods later on. So, let’s dive into the essential techniques that every beginner should know!
First up, we have piecing, which is the process of sewing together different fabric pieces to form the quilt top. Think of it as putting together a jigsaw puzzle; each piece needs to fit perfectly to create a cohesive image. There are various piecing techniques you can employ, such as straight seams and corner matching. Straight seams are the bread and butter of quilting, allowing you to join fabric pieces together with ease. Corner matching, on the other hand, requires a bit more precision but can make your quilt look incredibly polished and professional.
Next, let’s talk about quilting stitches. This is where your quilt starts to come alive! Understanding the different types of stitches is crucial for adding texture and dimension to your work. You can choose between hand quilting and machine quilting, each offering its own unique benefits. Hand quilting gives you the opportunity to connect with your project on a personal level, allowing for intricate designs and a tactile experience. On the flip side, machine quilting is faster and can produce consistent results, making it ideal for larger projects. Here’s a quick comparison:
| Technique | Pros | Cons |
|---|---|---|
| Hand Quilting | Personal touch, intricate designs | Time-consuming, requires practice |
| Machine Quilting | Faster, consistent results | Less personal touch, can be challenging to master |
Another important aspect of basic quilting is understanding how to press your seams. Pressing is not just a step; it’s an art form that can significantly affect the final appearance of your quilt. Using a good quality iron and pressing mat can help you achieve crisp seams, which is essential for a polished look. Always remember to press your seams open or to one side, depending on the pattern you’re following. This will ensure that your quilt lays flat and looks professional.
Lastly, let’s not forget about the importance of organization in your quilting journey. Keeping your workspace tidy can significantly improve your efficiency and creativity. Consider investing in storage solutions for your fabrics, tools, and patterns. A clutter-free environment allows you to focus on what truly matters: your creative expression!
By mastering these basic quilting techniques, you’re setting yourself up for success in your quilting adventures. As you become more comfortable, you can begin to experiment with more complex designs and techniques. Remember, every expert quilter started as a beginner, so don’t be afraid to make mistakes and learn along the way!
- What is the best fabric for beginners? Cotton is highly recommended due to its ease of use and availability.
- How long does it take to complete a quilt? It varies based on the size and complexity, but many beginners can complete a simple quilt in a few weeks.
- Can I quilt without a sewing machine? Yes! Hand quilting is a viable option, though it may take longer.
- What tools do I need to start quilting? At minimum, you will need fabric, a rotary cutter, a cutting mat, and a sewing machine or needle and thread for hand quilting.
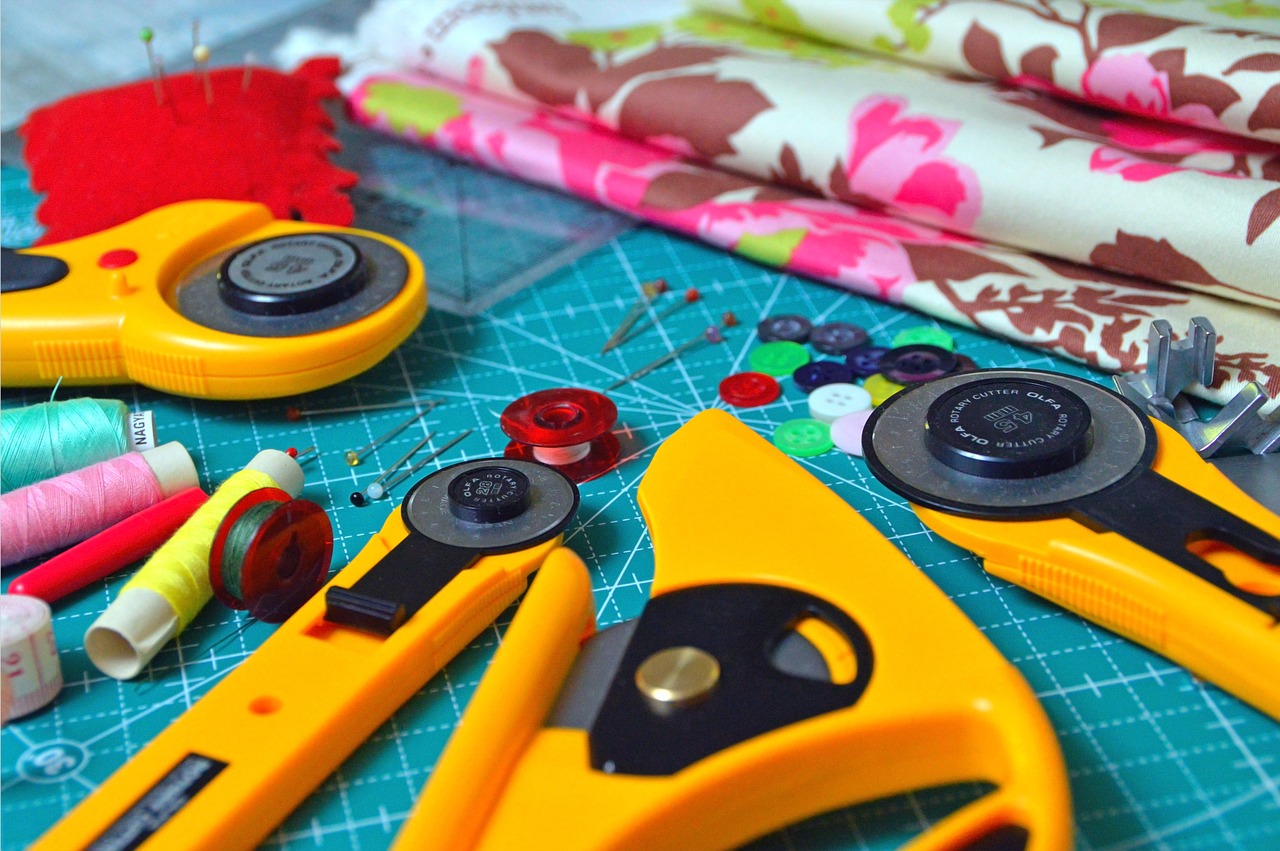
Piecing Techniques
When it comes to quilting, piecing is the magic that transforms individual fabric pieces into a stunning quilt top. Think of it as assembling a jigsaw puzzle, where each piece plays a crucial role in the overall picture. In this section, we’ll explore various piecing techniques that will help you create beautiful quilt tops while ensuring that your seams are accurate and your fabric pieces fit together seamlessly.
One of the most fundamental techniques in piecing is the straight seam. This method involves sewing two fabric pieces together along a straight line. To achieve a perfect straight seam, it's essential to use a consistent seam allowance—typically ¼ inch for quilting. Using a seam guide or marking your sewing machine can help maintain this measurement. Remember, the accuracy of your seams will directly affect the overall quality of your quilt!
Next up is the corner matching technique. This technique is vital when piecing blocks that need to align perfectly at their corners. To master this skill, you can follow these steps:
- Pin the corners of the fabric pieces together.
- Start sewing from the edge of one piece and stop at the point where the two pieces meet.
- Press the seams open to reduce bulk and ensure a flat finish.
By taking the time to match corners accurately, you’ll create a quilt that looks professionally made, even if you’re just starting out!
Another technique worth mentioning is the use of chain piecing. This method not only saves time but also enhances efficiency, making it a favorite among quilters. Chain piecing involves sewing multiple pieces of fabric together in a continuous chain without cutting the thread between them. This technique allows you to keep your workflow steady and reduces the amount of thread waste. Here’s how to do it:
- Feed the first two pieces of fabric through the sewing machine.
- Once sewn, place the next pair of fabric pieces under the presser foot without cutting the thread.
- Repeat until all pieces are sewn together.
After completing your chain piecing, simply cut the threads between each piece, and you’ll have a series of connected units ready for pressing!
Finally, let’s not forget the importance of pressing seams as you go. Proper pressing techniques can make a world of difference in the final appearance of your quilt. Always press your seams to one side or open, depending on the pattern and fabric types you are using. Pressing helps set the stitches and gives your quilt a crisp, polished look.
In summary, mastering piecing techniques is an essential step in your quilting journey. By practicing straight seams, corner matching, chain piecing, and proper pressing, you’ll be well on your way to creating stunning quilt tops that reflect your unique style. So grab your fabrics, fire up that sewing machine, and let your creativity flow!
Q: What is the best seam allowance for quilting?
A: The standard seam allowance for quilting is typically ¼ inch. This measurement helps ensure that pieces fit together accurately.
Q: How can I avoid fabric shifting while piecing?
A: Use pins to secure fabric pieces before sewing, and consider using a walking foot on your sewing machine to help prevent shifting.
Q: Can I mix different fabric types in a quilt?
A: Yes! Just be mindful of the fabric weights and how they will behave together. It can create interesting textures and looks!
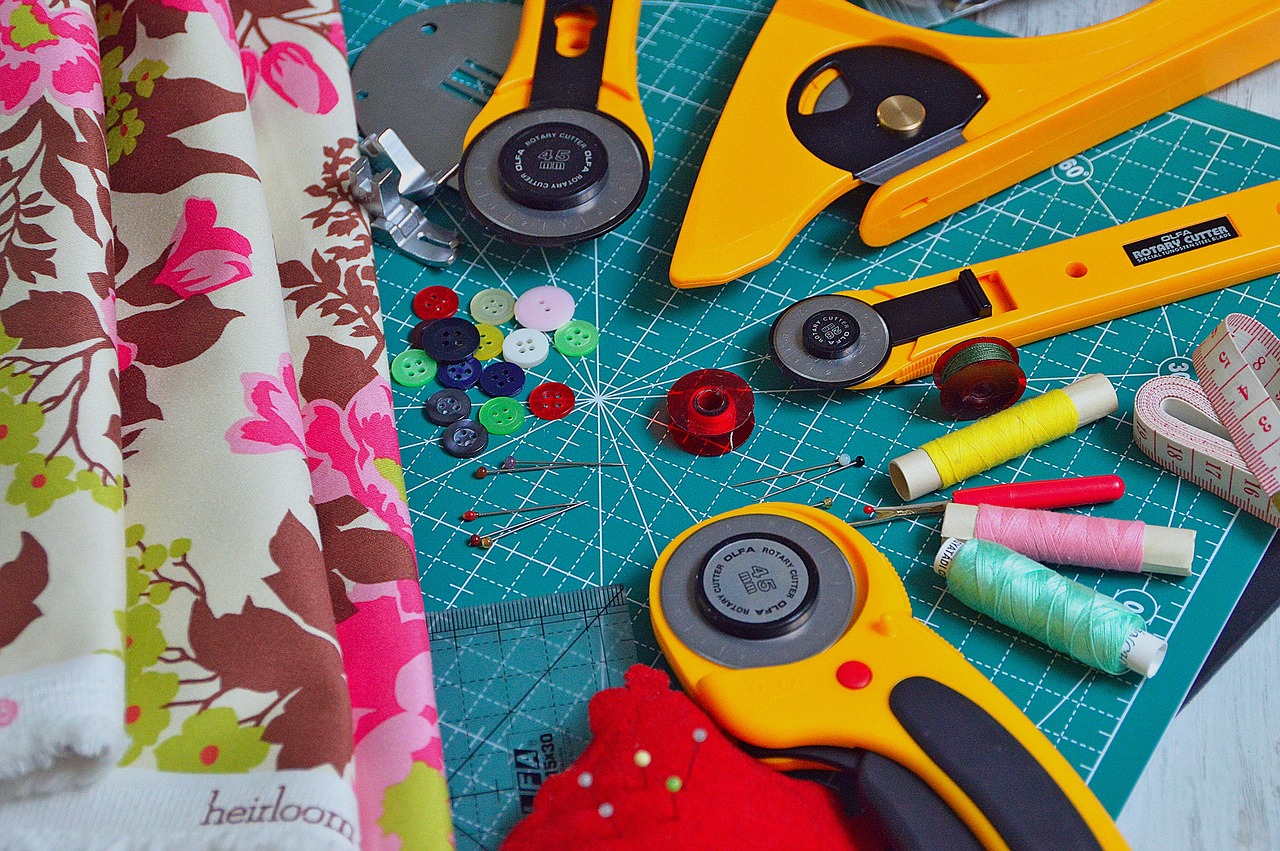
Quilting Stitches
Understanding different is crucial for adding texture and character to your quilts. Whether you're a novice or someone looking to refine your skills, knowing your stitches can elevate your quilting game. There are two primary methods to consider: hand quilting and machine quilting. Each method has its own set of advantages and techniques that can influence the overall look and feel of your quilt.
Hand quilting is a traditional technique that many quilters adore for its personal touch. It involves sewing through the layers of the quilt by hand, which allows for intricate designs and a deep connection to the project. The rhythmic motion of hand quilting can be almost meditative, providing a sense of satisfaction as you see your quilt come together stitch by stitch. However, it can be time-consuming, so patience is key. When hand quilting, consider using a thimble to protect your fingers and ensure you can push the needle through multiple layers of fabric without discomfort.
On the other hand, machine quilting has become increasingly popular due to its speed and efficiency. Using a sewing machine allows you to complete quilts in a fraction of the time it takes to hand quilt. Additionally, modern machines come equipped with various stitch options and features that can help you create beautiful patterns with ease. However, mastering machine quilting requires practice, especially in maintaining even stitches and controlling the fabric as it moves through the machine. It's essential to choose the right foot for your machine, such as a walking foot, which helps to evenly feed the layers of fabric through the machine, preventing puckering.
When deciding which method to use, consider the following factors:
- Time: How much time do you have to dedicate to your quilting project?
- Complexity: Are you looking to create intricate designs that may be easier to achieve by hand?
- Comfort: Do you prefer the tactile experience of hand sewing, or do you enjoy the speed of machine sewing?
Regardless of the method you choose, the type of stitches you use can also vary. For example, straight stitches are the most common and can be used for both hand and machine quilting. They provide a clean and simple look that works well for beginners. Diagonal stitches can add a dynamic element to your quilt, while decorative stitches can enhance the visual appeal and showcase your creativity.
In conclusion, whether you opt for the traditional charm of hand quilting or the modern efficiency of machine quilting, understanding the various quilting stitches will undoubtedly enrich your quilting experience. So, grab your fabric, thread, and tools, and let your creativity flow as you explore the beautiful world of quilting stitches!
Q: What is the best method for beginners, hand quilting or machine quilting?
A: While both methods have their merits, many beginners find machine quilting easier to learn and faster to execute. However, if you enjoy a hands-on approach and have the patience, hand quilting can be a rewarding experience.
Q: How can I ensure my stitches are even?
A: Practice is key! For hand quilting, use a thimble and take small, even stitches. For machine quilting, adjust your machine settings and consider using a walking foot to help guide the fabric evenly.
Q: Can I mix hand and machine quilting in the same project?
A: Absolutely! Many quilters enjoy combining both techniques to create unique designs and textures. Just be sure to use compatible threads and fabrics for the best results.

Designing Your Quilt
Designing a quilt is not just about sewing fabric together; it's an opportunity to express your creativity and personal style. Think of it as painting a canvas, where each fabric piece contributes to a larger masterpiece. Whether you're aiming for a cozy throw or a stunning wall hanging, the design process is where your vision takes flight. Start by considering the overall theme of your quilt. Do you want it to be bright and cheerful, or perhaps more subdued and elegant? This decision sets the tone for your fabric choices and color palette.
When it comes to choosing patterns, the options are virtually limitless. You can opt for traditional patterns like log cabin or nine-patch, or venture into modern designs that incorporate geometric shapes and asymmetry. The beauty of quilting lies in its versatility; you can mix and match patterns to create something truly unique. As you explore various designs, keep in mind how the patterns will interact with each other. Will they clash, or will they complement one another beautifully? A well-thought-out combination can elevate your quilt from ordinary to extraordinary.
Color selection is another crucial aspect of quilt design. Understanding color theory can help you create harmonious designs that please the eye. For instance, colors that are opposite each other on the color wheel, like blue and orange, can create a vibrant contrast. On the other hand, colors that are adjacent, such as blue and green, will provide a more soothing effect. When selecting your fabrics, consider both the overall color scheme and the individual shades. A quilt that incorporates a variety of hues can add depth and interest, while a limited palette can create a striking, cohesive look.
As you sketch out your design, consider the layout of your quilt. Will you use a symmetrical layout, or do you prefer a more freeform approach? You might find it helpful to create a mock-up using fabric swatches or even digital design software. This allows you to visualize how different elements will come together before you start cutting and sewing. Remember, quilting is a journey, and it's perfectly okay to make adjustments along the way. Don’t be afraid to experiment; sometimes the best designs emerge from unexpected choices.
Finally, let’s not forget about the importance of scale in your quilt design. The size of your quilt blocks and the overall dimensions of your quilt can significantly impact its final appearance. Large blocks can create a bold statement, while smaller blocks can offer intricate detail. Think about where the quilt will be displayed; a larger quilt might be ideal for a bed, while a smaller one could serve as a beautiful wall hanging or table topper.
In summary, designing your quilt is a delightful process that combines creativity, planning, and a little bit of trial and error. Embrace the journey, let your imagination run wild, and remember that each quilt tells a story—your story. Now, let’s move on to some frequently asked questions that may help clarify your design process!
- What is the best way to choose a quilt pattern? Start by considering your skill level and the amount of time you want to invest. Look for patterns that inspire you and match your vision.
- How do I select colors for my quilt? Use a color wheel to find complementary colors, or choose fabrics that evoke a specific mood or theme.
- Can I mix different fabric types in my quilt? Yes, but be mindful of the weight and texture of the fabrics to ensure they work well together.
- Is it necessary to sketch my quilt design first? While it's not mandatory, sketching can help you visualize your ideas and make adjustments before cutting fabric.
Color Theory in Quilting
Understanding color theory is a game changer when it comes to quilting. It’s like having a secret map that guides you through the vibrant world of fabric choices. Color theory helps you make informed decisions about which hues to combine, ensuring that your quilt not only looks good but also evokes the right emotions. Think of it as the language of color — once you learn how to speak it, your quilts will tell a story all on their own!
At its core, color theory is about understanding how colors interact with each other. There are a few fundamental concepts that every quilter should grasp:
- Primary Colors: These are the building blocks of all other colors. Red, blue, and yellow can be mixed to create a wide palette.
- Secondary Colors: Created by mixing primary colors together. For example, red and blue make purple, blue and yellow make green, and yellow and red make orange.
- Tertiary Colors: These are made by mixing a primary color with a secondary color, leading to shades like red-orange or blue-green.
Now, let’s dive deeper into the color wheel. This handy tool is divided into warm and cool colors. Warm colors like red, orange, and yellow can make your quilt feel energetic and inviting, while cool colors like blue, green, and purple can create a calming effect. Choosing the right combination can set the mood of your quilt, making it feel cozy, vibrant, or even sophisticated.
One popular technique in quilting is using complementary colors. These are colors that are opposite each other on the color wheel, such as blue and orange. When paired together, they create a striking contrast that can make your quilt pop. On the other hand, analogous colors—which are next to each other on the color wheel—can create a more harmonious and soothing look. For instance, using shades of blue, blue-green, and green can give your quilt a serene and cohesive feel.
Another key aspect of color theory is the concept of value. This refers to how light or dark a color is. By playing with different values, you can add depth and dimension to your quilt. For instance, a quilt made with various shades of the same color can create a beautiful gradient effect, drawing the eye across the fabric.
Finally, don't forget about prints and patterns. The fabric's design can significantly influence how colors interact. A bold floral print can change the perception of the colors used in your quilt, while a subtle tone-on-tone fabric can add sophistication without overwhelming the overall design. Experimenting with different combinations can lead to delightful surprises!
In summary, embracing color theory in your quilting journey is like unlocking a treasure chest of creative possibilities. By understanding how colors work together, you can create quilts that not only showcase your skills but also reflect your unique style and personality. So, grab your fabric swatches, and let the colors guide you to your next masterpiece!
Q: How do I choose colors for my quilt?
A: Start by considering the mood you want to create. Use the color wheel to find complementary or analogous colors that appeal to you. Don’t be afraid to experiment!
Q: Can I mix different fabric prints in my quilt?
A: Absolutely! Mixing prints can add interest and depth to your quilt. Just ensure that the colors in the prints work well together to maintain a cohesive look.
Q: What if I’m not confident in my color choices?
A: Trust your instincts! You can also look for inspiration from nature, art, or even existing quilts. Remember, quilting is about personal expression, so go with what feels right to you.

Using Quilt Patterns
Quilt patterns are like treasure maps for quilters—they guide you through the creative journey of transforming fabric into a beautiful masterpiece. When starting out, it’s essential to understand how to find and effectively use these patterns to your advantage. Quilt patterns come in various forms, from simple designs for beginners to intricate layouts for seasoned pros. They can be found in books, magazines, and online resources, often accompanied by detailed instructions and visuals that make the process smoother.
One of the best parts about using quilt patterns is the variety they offer. You can choose from traditional patterns like the classic Log Cabin or Nine Patch, or explore more contemporary designs that reflect today’s trends. Each pattern usually comes with a list of materials needed, which can help you plan your shopping trips and ensure you have everything on hand before you dive into cutting and sewing.
When selecting a quilt pattern, consider your skill level and the time you have available. Some patterns are straightforward and can be completed in a weekend, while others may take weeks or even months to finish. It’s perfectly normal to feel overwhelmed by the options, but remember that you can always start with a simpler design and work your way up as your confidence grows. If you find a pattern you love but feel it's too complex, don’t hesitate to adapt it. You can simplify certain elements or break it down into smaller sections to make it more manageable.
Additionally, understanding how to interpret quilt patterns is crucial. Patterns typically include symbols and abbreviations for various stitches and techniques, which can be daunting at first. Here’s a quick reference table to help you decode some common quilting terms:
| Term | Meaning |
|---|---|
| WOF | Width of Fabric (usually 42-44 inches) |
| UFO | Unfinished Object (a project that is not completed) |
| FQ | Fat Quarter (a piece of fabric cut to 18” x 22”) |
| RTS | Ready to Sew (fabric pieces are cut and ready for assembly) |
Moreover, quilt patterns often include a cutting guide, which details the dimensions for each fabric piece you'll need. Following this guide is crucial for achieving a well-fitted quilt. Pay close attention to the grain of the fabric as well; cutting along the grain will yield better results and prevent your quilt from warping over time.
Lastly, don’t forget to have fun with quilt patterns! They aren’t just rigid rules; they are starting points for your creativity. Feel free to add personal touches, such as unique fabric choices or embellishments, to make the quilt truly yours. Whether you’re making a quilt for a loved one or simply for yourself, the joy of quilting lies in the process of creating something beautiful and meaningful.
- What is the best way to choose a quilt pattern?
Consider your skill level, the time you have, and your personal style. Start with simpler patterns and gradually challenge yourself with more complex designs. - Where can I find quilt patterns?
You can find quilt patterns in quilting books, magazines, and numerous online platforms dedicated to quilting. - Can I modify a quilt pattern?
Absolutely! Quilt patterns are meant to inspire you. Feel free to adapt them to suit your preferences or skill level.
Finishing Touches
Completing your quilt is an exhilarating moment, but it’s essential to pay attention to the that will ensure your quilt not only looks fantastic but also lasts for years to come. Think of these final steps as the sprinkles on a cupcake; they may seem small, but they can make a world of difference in the overall presentation and longevity of your creation.
One of the most critical steps in finishing a quilt is binding. This is the process of adding a border around the edges of your quilt, which not only provides a clean finish but also protects the edges from fraying. There are several techniques for binding your quilt, including machine binding and hand binding. Machine binding is quicker and can be done in a fraction of the time, while hand binding is a labor of love that can give your quilt a more personalized touch. Whichever method you choose, make sure to select a fabric that complements your quilt's design.
After binding, you’ll want to consider labeling your quilt. This is particularly important if you plan to give your quilt as a gift or pass it down through generations. A simple label can include your name, the date of completion, and perhaps a special message or the quilt's name. Not only does this add a personal touch, but it also serves as a record of your hard work and creativity. You can create labels using fabric markers, embroidery, or even printed fabric sheets.
Finally, caring for your quilt is essential to keep it looking fresh and vibrant. Quilts can be delicate, so proper washing and storing techniques are vital. For most quilts, a gentle cycle with cold water is recommended, and always use a mild detergent. Avoid harsh chemicals that can fade colors or damage the fabric. When it comes to storage, keep your quilt in a cool, dry place, away from direct sunlight, to prevent fading and deterioration.
Here’s a quick reference table summarizing the essential finishing touches:
| Finishing Step | Description |
|---|---|
| Binding | Adds a protective border around the quilt edges. |
| Labeling | Personalizes your quilt with your name and date. |
| Care and Maintenance | Proper washing and storing to maintain quality. |
As you dive deeper into the world of quilting, you may have some questions. Here are a few frequently asked questions that can help clarify the finishing touches:
- How do I choose the right fabric for binding? Look for a fabric that contrasts or complements your quilt top. Cotton is a popular choice for its durability and ease of use.
- What’s the best way to label my quilt? You can use fabric markers, embroidery, or printed fabric labels. Just ensure it’s securely stitched to avoid peeling.
- How often should I wash my quilt? It depends on usage, but generally, washing every few months or as needed is sufficient. Always follow care instructions.
In summary, the finishing touches of your quilt are not just about aesthetics; they play a significant role in preserving your hard work and ensuring that your quilt remains a cherished piece for years to come. So take your time with these steps, and enjoy the process!
Binding Techniques
Binding is the final touch that frames your quilt and gives it a polished, finished look. It’s like the cherry on top of a sundae—without it, your quilt might feel incomplete. When it comes to binding, there are several techniques you can use, each with its own set of advantages and challenges. Whether you're a beginner or have some experience under your belt, understanding these techniques will help you choose the best one for your project.
One of the most popular methods is the double-fold binding. This technique involves cutting strips of fabric, folding them in half, and then attaching them to the edges of your quilt. This method not only provides a neat finish but also ensures durability, as the fabric is folded over the raw edges. To create double-fold binding, you'll typically want to cut your strips at least 2.5 inches wide. This extra width allows for easy handling and ensures that your binding will adequately cover the edges of your quilt.
Another technique to consider is bias binding. This method involves cutting your fabric strips on the bias, which means at a 45-degree angle to the fabric's weave. Bias binding is incredibly flexible, making it ideal for curved edges and intricate designs. While it may take a little more time and precision to cut and sew, the results are often worth the effort. You can also create bias binding using pre-made bias tape, which is available in various colors and patterns, saving you time while still achieving a beautiful finish.
For those who prefer a quicker option, the machine binding technique is a great choice. This method allows you to sew the binding to the front of the quilt using a sewing machine, then fold it over to the back and secure it with a second line of stitching. This technique is not only fast but also provides a strong hold, ensuring that your binding will stay in place even after multiple washes. However, it does require some practice to get the stitching lines straight and even, so don’t be discouraged if it takes a few tries to master.
Regardless of the technique you choose, there are a few tips and tricks that can help you achieve a professional-looking finish:
- Press your binding: Before attaching your binding, press it to remove any wrinkles. This will help it lay flat and make the sewing process much easier.
- Pinning: Use plenty of pins to secure your binding in place as you sew. This will help prevent shifting and ensure that your binding stays aligned.
- Use a walking foot: If you have one, a walking foot can be a lifesaver when sewing binding. It helps to evenly feed the quilt layers through your sewing machine, reducing the risk of puckering.
Finally, don’t forget to finish your binding with a neat corner. Mitered corners can add an elegant touch to your quilt, making it look well-crafted and professional. To create mitered corners, fold the binding at a 45-degree angle at the corner, then continue sewing along the next edge. With a bit of practice, you’ll find that binding can be a satisfying and creative part of the quilting process.
Q: What is the best fabric to use for binding?
A: The best fabric for binding is usually a cotton fabric that matches or complements your quilt top. Cotton is durable and easy to work with, making it the preferred choice for most quilters.
Q: How wide should my binding strips be?
A: A common width for binding strips is 2.5 inches. This width allows for easy handling and ensures that the binding covers the raw edges effectively.
Q: Can I use pre-made bias tape for binding?
A: Absolutely! Pre-made bias tape is a great time-saver and comes in various colors and patterns, making it easy to find one that complements your quilt.
Q: How do I care for my quilt after it's finished?
A: To keep your quilt looking great, wash it gently in cold water and tumble dry on low heat. Avoid harsh detergents and fabric softeners to preserve the fabric's integrity.

Quilt Care and Maintenance
Taking care of your quilt is essential to ensure it remains a cherished piece for years to come. Just like a well-loved book, your quilt deserves attention and respect. The first step in quilt care is understanding how to properly wash it. Generally, it's best to hand wash your quilt with mild detergent, especially if it features delicate fabrics or intricate stitching. If you prefer using a washing machine, make sure to select a gentle cycle with cold water to prevent any damage. Always remember to avoid bleach, as it can ruin the colors and fabrics you’ve worked so hard to choose.
After washing, drying your quilt requires some thought too. Ideally, you should air dry your quilt by laying it flat on a clean surface or hanging it up. This method minimizes the risk of shrinkage and helps maintain the quilt's shape. If you must use a dryer, opt for a low heat setting and remove the quilt while it’s still slightly damp to prevent over-drying.
Storage is another crucial aspect of quilt maintenance. When not in use, store your quilt in a cool, dry place to avoid mildew or fading from sunlight. A breathable cotton bag is a great choice for storage, as it allows the fabric to breathe while protecting it from dust. Avoid plastic containers, as they can trap moisture and lead to mold growth.
Repairing your quilt is another important part of maintenance. If you notice any loose threads or small tears, it’s best to address them promptly. A simple hand-stitch can often do the trick, but for larger repairs, consider consulting a professional. Remember, your quilt is not just a blanket; it’s a labor of love, and taking care of it will ensure it remains a part of your family for generations.
Lastly, consider labeling your quilt. This is especially meaningful if you plan to pass it down to future generations. A small label sewn into the corner can include details like the date it was made, who created it, and any special stories associated with it. This adds a personal touch and helps preserve the quilt's history.
- How often should I wash my quilt? It depends on usage, but generally, washing it once or twice a year is sufficient unless it gets soiled.
- Can I use fabric softener? It’s best to avoid fabric softeners as they can leave a residue that affects the quilt's texture.
- What should I do if my quilt gets a stain? Treat the stain as soon as possible with cold water and a gentle detergent. Blot, don’t rub!
- Is it safe to use a dryer on my quilt? Yes, but use a low heat setting and remove it while still slightly damp to prevent shrinkage.
Frequently Asked Questions
- What type of fabric is best for beginners in quilting?
When starting out, it's best to choose cotton fabric. It's easy to work with, widely available, and comes in a variety of colors and patterns. Plus, cotton holds its shape well, making it perfect for quilting projects.
- What essential tools do I need to start quilting?
For beginners, the must-have tools include a rotary cutter, cutting mat, quilting rulers, pins, and a good quality iron. These tools will help you cut accurately and piece your quilt together seamlessly.
- How do I properly measure fabric for my quilt?
Using a quilting ruler is the best way to measure fabric accurately. Always measure twice before cutting to avoid mistakes. Remember, precise measurements are key to ensuring that all your quilt pieces fit together perfectly!
- What is the difference between hand quilting and machine quilting?
Hand quilting involves stitching the layers of the quilt by hand, which can give a personal touch and a unique look. Machine quilting, on the other hand, is faster and can handle larger projects more easily, making it a popular choice for many quilters.
- How can I choose the right colors for my quilt?
Understanding basic color theory can help! Look for colors that complement each other, and don't be afraid to experiment with different shades. You can also use a color wheel to see which colors work well together.
- What are some tips for binding my quilt?
When binding your quilt, make sure to cut your binding strips on the bias for added stretch. You can choose between machine sewing and hand sewing your binding; both methods can give a beautiful finish, so pick the one that suits your style!
- How should I care for my quilt once it's finished?
To keep your quilt in great shape, wash it gently in cold water and tumble dry on low heat. Store it in a cool, dry place, and avoid exposing it to direct sunlight for extended periods to prevent fading.


