Your Ultimate Guide to Mastering Threading a Sewing Machine
Welcome to the world of sewing! Whether you're a seasoned seamstress or a curious beginner, understanding how to thread your sewing machine is fundamental to achieving beautiful results. Think of threading as the lifeblood of your machine—without it, your creative visions simply can't come to life. In this guide, we will walk you through everything you need to know about threading your sewing machine, ensuring you have a smooth and enjoyable sewing experience.
Before diving into the threading process, it's essential to familiarize yourself with the different components of your sewing machine. Each part has a specific function, and knowing these will help you navigate your machine with confidence. For instance, the spool pin holds the thread spool, while the tension dial controls the tightness of the thread as it passes through. Understanding these components will make threading a breeze!
Before you even think about threading your machine, make sure you have all the necessary tools at your fingertips. Having everything ready not only saves time but also reduces frustration. Here’s a quick rundown of essential supplies you’ll need:
- Thread: Choose the right type and color for your project.
- Bobbins: Ensure you have the correct bobbins for your machine.
- Scissors: A sharp pair will make cutting threads easy.
- Seam Ripper: Mistakes happen; be prepared!
- Manual: Keep your machine’s manual handy for reference.
Having these supplies organized will set you up for success and keep your sewing sessions enjoyable.
Selecting the appropriate thread for your project can significantly impact the outcome. Threads come in various types, each suited for different fabrics and purposes. For instance, cotton thread is perfect for quilting, while polyester thread is great for stretchy fabrics. Understanding the differences will ensure you make informed choices that enhance your sewing projects.
When it comes to thread, weight and composition are crucial. Thread weight refers to the thickness of the thread, and it can affect the final look of your sewing project. For example, a heavier thread can create a more pronounced seam, while a lighter thread offers a delicate finish. Additionally, the composition—whether it’s cotton, polyester, or silk—will influence the durability and appearance of the final product. Selecting the right thread weight and composition is like choosing the right paint for your canvas; it can make all the difference!
Choosing the right thread for your fabric type is vital for both durability and appearance. For instance, using a polyester thread on a cotton fabric can lead to uneven seams, while the right cotton thread will blend seamlessly. Here are some tips for pairing thread with different fabric materials:
- Cotton: Use cotton thread for natural fabrics.
- Silk: Opt for silk thread for delicate fabrics.
- Denim: Choose a heavy-duty polyester thread for sturdiness.
By matching the thread to the fabric, you’re setting yourself up for success, ensuring your project not only looks good but also lasts.
Proper preparation of your sewing machine is key to successful threading. Before you start, make sure your machine is clean and in good working order. Dust and lint can cause threading issues, so take a moment to clean the feed dogs and bobbin area. Once you’ve done that, check the needle—make sure it’s sharp and appropriate for your fabric. A well-prepared machine is like a well-tuned instrument; it plays beautifully!
Now that you’re familiar with your machine and have gathered your supplies, it’s time to get into the nitty-gritty of threading. Follow these detailed, easy-to-follow instructions to thread your sewing machine correctly:
To thread the top of your sewing machine, follow these steps:
- Place your thread spool onto the spool pin.
- Guide the thread through the tension mechanism, ensuring it’s seated properly.
- Thread the take-up lever from right to left.
- Finally, thread the needle from front to back.
By following these steps, you’ll prevent common threading issues and improve your overall sewing experience.
Understanding how to thread the bobbin is just as important as the top threading process. Here’s how to do it:
- Wind your thread onto the bobbin, ensuring it’s evenly distributed.
- Insert the bobbin into the bobbin case, making sure it’s in the right direction.
- Pull the thread through the slot and under the tension spring.
With these techniques, your bobbin will be threaded correctly, allowing for optimal sewing performance.
Here are some common questions that many beginners and even experienced sewers ask:
- How often should I clean my sewing machine? It’s best to clean your machine after every few projects to prevent dust buildup.
- What should I do if my thread keeps breaking? Check your thread tension, needle condition, and ensure you’re using the right thread type.
- Can I use any thread in my sewing machine? No, always use thread that is compatible with your machine and fabric type.
By addressing these frequently asked questions, you can troubleshoot common issues and enhance your sewing experience.
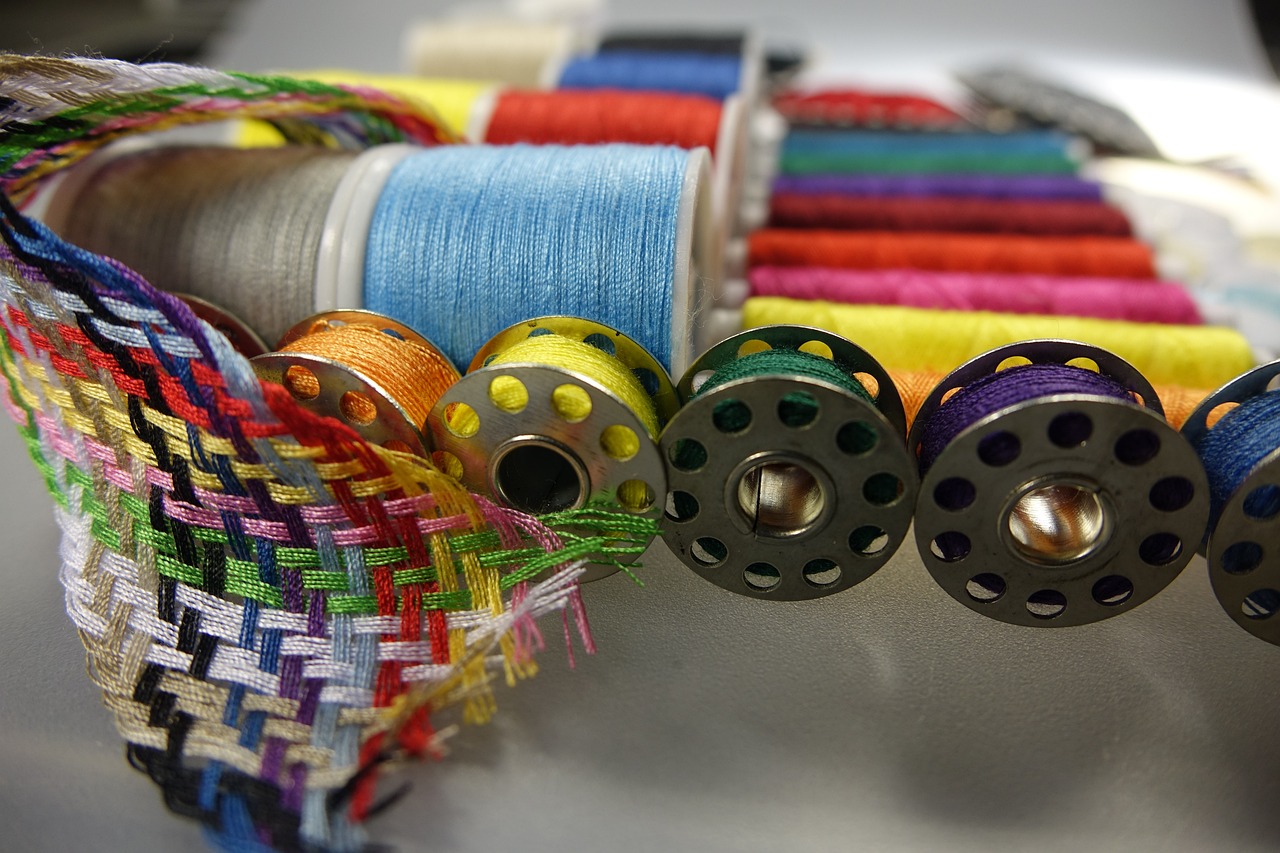
Understanding Your Sewing Machine
This comprehensive guide will take you through the essential steps and tips for effectively threading a sewing machine, ensuring a smooth sewing experience for both beginners and seasoned crafters.
Familiarizing yourself with the different components of your sewing machine is crucial. Think of your sewing machine as a well-oiled machine (pun intended) that requires knowledge and care to operate efficiently. Each part plays a vital role in the overall function, much like the gears in a clock. Understanding these components will not only boost your confidence but also enhance your sewing skills.
Let’s break down the main parts of your sewing machine:
- Spool Pin: This is where the thread spool sits. It holds the spool in place and allows the thread to unwind smoothly.
- Tension Discs: These discs control the tension of the thread as it passes through. Proper tension is essential for even stitches.
- Needle: The needle is what pierces the fabric. Choosing the right needle for your project is as important as selecting the right thread.
- Presser Foot: This foot holds the fabric in place while you sew. Different types of presser feet can be used for various techniques.
- Bobbin Case: This is where the bobbin is inserted. The bobbin holds the lower thread, which works in conjunction with the upper thread to create stitches.
- Feed Dogs: These are the metal teeth under the presser foot that help move the fabric through the machine as you sew.
Each of these components has its own specific function, and knowing how they work together will make your sewing experience much smoother. For instance, if the tension discs are not set correctly, you might end up with thread that’s too loose or too tight, which can lead to frustration and poor-quality stitches. It’s like trying to bake a cake without knowing the right oven temperature; you just won’t get the results you’re hoping for!
Moreover, don’t overlook the importance of regular maintenance. Just like a car needs oil changes and tune-ups, your sewing machine requires cleaning and occasional servicing. Dust and lint can accumulate in the machine, affecting its performance. So, get into the habit of checking your machine regularly, ensuring that it’s in tip-top shape for your next project.
In conclusion, understanding your sewing machine is the first step towards becoming a proficient sewer. Take the time to familiarize yourself with its components and functions, and you’ll find that threading and sewing become much more intuitive. Remember, every expert was once a beginner, so don’t hesitate to refer back to this guide whenever you need a refresher!
Before threading your sewing machine, it's important to have all the necessary tools at hand. This section will outline the essential supplies you need for a successful sewing session.
Selecting the appropriate thread for your project can significantly impact the outcome. This part will discuss various thread types and their best uses, ensuring you make informed choices.
Understanding thread weight and composition is essential for achieving the desired results. This subsection will explain how these factors affect your sewing projects, guiding your selection process.
Choosing the right thread for your fabric type is vital for durability and appearance. This section will provide tips for pairing thread with different fabric materials effectively.
Proper preparation of your sewing machine is key to successful threading. Here, we will discuss the steps to clean and set up your machine before you begin threading.
This section will provide detailed, easy-to-follow instructions for threading your sewing machine, ensuring you can do it correctly and efficiently every time.
Learn how to properly thread the top of your sewing machine with clear, step-by-step guidance. This will help prevent common threading issues and improve your sewing experience.
Understanding how to thread the bobbin is just as important as the top threading process. This section will cover techniques to ensure your bobbin is threaded correctly for optimal sewing performance.
As you embark on your sewing journey, you might have some questions. Here are a few frequently asked questions that can help clarify common concerns:
- How often should I clean my sewing machine? It's recommended to clean your machine after every few projects or when you notice lint buildup.
- What type of thread should I use for quilting? Cotton thread is a popular choice for quilting due to its strength and compatibility with cotton fabrics.
- Why are my stitches skipping? Skipping stitches can be caused by a dull needle, incorrect thread tension, or improper threading.
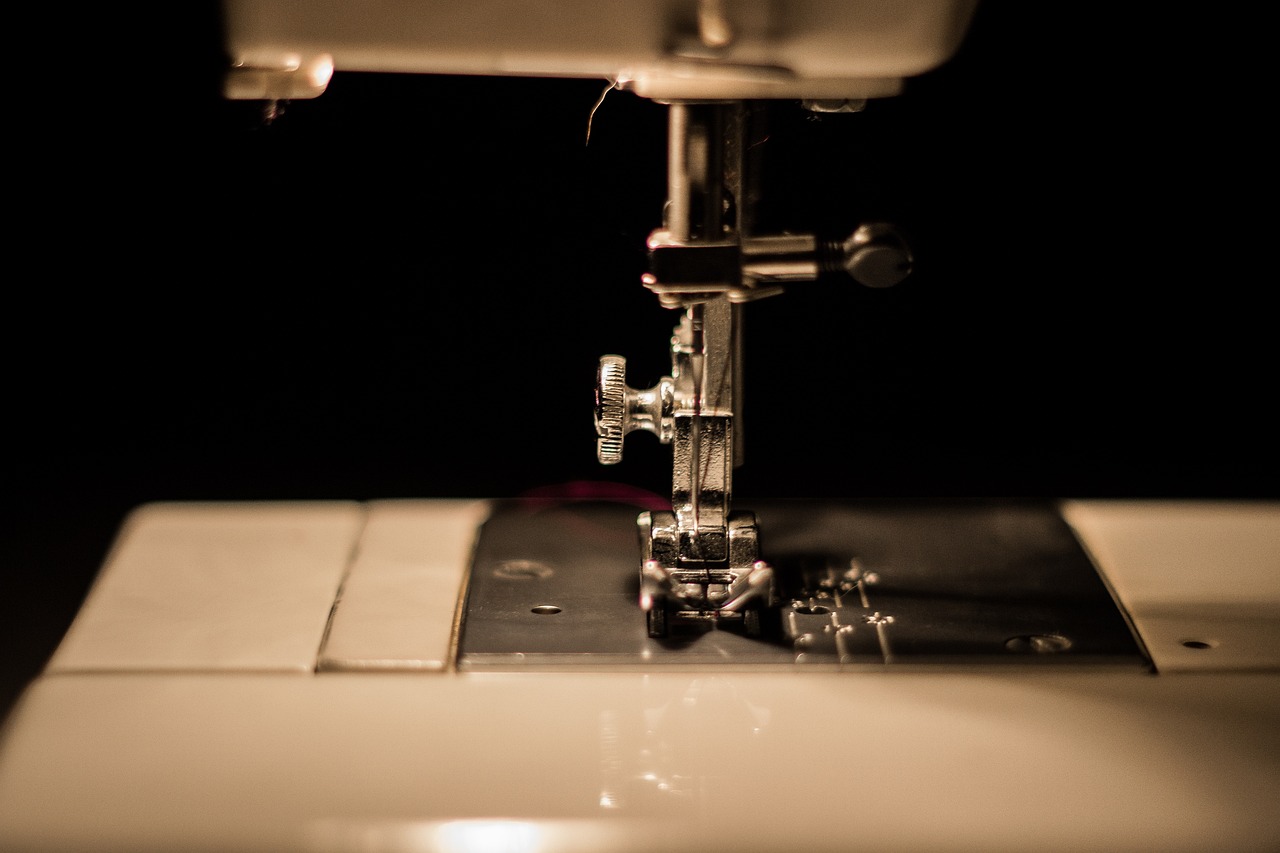
Gathering Necessary Supplies
Before diving into the world of sewing, it's crucial to gather all the necessary supplies to ensure a seamless experience. Imagine embarking on a road trip without checking your fuel or packing essentials; that’s how a sewing project can feel without the right tools! Having everything you need at your fingertips not only saves time but also enhances your creativity and flow. So, let’s take a closer look at what you should have ready before you start threading your sewing machine.
First and foremost, you'll need a reliable sewing machine. Whether you own a basic model or a more advanced version, knowing its functions will help you utilize it to its fullest potential. Next, don’t forget about the sewing thread. This is where the magic happens! Choose a thread that complements your fabric, as the right thread can make or break your project. You might be wondering, “What kind of thread should I choose?” Well, let’s break it down:
- Cotton thread: Ideal for quilting and general sewing.
- Polyester thread: Great for stretchy fabrics and everyday projects.
- Silk thread: Perfect for delicate fabrics and hand sewing.
In addition to thread, you’ll also need a bobbins. These small spools hold the bottom thread and are essential for creating stitches. Make sure to have several on hand, as they can be easily misplaced during your sewing adventures. A scissors or rotary cutter is another must-have. Sharp tools make clean cuts, which is vital for a polished finish. And let’s not overlook the importance of a seam ripper. Trust me, every sewer needs one for those inevitable “oops” moments!
Lastly, gather some essential notions such as pins, measuring tape, and fabric markers. These little tools might seem insignificant, but they play a huge role in ensuring accuracy and precision in your sewing projects. Think of them as the seasoning in your favorite dish; without them, things might taste a bit bland!
To summarize, here’s a quick checklist of supplies you should gather:
| Supply | Purpose |
|---|---|
| Sewing Machine | Your primary tool for sewing. |
| Sewing Thread | For stitching fabric together. |
| Bobbins | To hold the bottom thread. |
| Scissors/Rotary Cutter | For cutting fabric and thread. |
| Seam Ripper | To fix mistakes. |
| Notions (pins, measuring tape, fabric markers) | For accuracy and precision. |
With all these supplies in hand, you’re now ready to tackle threading your sewing machine with confidence! Remember, preparation is key, and having the right tools will set you up for success. So, gather your supplies, and let’s get sewing!
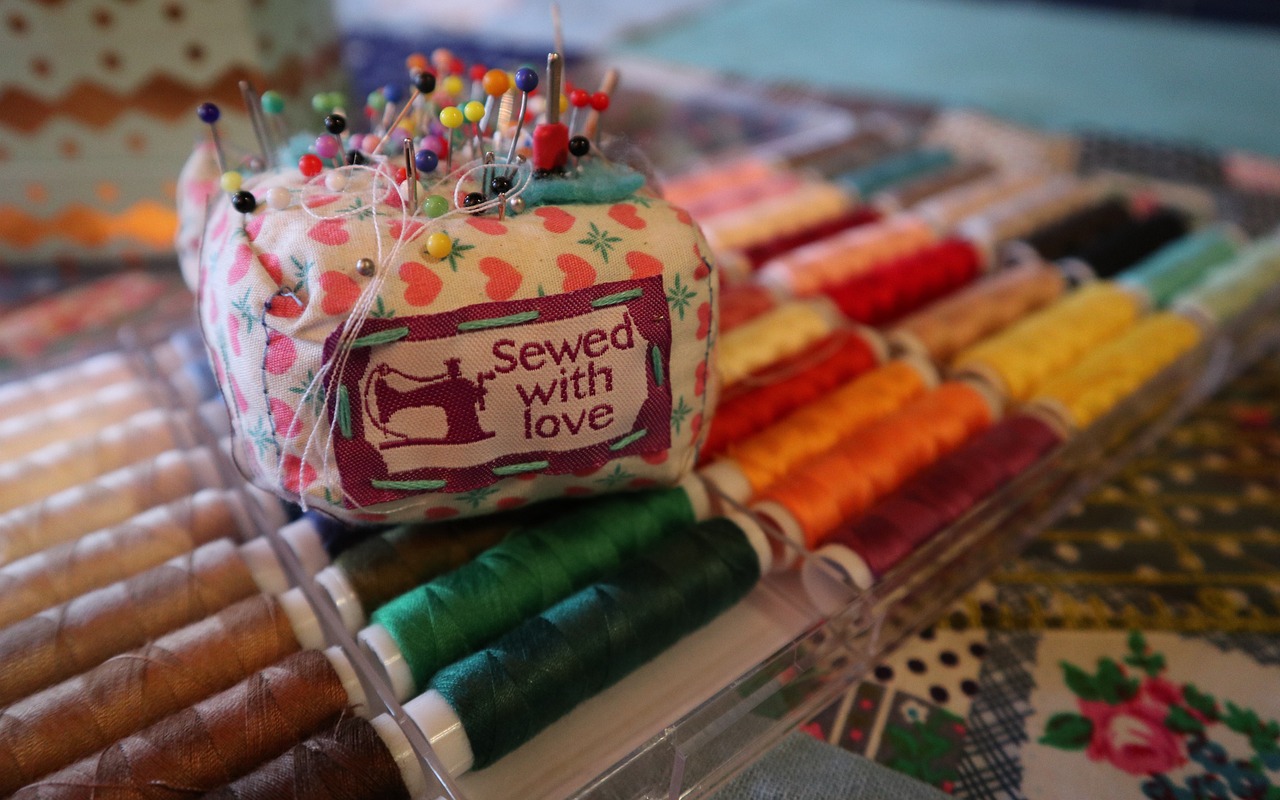
Choosing the Right Thread
When it comes to sewing, the thread you choose can make or break your project. Think of thread as the unsung hero of your sewing machine—it holds everything together and can dramatically affect the final look and durability of your creation. So, how do you go about selecting the right thread? Well, it’s not as daunting as it sounds! There are a few key factors to consider that will guide you in making the best choice for your specific project.
First, you need to consider the type of project you're working on. Are you sewing a delicate dress, a sturdy bag, or perhaps a cozy quilt? The type of fabric and the purpose of the item will help you narrow down your thread options. For example, if you’re working with lightweight fabrics like silk or chiffon, you’ll want to opt for a finer thread, such as 60-weight polyester. On the other hand, if you’re tackling a heavy-duty project, like denim or canvas, a thicker thread, such as 30-weight cotton, will provide the strength you need.
Next up is thread composition. Threads can be made from various materials, including cotton, polyester, and silk. Each type has its own set of characteristics that can influence your sewing experience:
- Cotton: Soft and breathable, ideal for quilting and natural fabrics, but it can break easily under stress.
- Polyester: Strong and durable, resistant to fading and shrinking, making it a great all-purpose thread.
- Silk: Luxurious and smooth, perfect for delicate fabrics and hand sewing, but can be more expensive.
Another crucial factor is the thread weight. This refers to the thickness of the thread, which is typically measured in weight numbers. A lower number indicates a thicker thread, while a higher number signifies a thinner thread. Understanding thread weight is essential because it affects not only the strength of your seams but also the overall appearance of your finished product. For instance, using a heavier thread on lightweight fabric can lead to puckering, while a very light thread on heavy fabric may not hold up under strain.
Moreover, matching your thread to your fabric is vital. Using the right thread can enhance the fabric's natural beauty and ensure durability. For example, when sewing with knits, a thread with a bit of stretch, like a polyester or nylon thread, is ideal to prevent breakage as the fabric moves. Conversely, when working with woven fabrics, a standard cotton or polyester thread will suffice. This attention to detail can make a significant difference in the longevity and quality of your finished piece.
Lastly, don’t forget about the color of your thread. While it’s tempting to go for a contrasting color to make a statement, sometimes a thread that closely matches your fabric can create a more polished and professional look. If you're unsure, it’s often best to choose a thread that is either the same color as your fabric or a shade lighter or darker. This way, you can maintain the integrity of your design while ensuring that your seams are neat and tidy.
In summary, choosing the right thread involves considering the type of project, thread composition, weight, fabric type, and color. By keeping these factors in mind, you can ensure that your sewing projects not only look great but also stand the test of time. Remember, the right thread is like the perfect seasoning in a dish—it can elevate your sewing game to new heights!
Thread Weight and Composition
When it comes to sewing, thread weight and composition play a crucial role in the overall success of your project. Just like choosing the right paint for a masterpiece, selecting the appropriate thread can make all the difference. Thread weight refers to the thickness of the thread, and it is typically measured using a numerical system. The higher the number, the finer the thread. For instance, a thread labeled as 60-weight is thinner than one labeled as 30-weight. Understanding these weight categories is essential for achieving the desired look and durability in your sewing projects.
Different types of projects require different thread weights. For example, if you're sewing delicate fabrics like silk, a finer thread (higher number) will provide a more seamless finish. On the other hand, if you’re working with heavier materials such as denim or canvas, opting for a thicker thread (lower number) will ensure your seams hold strong under stress. It's like choosing the right tool for the job; using the wrong thread can lead to puckering, breaking, or even fabric damage.
Now, let’s talk about thread composition. Thread can be made from various materials, each with its unique properties. The most common types include:
- Cotton: Known for its softness and breathability, cotton thread is perfect for sewing natural fabrics. However, it can shrink and fade over time.
- Polyester: This synthetic option is strong, durable, and resistant to shrinking and fading, making it ideal for a wide range of fabrics.
- Silk: Luxurious and smooth, silk thread is often used for delicate projects and offers a beautiful finish but can be more challenging to work with.
When selecting thread, consider both the weight and the composition to match your fabric and project requirements. For example, if you're sewing a quilt, you might choose a medium-weight cotton thread for its softness and ease of use. Conversely, if you’re making outdoor gear, a heavy-duty polyester thread will provide the strength needed to withstand the elements.
In summary, understanding thread weight and composition is fundamental for any sewing enthusiast. By taking the time to choose the right thread, you're not just ensuring a smooth sewing experience; you're also enhancing the longevity and quality of your finished project. Remember, it’s all about pairing the right thread with the right fabric, much like a chef pairing the perfect wine with a meal!
Matching Thread to Fabric
When it comes to sewing, one of the most critical decisions you’ll make is choosing the right thread for your fabric. Think of thread as the invisible glue that holds your project together; using the wrong type can lead to frustrating results, like seams that pucker or fabric that frays. So, how do you ensure that you’re making the right choice? Let’s dive into the details!
First off, it’s essential to consider the fabric type. Different materials have unique properties that can affect how they interact with thread. For instance, lightweight fabrics like chiffon or silk require finer threads to avoid adding unnecessary bulk. On the other hand, heavier fabrics such as denim or canvas can handle thicker, more robust threads without compromising the integrity of the seam. To make your selection process easier, here's a quick reference table:
| Fabric Type | Recommended Thread Type |
|---|---|
| Lightweight (Chiffon, Silk) | Fine Polyester or Cotton |
| Medium Weight (Cotton, Linen) | All-Purpose Polyester or Cotton |
| Heavyweight (Denim, Canvas) | Heavy-Duty Polyester or Cotton |
| Stretch Fabrics (Knits, Lycra) | Stretch Thread or Polyester |
Next, think about the color of your thread. While it’s tempting to match the thread color exactly to your fabric, consider the overall design and effect you want to achieve. A contrasting thread can add a decorative touch, highlighting seams and giving your project a unique flair. For example, using a bright thread on a dark fabric can create a striking visual effect, much like a pop of color in a painting.
Another factor to keep in mind is the thread weight, which refers to the thickness of the thread. Lighter fabrics generally benefit from lighter thread weights, while heavier fabrics can withstand thicker threads. If you’re unsure, a good rule of thumb is to match the thread weight to the fabric weight. This ensures that your stitches will hold up well under stress without compromising the fabric's natural drape.
Lastly, don’t overlook the thread composition. Threads can be made from various materials, including cotton, polyester, and specialty blends. Each type has its advantages and disadvantages. For instance, cotton thread is great for quilting and general sewing due to its natural fibers, but it may not be as durable as polyester for heavy-duty projects. Understanding these differences will empower you to make informed choices that enhance the longevity and aesthetic of your sewing projects.
In summary, matching thread to fabric is an art that requires careful consideration of fabric type, thread color, weight, and composition. By paying attention to these details, you can elevate your sewing projects, ensuring they not only look great but also stand the test of time. Happy sewing!
- What is the best thread for quilting?
For quilting, a good choice is 100% cotton thread, as it provides a nice finish and is easy to work with.
- Can I use polyester thread on cotton fabric?
Absolutely! Polyester thread is versatile and works well on cotton fabric, providing durability and strength.
- How do I know what thread weight to use?
Thread weight is often indicated on the spool. A general guideline is to use a thread weight that matches the fabric weight.
Preparing Your Sewing Machine
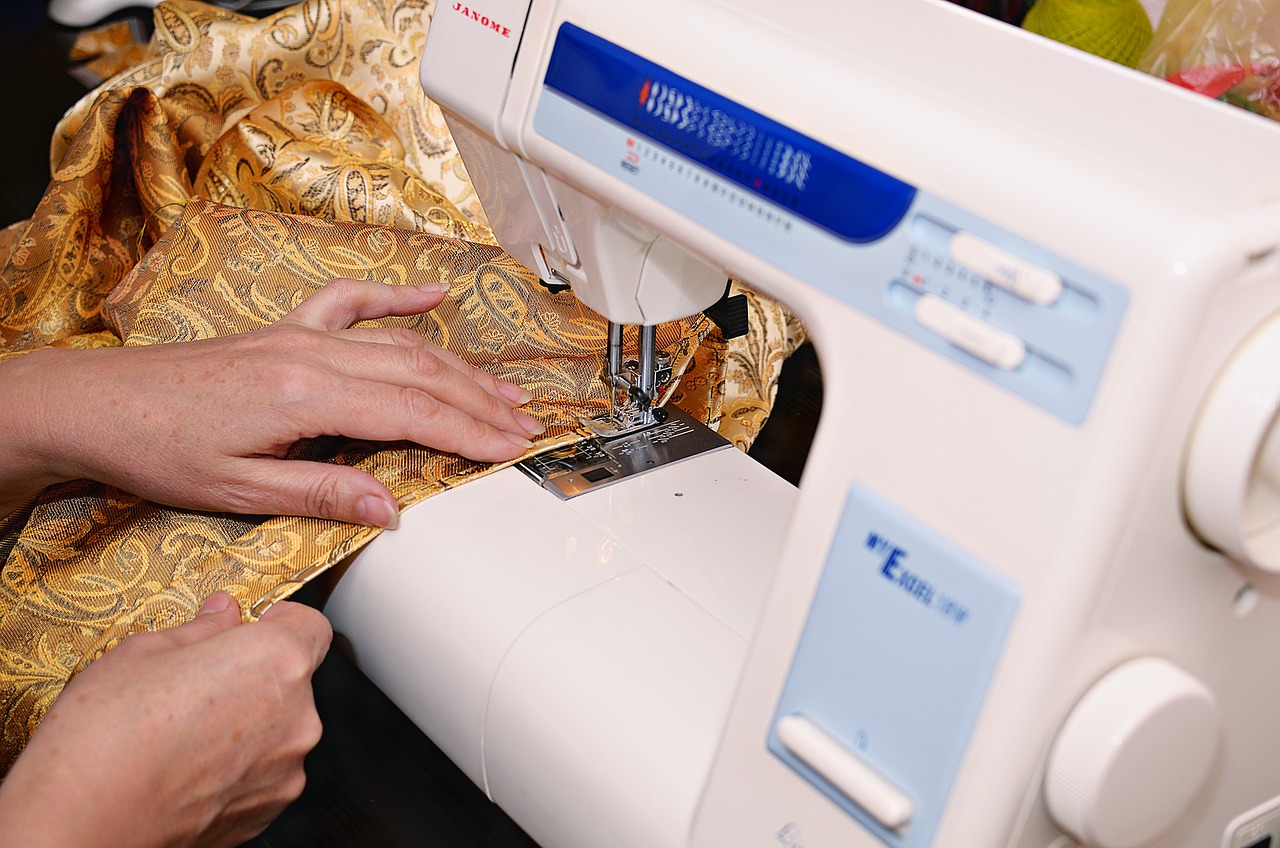
Before diving into the exciting world of sewing, it's essential to prepare your sewing machine properly. Think of your sewing machine as a race car; if it's not tuned up and ready to go, you're not going to win any races! So, let’s make sure your machine is in top shape for a smooth sewing experience. Start by ensuring your workspace is clean and organized. A clutter-free area not only helps you find your tools easily but also minimizes distractions while you sew.
Next, take a moment to clean your sewing machine. Dust and lint can accumulate in the machine, especially around the feed dogs and bobbin area. Use a small brush or a vacuum attachment to gently remove any debris. Don’t forget to check the needle plate and the area around the presser foot. A clean machine not only functions better but also produces higher-quality stitches.
Once your machine is clean, it’s time to check the needle. A dull or bent needle can cause all sorts of headaches, from skipped stitches to fabric snags. Replace the needle if it's damaged or if you’ve been using it for a while. It’s a good practice to change your needle regularly, especially when switching between different types of fabric.
Now, let’s make sure your machine is properly lubricated. Most modern machines are designed to be low-maintenance, but a little oil goes a long way. Refer to your machine’s manual for specific lubrication points. A well-oiled machine runs smoother and extends its lifespan.
Lastly, double-check that you have the correct presser foot attached for your project. Different presser feet are designed for various tasks, whether you're sewing a straight stitch, zigzag, or doing some fancy embroidery. Having the right foot in place can make a significant difference in the ease and quality of your sewing.
To summarize, here’s a quick checklist for preparing your sewing machine:
- Clean your machine thoroughly.
- Check and replace the needle as needed.
- Lubricate moving parts according to the manual.
- Ensure the correct presser foot is attached.
By taking these steps, you’re setting yourself up for success. A well-prepared sewing machine will not only enhance your sewing experience but also allow you to focus on what you love most—creating beautiful projects!
Q: How often should I clean my sewing machine?
A: It's recommended to clean your sewing machine after every few sewing sessions, especially if you notice lint buildup or if you're working with fabrics that shed fibers.
Q: What type of oil should I use for my sewing machine?
A: Always refer to your sewing machine's manual for the recommended oil type. Generally, a lightweight sewing machine oil is best.
Q: How do I know when to change my needle?
A: Change your needle after every 8 hours of sewing, or sooner if you notice any skipped stitches or fabric snags.
Q: Is it necessary to use a presser foot?
A: Yes, using the correct presser foot helps in achieving the desired stitch quality and makes sewing easier.
Step-by-Step Threading Instructions
This comprehensive guide will take you through the essential steps and tips for effectively threading a sewing machine, ensuring a smooth sewing experience for both beginners and seasoned crafters.
Familiarizing yourself with the different components of your sewing machine is crucial. This section will cover the main parts and their functions to help you navigate your machine with confidence.
Before threading your sewing machine, it's important to have all the necessary tools at hand. This section will outline the essential supplies you need for a successful sewing session.
Selecting the appropriate thread for your project can significantly impact the outcome. This part will discuss various thread types and their best uses, ensuring you make informed choices.
Understanding thread weight and composition is essential for achieving the desired results. This subsection will explain how these factors affect your sewing projects, guiding your selection process.
Choosing the right thread for your fabric type is vital for durability and appearance. This section will provide tips for pairing thread with different fabric materials effectively.
Proper preparation of your sewing machine is key to successful threading. Here, we will discuss the steps to clean and set up your machine before you begin threading.
Now that you’re familiar with your sewing machine and have gathered all the necessary supplies, it’s time to get into the nitty-gritty of threading your machine. This process may seem daunting at first, but with a little practice, you’ll be threading like a pro in no time!
Start by ensuring your sewing machine is turned off to avoid any accidents. Then, follow these simple steps:
- Raise the presser foot: This is crucial as it allows the tension discs to open up, making it easier to thread the machine.
- Locate the spool pin: Place your thread spool onto the spool pin, ensuring it’s positioned securely.
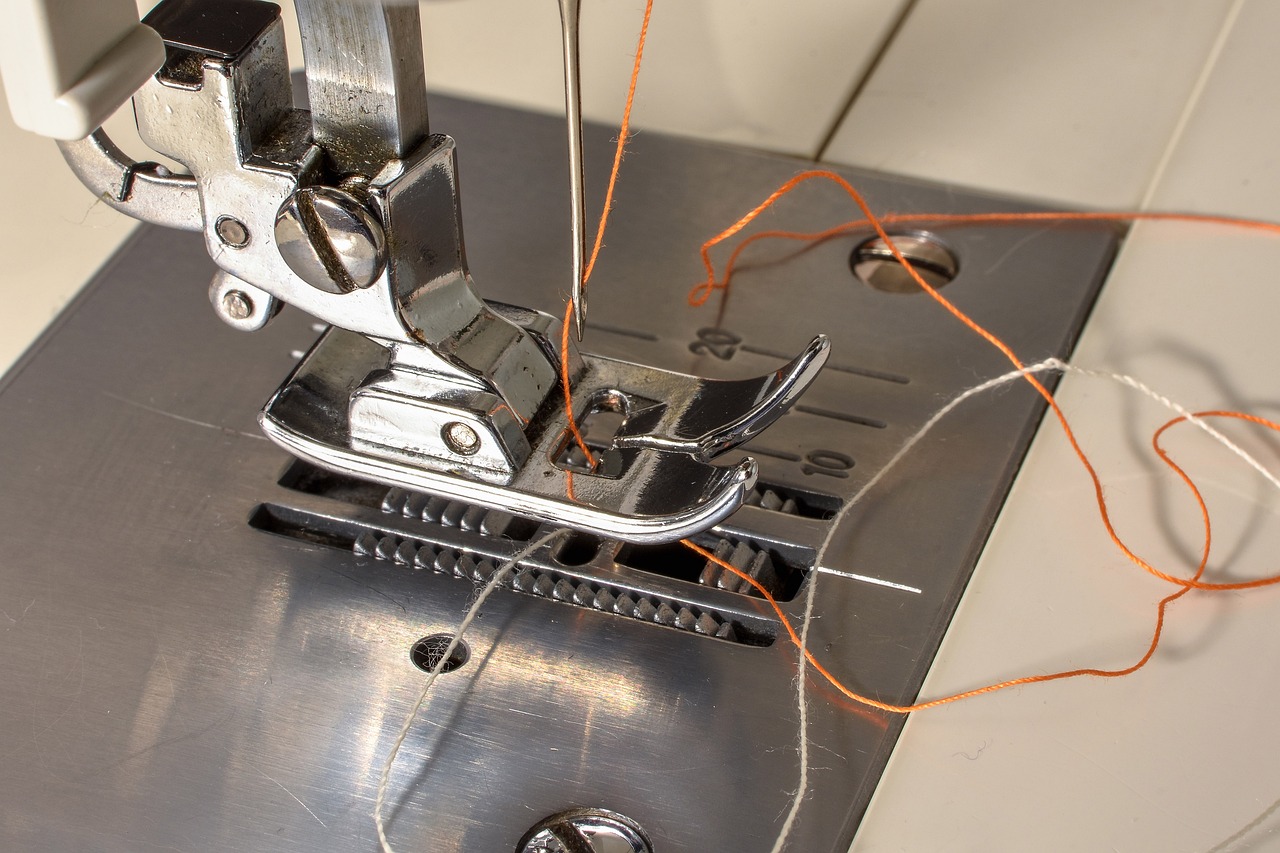
- Guide the thread: Pull the thread from the spool and follow the threading path indicated on your machine. Most machines have a diagram that shows you exactly where to thread it.
- Thread the tension discs: Make sure the thread passes through the tension discs properly. This step is vital to ensure even stitching.
- Thread the take-up lever: Pull the thread up and through the take-up lever, which is usually located at the top of the machine. This lever helps in creating the necessary tension for sewing.
- Guide the thread down: Continue threading downwards through the remaining guides until you reach the needle area.
- Thread the needle: Finally, thread the needle from front to back. If your machine has an automatic needle threader, this step can be a breeze!
Once the top thread is in place, it’s time to tackle the bobbin. The bobbin is a small spool of thread that sits beneath the needle and is essential for creating stitches. Here’s how to thread it:
Understanding how to thread the bobbin is just as important as the top threading process. Follow these steps to ensure your bobbin is threaded correctly for optimal sewing performance:
- Remove the bobbin case: Open the bobbin compartment and take out the bobbin case.
- Insert the bobbin: Place the bobbin into the case with the thread unwinding in the correct direction (usually counterclockwise).
- Pull the thread: Thread the end of the thread through the slit in the bobbin case and under the tension spring.
- Reinsert the bobbin case: Place the bobbin case back into the machine, ensuring it clicks securely into place.
After completing these steps, you’re almost ready to start sewing! Just pull the top thread gently to bring up the bobbin thread, and you’re good to go. With a little patience and practice, you’ll be threading your sewing machine like a seasoned expert!
Q: What should I do if my thread keeps breaking?
A: If your thread is breaking, check for any knots, ensure the thread is properly threaded, and verify that you are using the correct needle for your fabric.
Q: How often should I clean my sewing machine?
A: It’s a good idea to clean your sewing machine after every few projects or whenever you notice lint build-up.
Q: Can I use any type of thread for my sewing machine?
A: Not all threads are created equal! Always choose a thread that is compatible with your machine and suitable for your fabric type.
Top Threading Process
Threading the top of your sewing machine is a crucial step that can make or break your sewing experience. Imagine trying to bake a cake without measuring the ingredients—chaos, right? Similarly, improper threading can lead to frustrating tangles and uneven stitches. So, let’s break it down into a straightforward process that’ll have you threading like a pro in no time!
First things first, always ensure that your sewing machine is turned off before you start. Safety first! Now, locate the spool holder on your machine. This is where your thread will sit, ready to spring into action. Place your spool of thread onto the holder with the thread unwinding in a clockwise direction. This simple step is essential for smooth threading.
Next, you’ll want to pull the thread through the tension discs. These discs are designed to grip the thread, allowing for even tension as you sew. To do this, gently guide the thread into the discs, ensuring it’s seated properly. You might hear a satisfying click when it’s in place—this means you’re on the right track!
Now, let’s move on to the take-up lever. This little component is often overlooked, but it plays a vital role in the threading process. Pull the thread up through the lever, making sure it’s snug but not overly tight. Think of the take-up lever as the conductor of an orchestra, guiding the thread to create beautiful music—or in this case, beautiful stitches!
Once you’ve threaded through the take-up lever, it’s time to guide the thread down to the needle. Most machines have a specific path for this, so refer to your machine’s manual if you’re unsure. As you bring the thread down, you’ll notice a small hook or a guide where the thread needs to pass through. Make sure it’s threaded through this guide for optimal performance.
Finally, you’ll need to thread the needle itself. This can sometimes feel like threading a needle with a thread that has a mind of its own! To make this easier, you can use a needle threader if your machine has one. If you’re doing it manually, hold the needle with one hand and the thread with the other, and gently push the thread through the eye of the needle. Once it’s through, pull a good length of thread so you have enough to work with.
Congratulations! You’ve successfully threaded the top of your sewing machine. But before you dive into your sewing project, it’s wise to check for any potential issues. Gently pull the thread to ensure it moves smoothly, and give your machine a quick test run on a scrap piece of fabric. This will help you catch any threading problems before they become a headache!
In summary, the top threading process is a vital skill that every sewer should master. By following these steps, you’ll not only save time but also enhance the quality of your sewing projects. Remember, practice makes perfect, so don’t be discouraged if it takes a few tries to get it just right!
- What should I do if my thread keeps breaking? - This could be due to improper threading, using the wrong thread type, or a dull needle. Check each of these factors to troubleshoot the issue.
- How often should I clean my sewing machine? - Regular cleaning after every few projects is recommended to keep your machine in top condition and prevent dust buildup.
- Can I use any type of thread in my sewing machine? - Not all threads are created equal! Always check your machine’s manual for recommended thread types to avoid issues.
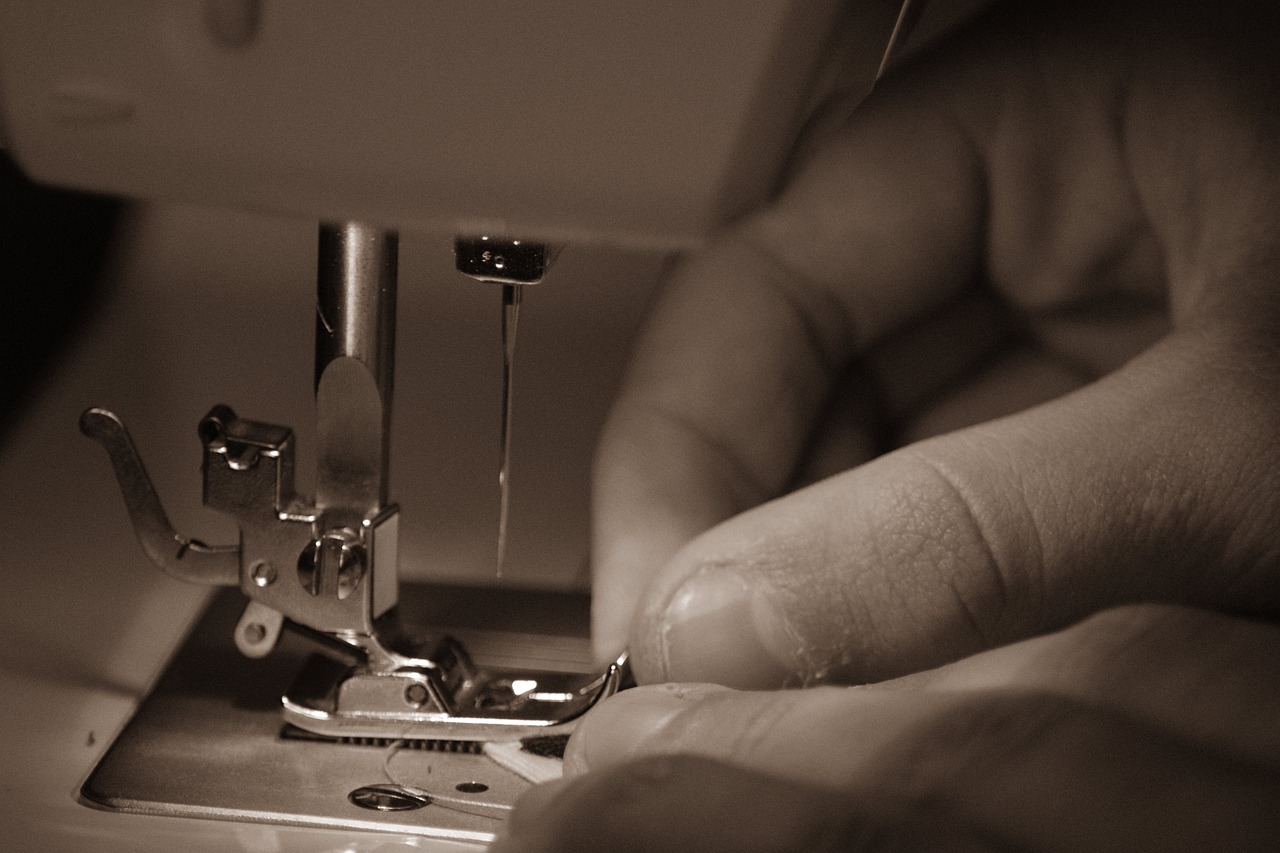
Bobbin Threading Techniques
Threading the bobbin correctly is crucial for a seamless sewing experience. Think of the bobbin as the unsung hero of your sewing machine; it provides the foundation for the stitches that hold your fabric together. If the bobbin is not threaded properly, you might encounter a range of issues, from uneven stitches to thread breakage. So, how do you master this essential skill? Let’s dive into the step-by-step process!
First things first, you need to gather your supplies. You’ll need your sewing machine, a spool of thread, and a bobbin that is compatible with your machine. Most machines come with a standard bobbin, but it’s always good to double-check. Now, here’s a little tip: if you’re using a new thread, make sure to unwind a bit and check for any tangles or knots. This simple step can save you a lot of headaches later on!
Once you have everything ready, the first step in threading your bobbin is to insert it into the bobbin case. Most machines have a drop-in bobbin system, which makes this part straightforward. Just lift the bobbin case cover, place the bobbin inside, and pull the thread through the designated slot. If your machine has a front-loading bobbin, you’ll need to pull the thread around the tension spring. It’s like threading a needle but on a whole new level!
Now, let’s talk about the tension. The right tension is vital for achieving perfect stitches. If the tension is too tight, your thread may break; too loose, and your stitches will look like a tangled mess. To find the sweet spot, refer to your sewing machine manual, as different machines have varying tension settings. A good rule of thumb is to start with the manufacturer’s recommendations and adjust from there based on your fabric and thread type.
After threading the bobbin, it’s time to wind it. Place the spool of thread on the spool pin and guide the thread through the tension disc. Make sure to wind it evenly, as uneven winding can lead to problems later on. Press the foot pedal or use the machine’s winding mechanism, and watch as your bobbin fills up with thread. Once you have enough thread, cut it, and make sure to leave a tail of about six inches to help with the initial threading.
Before you finish up, it’s essential to check if the bobbin is wound correctly. You can do this by gently pulling on the thread; it should come off smoothly without any resistance. If you feel any snagging, it might be time to rewind your bobbin. Remember, a well-threaded bobbin is the key to a successful sewing project!
In summary, mastering bobbin threading techniques can significantly enhance your sewing experience. By paying attention to detail and following these steps, you’ll be well on your way to creating beautiful, well-stitched projects. Happy sewing!
- What is the purpose of the bobbin in a sewing machine?
The bobbin holds the lower thread, which works in conjunction with the upper thread to create stitches. - How often should I change my bobbin thread?
Change your bobbin thread whenever you switch fabrics or when you notice that your thread is running low. - What should I do if my bobbin thread keeps jamming?
Check for any tangles in the thread, ensure the bobbin is wound evenly, and verify that it’s inserted correctly in the bobbin case.
Frequently Asked Questions
- What is the first step in threading a sewing machine?
The first step is to familiarize yourself with your sewing machine's components. Make sure you know where the spool pin, tension discs, and needle are located. This will make the threading process much smoother!
- How do I choose the right thread for my project?
Selecting the right thread involves considering both the thread type and the fabric you’re using. For example, cotton thread works great for quilting, while polyester is better for stretchy fabrics. Always match the thread weight to your fabric for the best results!
- Why is it important to clean my sewing machine before threading?
Cleaning your sewing machine helps to remove dust and lint that can interfere with the threading process and cause issues while sewing. A clean machine operates more efficiently and produces better results!
- Can I use different types of thread in the same project?
While it's possible to use different thread types, it's generally best to stick with one type throughout your project to maintain consistency in strength and appearance. If you do mix threads, ensure they are compatible with your fabric.
- What should I do if my thread keeps breaking?
If your thread keeps breaking, check for common issues like incorrect threading, a dull needle, or the wrong thread tension. Make sure everything is set up properly, and you should be back to sewing smoothly in no time!
- How often should I change my needle?
It's a good rule of thumb to change your needle after every 8 hours of sewing or whenever you notice it becoming dull. A fresh needle can make a world of difference in your sewing experience!
- What is the best way to thread a bobbin?
To thread a bobbin, start by placing your thread spool on the spool pin. Follow the threading path indicated on your machine, ensuring the thread is tight and secure. Finally, wind the thread around the bobbin evenly for optimal performance.
- Is it necessary to use the same brand of thread as my sewing machine?
No, it is not necessary to use the same brand of thread as your sewing machine. However, opting for quality thread can enhance your sewing experience and reduce the chances of issues like fraying or breaking.
- Can I use embroidery thread for regular sewing?
Yes, you can use embroidery thread for regular sewing, but keep in mind that it may not be as strong as regular sewing thread. It’s great for decorative stitches, but for seams, you might want to stick to standard sewing thread for durability.


