Spooky Halloween Crafts Ideas for Kids
Halloween is a magical time of year, filled with spooky surprises and creative opportunities for kids. As the leaves turn and the nights grow longer, it’s the perfect chance to dive into some exciting crafts that not only celebrate the season but also spark imagination. From ghoulish decorations to fun costume accessories, these craft ideas are sure to keep the little ones engaged and entertained. So, grab your crafting supplies, gather the kids, and let’s unleash some Halloween creativity!
When it comes to decorating for Halloween, DIY projects can be both fun and rewarding. Kids can easily create a range of decorations that will transform your home into a haunted haven. Imagine walking into a room filled with playful pumpkins, spooky ghosts, and eerie bats—all made by the little hands of your children! Here are some simple yet delightful decoration ideas:
- Spooky Ghosts: Use white balloons and black markers to create floating ghosts that can hang from the ceiling.
- Paper Bats: Cut bat shapes from black construction paper and hang them around doorways and windows for a chilling effect.
- Pumpkin Garland: Create a festive garland using orange paper cutouts shaped like pumpkins, strung together with twine.
These crafts not only add a festive touch but also allow kids to express their creativity. Plus, they can proudly showcase their handiwork to friends and family!
Halloween costumes can be made more exciting with unique accessories that kids can create themselves. Not only does this give them a chance to personalize their outfits, but it also allows them to dive into the crafting process with enthusiasm. Here are some fantastic ideas for costume accessories:
Creating spooky masks can be a thrilling project for kids. They can use a variety of materials, from paper plates to felt, to design masks that reflect their wildest Halloween dreams. Imagine a room filled with laughter as kids try on their creations! Here are a couple of ideas:
Pumpkin masks are a classic Halloween craft. Kids can use orange paper, markers, and creativity to design their own pumpkin faces. This project encourages them to think about the different expressions they can create, from happy to spooky!
Monster masks allow kids to unleash their imagination. Using various materials like feathers, googly eyes, and colorful paper, they can create fun and frightening designs that showcase their unique personalities. This not only boosts their creativity but also gives them a sense of accomplishment as they wear their handmade masks.
Making witch hats is another delightful craft that gets kids excited about Halloween. These hats can be personalized with decorations like glitter, stickers, and ribbons, making each one unique. Imagine a group of little witches running around in their fabulous hats, each telling a different story about their magical powers!
Engaging kids with Halloween-themed art projects is a fantastic way to combine creativity with seasonal fun. These projects can be both educational and entertaining, allowing for artistic expression while learning about the holiday. For instance, spooky paintings can inspire kids to explore different painting techniques while creating Halloween-themed artwork.
Spooky paintings can be a great way for kids to express their creativity. They can use their imagination to depict ghosts, goblins, and haunted houses. You might be surprised at what they come up with! Just like a blank canvas waiting for a masterpiece, the possibilities are endless.
Paper mache pumpkins are a fantastic way for kids to learn about crafting while creating festive decorations. This project encourages teamwork and patience as they build their pumpkins, layer by layer. It’s not just about the final product; it’s about the fun and memories made along the way!
Q: What materials do I need for these crafts?
A: Most crafts can be made using simple materials like paper, markers, glue, scissors, and some basic craft supplies. You can also use recycled materials to make it more eco-friendly!
Q: Are these crafts safe for younger children?
A: Yes! Always supervise younger children, especially when using scissors or small items. Many crafts can be adapted for younger kids by simplifying the steps and using safer materials.
Q: How long do these crafts take to complete?
A: Most of these crafts can be completed in under an hour, making them perfect for a fun afternoon activity. Just set aside some time for drying if you’re using paint or glue!
So, gear up for a Halloween filled with creativity, laughter, and spooky fun! With these craft ideas, your kids are sure to have a blast while celebrating the season.
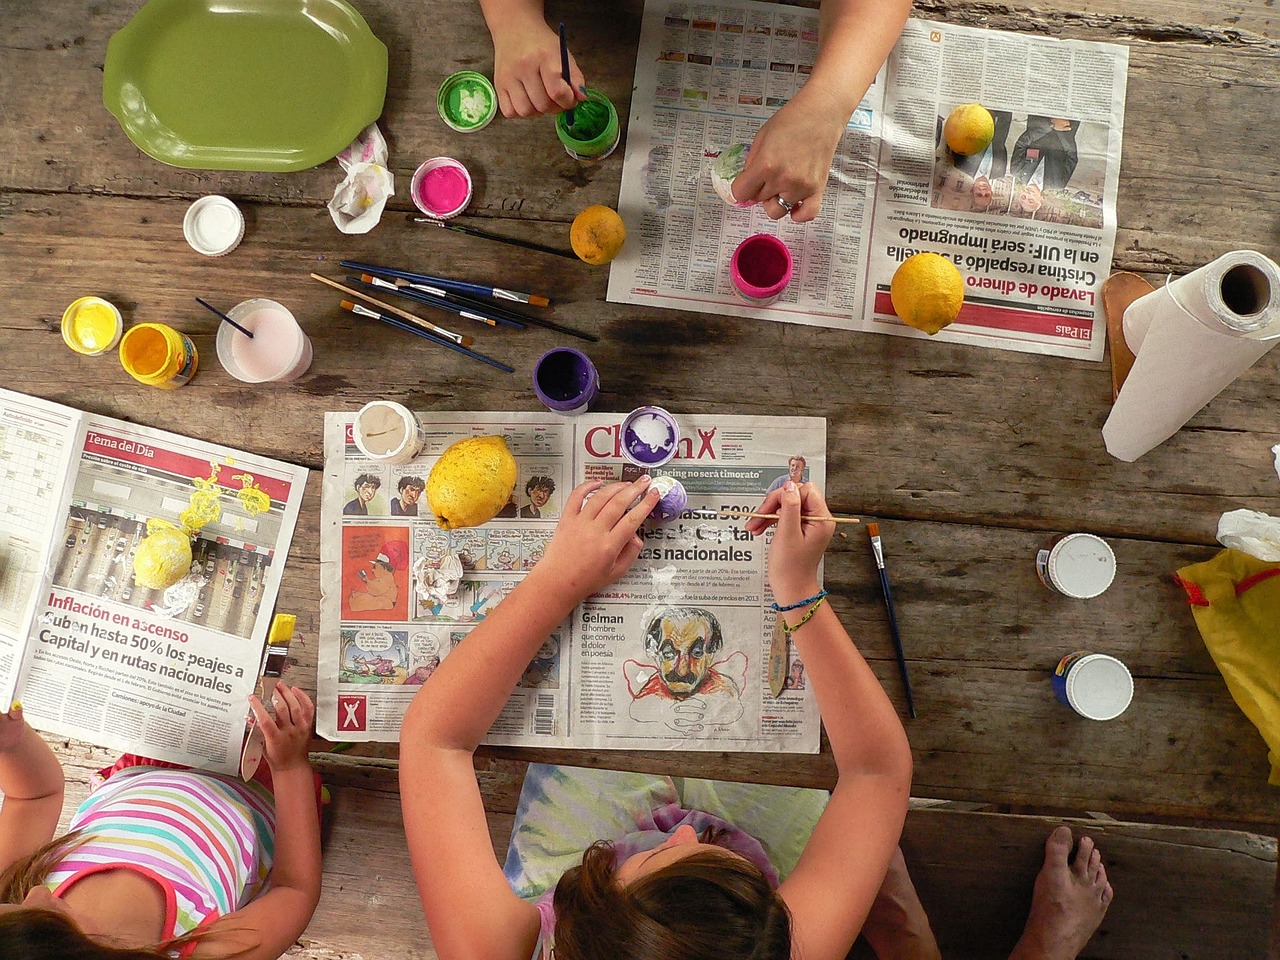
Easy DIY Halloween Decorations
Halloween is one of those magical times of the year when the air gets crisp, leaves turn into brilliant shades of orange and red, and creativity can run wild. What better way to embrace the spirit of the season than with some ? These projects are not only simple but also a fantastic way for kids to express their creativity while adding a spooky vibe to your home. Imagine walking into a house adorned with homemade ghosts, playful pumpkins, and eerie cobwebs – it’s a sight that can bring a smile to anyone's face!
Let’s dive into some fun and engaging decoration ideas that kids can help create. Not only will these crafts brighten up your space, but they also provide an opportunity for family bonding. Plus, you can often use materials you already have at home, making it a budget-friendly option!
One of the easiest decorations to start with is the classic paper ghost. All you need are some white balloons, black markers, and a bit of string. Simply inflate the balloon, draw spooky eyes and a mouth with the marker, and hang them around the house. They can float from the ceiling or be tied to chairs for a fun effect. If you want to take it a step further, consider making a whole ghost family with different sizes and expressions!
Another fun idea is to create jack-o'-lanterns using orange construction paper. Kids can cut out pumpkin shapes and then use black paper to create silly or scary faces. Once they’re done, these can be taped to windows or strung together as a garland. It’s a great way to get into the Halloween spirit without the mess of carving real pumpkins!
For those who love a little bit of a challenge, spooky window silhouettes can be a thrilling project. Using black poster board, kids can cut out shapes of bats, witches, and other Halloween characters. Once complete, simply tape them to your windows. When the lights are on inside, the silhouettes will create a hauntingly beautiful effect that will impress trick-or-treaters.
Don’t forget about cobwebs! You can easily make your own spider webs using cotton balls or white yarn. Stretch the cotton balls to create fluffy webs and place them in corners or drape them over furniture. Add some plastic spiders for an extra fright! This simple decoration can turn any room into a haunted space in no time.
To wrap up your decorating spree, consider creating a Halloween wreath for your front door. Use a foam or straw base and wrap it with black and orange ribbons. Kids can add small decorations like plastic spiders, mini pumpkins, or even some glittery bats to make it unique. This not only welcomes guests but also sets the tone for a spooky Halloween celebration!
As you embark on these DIY projects, remember that the goal is to have fun and let your creativity shine. Halloween is about embracing the spooky and the silly, so don’t be afraid to think outside the box! Gather your supplies, put on some Halloween music, and enjoy crafting together as a family. After all, the memories you create while making these decorations will last far longer than any store-bought item!
- What materials do I need for DIY Halloween decorations? You can use items like construction paper, balloons, scissors, glue, and any other craft supplies you have at home.
- Are these crafts safe for young children? Yes! Just supervise them with scissors and any small parts to ensure safety.
- How long do these decorations last? Most DIY decorations can last for the entire Halloween season if stored properly after use.
- Can I personalize these crafts? Absolutely! Encourage kids to add their own flair with colors, designs, and unique materials.
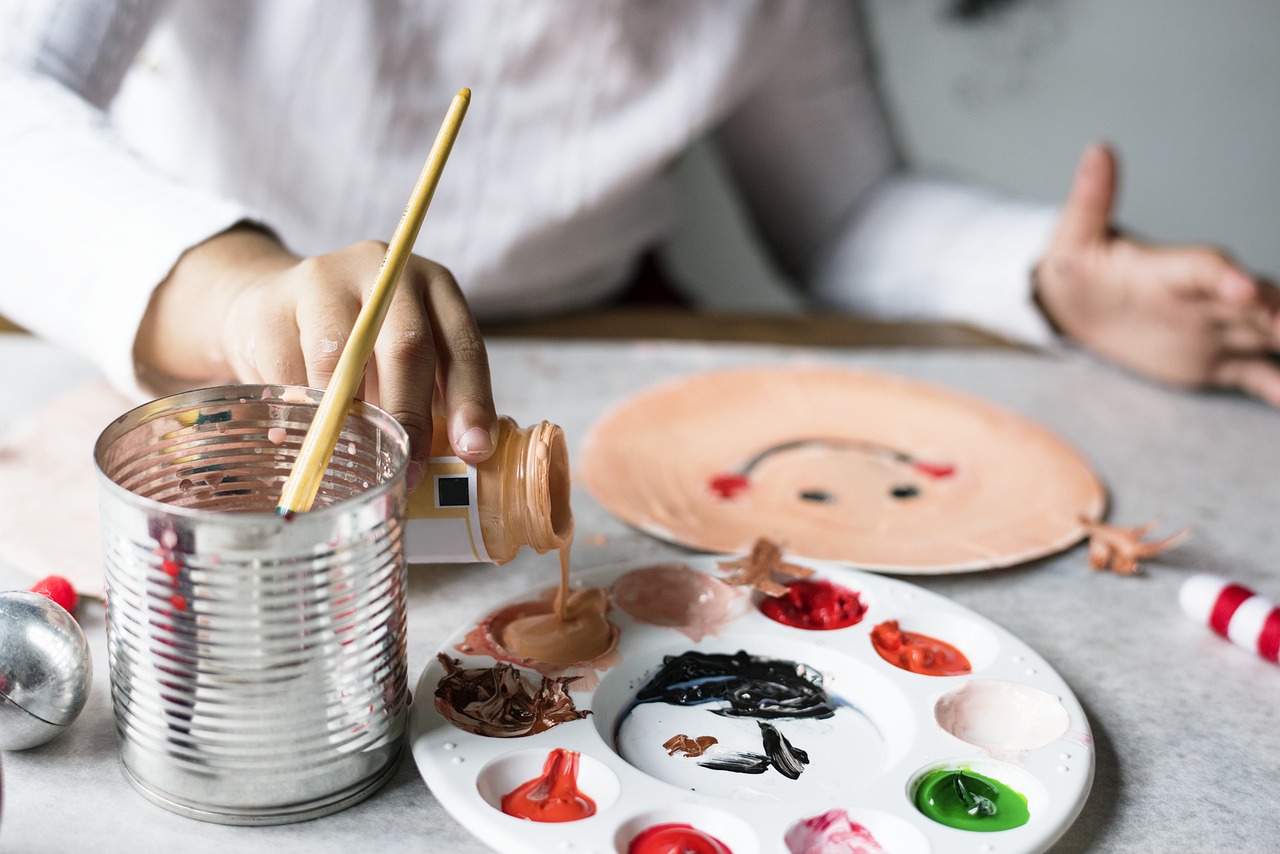
Creative Costume Accessories
When it comes to Halloween, the right costume accessories can transform an ordinary outfit into something truly spectacular. Imagine your child strutting around in a costume that not only looks great but also reflects their unique personality. Creating these accessories can be a fun bonding activity, sparking creativity and excitement as Halloween approaches. Whether it’s a spooky mask or a whimsical witch hat, these projects are perfect for kids who want to add a personal touch to their Halloween look.
One of the most thrilling parts of making costume accessories is the variety of options available. Kids can dive into their imaginations and create accessories that range from the adorably cute to the delightfully terrifying. For instance, they can craft spooky masks that can be worn during trick-or-treating or at Halloween parties. The beauty of these projects is that they not only allow for artistic expression but also provide a chance for kids to learn new skills.
Creating spooky masks can be a real blast! Kids can use materials like cardboard, old clothes, and even face paint to bring their visions to life. Imagine a group of children gathered around a table, scissors in hand, laughter echoing as they cut out shapes and colors. The best part? There are no limits to what they can create. From classic ghostly figures to vibrant monsters, the only restriction is their imagination.
Pumpkin masks are a classic Halloween craft that never goes out of style. To create these festive face coverings, kids can start with a simple base made from orange paper or felt. They can then decorate them with markers, glitter, or even fabric scraps to make their pumpkin faces come alive. It’s a wonderful way for them to express their creativity while also getting into the Halloween spirit. Plus, these masks can be worn not just for Halloween but also for fall-themed parties or school events!
Monster masks are where the real fun begins! Kids can unleash their wildest ideas by using various materials such as foam, feathers, and sequins. They can create terrifying creatures with big eyes and sharp teeth or silly monsters that make everyone laugh. The process of making these masks is an adventure in itself, as kids experiment with colors, textures, and shapes. And when they finally wear their creations, they’ll feel a sense of pride knowing they crafted something unique that showcases their personality.
Making witch hats is another exciting project that can get kids buzzing with creativity. These hats can be crafted from black construction paper or felt, and the best part is that they can be personalized with decorations. Kids can use stickers, ribbons, or even paint to add their special touch. Imagine a group of little witches, each with a hat that reflects their style—some might prefer sparkly designs, while others may go for a more traditional look. This project not only enhances their costumes but also gives them a sense of ownership over their Halloween attire.
In conclusion, creating costume accessories for Halloween is not just about enhancing an outfit; it’s about fostering creativity, teamwork, and a sense of accomplishment. These projects allow kids to explore their artistic sides while making memories that will last a lifetime. So gather your materials, unleash your imagination, and let the Halloween crafting begin!
Q: What materials do I need to make spooky masks?
A: You can use cardboard, felt, paint, glue, scissors, and any decorative items like glitter or stickers to personalize your masks.
Q: Are these projects suitable for younger children?
A: Yes! With adult supervision and assistance, younger children can participate in these fun Halloween crafts.
Q: How long do these crafts typically take to complete?
A: Most projects can be completed in a couple of hours, making them perfect for a fun afternoon of crafting.
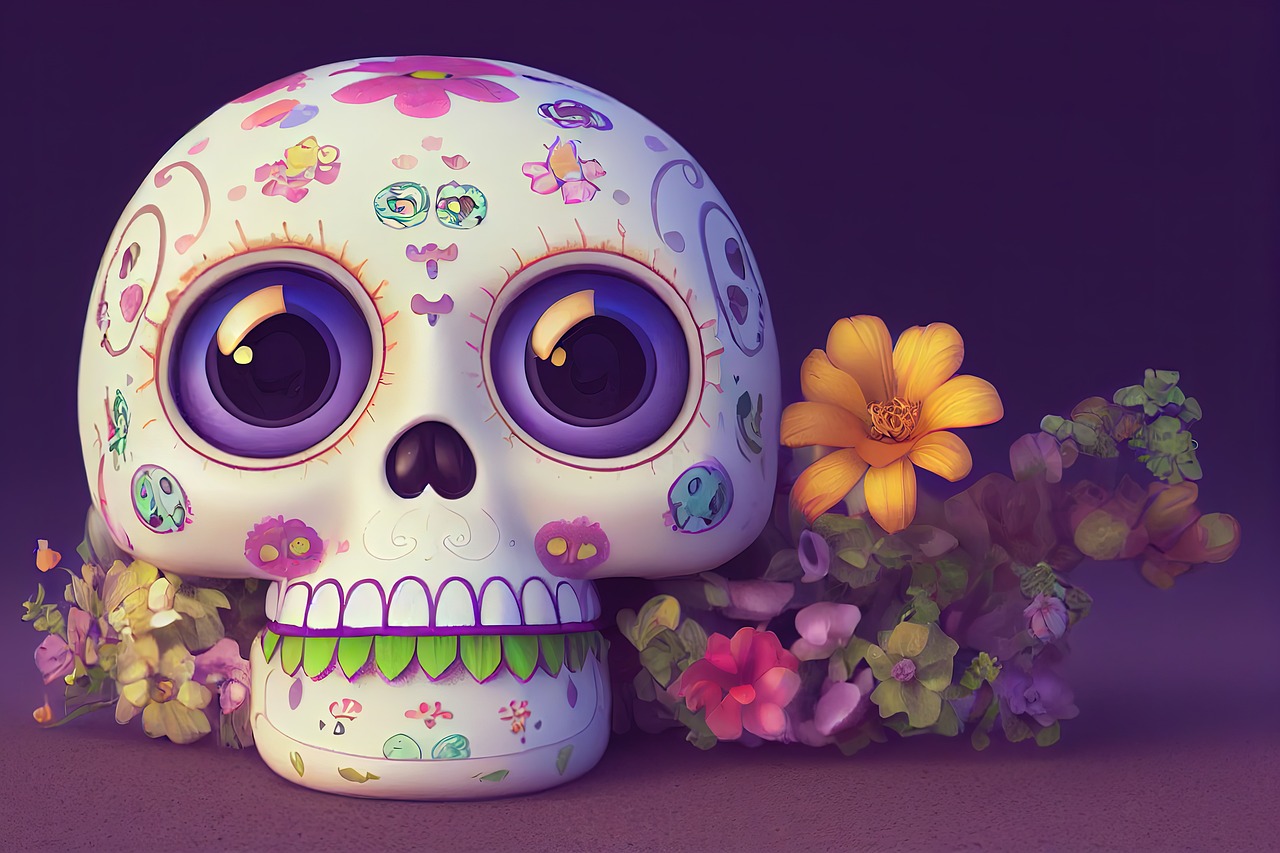
Spooky Masks
Creating can be a thrilling project for kids, sparking their creativity and imagination. Imagine your little ones transforming into their favorite Halloween characters, all while having a blast making their own unique masks! Not only is this a fun activity, but it also allows children to express their artistic flair. The best part? You don’t need a lot of fancy materials to get started. With just a few simple supplies, you can dive into a world of creativity.
To kick things off, gather some basic materials that are easy to find around the house or at your local craft store. Here’s a quick list of what you might need:
- Cardboard or paper plates
- Markers, paints, or crayons
- Glue and scissors
- String or elastic bands
- Craft supplies like feathers, glitter, or fabric scraps
Once you have your supplies ready, the fun really begins! Kids can let their imaginations run wild as they design their masks. Encourage them to think outside the box—what about a ghost with flowing white fabric or a vampire with sharp fangs? The possibilities are endless! Here are a couple of ideas to get them started:
- Classic Ghost Mask: Use a white paper plate, cut out eye holes, and let the kids paint or draw a spooky face. Add some flowing white fabric at the bottom for a ghostly effect!
- Vampire Mask: Start with a cardboard base, paint it black, and add red glitter for a blood-like effect. Don’t forget to create oversized fangs with white paper!
As they create, remind them that the best part of crafting is making something that reflects their personality. Each mask can tell a story, whether it’s a funny character or a spine-chilling monster. Plus, this activity is fantastic for developing fine motor skills as they cut, glue, and paint.
Once the masks are complete, it's time for a mini Halloween parade! Kids can wear their spooky creations, showcasing their hard work and creativity. You could even organize a little contest for the most creative, scariest, or funniest masks, adding an extra layer of excitement to the activity.
In addition to being a fun craft, making spooky masks can also serve as a great opportunity for family bonding. Parents can join in on the fun, sharing stories about their favorite Halloween memories while they craft together. It's these moments that create lasting memories and traditions that your kids will cherish for years to come.
Q: What age group is suitable for making spooky masks?
A: Spooky masks can be made by children as young as 4 years old with supervision, but older kids (ages 8 and up) can enjoy more complex designs and techniques.
Q: What if I don’t have traditional craft supplies?
A: No worries! You can get creative with materials you already have at home, like old clothes, newspapers, or even cardboard boxes.
Q: How can I ensure the masks are safe for kids to wear?
A: Make sure to avoid any sharp edges when cutting out the masks and use non-toxic materials. If possible, create a mask that ties on rather than using elastic bands for added safety.
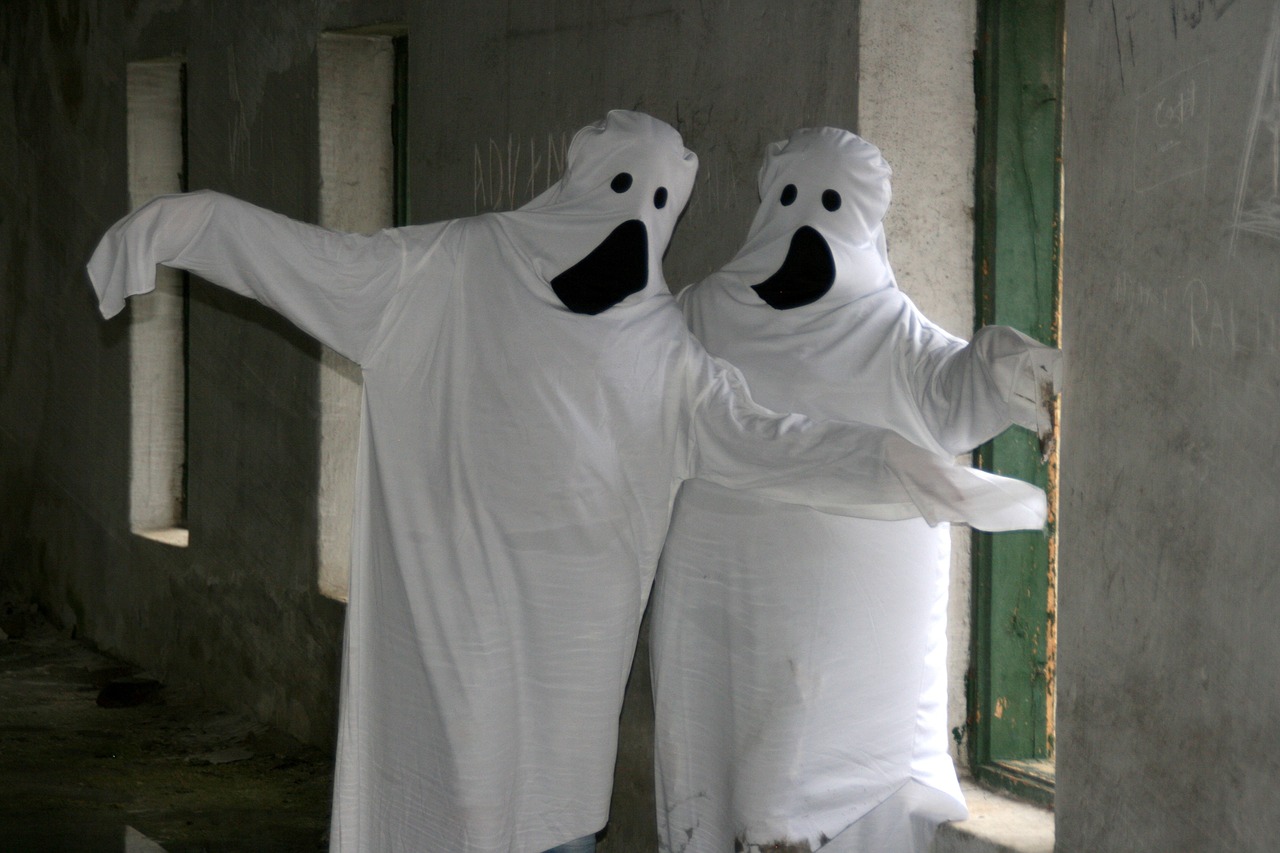
Pumpkin Masks
Pumpkin masks are not just a classic Halloween craft; they are a gateway to creativity and fun for kids! Imagine the excitement on their faces as they transform simple materials into vibrant, spooky masterpieces. This project is perfect for a cozy afternoon at home, where kids can unleash their imagination while getting a bit messy. With just a few supplies, they can create their own pumpkin masks that will surely be the highlight of any Halloween celebration.
To start, gather some basic materials. You’ll need:
- Orange construction paper or cardstock
- Black markers or paint
- Scissors
- Glue
- String or elastic bands
First, have the kids cut out a large oval shape from the orange paper. This will serve as the base of their pumpkin mask. Next, they can use the black markers or paint to draw or paint spooky eyes, a nose, and a mouth. Encourage them to get creative! They can make their pumpkin look silly, scary, or even goofy. The beauty of this craft lies in the freedom to express themselves.
Once the mask is decorated, it's time to cut out holes for the eyes. Make sure the holes are big enough for the kids to see comfortably. After that, they can attach string or elastic bands to the sides of the mask, allowing it to be worn easily. This step is where the excitement really kicks in! Kids will love trying on their creations and showing them off to family and friends.
But wait, there’s more! You can take this craft to the next level by organizing a little pumpkin mask parade. Invite friends or family to join in the fun, and have everyone wear their masks. This not only makes for a great photo opportunity but also encourages social interaction and boosts confidence in the kids as they showcase their artistic talents.
Incorporating pumpkin masks into your Halloween festivities is a fantastic way to create lasting memories. The joy of crafting, combined with the thrill of wearing something they made themselves, makes for an unforgettable experience. So, gather those supplies and let the pumpkin mask-making magic begin!
Q: What age group is this craft suitable for?
A: Pumpkin masks are great for kids aged 4 and up, with adult supervision for younger children when using scissors.
Q: Can we use different colors for the masks?
A: Absolutely! While orange is traditional, kids can use any color they like to create unique pumpkin masks.
Q: How long does it take to make a pumpkin mask?
A: The crafting process typically takes about 30-60 minutes, depending on the child's creativity and attention to detail.
Q: What if I don’t have construction paper?
A: No worries! You can use any sturdy paper, such as cardboard or even old magazines, to create your pumpkin masks.
Monster Masks
Creating is an exhilarating project that can truly unleash a child’s creativity. Imagine the thrill of transforming a simple piece of paper or cardboard into a terrifying creature! The best part? Kids can let their imaginations run wild, crafting masks that reflect their unique personalities. Why stick to traditional designs when the possibilities are endless? From ferocious beasts to silly monsters, the scope for creativity is as vast as a monster’s roar!
To get started, gather some basic materials that you likely already have at home. Here’s a quick list of what you’ll need:
- Cardboard or thick paper
- Scissors
- Markers or paint
- Glue
- Decorative items (like glitter, feathers, or googly eyes)
- Elastic bands or string for wearing the mask
First, help your kids sketch out their monster designs. Encourage them to think about what features they want to include. Do they want sharp teeth? Bright, colorful fur? Or maybe even multiple eyes? Once they have a design, they can cut out the basic shape of the mask from the cardboard. It’s like sculpting, but with a flat surface!
Next, it’s time for the fun part: decorating! This is where kids can really express themselves. They can paint their masks in vibrant colors, add layers of paper for texture, or even glue on some googly eyes for a silly touch. The more outrageous, the better! This process not only fosters creativity but also enhances fine motor skills as they manipulate the materials.
Once the masks are complete, let’s not forget about the finishing touches. Kids can punch holes in the sides of the masks and attach elastic bands or string, making them easy to wear. Now, they’re ready to show off their monstrous creations! Whether they’re planning to wear them for Halloween or just for fun, these masks are sure to be a hit.
In addition to being a fun craft, making monster masks can also be a great opportunity for kids to learn about different cultures. Many cultures have traditional masks that represent various deities or spirits, often used in festivals and celebrations. You can take a moment to explore these traditions with your kids, turning a simple craft into an educational experience. Just like monsters, learning can be a little scary but ultimately rewarding!
So, gather those materials and let the monster-making madness begin! There’s nothing quite like the joy of seeing the world through the eyes of a monster, even if just for a day. Who knows? You might just end up with a family of monsters ready to take on Halloween!
Q: What age group is suitable for making monster masks?
A: Monster masks can be made by children of various ages, but younger kids may need adult supervision, especially when using scissors and glue.
Q: Can we use recycled materials for this project?
A: Absolutely! Using recycled materials like old cardboard boxes or paper bags can add an extra layer of creativity and sustainability to your monster masks.
Q: How long does it take to make a monster mask?
A: Depending on the complexity of the design and decoration, making a monster mask can take anywhere from 30 minutes to a couple of hours.
Q: Are there any tips for making the masks more durable?
A: To make the masks more durable, consider using thicker cardboard and sealing the paint with a clear coat. This will help protect the mask from wear and tear.
Witch Hats
Making is a fantastic way to get kids excited about Halloween! These crafty creations not only add a fun element to any costume but also allow children to express their creativity. Imagine the joy on their faces as they don their very own personalized hat, ready to cast spells and collect treats! The best part? These hats can be made using simple materials that you likely already have at home, making it an affordable and enjoyable project.
To begin crafting your witch hats, gather some basic supplies. You'll need black construction paper or cardstock, scissors, glue, and perhaps some decorative items like glitter, stickers, or colorful ribbons. The process is straightforward and can be a delightful bonding experience for parents and kids alike. Start by cutting a large circle for the base of the hat and a triangle for the top. Once these shapes are ready, it's time to assemble!
As you glue the triangle onto the circle, encourage the kids to think about how they want to decorate their hats. Do they want a classic look with a splash of glitter, or are they aiming for a more whimsical design with colorful ribbons? The possibilities are endless! Here are a few ideas to inspire their creativity:
- Glitter Galore: Use glue to create patterns on the hat and sprinkle glitter for a sparkling effect.
- Nature's Touch: Attach small twigs or leaves for a rustic, witchy vibe.
- Colorful Ribbons: Add ribbons in various colors to give the hat a fun twist.
Once the hats are decorated, let them dry completely. This is a perfect time for kids to practice patience, a valuable skill that will serve them well in many areas of life. Once dry, they can wear their creations proudly, showcasing their unique style during Halloween festivities.
Moreover, making witch hats can also be a great opportunity to incorporate some educational elements. Discuss the history of Halloween, the significance of witches in folklore, and how costumes have evolved over the years. This not only enriches the crafting experience but also makes it a fun and informative session!
So, gather your materials, unleash your creativity, and let the witch hats fly off the table! This Halloween, make it special with crafts that not only look great but also create lasting memories. Remember, the best part of any craft project is the joy and laughter shared during the process. Happy crafting!
Q: What materials do I need to make witch hats?
A: You will need black construction paper or cardstock, scissors, glue, and optional decorative items like glitter, stickers, and ribbons.
Q: Can we make witch hats without black paper?
A: Absolutely! You can use any color of paper you like. Get creative and use different colors to make unique hats!
Q: How long does it take for the hats to dry?
A: It usually takes about 30 minutes to an hour for the glue to dry completely, depending on the amount of glue used.
Q: Can we use recycled materials for this craft?
A: Yes! Recycled materials like old newspapers or cardboard can be used to create witch hats, making it an eco-friendly craft!
Halloween-Themed Art Projects
Halloween is not just about trick-or-treating; it's also a fantastic opportunity for kids to express their creativity through art! Engaging in allows children to dive into the spirit of the season while honing their artistic skills. These projects can be both educational and entertaining, making them perfect for classrooms, home activities, or community events. Imagine the joy on their faces as they create spooky masterpieces that they can proudly display around the house!
One exciting project is spooky paintings. Kids can explore different painting techniques, such as using brushes, sponges, or even their fingers, to create hauntingly beautiful artwork. Whether they choose to depict ghosts, goblins, or their favorite Halloween characters, the possibilities are endless! To add a fun twist, you could set up a mini art gallery at home where the kids can showcase their creations. Just think of it as a haunted gallery where each piece tells a spooky story!
Another fantastic project is making paper mache pumpkins. This hands-on activity not only allows kids to get messy but also teaches them about the art of crafting. To start, gather some basic supplies: balloons, newspaper strips, flour, and water for the paste. As they work together to build their pumpkins, kids can learn the importance of teamwork and patience. Once the pumpkins are dried and ready, they can paint them in vibrant colors or decorate them with glitter, making each one unique. It’s a great way to celebrate the season and create decorations that can be used year after year!
In addition to these projects, here are a few more ideas to inspire creativity:
- Halloween Collages: Use old magazines and craft supplies to create spooky collages. Kids can cut out images of bats, witches, and pumpkins, gluing them together to form a Halloween scene.
- Ghostly Silhouettes: With black construction paper, children can create ghostly silhouettes against a bright background. This project encourages them to think about light and shadow in their artwork.
- Handprint Monsters: Using non-toxic paint, kids can make handprint monsters on canvas. Each handprint can transform into a different creature, sparking their imagination!
By engaging in these Halloween-themed art projects, kids not only enhance their creative skills but also create lasting memories with family and friends. So, gather your supplies, unleash your inner artist, and let the Halloween fun begin!
Q: What age group are these Halloween-themed art projects suitable for?
A: These projects are suitable for a wide range of ages, from preschoolers to older kids. Just adjust the complexity of the tasks to match the skill level of the children involved.
Q: Do I need special supplies for these crafts?
A: Most of the supplies needed for these projects are common household items or easily obtainable at craft stores, such as paper, paint, glue, and old magazines.
Q: Can these projects be done in a classroom setting?
A: Absolutely! These art projects are perfect for classrooms and can be adapted for group activities, encouraging teamwork and collaboration among students.
Q: How can I display the finished art projects?
A: You can create a mini art gallery at home or in the classroom. Use string and clothespins to hang artwork, or set up a display table for everyone to admire the creations!
Spooky Paintings
Creating is an exciting way for kids to dive into the Halloween spirit while expressing their creativity. Imagine the thrill of transforming a blank canvas into a haunting masterpiece filled with ghosts, goblins, and eerie landscapes! This activity not only encourages artistic expression but also allows children to explore different painting techniques. Whether they choose to use watercolors, acrylics, or even finger paints, the possibilities are endless!
To get started, gather all the necessary materials. Here’s a quick checklist of items you might need:
- Canvas or thick paper
- A variety of paints (watercolors, acrylics, or tempera)
- Brushes in different sizes
- Palette for mixing colors
- Water cups and paper towels for cleaning
- Optional: Glitter, stickers, or other embellishments for added flair
Once you have your supplies ready, encourage the kids to think about what kind of spooky scene they want to create. Here are a few ideas to spark their imagination:
- A haunted house on a hill with a full moon in the background
- Ghosts floating through a dark forest
- Monsters hiding under the bed
- A pumpkin patch filled with glowing jack-o'-lanterns
As they paint, remind them that there are no rules in art! Encourage them to mix colors, experiment with different brush strokes, and let their creativity flow. The joy of painting comes from the process, not just the final product. And what better way to celebrate Halloween than by creating art that can be displayed around the house as festive decorations?
Once the paintings are complete, consider hosting a mini art show at home. You can hang their creations on the walls, invite family members to admire their work, and even serve some Halloween-themed snacks. This not only boosts their confidence but also makes them feel proud of their artistic achievements.
In conclusion, spooky paintings are a fantastic way to engage kids during the Halloween season. It's a fun, creative outlet that allows them to express their thoughts and feelings through art. So grab those brushes and let the Halloween spirit inspire some truly haunting creations!
Q: What age group is suitable for spooky painting activities?
A: Spooky painting activities can be enjoyable for children of all ages, from toddlers to pre-teens. Just adjust the complexity of the designs and materials based on their skill level.
Q: Do I need to provide a lot of guidance?
A: It’s best to provide some initial ideas and techniques, but allow the kids to explore their creativity freely. The less guidance you give, the more unique their creations will be!
Q: Can I use any type of paint for this activity?
A: Yes! You can use watercolors, acrylics, or even washable tempera paints. Just ensure that the materials are child-friendly and easy to clean up.
Q: How can I display their artwork after it's finished?
A: You can frame the paintings, hang them on a string with clothespins, or even create a dedicated Halloween art wall. This way, the kids can show off their spooky masterpieces!
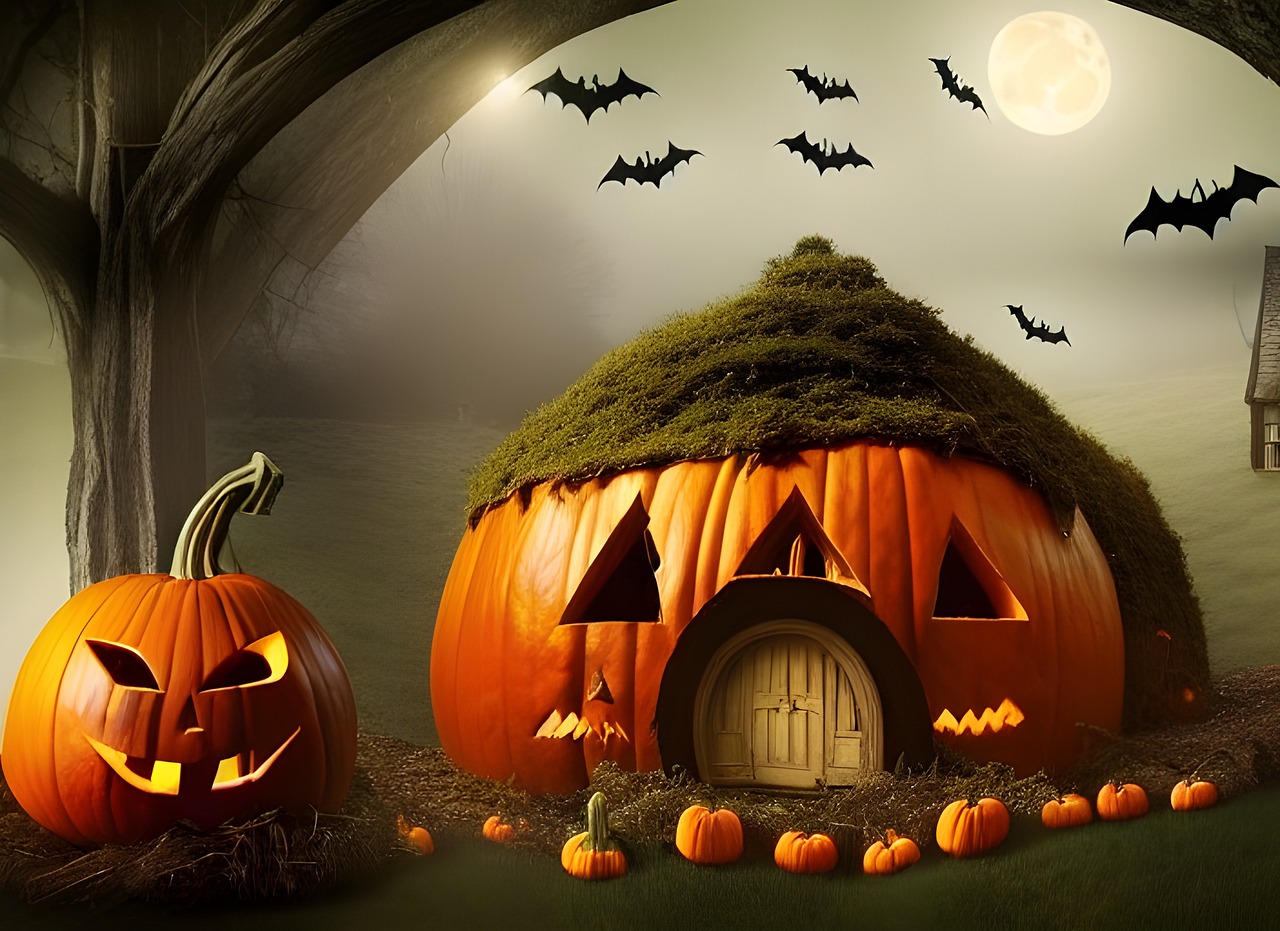
Paper Mache Pumpkins
Creating is not just a craft; it's an adventure that invites kids to unleash their creativity while learning a valuable skill. This project is perfect for the Halloween season, combining fun with a bit of education about the art of crafting. The process allows children to explore textures, colors, and shapes, making it a hands-on experience that is both engaging and rewarding.
To start, gather the necessary materials. You'll need newspapers, flour, water, a balloon (as a base), and paint for decoration. The beauty of this project is that it encourages teamwork—kids can work together to tear the paper, mix the paste, and create their unique designs. As they work, they can chat about their favorite Halloween memories or spooky stories, adding a social element to the craft.
Here's a simple breakdown of the steps involved:
- Prepare the Paste: Mix one part flour with two parts water to create a paste. This will be the glue that holds the pumpkin together.
- Tear the Paper: Kids should tear the newspaper into strips. The tearing process is not only satisfying but also helps develop fine motor skills.
- Inflate the Balloon: Inflate a balloon to the desired size of your pumpkin. This will serve as the mold.
- Apply the Paper: Dip the newspaper strips into the paste and lay them over the balloon, overlapping the pieces. This is where the magic happens as the layers build up.
- Drying Time: Once you have several layers (usually 3-5), let the balloon dry completely. This can take a day or two, depending on humidity.
- Painting and Decorating: Once dry, pop the balloon and remove it. Now comes the fun part—painting! Kids can paint their pumpkins in traditional orange or get creative with various colors, adding faces or patterns as they see fit.
Not only does this project foster creativity, but it also teaches kids about patience and the joy of seeing a project through to completion. Plus, at the end of it all, they have a beautiful decoration to showcase during the Halloween festivities!
Q: How long does it take for the paper mache to dry?
A: The drying time can vary based on humidity and the number of layers applied. Generally, it takes about 24-48 hours for the pumpkin to dry completely.
Q: Can we use other materials instead of a balloon?
A: Absolutely! You can use a bowl or any other object to create different shapes of pumpkins.
Q: What if we want to make our pumpkins more durable?
A: After painting, consider sealing the pumpkins with a clear varnish to protect them from moisture and wear.
Frequently Asked Questions
- What are some easy Halloween crafts for kids?
There are plenty of simple Halloween crafts that kids can enjoy! Some popular options include making spooky ghosts from white socks, decorating paper pumpkins, or creating fun monster masks using colored paper and markers. These crafts are not only easy to make but also allow kids to express their creativity!
- How can I make Halloween decorations with my children?
Making Halloween decorations can be a fun family activity! You can create DIY decorations by using materials like construction paper, scissors, and glue. For example, kids can cut out bat shapes or create paper chains with Halloween colors. It's a great way to get into the Halloween spirit together!
- What materials do I need for paper mache pumpkins?
To make paper mache pumpkins, you'll need a few basic materials: newspaper, flour, water, and a balloon. Mix flour and water to create a paste, tear the newspaper into strips, and then dip the strips into the paste. Cover the balloon with the strips, let it dry, and once it's hard, pop the balloon and paint your pumpkin!
- Are there any safe paint options for kids' Halloween crafts?
Absolutely! Look for non-toxic, washable paints that are specifically designed for kids. These paints are safe to use and easy to clean up, making them perfect for Halloween crafts. Acrylic paints can also work well, but make sure to supervise younger kids to avoid any mess!
- Can kids personalize their Halloween costumes?
Definitely! Encouraging kids to personalize their costumes can make Halloween even more special. They can create unique accessories like spooky masks or decorated witch hats. Let them choose their favorite colors and designs to add a personal touch to their outfits!
- What are some fun Halloween-themed art projects?
Halloween-themed art projects can be a blast! Consider having kids create spooky paintings using watercolors or finger paints. They can also make Halloween collages by cutting out images from magazines. These projects not only enhance their artistic skills but also keep them engaged in the Halloween spirit!


