5 Creative Woodworking Projects to Try This Weekend
If you’re looking to unleash your inner craftsman this weekend, you’ve come to the right place! Woodworking is not just a hobby; it's a way to express your creativity while also producing something functional and beautiful. Whether you are a seasoned woodworker or just starting out, there’s something incredibly satisfying about working with your hands and transforming raw materials into something useful. In this article, we'll explore five engaging woodworking projects that can be completed over the weekend. These projects are perfect for both beginners and seasoned woodworkers looking to enhance their skills and creativity.
Imagine a charming rustic wooden planter that adds a touch of nature to your home. This project is simple yet rewarding, perfect for showcasing your favorite plants. Not only does it serve as a beautiful home for your greenery, but it also adds a warm, inviting element to your decor. You can use reclaimed wood for an eco-friendly twist, giving your planter a unique character. Plus, it’s a fantastic way to practice your woodworking skills without feeling overwhelmed.
Building a DIY bookshelf is a practical project that enhances your living space. It’s not just about storage; it’s about creating a focal point in your room that reflects your personal style. You can customize it to fit your needs, whether you want a minimalist design or something more ornate. The beauty of crafting your own bookshelf lies in the ability to choose the dimensions, materials, and finishes that suit your aesthetic. This project can be both functional and stylish, making it a worthwhile endeavor.
Selecting the appropriate type of wood is essential for durability and aesthetics. Consider options like pine or oak, which offer a balance of strength and beauty for your bookshelf. Pine is lightweight and easy to work with, making it ideal for beginners, while oak provides a rich grain and durability that can withstand the test of time.
Gathering the right tools is crucial for a successful build. Essential tools include:
- Saw: For cutting your wood to the desired lengths.
- Drill: To create holes for screws and assembly.
- Measuring Tape: To ensure precision in your construction.
Follow these assembly tips for a sturdy bookshelf:
- Use wood glue and screws for added stability.
- Ensure all pieces are level during construction for a polished finish.
Finishing your bookshelf can elevate its appearance. Consider sanding, staining, or painting to match your decor and protect the wood from wear and tear. A well-finished bookshelf not only looks great but also lasts longer, enhancing the overall ambiance of your space.
Crafting wooden coasters is an enjoyable and quick project. These coasters not only protect your surfaces but also serve as a decorative element in your home. You can whip up a set of coasters in no time, making them perfect for last-minute gifts or personal use. The best part? They allow for endless customization, so you can really let your creativity shine.
Explore various design options for your coasters, from simple shapes to intricate patterns. Personalizing them with wood burning or painting adds a unique touch that reflects your personality. Consider using a combination of different woods for a stunning visual effect.
Protecting your coasters with a sealant ensures durability. Choose a food-safe finish if you plan to use them for beverages, keeping them looking great for years. A good sealant will not only protect against moisture but also enhance the natural beauty of the wood.
Creating a custom picture frame allows you to showcase your favorite memories. This project can be tailored to fit any photo size and style, making it a perfect gift option. A handmade frame adds a personal touch that store-bought frames simply can't match. Plus, it’s a fantastic way to practice your measuring and cutting skills.
Accurate measuring and cutting are vital for a well-fitted frame. Use a miter saw for clean angles and ensure all sides align perfectly for a professional look. The precision in your cuts will make all the difference in the overall appearance of your frame.
Incorporate decorative elements like carvings or paint to personalize your frame. These details can enhance the overall aesthetic and make your frame stand out. Consider adding a unique finish or embellishments that resonate with your style.
Building a garden bench provides a practical seating solution for your outdoor space. This project combines functionality with creativity, offering a perfect spot to relax and enjoy nature. Imagine sipping your morning coffee or reading a book while basking in the sun on your handcrafted bench. It's not just a piece of furniture; it's a place to unwind and connect with the outdoors.
Consider design elements like size, style, and materials when planning your bench. A well-thought-out design ensures comfort and complements your garden's overall look. Whether you opt for a classic design or something more contemporary, make sure it reflects your personal taste.
Utilize strong assembly techniques to ensure your bench is sturdy. Techniques such as pocket hole joinery can provide a clean finish while maintaining structural integrity. The right assembly method will ensure your bench stands the test of time, allowing you to enjoy it for years to come.
Q: What is the best wood for beginners?
A: Pine is often recommended for beginners due to its softness and ease of handling.
Q: How do I choose the right tools for my project?
A: Start with essential tools like a saw, drill, and measuring tape. As you gain experience, you can invest in more specialized tools.
Q: Can I use reclaimed wood for my projects?
A: Absolutely! Reclaimed wood adds character and is an eco-friendly option for many woodworking projects.
Project 1: Rustic Wooden Planter
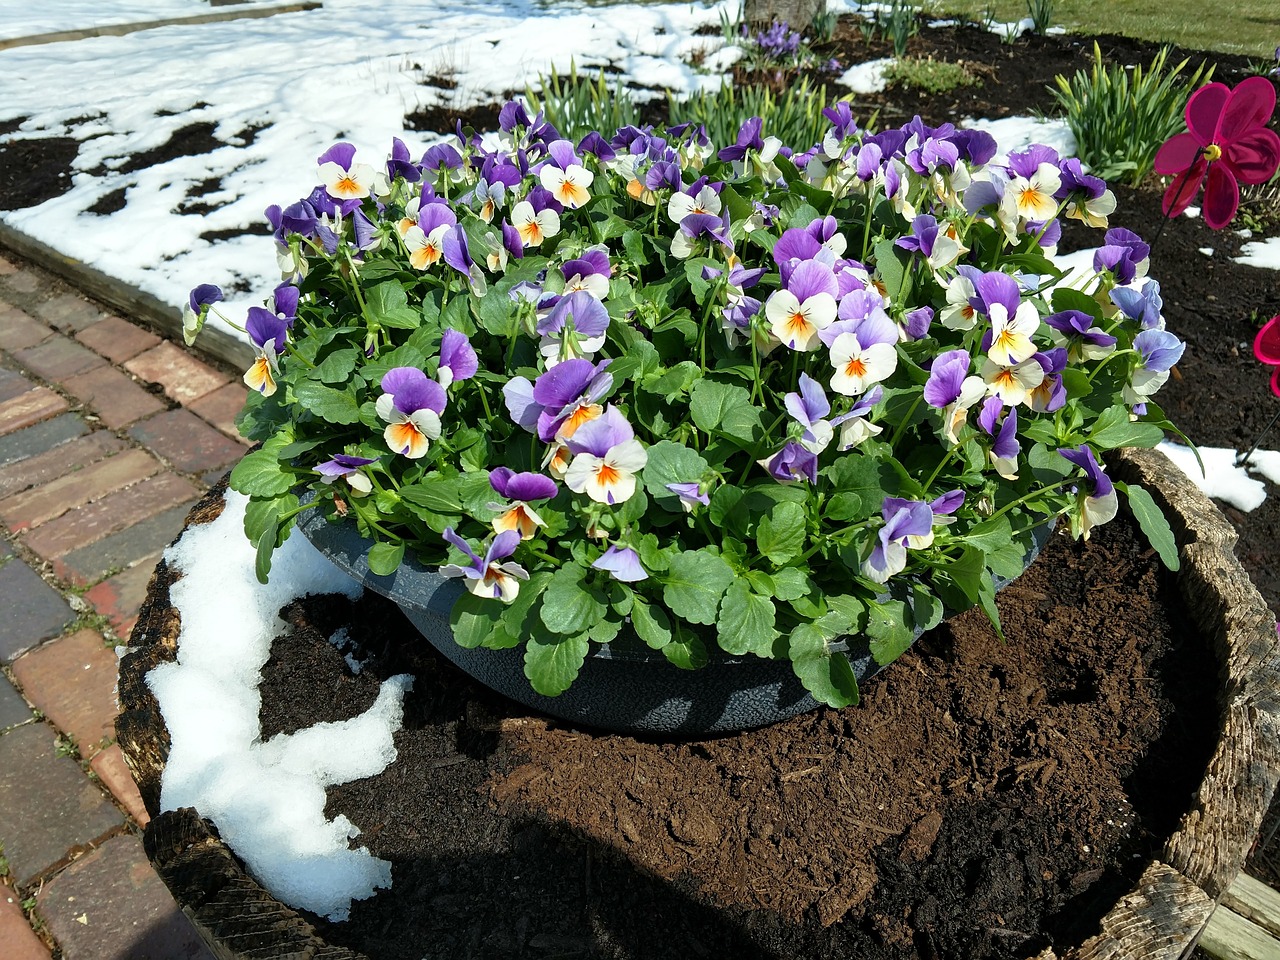
Creating a rustic wooden planter is not just a project; it's an opportunity to bring a bit of nature into your home while flexing your woodworking muscles. Imagine crafting a beautiful piece that not only serves a purpose but also acts as a stunning focal point in your living space. This project is perfect for both beginners looking to hone their skills and seasoned woodworkers wanting to explore new ideas.
To get started, you'll need to gather a few materials and tools. The beauty of a rustic wooden planter lies in its simplicity and the natural look of the wood. You can use reclaimed wood for an eco-friendly approach or select new boards that have a rustic finish. Here’s a quick list of what you’ll need:
- Wood (cedar, pine, or reclaimed wood)
- Wood screws
- Wood glue
- Sandpaper
- Wood finish or sealant (optional)
Once you have your materials, the first step is to measure and cut your wood into the desired dimensions. A typical planter might be about 24 inches long, 12 inches wide, and 12 inches deep, but feel free to adjust based on your space and plant needs. After cutting the wood, use sandpaper to smooth the edges and surfaces, ensuring there are no splinters that could harm your plants or yourself.
Next, assemble the pieces. Start with the base and sides, securing them with wood screws and a bit of wood glue for extra strength. If you want to add drainage holes (which is highly recommended), drill a few holes in the bottom of your planter to prevent water from pooling. This is crucial for keeping your plants healthy!
After assembly, you might want to enhance the rustic appeal of your planter. Consider applying a wood finish or sealant to protect it from the elements, especially if you plan to place it outdoors. A natural stain can accentuate the wood grain, giving your planter a warm, inviting look.
Finally, fill your new rustic planter with potting soil and your favorite plants or flowers. Whether you go for vibrant blooms or lush greenery, the result will be a gorgeous addition to your home that reflects your personal style. Plus, every time you water your plants or admire their growth, you’ll feel a sense of pride knowing you crafted this charming piece yourself!
Here are some common questions people have when creating rustic wooden planters:
| Question | Answer |
|---|---|
| What type of wood is best for outdoor planters? | Cedar and redwood are excellent choices due to their natural resistance to decay. |
| How do I prevent my planter from rotting? | Ensure proper drainage by drilling holes and consider using a sealant to protect the wood. |
| Can I use painted wood for my planter? | Yes, but make sure to use non-toxic paint and seal it properly to protect your plants. |
Project 2: DIY Bookshelf
Building a DIY bookshelf is not just a practical endeavor; it’s a creative outlet that can transform your living space. Imagine walking into a room where your favorite books are displayed not just for reading, but as part of the decor. This project allows you to customize the bookshelf to fit your style and storage needs, making it a functional and stylish addition to any room. Whether you’re a seasoned woodworker or just starting out, this project is perfect for you to showcase your personality.
Before diving into the construction, it’s essential to think about the design and dimensions of your bookshelf. Will it be a tall, narrow unit that fits snugly in a corner, or a wide, low shelf that doubles as a display area for your favorite decor items? Consider the space you have available and how many books you want to store. Sketching out a design can help visualize the final product and guide you through the building process.
Now, let’s talk about wood. Selecting the appropriate type of wood is crucial for both the durability and aesthetics of your bookshelf. Here are some popular options:
- Pine: Affordable and easy to work with, perfect for beginners.
- Oak: Strong and durable, offering a beautiful grain pattern.
- Birch: Great for a smooth finish, ideal for painting.
Each type of wood has its own unique characteristics, so choose one that matches your vision. For a rustic look, reclaimed wood can add charm and character.
Gathering the right tools is crucial for a successful build. Essential tools include:
- Saw: A circular saw or table saw for cutting wood.
- Drill: For making holes and driving screws.
- Measuring Tape: To ensure precision in your cuts.
- Level: To make sure your shelves are straight.
Having these tools on hand will make your project smoother and more enjoyable. Remember, the right tools can make all the difference!
Once you have your materials and tools ready, it’s time to assemble your bookshelf. Here are some tips to ensure a sturdy construction:
- Use wood glue in addition to screws for added stability.
- Ensure all pieces are level during construction to achieve a polished finish.
- Consider using pocket hole joinery for a clean look and strong joints.
Take your time with each step, as rushing can lead to mistakes. A well-assembled bookshelf will not only look great but will stand the test of time.
Finishing your bookshelf can elevate its appearance from ordinary to extraordinary. Consider options such as sanding, staining, or painting to match your decor and protect the wood from wear and tear. A natural stain can bring out the beauty of the wood grain, while a bright paint color can add a fun pop to your room. Don't forget to apply a protective sealant to ensure your masterpiece lasts for years to come!
Q: How long does it take to build a DIY bookshelf?
A: The time it takes to build a DIY bookshelf can vary depending on your skill level and the complexity of the design. Generally, it can take anywhere from a few hours to a full weekend.
Q: What type of wood should I use for my bookshelf?
A: Popular choices include pine, oak, and birch, each offering different aesthetics and durability. Choose one that fits your style and budget.
Q: Do I need special tools to build a bookshelf?
A: While basic tools like a saw, drill, and measuring tape are essential, you don’t need specialized tools. Most can be found in a standard toolkit.
Q: Can I customize my bookshelf design?
A: Absolutely! Customizing your bookshelf allows you to create a piece that fits your specific needs and complements your home decor.
Choosing the Right Wood
Explore five engaging woodworking projects that can be completed over a weekend. These projects are perfect for both beginners and seasoned woodworkers looking to enhance their skills and creativity.
Create a charming rustic wooden planter that adds a touch of nature to your home. This project is simple yet rewarding, perfect for showcasing your favorite plants.
Building a DIY bookshelf is a practical project that enhances your living space. Customize it to fit your style and storage needs, making it a functional and stylish addition to any room.
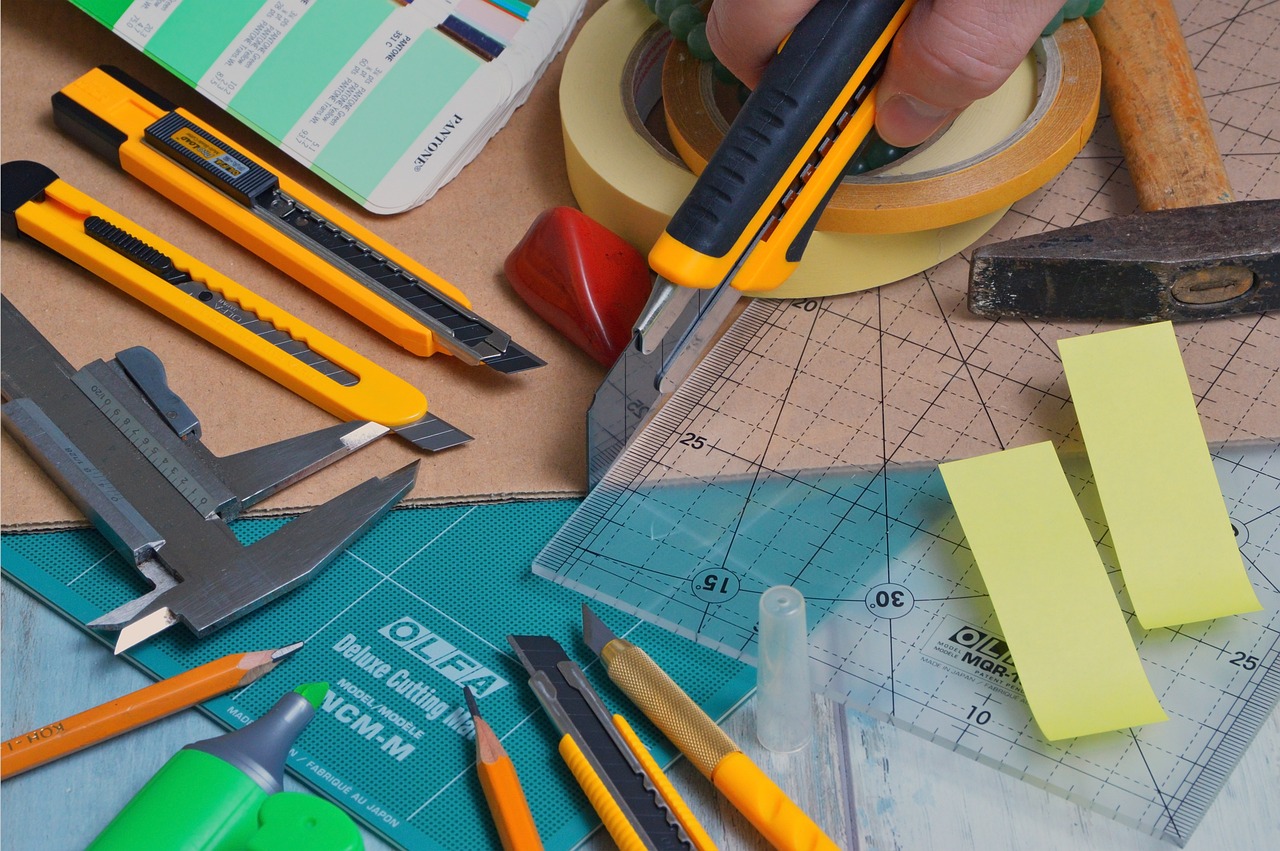
When embarking on your DIY bookshelf journey, one of the most crucial decisions you'll make is . The type of wood you select can significantly influence both the durability and aesthetic appeal of your finished project. For beginners, it's essential to consider options that are not only easy to work with but also visually appealing. Pine is often recommended for beginners due to its affordability and light weight, making it easy to cut and shape. On the other hand, oak is a fantastic choice if you're looking for something sturdier and more durable, although it may require more effort to work with due to its density.
Here are some factors to keep in mind when choosing your wood:
- Durability: Consider how the bookshelf will be used. If it's going to hold heavy books, opt for a denser wood like oak or maple.
- Grain and Texture: The grain of the wood can affect the overall look of your bookshelf. A more pronounced grain can add character, while a smoother surface may suit a modern aesthetic.
- Finish: Different woods take stains and finishes differently. If you have a specific color or finish in mind, test it on a small piece of the wood first.
Ultimately, the right wood will depend on your personal preferences and the specific requirements of your project. Don't hesitate to visit your local lumber yard or home improvement store to see the options in person. Touching and seeing the wood can help you make a more informed decision, ensuring that your finished bookshelf not only meets your functional needs but also complements your home decor beautifully.
Gathering the right tools is crucial for a successful build. Essential tools include a saw, drill, and measuring tape to ensure precision in your construction.
Follow these assembly tips for a sturdy bookshelf. Use wood glue and screws for added stability, and ensure all pieces are level during construction for a polished finish.
Finishing your bookshelf can elevate its appearance. Consider sanding, staining, or painting to match your decor and protect the wood from wear and tear.
Crafting wooden coasters is an enjoyable and quick project. These coasters not only protect your surfaces but also serve as a decorative element in your home.
Explore various design options for your coasters, from simple shapes to intricate patterns. Personalizing them with wood burning or painting adds a unique touch.
Protecting your coasters with a sealant ensures durability. Choose a food-safe finish if you plan to use them for beverages, keeping them looking great for years.
Creating a custom picture frame allows you to showcase your favorite memories. This project can be tailored to fit any photo size and style, making it a perfect gift option.
Accurate measuring and cutting are vital for a well-fitted frame. Use a miter saw for clean angles and ensure all sides align perfectly for a professional look.
Incorporate decorative elements like carvings or paint to personalize your frame. These details can enhance the overall aesthetic and make your frame stand out.
Building a garden bench provides a practical seating solution for your outdoor space. This project combines functionality with creativity, offering a perfect spot to relax and enjoy nature.
Consider design elements like size, style, and materials when planning your bench. A well-thought-out design ensures comfort and complements your garden's overall look.
Utilize strong assembly techniques to ensure your bench is sturdy. Techniques such as pocket hole joinery can provide a clean finish while maintaining structural integrity.
Q: What type of wood is best for beginners?
A: Pine is often recommended for beginners due to its affordability and ease of use.
Q: How do I protect my woodworking projects?
A: Use a sealant or finish to protect your projects from wear and tear.
Q: Can I use reclaimed wood for my projects?
A: Yes, reclaimed wood can add character and uniqueness to your projects, but ensure it is safe and free from contaminants.
Tools Needed
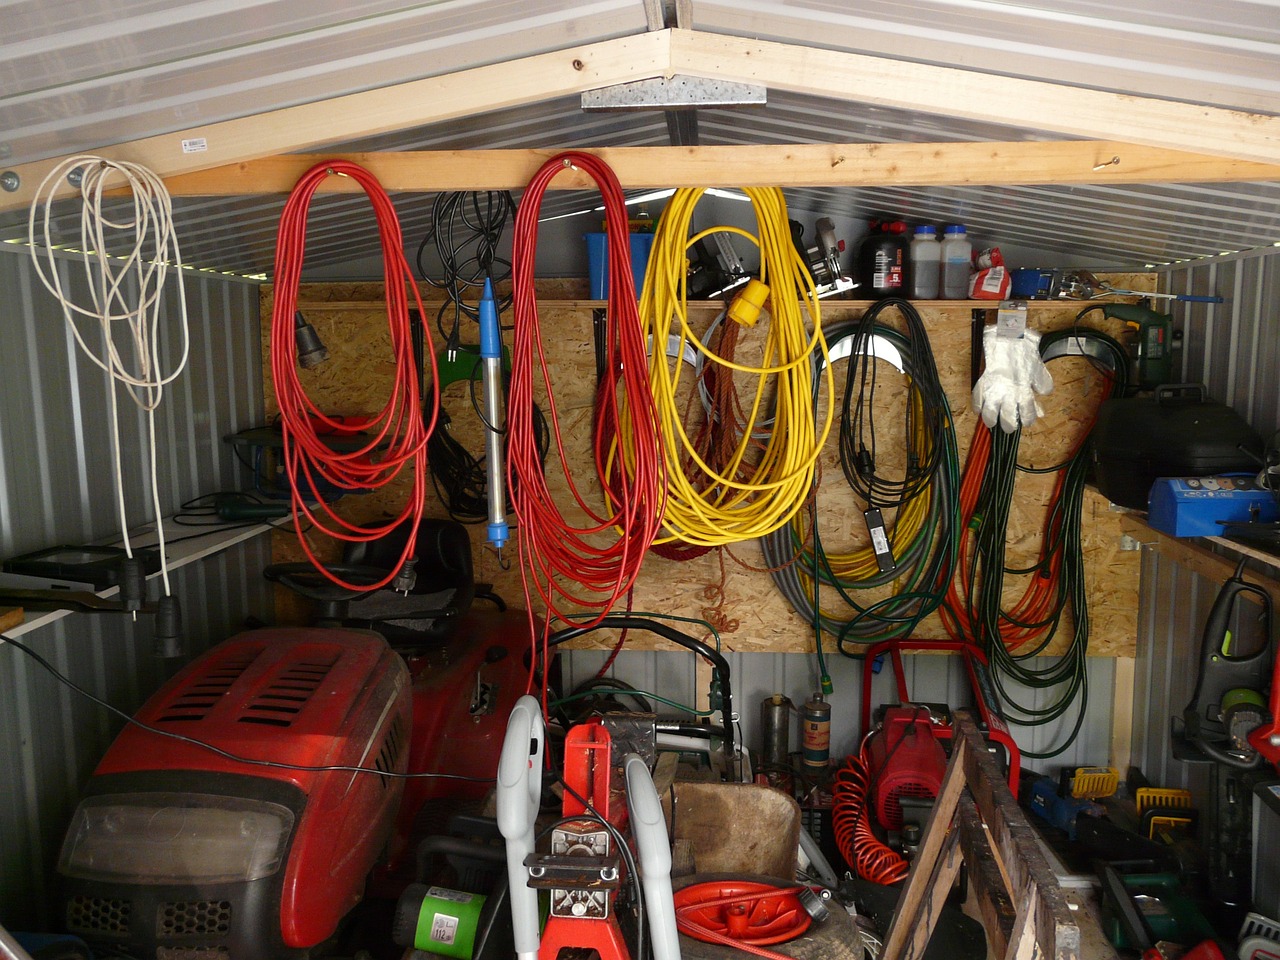
When embarking on your DIY bookshelf project, having the right tools is absolutely essential to ensure a smooth and successful build. Think of your tools as the magic wands of woodworking; without them, your vision remains just that—a vision. To get started, you’ll need a few basic tools that will not only make your life easier but also help you achieve a professional finish.
First and foremost, a circular saw or a miter saw will be your best friends for cutting the wood to the desired lengths. These saws provide precision and are crucial for making clean cuts, which are vital for the overall look of your bookshelf. A drill is also a must-have for making holes for screws and for assembling the pieces together. You might want to consider a cordless drill for added convenience, allowing you to move freely without being tethered to a power outlet.
Additionally, having a measuring tape is critical. After all, the old saying "measure twice, cut once" holds true in woodworking. This tool will help ensure that all your pieces fit together perfectly. You might also want to invest in a square to check the angles and ensure everything is aligned correctly. A level can also be handy to make sure your bookshelf doesn’t lean to one side, which could be a disaster!
Here’s a quick rundown of the essential tools you’ll need:
- Circular saw or miter saw
- Drill (cordless is preferable)
- Measuring tape
- Wood square
- Level
- Wood glue
- Screws
- Sandpaper or a sander
Lastly, don’t forget about safety equipment! A pair of safety goggles and a dust mask should be part of your toolkit to protect your eyes and lungs from sawdust and debris. Safety first, right? With these tools in hand, you’ll be well on your way to creating a stunning DIY bookshelf that not only meets your needs but also showcases your personal style.
Q: What type of wood is best for a DIY bookshelf?
A: The best types of wood for a DIY bookshelf are typically pine for its affordability and ease of use, or oak for its durability and aesthetic appeal.
Q: How long does it take to build a bookshelf?
A: Depending on your experience level and the complexity of the design, it can take anywhere from a few hours to a full weekend to complete a bookshelf.
Q: Can I customize the size of my bookshelf?
A: Absolutely! One of the best parts of building your own bookshelf is that you can tailor it to fit your space perfectly.
Q: Do I need advanced woodworking skills to build a bookshelf?
A: Not at all! This project is suitable for both beginners and seasoned woodworkers. Just take your time and follow the instructions carefully.
Q: What should I do if I make a mistake while cutting?
A: Mistakes happen! If you cut a piece too short, you can often use wood filler or adjust your design. Just remember, every woodworker has been there!

Assembly Tips
Explore five engaging woodworking projects that can be completed over a weekend. These projects are perfect for both beginners and seasoned woodworkers looking to enhance their skills and creativity.
Create a charming rustic wooden planter that adds a touch of nature to your home. This project is simple yet rewarding, perfect for showcasing your favorite plants.
Building a DIY bookshelf is a practical project that enhances your living space. Customize it to fit your style and storage needs, making it a functional and stylish addition to any room.
Selecting the appropriate type of wood is essential for durability and aesthetics. Consider options like pine or oak, which offer a balance of strength and beauty for your bookshelf.
Gathering the right tools is crucial for a successful build. Essential tools include a saw, drill, and measuring tape to ensure precision in your construction.
When it comes to assembling your DIY bookshelf, attention to detail is key. Start by laying out all your pieces in the order they will be assembled; this helps visualize the final product and ensures you’re not missing any components. Here are some important assembly tips:
- Use Wood Glue: Applying wood glue to the joints before screwing them together adds an extra layer of strength and stability.
- Screw Placement: Ensure screws are placed evenly and not too close to the edges of the wood to prevent splitting.
- Check for Level: Use a level tool to make sure that each shelf is perfectly horizontal before securing it in place.
- Clamping: Consider using clamps to hold pieces together while the glue dries; this will help maintain alignment and prevent shifting.
Additionally, always double-check your measurements before making any cuts. It’s much easier to fix mistakes before they happen! Lastly, don’t rush the assembly process. Take your time to ensure everything is aligned and secure, which will result in a polished and professional-looking bookshelf.
Finishing your bookshelf can elevate its appearance. Consider sanding, staining, or painting to match your decor and protect the wood from wear and tear.
Crafting wooden coasters is an enjoyable and quick project. These coasters not only protect your surfaces but also serve as a decorative element in your home.
Explore various design options for your coasters, from simple shapes to intricate patterns. Personalizing them with wood burning or painting adds a unique touch.
Protecting your coasters with a sealant ensures durability. Choose a food-safe finish if you plan to use them for beverages, keeping them looking great for years.
Creating a custom picture frame allows you to showcase your favorite memories. This project can be tailored to fit any photo size and style, making it a perfect gift option.
Accurate measuring and cutting are vital for a well-fitted frame. Use a miter saw for clean angles and ensure all sides align perfectly for a professional look.
Incorporate decorative elements like carvings or paint to personalize your frame. These details can enhance the overall aesthetic and make your frame stand out.
Building a garden bench provides a practical seating solution for your outdoor space. This project combines functionality with creativity, offering a perfect spot to relax and enjoy nature.
Consider design elements like size, style, and materials when planning your bench. A well-thought-out design ensures comfort and complements your garden's overall look.
Utilize strong assembly techniques to ensure your bench is sturdy. Techniques such as pocket hole joinery can provide a clean finish while maintaining structural integrity.
Q1: Do I need prior woodworking experience to attempt these projects?
A1: Not at all! These projects are designed to be approachable for both beginners and experienced woodworkers. Just take your time and follow the instructions carefully.
Q2: What type of wood is best for beginners?
A2: Softwoods like pine are great for beginners due to their affordability and ease of handling. They are also forgiving for mistakes!
Q3: Can I modify the designs to fit my personal style?
A3: Absolutely! Feel free to get creative with colors, finishes, and sizes. Personalization is what makes woodworking so enjoyable.
Q4: What tools are essential for these projects?
A4: Basic tools include a saw, drill, measuring tape, and sandpaper. As you advance, you can invest in more specialized tools.
Q5: How do I maintain my wooden projects?
A5: Regularly clean your wooden items and apply a wood conditioner or sealant as needed to keep them looking fresh and extend their lifespan.
Finishing Touches
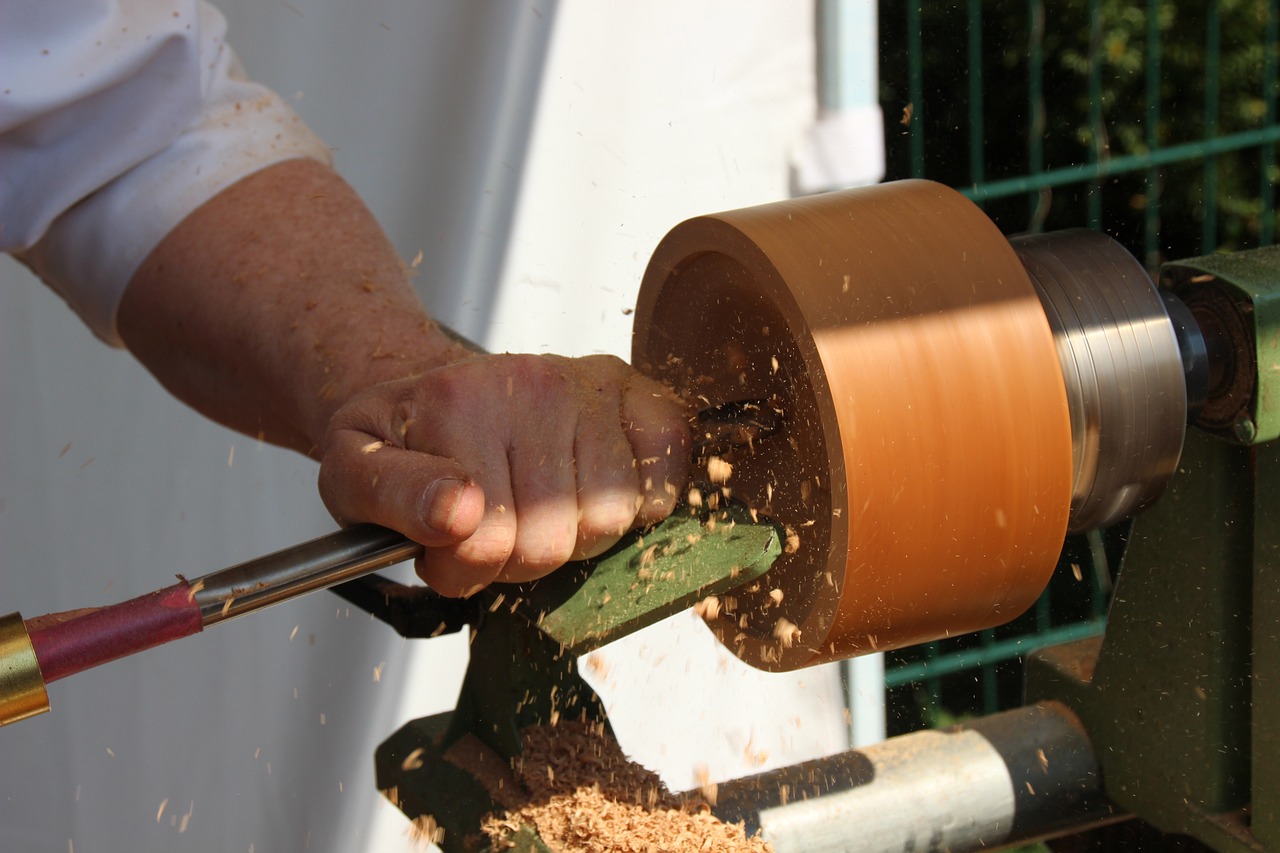
When it comes to woodworking, the can make all the difference between a project that looks good and one that looks professional. After you've assembled your bookshelf, it's time to think about how to enhance its appearance and ensure it stands the test of time. First, consider sanding your bookshelf. This step is crucial as it smooths out any rough edges and prepares the wood for finishing. Use a range of sandpaper grits, starting with a coarser grit to remove imperfections and gradually moving to a finer grit for a polished look. Remember, a well-sanded surface not only feels great but also helps the finish adhere better.
Next up is the staining process. Choosing the right stain can dramatically change the color and feel of your bookshelf. Whether you prefer a rich mahogany or a light oak finish, the stain will enhance the natural grain of the wood, bringing out its unique character. Apply the stain with a clean cloth or brush, following the wood grain for an even application. Don’t forget to wipe off any excess stain after a few minutes to avoid a sticky finish.
If you're looking for something a bit more durable, consider applying a paint finish. A fresh coat of paint can transform your bookshelf into a stunning centerpiece of your room. Just make sure to use a primer first, especially if you’re painting over a darker wood. This will ensure the colors pop and last longer. You can even get creative with colors and patterns, perhaps even adding a splash of color to the back panel of your bookshelf to make it stand out.
Lastly, don’t overlook the importance of a protective topcoat. A clear polyurethane or varnish can provide a protective barrier against scratches, spills, and general wear and tear. Applying a couple of coats of finish not only protects your hard work but also gives your bookshelf a beautiful sheen. Make sure to let each coat dry thoroughly before applying the next, and sand lightly between coats for the best results.
In summary, the finishing touches are what truly elevate your woodworking project. From sanding and staining to painting and sealing, each step is vital in creating a bookshelf that doesn’t just serve a purpose but also adds to the aesthetic of your home. So take your time with these steps, and enjoy the process of turning your handmade creation into a beautiful and functional piece of art!
- What type of wood is best for a bookshelf? Pine and oak are popular choices due to their durability and attractive grain.
- How long should I let the stain dry? Generally, most stains need about 24 hours to dry completely, but always check the manufacturer's instructions.
- Can I use regular paint on wood? Yes, but using a primer first will help the paint adhere better and provide a more vibrant finish.
- Is it necessary to seal my bookshelf? Yes, sealing your bookshelf with a protective finish helps prevent damage from spills and scratches.

Project 3: Wooden Coasters
Crafting wooden coasters is not just an enjoyable weekend project; it’s a fantastic way to add a personal touch to your home while protecting your surfaces from those pesky drink rings. Imagine having a set of coasters that not only serve a practical purpose but also reflect your unique style! Whether you’re a beginner or a more seasoned woodworker, this project can be tailored to your skill level and creativity.
To get started, you'll want to think about the design options available for your coasters. You can keep it simple with basic shapes like squares or circles, or you can dive into more intricate patterns that showcase your artistic flair. One popular method is to use wood burning tools to create personalized designs or quotes on the surface of the coasters. This adds a special touch that makes them perfect for gifting or keeping as a memento.
Once you've decided on your design, the next step is to ensure your coasters are durable and long-lasting. This is where sealing and protection come into play. After sanding your coasters to a smooth finish, applying a sealant is crucial. Not only does this protect the wood from moisture and stains, but it also enhances the overall look of your coasters. If you plan on using them for beverages, make sure to choose a food-safe finish. This ensures that they remain safe for use while keeping them looking great for years to come.
Here’s a quick overview of the steps involved in creating your wooden coasters:
- Select your wood: Choose a nice hardwood like oak or walnut for durability.
- Cutting: Use a saw to cut your wood into the desired shape and size.
- Sanding: Sand the edges and surfaces to ensure a smooth finish.
- Designing: Add your personal touch with wood burning or painting.
- Sealing: Apply a protective sealant to finish.
By following these steps, you can create a stunning set of coasters that not only serve a functional role but also act as a conversation starter when guests come over. Plus, they make excellent gifts for friends and family who appreciate handmade items. So, gather your materials and let your creativity flow as you embark on this delightful woodworking adventure!
Q: What type of wood is best for coasters?
A: Hardwoods like oak, maple, or walnut are ideal due to their durability and resistance to moisture.
Q: How can I personalize my coasters?
A: You can use wood burning tools, paint, or even decoupage techniques to add unique designs or messages.
Q: Do I need to seal my coasters?
A: Yes! Sealing your coasters with a food-safe finish will protect them from moisture and prolong their lifespan.

Design Options
When it comes to crafting your own wooden coasters, the are practically limitless! You can let your imagination run wild, creating coasters that not only serve a functional purpose but also act as a conversation starter. Think about what resonates with you or your guests. Are you drawn to simple geometric shapes, or do you prefer something more intricate, like floral patterns or animal motifs? The beauty of woodworking is that you can customize every detail to suit your personal style.
For those who enjoy a bit of flair, you might consider incorporating techniques such as wood burning or painting. Wood burning allows for detailed designs that can range from delicate lines to bold graphics, adding a rustic charm to your coasters. On the other hand, painting opens up a whole new world of color and creativity. You can use vibrant hues to match your home decor or even create themed coasters for special occasions.
If you’re unsure where to start, here are a few popular design ideas:
- Nature-Inspired: Leaves, trees, or mountain silhouettes can bring a touch of the outdoors inside.
- Geometric Patterns: Simple shapes arranged in interesting configurations can add a modern touch.
- Personalized Monograms: Add initials or family names for a personal touch that makes your coasters unique.
Ultimately, the design you choose should reflect your personality and style. Don't hesitate to mix and match ideas or come up with something entirely new! This is your chance to showcase your creativity and make something that is not only practical but also beautiful.
Sealing and Protection
Explore five engaging woodworking projects that can be completed over a weekend. These projects are perfect for both beginners and seasoned woodworkers looking to enhance their skills and creativity.
Create a charming rustic wooden planter that adds a touch of nature to your home. This project is simple yet rewarding, perfect for showcasing your favorite plants.
Building a DIY bookshelf is a practical project that enhances your living space. Customize it to fit your style and storage needs, making it a functional and stylish addition to any room.
Selecting the appropriate type of wood is essential for durability and aesthetics. Consider options like pine or oak, which offer a balance of strength and beauty for your bookshelf.
Gathering the right tools is crucial for a successful build. Essential tools include a saw, drill, and measuring tape to ensure precision in your construction.
Follow these assembly tips for a sturdy bookshelf. Use wood glue and screws for added stability, and ensure all pieces are level during construction for a polished finish.
Finishing your bookshelf can elevate its appearance. Consider sanding, staining, or painting to match your decor and protect the wood from wear and tear.
Crafting wooden coasters is an enjoyable and quick project. These coasters not only protect your surfaces but also serve as a decorative element in your home.
Explore various design options for your coasters, from simple shapes to intricate patterns. Personalizing them with wood burning or painting adds a unique touch.
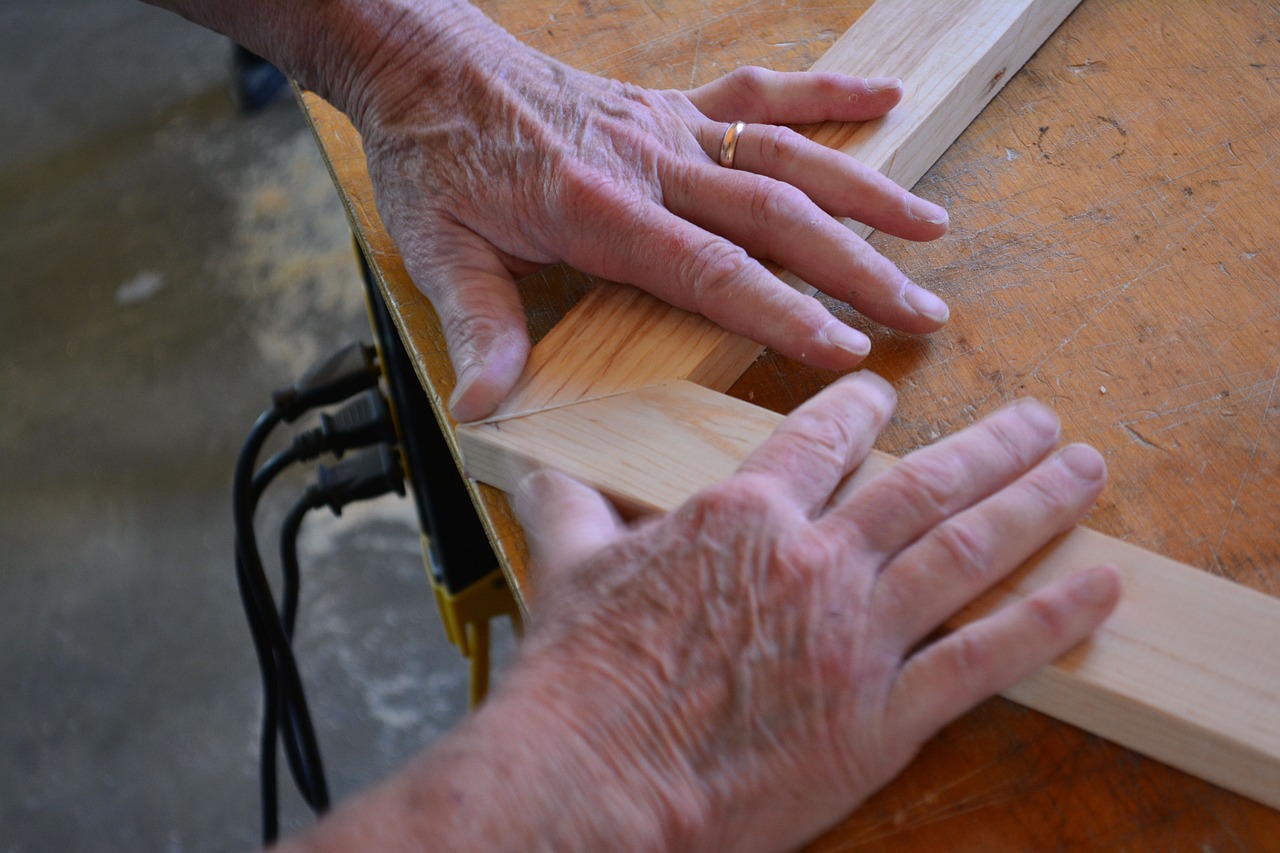
Protecting your coasters with a sealant ensures durability and longevity. A good sealant not only guards against moisture but also enhances the natural beauty of the wood. When selecting a sealant, consider the following:
- Type of Finish: Choose between oil-based or water-based sealants. Oil-based finishes provide a richer color but take longer to dry, while water-based options dry quickly and are easier to clean up.
- Food Safety: If you plan to use your coasters for beverages, ensure the sealant is food-safe. This is crucial to avoid any harmful chemicals leaching into your drinks.
- Application Method: You can apply sealants with a brush, cloth, or spray. Each method has its advantages, so choose one that suits your comfort level and the size of the project.
After applying the sealant, allow it to cure fully before using your coasters. This might take a few days, but it's worth the wait to ensure they stand the test of time. Remember, regular maintenance is key; reapply the sealant every couple of years to keep your coasters looking fresh and new.
Creating a custom picture frame allows you to showcase your favorite memories. This project can be tailored to fit any photo size and style, making it a perfect gift option.
Accurate measuring and cutting are vital for a well-fitted frame. Use a miter saw for clean angles and ensure all sides align perfectly for a professional look.
Incorporate decorative elements like carvings or paint to personalize your frame. These details can enhance the overall aesthetic and make your frame stand out.
Building a garden bench provides a practical seating solution for your outdoor space. This project combines functionality with creativity, offering a perfect spot to relax and enjoy nature.
Consider design elements like size, style, and materials when planning your bench. A well-thought-out design ensures comfort and complements your garden's overall look.
Utilize strong assembly techniques to ensure your bench is sturdy. Techniques such as pocket hole joinery can provide a clean finish while maintaining structural integrity.
Q: Do I need a lot of experience to start woodworking projects?
A: Not at all! Many of the projects mentioned are suitable for beginners. Just take your time, follow instructions, and enjoy the process.
Q: What tools do I need to start woodworking?
A: Basic tools like a saw, drill, measuring tape, and sandpaper are a great start. As you progress, you can invest in more specialized tools.
Q: How can I ensure my projects last a long time?
A: Proper sealing and maintenance are key. Always use high-quality materials and finishes, and regularly check for wear to keep your projects looking their best.
Project 4: Picture Frame
Creating a custom picture frame is not just a fun woodworking project; it's a fantastic way to showcase your favorite memories in style. Imagine walking into a room and seeing a beautifully crafted frame that not only holds a cherished photo but also adds character to your space. This project can be tailored to fit any photo size and style, making it a perfect gift option for friends and family. Whether it’s a stunning landscape, a family portrait, or a whimsical snapshot, a handmade frame elevates the presentation and adds a personal touch that store-bought frames simply can’t match.
Before diving into the construction, it's essential to consider the design elements that will make your frame unique. Think about the dimensions of the photo you want to display, as this will dictate the size of your frame. You can opt for a classic rectangular frame, or get creative with circular or even irregular shapes. The choice of wood also plays a significant role; hardwoods like oak or cherry lend a touch of elegance, while softer woods like pine can be perfect for a rustic look.
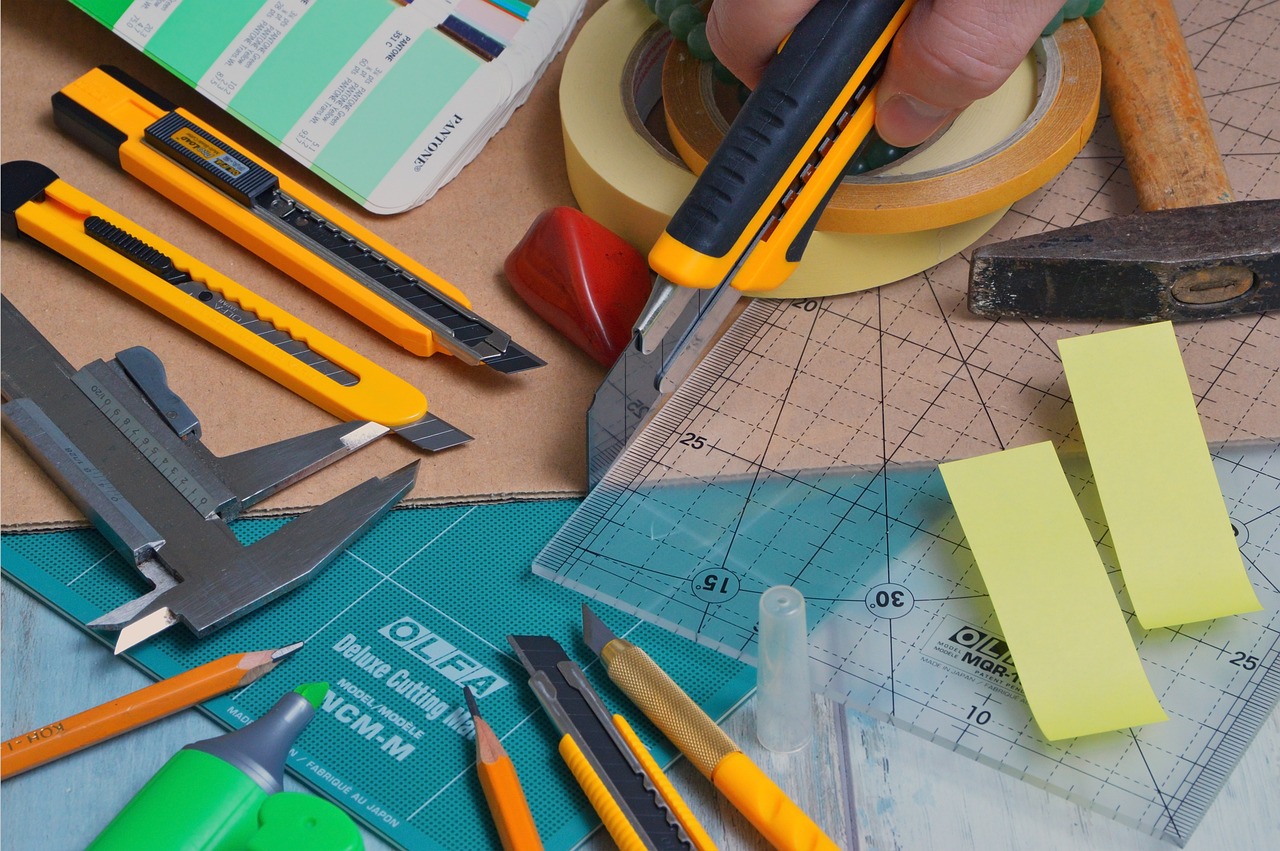
Accurate measuring and cutting are vital for a well-fitted frame. Start by measuring the dimensions of your photo and adding a little extra for the frame’s width. Use a miter saw for clean angles, which will allow your corners to fit together seamlessly. A well-made frame should have perfectly aligned edges, giving it a professional look. Don’t forget to sand the edges after cutting to avoid any splinters, ensuring a smooth finish that feels good to the touch.
Now comes the fun part: incorporating decorative elements to personalize your frame! You can add carvings, paint, or even decoupage to make your frame stand out. For instance, if you’re going for a vintage vibe, consider distressing the wood or using a chalk paint finish. On the other hand, if you want something bold and modern, bright colors or geometric patterns can do the trick. These details not only enhance the overall aesthetic but also allow you to express your creativity and style.
Once your frame is assembled and decorated, it’s time to think about how you’ll display it. You can opt for a simple stand or create a wall-mounted version. If you choose to hang it, consider using a sawtooth hanger or D-rings for easy installation. Your custom picture frame will not only hold your memories but also serve as a stunning piece of art in your home.
Here are some common questions people have when making their own picture frames:
- What type of wood is best for picture frames? Hardwoods like oak and maple are ideal for durability and aesthetics, but softwoods like pine can also work well for a more casual look.
- How do I ensure my frame is square? Use a carpenter's square during assembly to check that all corners are at a right angle.
- Can I use glass in my frame? Absolutely! Glass or acrylic can protect your photo and enhance the overall look of your frame.
Measuring and Cutting
Explore five engaging woodworking projects that can be completed over a weekend. These projects are perfect for both beginners and seasoned woodworkers looking to enhance their skills and creativity.
Create a charming rustic wooden planter that adds a touch of nature to your home. This project is simple yet rewarding, perfect for showcasing your favorite plants.
Building a DIY bookshelf is a practical project that enhances your living space. Customize it to fit your style and storage needs, making it a functional and stylish addition to any room.
Selecting the appropriate type of wood is essential for durability and aesthetics. Consider options like pine or oak, which offer a balance of strength and beauty for your bookshelf.
Gathering the right tools is crucial for a successful build. Essential tools include a saw, drill, and measuring tape to ensure precision in your construction.
Follow these assembly tips for a sturdy bookshelf. Use wood glue and screws for added stability, and ensure all pieces are level during construction for a polished finish.
Finishing your bookshelf can elevate its appearance. Consider sanding, staining, or painting to match your decor and protect the wood from wear and tear.
Crafting wooden coasters is an enjoyable and quick project. These coasters not only protect your surfaces but also serve as a decorative element in your home.
Explore various design options for your coasters, from simple shapes to intricate patterns. Personalizing them with wood burning or painting adds a unique touch.
Protecting your coasters with a sealant ensures durability. Choose a food-safe finish if you plan to use them for beverages, keeping them looking great for years.
Creating a custom picture frame allows you to showcase your favorite memories. This project can be tailored to fit any photo size and style, making it a perfect gift option.
Accurate measuring and cutting are vital for a well-fitted frame. To start, gather your materials and tools, including a miter saw, measuring tape, and square. Begin by measuring the dimensions of your photo and adding a little extra for the frame itself. This extra allowance will ensure that your photo fits snugly without being too tight.
Once you have your measurements, mark them clearly on your wood. Use a square to ensure your lines are straight and accurate. When cutting, take your time to follow the lines closely. A clean cut will not only make assembly easier but will also give your frame a professional appearance.
Here’s a quick tip: always measure twice and cut once. This old adage can save you from costly mistakes. If you’re feeling adventurous, consider creating beveled edges for a more sophisticated look. Just remember to adjust your angles accordingly when cutting!
Incorporate decorative elements like carvings or paint to personalize your frame. These details can enhance the overall aesthetic and make your frame stand out.
Building a garden bench provides a practical seating solution for your outdoor space. This project combines functionality with creativity, offering a perfect spot to relax and enjoy nature.
Consider design elements like size, style, and materials when planning your bench. A well-thought-out design ensures comfort and complements your garden's overall look.
Utilize strong assembly techniques to ensure your bench is sturdy. Techniques such as pocket hole joinery can provide a clean finish while maintaining structural integrity.
- What type of wood is best for beginners? For beginners, pine is an excellent choice due to its affordability and ease of use.
- How long does it take to complete these projects? Most of these projects can be completed in a weekend, depending on your skill level and the complexity of the design.
- Do I need special tools for these projects? While some projects may require specific tools, most can be completed with basic woodworking tools like a saw, drill, and measuring tape.

Decorative Elements
When it comes to creating a custom picture frame, the you choose can truly transform a simple piece of wood into a stunning work of art. Think of your frame as a canvas where you can express your personality and style. From intricate carvings to vibrant paint, the options are endless! You might want to start with something as simple as a stain that enhances the natural beauty of the wood, allowing its grain to shine through. Alternatively, a bold splash of color can make your frame a statement piece that draws attention.
One popular technique is to incorporate wood burning designs. This method allows you to create unique patterns or even personal messages on your frame. Imagine gifting a frame to a loved one featuring their favorite quote, elegantly burned into the wood! It's a heartfelt touch that adds a personal dimension to your creation. Additionally, you can use stencils to paint designs that complement the theme of the photo you plan to display.
Another option is to add embellishments such as beads, shells, or even small charms that reflect your interests or the memories captured in the frame. These can be glued onto the corners or edges for a playful, three-dimensional effect. If you're feeling particularly adventurous, consider creating a mixed-media frame that combines wood with other materials like fabric or metal for a truly unique look.
Ultimately, the key is to let your creativity flow. Whether you prefer a rustic, vintage vibe or a sleek, modern aesthetic, the decorative elements you choose will define the character of your frame. Remember, this is your chance to showcase not just the photo, but also your artistic flair. So grab your tools, unleash your imagination, and make a frame that’s not just functional, but a true reflection of you!
- What type of wood is best for making a picture frame? - Softwoods like pine are great for beginners due to their ease of cutting and shaping, while hardwoods like oak offer durability and a more polished finish.
- Can I use paint on my wooden frame? - Absolutely! Paint can add a vibrant touch to your frame. Just ensure you use a primer first for better adhesion, especially on unfinished wood.
- How can I ensure my frame lasts a long time? - Sealing your frame with a protective finish, such as polyurethane or a clear coat, can help protect it from moisture and scratches.
- What tools do I need to create a picture frame? - Essential tools include a miter saw for angled cuts, a drill for screws, and sandpaper for smoothing edges. A wood glue can also provide added stability.

Project 5: Garden Bench
Building a garden bench is not just a project; it's an opportunity to create a serene spot in your outdoor space where you can unwind, sip your favorite drink, and soak in the beauty of nature. Imagine spending a sunny afternoon reading a book or enjoying a chat with friends on a bench you crafted with your own hands. The satisfaction of seeing your creation come to life is truly unmatched!
Before you dive into this rewarding endeavor, it’s essential to consider a few key design elements that will ensure your bench is not only beautiful but also functional:
- Size: Think about how many people you want to accommodate. A standard bench is typically around 4 to 6 feet long, but you can customize it to fit your space perfectly.
- Style: Will your bench have a rustic charm, or are you leaning towards a modern aesthetic? Your choice will influence the materials and design details.
- Materials: Cedar and redwood are excellent choices for outdoor furniture due to their natural resistance to decay, but don't shy away from experimenting with other woods like teak or pressure-treated lumber.
Once you’ve settled on the design, the next step is to gather your materials and tools. Here’s a quick rundown of what you might need:
| Materials | Quantity |
|---|---|
| Wood planks (2x4 or 2x6) | 8-10 pieces |
| Wood screws | 1 box |
| Wood glue | 1 bottle |
| Sandpaper | 1 pack |
| Wood stain or sealant | 1 can |
Now, let’s talk assembly techniques. A solid bench requires a sturdy construction method. Techniques like pocket hole joinery provide a clean finish while ensuring your bench can withstand the test of time. This method involves drilling angled holes into one piece of wood and joining it to another with screws, creating a strong bond that is less visible than traditional screws. Make sure to pre-drill your holes to avoid splitting the wood.
As you assemble your bench, be mindful of the height and comfort. A good height for seating is typically around 18 inches from the ground. If you plan to add cushions, consider this in your design to ensure everything aligns perfectly.
Finally, don’t forget about the finishing touches! Sanding the edges and surfaces will not only make your bench look polished but also ensure it’s safe to use. Applying a weather-resistant stain or sealant will protect your bench from the elements, allowing you to enjoy it for years to come without worrying about wear and tear.
In conclusion, building a garden bench is a fulfilling project that combines creativity with practicality. Whether you choose to keep it simple or go all out with decorative elements, the end result will be a personal touch to your garden that you can be proud of. So grab your tools, roll up your sleeves, and get ready to create a cozy nook in your outdoor paradise!
Q: What type of wood is best for outdoor benches?
A: Cedar and redwood are popular choices due to their natural resistance to decay. Teak is another excellent option, though it can be more expensive.
Q: How do I maintain my garden bench?
A: Regularly check for any signs of wear, and reapply sealant or stain as needed, especially after harsh weather conditions.
Q: Can I customize the size of my bench?
A: Absolutely! You can adjust the dimensions based on your space and how many people you want it to seat.

Design Considerations
When embarking on the journey of building a garden bench, it's essential to consider several key design elements that will not only enhance the bench's functionality but also its aesthetic appeal. First and foremost, think about the size of the bench. Will it be a cozy spot for two, or do you envision a larger bench that can accommodate family and friends? Measuring the space in your garden where the bench will reside is crucial. You wouldn’t want to create a stunning piece only to find it dwarfed by your garden or, conversely, too large for the area.
Next, the style of your bench is vital. Are you leaning towards a rustic, farmhouse vibe, or do you prefer a sleek, modern look? Each style can dramatically alter the overall feel of your outdoor space. For instance, a bench with clean lines and minimalistic design would complement a contemporary garden, while a bench with ornate carvings would fit beautifully in a traditional setting.
Additionally, the materials you choose will play a significant role in both the durability and appearance of your garden bench. Common options include:
- Wood: A classic choice, offering warmth and natural beauty. Cedar and teak are excellent for outdoor use due to their resistance to weather.
- Metal: Provides a modern touch and can be very durable. Consider aluminum for a lightweight yet sturdy option.
- Composite materials: These are becoming increasingly popular for their low maintenance and resistance to the elements.
Finally, consider the comfort of your bench. Adding a slight curve to the seat or incorporating cushions can make a world of difference in how inviting your bench feels. Remember, the goal is to create a space where you, your family, and friends can relax and enjoy the beauty of your garden.
Q: What type of wood is best for outdoor benches?
A: Cedar and teak are excellent choices due to their natural resistance to rot and insects, making them ideal for outdoor furniture.
Q: How can I protect my wooden bench from the elements?
A: Applying a weather-resistant sealant can help protect your bench from rain and sun damage. Regular maintenance, such as reapplying the sealant every few years, is also recommended.
Q: What is the best way to ensure my bench is comfortable?
A: Consider adding cushions or a slight curve to the seat. Testing the design by sitting on it during construction can also help ensure comfort.

Assembly Techniques
Explore five engaging woodworking projects that can be completed over a weekend. These projects are perfect for both beginners and seasoned woodworkers looking to enhance their skills and creativity.
Create a charming rustic wooden planter that adds a touch of nature to your home. This project is simple yet rewarding, perfect for showcasing your favorite plants.
Building a DIY bookshelf is a practical project that enhances your living space. Customize it to fit your style and storage needs, making it a functional and stylish addition to any room.
Selecting the appropriate type of wood is essential for durability and aesthetics. Consider options like pine or oak, which offer a balance of strength and beauty for your bookshelf.
Gathering the right tools is crucial for a successful build. Essential tools include a saw, drill, and measuring tape to ensure precision in your construction.
Follow these assembly tips for a sturdy bookshelf. Use wood glue and screws for added stability, and ensure all pieces are level during construction for a polished finish.
Finishing your bookshelf can elevate its appearance. Consider sanding, staining, or painting to match your decor and protect the wood from wear and tear.
Crafting wooden coasters is an enjoyable and quick project. These coasters not only protect your surfaces but also serve as a decorative element in your home.
Explore various design options for your coasters, from simple shapes to intricate patterns. Personalizing them with wood burning or painting adds a unique touch.
Protecting your coasters with a sealant ensures durability. Choose a food-safe finish if you plan to use them for beverages, keeping them looking great for years.
Creating a custom picture frame allows you to showcase your favorite memories. This project can be tailored to fit any photo size and style, making it a perfect gift option.
Accurate measuring and cutting are vital for a well-fitted frame. Use a miter saw for clean angles and ensure all sides align perfectly for a professional look.
Incorporate decorative elements like carvings or paint to personalize your frame. These details can enhance the overall aesthetic and make your frame stand out.
Building a garden bench provides a practical seating solution for your outdoor space. This project combines functionality with creativity, offering a perfect spot to relax and enjoy nature.
Consider design elements like size, style, and materials when planning your bench. A well-thought-out design ensures comfort and complements your garden's overall look.
Utilizing strong assembly techniques is crucial for ensuring your garden bench is not only visually appealing but also sturdy and long-lasting. One effective method is pocket hole joinery, which allows for hidden screws that provide a clean finish without compromising strength. This technique involves drilling an angled hole into one piece of wood, allowing a screw to join it to another piece securely.
Another popular assembly method is the use of mortise and tenon joints. This traditional technique involves creating a cavity (mortise) in one piece of wood and a corresponding projection (tenon) on another, fitting them together to create a strong bond. This method is particularly useful for the legs and supports of your bench, ensuring it can withstand weight and regular use.
Don't forget to reinforce your assembly with wood glue. It acts as an additional layer of strength, filling in gaps and providing a solid bond between the pieces. When combined with screws or dowels, wood glue can significantly enhance the durability of your project.
Lastly, always ensure that your work surface is level and stable during assembly. This attention to detail can make a significant difference in the final product, ensuring that your garden bench is both beautiful and functional.
- What type of wood is best for outdoor projects?
For outdoor projects, it's best to use weather-resistant woods like cedar or redwood, as they can withstand the elements.
- How can I make my woodworking projects last longer?
Applying a protective finish, such as varnish or sealant, can help safeguard your projects from moisture and wear.
- Is woodworking safe for beginners?
Absolutely! With the right safety precautions and guidance, beginners can enjoy woodworking safely and effectively.
Frequently Asked Questions
- What tools do I need for these woodworking projects?
For most of the projects mentioned, basic tools like a saw, drill, measuring tape, and sandpaper are essential. Depending on the project, you might also need specific tools like a miter saw for cutting angles or wood glue for assembly.
- Can beginners attempt these projects?
Absolutely! These projects are designed to be beginner-friendly while still providing a challenge for seasoned woodworkers. Each project includes detailed instructions to help you along the way.
- What type of wood is best for a DIY bookshelf?
Pine and oak are great choices for a DIY bookshelf. Pine is lightweight and easy to work with, while oak offers durability and a beautiful finish. Your choice will depend on your aesthetic preference and budget.
- How can I personalize my wooden coasters?
You can personalize wooden coasters by using wood-burning techniques or painting them in your favorite colors. Adding unique designs or patterns can make them a great conversation starter!
- What is the best way to finish my garden bench?
To finish your garden bench, consider using an outdoor sealant or paint that protects against weather elements. This will not only enhance its appearance but also increase its longevity in your outdoor space.
- How do I ensure my picture frame is properly aligned?
To ensure your picture frame is aligned correctly, use a miter saw for precise cuts and double-check your measurements before assembly. Clamping the frame together while the glue dries can also help maintain alignment.
- Are there any safety tips I should follow while woodworking?
Yes! Always wear safety goggles to protect your eyes, use ear protection when operating loud tools, and keep your workspace organized to prevent accidents. It’s also wise to read the manuals of your tools to understand their proper use.


