Upcycling Old Furniture: A Woodworker's Guide
Welcome to the transformative world of upcycling! If you’ve ever looked at an old, forgotten piece of furniture and thought, “I could do something amazing with that,” you’re not alone. Upcycling is not just a trend; it’s a creative revolution that allows you to take discarded items and breathe new life into them. Imagine turning a rickety chair into a stunning statement piece or an outdated dresser into a chic storage solution. In this guide, we’ll explore the art of upcycling old furniture, providing you with the insights, techniques, and inspiration you need to embark on your own woodworking adventure.
So, what exactly is upcycling? At its core, upcycling is the process of creatively reusing old materials to create new products that are often more valuable than the originals. Think of it as a form of recycling with a twist. Instead of merely breaking down materials, upcycling involves transforming them into something entirely different and beautiful. The benefits of upcycling are numerous: it reduces waste, minimizes the need for new materials, and promotes sustainability in the woodworking community. By choosing to upcycle, you’re not only saving money but also contributing to a greener planet. Isn’t that a win-win?
Before you dive into your upcycling project, it’s crucial to gather the right tools and materials. Having the right equipment can make all the difference between a frustrating experience and a successful transformation. Here’s a quick overview of what you’ll need:
Hand tools are the backbone of any woodworking project. They allow for precision and control that power tools sometimes can’t match. Here’s a list of essential hand tools every woodworker should have:
- Screwdrivers: Both flathead and Phillips for all your fastening needs.
- Chisels: Perfect for carving and shaping wood.
- Saws: A hand saw or coping saw for cutting your materials.
- Sandpaper: Various grits for smoothing surfaces.
- Measuring Tape: For precise measurements.
If you want to speed up your upcycling process, investing in some power tools can be a game changer. Here are a few that can help:
- Jigsaw: Ideal for cutting curves and intricate designs.
- Drill: Essential for making holes and driving screws.
- Sander: Saves time and effort in smoothing surfaces.
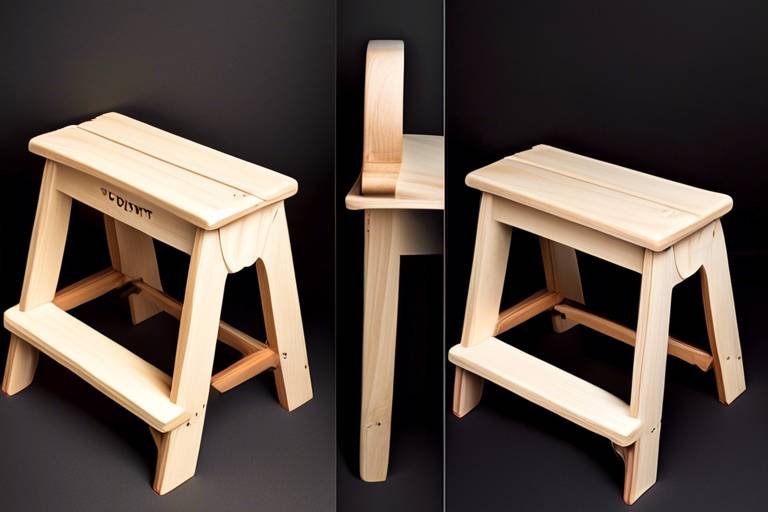
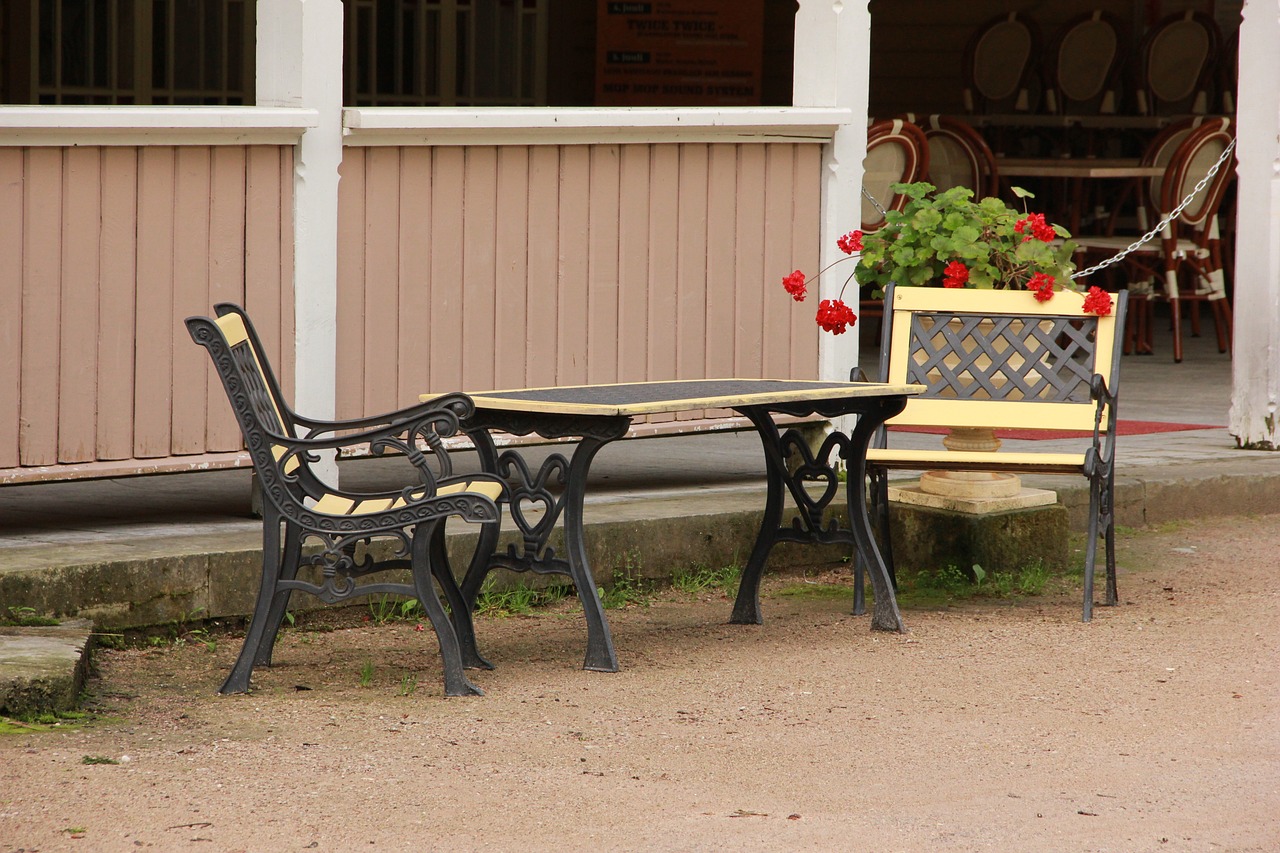
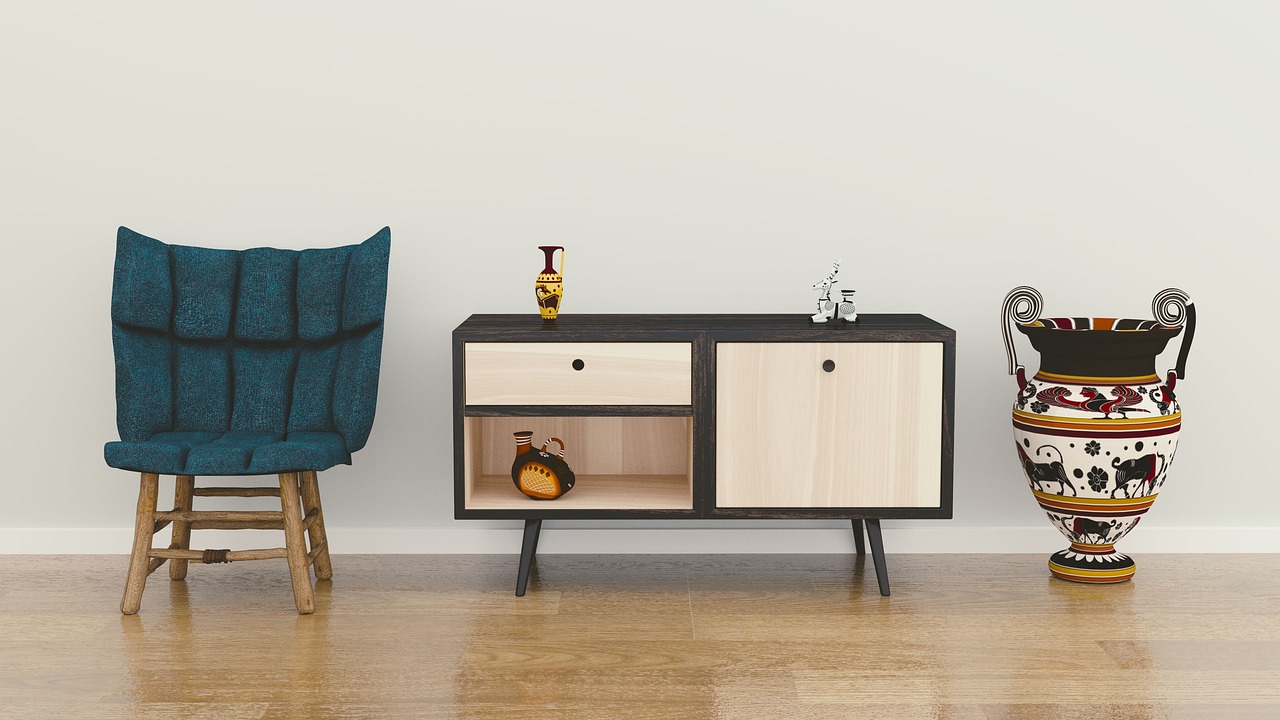
Not all furniture is suitable for upcycling, so it’s important to choose wisely. Look for pieces that have good structural integrity and potential for transformation. Inspect the joints, legs, and surfaces to ensure they can withstand the changes you plan to make. Styles that are currently trending or have a vintage appeal can also influence your choice. For example, mid-century modern furniture has become increasingly popular for upcycling projects. Remember, the right piece can spark your creativity and lead to stunning results!
Now that you have your tools and furniture, let’s explore some popular upcycling techniques. There’s no limit to what you can do, but here are a few methods to get your creative juices flowing:
One of the simplest ways to revitalize old furniture is through painting. A fresh coat of paint can completely alter the look of a piece. Start by preparing the surface—clean it thoroughly and sand it down if necessary. Choose high-quality paint that suits the material of your furniture. For a professional finish, consider using a primer before applying your color. Techniques like distressing or using stencils can add unique character to your project.
If you’re dealing with upholstered furniture, reupholstering can be a fantastic way to give it a new lease on life. Start by selecting a fabric that complements your style. Remove the old upholstery carefully, taking note of how it was assembled. This will guide you in putting the new fabric on. With a bit of patience and creativity, you can transform a tired old chair into a stunning focal point in your home.
Finding design inspiration is key to a successful upcycling project. Explore online platforms like Pinterest and Instagram, where you can find countless ideas. Magazines dedicated to home decor often showcase upcycled projects that can spark your creativity. Additionally, local workshops can provide hands-on experience and inspiration from fellow woodworkers.
Upcycling can be challenging, and mistakes are common, especially for beginners. One frequent pitfall is underestimating the time and effort required for a project. Always allow yourself plenty of time to complete your work without rushing. Another mistake is neglecting to prepare the furniture properly before starting. Skipping this step can lead to unsatisfactory results. Remember, patience is key to achieving a beautiful finish!
Once your upcycled furniture is complete, it’s time to show it off! Take high-quality photographs in good lighting to capture the details of your work. Consider creating a portfolio or sharing your projects on social media to inspire others. If you’re looking to sell your creations, make sure to highlight the unique aspects of each piece in your listings.
Q: What types of furniture are best for upcycling?
A: Look for sturdy pieces with good bones, such as wooden chairs, dressers, or tables. Avoid items that are heavily damaged or beyond repair.
Q: Do I need special skills to upcycle furniture?
A: While some projects may require specific skills, many upcycling techniques are beginner-friendly. Start small and gradually tackle more complex projects as you gain confidence.
Q: How can I sell my upcycled furniture?
A: Consider using online marketplaces, social media, or local craft fairs to showcase and sell your work. High-quality photos and engaging descriptions can help attract buyers.

Understanding Upcycling
Upcycling is more than just a buzzword; it's a creative revolution in how we view discarded materials. At its core, upcycling involves taking old, unwanted items—like furniture, wood scraps, or even textiles—and transforming them into something new and valuable. Imagine turning a rickety old chair into a stylish accent piece or transforming an outdated dresser into a chic storage solution. This practice not only breathes new life into forgotten objects but also promotes a sustainable lifestyle.
One of the most compelling aspects of upcycling is its contribution to sustainability. In a world where waste is a growing concern, upcycling offers a way to reduce our carbon footprint. By reusing materials instead of purchasing new ones, we can significantly decrease the amount of waste that ends up in landfills. To put it into perspective, consider this: the average American generates about 4.4 pounds of waste every day. By embracing upcycling, we can help mitigate this issue by extending the lifecycle of products and materials.
Furthermore, upcycling has a positive impact on our wallets. Instead of splurging on brand-new furniture or decor, you can save money by giving a second life to items that might otherwise be considered trash. With a little creativity and effort, you can create unique pieces that not only serve a purpose but also reflect your personal style. This makes upcycling an exciting endeavor for both seasoned woodworkers and DIY enthusiasts alike.
But what makes upcycling truly special is the artistic expression it allows. Each project is a canvas for your imagination, where you can experiment with colors, textures, and designs. It’s like being an artist, where the medium is not paint or clay, but old furniture and materials. The end result? A one-of-a-kind masterpiece that tells a story and showcases your personality. Whether you’re painting a vintage trunk or reupholstering a chair with bold fabric, the possibilities are endless.
In summary, upcycling is a multifaceted practice that combines creativity, sustainability, and personal expression. It invites us to rethink our relationship with materials and encourages us to see potential where others see waste. So, the next time you encounter an old piece of furniture, ask yourself: What can I create from this? The answer might just surprise you!

Tools and Materials Needed
Before diving into the exciting world of upcycling old furniture, it’s crucial to gather the right tools and materials. Think of it like preparing for a big adventure: you wouldn’t set out without your compass and map, right? In the realm of woodworking, having the right equipment can make all the difference between a smooth project and a frustrating one. So, let’s break down what you’ll need to embark on your upcycling journey!
First and foremost, hand tools are your best friends when it comes to precision work. These tools allow you to get into those tight corners and make detailed adjustments. Essential hand tools include:
- Chisels: Perfect for carving and shaping wood.
- Saws: A good handsaw or coping saw will help you cut pieces to size.
- Screwdrivers: Both flathead and Phillips for assembling and disassembling furniture.
- Measuring Tape: Because measuring twice really does save time!
Moving on to power tools, these are the heavy hitters that can significantly speed up your process. While hand tools are great for detail work, power tools help you tackle larger projects efficiently. Here are some must-have power tools:
- Drill: An electric drill is essential for creating holes and driving screws.
- Sander: A good sander will save you hours of manual labor when smoothing surfaces.
- Jigsaw: Ideal for cutting curves and intricate shapes in wood.
- Table Saw: If you're serious about woodworking, a table saw is a worthy investment for making precise cuts.
Now, let’s not forget about the materials you’ll need. Depending on your project, the materials can vary widely, but some staples include:
- Wood Glue: Perfect for bonding pieces together.
- Paint or Stain: To give your furniture that fresh, new look.
- Fabric: If you’re planning to reupholster, choose durable and stylish fabrics.
- Finishing Supplies: Don’t skip on varnish or sealants to protect your work!
In summary, gathering the right tools and materials is like assembling a toolkit for a treasure hunt. Each piece has its purpose, and together, they will help you uncover the hidden potential in your old furniture. Whether you’re a seasoned woodworker or just starting out, having these essentials on hand will empower you to transform the ordinary into the extraordinary!
Q: Do I need to be an expert woodworker to upcycle furniture?
A: Not at all! Upcycling is all about creativity and experimentation. Start with simple projects and build your skills over time.
Q: How do I know if a piece of furniture is worth upcycling?
A: Look for furniture that has good structural integrity but may just be outdated in style or finish. If it’s sturdy, it’s likely a good candidate!
Q: What’s the best way to learn upcycling techniques?
A: There are plenty of online tutorials, workshops, and DIY videos that can guide you step-by-step through various techniques.
Q: Can I upcycle furniture without power tools?
A: Yes! Many projects can be completed with hand tools alone. It may take a bit longer, but the results can still be fantastic.
Essential Hand Tools
When it comes to upcycling old furniture, having the right hand tools is absolutely crucial. These tools not only enhance your precision but also make the entire process more enjoyable. Imagine trying to cut a piece of wood with a dull knife; it’s frustrating and inefficient! The same goes for woodworking. So, what are the essential hand tools every woodworker should have in their toolkit? Let’s dive right in!
First off, a good set of chisels is a must-have. Chisels allow you to carve out intricate designs and make precise cuts, which can really elevate the look of your upcycled furniture. Pair them with a reliable mallet, and you’re all set for some serious woodworking. Next, invest in a hand saw. While power saws are great, a hand saw gives you the control you need for detailed work, especially when you’re working on smaller pieces or awkward angles.
Another essential tool is a block plane. This handy little device is perfect for smoothing out edges and giving your furniture that polished finish. You’ll be amazed at the difference it makes! Don’t forget about measuring tools, like a tape measure and a square. Accurate measurements are the backbone of any successful project. After all, nobody wants to end up with a lopsided chair!
For assembly, a good set of screwdrivers and a hammer are indispensable. These tools will help you put everything together securely, ensuring that your upcycled furniture is not only beautiful but also functional. Additionally, having a reliable utility knife is essential for cutting through various materials, whether you’re working with fabric, cardboard, or even thin wood.
Lastly, consider adding a workbench to your toolkit. A sturdy surface gives you the space you need to work comfortably and safely. You can set up your tools, lay out your materials, and have everything within reach, making your upcycling process much smoother.
In summary, having the right hand tools is vital for any woodworker looking to upcycle furniture. Here’s a quick recap of the essential tools:
- Chisels
- Mallet
- Hand Saw
- Block Plane
- Tape Measure
- Square
- Screwdrivers
- Hammer
- Utility Knife
- Workbench
With these tools in your arsenal, you’ll be well-equipped to tackle any upcycling project that comes your way. Remember, the right tools can make all the difference, transforming a daunting task into a delightful creative experience!
Q: What if I don't have all the essential tools?
A: Don’t worry! You can start with the basics and gradually build your toolkit as you gain more experience. Many upcycling projects can be completed with just a few key tools.
Q: Are hand tools better than power tools for upcycling?
A: It really depends on the project and your personal preference. Hand tools offer precision and control, while power tools can save time and effort. A combination of both is often the best approach!
Q: How do I maintain my hand tools?
A: Regular cleaning and proper storage are key. Keep your tools dry and free from rust, and sharpen them as needed to ensure they perform well.

Power Tools for Efficiency
When it comes to upcycling old furniture, using the right power tools can make all the difference in efficiency and quality of your work. Imagine trying to carve a turkey with a butter knife; it’s just not going to cut it! Similarly, having the proper power tools can transform your upcycling project from a tedious chore into a fun and creative endeavor. Here are some essential power tools that every woodworker should consider having in their workshop.
First on the list is the cordless drill. This versatile tool is your best friend for both assembling and disassembling furniture. Whether you’re taking apart an old chair to reupholster it or putting together a new piece, a cordless drill speeds up the process significantly. Look for one with adjustable torque settings to prevent stripping screws.
Next up is the jigsaw. This tool is perfect for making intricate cuts and curves in wood. If you’re planning to transform an old dresser into a chic bench, the jigsaw will allow you to cut the wood precisely to your desired shape. It’s lightweight and easy to maneuver, making it ideal for those detailed upcycling projects.
Another powerhouse tool is the orbital sander. Preparing your furniture for painting or staining is crucial, and an orbital sander will help you achieve that smooth finish without the elbow grease. It works wonders on flat surfaces and can even get into corners that other sanders might miss. Plus, it’s much faster than hand sanding, saving you precious time.
The table saw is also a must-have for any serious woodworker. It allows for straight cuts and can handle larger pieces of wood, making it easier to resize furniture or create new components. If you’re upcycling a large piece, such as a dining table, a table saw will ensure that your cuts are precise and professional-looking.
Finally, consider investing in a router. This tool is excellent for adding decorative edges to your furniture or hollowing out areas of wood for a more refined look. With the right bits, a router can elevate your project from basic to breathtaking. It’s like adding a cherry on top of a sundae—totally transforms the whole experience!
In summary, having the right power tools not only enhances your efficiency but also improves the overall quality of your upcycling projects. By investing in tools like a cordless drill, jigsaw, orbital sander, table saw, and router, you’ll be well-equipped to tackle any furniture transformation with confidence. Just remember, the right tools are like having the right ingredients in a recipe; they make all the difference in the final result!
- What is the best power tool for beginners? A cordless drill is typically the best starting point due to its versatility.
- Can I upcycle furniture without power tools? Yes, but using power tools can significantly speed up the process.
- How do I choose the right power tool for my project? Consider the type of work you’ll be doing and select tools that match those needs.
Choosing the Right Furniture
When it comes to upcycling old furniture, one of the most critical steps is selecting the right pieces to transform. Not all furniture is created equal, and diving into a project without careful consideration can lead to disappointment. So, how do you choose the best candidates for your upcycling adventure? First and foremost, you need to assess the structural integrity of the furniture. Look for pieces that are sturdy and free from major damage. A solid frame is essential; after all, you want your new creation to last, right?
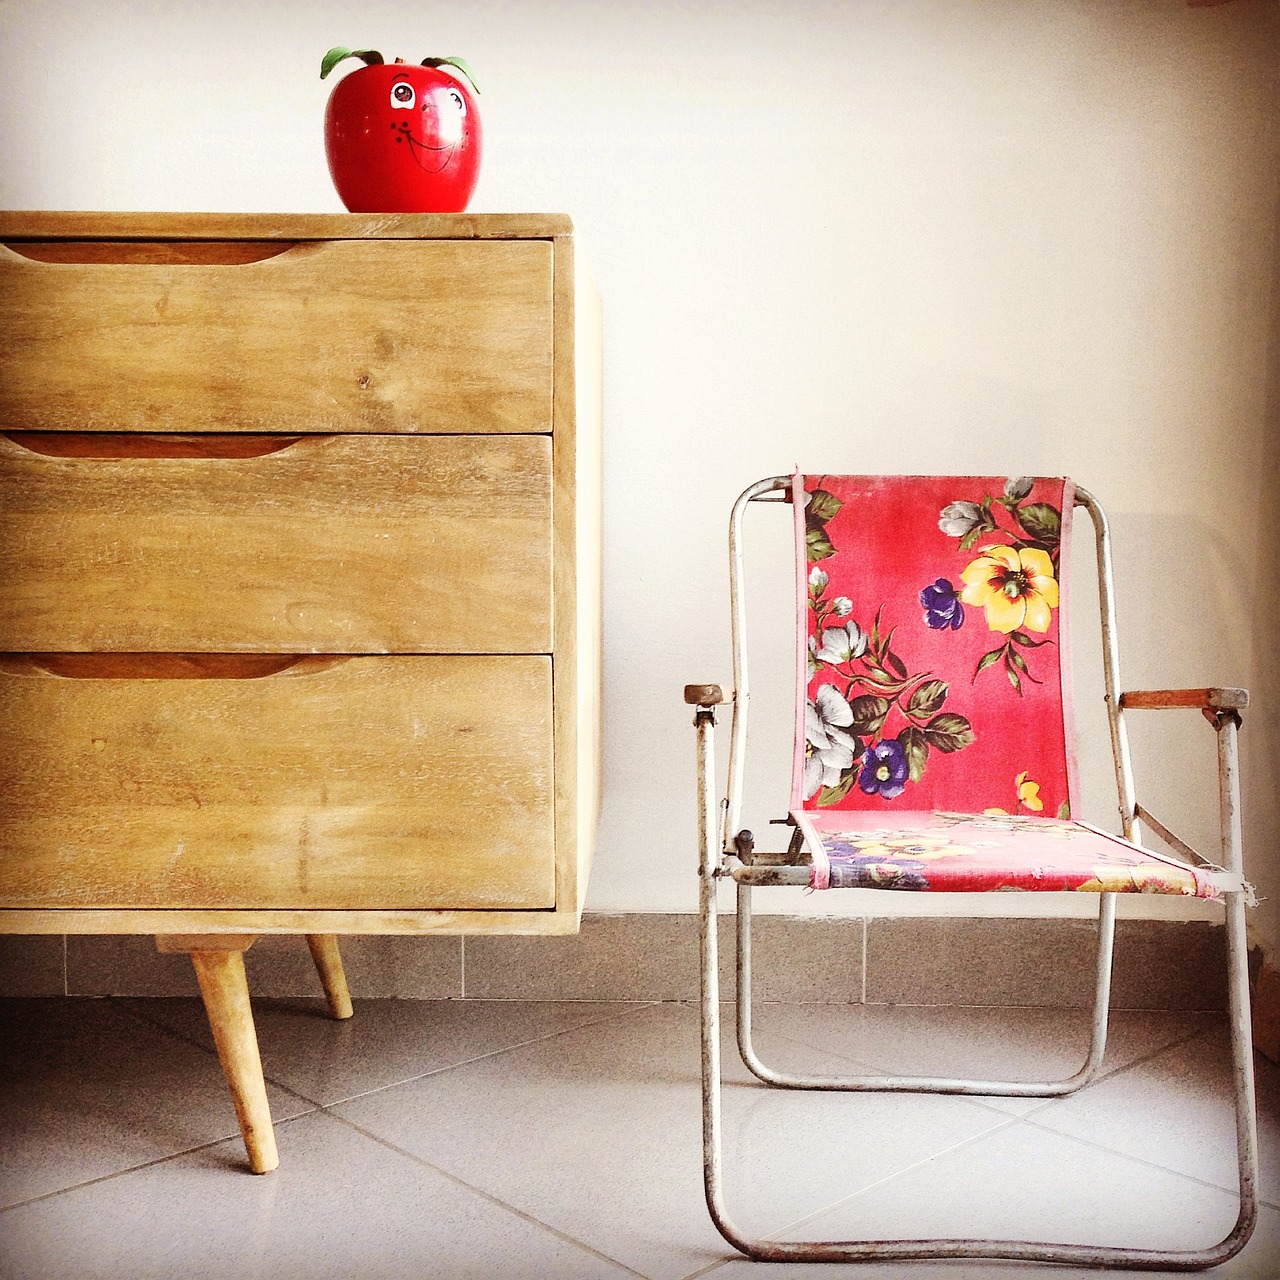
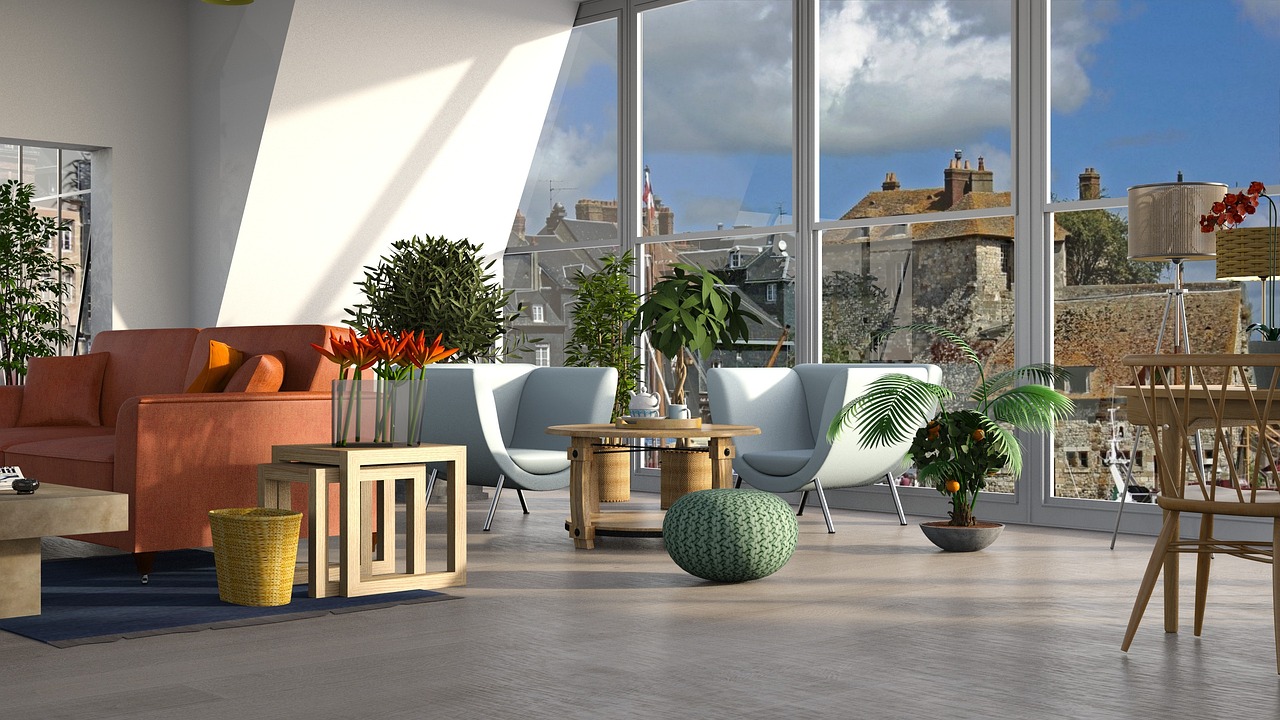
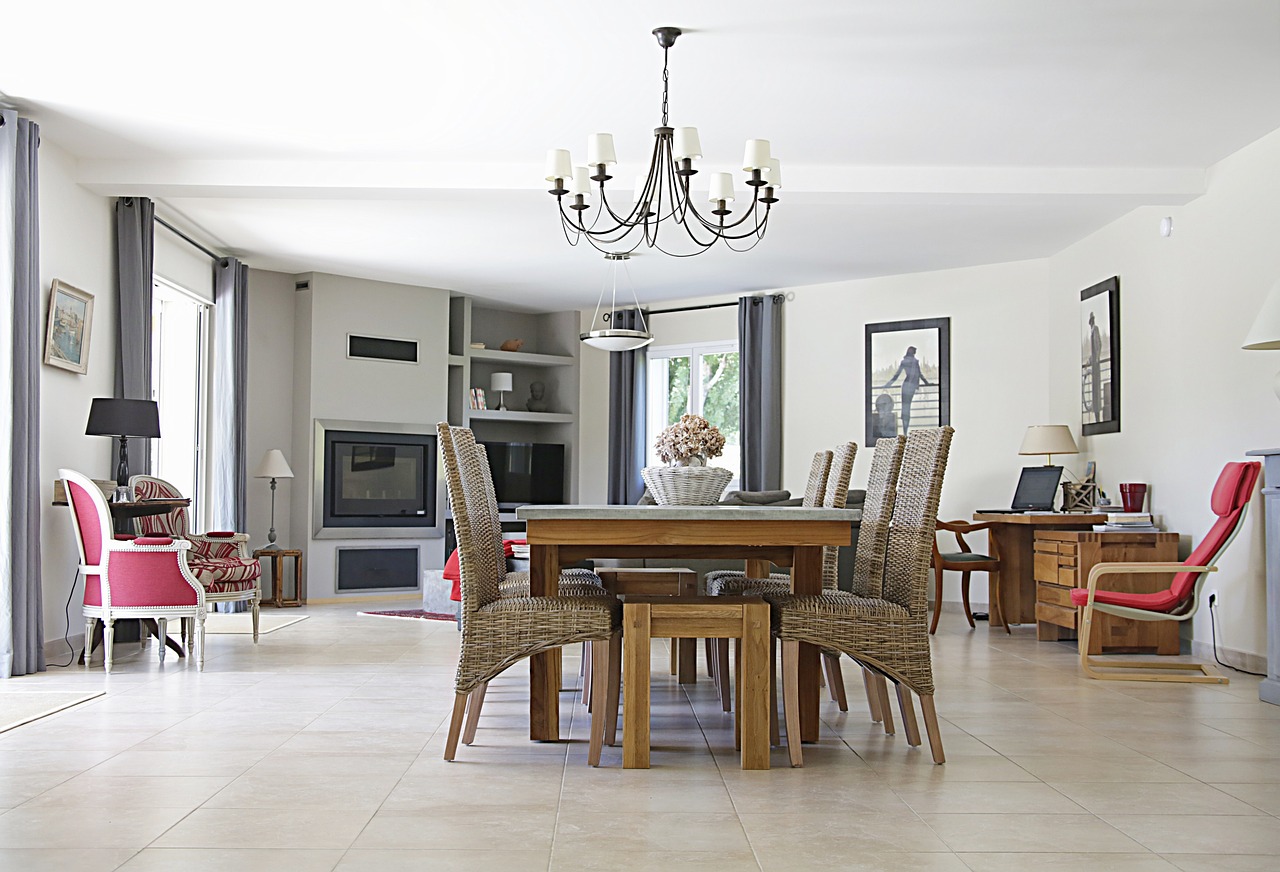
Next, consider the style of the furniture. Vintage pieces often have unique characteristics that can be highlighted through upcycling. For instance, an old wooden chair with intricate carvings can become a stunning focal point in your home with just a bit of creativity. On the other hand, some modern pieces may not offer the same charm or potential for transformation. Think about how the piece will fit into your existing decor and whether it can be adapted to suit your style.
Additionally, keep an eye out for functionality. What purpose will the upcycled item serve? A worn-out dresser could be transformed into a chic TV stand, while a pair of mismatched nightstands might become a stylish coffee table. It’s essential to envision the end result before committing to a piece. Ask yourself: Does it have the potential to fulfill a need in your home?
Moreover, don't shy away from pieces that may initially seem unappealing. Sometimes, the most unexpected items can yield incredible results. For example, an old trunk can be upcycled into a unique coffee table or storage bench. It's all about seeing the potential beyond the surface. To help you in your search, here are some types of furniture that often make great upcycling projects:
- Chairs: Great for reupholstering or refinishing.
- Dressers: Perfect for a fresh coat of paint or repurposing.
- Tables: Easy to modify with new legs or a creative finish.
- Cabinets: Can be transformed into unique storage solutions.
In conclusion, choosing the right furniture for upcycling is about more than just aesthetics; it involves a careful evaluation of structure, style, and functionality. Take your time in selecting pieces that resonate with you and inspire your creativity. After all, the journey of upcycling is as rewarding as the final product!
Q: What types of furniture are best for beginners?
A: Start with simple pieces like chairs or small tables that require minimal tools and skills. These allow for easier practice and learning.
Q: How can I ensure the furniture I choose is structurally sound?
A: Check for any wobbling, loose joints, or significant damage. A solid foundation is key to a successful upcycling project.
Q: Is it necessary to have professional tools for upcycling?
A: While professional tools can make the process easier, many successful projects can be completed with basic hand tools and a little creativity.
Q: Can I upcycle furniture that has been previously painted or treated?
A: Yes, but you may need to sand down the old paint or finish to ensure proper adhesion for your new materials or paint.
Q: Where can I find furniture to upcycle?
A: Look at thrift stores, garage sales, or even your own home. You’d be surprised at what you can find!
Techniques for Upcycling
When it comes to upcycling old furniture, the techniques you choose can make all the difference between a simple refresh and a stunning transformation. Whether you're a seasoned woodworker or just starting, understanding these methods will not only spark your creativity but also help you achieve results that you can be proud of. So, let’s dive into some popular techniques that can breathe new life into your old pieces!
One of the most accessible and rewarding methods is painting. Imagine taking a tired, worn-out dresser and turning it into a vibrant statement piece for your bedroom! The key to a professional finish lies in proper preparation. Start by cleaning the surface thoroughly and sanding it down to create a smooth canvas. Choosing the right paint is crucial; consider using chalk paint for a matte finish or spray paint for a sleek look. Remember, applying multiple thin coats is better than one thick coat, as it helps prevent drips and ensures even coverage.
Another fantastic technique is reupholstering. This can completely change the aesthetic of a chair or sofa, making it look brand new. If you’ve ever walked into a room and felt drawn to a beautifully upholstered chair, you know the power of fabric! Start by removing the old upholstery, which may involve unscrewing or pulling out staples. Once the old fabric is off, you can choose a new fabric that complements your style. Don’t be afraid to experiment with bold patterns or colors! After cutting the new fabric, simply staple it to the frame, ensuring it’s taut and smooth.
Refinishing is another popular method that can reveal the beauty of the wood beneath layers of grime or old finish. This technique is especially effective for wooden furniture like tables or cabinets. Begin by stripping the old finish using a chemical stripper or sandpaper. Once the old finish is removed, you can stain the wood to enhance its natural grain. Finish off with a protective sealant to ensure durability. This method not only restores the piece but also adds a touch of elegance to your home.
To summarize, here are the key techniques for upcycling:
- Painting: A simple way to refresh furniture with color.
- Reupholstering: Change the fabric to update the look.
- Refinishing: Restore the beauty of the wood.
Each of these techniques offers a unique way to express your creativity and personalize your space. As you experiment with different methods, remember that the process is just as important as the final product. Don’t hesitate to mix and match these techniques; after all, upcycling is about innovation and making something new from the old!
Q: What type of paint is best for upcycling furniture?
A: Chalk paint is a popular choice due to its matte finish and ease of use. However, for a glossy look, consider using spray paint or a satin finish acrylic paint.
Q: How do I know if a piece of furniture is worth upcycling?
A: Look for pieces that have solid construction and minimal damage. If the structure is intact and the style resonates with you, it’s likely worth the effort to upcycle.
Q: Can I upcycle furniture without professional tools?
A: Absolutely! Many upcycling projects can be completed with basic hand tools like screwdrivers, hammers, and sandpaper. Start small and gradually invest in more tools as you gain experience.
Painting and Finishing
When it comes to upcycling old furniture, are two of the most transformative techniques you can employ. Not only do they breathe new life into tired pieces, but they also allow you to express your personal style and creativity. Imagine taking a dull, scratched-up table and turning it into a vibrant centerpiece that draws the eye and sparks conversation. Sounds exciting, right? Well, let’s dive into the essentials of painting and finishing, so you can achieve that stunning look!
Before you even pick up a brush, it’s crucial to prepare your furniture properly. Start by cleaning the surface thoroughly to remove any dirt, grease, or old finishes. This step is vital because any residue can prevent the new paint from adhering properly. Once cleaned, inspect the furniture for imperfections. Fill any cracks or holes with wood filler and sand the surface smooth. Remember, a smooth surface equals a professional finish!
Next, you’ll want to choose the right type of paint. There are several options available, each with its unique characteristics:
- Acrylic Paint: Quick-drying and easy to clean up, acrylics are perfect for beginners.
- Chalk Paint: Ideal for achieving a matte finish and great for distressing techniques.
- Milk Paint: A natural option that can create a rustic, vintage look.
- Spray Paint: Provides an even coat and is excellent for intricate designs or hard-to-reach areas.
Once you’ve selected your paint, it’s time to get started! Apply a primer first, especially if you’re working with a darker piece of furniture or a surface that might bleed through. Priming not only helps with adhesion but also enhances the vibrancy of your chosen color. After the primer dries, you can begin painting. Use even strokes and don’t rush the process. Multiple thin coats are preferable to one thick coat, as they prevent drips and ensure an even finish. Allow each coat to dry completely before applying the next.
After you achieve the desired color, it’s time for finishing touches. A good finish can protect your furniture and enhance its appearance. Consider the following options:
- Polyurethane: Provides a durable, glossy finish that is resistant to scratches.
- Wax: Offers a soft sheen and is easy to apply, but requires reapplication over time.
- Varnish: A versatile option that can be used for both interior and exterior projects.
Applying your finish is similar to painting. Use a clean brush or cloth to apply a thin, even layer. Allow it to dry fully before deciding if you need an additional coat. Remember, patience is key in this process. Rushing can lead to imperfections that might ruin the overall look of your project.
In conclusion, painting and finishing are not just about aesthetics; they’re about transforming the old into something new and exciting. With the right preparation, materials, and techniques, you can create stunning pieces that not only look great but also tell a story. So grab your tools, unleash your creativity, and let your upcycling journey begin!
1. What type of paint is best for upcycling furniture?
Acrylic and chalk paints are popular choices due to their ease of use and beautiful finishes. Consider your desired look and the type of furniture when making your selection.
2. Do I need to sand my furniture before painting?
Yes, sanding helps create a smooth surface and allows the paint to adhere better. It’s an essential step in the preparation process.
3. How can I achieve a distressed look?
Using chalk paint is a great start. Once painted, you can sand edges and corners to reveal the underlying wood, creating that charming, worn appearance.
4. How long should I wait between coats of paint?
It’s best to wait until the previous coat is completely dry, which can vary depending on the type of paint used. Generally, this can take anywhere from 30 minutes to a few hours.
5. Can I use regular house paint for furniture?
While you can, it’s not recommended as regular house paint may not adhere well to furniture surfaces and can lead to chipping. It's better to use paint specifically designed for furniture.
Reupholstering Basics
Reupholstering is a fantastic way to give old furniture a fresh, new look. It’s like giving your favorite armchair a makeover, breathing life into it while preserving its character. But before you dive into your reupholstering project, there are a few basics you should know to ensure that you achieve a stunning result that you can be proud of.
First things first, choosing the right fabric is crucial. The fabric you select will not only affect the appearance of your furniture but also its durability. Consider the following factors when picking your fabric:
- Durability: If the piece will see a lot of use, opt for fabrics that can withstand wear and tear, such as canvas or denim.
- Color and Pattern: Think about the overall aesthetic of your space. Do you want a bold statement piece or something that blends in?
- Texture: Different textures can evoke different feelings. A soft velvet may create a cozy vibe, while a sleek leather can add sophistication.
Once you've chosen your fabric, it's time to gather your tools. You’ll need a few essential items to get started:
- Staple gun
- Fabric scissors
- Measuring tape
- Upholstery needle and thread
- Batting (for cushioning)
Next, prepare your furniture piece for reupholstering. This involves removing the old fabric and any staples or tacks. Take your time with this step; it’s essential to avoid damaging the underlying frame. Once the old fabric is off, inspect the structure of the furniture. If you notice any loose joints or damage, make sure to repair those before proceeding.
Now comes the fun part: applying the new fabric! Start by measuring and cutting your fabric, ensuring you have enough to wrap around the edges of the furniture. Lay the fabric over the piece, aligning it properly before securing it with your staple gun. Make sure to pull the fabric taut but not so tight that it distorts the shape of the furniture. It’s all about finding that sweet spot!
After securing your fabric, you can add a layer of batting for extra comfort. This step is especially important for chairs and sofas, where a soft feel is desired. Cut the batting to size and lay it over the furniture before stapling the new fabric on top.
Finally, once everything is secured, take a step back and admire your work! You might want to finish off the edges with a trim or piping to give it a polished look. Reupholstering can be a bit of a challenge, but with patience and practice, you’ll find that it’s a rewarding way to transform furniture.
In summary, reupholstering is not just about changing the fabric; it’s about rejuvenating a piece of furniture and making it your own. With the right tools, materials, and a bit of creativity, you can turn an old, tired item into a stunning focal point in your home. So, gather your supplies, roll up your sleeves, and let your imagination run wild!
Q: How do I know if my furniture is worth reupholstering?
A: Look for solid construction and quality materials. If the frame is sturdy and the piece has sentimental value, it’s likely worth the effort!
Q: Can I reupholster furniture myself, or should I hire a professional?
A: While hiring a professional can yield great results, many DIY enthusiasts successfully reupholster their furniture with some patience and the right tools. Start with simpler pieces if you’re a beginner.
Q: What should I do if I make a mistake during the reupholstering process?
A: Mistakes happen! If you staple something incorrectly, don’t hesitate to remove the staples and try again. It’s all part of the learning process!
Q: How can I maintain my reupholstered furniture?
A: Regular cleaning and avoiding direct sunlight will help maintain the integrity of your fabric. Consider using fabric protectors for added durability.
Design Inspiration
Finding is one of the most exciting parts of upcycling old furniture. It’s like embarking on a treasure hunt where every piece of discarded furniture has the potential to become a stunning centerpiece in your home. Whether you’re a seasoned woodworker or just starting out, the right inspiration can spark your creativity and lead to unique transformations. So, where do you find this inspiration? Let’s dive into some fantastic sources!
First off, the internet is a goldmine for design ideas. Websites like Pinterest and Instagram are overflowing with images of beautifully upcycled furniture. You can search for hashtags like #UpcycledFurniture or #FurnitureMakeover to see what others have done. You might stumble upon a style that resonates with you, whether it’s rustic farmhouse, modern minimalist, or bohemian chic.
Another great source of inspiration can be found in magazines and books dedicated to interior design and DIY projects. Publications such as Better Homes & Gardens or Elle Decor often feature sections on upcycling that showcase innovative ideas and techniques. Additionally, visiting your local library can uncover hidden gems in the form of old design books that provide classic styles and tips.
If you're looking for a more hands-on approach, consider attending local workshops or classes focused on furniture upcycling. These events not only teach you new skills but also provide a community of like-minded individuals who can share their ideas and techniques. You might find inspiration in the projects of others or even collaborate on a piece!
Don’t underestimate the power of nature and your surroundings either. A walk in the park or a stroll down a charming street can ignite your imagination. Pay attention to color palettes, textures, and shapes that catch your eye. The way sunlight hits a weathered fence or the rich hues of autumn leaves can inspire your next project’s color scheme or style.
Finally, remember that inspiration can come from the most unexpected places. A favorite piece of clothing, a vibrant painting, or even a childhood memory can guide your design choices. Keep a journal or a digital folder where you collect images, colors, and ideas that resonate with you. This way, when you’re ready to start your upcycling project, you’ll have a treasure trove of inspiration to draw from!
In conclusion, the journey of upcycling old furniture is not just about transforming the physical piece but also about discovering your unique design style. Embrace the process, let your creativity flow, and don’t be afraid to experiment. After all, the best designs often come from a mix of inspiration and personal flair!
Q: What is upcycling?
A: Upcycling is the process of creatively reusing old materials or products to create something new and often more valuable. It emphasizes sustainability and creativity.
Q: Where can I find old furniture to upcycle?
A: You can find old furniture at thrift stores, garage sales, flea markets, or even on online marketplaces like Craigslist or Facebook Marketplace. Sometimes, friends or family might have pieces they no longer want!
Q: Do I need special skills to upcycle furniture?
A: While some projects may require advanced skills, many upcycling projects are beginner-friendly. Start with simpler tasks like painting or changing hardware, and gradually build your skills as you gain confidence.
Q: How do I choose the right paint for upcycling?
A: The type of paint you choose depends on the furniture material and the desired finish. For wooden furniture, chalk paint or acrylic paint is often recommended for a matte finish, while spray paint can provide a smooth, even coat.
Q: Can I sell my upcycled furniture?
A: Absolutely! Many people successfully sell their upcycled pieces online through platforms like Etsy or at local craft fairs. Just ensure your work is high quality and well-presented!
Common Mistakes to Avoid
When diving into the world of upcycling old furniture, it’s easy to get caught up in the excitement of transforming a piece. However, there are several common mistakes that can turn your creative endeavor into a frustrating experience. First and foremost, one of the biggest blunders is underestimating the importance of planning. Before you even pick up a tool, take a moment to envision the end result. Sketch out your ideas or create a mood board. This not only helps you stay focused but also prevents you from making impulsive decisions that could lead to regret later on.
Another frequent pitfall is neglecting the structural integrity of the furniture piece. It’s tempting to jump straight into aesthetics, but if the underlying structure is compromised, your beautiful upcycled item could end up being unsafe or unusable. Always inspect your furniture for any signs of damage or wear, and don’t hesitate to reinforce weak points before you start your transformation.
Additionally, many beginners overlook the importance of preparation. Properly prepping your furniture—cleaning, sanding, and priming—can make a world of difference in the final outcome. Skipping this step might save you time initially, but it can lead to uneven paint application or a less durable finish. Remember, a little extra effort in the beginning can save you a lot of headaches later.
Furthermore, when it comes to selecting colors and finishes, don’t fall into the trap of choosing what’s trendy without considering your own style and the existing decor of your home. It’s essential to find a balance between current trends and your personal taste. After all, you want your upcycled furniture to be a reflection of you, not just a fleeting fad.
Lastly, a common mistake is not allowing enough time for each stage of the upcycling process. Rushing through tasks can lead to sloppy work and unsatisfactory results. Instead, set realistic timelines for each phase, from planning to execution. This way, you can enjoy the journey of creating something unique without the stress of deadlines.
To summarize, here are some key mistakes to avoid when upcycling:
- Failing to plan your project thoroughly.
- Ignoring the structural integrity of furniture.
- Skipping essential preparation steps.
- Choosing colors and finishes without personal consideration.
- Rushing through the upcycling process.
By being mindful of these common mistakes, you can enhance your upcycling experience and create stunning pieces that you can be proud of. Remember, the journey of upcycling is just as important as the destination, so take your time and enjoy the creative process!
As you embark on your upcycling journey, you might have a few questions swirling in your mind. Here are some frequently asked questions that can help guide you:
- What types of furniture are best for upcycling? Look for solid wood pieces or items with good bones that may need a little TLC.
- Can I upcycle furniture without any woodworking experience? Absolutely! Start with simple projects and gradually build your skills.
- What tools do I need to get started? Basic hand tools like screwdrivers, hammers, and sanders are essential, along with some power tools for efficiency.
- How do I choose the right paint for my project? Opt for high-quality paints designed for furniture, and consider factors like durability and finish.
- Is upcycling furniture cost-effective? Yes! Upcycling can save you money compared to buying new furniture, plus it's environmentally friendly.

Showcasing Your Work
Once you’ve poured your heart and soul into upcycling a piece of furniture, it’s time to show it off! Think of this as the grand reveal after a magic trick—your audience is waiting to be wowed. Showcasing your work isn’t just about displaying your finished product; it’s about telling a story, highlighting your creativity, and inviting others to appreciate the beauty of your craftsmanship. So, how do you make your upcycled furniture shine in the spotlight?
First, consider the setting where you’ll showcase your work. A well-lit area can dramatically enhance the visual appeal of your piece. Natural light is your best friend, so if possible, take advantage of windows or outdoor spaces. If you’re photographing your work, try to capture it in different angles and light conditions. This will not only help potential buyers or admirers see the details but also showcase the functionality of the furniture. Remember, the goal is to make your upcycled piece look inviting and desirable!
When it comes to photographing your work, keep these tips in mind:
- Background Matters: Use a simple, uncluttered background to ensure your furniture stands out. A plain wall or a natural setting can work wonders.
- Use Props Sparingly: If you want to add a touch of personality, consider using minimal props that complement your furniture without overwhelming it.
- Focus on Details: Don’t forget to capture close-ups of unique features or finishes that make your piece special.
After capturing stunning photos, consider creating an online portfolio or social media page dedicated to your upcycling projects. Platforms like Instagram, Pinterest, and even your own website can serve as excellent showcases for your work. Share your process, from the initial find to the finished product, and engage with your audience by asking for their thoughts or experiences with upcycling. This interaction not only builds a community but also invites potential buyers to connect with you and your creations.
If you’re looking to sell your upcycled furniture, consider local craft fairs, flea markets, or online marketplaces like Etsy. Each of these platforms has its own unique audience, so tailor your presentation accordingly. For instance, at a craft fair, you can create an inviting booth that allows customers to touch and feel your work, while online, high-quality images and detailed descriptions are key. Be sure to highlight the story behind each piece—what it was before, how you transformed it, and the inspiration behind your design choices.
Lastly, don’t forget to ask for feedback! Whether it’s from friends, family, or customers, constructive criticism can help you refine your craft and improve your showcasing techniques. Plus, positive testimonials can serve as powerful endorsements for your future projects.
In conclusion, showcasing your upcycled furniture is an exciting opportunity to share your creativity with the world. By focusing on presentation, engaging with your audience, and promoting your work through various channels, you can turn your passion for upcycling into a rewarding endeavor. So go ahead, let your creations take center stage!
Here are some common questions you might have about showcasing your upcycled furniture:
- What’s the best way to photograph my furniture? Aim for natural lighting, a simple background, and focus on capturing both the overall piece and its unique details.
- Where should I showcase my work? Consider online platforms like Instagram or Etsy, as well as local craft fairs and flea markets for in-person opportunities.
- How can I engage with my audience? Share your process on social media, ask for feedback, and invite comments to build a community around your work.
Frequently Asked Questions
- What is upcycling and how does it differ from recycling?
Upcycling is the creative process of transforming old or discarded materials into new, functional items, often with a higher value than the original. Unlike recycling, which breaks down materials to create new products, upcycling retains the original material's essence and enhances it, giving it a new life and purpose.
- What tools do I need to start upcycling furniture?
To kick off your upcycling journey, you'll need a mix of essential hand tools and power tools. Key items include a saw, sander, drill, paintbrushes, and upholstery tools. Having a well-equipped toolkit will make the transformation process smoother and more enjoyable!
- How can I choose the right furniture for upcycling?
When selecting furniture to upcycle, look for pieces that have good structural integrity and potential for aesthetic improvement. Consider factors like the material, style, and size. Thrift stores, garage sales, and online marketplaces are great places to find hidden gems!
- What are some popular techniques for upcycling furniture?
There are numerous techniques you can use to upcycle furniture, including painting, refinishing, and reupholstering. Each method allows you to express your creativity and can dramatically change the look of the piece. Don't be afraid to experiment!
- Can I upcycle furniture without prior woodworking experience?
Absolutely! Many upcycling projects are beginner-friendly and can be tackled with basic skills. Start with simple projects and gradually build your confidence and expertise. There are plenty of online tutorials and workshops available to guide you!
- What are some common mistakes to avoid when upcycling?
One common mistake is rushing the preparation process, which can lead to unsatisfactory results. Always take the time to clean, sand, and prime surfaces before painting or finishing. Additionally, ensure you have a clear plan and gather all necessary materials before starting your project.
- How can I showcase my upcycled furniture?
Once your piece is complete, consider taking high-quality photos in good lighting to showcase your hard work. You can share these images on social media platforms, create a portfolio, or even set up an online store to sell your upcycled creations!