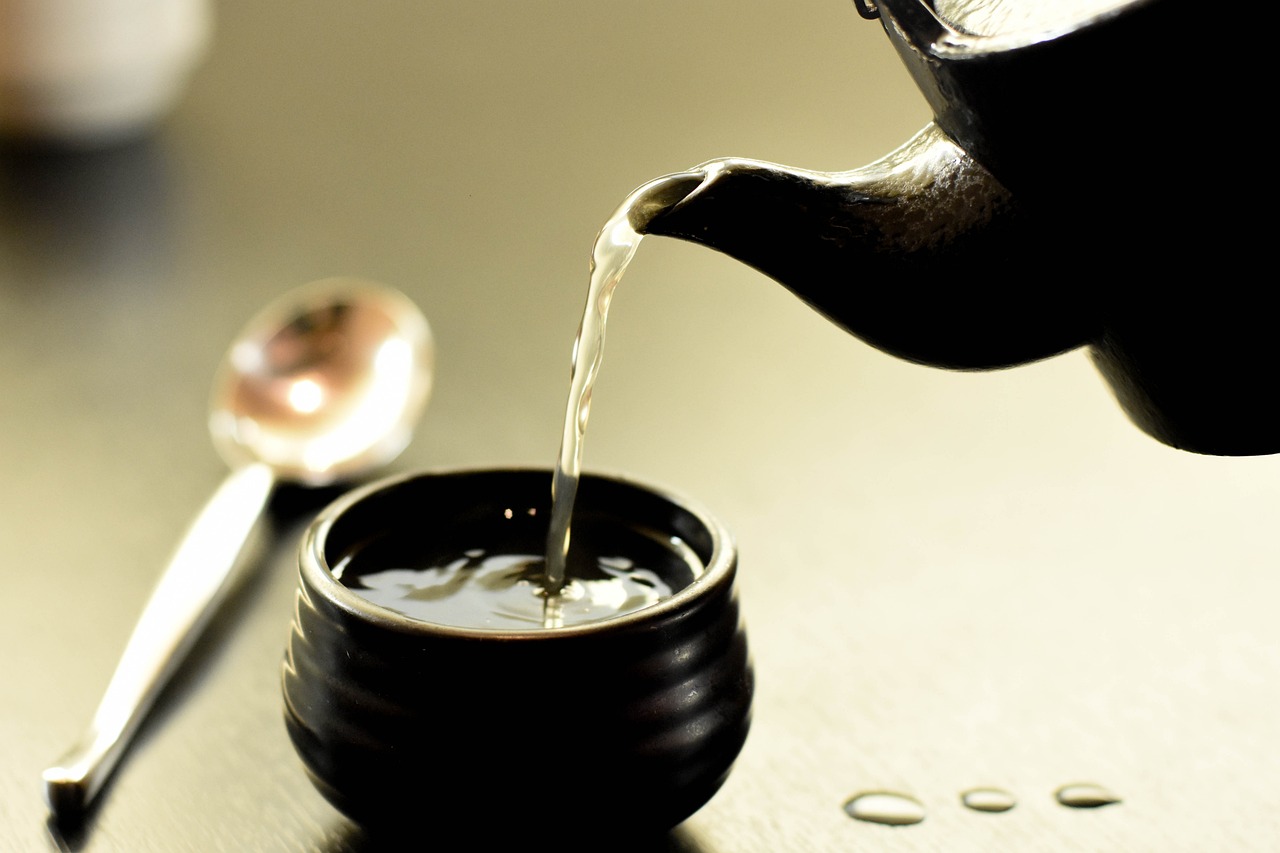
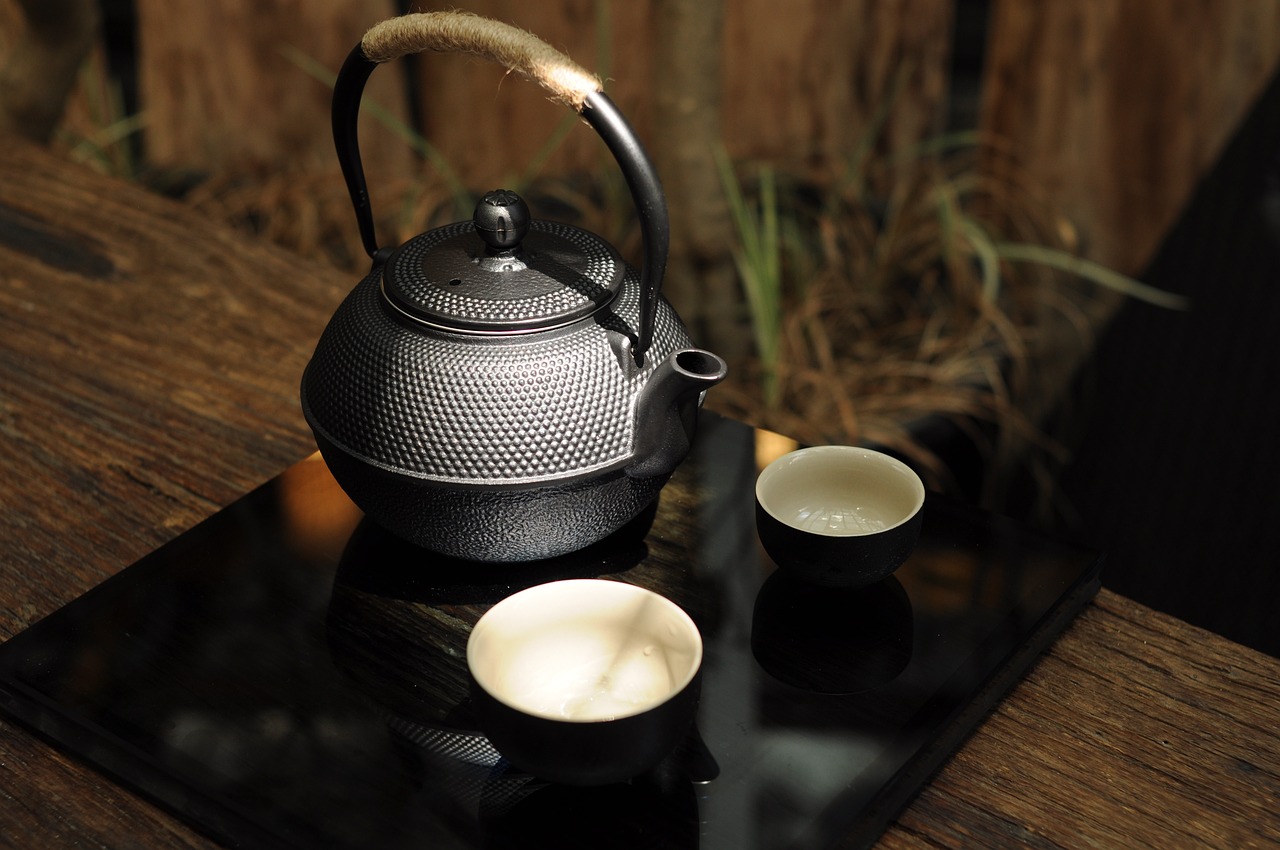
Repurpose Your Grandma's Old Teapot into a Bird Feeder
Have you ever looked at your grandma's old teapot and thought, "What a beautiful piece, but what do I do with it now?" Well, it's time to dust it off and give it a new lease on life! Transforming that teapot into a charming bird feeder not only honors a cherished family heirloom but also creates a delightful haven for local birds. Imagine the joy of watching feathered friends flit around your garden, all while knowing you’ve creatively repurposed something meaningful. In this article, we’ll explore the steps to convert that forgotten teapot into a gorgeous bird feeder that will attract various avian visitors.
When it comes to selecting the perfect teapot for your bird feeder project, there are a few key factors to consider. You want a teapot that is not only visually appealing but also functional. Think about the size—a larger teapot can hold more birdseed, attracting a wider variety of birds. Consider the material as well; ceramic or metal teapots are durable and can withstand the elements better than glass. Lastly, don’t forget about drainage options. Birds need a dry place to eat, so ensure your teapot has some holes for drainage or plan to add them later!
Before diving into the transformation, it’s crucial to gather all the necessary tools and materials. Here’s a quick rundown of what you might need:
- Tools: Drill with a small bit, pliers, and wire cutters
- Materials: Old teapot, birdseed, decorative elements (like paint or ribbons), and strong wire for hanging
Having everything ready will make the process smoother and more enjoyable, allowing you to focus on the creative aspects of your project without unnecessary interruptions.
Before you can turn that teapot into a bird feeder, it’s essential to clean and prepare it properly. Start by thoroughly washing the teapot with warm soapy water to remove any dust or grime that has accumulated over the years. Make sure to rinse it well and let it dry completely. This step is vital to ensure that the teapot is suitable for holding birdseed and won’t harbor any harmful bacteria that could affect the birds.
Old tea residue can be a sticky situation! To effectively remove it, fill the teapot with a mixture of baking soda and water. Let it sit for a few hours, then scrub the inside with a soft brush. This not only cleans the teapot but also helps to eliminate any lingering odors that could deter birds from visiting. Trust me, a clean teapot is a happy teapot!
Once it’s clean, take a moment to inspect the teapot for any cracks or damage. A cracked teapot might not hold birdseed effectively, and you wouldn’t want it to break and create a mess in your garden. If you find any minor cracks, you can seal them with waterproof adhesive. This ensures that your new bird feeder is both safe and functional, ready to withstand the elements.
Now that your teapot is clean and ready to go, it’s time to get creative! Think about how you want to hang and decorate your bird feeder. You can paint the teapot in vibrant colors or add some fun embellishments like beads or ribbons. The key is to make it visually appealing not just for the birds, but also for you and your guests. After all, this little piece of art will be a focal point in your garden!
Properly hanging your teapot bird feeder is essential for attracting birds. You want to ensure it’s at a height that’s easily accessible for them but also safe from predators. Consider using a sturdy branch or installing a hook specifically designed for bird feeders. The last thing you want is for your beautiful creation to fall and break!
When selecting the ideal location for your bird feeder, think about visibility and accessibility. Birds prefer a spot that offers some cover, like nearby trees or shrubs, which provides safety from predators. Additionally, placing your feeder in a visible area allows you to enjoy the delightful shows of nature as birds come to visit. Remember, the more inviting the location, the more feathered friends you’ll attract!
To ensure that your teapot bird feeder remains securely hung, use strong wire or a durable hanging system. Check the stability regularly, especially after storms or windy days. You want to keep your feathered friends safe and your teapot intact. A little extra care in securing it will go a long way in maintaining its charm and functionality!
Regular maintenance of your teapot bird feeder is vital for both its longevity and the health of visiting birds. Make it a routine to clean the feeder every couple of weeks to prevent mold and bacteria buildup. Refill the birdseed as needed, keeping an eye on the levels, especially during peak feeding times in the spring and winter. Don't forget about seasonal considerations—ensure your feeder is safe and functional in all weather conditions. With a bit of love and care, your teapot bird feeder will become a beloved spot for local wildlife.
Q: Can I use any type of teapot?
A: While you can technically use any teapot, it’s best to choose one that is sturdy and has a lid that can be secured or removed easily for refilling.
Q: How do I prevent water from pooling in the feeder?
A: Make sure to drill drainage holes in the bottom of the teapot to allow excess water to escape, keeping the birdseed dry.
Q: What kind of birdseed should I use?
A: A mix of seeds that attract various birds, such as sunflower seeds, millet, and safflower seeds, is a great choice. Avoid using bread or processed foods.

Choosing the Right Teapot
When it comes to repurposing your grandma's old teapot into a bird feeder, selecting the right teapot is crucial. Not only do you want it to be visually appealing, but it also needs to be functional for its new role in your garden. Imagine the joy of watching colorful birds flit around your yard, all thanks to a cherished family heirloom! But how do you choose the perfect teapot? Let's break it down.
First, consider the size of the teapot. A larger teapot will hold more birdseed, attracting a variety of birds, while a smaller one might be better suited for limited spaces. If you have a spacious garden, go big! On the other hand, if your yard is cozy, a petite teapot can add just the right touch without overwhelming the area. Visualize how it will complement your garden's aesthetics.
Next up is the material of the teapot. While ceramic and porcelain teapots are lovely, they may not withstand harsh weather conditions as well as metal or glass options. If you choose a ceramic teapot, ensure it’s durable and can handle the elements. Metal teapots can add a rustic charm and are often more resilient, but they can also heat up quickly in the sun. Think about your local climate and how it might affect your choice.
Another essential aspect to consider is drainage. Birds need a dry place to perch and feed, so look for teapots that have a lid that can be opened or holes that can be drilled for drainage. If your teapot doesn't have holes, you can easily create a few at the bottom to allow excess water to escape. This will keep the birdseed dry and prevent mold, ensuring a healthy feeding environment for your feathered friends.
In summary, when choosing the right teapot, keep these factors in mind:
- Size: Bigger is often better for attracting more birds.
- Material: Choose durability based on your climate.
- Drainage: Ensure the teapot can keep the birdseed dry.
By carefully selecting a teapot that meets these criteria, you’ll be well on your way to creating a delightful bird feeder that not only honors your family's history but also enhances your outdoor space. Just think about the stories that teapot could tell as it transforms from a vessel for tea to a haven for birds!
Essential Tools and Materials
When embarking on the delightful journey of transforming your grandma's old teapot into a charming bird feeder, having the right tools and materials at your fingertips can make all the difference. It’s like cooking a gourmet meal; without the right ingredients, you might end up with a dish that’s just not quite right. So, let’s gather what you need to make this project a success!
First and foremost, you'll need a sturdy teapot, of course! Look for one that not only holds sentimental value but is also in good condition. Next, consider the drainage holes; birds need a dry place to perch and eat. If your teapot lacks these, you can easily create them with a drill or a sharp tool. Don’t worry, it’s easier than it sounds—think of it as giving your teapot a little makeover!
In addition to the teapot, gather the following essential tools and materials:
- Drill or screwdriver: For making drainage holes.
- Wire or twine: To hang your bird feeder.
- Birdseed: Choose a variety that attracts local birds.
- Decorative elements: Consider paint, ribbons, or other embellishments to personalize your feeder.
Don’t forget about safety! A pair of gloves is a good idea to protect your hands while working with tools or cleaning the teapot. If you want to get a bit creative, think about using non-toxic paint or sealant to protect your new bird feeder from the elements. This will not only enhance its appearance but also prolong its life outdoors.
Lastly, make sure to have a cleaning solution on hand. A simple mix of vinegar and water works wonders for getting rid of any old tea stains and ensuring your feeder is safe for the birds. It’s like giving your teapot a spa day before it starts its new life!
By gathering these tools and materials, you’re setting yourself up for a successful project that not only honors your family heirloom but also creates a welcoming space for your feathered friends. So, roll up your sleeves, and let’s get crafting!
Cleaning and Preparing the Teapot
Before diving into the exciting transformation of your grandma's old teapot into a stunning bird feeder, it's essential to give it a thorough cleaning and preparation. This step not only ensures that your teapot is ready to hold birdseed but also enhances its charm for outdoor display. Think of it as giving your teapot a refreshing spa day before it takes on its new role!
First and foremost, start by gathering your cleaning supplies. You'll need some warm soapy water, a soft sponge or cloth, and perhaps a little baking soda for those stubborn stains. As you begin, soak the teapot in warm soapy water for about 15-20 minutes. This will loosen any old tea residue and make it easier to scrub away. While soaking, take a moment to appreciate the intricate designs and memories associated with this heirloom; after all, it was once a centerpiece at family gatherings.
Once the teapot has soaked, use your sponge or cloth to gently scrub the interior and exterior. Pay special attention to the spout and lid, as these areas can often harbor leftover tea particles. If you encounter any stubborn stains, sprinkle a bit of baking soda on them and scrub gently. The natural abrasiveness of baking soda works wonders without scratching the surface of your beloved teapot.
After cleaning, it's crucial to rinse the teapot thoroughly with clean water to remove any soap residue. This step is vital because you want to ensure that no harmful chemicals remain that could potentially harm the birds. Once rinsed, let the teapot air dry completely. Placing it upside down on a drying rack can help speed up the process and prevent water from accumulating inside.
While your teapot is drying, take a moment to inspect it for any damage. Look for cracks, chips, or any signs of wear that could affect its functionality. If you find any minor cracks, they can often be repaired with waterproof adhesive, allowing your teapot to serve its new purpose safely. However, if the damage is extensive, you might want to consider selecting another teapot to ensure the safety of your feathered friends.
In summary, cleaning and preparing your teapot is a straightforward yet crucial step in this repurposing project. By taking the time to thoroughly clean, inspect, and repair your teapot, you're not only honoring your family's history but also creating a delightful haven for local birds. So, roll up your sleeves and get ready to give that teapot the love it deserves!
Q: Can I use any type of teapot for this project?
A: While you can use various types of teapots, it's best to choose one made of durable materials like ceramic or metal for outdoor use.
Q: How often should I clean the bird feeder?
A: It's recommended to clean your bird feeder every two weeks, especially during the warmer months when bacteria can thrive.
Q: What type of birdseed should I use?
A: Opt for a seed blend that attracts a variety of birds, such as sunflower seeds, millet, and safflower seeds.

Removing Old Tea Residue
When it comes to repurposing your grandma's old teapot into a delightful bird feeder, one of the most crucial steps is removing any old tea residue. Not only does this ensure that the teapot is clean and safe for the birds, but it also helps to maintain its aesthetic appeal. After all, you want your teapot to look charming hanging in your garden, right?
To effectively remove old tea residue, you can follow a few simple steps. First, gather your cleaning supplies. You'll need:
- Warm water
- Baking soda
- White vinegar
- A soft sponge or cloth
- A toothbrush (for those hard-to-reach spots)
Start by rinsing the teapot with warm water to loosen any stubborn residue. Next, create a paste using baking soda and a little water. Apply this paste to the areas with tea stains and let it sit for about 15 minutes. The baking soda acts as a gentle abrasive that will lift the stains without scratching the surface.
After the paste has had time to work its magic, take your soft sponge or cloth and gently scrub the teapot. For any remaining residue, dip your toothbrush into some white vinegar and scrub those tricky spots. Vinegar is not only effective at breaking down stains, but it also helps to disinfect the teapot, making it safe for your feathered friends.
Once you've thoroughly cleaned the teapot, rinse it out with warm water again to remove any cleaning agents. Allow it to dry completely before moving on to the next steps in your bird feeder transformation. Remember, a clean teapot is not only visually appealing but also ensures a healthy feeding environment for the birds.
By taking the time to properly remove old tea residue, you’re not just preserving a family heirloom; you’re also creating a welcoming space for local birds to gather and enjoy. So, roll up your sleeves and get to work—your feathered friends will thank you!
Inspecting for Damage
Before you dive into the exciting process of transforming your grandma's old teapot into a delightful bird feeder, it's essential to inspect the teapot for any damage. This step is crucial because not only does it ensure the safety of the birds that will visit your feeder, but it also helps maintain the aesthetic beauty of your creation. So, what should you look for? Here are some key areas to focus on:
- Cracks: Examine the teapot thoroughly for any visible cracks. Even small hairline fractures can weaken the structure and cause it to break under the weight of birdseed or during harsh weather conditions.
- Chips: Look for any chips on the spout, handle, or body of the teapot. These imperfections can not only detract from its charm but might also create sharp edges that could harm visiting birds.
- Loose Parts: Ensure that all parts of the teapot are securely attached. Check the lid, spout, and handle to make sure nothing is loose. A loose handle, for example, could easily snap off when filled with seed.
- Discoloration: While a bit of patina can add character, significant discoloration or staining might indicate that the teapot has absorbed unwanted substances. This is especially important if the teapot was used for tea, as old residues could be harmful to birds.
If you find any signs of damage, don’t fret! Many minor issues can be easily remedied. For instance, small chips can be smoothed out with sandpaper, while cracks may be repaired using waterproof glue. However, if the damage is extensive, it might be best to choose another teapot for your project. Remember, the goal is to create a safe and inviting space for our feathered friends!
Once you’ve ensured that your teapot is in good condition, you can proceed with confidence to the next steps of your bird feeder transformation. Your careful inspection not only honors your grandma's heirloom but also contributes to a sustainable environment by providing a beautiful home for birds in your garden.
Q: Can I use any teapot for this project?
A: While you can use various teapots, it's best to choose one that is sturdy and has a good size for holding birdseed. Avoid teapots with extensive cracks or damage.
Q: How do I clean the teapot before using it as a bird feeder?
A: You should thoroughly wash the teapot with warm, soapy water and a sponge. Make sure to remove any tea residue and rinse it well to ensure no soap is left behind.
Q: What type of birdseed should I use?
A: It’s best to use a mix of seeds that attract various birds. Sunflower seeds, millet, and safflower seeds are popular choices.
Q: How often should I refill the bird feeder?
A: It depends on the number of birds visiting. Generally, check the feeder every few days and refill as needed to keep the birds happy and healthy.
Designing Your Bird Feeder
Now that your teapot is clean and ready for its new life as a bird feeder, it’s time to unleash your creativity and design a charming piece that not only attracts birds but also adds a touch of whimsy to your garden. Think of your teapot as a blank canvas, just waiting for your artistic flair! You can play around with different styles, colors, and decorations to make it truly unique. For instance, you could use bright paints to give it a cheerful vibe, or perhaps wrap twine around the handle for a rustic look. The goal is to make it appealing to both you and the feathered visitors.
One of the key aspects of designing your bird feeder is ensuring it is functional while still being aesthetically pleasing. Consider how much birdseed you want to hold and how easy it will be for birds to access it. You might want to leave the lid off or even cut a small hole in the side of the teapot, allowing birds to easily reach the seeds inside. Just imagine the delight of watching them flit in and out, enjoying their meals in your beautifully designed feeder!
Additionally, think about how you can personalize your bird feeder. You could add small decorative elements such as:
- Colorful beads strung along the handle for a playful touch.
- Nature-inspired motifs, like leaves or flowers, painted onto the body of the teapot.
- Personal messages or quotes that resonate with you, perhaps about nature or birds.
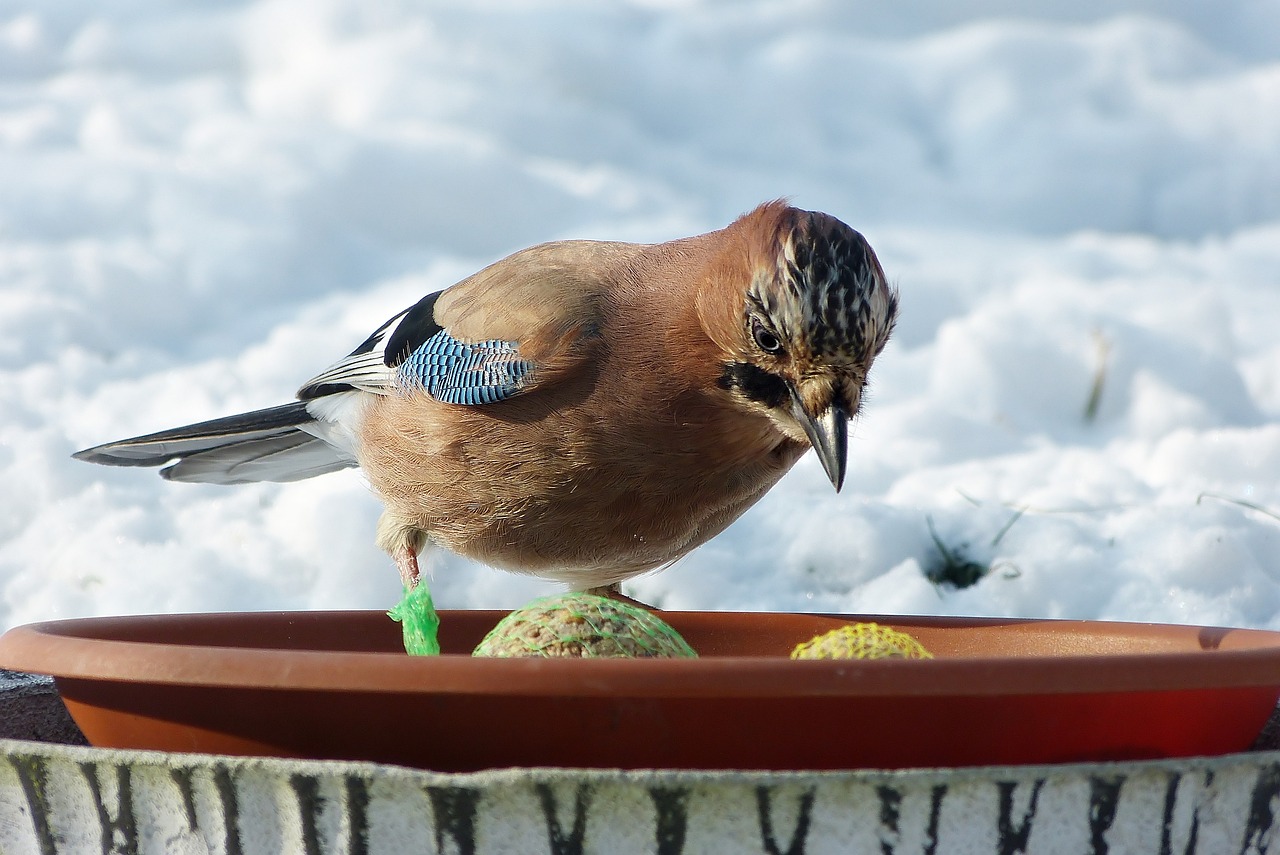
Remember, the design should also consider the types of birds you want to attract. Different species have varying preferences for feeder styles. For example, if you’re hoping to attract finches, they prefer feeders with small openings. On the other hand, larger birds like jays might appreciate a broader access point. So, tailor your design based on your feathered friends' needs!
Lastly, don’t forget about the hanging aspect of your bird feeder. The way you suspend your teapot can add to its charm. Consider using colorful ribbons, chains, or even natural materials like jute rope. Each option can lend a different vibe to your feeder, making it a delightful focal point in your garden. And remember, the more inviting your feeder looks, the more likely you are to attract those lovely birds!
Hanging Your Teapot Bird Feeder
Once you've transformed your grandma's old teapot into a delightful bird feeder, the next important step is figuring out how to hang it properly. This is crucial not just for aesthetics but also for attracting our feathered friends. Imagine your teapot swaying gently in the breeze, filled with seeds and surrounded by chirping birds—it’s a scene that can bring joy to any garden! But how do you ensure that this charming piece of art is hung in the best way possible? Let’s dive into some effective methods and tips for hanging your teapot bird feeder.
First off, you’ll want to consider the hanging method. There are several options available to you, each with its own unique flair. You can opt for a simple hook, a decorative chain, or even a repurposed garden stake. Each of these methods not only serves a purpose but also adds an extra touch of creativity to your garden. For instance, using a colorful chain can enhance the visual appeal of your teapot, making it a focal point in your outdoor space.
Next, think about the location where you plan to hang your bird feeder. It’s not just about finding a spot that looks nice; the right location can significantly enhance the feeder's usage. Birds are naturally cautious creatures, so they prefer feeding areas that offer them some safety from predators. Here are a few factors to keep in mind:
- Visibility: Choose a spot that is visible from your home, allowing you to enjoy the birdwatching experience.
- Cover: Look for areas with nearby trees or shrubs that provide cover for the birds, making them feel safe while they feed.
- Distance: Keep your feeder at least 10 feet away from any windows to prevent birds from flying into them.
Securing your teapot bird feeder is equally important. You wouldn’t want it to fall and shatter, right? To ensure stability, you can use a strong hook or a sturdy branch. If you're using a chain, make sure it’s securely fastened to both the teapot and the hanging point. For added security, consider using zip ties or wire to attach the teapot to the hook or chain. This way, even on windy days, your bird feeder will remain intact.
Lastly, don’t forget about the seasonal changes. Different seasons can affect how you hang your feeder. For example, in winter, you might want to hang it lower to the ground where the snow doesn't accumulate. In contrast, during warmer months, a higher placement can help keep the seeds dry and fresh. Regularly assess the condition of your hanging setup to ensure it remains safe and functional for your feathered visitors.
Choosing the Right Location
Choosing the right location for your teapot bird feeder is crucial to attracting a variety of birds to your garden. Imagine the joy of watching colorful feathered friends flit about, all thanks to your thoughtful placement! When deciding on a spot, consider factors such as safety, visibility, and accessibility for the birds. A well-placed feeder can become a bustling hub of activity, while a poorly placed one might go unnoticed.
First and foremost, you want to ensure that your feeder is in a location that is safe from predators. Birds are naturally cautious creatures, and placing your teapot feeder near dense shrubs or trees can provide them with a quick escape route if needed. Additionally, positioning the feeder away from areas where cats or other predators might lurk will encourage more frequent visits.
Another essential aspect to consider is visibility. You want to place your feeder in a spot where it can be easily seen by birds but also by you! After all, part of the fun is enjoying the sights and sounds of nature right from your window or patio. An open area with a clear line of sight will help birds spot the feeder more easily, making them more likely to approach it.
Accessibility is also key. Ensure that the feeder is at a height that makes it easy for birds to land and take off without obstruction. Ideally, a height of about 5 to 6 feet off the ground is perfect for most birds. However, you should also consider the types of birds you want to attract, as some prefer feeders at different heights.
To summarize, here are some important factors to consider when choosing the location for your teapot bird feeder:
- Safety: Avoid areas where predators can hide.
- Visibility: Choose an open space that birds can easily spot.
- Accessibility: Ensure the feeder is at a suitable height for landing.
By carefully selecting the right location for your teapot bird feeder, you're setting the stage for a delightful avian experience. Not only will you be providing a vital food source for local birds, but you'll also be creating a charming focal point in your garden that honors your grandmother's cherished heirloom. So, take a moment to observe your outdoor space and find that perfect spot where nature can thrive!
Here are some common questions people have when creating their own teapot bird feeders:
- What types of birds will be attracted to my teapot feeder? The types of birds that visit your feeder will depend on the seeds you use and your geographical location. Common visitors include finches, sparrows, and chickadees.
- How often should I refill the bird feeder? It's best to refill your feeder every few days, especially during peak feeding times in the spring and summer when birds are actively searching for food.
- Can I use any teapot for this project? While you can use most teapots, it's best to avoid those made of materials that can rust or deteriorate outdoors. Look for ceramic, stoneware, or glass teapots for durability.
Securing the Feeder
Once you've transformed your beloved teapot into a charming bird feeder, the next crucial step is ensuring that it is securely hung. After all, you want to create a welcoming space for your feathered friends, not a precarious perch that could tumble down at the slightest breeze! Think of it like setting up a cozy café for birds; you wouldn’t want your tables to wobble, right? So, let’s dive into some effective methods to keep your teapot feeder stable and safe.
First and foremost, consider the materials you’ll use for hanging your teapot. A strong, durable rope or chain is essential. Opt for materials that can withstand the elements, such as nylon or stainless steel. These options are not only robust but also resistant to rust and wear. If you're feeling crafty, you can even use decorative chains that add a touch of flair to your setup while ensuring stability.
Next, think about how you’ll attach the feeder to its hanging point. You can use a simple hook or a more elaborate pulley system if you want to get fancy. Just remember, the hanging mechanism should be securely anchored to a sturdy branch or a post, ideally at least 5 to 6 feet above the ground. This height not only makes it easier for birds to access but also keeps them safe from ground predators.
Additionally, it’s wise to check the weight capacity of your chosen hanging point. If your teapot is particularly large or filled with birdseed, you’ll want to ensure that whatever you’re hanging it from can support that weight without bending or breaking. A quick test with a similar weight can give you peace of mind.
Finally, don’t forget to periodically check your setup, especially after storms or strong winds. Nature can be unpredictable, and a simple adjustment can make all the difference in keeping your bird feeder safe and functional. By taking these precautions, you’re not just creating a feeder; you’re crafting a sanctuary for birds to enjoy, bringing a delightful touch of nature to your garden.
- How often should I refill my teapot bird feeder? It's best to refill your feeder every few days, especially during peak feeding times in spring and summer, to ensure the birds always have access to food.
- What type of birdseed should I use? A mixed birdseed blend is great for attracting various species. You might also consider sunflower seeds, which are a favorite among many birds!
- Can I use my teapot feeder in winter? Absolutely! Just be sure to keep it clean and refill it regularly, as birds need food during the colder months when natural sources are scarce.

Maintaining Your Bird Feeder
Maintaining your teapot bird feeder is not just about keeping it looking pretty; it’s essential for the health and safety of the birds that visit. Just like any cherished garden accessory, your bird feeder requires regular attention to ensure it remains functional and inviting for our feathered friends. Think of it as a little restaurant for birds; if the establishment isn’t clean or well-stocked, diners will likely go elsewhere!
First and foremost, regular cleaning is crucial. Over time, birdseed can spoil, and leftover food can attract pests and mold. A good rule of thumb is to clean your bird feeder every two weeks, especially during peak feeding seasons. To clean your teapot bird feeder, you can use a mixture of warm water and mild soap. Make sure to scrub all surfaces thoroughly, paying special attention to any nooks and crannies where residue might hide. Rinse it well to ensure no soap remains, as birds are sensitive to chemicals.
Next, refilling the birdseed is another vital aspect of maintenance. Depending on the number of birds visiting, you might find yourself refilling your feeder weekly or even more frequently. When choosing birdseed, opt for a mix that attracts a variety of birds, such as sunflower seeds, millet, and cracked corn. This not only makes your garden lively but also supports local wildlife. Remember to check for any signs of spoilage or mold in the seed before refilling. If you notice any, it’s best to dispose of the old seed and clean the feeder before adding fresh food.
Seasonal changes can also affect how you maintain your teapot bird feeder. In the winter, for example, birds may rely more heavily on feeders due to natural food shortages. This means you might need to refill it more often. Conversely, in the summer, the heat can cause seeds to spoil faster. Keeping an eye on the weather can help you adjust your maintenance routine accordingly.
Lastly, don’t forget to check the structural integrity of your teapot bird feeder regularly. Look for any signs of wear and tear, such as cracks or loose parts. If you find any damage, it’s best to repair it immediately to prevent accidents. You can use waterproof glue for minor repairs or even consider adding a coat of weatherproof sealant to protect against the elements.
In summary, maintaining your teapot bird feeder is a delightful way to ensure it continues to serve its purpose while keeping your garden vibrant and lively. By cleaning it regularly, refilling it with fresh seeds, adjusting for seasonal changes, and checking for damage, you can create a welcoming environment that birds will flock to. So, roll up your sleeves and give your cherished teapot the attention it deserves; after all, a well-maintained feeder is a happy feeder!
- How often should I clean my teapot bird feeder? It's recommended to clean your feeder every two weeks, especially during peak feeding seasons.
- What type of birdseed should I use? A mix that includes sunflower seeds, millet, and cracked corn is ideal for attracting a variety of birds.
- Can I use my teapot bird feeder in winter? Yes, but be prepared to refill it more frequently as birds rely on feeders more during colder months.
- What should I do if I find moldy birdseed? Dispose of the old seed immediately, clean the feeder thoroughly, and refill it with fresh seed.
Frequently Asked Questions
- What type of teapot is best for a bird feeder?
When choosing a teapot for your bird feeder, look for one that is both durable and visually appealing. Porcelain or ceramic teapots work well, but make sure they are not too fragile. A larger teapot can hold more birdseed, attracting a variety of birds.
- How do I clean my teapot before repurposing it?
Cleaning your teapot is crucial to remove any old tea residue. Start by rinsing it with warm water, then use a soft brush or sponge with mild soap to scrub the inside. Rinse thoroughly to ensure no soap remains, as this could harm the birds.
- How can I securely hang my teapot bird feeder?
To hang your teapot bird feeder securely, use a strong chain or sturdy twine. Make sure to attach it to a stable branch or hook, and check that it can withstand wind and rain. You can also use a metal bracket for added support.
- What should I consider when choosing a location for my bird feeder?
When selecting a location, consider safety from predators, visibility for birds, and accessibility for refilling. A spot near trees or shrubs can provide cover for birds while ensuring you can easily maintain the feeder.
- How often should I clean and refill my teapot bird feeder?
It's best to clean your bird feeder every two weeks, especially during warmer months when bacteria can grow quickly. Refill it as needed, typically every few days, depending on how many birds visit.
- Can I decorate my teapot bird feeder?
Absolutely! Decorating your teapot bird feeder can add a personal touch. Use weather-resistant paint, embellishments, or even natural materials like twine or dried flowers to enhance its charm while ensuring they are safe for birds.