Upcycle Used Shopping Bags into Quilt for Homeless
Have you ever looked at a pile of used shopping bags and thought, "What a waste!"? Well, it's time to turn that waste into something beautiful and meaningful! By upcycling these bags into quilts, we not only contribute to a more sustainable planet but also provide warmth and comfort to those in need. Imagine the joy of wrapping someone in a cozy quilt made from vibrant, colorful shopping bags that would otherwise end up in a landfill. It's a win-win situation!
Upcycling is all about taking items that have reached the end of their traditional use and giving them a new life. This creative process not only reduces waste but also sparks innovation and creativity. When we repurpose materials, we minimize our carbon footprint and contribute to a healthier environment. Additionally, upcycling fosters community spirit as it often involves collaboration, sharing ideas, and working together toward a common goal. So, why not embark on this rewarding journey of transforming used shopping bags into quilts that can make a real difference in the lives of the homeless?
In this article, we will guide you step-by-step through the entire process—from gathering materials to designing, quilting, and finally donating your finished masterpiece. Along the way, you'll discover how easy and fulfilling it can be to create something beautiful out of what seems like trash. So grab your crafting supplies, unleash your creativity, and let’s dive into the world of upcycling!
Upcycling is a sustainable practice that not only reduces waste but also encourages creativity. By transforming discarded items into something new and functional, we help to alleviate the burden on our landfills and reduce the demand for new materials. Every shopping bag that is repurposed into a quilt is one less bag contributing to environmental degradation. In addition to the environmental benefits, upcycling can have a profound impact on communities. It brings people together, fosters a sense of purpose, and often leads to charitable acts, such as donating quilts to those less fortunate.
Before starting your upcycling journey, you’ll need to gather a few essential materials. Here’s a quick list of what you’ll need:
- Used shopping bags (preferably plastic or non-woven)
- Scissors
- Sewing machine or needle and thread
- Iron and ironing board
- Cutting mat and rotary cutter (optional)
- Fabric for backing (optional)
Having these materials on hand will ensure a smooth crafting experience. The more colorful and varied your shopping bags, the more vibrant your quilt will be!
Proper preparation of shopping bags is crucial for successful quilting. Start by cleaning the bags; a simple rinse and air dry will do. Once they’re clean, flatten the bags and cut off any handles or logos, leaving you with a flat, rectangular piece of material. You can use a rotary cutter for precise cuts if you have one, but scissors work just fine too. After cutting, it’s a good idea to iron the bags to remove any wrinkles—this will make sewing much easier!
Designing your quilt can be an exciting part of the project! Think of it as a canvas where you can express your creativity. Consider the colors and textures of the shopping bags you’ve collected. You can create patterns, stripes, or even a patchwork design. Lay out the pieces on a flat surface to visualize how they will come together. Don’t be afraid to mix and match different styles—this is your chance to make something truly unique!
There are several quilting techniques that can be employed in this project. Some popular methods include:
- Patchwork: Sew together different pieces of fabric to create a larger design.
- Appliqué: Attach smaller pieces of fabric onto a larger base to form shapes or patterns.
- Quilting stitches: Add texture and design by sewing through all layers of the quilt.
Each technique adds its own charm to the quilt, so feel free to experiment and find what works best for you!
Once the individual pieces are ready, assembling the quilt is the next step. Start by laying out your design on a flat surface, then begin sewing the pieces together. It’s best to work in rows, sewing each piece and then connecting the rows. Make sure to use a sturdy stitch to ensure durability. As you sew, keep an eye on the alignment of the pieces to maintain a neat appearance. Before you know it, your quilt will start taking shape!
Adding finishing touches can elevate your quilt's aesthetic. Consider binding the edges with a contrasting fabric to give it a polished look. You might also want to add a personalized label or a small pocket for a heartfelt message. Other embellishments, like buttons or decorative stitching, can add character and charm. Remember, these small details can make a big difference!
The final step is to share your creation. There are many organizations and methods for donating your quilts to those in need. Look for local shelters, community centers, or organizations that focus on helping the homeless. You can also connect with quilting groups that organize donation drives. Your quilt could bring warmth and comfort to someone who desperately needs it, and that’s the ultimate reward for your hard work!
Q: What types of shopping bags can I use for this project?
A: You can use plastic shopping bags, non-woven fabric bags, or even old tote bags. Just ensure they are clean and in good condition.
Q: How long does it take to make a quilt from shopping bags?
A: The time it takes can vary based on your design and sewing speed, but typically it can take anywhere from a few hours to a couple of days.
Q: Can I wash the quilt after it's completed?
A: Yes, but be gentle! Hand wash or use a delicate cycle in the washing machine to preserve the integrity of the shopping bags.
Q: Where can I donate my finished quilts?
A: Look for local shelters, community organizations, or quilting groups that focus on helping the homeless. Many will gladly accept your donation!
The Importance of Upcycling
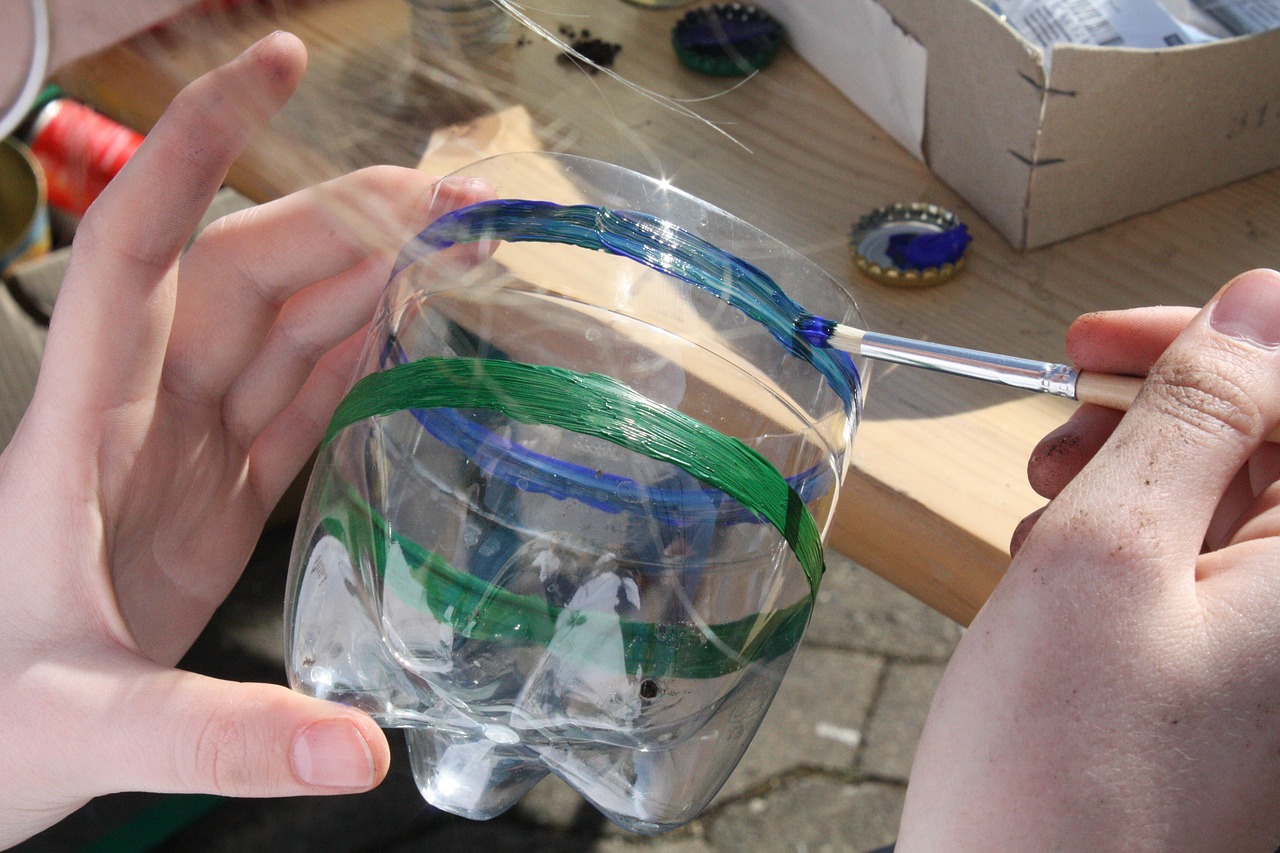
Upcycling is more than just a trendy buzzword; it’s a powerful movement that transforms our approach to consumption and waste. In a world where landfills overflow and resources dwindle, upcycling offers a beacon of hope. By creatively repurposing materials, we not only reduce waste but also breathe new life into items that might otherwise be discarded. Think of it as giving a second chance to objects that still have potential. It’s like turning a worn-out shoe into a chic planter—who knew that could be done?
The environmental benefits of upcycling are significant. For starters, it helps to decrease the amount of waste that ends up in landfills. According to recent studies, approximately 30% of the waste generated by households is recyclable. If we all embraced upcycling, imagine the reduction in waste! Not only does this practice conserve valuable resources, but it also reduces the energy consumption associated with producing new items. In essence, every time we choose to upcycle, we’re making a conscious decision to protect our planet.
Furthermore, upcycling fosters creativity and innovation. It challenges us to think outside the box and find new uses for everyday items. This creative process can be incredibly rewarding, transforming mundane materials into something beautiful and functional. Communities that engage in upcycling often find a sense of camaraderie, as people come together to share ideas and resources. It’s like a potluck of creativity where everyone brings their unique flair to the table.
Additionally, upcycling can have a profound impact on local economies. When we choose to upcycle, we often support small businesses and local artisans who specialize in repurposing materials. This not only creates jobs but also strengthens community ties. Imagine walking through a local market filled with vibrant, upcycled goods, each telling a story of transformation. It’s a beautiful reminder of the power we hold as consumers.
In summary, upcycling is a multifaceted practice that benefits the environment, fosters creativity, and supports local economies. By embracing this sustainable approach, we can make a significant difference in our communities and the world at large. So, the next time you find yourself about to toss out an old item, pause and consider: Can I upcycle this? You might just surprise yourself with what you can create!

Materials Needed for the Project
Before diving into the exciting world of upcycling used shopping bags into quilts, it’s essential to gather all the necessary materials to ensure a smooth crafting experience. Think of this as gathering your tools before embarking on a grand adventure—having everything at hand makes the journey much more enjoyable!
First and foremost, you'll need a **sufficient quantity of used shopping bags**. Aim for a variety of colors and patterns; this will not only add visual interest to your quilt but also allow you to express your creativity. A good rule of thumb is to collect at least 20 to 30 bags, depending on the size of the quilt you wish to create. Remember, the more diverse your selection, the more unique your quilt will be!
Next, you’ll require some basic **sewing supplies**. Here’s a quick rundown of the essentials:
- Scissors: A sharp pair will make cutting through the plastic much easier.
- Sewing machine: While hand sewing is possible, a machine will save you time and effort.
- Thread: Choose a strong polyester thread that can handle the durability of the plastic.
- Iron: To flatten your bags, an iron is crucial. Just be cautious with the heat settings!
Additionally, consider having some **measuring tools** on hand. A ruler or measuring tape will help you cut your bags into uniform pieces, ensuring that your quilt has a consistent look. You might also want to have a **cutting mat** to protect your surfaces while you work.
Finally, don’t forget about the **finishing touches**! These can include binding materials, such as fabric strips to finish the edges of your quilt. You might also want to consider embellishments like buttons or patches that can personalize your quilt even further. Think of these as the icing on the cake—small details that make a big difference!
In summary, gathering your materials is a crucial step in the upcycling process. With the right supplies, you’ll be well on your way to creating a beautiful quilt that not only reduces waste but also provides warmth and comfort to those in need. So, roll up your sleeves and get ready to transform those shopping bags into something truly special!
Preparing Shopping Bags for Quilting
Preparing your shopping bags for quilting is a crucial step that can significantly impact the quality and durability of your finished quilt. Just like a chef meticulously prepares ingredients before cooking, you need to ensure your bags are clean, flat, and cut into usable pieces. This process might seem tedious, but trust me, it’s worth every minute! After all, a well-prepared foundation leads to a stunning masterpiece.
First and foremost, start by cleaning your shopping bags. Many of us have a collection of bags that have been sitting around, collecting dust and possibly some unwanted odors. To give your bags a fresh start, wash them thoroughly. If they are made of plastic, a simple wipe down with a damp cloth should suffice. For fabric bags, toss them in the washing machine on a gentle cycle. Just ensure they are completely dry before moving on to the next step. Remember, cleanliness is key when creating a quilt that will provide warmth and comfort!
Once your bags are clean, it’s time to flatten them out. This step is essential because wrinkles and creases can make it difficult to cut your bags into uniform pieces. Lay each bag flat on a clean surface, smoothing out any bumps or folds. You can even use an iron on a low setting to help flatten stubborn areas. Just be cautious not to melt plastic bags! Think of this step as preparing a canvas for a painter—smooth and even surfaces yield the best results.
Now that your bags are clean and flat, it’s time to cut them into manageable pieces. Depending on your quilt design, you may want to cut the bags into squares, rectangles, or even strips. A good rule of thumb is to aim for uniform sizes to ensure that your quilt comes together seamlessly. Use a sharp pair of scissors or a rotary cutter for clean edges. If you’re feeling adventurous, consider using different colors and patterns from various bags to create a visually striking patchwork effect. This adds a unique touch to your quilt and showcases the creativity of repurposing materials.
Here’s a quick overview of the preparation steps:
- Clean: Wash and dry your bags thoroughly.
- Flatten: Smooth out the bags on a flat surface.
- Cut: Use scissors or a rotary cutter to create uniform pieces.
With your shopping bags now prepped and ready, you’re one step closer to creating a beautiful quilt. Remember, the effort you put into this preparation phase will pay off when you see your quilt come together. It’s like building a house—strong foundations lead to a sturdy structure. So, roll up your sleeves and get ready to transform those bags into something truly special!

Designing Your Quilt
Designing your quilt is where the magic truly begins! Imagine taking a collection of colorful shopping bags and transforming them into a beautiful piece of art that not only serves a purpose but also tells a story. The process of creating a quilt from used shopping bags is not just about sewing; it’s about embracing creativity and letting your imagination run wild. So, how do you start designing your quilt? First, think about the colors and patterns of the bags you have collected. Each bag has its own personality, and when combined, they can create stunning visual contrasts.
One approach to consider is color blocking. This technique involves grouping bags of similar colors together, creating bold sections that stand out. For instance, you might choose to have a vibrant red section paired with calming blues. The contrast can create a dynamic look that draws the eye. Alternatively, you can opt for a more eclectic style by mixing various patterns and colors, which can give your quilt a playful vibe.
As you design, don’t shy away from playing with textures. Some bags may have a glossy finish, while others are matte or even textured. Combining these different textures can add depth to your quilt. Think of it like cooking; just as a dish needs a variety of flavors to be delicious, your quilt needs a variety of textures to be visually appealing.
To help you visualize your design, sketching it out can be beneficial. Grab a piece of paper and start drawing your layout. You can also create a mood board with cutouts from magazines, fabric swatches, or even digital designs. This will not only help you see how different elements work together but also keep you inspired throughout the quilting process.
Another technique to consider is the patchwork style. This involves sewing together various pieces of bags in a way that creates a patchy look. You can cut the bags into squares or rectangles and arrange them in a grid pattern. This method is fantastic for beginners, as it allows for easy alignment and can be quite forgiving. Plus, it gives your quilt a cozy, homemade feel that’s perfect for the purpose of providing warmth.
Once you have a rough design in mind, think about the size of your quilt. Will it be a lap quilt, perfect for snuggling? Or perhaps a larger quilt that can cover a bed? The size will influence how you cut your bags and arrange your pieces. Here’s a quick reference for common quilt sizes:
| Quilt Size | Dimensions (inches) |
|---|---|
| Lap Quilt | 45 x 60 |
| Twin Quilt | 66 x 90 |
| Full/Double Quilt | 81 x 96 |
| Queen Quilt | 90 x 108 |
| King Quilt | 108 x 108 |
Finally, don’t forget to think about the overall theme of your quilt. Are you aiming for something bright and cheerful, or perhaps something more subdued and calming? The theme will guide your choices in colors, patterns, and even the final embellishments you might want to add. Remember, your quilt is not just a functional item; it's a piece of art that can bring joy and comfort to those who receive it.
In conclusion, designing your quilt is a thrilling part of the upcycling process. Embrace your creativity, experiment with colors and textures, and have fun bringing your vision to life. After all, each quilt you create is a unique expression of your style and a heartfelt gift to those in need.
Quilting Techniques to Use
When it comes to transforming those used shopping bags into a cozy quilt, the techniques you choose can make all the difference. Think of quilting as the art of storytelling with fabric—each stitch and pattern tells a part of the story. So, let’s dive into some exciting quilting techniques that will not only enhance the look of your quilt but also ensure it's durable and functional.
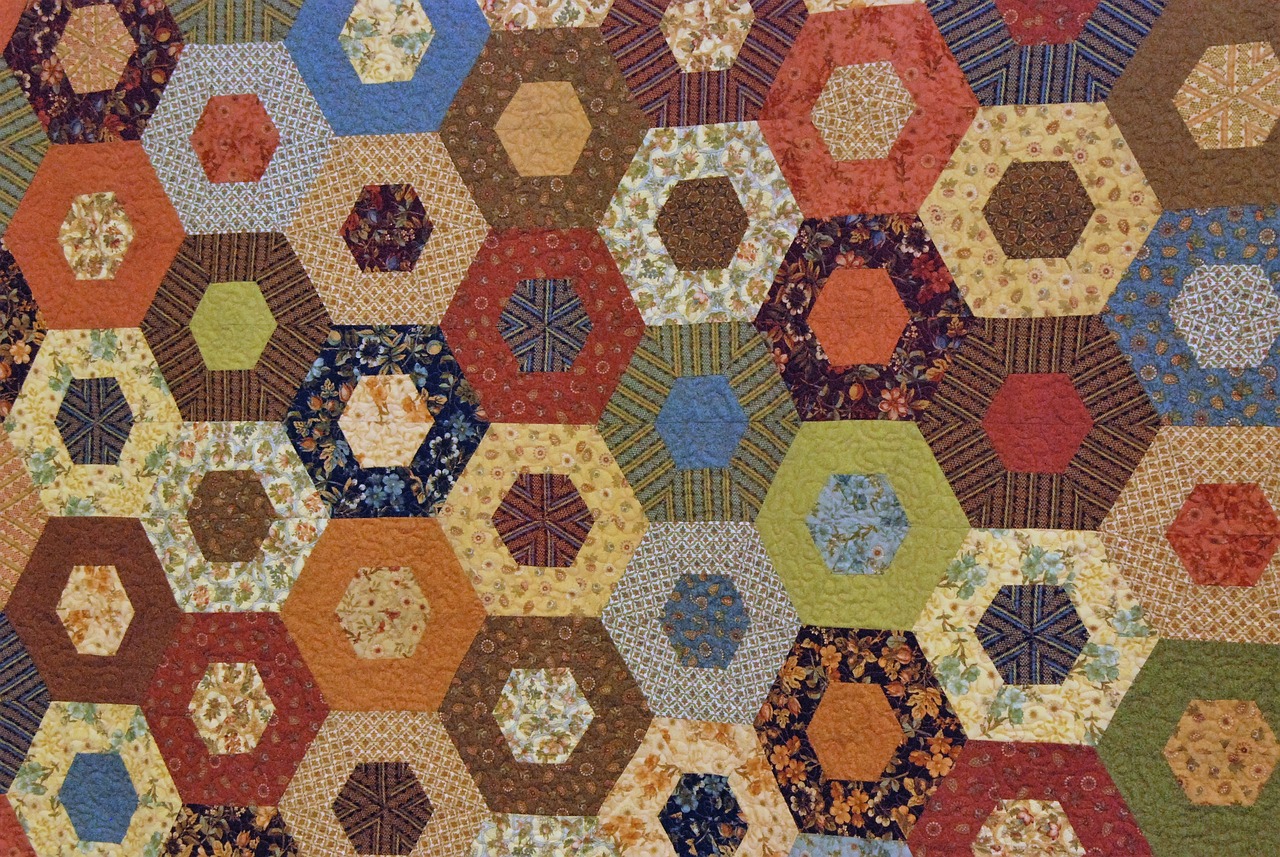
One popular method is patchwork, where you sew together different pieces of fabric to create a larger design. This technique is perfect for using various colors and patterns from your shopping bags. Imagine a quilt that resembles a vibrant mosaic, each patch representing a unique shopping experience! To get started with patchwork, cut your shopping bags into uniform squares or rectangles. Then, play around with the arrangement until you find a layout that speaks to you. Once you're satisfied, stitch them together, and watch your quilt come to life!
Another fantastic technique to consider is appliqué. This method involves sewing a smaller piece of fabric onto a larger base piece, allowing for intricate designs and shapes. For instance, you could cut out a heart or star shape from a colorful shopping bag and stitch it onto a solid background. Not only does this add a personal touch, but it also gives your quilt a unique character. Plus, it’s a great way to use those bags that might not work well in patchwork due to their patterns or colors.
Don’t forget about the importance of quilting stitches! These stitches serve both functional and decorative purposes. You can use a simple running stitch for a classic look, or opt for a more elaborate quilting stitch to add texture. For example, a diagonal crosshatch pattern can give your quilt a modern feel, while a floral motif can evoke a sense of warmth and nostalgia. The choice is yours! Just remember to choose a thread that complements your fabric colors—this will tie the whole quilt together.
If you're feeling adventurous, you might want to experiment with free-motion quilting. This technique allows you to move the fabric freely under the needle, creating intricate designs that can be as simple or complex as you like. It’s like drawing with your sewing machine! Just ensure that you practice on scrap pieces before diving into your quilt; it can be a bit tricky at first but incredibly rewarding once you get the hang of it.
In summary, the world of quilting offers a variety of techniques that can transform your used shopping bags into a beautiful quilt. Whether you choose patchwork, appliqué, or free-motion quilting, each method allows you to express your creativity while making a meaningful contribution to those in need. So grab those bags, unleash your imagination, and get quilting!
- Can I use any type of shopping bag for quilting?
Yes! However, it's best to use plastic or fabric shopping bags as they are more durable and easier to work with compared to paper bags. - How do I clean the shopping bags before using them?
Simply rinse them with water and mild soap, then let them air dry completely before cutting and using them in your quilt. - What type of thread should I use for quilting?
Using a polyester or cotton thread is recommended as they are strong and will hold up well under wear and tear.
Assembling the Quilt
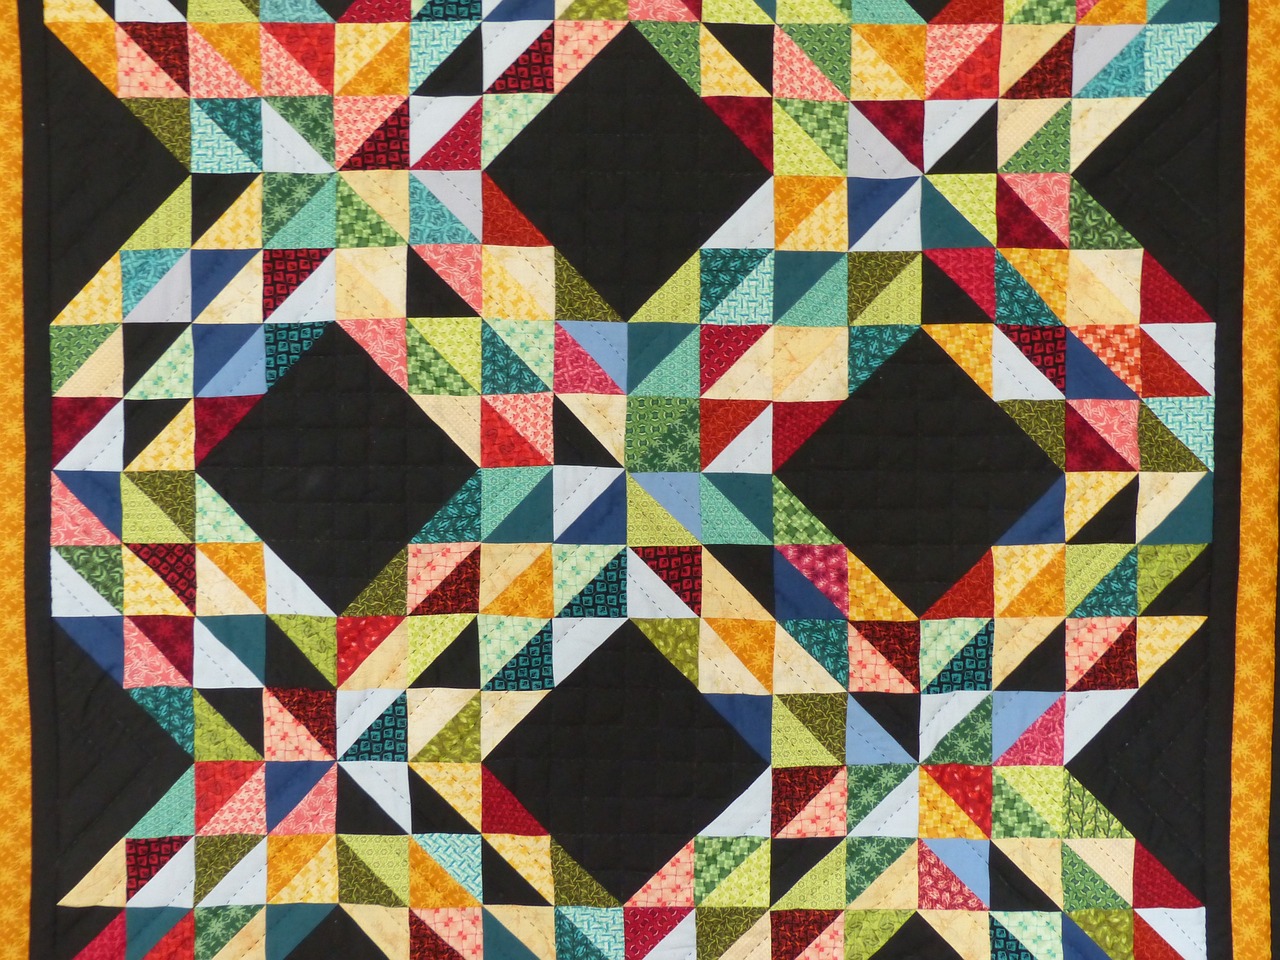
Now that you've prepared your shopping bags and designed a beautiful layout for your quilt, it’s time to dive into the exciting phase of assembling your quilt. This is where your creative vision starts to take shape, and you can truly see the fruits of your labor come together. But before you grab your sewing machine or needle and thread, there are a few essential steps to ensure everything aligns perfectly.
First, lay out your pieces on a flat surface according to your design. This step is crucial because it allows you to visualize the final product before any sewing begins. You might find it helpful to take a photo of your layout; this way, you can reference it while sewing. Remember, it’s all about creating a cohesive and visually appealing quilt that tells a story.
Once you're satisfied with your layout, it's time to start sewing the pieces together. Begin by sewing the rows of your quilt. Take two pieces of your prepared shopping bags and place them right sides together. Using a sewing machine or hand sewing, stitch along the edge with a straight stitch, ensuring to leave a seam allowance of about 1/4 inch. If you’re new to sewing, don’t worry! Just take your time and make sure your stitches are even. You can always go back and reinforce any seams that need extra support.
After sewing the rows, press the seams open with an iron for a neat finish. This step is essential as it reduces bulk and helps your quilt lay flat. If you’re using a sewing machine, be sure to adjust the tension settings for the best results. A good rule of thumb is to use a medium tension, which usually works well for most fabrics, including plastic shopping bags.
Once all the rows are sewn and pressed, it's time to join them together. Lay the rows out in the correct order, ensuring that the colors and patterns flow nicely. Again, pin the rows together, right sides facing, and sew along the edges. This might take a bit of patience, but the end result will be worth it. If you find any uneven edges, don’t hesitate to trim them with scissors for a clean finish.
As you assemble your quilt, keep in mind that adding a backing can provide additional warmth and comfort. You can use a large piece of fabric or even more shopping bags, depending on your preference. To attach the backing, lay it down on a flat surface, place your quilt top on it, and then add a layer of batting in between. Pin all three layers together to prevent shifting while you sew. This method not only adds durability but also gives your quilt a more polished look.
Finally, once everything is sewn together, you can add a border if you wish. Borders can enhance the overall aesthetic and give your quilt a finished appearance. Choose a fabric that complements the colors of your quilt, and cut it into strips that are the same width all around. Sew these strips to the edges of your quilt, and voilà! Your quilt is almost complete.
As you move towards the final touches, remember that assembling a quilt is like putting together a puzzle. Each piece plays a vital role in the bigger picture, and your attention to detail will make all the difference. Take a moment to appreciate your hard work and creativity as you prepare to share your beautiful quilt with those who need it most.
Q: How long does it take to assemble a quilt?
A: The time it takes to assemble a quilt can vary based on your experience level and the complexity of your design. Typically, it can take anywhere from a few hours to a couple of days.
Q: Can I use other types of bags for quilting?
A: Absolutely! While shopping bags are a great option, you can also use other types of plastic or fabric bags. Just ensure they are clean and suitable for sewing.
Q: What if my quilt pieces don’t align perfectly?
A: Don’t worry! Quilting is an art, and slight imperfections can add character to your quilt. You can always trim edges or adjust seams as needed.
Finishing Touches for Your Quilt
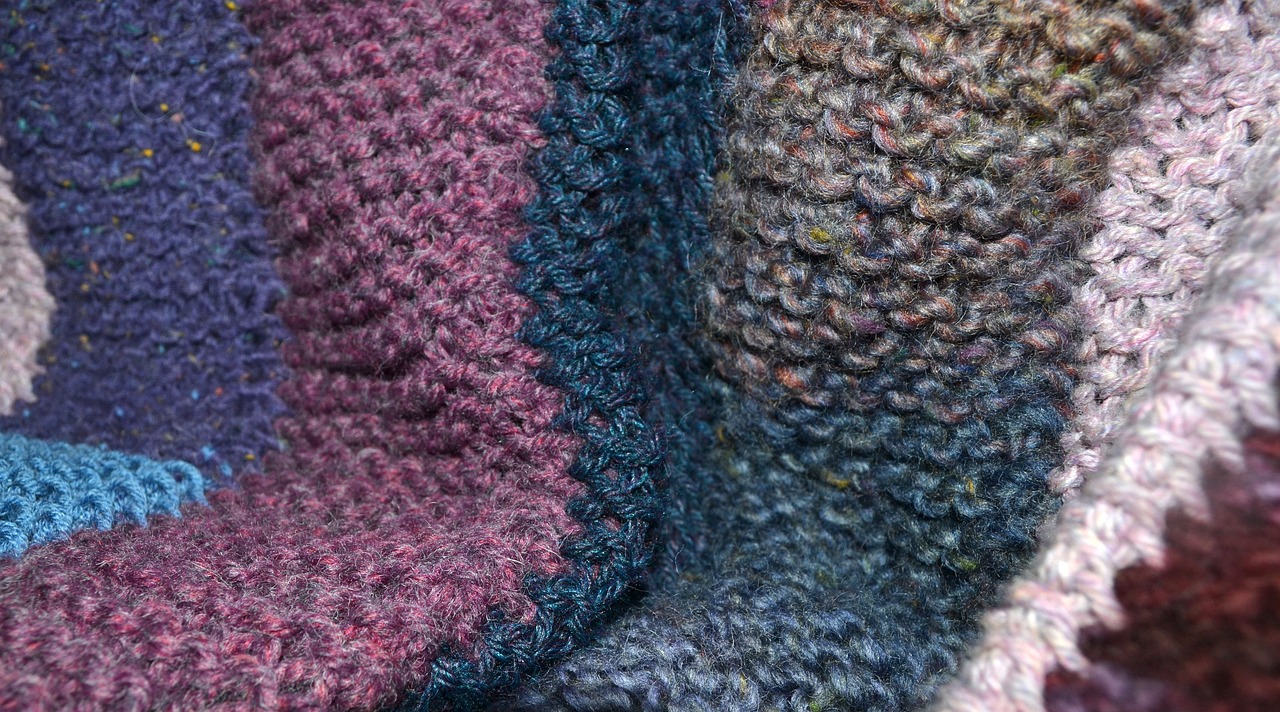
Once you've stitched together your quilt from those colorful shopping bags, it's time to add the finishing touches that will truly make your creation stand out. Think of this stage as the icing on the cake; it’s what transforms a simple quilt into a cherished piece of art. First off, consider the binding. This is the edge that frames your quilt and gives it a polished look. You can use fabric scraps from your project or even contrasting materials to create a striking border. Not only does binding provide a clean finish, but it also enhances the quilt's durability, ensuring it withstands the test of time and use.
Next, let’s talk about labels. Adding a label to your quilt is a wonderful way to personalize it. You might choose to write a message, include the date, or even share your name as the creator. This small detail can make a big difference, especially when you donate your quilt to someone in need. A label could read something like: “Made with love for you” or “Warmth for a friend.” It’s a lovely way to connect with the recipient, even if you don’t know them personally.
Another fun aspect to consider is embellishments. You can use buttons, patches, or even embroidery to add a unique flair to your quilt. Imagine a bright button in the center of a flower patch or a small embroidered heart in the corner. These little details can elevate your quilt from functional to fabulous. Remember, your quilt is not just a blanket; it’s a canvas for your creativity!
Finally, think about how you want to present your quilt. If you're donating it, consider folding it neatly and wrapping it with a ribbon or placing it in a decorative bag. This not only shows respect for your creation but also adds a touch of warmth to the gift. After all, the act of giving is as beautiful as the quilt itself.
In summary, putting those finishing touches on your quilt is not just about aesthetics; it’s about sending a message of care and compassion. Whether you’re binding, labeling, or adding embellishments, each step is a chance to express your creativity and love. So, take your time and enjoy this final phase of your upcycling journey!
- What materials do I need for binding my quilt?
You can use fabric strips, bias tape, or even scraps from your project. The key is to ensure that whatever you choose is durable and complements your quilt's design. - How can I create a quilt label?
You can make a label using fabric and fabric markers, or you can print one using fabric paper on your printer. Just remember to secure it properly to the quilt! - What embellishments work best for a shopping bag quilt?
Consider using buttons, patches, or embroidery. These elements can add a unique touch to your quilt and make it truly one-of-a-kind. - How should I care for my upcycled quilt?
It’s best to wash your quilt in cold water and tumble dry on low. This will help maintain the integrity of the shopping bags while keeping it clean.
Donating Quilts to the Homeless
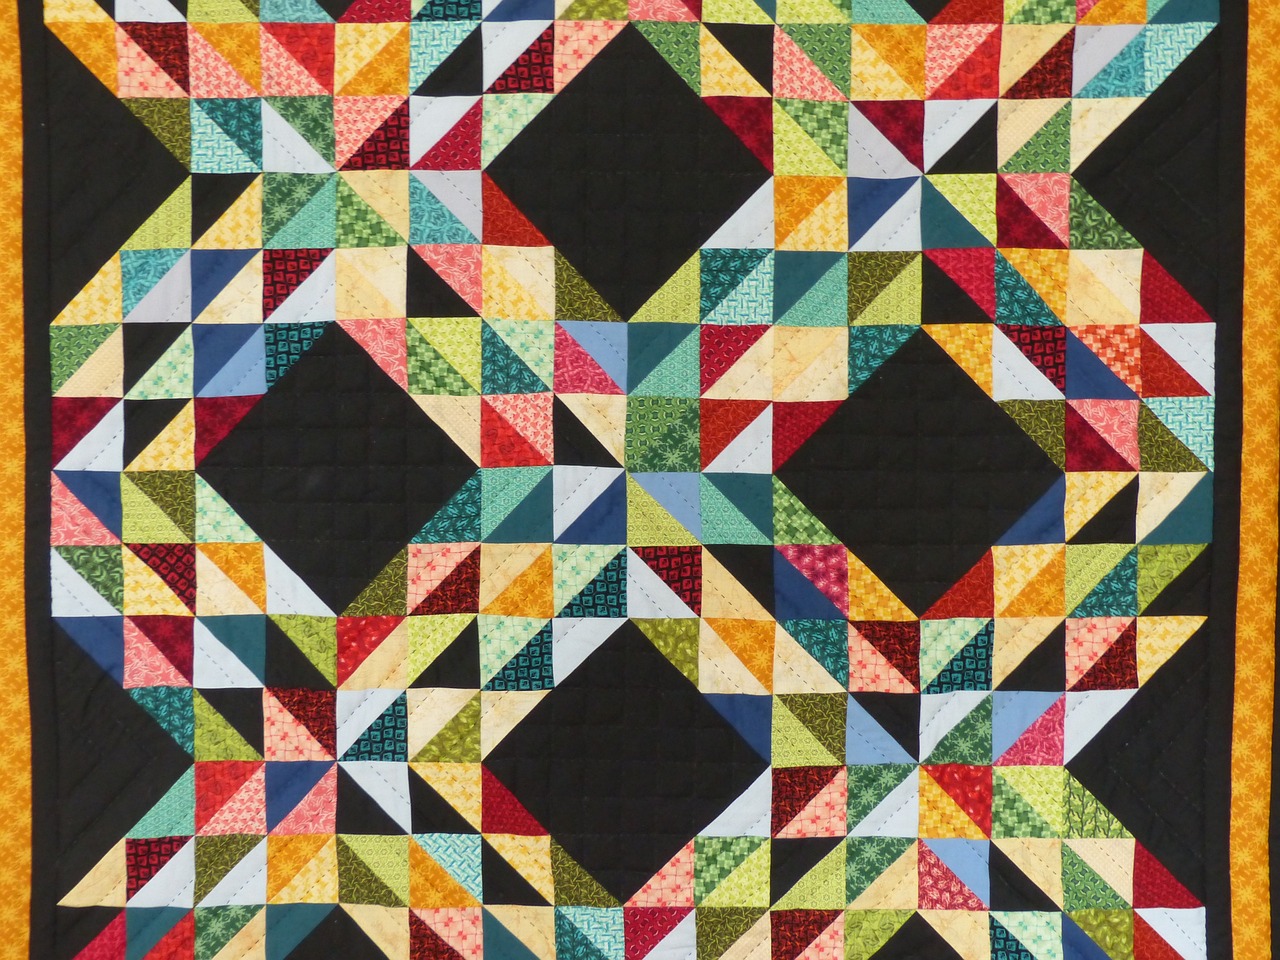
Once you've poured your heart and creativity into making a beautiful quilt from upcycled shopping bags, the final and most rewarding step is to donate it to those in need. It's not just about crafting something cozy; it's about making a tangible difference in someone’s life. Imagine the joy and warmth your quilt can bring to a homeless individual who has been enduring the harsh elements. By donating your quilt, you’re not just providing physical warmth, but also a sense of care and compassion.
When it comes to donating quilts, there are numerous ways to ensure your creation reaches the right hands. Local shelters, community centers, and nonprofit organizations are often on the lookout for warm items to distribute to the homeless. You can start by reaching out to these organizations to see if they accept quilt donations. Many shelters are more than willing to accept handmade items, as they can significantly enhance the comfort of their residents.
Here are some organizations you might consider contacting:
- Homeless Shelters: These facilities often need blankets and quilts for their residents.
- Community Outreach Programs: Many local programs focus on helping the homeless and may have specific needs for quilts.
- Churches and Religious Organizations: Many faith-based groups run initiatives aimed at supporting the homeless and are often in need of warm clothing and bedding.
- Quilting Guilds: Some quilting groups have outreach programs that focus on donating quilts to those in need.
Before you hand over your quilt, ensure it’s clean and in good condition. A little extra effort in presentation can make a big difference. Consider adding a personal note or tag with a kind message to make the recipient feel special. This small gesture can turn a simple quilt into a heartfelt gift that conveys your warmth and goodwill.
Additionally, if you’re looking for larger scale impact, consider organizing a quilt drive in your community. This could involve rallying friends, family, or local crafting groups to create quilts together. Not only does this amplify the number of quilts donated, but it also fosters a sense of community and shared purpose. By working together, you can create a wave of warmth that can reach far and wide.
In conclusion, donating quilts to the homeless is not just a charitable act; it’s a powerful way to connect with your community and spread kindness. Your efforts can bring comfort and hope to those who need it most. So gather your quilts, reach out to local organizations, and make a difference one stitch at a time!
Q: How do I find organizations that accept quilt donations?
A: Start by searching online for local homeless shelters, community centers, or churches. Many organizations have websites with donation guidelines, or you can call them directly to inquire.
Q: What condition should my quilt be in before donating?
A: Ensure your quilt is clean, free of stains, and in good repair. A well-maintained quilt will be more appreciated by the recipients.
Q: Can I donate quilts year-round?
A: Yes! While there may be increased demand during colder months, shelters and organizations often accept donations year-round to help those in need.
Frequently Asked Questions
-
What types of shopping bags can I use for upcycling into quilts?
You can use a variety of shopping bags, including plastic, paper, and reusable fabric bags. Just make sure they are clean and in good condition. Each type of bag can add a unique texture and color to your quilt, making it even more special!
-
How do I prepare shopping bags for quilting?
Start by washing and drying the bags to ensure they are clean. Next, flatten them out and cut them into the desired shapes or strips. This preparation is essential for a smooth quilting process and helps in achieving a neat finish.
-
Can I use a sewing machine for this project?
Absolutely! A sewing machine can make the quilting process much faster and easier. However, if you prefer hand sewing, that works too! Just ensure you use the right needle and thread for the materials you’re working with.
-
What quilting techniques are best for beginners?
If you’re new to quilting, techniques like patchwork and simple straight stitching are great starting points. As you gain confidence, you can explore more intricate methods like appliqué or quilting stitches to enhance your design.
-
How can I personalize my quilt?
Adding personal touches can make your quilt truly unique! Consider using different colors, patterns, or even adding labels with messages of hope. Embellishments like buttons or fabric patches can also give it a special flair.
-
Where can I donate my finished quilts?
There are many organizations that accept quilt donations for the homeless. Local shelters, community centers, or charities focused on helping those in need are great places to start. Make sure to check their specific requirements before donating!


