Making DIY Bird Feeders with the Kids
Are you looking for a fun and engaging activity to share with your kids? Making DIY bird feeders is a fantastic way to combine creativity, environmental awareness, and quality family time. Not only do these projects allow little hands to get crafty, but they also provide an opportunity to connect with nature right in your backyard. Imagine the excitement on your children's faces as they watch birds flock to the feeders they've made themselves! In this article, we’ll explore various bird feeder projects that are not only easy to create but also promote a sense of responsibility towards our feathered friends. So, gather your supplies and let’s dive into the world of DIY bird feeders!
When it comes to crafting bird feeders, selecting the right materials is crucial. You want to ensure that the items you choose are safe for both your children and the birds that will visit the feeders. Here are some options to consider:
- Recycled Items: Old containers, such as plastic bottles or milk jugs, can be transformed into beautiful feeders.
- Natural Materials: Pine cones, twigs, and even bark can be used to create rustic feeders that blend seamlessly with nature.
- Store-Bought Supplies: If you prefer convenience, there are many eco-friendly kits available that include everything you need to make a bird feeder.
By choosing eco-friendly materials, you not only teach your kids about sustainability but also encourage them to think creatively about how to repurpose everyday items.
Now that you have your materials, let’s explore some simple bird feeder designs that are perfect for kids. These projects are designed to be fun and accessible, ensuring that everyone can join in on the crafting fun!
A classic and straightforward project, peanut butter pine cone feeders are a hit with kids of all ages. This project combines nature with a tasty treat for the birds, making it an excellent choice for a family activity. Plus, it’s a great way to get outdoors and enjoy some fresh air!
Creating peanut butter pine cone feeders is incredibly easy. Here’s how you can do it:
- Gather your materials: pine cones, peanut butter, birdseed, and string.
- Spread a generous amount of peanut butter over the pine cone, ensuring it gets into all the nooks and crannies.
- Roll the peanut butter-covered pine cone in birdseed until it’s well-coated.
- Attach a string to the top of the pine cone for hanging.
- Find a suitable spot in your yard or garden to hang your new bird feeder.
With these simple steps, you’ll have a delightful feeder that attracts a variety of birds, from chickadees to sparrows.
If you want to mix things up, consider experimenting with different ingredients. Instead of just peanut butter and birdseed, you can:
- Use lard or shortening as a base.
- Add dried fruits or nuts for extra flavor.
- Incorporate different seeds to attract a wider variety of birds.
Each variation can bring new visitors to your backyard, making birdwatching even more exciting!
Another easy project that kids can help with is the milk jug bird feeder. This project not only promotes recycling but also allows children to learn about the importance of reducing waste.
To create a milk jug bird feeder, simply follow these steps:
- Rinse out an empty milk jug and remove the label.
- Cut a small hole on one side of the jug, just big enough for birds to access the seeds.
- Fill the jug with birdseed, and then replace the cap to keep it dry.
- Hang the feeder using a sturdy string or wire.
This project is not only simple but also serves as a fantastic way to teach kids about recycling and caring for wildlife.
Once you’ve constructed your bird feeders, it’s time to let your kids' creativity shine through decoration! Adding personal touches can make the process even more enjoyable. Here are some ideas:
Choosing safe, non-toxic paints for decorating bird feeders is crucial. This ensures that the materials are child-friendly and safe for the birds. Let your kids unleash their artistic flair by painting colorful patterns or their favorite characters on the feeders!
Incorporating natural elements like twigs, leaves, or flowers can enhance the aesthetic appeal of bird feeders. Encourage your children to gather these items during a nature walk and use them to embellish their creations. This not only fosters a connection with nature but also allows them to express their creativity in a meaningful way.
1. What types of birds will come to my feeders?
The types of birds that visit your feeders will depend on the food you provide. Common visitors include finches, cardinals, and blue jays.
2. How can I keep my bird feeders clean?
Regularly clean your feeders with hot, soapy water and rinse thoroughly. This helps prevent the spread of disease among birds.
3. What food is best for bird feeders?
Seeds, nuts, and suet are great options. You can also offer fruit to attract a wider variety of birds.
4. Can we use old materials to make bird feeders?
Absolutely! Using recycled materials is a great way to be eco-friendly while creating something beautiful for nature.
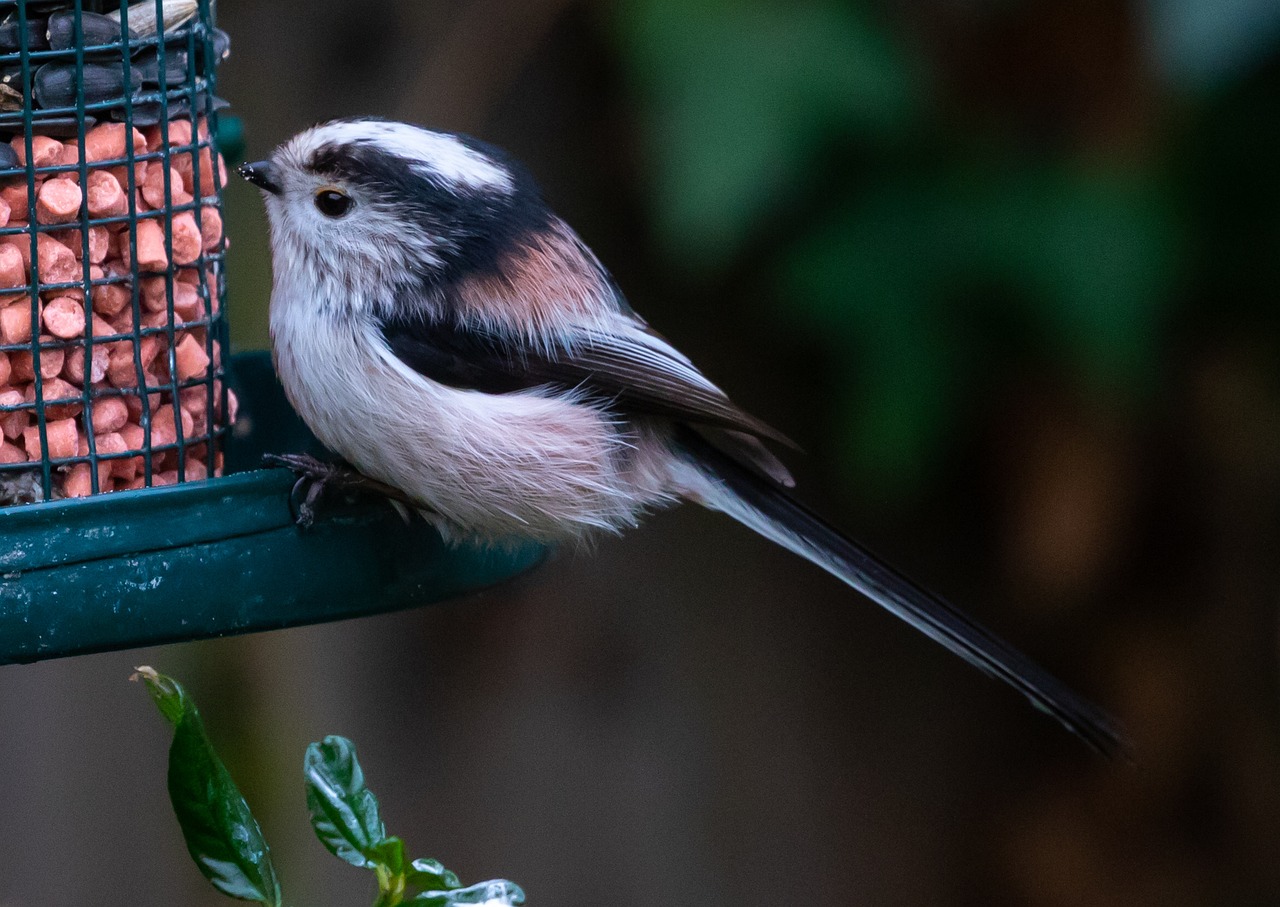
Choosing the Right Materials
When it comes to making bird feeders with your kids, selecting the right materials is crucial not only for the functionality of the feeders but also for ensuring a safe and enjoyable crafting experience. The beauty of DIY projects is that you can often use materials you already have at home, making it both economical and environmentally friendly. Think about the thrill of turning everyday items into something magical that will attract our feathered friends!
First and foremost, consider using recycled items. Old plastic bottles, milk jugs, and even cardboard can be transformed into delightful bird feeders. Not only does this promote sustainability, but it also serves as a great lesson for kids about recycling and reusing materials. For instance, a simple two-liter soda bottle can be cut and filled with seeds, creating a functional feeder that birds will love. Additionally, using recycled materials can spark creativity and discussion about how we can help the planet.
Next, natural materials are an excellent choice for making bird feeders. Pine cones, for example, are not only readily available but also make for an engaging project. Kids can gather them from the yard or a nearby park, and then use them as the base for a bird feeder. When combined with peanut butter and seeds, these natural feeders become irresistible to birds. Other natural materials like twigs, leaves, and acorns can also be incorporated into your designs, allowing children to connect with nature while they craft.
If you prefer to buy materials, store-bought supplies are available that are specifically designed for bird feeders. Look for items like birdseed, non-toxic paints, and even feeder kits that provide everything you need for a successful project. However, always ensure that any materials you choose are safe for children. Avoid items that may contain harmful chemicals or sharp edges. For instance, when selecting paints for decoration, opt for non-toxic, child-friendly options to keep the crafting environment safe.
In summary, as you embark on this delightful journey of creating bird feeders with your kids, keep in mind the importance of choosing the right materials. By focusing on recycled items, natural elements, and safe store-bought supplies, you can foster creativity, environmental awareness, and most importantly, quality family time. This process not only results in beautiful bird feeders but also instills a sense of responsibility towards nature in your children.
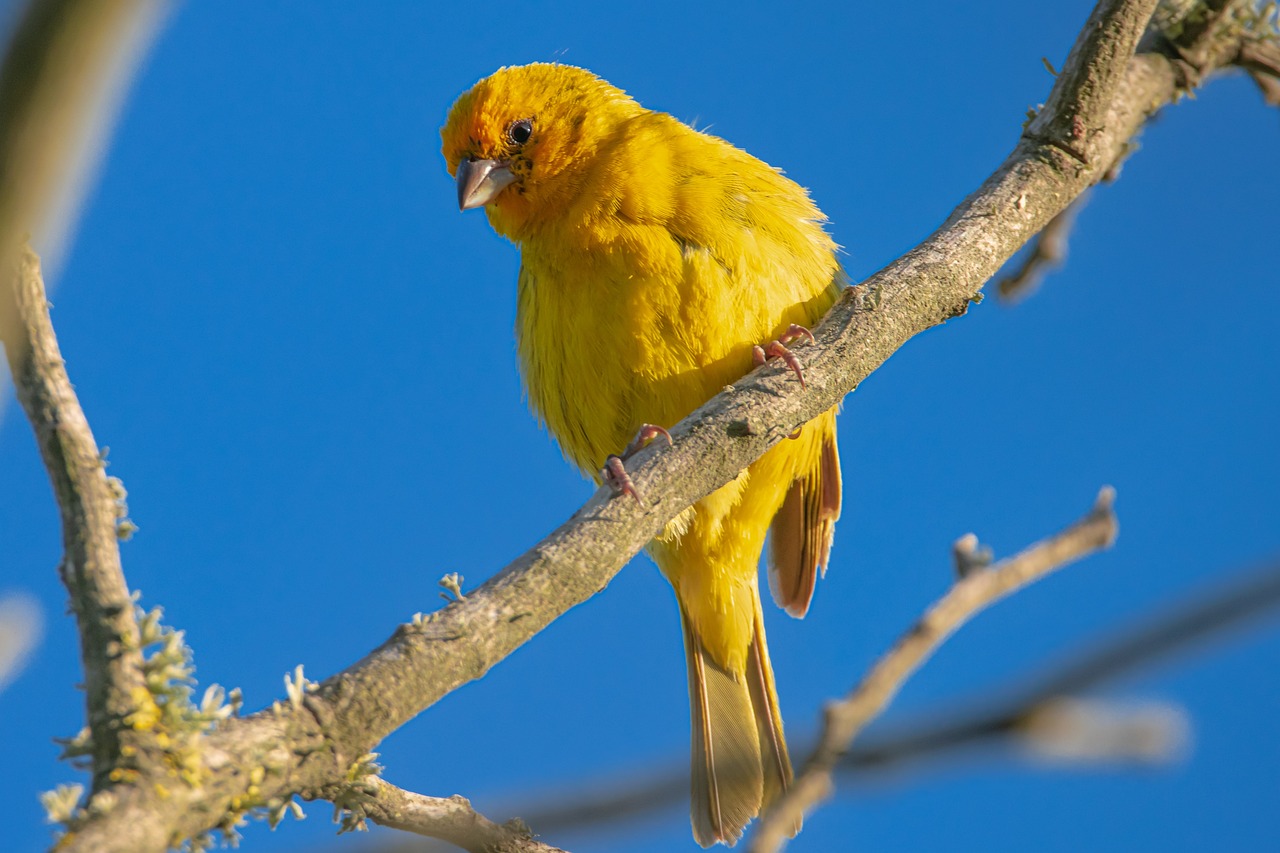
Simple Bird Feeder Designs
When it comes to making bird feeders with kids, simplicity is key. After all, the goal is to inspire creativity and foster a love for nature without overwhelming little hands. There are numerous easy designs that are perfect for young crafters, allowing them to engage in the process while learning about the feathered friends that will visit their creations. These designs not only serve a practical purpose but also transform into delightful art pieces that can brighten up any backyard.
One of the most exciting aspects of crafting bird feeders is the variety of shapes and structures you can explore. Imagine a whimsical bird feeder shaped like a butterfly or a simple square that resembles a house. Each design can be customized to reflect your child's personality, making the project even more special. Here are a couple of standout designs that are particularly kid-friendly:
This classic project is not only simple but also incredibly fun! Kids love the sticky texture of peanut butter, and they will be thrilled to see birds flocking to their handiwork. To create these feeders, all you need are pine cones, peanut butter, and birdseed. The process is straightforward: spread peanut butter over the pine cone, roll it in birdseed, and hang it outside. It's a fantastic way to teach children about the types of birds that will visit and the importance of feeding wildlife, especially during the colder months.
Here’s a quick guide to making your own peanut butter pine cone feeders:
- Gather your materials: pine cones, peanut butter, birdseed, and string.
- Spread a generous layer of peanut butter all over the pine cone.
- Roll the peanut butter-covered pine cone in birdseed until it's well coated.
- Attach a piece of string to the top of the pine cone for hanging.
- Find a suitable branch in your yard and hang the feeder!
If you want to spice things up, consider experimenting with different ingredients. For instance, you can substitute peanut butter with lard or suet, which can be mixed with seeds, dried fruits, or even nuts. This not only attracts a wider variety of birds but also adds an element of surprise to your bird-watching experience. The more diverse the food, the more diverse the visitors!
Another fantastic option for kids is the milk jug bird feeder. This project is an excellent way to recycle those empty milk jugs that often end up in the trash. By cutting a few openings in the jug and filling it with birdseed, you create a functional feeder that's also eco-friendly. Plus, kids can easily decorate the jug, turning it into a colorful addition to your yard. To make these feeders, simply follow these steps:
- Rinse out an empty milk jug and remove the label.
- Cut a few small openings near the bottom for birds to access the seeds.
- Fill the jug with birdseed and replace the cap.
- Attach a string or wire to hang the feeder securely.
As a bonus, you can even create a small platform at the bottom of the jug for birds to perch on while they eat. This will not only make it easier for them to feed but also allow your kids to observe the birds up close!
In conclusion, the world of DIY bird feeders is rich with possibilities. From peanut butter pine cone feeders to creative milk jug designs, the only limit is your imagination. Engaging your kids in these projects not only nurtures their creativity but also instills a sense of responsibility towards nature and wildlife. So gather your materials, roll up your sleeves, and let the crafting begin!
1. What types of birds will come to my feeders?
Different bird feeders attract different species. For example, sunflower seeds attract finches, while suet feeders are popular with woodpeckers. Observing which birds visit can be a fun learning experience for kids!
2. How can I ensure the feeders are safe for birds?
Using non-toxic materials and ensuring the feeders are cleaned regularly will keep the birds safe and healthy. Avoid using any materials that could be harmful if ingested.
3. Can we decorate the feeders?
Absolutely! Decorating feeders can be a fun part of the process. Just ensure to use non-toxic paints and materials that won't harm the birds.
4. How often should we refill the feeders?
It depends on the number of birds visiting and the type of food used. Generally, check the feeders every few days and refill as needed, especially during peak feeding times.
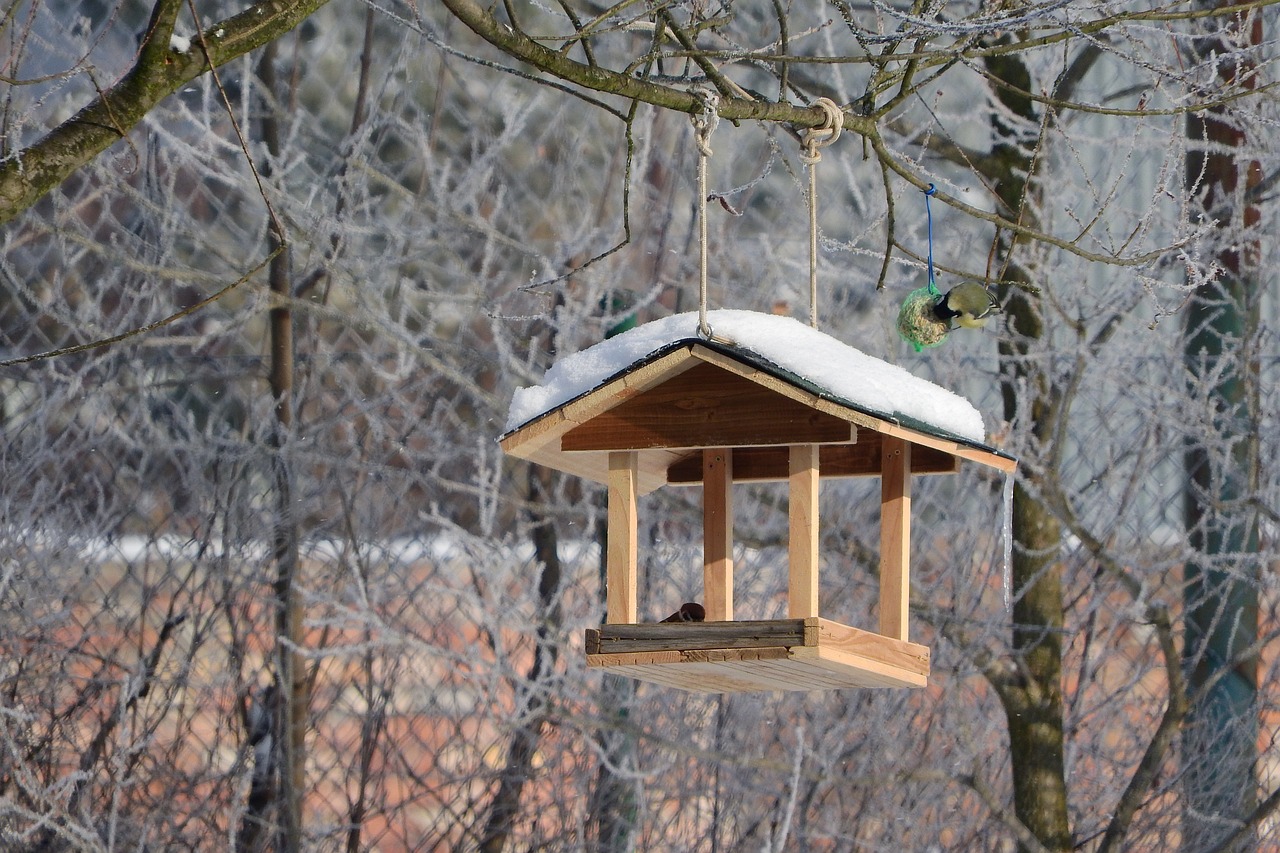
Peanut Butter Pine Cone Feeders
Ah, the peanut butter pine cone feeder! This delightful and simple project is not just a crafty endeavor; it's a gateway to introducing your kids to the wonders of nature. Imagine the excitement on their faces as they create something that will attract beautiful birds right to your backyard. The best part? You probably have most of the materials lying around your home!
To get started, all you need is a pine cone, some peanut butter, and birdseed. It's a fantastic way to teach children about the importance of feeding our feathered friends, especially during the colder months when food is scarce. But why pine cones, you ask? They have a natural shape that makes them perfect for holding peanut butter and seeds, allowing birds to cling on while they munch away. Plus, they’re readily available and eco-friendly!
When it comes to the types of birds that this feeder attracts, you'll be pleasantly surprised. Chickadees, finches, and nuthatches are just a few of the visitors you might see. These little creatures are not only charming but also add a splash of life and color to your garden. So, let’s dive into the step-by-step instructions for creating your own peanut butter pine cone feeders!
Creating a peanut butter pine cone feeder is a breeze! Follow these simple steps:
- Gather your materials: a pine cone, peanut butter, birdseed, and some string (optional).
- Using a butter knife or a spoon, spread a generous amount of peanut butter all over the pine cone. Make sure to get into all the nooks and crannies!
- Next, roll the peanut butter-covered pine cone in birdseed. You want to ensure that it’s well-coated, as this will attract the birds.
- If you're using string, tie a piece around the top of the pine cone to hang it easily in a tree or from a hook.
- Finally, find a suitable spot in your yard, hang the feeder, and sit back to enjoy the show!
It's that simple! This project not only fosters creativity but also builds anticipation as your children wait to see which birds will come to visit. Plus, it’s a great opportunity to teach them about different bird species and their habits.
If you're feeling adventurous, why not explore some variations of the classic peanut butter pine cone feeder? Instead of just using birdseed, you can try:
- Mixing in dried fruits like raisins or cranberries for a sweet treat.
- Incorporating nuts (make sure they’re safe for the birds) for added protein.
- Using sunflower seeds or millet to attract different types of birds.
These variations not only diversify the types of birds that visit but also allow your children to experiment with different textures and flavors, making the process even more engaging. So gather your supplies, roll up your sleeves, and let the fun begin!
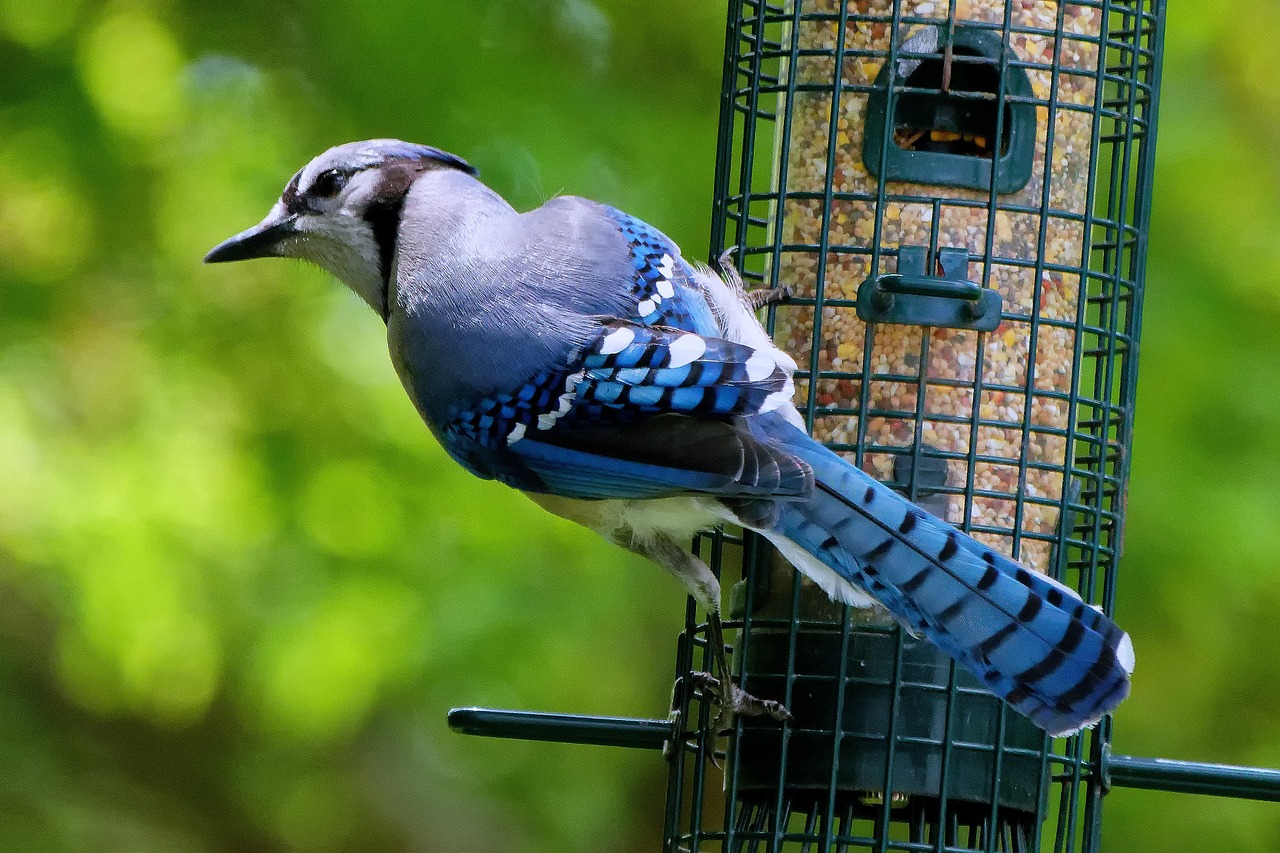
Step-by-Step Instructions
Creating peanut butter pine cone feeders is not just a fun activity; it's a fantastic way to bond with your kids while also teaching them about nature and wildlife. To kick off this delightful project, you'll need a few simple materials, which you probably already have at home. Gather the following items:
- Pine cones (the bigger, the better!)
- Peanut butter (make sure it's not the sugar-free kind, as it may contain xylitol, which is harmful to pets)
- Birdseed (choose a mix that attracts local birds)
- String or yarn (for hanging the feeders)
- A plate or tray (to hold the birdseed)
Once you have your materials ready, it's time to dive into the crafting process. Here's how to make your very own peanut butter pine cone feeder:
- Prep the Pine Cone: Start by cleaning the pine cone under running water to remove any dirt or debris. Pat it dry with a towel and let it sit for a few minutes to ensure it's completely dry.
- Apply the Peanut Butter: Using a butter knife or a spatula, generously spread peanut butter all over the pine cone. Make sure to fill in all the crevices so that the birdseed will stick well. This part is especially fun for kids, as they can get their hands a little messy!
- Coat with Birdseed: Once the pine cone is coated in peanut butter, roll it in a plate or tray filled with birdseed. Ensure that the seeds adhere to the peanut butter, creating a delightful feast for the birds.
- Attach the String: Cut a piece of string or yarn about 12 inches long. Tie one end around the top of the pine cone, creating a loop for hanging. Make sure it's secure so the feeder doesn’t fall!
- Hang Your Feeder: Choose a suitable location in your yard or garden. Ideally, hang it from a tree branch or a hook where birds can easily access it but are also safe from predators.
And voilà! You've created a peanut butter pine cone feeder. Not only is this a fantastic craft, but it's also an opportunity to observe the various birds that will come to visit your creation. You might even want to keep a birdwatching journal to note down the different species you see!
As you and your kids enjoy this project, consider exploring variations. For instance, you can try using different types of seeds or even adding dried fruits to the peanut butter mix. Each variation can attract different types of birds, making your backyard a bustling hub of activity.
Q: What types of birds will visit my peanut butter pine cone feeder?
A: Common visitors include chickadees, nuthatches, and woodpeckers. The variety of birds may depend on your location and the types of seeds used.
Q: Can I use other types of nut butter?
A: Yes, you can use other nut butters like almond or sunflower seed butter, but ensure they are safe for birds. Avoid any butter that contains harmful additives.
Q: How often should I refill the feeder?
A: It’s best to check the feeder every few days, especially during peak feeding times. Refill it as needed, and clean it regularly to prevent mold growth.
Q: Is this activity safe for young children?
A: Absolutely! Just supervise them during the crafting process, especially when using tools like knives for spreading peanut butter.
Variations to Try
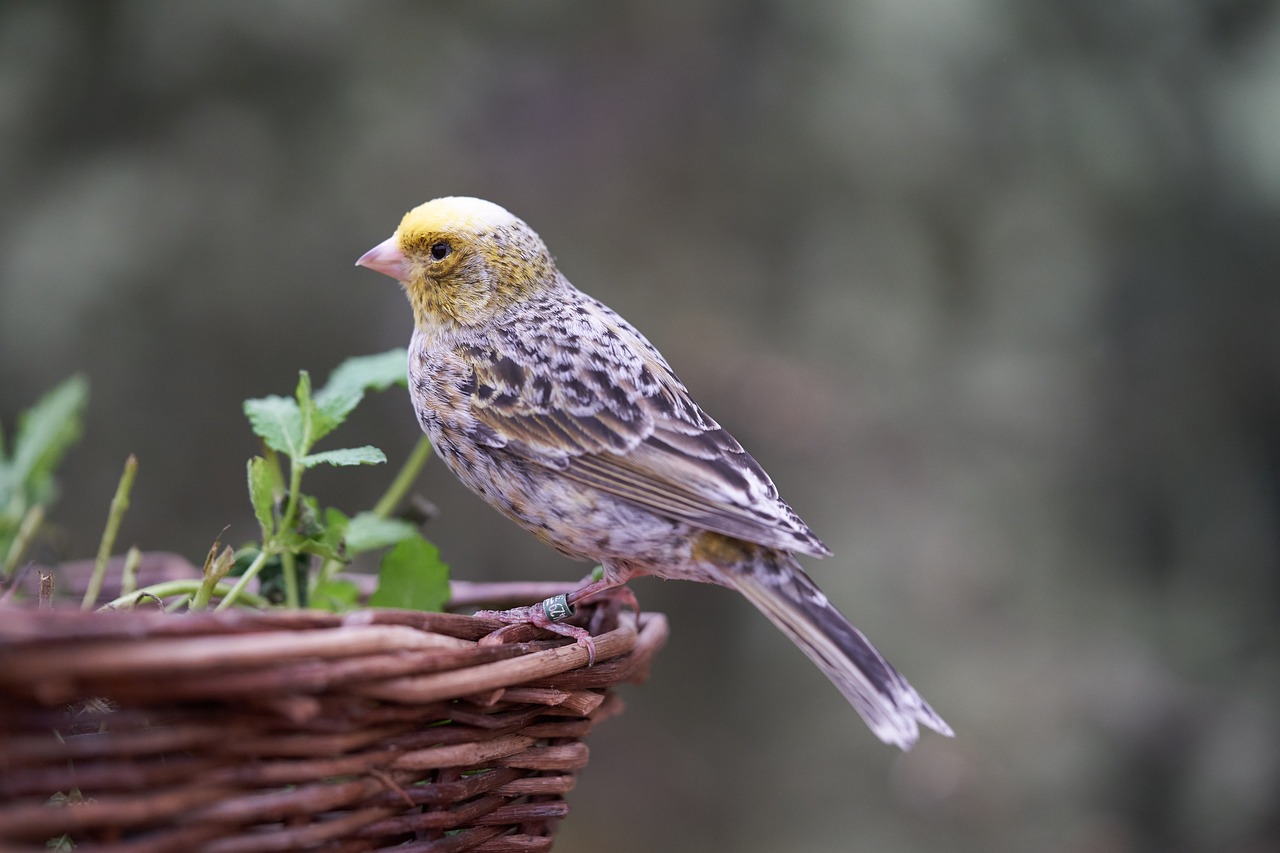
When it comes to creating peanut butter pine cone feeders, the fun doesn't have to stop with just one recipe! In fact, experimenting with different ingredients can turn this simple project into an exciting adventure for your kids. Why not try incorporating a variety of seeds or dried fruits? This not only attracts a wider range of birds but also allows your little ones to get creative in the kitchen!
For instance, you can mix birdseed with peanut butter for a classic combination that birds love. But wait, there’s more! Consider rolling the peanut butter-covered pine cone in a blend of sunflower seeds, millet, and even some dried cranberries or raisins. This delightful mix will not only be a feast for the birds but also a visual treat for your children as they watch the birds flock to their creation.
Another variation to consider is using suet, which is a high-energy food that many birds find irresistible. Simply melt some suet and mix in seeds, nuts, or even bits of fruit, then pour the mixture over your pine cone. Once it hardens, hang it outside and watch as the birds come to enjoy this nutritious snack. This is a fantastic way to teach kids about the different dietary needs of birds and how they vary by season.
Additionally, if you want to elevate your bird feeder game, think about adding a splash of color! You could use colored seeds or even edible glitter to make the feeders more visually appealing. Kids love anything that sparkles, and it could inspire them to spend more time observing the beautiful birds that come to visit.
Finally, don't forget about the location of your feeders! Experimenting with different hanging spots can also yield surprising results. Some birds prefer feeders that are near trees or shrubs where they feel safe, while others might be more adventurous. Encourage your kids to observe and take notes on which birds visit each feeder and what they seem to prefer. This can turn into a fun science project, blending creativity with learning!
Q: What types of birds are attracted to peanut butter pine cone feeders?
A: Many birds enjoy peanut butter, including woodpeckers, chickadees, and nuthatches. The added seeds can attract even more species!
Q: Are there any safety concerns when making bird feeders with kids?
A: Always use non-toxic materials and supervise younger children, especially when using sharp tools like scissors or knives.
Q: How can we ensure the bird feeders are environmentally friendly?
A: Opt for recycled materials when possible, and avoid using plastic that can harm wildlife. Natural materials are always a great choice!
Q: How often should we refill the bird feeders?
A: It depends on the number of birds visiting, but generally, check the feeders every few days and refill as needed, especially during peak feeding times.
Milk Jug Bird Feeders
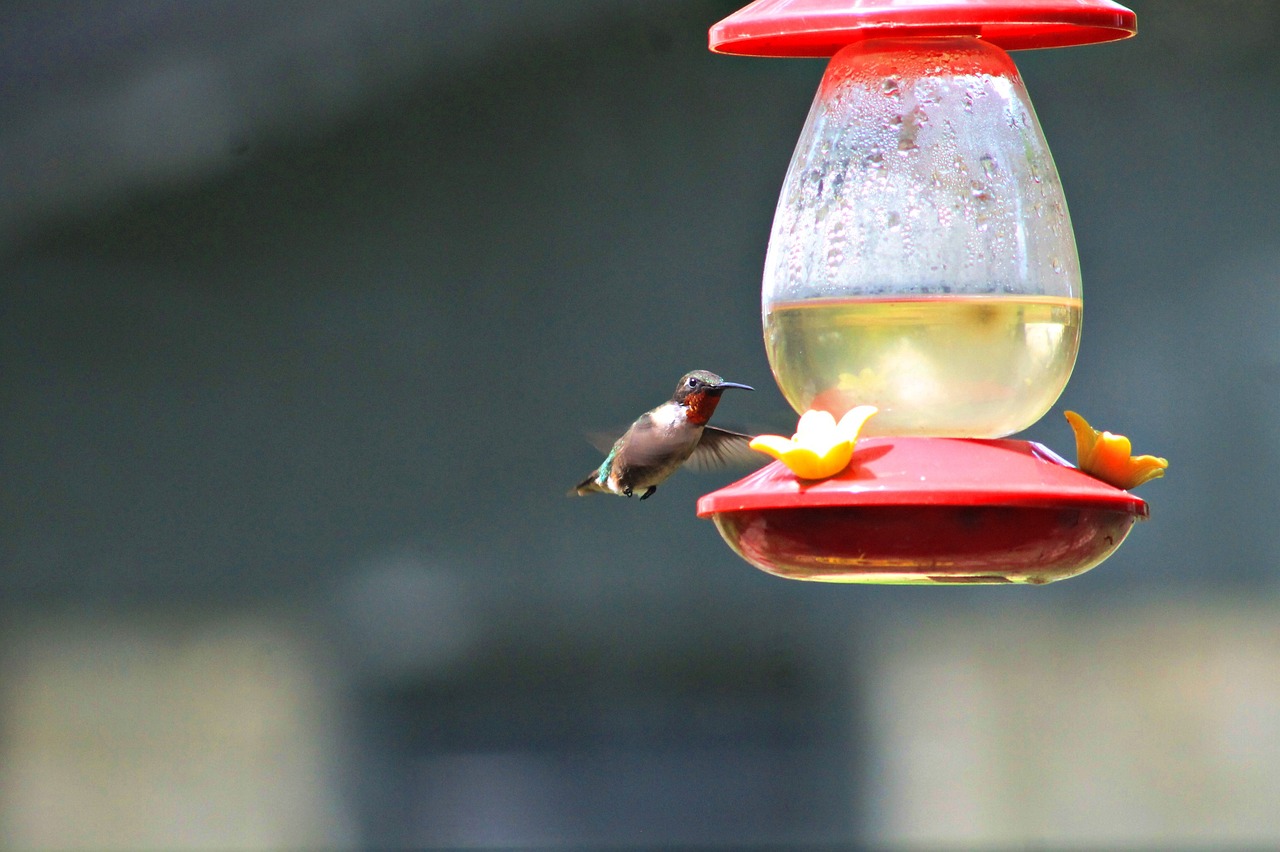
Milk jug bird feeders are a fantastic, eco-friendly project that not only promotes creativity but also teaches kids about recycling and caring for our feathered friends. These feeders are incredibly simple to make, requiring just a few materials you likely already have at home. Imagine transforming an empty milk jug into a vibrant feeding station that attracts a variety of birds! It’s like giving a second life to something that would otherwise end up in the trash. Plus, kids love the hands-on experience of crafting something useful.
To create your own milk jug bird feeder, all you need is an empty milk jug, some birdseed, and a few basic tools. First, rinse out the jug to ensure it’s clean and free from any leftover milk residue. This is important because we want to keep our avian visitors healthy! Then, using a utility knife or scissors (with adult supervision, of course), cut a couple of small openings on the side of the jug. These openings should be just big enough for birds to access the seeds but small enough to keep the seeds from spilling out too easily. You might want to make a few holes at different heights to accommodate various bird species.
Next, fill the bottom of the jug with birdseed, and then replace the cap to keep the seeds fresh. You can even add a decorative touch by painting the jug with non-toxic paints or covering it with colorful paper. This not only makes the feeder more appealing but also allows kids to express their artistic side. Hang the feeder from a tree branch or a hook in your yard, and watch as birds flock to their new dining spot!
One of the best parts about milk jug feeders is that they can be easily modified to attract different types of birds. For instance, you can create a platform feeder by cutting the bottom off the jug and placing it upside down on a flat surface, allowing birds to perch while they eat. You can also experiment with different types of seeds, such as sunflower seeds, millet, or mixed birdseed, to see which attracts the most visitors. Just like a buffet, different birds have different preferences!
In addition to being fun and educational, making milk jug bird feeders is a wonderful way to spend quality time with your kids. It’s an opportunity to discuss the importance of birds in our ecosystem and how we can help them thrive. So, roll up your sleeves, gather those milk jugs, and get ready for a delightful crafting adventure that will bring nature right into your backyard!
Q: What types of birds can I attract with milk jug feeders?
A: Milk jug feeders can attract a variety of birds, including finches, sparrows, and chickadees, depending on the type of seed you use.
Q: How can I keep the bird feeder clean?
A: It's a good idea to clean the feeder every couple of weeks. Simply rinse it out with water and let it dry before refilling it with seeds.
Q: Can I use other types of jugs or containers?
A: Absolutely! You can use any plastic container, such as juice jugs or detergent bottles, as long as they are clean and safe for the birds.
Decorating Your Bird Feeders
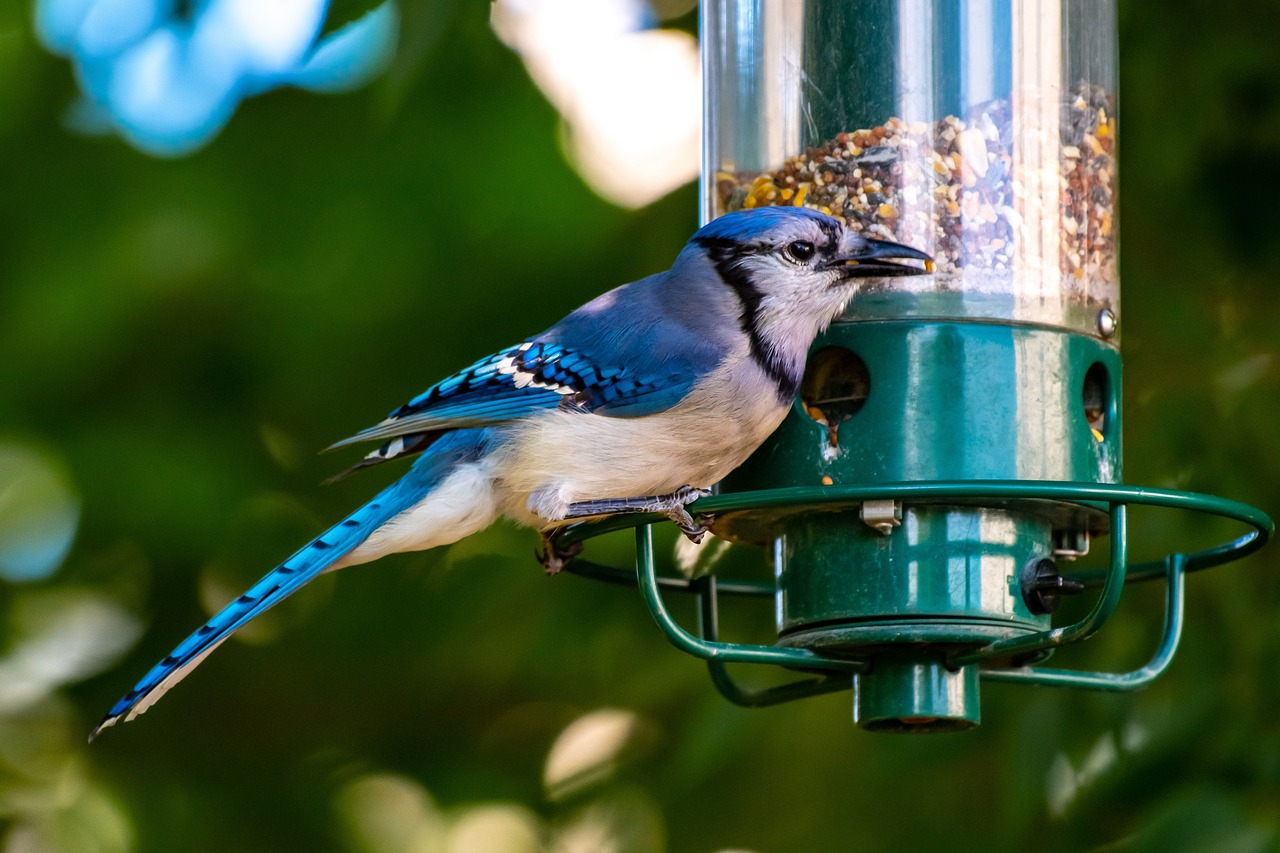
When it comes to making bird feeders with your kids, the fun doesn't stop at just assembling them. In fact, can turn a simple project into a vibrant expression of creativity! Imagine your backyard filled with colorful, personalized feeders that not only attract birds but also showcase your family's artistic flair. This is where the real magic happens, and it's an excellent opportunity for kids to unleash their imagination.
One of the most exciting aspects of decorating your bird feeders is the variety of materials you can use. From non-toxic paints to natural decorations like twigs and leaves, the possibilities are endless. It's like giving your children a blank canvas to express themselves while simultaneously creating something that benefits local wildlife. Plus, the more unique the design, the more likely it is to catch the attention of curious birds!
When selecting paints for your projects, it's crucial to opt for non-toxic options. Many craft stores offer child-friendly paints that are safe for both kids and the environment. This ensures that your little ones can get creative without any worries about harmful chemicals. You might even want to set up a mini paint station outside, allowing the kids to paint their feeders while enjoying the fresh air and sunshine!
In addition to paint, incorporating natural decorations can add an organic touch to your bird feeders. Think about using items like:
- Twigs and branches for a rustic look
- Leaves to create a natural camouflage
- Flowers or petals for a splash of color
These elements not only enhance the aesthetic appeal of the feeders but also foster a deeper connection with nature. Kids can learn about different types of plants and how they can be used in art, making the entire experience educational as well as fun.
As you and your children embark on this decorating adventure, don’t forget to encourage them to think outside the box. Maybe they want to create a bird feeder that looks like a flower or one that resembles a castle. The sky's the limit! You could even host a friendly competition to see who can create the most imaginative bird feeder. This not only boosts creativity but also adds a layer of excitement to the project.
Once the feeders are decorated and dried, hang them in your backyard and watch as birds flock to your creative masterpieces. You might even want to keep a journal to note which birds visit and what they prefer. This can turn into a fun family activity, as everyone can take turns observing and recording the feathered friends that come to visit.
In conclusion, decorating your bird feeders is a fantastic way to engage kids in a creative project while promoting environmental awareness. By using safe materials and encouraging artistic expression, you’re not just making bird feeders; you’re creating lasting memories and fostering a love for nature in your children.
Here are some common questions you might have about decorating bird feeders with your kids:
- What types of paint are safe for kids to use? Look for non-toxic, water-based paints that are labeled as child-friendly.
- Can we use glue for decorations? Yes, but ensure it is also non-toxic and safe for children.
- How can we clean the feeders after decorating? Use a mild soap and water solution to gently clean the feeders without damaging the decorations.
- What kind of birds can we attract with our decorated feeders? Depending on the food used, you can attract various species such as finches, sparrows, and even woodpeckers.
Using Non-Toxic Paints
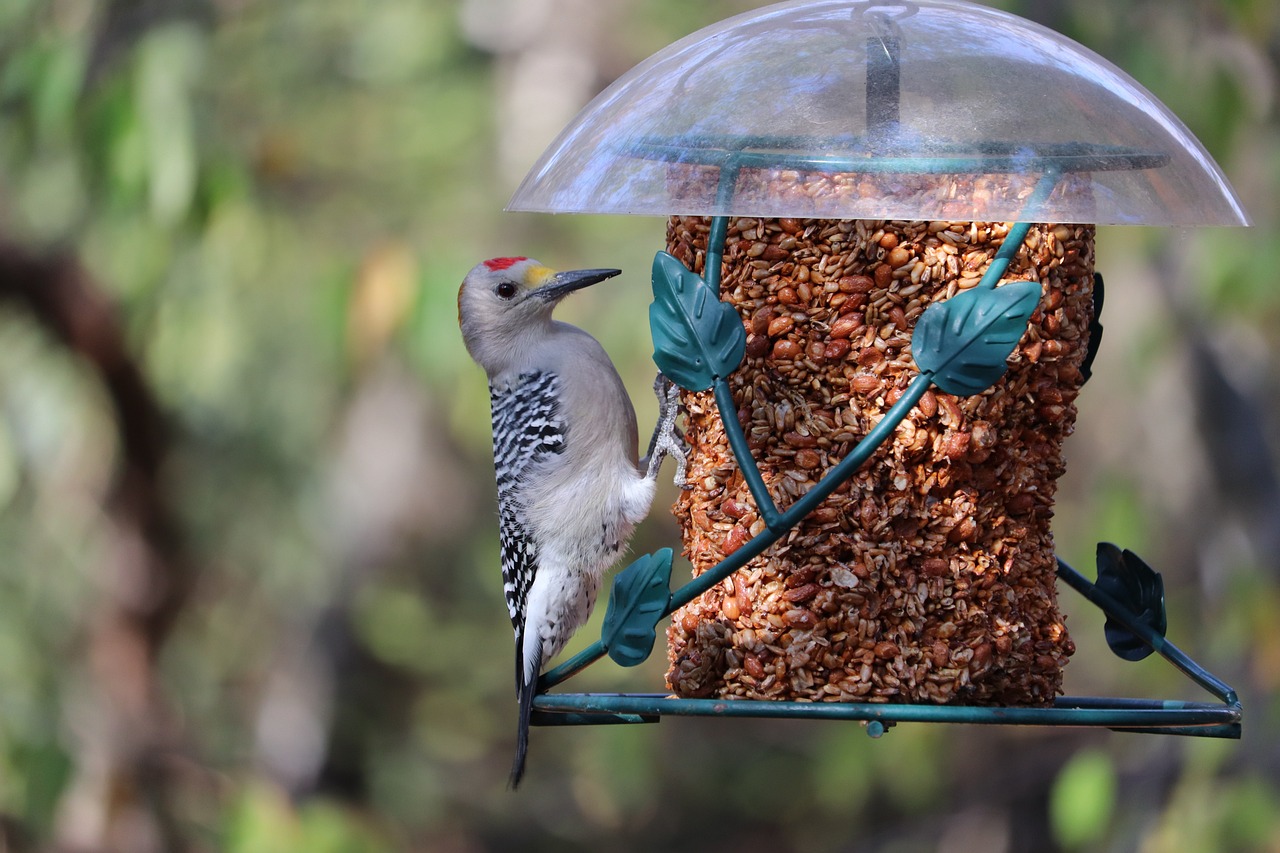
When it comes to decorating your DIY bird feeders, choosing non-toxic paints is not just a good idea; it's essential for ensuring the safety of the birds that will visit your feeders. Kids love to express their creativity, and what better way to do this than by adding vibrant colors to their bird feeders? However, the paints we choose can have a significant impact on the environment and the wildlife around us. Using non-toxic paints means you can let your children unleash their artistic flair without worrying about harmful chemicals leaching into the environment or affecting the birds.
There are many brands on the market that provide safe, non-toxic paint options. When shopping for paints, look for those labeled as water-based or child-safe. These paints are less likely to contain harmful substances and are easier to clean up, which is definitely a plus when crafting with kids! Additionally, always check for certifications like AP Non-Toxic or ASTM D-4236, which indicate the paint has been tested for safety.
It’s also wise to involve your children in the decision-making process. You can set up a small “paint testing” station where they can try out different colors and finishes. Not only does this make them feel included, but it also teaches them about making informed choices when it comes to their art supplies. Consider creating a simple chart to track which paints are safe and which ones to avoid:
| Paint Brand | Non-Toxic Status | Notes |
|---|---|---|
| Brand A | Yes | Water-based, vibrant colors |
| Brand B | No | Contains harmful chemicals |
| Brand C | Yes | Child-safe, easy cleanup |
As your kids paint their feeders, encourage them to think about the colors that attract birds. Bright colors like red, yellow, and orange can catch the eye of feathered friends, while earthy tones might blend in with the surroundings. This can be a fun lesson in color theory and nature, making the crafting experience even more enriching.
Lastly, remind your children that after the paint dries, they can further enhance their feeders with natural decorations, such as twigs, leaves, or even dried flowers. This not only adds texture and interest to their creations but also fosters a deeper connection with nature. So, let their imaginations run wild, knowing that they are using materials that are safe for both their health and the environment!
Natural Decorations
When it comes to making bird feeders, incorporating not only enhances their visual appeal but also fosters a deeper connection between your kids and the environment. Imagine transforming a simple bird feeder into a vibrant piece of art that reflects the beauty of nature! Using elements like twigs, leaves, flowers, and even seeds can create a stunning display that attracts both birds and the admiration of your neighbors.
One of the most exciting aspects of using natural decorations is the opportunity for children to explore their surroundings. A simple walk in the garden or a nearby park can yield a treasure trove of materials. Twigs can be used to create a rustic border around the feeder, while leaves can be glued on to mimic the look of a leafy canopy. Flowers, whether dried or fresh, can add a splash of color, making the feeder not just a source of food but also a delightful garden ornament.
As you embark on this creative journey, consider the following ideas to inspire your kids:
- Nature Collages: Use leaves and petals to create beautiful collages on the feeder. This not only looks great but also allows kids to learn about different plant species.
- Seed Art: Glue seeds in patterns or shapes on the feeder. This can attract birds while providing a fun, tactile activity for the kids.
- Twigs and Branches: Create a natural frame using twigs. This adds a rustic charm and can be a great conversation starter!
Not only does using natural decorations make the bird feeders more visually appealing, but it also teaches children about the importance of sustainability and using resources that are readily available. It’s a fantastic way to encourage kids to think about how they can repurpose materials from nature instead of relying solely on store-bought items.
Moreover, incorporating natural elements can have practical benefits too. For instance, using pine needles or leaves can help camouflage the feeder, making it less conspicuous to predators, while still being inviting to our feathered friends. This balance of aesthetics and functionality is what makes decorating bird feeders such a rewarding experience.
Lastly, don't forget to involve your kids in the cleanup process! After crafting, collecting any leftover materials can instill a sense of responsibility and respect for nature. So, gather those twigs and leaves, get creative, and watch as your homemade bird feeders become a beautiful addition to your backyard, attracting a variety of birds while creating lasting memories with your children.
Q: What are some safe natural materials to use for decorating bird feeders?
A: Safe materials include twigs, leaves, dried flowers, and seeds. Ensure that any materials used are non-toxic and safe for birds.
Q: How can we make sure the decorations last?
A: To prolong the life of natural decorations, consider using a sealant that is safe for outdoor use. However, keep in mind that natural materials may degrade over time, which is part of their charm!
Q: Can we use food items as decorations?
A: Absolutely! Items like sunflower seeds, peanuts, and dried fruits can be both decorative and functional, attracting birds while adding color to your feeders.
Frequently Asked Questions
- What materials are best for making bird feeders with kids?
When crafting bird feeders with children, it's essential to choose materials that are safe and eco-friendly. Some great options include recycled items like milk jugs and toilet paper rolls, natural materials such as pine cones and twigs, or even store-bought supplies like birdseed and non-toxic paint. By using these materials, you not only engage kids in a fun activity but also promote environmental awareness!
- Are peanut butter pine cone feeders safe for birds?
Absolutely! Peanut butter pine cone feeders are a classic choice and are safe for birds. The peanut butter provides a high-energy food source that many birds love. Just make sure to use natural peanut butter without added sugars or salt, as these can be harmful to our feathered friends. Plus, it's a fun and easy project that kids can get excited about!
- How can we decorate our bird feeders?
Decorating bird feeders can be a blast! Kids can use non-toxic paints to add vibrant colors and personal touches. Additionally, natural decorations like leaves, flowers, and twigs can enhance the feeder's appeal while connecting children with nature. Just ensure that any materials used are safe for both the kids and the birds!
- What types of birds will visit our feeders?
The types of birds that visit your feeders will depend on the food you provide and your location. Common visitors include finches, sparrows, and chickadees. Using a variety of seeds and natural ingredients can attract a wider range of species, making birdwatching a delightful experience for kids and adults alike!
- Can we use leftover food to attract birds?
While some leftover food can be suitable for birds, it's crucial to be cautious. Foods like stale bread or overly processed snacks can be harmful. Instead, focus on using natural options like seeds, dried fruits, or nuts. Always research what specific birds in your area enjoy to ensure you’re providing a safe and healthy meal!
- How can we ensure our bird feeders are safe for kids?
To keep crafting fun and safe, always supervise kids during the process. Choose non-toxic materials, and avoid sharp tools where possible. If using paint, opt for child-friendly, non-toxic options. By prioritizing safety, you can create a fun environment for kids to explore their creativity while making bird feeders!


