Pattern Play: Fun and Inspirational Mosaic Projects for Kids
Mosaic art is not just a creative outlet; it's a magical journey into the world of colors, shapes, and imagination. If you're looking for an engaging way to spark your child's creativity, then mosaic projects are the perfect solution. They combine art and play, allowing kids to express themselves while developing essential skills. Imagine your child piecing together vibrant tiles, buttons, or even recycled materials to create a stunning masterpiece. It’s like building a colorful puzzle that tells a story, and the best part is, there are no limits to what they can create!
In this article, we’ll dive into various fun and educational mosaic projects that will inspire your little artists. From learning about different materials to discovering techniques that make their projects shine, we’ll cover it all. Plus, we’ll explore creative themes that can ignite their imagination and give them the confidence to showcase their work. So, grab your supplies, and let’s get started on this colorful adventure!
Mosaic art offers numerous benefits for children, including enhanced creativity, improved hand-eye coordination, and increased patience. Engaging in this art form can also boost self-esteem as kids see their creations come to life. When children work on mosaic projects, they learn to think outside the box, experimenting with colors and shapes. This process not only fosters creativity but also encourages problem-solving skills as they figure out how to fit different pieces together.
Moreover, the tactile experience of handling various materials helps develop fine motor skills. As they cut, glue, and arrange their mosaic pieces, they refine their dexterity and coordination. Patience is another crucial lesson learned through mosaic art; waiting for glue to dry or deciding where to place each piece teaches kids the value of perseverance. The joy of completing a mosaic can lead to a significant boost in self-esteem, making children proud of their hard work and creativity.
A variety of materials can be used for mosaic projects, ranging from traditional tiles to recycled items. This section outlines the essential supplies and creative alternatives to make mosaic art accessible and fun. The beauty of mosaic art lies in its versatility; you can use just about anything! Here are some common materials that can be utilized:
- Glass Tiles: These come in various colors and sizes, adding a professional touch to any project.
- Buttons: A fun way to incorporate color and texture, buttons can be found in many shapes and sizes.
- Recycled Materials: Think old CDs, bottle caps, or even pieces of broken pottery. They can add a unique flair to your mosaic.
- Paper and Cardboard: Great for beginners, these materials are easy to cut and manipulate.
Having a variety of materials not only keeps the projects interesting but also encourages kids to think creatively about what they can use. The more diverse the materials, the more unique the final piece will be!
Selecting the appropriate base for a mosaic project is crucial. Options include wood, cardboard, and canvas, each offering unique textures and durability for different age groups and skill levels. For instance, wooden boards provide a sturdy surface for mosaics, making them ideal for both indoor and outdoor projects. They can withstand various weather conditions, allowing for creative outdoor displays.
On the other hand, using cardboard and paper is a cost-effective way to introduce kids to mosaic art. These materials are lightweight and easy to manipulate, making them suitable for younger children and beginners. Regardless of the base chosen, the key is to ensure it's something that will support the mosaic pieces securely.
Learning mosaic techniques can empower kids to create their own designs. This section provides a straightforward guide to help children understand the process, from planning to execution. Before diving into the actual work, kids should spend some time designing their mosaic. Sketching out ideas and selecting colors will not only help in visualizing the final product but also make the execution smoother.
Encourage your child to brainstorm ideas and sketch their design on paper before starting. This can be as simple as drawing shapes or as intricate as planning a scene. Choosing a color palette is equally important; it can set the mood for the entire piece. Once they have a clear design in mind, they can start gathering materials and preparing to bring their vision to life!
Inspiration can come from various themes when creating mosaics. This section explores different themes, such as nature, animals, and geometric patterns, to spark children's imagination. Nature-inspired mosaics allow children to explore the beauty of the outdoors. They can incorporate natural elements and colors into their designs, creating pieces that reflect their favorite aspects of nature.
Geometric patterns offer a structured approach to mosaic art. Simple shapes and designs can be easily crafted by kids, promoting spatial awareness and design skills. The possibilities are endless, and the only limit is their imagination!
Once completed, displaying mosaic art can enhance children's pride in their work. Setting up a mosaic gallery at home allows children to showcase their artwork. They can arrange pieces creatively and invite family and friends to admire their creations. Participating in community exhibitions can also foster a sense of belonging, allowing young artists to share their mosaics and connect with others.
Q: What age is appropriate for kids to start mosaic projects?
A: Kids as young as 4 years old can start with simple mosaic projects using safe materials like paper and cardboard. As they grow older, they can progress to more complex materials.
Q: What materials are best for beginners?
A: For beginners, lightweight materials like cardboard, paper, and buttons are ideal. They are easy to manipulate and safe for young children.
Q: How can I encourage my child to be creative with their mosaics?
A: Encourage them to explore different themes and materials. Let them express their ideas freely and remind them that there are no mistakes in art!
Benefits of Mosaic Art for Kids
Mosaic art is not just about putting pieces together; it's a delightful journey that offers a treasure trove of benefits for children. First and foremost, it enhances their creativity. When kids engage in mosaic projects, they are encouraged to think outside the box and express their unique ideas through colorful patterns and designs. This creative process can be likened to painting with tiles, where each piece is a brushstroke in a larger masterpiece. Additionally, the act of selecting colors and arranging pieces fosters a sense of ownership and pride in their work.
Moreover, working on mosaics significantly improves hand-eye coordination. As children carefully place each tile or piece, they develop fine motor skills that are essential for many everyday tasks. This meticulous process can be compared to playing a game of Tetris, where precision and timing are key to success. As they cut, arrange, and glue their materials, kids learn to control their movements, which translates into better dexterity in other areas of life, such as writing and sports.
Another remarkable benefit is the increase in patience that mosaic art cultivates. Unlike other art forms that may provide instant gratification, mosaics require time and perseverance. Children learn that good things come to those who wait, as they see their creations evolve piece by piece. This patience can be a valuable life lesson, teaching them to approach challenges with a calm and steady mindset.
Furthermore, the sense of accomplishment that comes from completing a mosaic can significantly boost a child's self-esteem. When they step back and admire their finished work, they gain confidence in their abilities. It’s like planting a seed and watching it grow into a beautiful flower; the joy of seeing their hard work pay off is immeasurable. This newfound confidence can inspire them to tackle more complex projects in the future, fostering a lifelong love for creativity and art.
In summary, the benefits of mosaic art for kids are vast and varied. They include:
- Enhanced Creativity: Encourages self-expression and innovation.
- Improved Hand-Eye Coordination: Develops fine motor skills through precise movements.
- Increased Patience: Teaches the value of perseverance and waiting for results.
- Boosted Self-Esteem: Fosters a sense of accomplishment and confidence in their abilities.
By engaging in mosaic projects, children not only create beautiful art but also build essential life skills that will serve them well in various aspects of their lives.
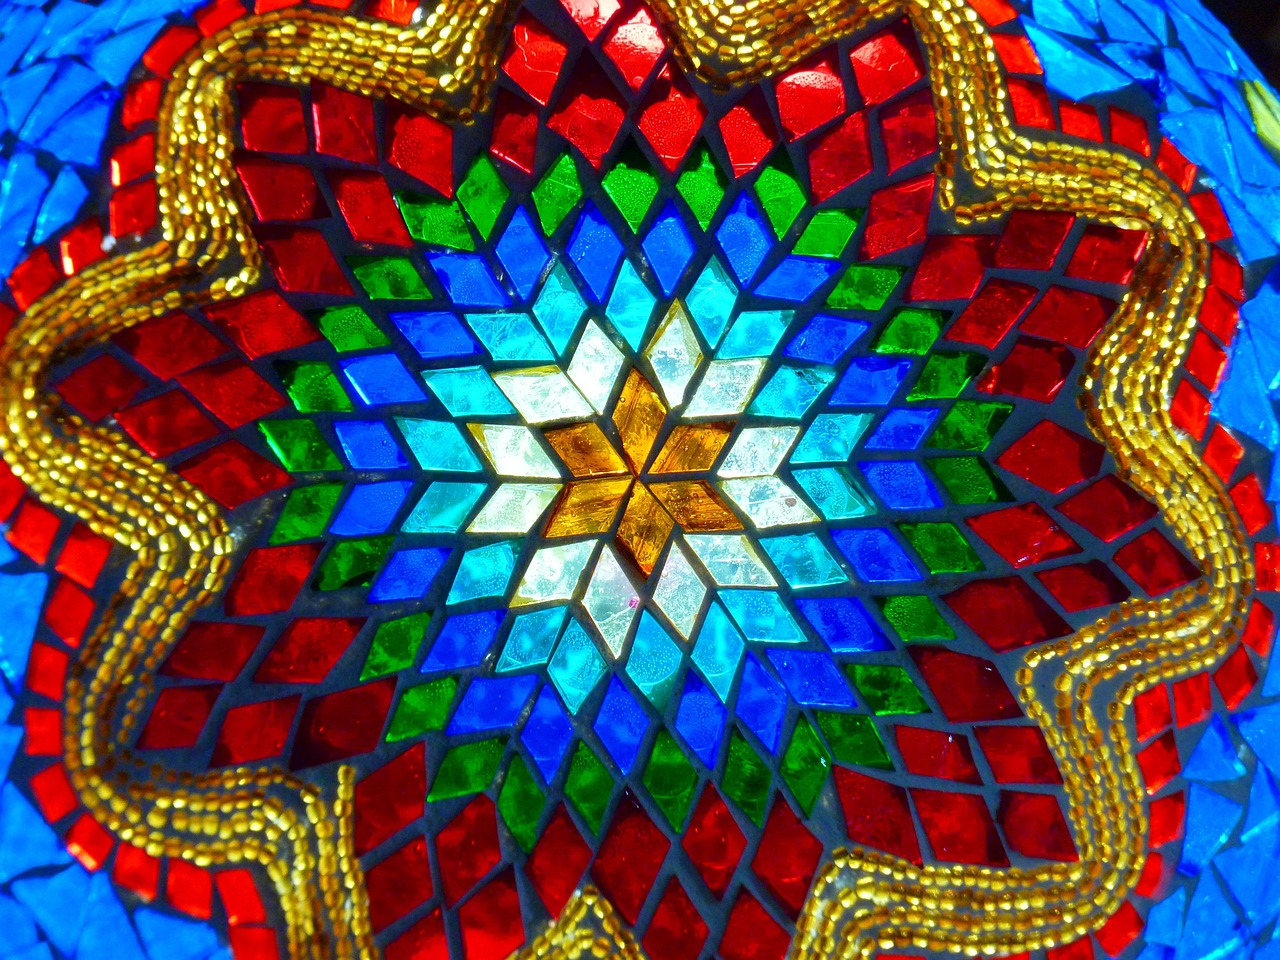
Materials Needed for Mosaic Projects
Mosaic art is a delightful way for children to express their creativity while developing essential skills. To embark on this colorful journey, it's crucial to gather the right materials. The beauty of mosaic projects lies in their versatility; you can use a plethora of items, ranging from traditional to unconventional. The following sections break down the essential supplies, ensuring that every child can dive into the world of mosaics without breaking the bank.
First and foremost, adhesives are a must-have in any mosaic toolkit. Strong glue or adhesive specifically designed for arts and crafts will help secure pieces in place. Next, consider the base for your mosaic. This can be anything from a wooden board to a piece of cardboard or even canvas. Each base material brings its own unique qualities, making the choice an exciting part of the process. For example, wooden boards are sturdy and perfect for outdoor displays, while cardboard is lightweight and great for younger kids just starting out.
When it comes to the mosaic pieces, the options are endless. Traditional glass tiles are a classic choice, but don't shy away from using recycled materials like old CDs, bottle caps, buttons, and beads. These items not only add a unique flair to the artwork but also teach kids about sustainability and creativity. To give you an idea, here's a quick overview of some materials you might consider:
| Material Type | Description | Recommended Age Group |
|---|---|---|
| Glass Tiles | Traditional, colorful tiles that can be cut into various shapes. | 8+ |
| Buttons | Old buttons in various sizes and colors for a playful touch. | 5+ |
| Beads | Colorful beads that can add texture and dimension. | 6+ |
| Recycled Items | Old CDs, bottle caps, or even pieces of broken pottery. | All Ages |
Additionally, having a good set of tools can make the process smoother. Scissors for cutting paper or cardboard, tile nippers for glass tiles, and tweezers for placing tiny pieces can be invaluable. It's also wise to keep a workspace that is easy to clean, as mosaic projects can get a bit messy! Using a plastic tablecloth or an old newspaper can help contain the chaos.
Finally, don’t forget about the finishing touches! A sealant can protect the mosaic and enhance its colors, especially for outdoor projects. This is where kids can really see their hard work shine. With these materials in hand, children are well-equipped to create stunning mosaic masterpieces that they can be proud of!
- What age is appropriate for kids to start mosaic projects? Most children can start engaging in mosaic art around the age of 5, with supervision and appropriate materials.
- Are there any safety concerns with mosaic materials? Yes, it's important to supervise younger children, especially when using glass tiles or sharp tools.
- Can we use items from around the house? Absolutely! Using recycled materials not only saves money but also encourages creativity.
Choosing the Right Base
Choosing the right base for your mosaic project is like selecting the perfect canvas for a masterpiece. The base not only holds your colorful pieces together but also influences the overall look and feel of the artwork. Depending on the age group and skill level of the children involved, different materials can be more suitable. Here are some popular options:
- Wood: Wooden boards are a favorite among many young artists. They provide a sturdy surface that can withstand the test of time, making them perfect for both indoor and outdoor projects. Think of wooden boards as the reliable foundation of a house, supporting creativity while allowing for vibrant outdoor displays.
- Cardboard: If you're looking for a more budget-friendly option, cardboard is an excellent choice. Lightweight and easy to handle, cardboard is ideal for younger children who are just starting to explore the world of mosaics. It’s like giving them a sketchpad—simple and accessible.
- Canvas: For those seeking a more traditional art experience, canvas can be a fantastic base. It allows for a beautiful texture and can be hung on walls, turning a simple mosaic into a stunning piece of decor. Think of canvas as the blank page of a story waiting to be filled with color and imagination.
When selecting a base, consider the project's intended location. If it’s going to be displayed outdoors, wooden boards are ideal due to their durability against weather elements. On the other hand, if the project is meant for a classroom or indoor setting, cardboard or canvas can be perfect for easy handling and storage.
Additionally, the size of the base is important. A larger base allows for more intricate designs, while smaller bases can help children focus on detail without feeling overwhelmed. It's crucial to match the base size with the child's skill level to keep them engaged and motivated.
In conclusion, choosing the right base is a foundational step in creating beautiful mosaics. By considering the age, skill level, and intended display of the artwork, you can set the stage for a fun and educational crafting experience that inspires creativity and joy in every child.
Wooden Boards
When it comes to creating captivating mosaics, stand out as one of the best surfaces for kids to work on. Not only do they provide a sturdy foundation, but they also add a touch of elegance and durability to any mosaic project. Imagine your little artist carefully placing colorful tiles, beads, or even natural materials onto a solid wooden canvas, transforming it into a masterpiece that can be displayed proudly. The tactile experience of working with wood can enhance the creative process, making it more engaging and enjoyable.
One of the great things about wooden boards is their versatility. They can be used for both indoor and outdoor projects, allowing children to express their creativity in various environments. Whether they are crafting a vibrant garden mosaic or an eye-catching indoor decoration, wooden boards can withstand the elements, making them perfect for outdoor displays. Just think about how lovely it would be to see a colorful bird mosaic hanging on a fence or a floral design adorning a garden path!
Here are a few key benefits of using wooden boards for mosaic projects:
- Durability: Wooden boards can endure different weather conditions, making them suitable for outdoor use.
- Ease of Use: They are easy to cut and shape, allowing for various sizes and designs.
- Natural Aesthetic: The natural look of wood adds warmth and charm to any mosaic.
For younger children, it’s important to choose wooden boards that are smooth and free of splinters. You can easily find pre-cut wooden boards at craft stores, or you can cut your own from larger pieces of plywood. Just make sure to sand the edges to ensure safety. Additionally, kids can paint the boards before starting their mosaic, adding another layer of creativity to the project. This not only enhances the visual appeal but also allows them to personalize their work even further.
In summary, wooden boards are an excellent choice for mosaic projects, providing a robust canvas that inspires creativity and offers endless possibilities. They encourage children to explore their artistic potential while enjoying the process of creating something beautiful. So, gather those wooden boards and let your kids unleash their imagination!

Cardboard and Paper
When it comes to introducing mosaic art to children, using is an excellent choice. These materials are not only cost-effective but also lightweight and easy to manipulate, making them perfect for younger children and beginners. Imagine the thrill on a child’s face as they transform simple sheets of cardboard into vibrant works of art! The tactile experience of cutting, arranging, and gluing pieces fosters creativity while developing fine motor skills.
One of the best aspects of using cardboard and paper is that they can be found almost anywhere. You can repurpose materials from around the house, such as old cereal boxes, packaging materials, or even scrap paper. This not only promotes creativity but also teaches kids about recycling and sustainability. It’s like giving a second life to something that would otherwise be discarded!
To get started, gather a few essential supplies:
- Cardboard or thick paper as a base
- Colorful paper, magazines, or wrapping paper for mosaic pieces
- Glue or a glue stick for easy application
- Safety scissors for cutting
Once you have your materials ready, the fun begins! Kids can sketch out their designs on the cardboard base first, allowing them to visualize the final piece. After that, they can cut out shapes from the colorful paper or magazines to fill in their designs. This process not only enhances their imagination but also encourages them to think critically about color combinations and patterns.
Additionally, working with cardboard and paper allows for a variety of techniques. Children can create layered effects by gluing pieces at different heights, or they can experiment with textures by using different types of paper. The possibilities are endless, and the only limit is their imagination!
In conclusion, using cardboard and paper for mosaic projects is a fantastic way to engage children in art. It’s affordable, accessible, and provides an excellent platform for creative expression. So, gather those materials and watch as your child’s creativity unfolds in colorful patterns!
- What age is appropriate for kids to start mosaic projects? Generally, children as young as 4 can start simple mosaic projects with supervision. As they grow, they can tackle more complex designs.
- Can I use other materials besides cardboard and paper? Absolutely! You can incorporate items like tiles, beads, and buttons for more advanced projects.
- How can I display my child's mosaic art? Consider creating a dedicated space at home, such as a gallery wall, or participate in local exhibitions to showcase their work.
Types of Mosaic Materials
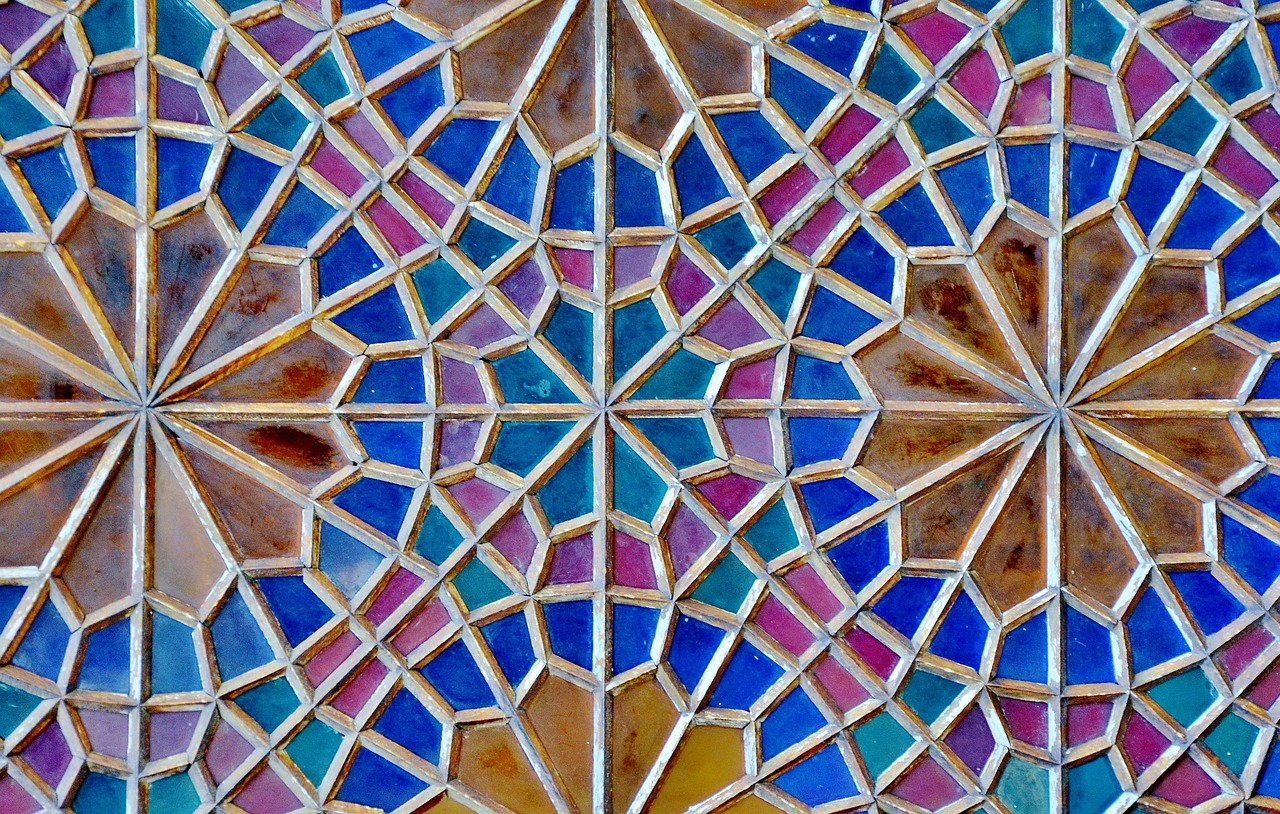
Mosaic art is all about creativity, and one of the best parts is the variety of materials you can use to create stunning designs. The beauty of mosaics lies in their diversity; you can transform almost anything into a piece of art! While traditional materials like glass tiles and ceramics are popular, there’s a whole world of unconventional items that can spark a child's imagination. Imagine using old buttons, colorful beads, or even pieces of nature like leaves and stones to create a vibrant masterpiece. This not only makes the project more exciting but also encourages kids to think outside the box.
When selecting materials, it’s essential to consider both the aesthetic and the tactile experience. Different textures can add depth and interest to the final piece. For instance, smooth glass tiles can create a shiny, polished look, while rough stones can give a rustic feel. Here’s a quick rundown of some exciting materials you can use:
| Material | Description | Best For |
|---|---|---|
| Glass Tiles | Colorful and shiny, perfect for vibrant designs. | Older kids and more advanced projects. |
| Ceramic Pieces | Durable and available in various colors. | All age groups; excellent for outdoor projects. |
| Buttons | Fun shapes and colors; easy to find. | Young children and casual projects. |
| Beads | Available in many colors and sizes; add sparkle. | Great for adding detail to designs. |
| Natural Elements | Stones, leaves, and twigs for an organic feel. | Nature-themed projects; great for exploring textures. |
Each of these materials can bring something unique to the table. For example, using buttons can not only add color but also a playful element to the design. Similarly, incorporating natural elements can help children connect with nature and appreciate its beauty. The possibilities are endless! So, gather your materials, and let your imagination run wild. Remember, the goal is to have fun while creating something beautiful!
- What age group is suitable for mosaic projects? Mosaic projects can be adapted for various ages, from toddlers using paper and stickers to older kids using glass tiles and ceramic pieces.
- Can I use recycled materials for mosaics? Absolutely! Recycled materials like bottle caps, old jewelry, and cardboard can add a unique touch to your mosaic art.
- How do I safely cut mosaic materials? Always use child-safe scissors or tools designed for kids. Supervision is essential when working with sharper materials.
Step-by-Step Mosaic Techniques
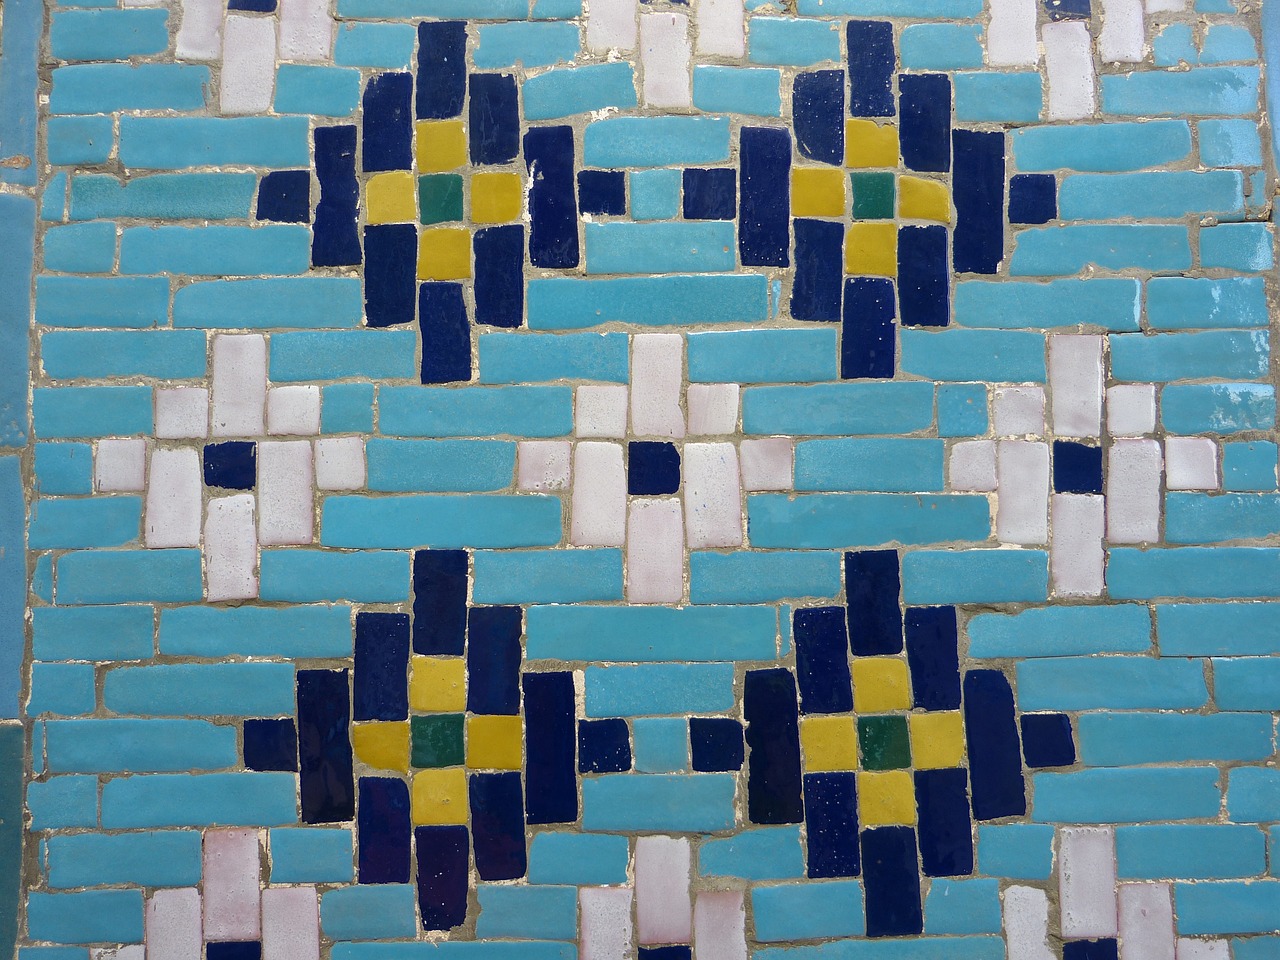
Creating a stunning mosaic may seem daunting at first, but with a few simple techniques, kids can transform their creative ideas into beautiful artworks! The process is not just about putting pieces together; it's a journey of planning, cutting, arranging, and finally, enjoying the masterpiece. Let's dive into the essential steps that will guide your little artists in making their very own mosaics.
First and foremost, designing your mosaic is a critical step. Before any cutting or gluing begins, kids should take a moment to sketch their ideas on paper. This helps in visualizing the final product and allows them to experiment with different colors and shapes. Encourage them to think about the theme they want to portray—whether it's a vibrant sunset, a playful animal, or an abstract design. Using colored pencils or markers can help in selecting the perfect palette that will bring their vision to life!
Once the design is set, it’s time for the fun part: cutting and arranging the pieces. Depending on the materials chosen, kids may need to use scissors or tile cutters (with adult supervision) to shape their mosaic pieces. Safety is paramount, so make sure they wear protective eyewear if using tools. After cutting, the next step is to lay out the pieces on the base without gluing them down. This allows them to adjust the arrangement until it feels just right. It's like putting together a puzzle where they can see how the colors and shapes interact before committing to their final design.
To make the process even smoother, here’s a quick table of materials that can be used for cutting and arranging mosaic pieces:
| Material | Cutting Tool | Notes |
|---|---|---|
| Glass Tiles | Tile Cutter | Wear safety goggles! |
| Cardboard | Scissors | Lightweight and easy to work with. |
| Buttons | No cutting needed | Fun to arrange in various patterns! |
| Beads | No cutting needed | Great for adding texture. |
After arranging the pieces, it’s time to start gluing! Kids should apply a small amount of glue to the back of each piece and press it firmly onto the base. It’s important to leave a little space between each piece to enhance the mosaic effect. Remind them that patience is key here; rushing can lead to a messy outcome. Once everything is glued down, let the mosaic dry completely before moving on to the next step.
Finally, once the mosaic is fully dried, kids can take it to the next level by applying a layer of grout if they used tiles. Grouting fills in the gaps between the pieces and gives the mosaic a polished look. This step can be a bit messy, so it's great to do it outside or on a covered surface. After applying the grout, they should wipe off any excess with a damp sponge, and voilà! A stunning mosaic is born.
As they complete their projects, remind them that the real joy comes from the process of creating, experimenting, and expressing themselves through art. Each mosaic tells a story, and the journey of bringing it to life is just as important as the finished product. Now, let's move on to some Frequently Asked Questions to help clarify any doubts!

Designing Your Mosaic
Designing your mosaic is like laying the foundation for a beautiful house; it sets the stage for everything that comes after. Before diving into the fun of placing tiles or materials, it’s essential to spend some time sketching out your ideas. This not only helps you visualize the final product but also allows you to experiment with colors and shapes. Think of it as a treasure map leading you to your creative gold!
When starting your design, consider the theme you want to explore. Whether it’s a vibrant sunset, a whimsical animal, or a geometric pattern, having a clear concept can guide your choices. Grab a piece of paper and some colored pencils, and start brainstorming your design. You can even use a sketchbook to jot down different ideas as they come to you. Remember, there are no wrong answers in art!
Next, think about the colors you want to use. Colors can evoke emotions and set the mood for your mosaic. For instance, warm colors like reds and oranges can create a sense of energy, while cool colors like blues and greens can bring about calmness. It might help to create a color palette to keep your choices organized. You can use a simple table to outline the colors you want to incorporate:
| Color | Emotion |
|---|---|
| Red | Energy |
| Blue | Calm |
| Yellow | Happiness |
| Green | Nature |
Once you have your design sketched and your colors chosen, it’s time to think about the size and scale of your mosaic. Will it be a small piece for your room or a large installation for the garden? The size will influence how detailed your design can be. For larger pieces, consider breaking your design down into sections, which can make it easier to manage.
Finally, don’t forget to have fun with the process! Designing your mosaic should be enjoyable, so let your imagination run wild. If you stumble upon a new idea while working on your design, embrace it! Sometimes the best creations come from unexpected changes.
As you embark on this creative journey, remember that each piece you choose will come together to tell a story. So, grab your materials, let your creativity flow, and get ready to bring your mosaic vision to life!
Cutting and Arranging Pieces
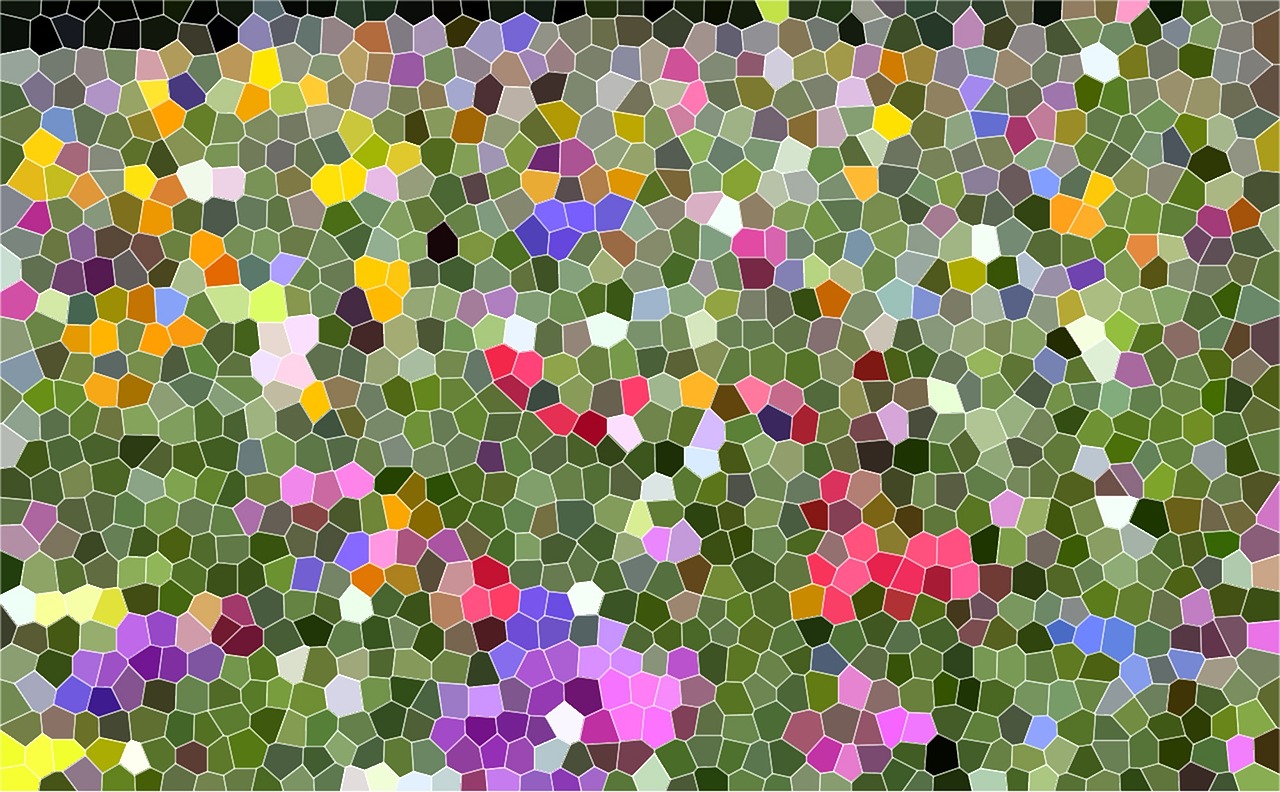
When it comes to for your mosaic project, precision and creativity are your best friends. Imagine you're a chef, and the mosaic materials are your ingredients. Just as a chef carefully chops vegetables to create a delicious dish, you’ll need to cut your mosaic pieces to fit together beautifully. But don’t worry; you don’t need to be a master craftsman to do this! With a little guidance, your kids can safely and effectively cut materials and arrange them into stunning patterns.
First, let’s talk about cutting. Depending on the materials you choose, you might need different tools. For example, if you’re working with glass tiles, a tile cutter or glass nippers will be essential. On the other hand, if you're using cardboard or paper, a simple pair of scissors will do the trick. Always ensure that kids are supervised during this process, especially when using sharp tools. A great tip is to let them practice on scrap pieces first, which helps build confidence and skill.
Once your pieces are cut, the real fun begins—arranging them! Think of this step as putting together a puzzle. Encourage the kids to lay out their pieces on the base without gluing them down first. This way, they can experiment with different layouts and see what looks best. Here are some ideas to inspire their arrangements:
- Try creating a color gradient by arranging pieces from light to dark.
- Mix different shapes and sizes to add visual interest.
- Incorporate negative space—leave gaps between pieces for a unique effect.
As they arrange their pieces, remind them to step back and look at the overall picture. Sometimes, what looks good up close may not work as well from a distance. Encourage them to be open to changing their designs as they go along. This process of trial and error is not only part of the fun but also an excellent way for kids to learn about problem-solving and design principles.
After they’ve settled on an arrangement they love, it’s time to glue the pieces down. Use a strong adhesive that’s appropriate for the materials being used—this will ensure their hard work lasts. A tip for younger children is to apply glue to the base instead of the pieces; this can help avoid sticky fingers and messy mishaps!
In summary, cutting and arranging mosaic pieces is a delightful journey of creativity and exploration. By guiding kids through this process, you're not just helping them create art; you’re also instilling a sense of accomplishment and pride in their work. So, grab those materials and let the mosaic magic begin!
Q1: What materials are best for beginners?
A1: For beginners, cardboard, paper, and foam tiles are excellent choices. They are easy to cut and manipulate, making them perfect for younger children.
Q2: How can I ensure the safety of my kids while cutting materials?
A2: Always supervise children when using sharp tools. For younger kids, provide safety scissors or let them practice on safe materials before using sharper tools.
Q3: What type of adhesive should I use for my mosaic?
A3: Use a strong craft glue or a specific mosaic adhesive that is suitable for the materials you are using. Make sure it dries clear for a neat finish!
Q4: Can I use recycled materials for mosaics?
A4: Absolutely! Recycled materials like bottle caps, old CDs, and buttons can add a unique touch to your mosaic projects.
Creative Themes for Mosaic Projects
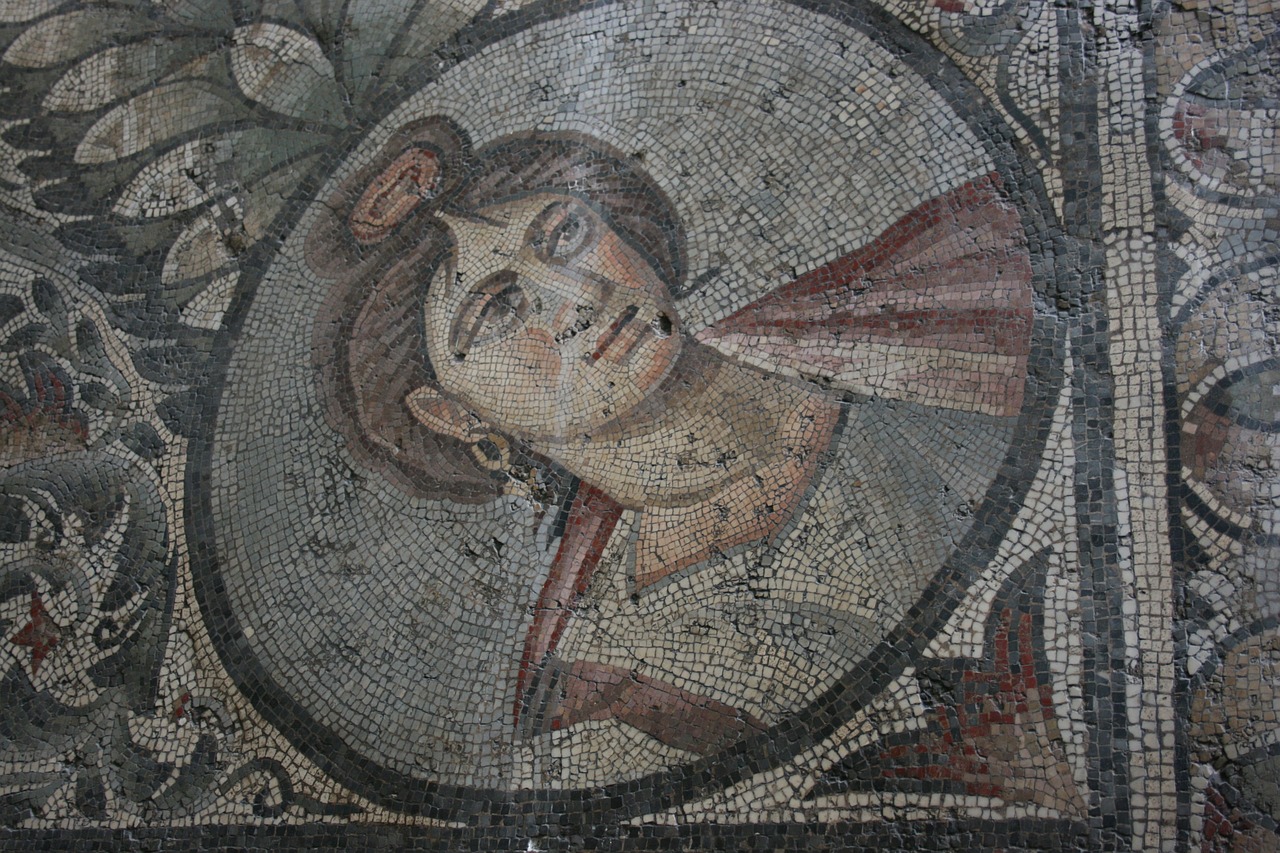
When it comes to creating stunning mosaics, the sky's the limit! Kids can let their imaginations run wild by exploring a variety of themes that can guide their artistic journey. Whether they're inspired by the vibrant colors of nature, the intricate designs found in geometric shapes, or even their favorite animals, these themes can help spark creativity and make the mosaic-making process even more enjoyable. Imagine transforming a simple piece of wood into a dazzling representation of a sunset or a playful depiction of a beloved pet!
One of the most exciting aspects of working with mosaics is the ability to incorporate personal interests and experiences into the artwork. For instance, a child passionate about the ocean might choose to create a mosaic featuring sea creatures, using shades of blue and green to reflect the water's beauty. Alternatively, a budding architect could explore geometric patterns, experimenting with shapes and angles to create a visually striking piece. The possibilities are endless!
Here are a couple of creative themes to consider when starting a mosaic project:
- Nature-Inspired Mosaics: Children can draw inspiration from the world around them. Think of vibrant flowers, lush trees, or even the changing seasons. Using natural colors and materials can help kids connect with their environment.
- Geometric Patterns: Simple shapes like triangles, circles, and squares can be combined to create stunning patterns. This theme not only encourages creativity but also helps develop spatial awareness and design skills.
By embracing these themes, children can not only produce beautiful works of art but also develop a deeper appreciation for the world around them. Each theme offers a unique opportunity to learn and grow, making the process of mosaic creation both fun and educational. So, gather those materials and let the creative juices flow – who knows what masterpieces await!
Q: What age group is suitable for mosaic projects?
A: Mosaic projects can be adapted for various age groups. Younger children can start with simpler designs using larger, safer materials, while older kids can tackle more complex projects with smaller pieces.
Q: What materials are best for beginners?
A: For beginners, materials like cardboard, paper, and larger glass or ceramic tiles are ideal. These are easier to handle and manipulate, making the process more enjoyable.
Q: How can I encourage my child to be creative with their mosaics?
A: Encouraging your child to explore different themes and materials can spark their creativity. Providing a variety of supplies and allowing them to experiment without strict guidelines can also help foster their artistic expression.
Nature-Inspired Mosaics
Creating is a fantastic way for kids to explore the beauty of the outdoors while engaging in a fun and creative activity. Imagine walking through a vibrant garden, where every flower, leaf, and stone can become a piece of art! By incorporating elements from nature, children can learn to appreciate the world around them while expressing their artistic flair. The colors, textures, and patterns found in nature can serve as a rich source of inspiration for their mosaic designs.
To start, kids can collect natural materials such as leaves, pebbles, and twigs. These items can be used alongside traditional mosaic materials like tiles and beads, creating a unique blend that reflects the beauty of the environment. For example, using green leaves can represent grass or trees, while colorful flowers can add vibrant hues to the mosaic. The incorporation of these elements not only enhances the visual appeal but also provides a tactile experience that can deepen a child's connection to nature.
When designing a nature-inspired mosaic, children can think about different themes. They might want to create a landscape that showcases mountains, rivers, and forests or depict a specific animal that they love. Encouraging them to sketch their ideas first can help them visualize the final piece. For instance, if they choose to create a mosaic of a butterfly, they can plan out the colors and shapes that best represent this beautiful creature.
Moreover, nature-themed mosaics can serve as educational tools. As children gather materials, they can learn about the different types of plants and animals they are representing. For example, they can discuss the importance of biodiversity and how each element plays a role in the ecosystem. This can lead to meaningful conversations about conservation and the environment, enriching the artistic process with knowledge and awareness.
Once the mosaic is complete, displaying it outdoors can be a rewarding experience. Children can proudly showcase their work in a garden, on a patio, or even in a local park. This not only allows them to share their creativity with others but also encourages a sense of community and environmental appreciation. Imagine a mosaic of a beautiful sun made from yellow tiles and surrounded by blue pebbles representing water, shining brightly in the sunlight—what a stunning sight!
In summary, nature-inspired mosaics are more than just a fun craft; they are a gateway to creativity, education, and environmental awareness. By blending artistic expression with the wonders of nature, children can create stunning works of art that reflect their surroundings and foster a deeper appreciation for the world we live in.
- What materials can I use for nature-inspired mosaics? You can use a variety of materials, including natural items like leaves and stones, along with traditional mosaic supplies like tiles and glass pieces.
- How can I encourage my child to be creative with their mosaic design? Encourage them to observe nature, sketch their ideas, and think about different themes they might want to explore.
- Can we display the mosaics outdoors? Yes! Many mosaics can be displayed outdoors, especially those made with durable materials like wooden boards or weather-resistant tiles.

Geometric Patterns
Geometric patterns in mosaic art are like the building blocks of creativity; they provide a structured and visually appealing way for kids to express themselves. Imagine the thrill of transforming simple shapes into a vibrant masterpiece! These patterns can range from basic squares and triangles to more intricate designs like hexagons and spirals. By using geometric shapes, children not only create stunning visuals but also develop their spatial awareness and design skills, turning art into a fun learning experience.
When working with geometric patterns, it's essential to start with a clear plan. Kids can sketch their ideas on paper, using a grid to help visualize how the shapes will fit together. This method encourages them to think critically about color combinations and the overall layout of their mosaic. For instance, a simple design might feature alternating squares of bright colors, while a more complex one could involve overlapping circles that create a mesmerizing effect. The beauty of geometric patterns lies in their versatility; children can easily adapt their designs as they experiment with different shapes and colors.
To inspire creativity, here are some popular geometric shapes that kids can incorporate into their mosaic projects:
- Squares: Perfect for beginners, squares can be arranged in countless ways to form grids or checkerboards.
- Triangles: These can be used to create dynamic patterns that draw the eye, like a sunburst or a mountain range.
- Circles: Adding circles can soften the overall look of a mosaic, making it feel more inviting and playful.
- Hexagons: These shapes can be arranged to mimic honeycombs, offering a unique texture and depth to the artwork.
By exploring geometric patterns, children can learn to appreciate symmetry and balance in art. They can also experiment with negative space—an essential concept that helps define shapes and create visual interest. Encouraging kids to play with different colors and sizes of shapes can lead to unexpected yet delightful results. For example, a mosaic featuring large, bold triangles surrounded by smaller, delicate circles can create a striking contrast that captivates the viewer.
In conclusion, geometric patterns in mosaic projects not only enhance artistic skills but also provide a platform for kids to explore their creativity. By engaging with these shapes, children can discover the joy of transforming simple forms into intricate designs, all while having fun. So, grab those tiles, unleash your imagination, and let the geometric adventures begin!
Q: What age is suitable for kids to start mosaic projects?
A: Children as young as 4 years old can start with simple mosaic projects using safe materials like cardboard and paper. As they grow older, they can advance to more complex materials like glass tiles.
Q: What are some safe materials for kids to use in mosaic art?
A: Safe materials include foam tiles, buttons, beads, and broken pottery. Always supervise younger children to ensure they use materials safely.
Q: How can I encourage my child to be creative with their mosaic designs?
A: Encourage them to explore different themes, such as nature or geometric patterns, and provide a variety of materials to spark their imagination. Letting them experiment without strict guidelines can also boost their creativity.
Q: Can mosaic art be a group activity?
A: Absolutely! Mosaic projects are fantastic for group activities, whether in classrooms or at home. Kids can collaborate on larger pieces, share ideas, and learn from each other, making it a fun social experience.
Displaying and Sharing Mosaic Art
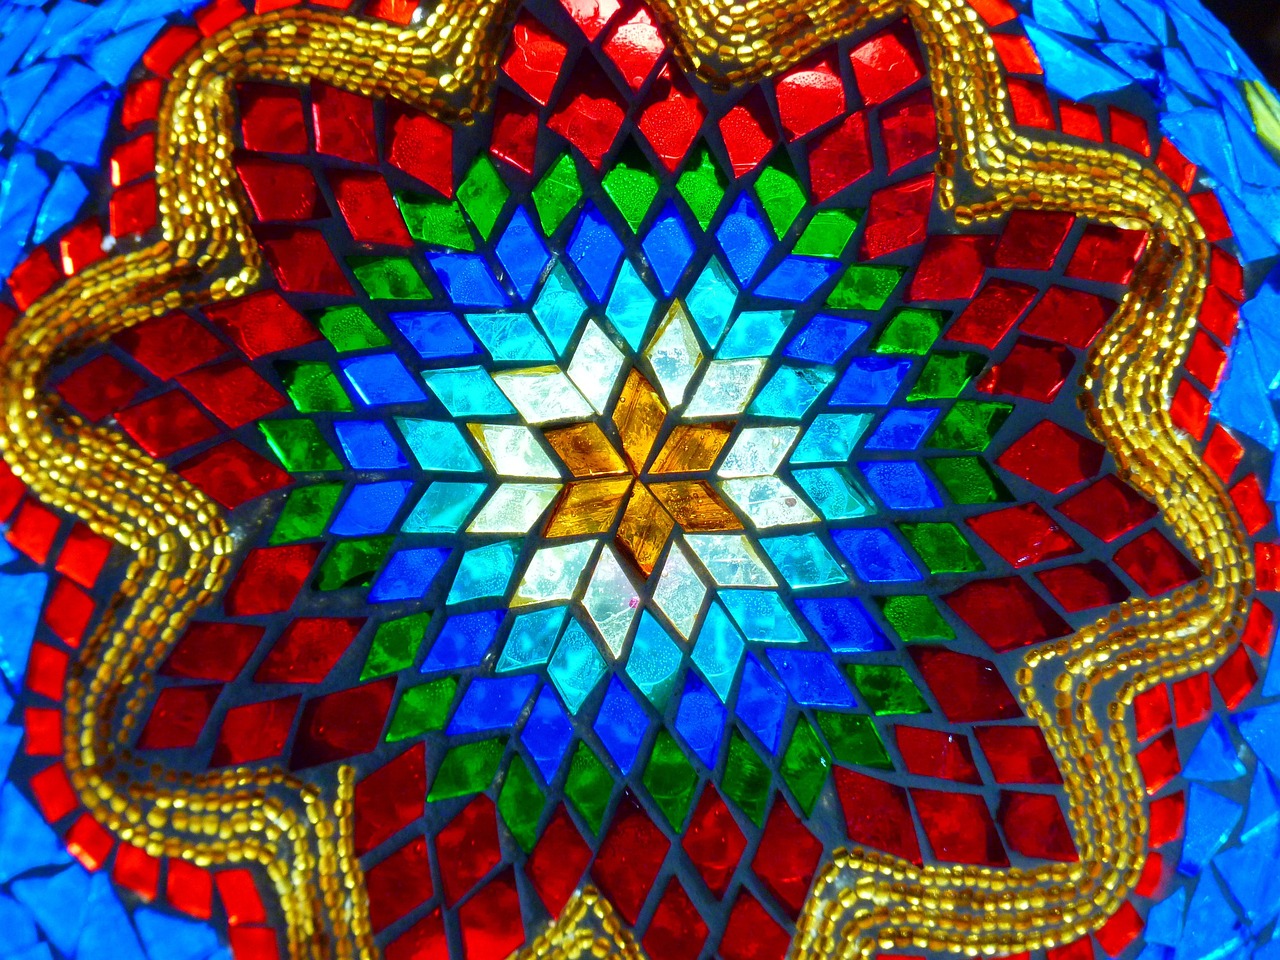
Once your little artists have poured their hearts and creativity into their mosaic projects, the next exciting step is showcasing their masterpieces. Displaying mosaic art not only enhances children's pride in their work but also invites family and friends to appreciate their creativity. There are several creative ways to exhibit these colorful creations, turning any space into a vibrant gallery. Imagine walking into a room filled with stunning mosaics, each piece telling its own story!
One fantastic idea is to create a mosaic gallery at home. This can be as simple as dedicating a wall or a section of a room to showcase the mosaics. Use frames or hang them directly on the wall. To make it even more special, consider arranging the pieces in a way that complements each other, perhaps by color or theme. Children can help with this, learning about design and aesthetics in the process. It’s like curating their own art show right at home!
Another exciting opportunity for young artists is participating in community exhibitions. Many local art centers, schools, or community centers host events where kids can display their artwork. This not only fosters a sense of belonging but also allows children to connect with other young artists. Imagine the thrill of seeing their work displayed alongside others, sparking conversations and friendships! Plus, it’s a wonderful way for parents to engage with the community and support their children’s artistic endeavors.
When it comes to displaying mosaics, consider the following tips to create an inviting and engaging space:
- Lighting: Ensure that the area is well-lit. Natural light can enhance the colors and textures of the mosaics.
- Height: Hang the mosaics at eye level for the best viewing experience. This makes it easier for everyone, especially younger children, to appreciate the details.
- Labels: Adding small labels with the artist's name and the title of the piece can personalize the experience and give each artwork its moment to shine.
Additionally, sharing mosaic art on social media platforms can create a wider audience for children’s creativity. Parents can take photos of the mosaics and post them online, celebrating their child’s hard work while inspiring others to try their hand at mosaic art. This digital sharing can also lead to connections with other families and artists, creating a community of creativity and support.
In summary, displaying and sharing mosaic art is not just about showcasing the finished product; it’s about celebrating the journey of creativity and the joy of artistic expression. Whether it’s through a home gallery, community exhibitions, or social media, these acts of sharing can inspire children to continue exploring their artistic talents.
Q: How can I encourage my child to participate in community exhibitions?
A: Start by researching local art events and exhibitions. Discuss the benefits of sharing their work with others and help them prepare their pieces for display. Encourage them to invite friends and family to support them during the event.
Q: What are some creative ways to display mosaics at home?
A: You can create a dedicated gallery wall, use easels to showcase individual pieces, or even hang mosaics in unexpected places like the kitchen or hallway. Consider rotating the display regularly to keep it fresh and exciting!
Q: Can we use recycled materials for mosaic projects?
A: Absolutely! Using recycled materials not only makes the project more eco-friendly but also encourages creativity. Items like broken tiles, old CDs, buttons, and even pieces of colored paper can be transformed into beautiful mosaics.

Creating a Mosaic Gallery
Setting up a mosaic gallery at home is a fantastic way to celebrate the creativity and hard work of your little artists. Imagine transforming a simple wall into a vibrant showcase of colorful tiles, buttons, and glass pieces that tell a story about your child's artistic journey. Not only does this provide a sense of accomplishment for the kids, but it also adds a unique touch to your home decor.
To create a mosaic gallery, start by selecting a dedicated space in your home. This could be a hallway, a section of a living room wall, or even a cozy corner in a playroom. The key is to choose an area where the mosaics can be displayed prominently and appreciated by family and friends. Once you've identified the location, think about how to arrange the pieces. You might want to consider a few layout options:
- Grid Layout: Arrange the mosaics in a neat grid formation for a clean and organized look.
- Gallery Style: Mix and match different sizes and shapes for a more eclectic, artistic feel.
- Themed Display: Group mosaics by theme, such as nature, animals, or geometric patterns, to create a cohesive story.
Next, consider how to hang the mosaics. Use sturdy hooks or picture frames that complement the artwork without overshadowing it. If you’re using wooden boards or canvases, you can simply use nails or adhesive strips for easy mounting. Remember, the goal is to make the mosaics accessible and easy to change as new masterpieces are created.
To enhance the gallery experience, think about incorporating a few interactive elements. You could create a guest book where visitors can leave encouraging notes for the young artists. Additionally, consider hosting a small opening night where family and friends can come to admire the artwork. Serve some snacks, play some music, and allow your kids to present their creations, explaining their inspiration and the techniques they used. This not only boosts their confidence but also fosters a sense of community and appreciation for art.
Lastly, don’t forget to regularly update the gallery. As your kids grow and their skills improve, they’ll create new and exciting pieces. Rotating the artwork keeps the display fresh and exciting, ensuring that everyone remains engaged with the evolving art collection. Plus, it teaches children the importance of showcasing their work and sharing their talents with others.
Q: How do I choose the right location for the mosaic gallery?
A: Look for a space that is visible and has enough wall area to display multiple pieces. It should be a place where family and friends can easily admire the artwork.
Q: What materials are best for hanging mosaics?
A: It depends on the weight and size of the mosaics. Lightweight pieces can be hung with adhesive strips, while heavier ones may need nails or hooks for secure placement.
Q: How often should I update the gallery?
A: Aim to update the gallery every few months or whenever your child creates a new piece they are proud of. This keeps the gallery dynamic and encourages continuous creativity.
Q: Can I involve my child in the gallery setup?
A: Absolutely! Involving your child in the setup process can be a fun and educational experience. Let them help choose the location, arrange the pieces, and decide on any interactive elements.
Participating in Community Exhibitions
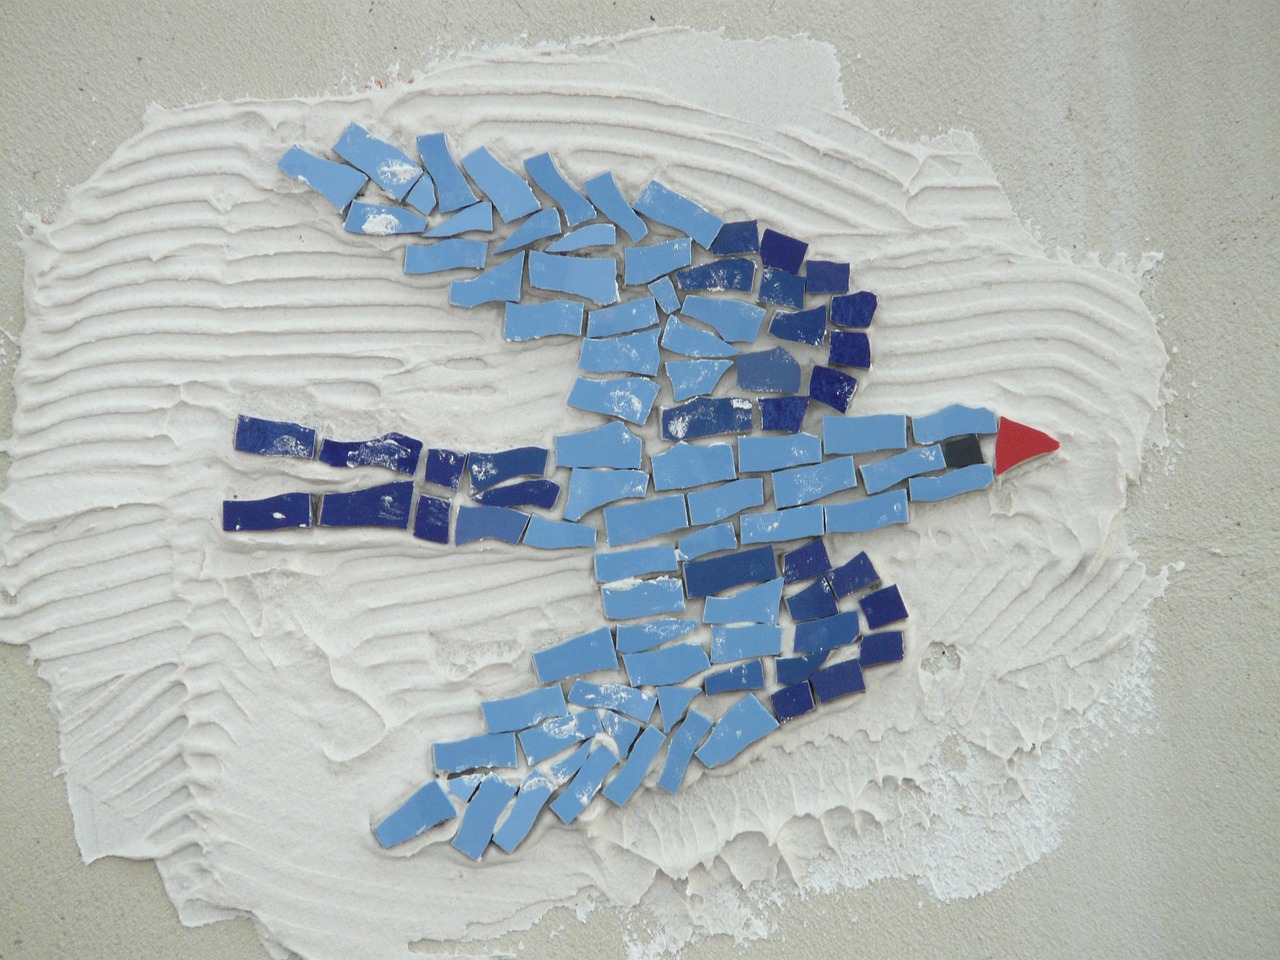
Encouraging kids to participate in community exhibitions can be a thrilling experience that ignites their passion for art while fostering a sense of belonging. Imagine the excitement on their faces as they see their creations displayed alongside those of other young artists! Community exhibitions not only provide a platform for children to showcase their hard work but also allow them to connect with peers who share similar interests. This sense of community can be incredibly empowering, helping kids build confidence in their artistic abilities.
Before diving into the exhibition scene, it's essential to prepare your young artist for what to expect. Consider organizing a small meeting or workshop to discuss the exhibition process. Here are some key points to cover:
- Understanding the Exhibition Theme: Many exhibitions have specific themes or guidelines. Discussing these can help children tailor their projects to fit the event.
- Presentation Matters: Teach kids how to present their mosaics effectively. This can include framing their work or creating a small description to accompany it.
- Engaging with Visitors: Encourage children to talk about their artwork with visitors. This not only boosts their confidence but also enhances their communication skills.
Once the exhibition is underway, the real fun begins! Children can take pride in their work as they share their creative journeys with family, friends, and community members. It’s a wonderful opportunity for them to receive feedback and encouragement, which can be invaluable in their artistic development. Plus, seeing others' artworks can inspire them to explore new techniques and ideas in their future projects.
To help kids make the most of their exhibition experience, consider these additional tips:
- Networking: Encourage children to meet other young artists and their families. Making connections can lead to future collaborations and friendships.
- Feedback: Teach kids how to graciously accept feedback, whether positive or constructive. This skill will serve them well in their artistic journey.
- Follow-Up: After the exhibition, discuss what they enjoyed and what they learned. This reflection can help them grow as artists.
In essence, participating in community exhibitions is more than just displaying artwork; it's about building confidence, fostering friendships, and encouraging creativity. So, gather those mosaics, put on a smile, and get ready to shine in the spotlight!
1. How can I find community exhibitions for my child?
You can check local art centers, schools, and community bulletin boards for upcoming exhibitions. Social media platforms and community websites are also great resources to stay informed.
2. What age groups typically participate in these exhibitions?
Most community exhibitions welcome participants of all ages, often categorizing entries by age groups to ensure fair competition and representation.
3. Do we need to pay a fee to enter the exhibition?
Some exhibitions may have entry fees to cover costs, while others are free. Always check the guidelines provided by the exhibition organizers.
4. Can children sell their artwork at these exhibitions?
Many exhibitions allow artists to sell their work, but it's essential to check the specific rules of each event beforehand.
5. How can I encourage my child to participate if they're shy?
Start by encouraging them to invite a friend to join in the exhibition experience. Familiar faces can make it less intimidating. Additionally, practicing what they might say about their artwork can help build their confidence.
Frequently Asked Questions
- What age is suitable for kids to start mosaic projects?
Mosaic projects can be suitable for kids as young as 4 or 5 years old, depending on the materials used. For younger children, consider using larger, softer materials like foam or cardboard. As they grow older and develop fine motor skills, they can handle more intricate materials like glass tiles.
- What materials do I need for a basic mosaic project?
For a basic mosaic project, you will need a base (like wood or cardboard), adhesive (glue or mortar), and mosaic pieces (tiles, beads, or even recycled items). Additionally, having tools like scissors, safety goggles, and a cutting mat is helpful for safety and precision.
- Can mosaic art be done outdoors?
Absolutely! Mosaic art can be done outdoors, especially when using weather-resistant materials like wooden boards or ceramic tiles. Just make sure to use outdoor-safe adhesive to ensure your creations withstand the elements.
- How can I help my child design their mosaic?
Encourage your child to sketch their ideas on paper before starting. Discuss color choices and patterns together. You can also show them examples of different designs or themes to spark their creativity and help them visualize their project.
- What are some creative themes for mosaic projects?
There are countless themes for mosaic projects! Nature-inspired mosaics can include flowers or animals, while geometric patterns can focus on shapes and colors. Encourage your child to think about their favorite things, like their favorite animals or places, to inspire their designs.
- How can we display completed mosaic art?
Displaying mosaic art can be as creative as the projects themselves! Consider setting up a dedicated mosaic gallery at home or finding community exhibitions where your child can showcase their work. You can also use frames or hang them on walls to create a beautiful display.
- Are there any safety precautions to consider?
Yes! Always supervise younger children when using sharp tools or small pieces. Ensure they wear safety goggles when cutting materials. It's also important to choose non-toxic materials and adhesives, especially if younger kids are involved in the project.


