How to Sew a Bag: A Fun And Creative Project
Are you ready to dive into a world of creativity and craftsmanship? Sewing a bag is not just about creating a functional item; it's an opportunity to express your unique style and personality. Whether you’re a seasoned seamstress or a complete beginner, this project can be both fun and rewarding. Imagine the satisfaction of carrying a bag that you made with your own hands! In this article, we will guide you through each step of the process, from choosing the right fabric to adding those final touches that make your bag truly special.
Before you start, consider the purpose of your bag. Are you looking to create a stylish tote for shopping, a chic handbag for outings, or perhaps a sturdy backpack for everyday use? The possibilities are endless! As we explore the materials, techniques, and tips, keep in mind that every decision you make will contribute to the final outcome. So, let’s roll up our sleeves and get started on this exciting sewing adventure!
Selecting the appropriate fabric is crucial for your bag's durability and style. The fabric you choose not only affects the overall look of your bag but also its functionality. For instance, if you're aiming for a lightweight and casual bag, cotton or canvas could be your best bet. On the other hand, if you want something that can withstand wear and tear, consider using denim or a synthetic blend.
Here’s a quick overview of some popular fabric types and their suitability for different bag designs:
| Fabric Type | Best For |
|---|---|
| Cotton | Totes, casual bags |
| Canvas | Durable bags, backpacks |
| Denim | Sturdy bags, casual wear |
| Leather | Elegant handbags, durable accessories |
| Silk | Formal bags, evening purses |
When selecting fabric, don’t forget to consider the weight and texture. A heavier fabric can give your bag structure, while a lighter fabric can add a more relaxed vibe. Also, be mindful of the colors and patterns that resonate with your personal style. After all, this bag will be a reflection of you!
Before starting your project, it's important to gather the right tools. Having the right tools at your disposal can make the sewing process smoother and more enjoyable. Here, we outline the essential sewing tools you'll need to successfully create your bag.
Accurate measurements are vital for a well-fitting bag. Without precise measurements, your project may not turn out as expected. This is where measuring tools come into play. A good quality ruler and tape measure are indispensable for ensuring that every piece of fabric is cut to the right size.
Rulers and tape measures are fundamental tools in any sewing kit. A clear plastic ruler is great for straight edges, while a flexible tape measure can easily wrap around curves. When measuring, always double-check your numbers—it's better to measure twice and cut once!
Choosing the right cutting tools can enhance your efficiency. A pair of sharp fabric scissors is essential for clean cuts, while rotary cutters can speed up the process, especially for straight lines. Remember to keep your tools sharp and in good condition; dull tools can lead to frustration and uneven edges.
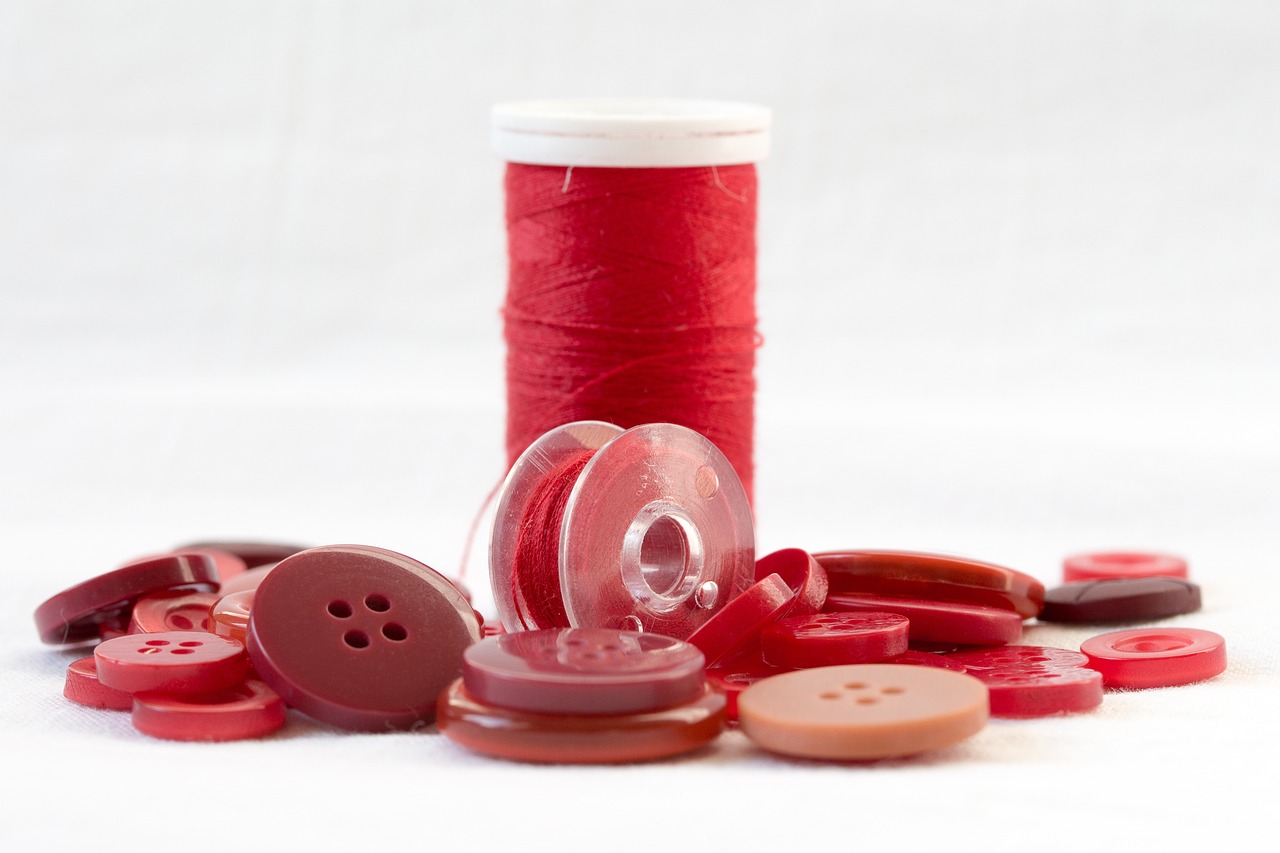
Notions can elevate your bag's functionality and aesthetics. These small items, like zippers, buttons, and interfacing, can make a significant difference in the final product. For example, a sturdy zipper can ensure that your belongings are secure, while a decorative button can add a touch of personality.
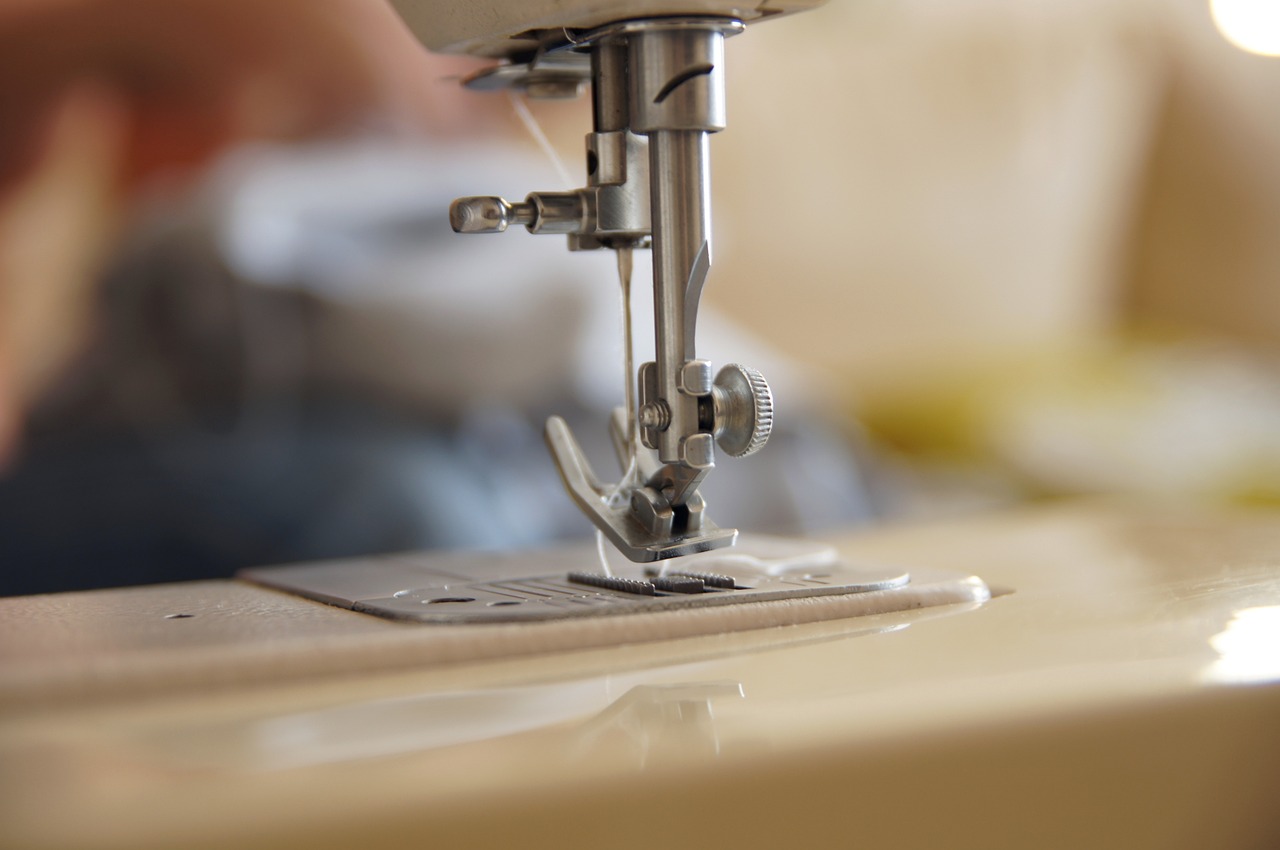
Understanding fundamental sewing techniques is key to a successful project. This section introduces basic stitches and methods that will serve as the foundation for your bag. Knowing how to sew a straight stitch, zigzag stitch, and backstitch can be incredibly helpful as you work on your bag.
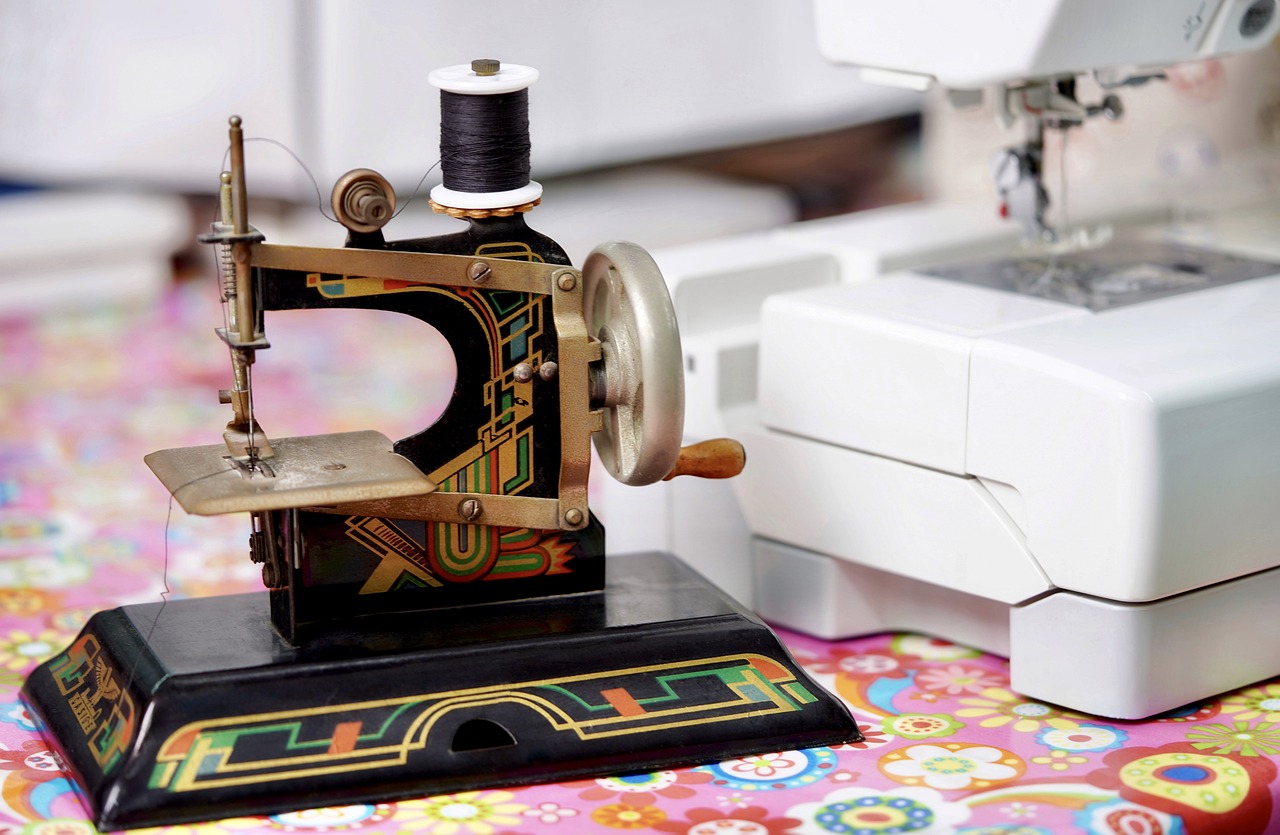
Both hand sewing and machine sewing have their advantages. Hand sewing allows for more control and precision, while machine sewing is generally faster and more efficient. Depending on your project and personal preference, you may choose to use one method over the other—or even combine both!
Different stitching techniques can add unique flair to your bag. For instance, using a decorative stitch can enhance the visual appeal, while reinforced stitching can increase durability in high-stress areas. Experiment with various stitches to find what works best for your design.
Creativity plays a significant role in bag design. Before you start sewing, take some time to conceptualize and sketch your bag design. Think about the shape, size, and features you want to include. Will it have pockets? What kind of strap will you use? Jot down your ideas and create a blueprint to guide your sewing journey.
Once you have all your materials and designs, it's time to assemble your bag. Following a structured assembly process ensures a successful outcome. Start by cutting your fabric according to your measurements and layout, then proceed to sew the pieces together step by step.
Following a structured assembly process ensures a successful outcome. Here, we provide a detailed guide on how to piece together your bag effectively. Always keep your sewing machine settings consistent and take your time to avoid mistakes. Remember, patience is key!
Adding finishing touches can enhance your bag's appearance. Consider incorporating details like straps, linings, and embellishments to complete your project. A well-placed lining can add a pop of color and protect the interior, while embellishments like patches or embroidery can personalize your bag even further.
Q: What type of fabric is best for beginners?
A: Cotton is often recommended for beginners due to its ease of handling and availability.
Q: Can I sew a bag without a sewing machine?
A: Absolutely! Hand sewing is a great option, especially for small projects.
Q: How do I care for my handmade bag?
A: It depends on the fabric used. Always check the care instructions for your specific materials.
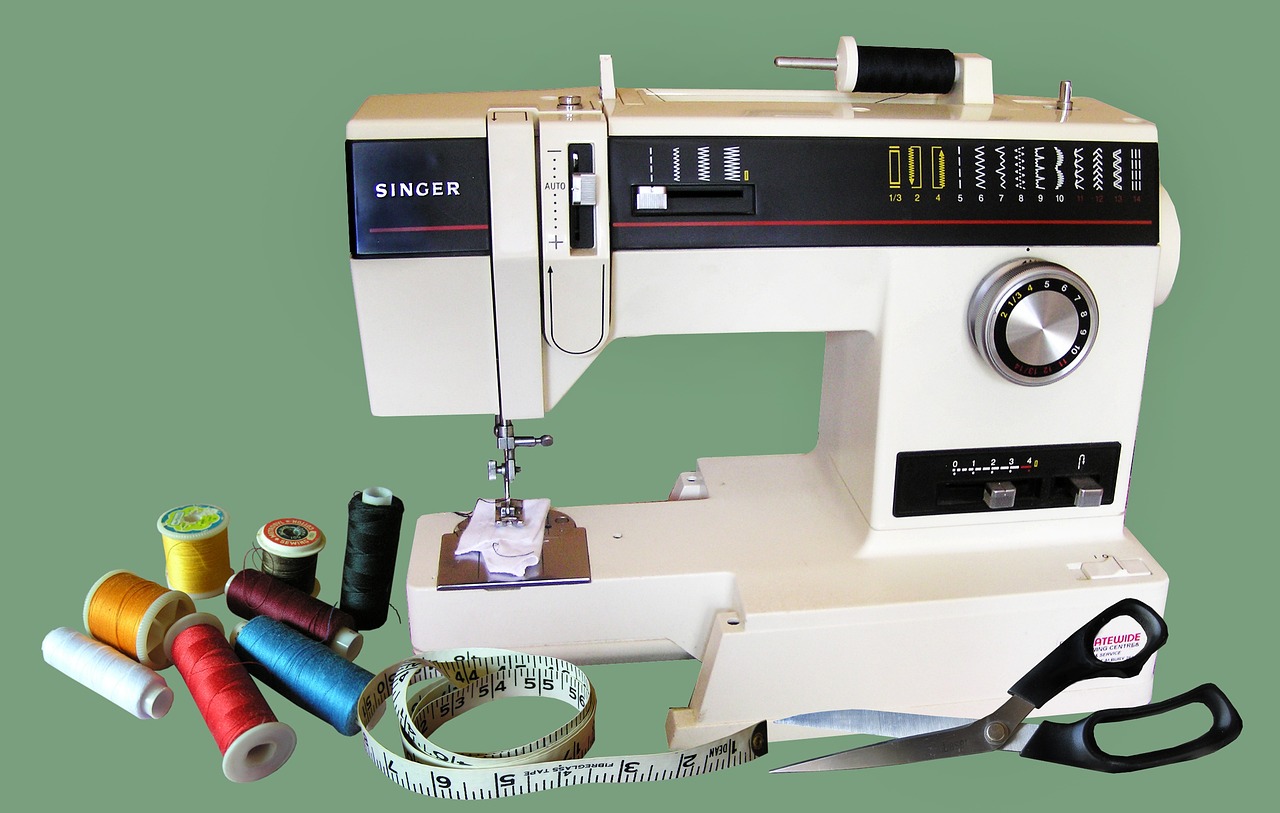
Choosing the Right Fabric
When it comes to sewing a bag, is like picking the perfect canvas for a masterpiece. The fabric you select not only influences the bag's durability but also its overall aesthetic appeal. Think of it as laying the foundation for a beautiful home; if the foundation is weak, the structure won't stand the test of time. So, what should you consider when selecting fabric for your bag? Let’s dive in!
First and foremost, consider the purpose of your bag. Are you crafting a sturdy tote for grocery shopping, a stylish clutch for a night out, or perhaps a backpack for daily adventures? Each purpose calls for different fabric types. For instance, if you're looking for something that can withstand wear and tear, durable fabrics like canvas or denim may be your best bet. On the other hand, if you're aiming for something lightweight and elegant, consider fabrics such as cotton or linen.
Next, think about the weight of the fabric. Heavier fabrics tend to provide more structure, making them ideal for bags that need to hold their shape, while lighter fabrics can give a more relaxed look. A medium-weight fabric often strikes the perfect balance, offering both durability and flexibility. It’s also essential to consider the texture of the fabric. A smooth fabric like satin can add a touch of elegance, while a textured fabric like corduroy can bring warmth and character to your design.
Another factor to keep in mind is the print and color. Your choice here can dramatically affect the bag's visual impact. Bold patterns can make a statement, while solid colors offer versatility. If you're unsure, consider starting with a solid color for your first bag and gradually experimenting with prints as you gain confidence in your sewing skills. Additionally, consider the color palette of your wardrobe; a bag that complements your clothing will be more likely to see regular use.
Finally, don’t forget to think about care and maintenance. Some fabrics require special washing instructions, while others are more forgiving. If you plan to use your bag frequently, choosing a fabric that is easy to clean can save you a lot of hassle down the road. In summary, here are a few key points to remember when selecting your fabric:
- Purpose: Identify what you'll use the bag for.
- Weight: Choose a fabric weight that suits your design.
- Texture: Select a texture that aligns with your style.
- Print and Color: Consider how the fabric will fit into your wardrobe.
- Care: Opt for fabrics that are easy to maintain.
In conclusion, choosing the right fabric for your bag is an exciting step in the sewing process. It's where your creativity begins to take shape, and the possibilities are endless. So, take your time, explore different options, and let your imagination run wild. After all, the fabric is not just a material; it’s the heart and soul of your creation!
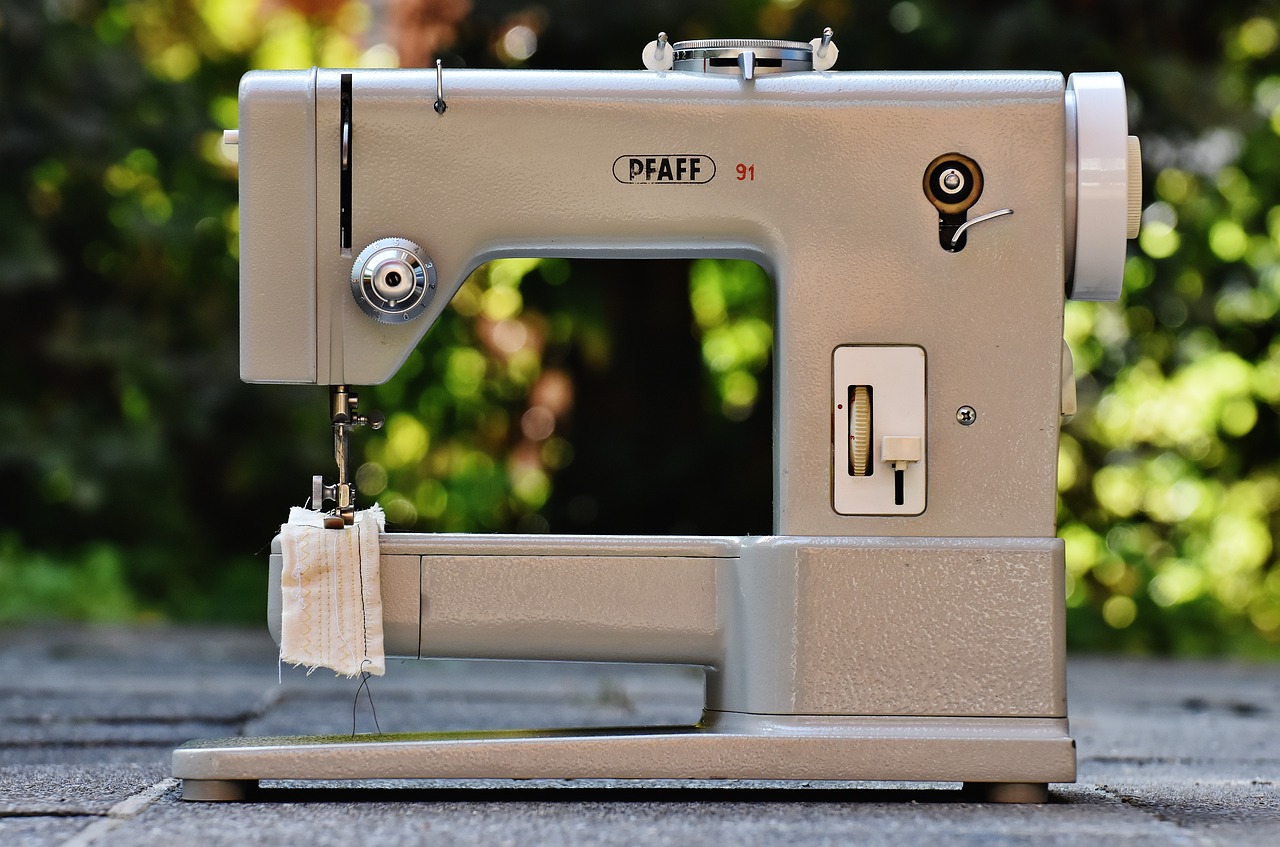
Essential Sewing Tools
Before diving into the exciting world of bag-making, it's crucial to gather the right tools that will make your sewing experience smooth and enjoyable. Think of these tools as your trusty sidekicks; without them, your journey might be a bit bumpy. Whether you're a seasoned pro or a complete novice, having the essential sewing tools at your disposal will not only enhance your efficiency but also boost your confidence as you create your masterpiece.
First and foremost, let's talk about the must-have tools that should be in every sewing kit. You might be wondering, "What exactly do I need?" Well, here's a quick rundown of the essentials:
- Sewing Machine: The heart of your sewing operation! A reliable machine can make all the difference in your project.
- Fabric Scissors: Sharp and precise, fabric scissors are vital for cutting through materials cleanly.
- Measuring Tape: Accurate measurements are key, and a flexible measuring tape will help you get it just right.
- Rulers: A straight edge is essential for cutting and measuring fabric accurately.
- Needles: Different fabrics require different types of needles, so having a variety on hand is wise.
- Thread: Choose a thread that matches your fabric for a seamless look.
- Iron: Pressing your fabric before and after sewing can make a huge difference in the final product.
Now that we've covered the basics, let's delve a bit deeper into the specific tools you should consider, starting with measuring tools. Accurate measurements are vital for a well-fitting bag, and that's where measuring tools come into play. Having a good quality measuring tape and ruler will help you achieve precise dimensions, ensuring that your bag turns out just as you envisioned.
When it comes to measuring tools, you want to ensure you're using the right ones to get the job done efficiently. A flexible measuring tape is perfect for curves and contours, while a sturdy ruler can help with straight edges. Remember, accuracy is key in sewing, and taking the time to measure twice can save you from making costly mistakes later on.
Rulers and tape measures are fundamental tools in any sewing project. A clear plastic ruler can be especially handy, as it allows you to see your fabric underneath while measuring. Tape measures come in various lengths, and having a longer one can be beneficial when working with larger pieces of fabric. Use them to map out your bag dimensions accurately, ensuring every piece fits together perfectly.
Next up are cutting tools. Choosing the right cutting tools can enhance your efficiency and accuracy. A pair of sharp fabric scissors is a must-have, but you might also want to invest in a rotary cutter for straight lines and larger cuts. A cutting mat can protect your surfaces and keep your blades sharp. Proper cutting tools not only speed up the process but also improve the overall quality of your sewing project.
Finally, don’t forget about notions and accessories! These little extras can elevate your bag's functionality and aesthetics. Zippers, buttons, and interfacing are just a few examples of notions that can enhance your design. Having a well-stocked sewing kit will ensure that you have everything you need at your fingertips, making your sewing experience much more enjoyable.
In conclusion, gathering the essential sewing tools is the first step in your bag-making journey. With the right tools in hand, you’ll be well-prepared to tackle your project with confidence and creativity. So, are you ready to unleash your inner designer and start sewing?
Q: What is the most important tool for sewing a bag?
A: While all tools are important, a reliable sewing machine is often considered the most crucial as it will do the bulk of the work.
Q: Can I use regular scissors for cutting fabric?
A: It's best to use fabric scissors as they are specifically designed to cut through fabric cleanly and accurately.
Q: Do I need a lot of different types of needles?
A: Yes, different fabrics require different needles, so having a variety on hand will ensure you can handle any project.
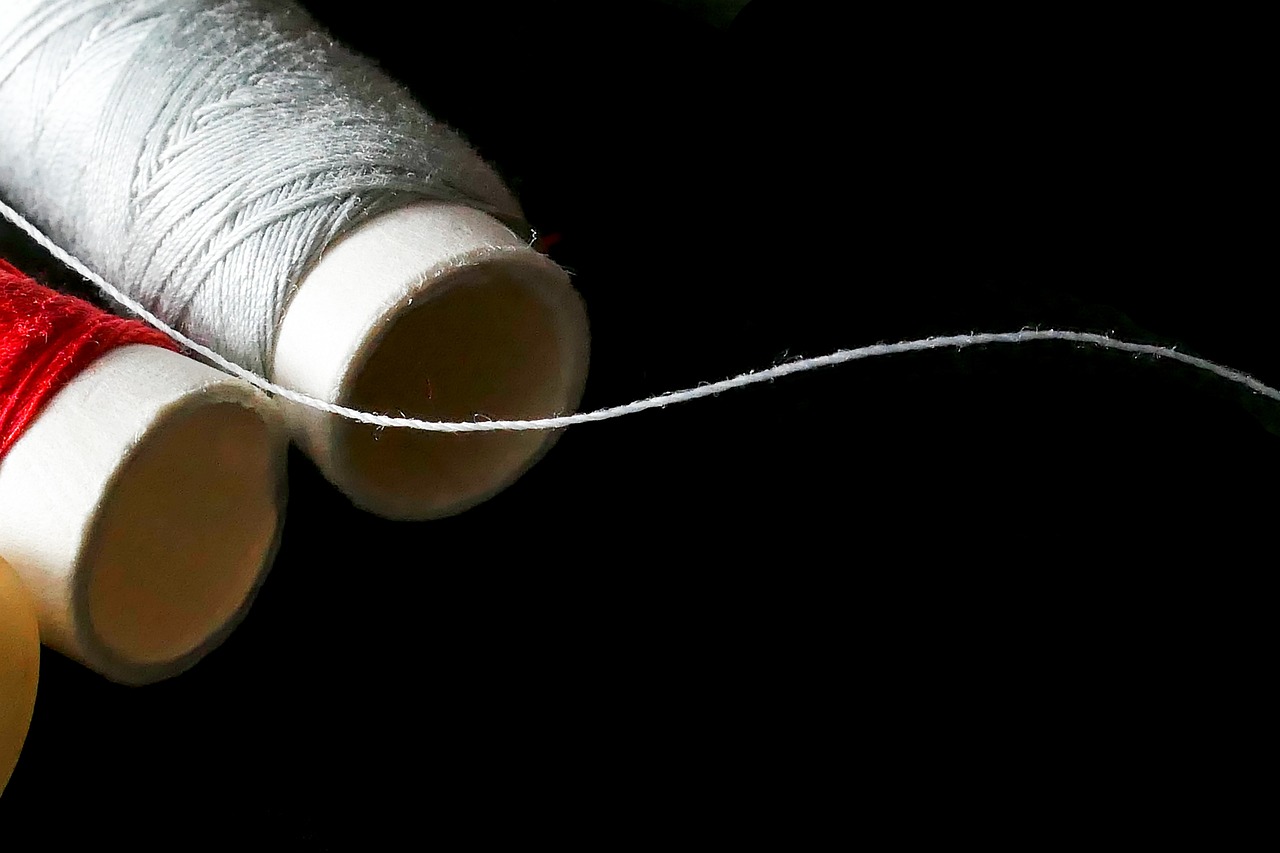
Measuring Tools
When it comes to sewing a bag, accurate measurements are absolutely essential. Think of measuring tools as the foundation of your project; without them, your beautiful creation might end up being too small, too large, or just plain wonky. So, let's delve into the tools that will help you achieve those perfect dimensions!
The two most common measuring tools you'll encounter are rulers and tape measures. Both serve their purpose well, but they each have unique advantages depending on the task at hand. A ruler is perfect for straight edges and precise measurements, especially when working with flat fabric pieces. On the other hand, a tape measure is your best friend when it comes to measuring around curves or irregular shapes, like the rounded edges of a bag. It’s flexible, making it ideal for capturing all those tricky spots.
Now, you might be wondering, "How do I use these tools effectively?" Well, here’s a quick rundown:
- Using a Ruler: Place the ruler along the edge of your fabric and align it with the zero mark. Always read the measurement at the edge of the fabric for accuracy.
- Using a Tape Measure: Extend the tape measure along the area you wish to measure, ensuring it lays flat against the fabric. Make sure to check the measurement at the point where the tape meets the fabric.
In addition to these primary tools, you might also want to consider a fabric gauge. This handy little tool is especially useful for marking and measuring small increments, like seam allowances or hems. It’s compact and easy to use, making it a fantastic addition to your sewing toolkit.
Finally, remember that measuring is not just about numbers; it’s about precision. Always double-check your measurements before cutting your fabric. A small mistake can snowball into a larger issue down the line, and trust me, you don’t want to end up with a bag that’s too small to hold your essentials or too large to carry! So, take your time, measure twice, and cut once.
With the right measuring tools in hand, you’ll be well on your way to creating a bag that’s not only stylish but also perfectly sized for your needs. Happy sewing!
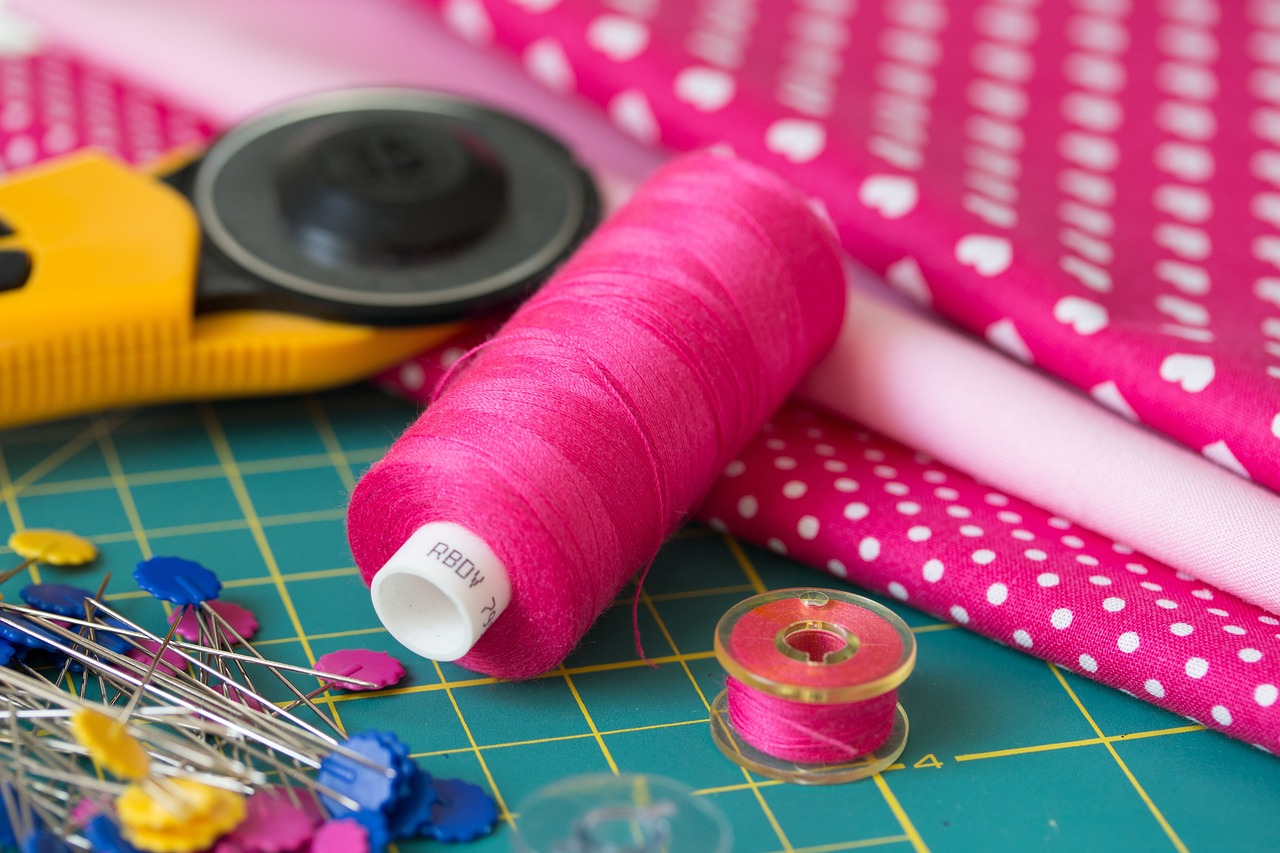
Rulers and Tape Measures
When it comes to sewing a bag, accuracy is key. Rulers and tape measures are your best friends in achieving those perfect dimensions that can make or break your project. Imagine trying to fit a square peg in a round hole; without the right measurements, that’s exactly what you’re doing when you sew without precision. So, let’s dive into how to effectively use these tools to ensure your bag turns out just as you envisioned.
A ruler is a straight tool that allows you to measure and draw straight lines. It's particularly useful for cutting fabric and ensuring that your edges are straight. When using a ruler, always start from a fixed point and measure outwards to avoid any discrepancies. A clear plastic ruler can also let you see through to the fabric beneath, which can be incredibly helpful when you’re trying to align patterns or cut straight lines.
On the other hand, a tape measure is essential for measuring curves and irregular shapes. Its flexibility allows it to conform to the contours of the fabric, making it ideal for measuring around handles or bag openings. When using a tape measure, keep it taut but not stretched too tightly, as this can lead to inaccurate readings. For a quick reference, you might find it helpful to have a conversion table handy, especially if you're working with different units of measurement.
| Measurement Type | Recommended Tool |
|---|---|
| Straight Lines | Ruler |
| Curved Lines | Tape Measure |
| Detailed Patterns | Clear Plastic Ruler |
Remember, it’s not just about having these tools; it’s about knowing how to use them effectively. For example, when measuring the width of your bag, always take multiple measurements at different points to ensure consistency. If you’re feeling adventurous, try using both a ruler and a tape measure in conjunction. This dual approach can help you cross-check your measurements, ensuring that your bag turns out precisely as you planned.
In conclusion, rulers and tape measures are indispensable tools in your sewing toolkit. They help you avoid the frustration of ill-fitting designs and allow you to focus on what really matters: unleashing your creativity. So, the next time you embark on a bag-making adventure, make sure you have these tools at your side, ready to help you craft something truly spectacular!
Cutting Tools
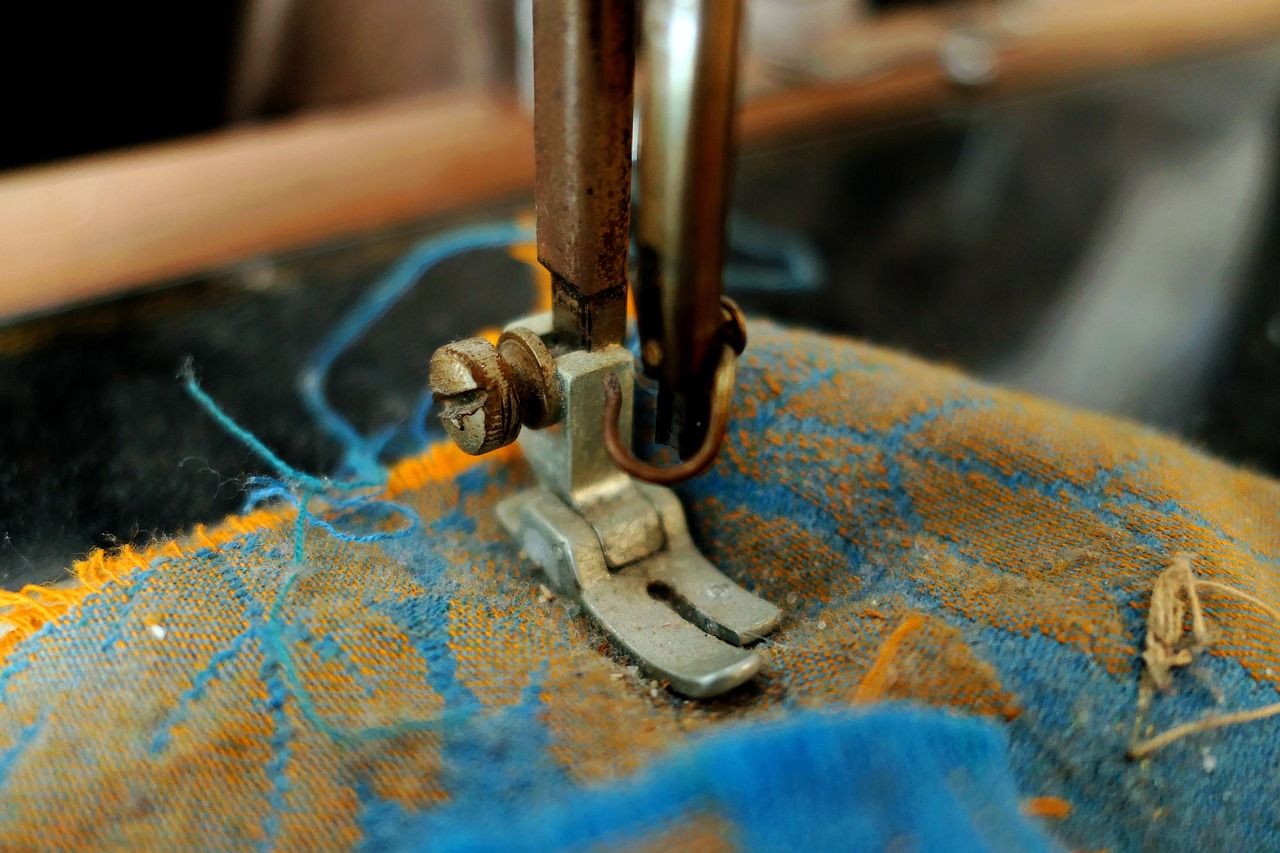
When it comes to sewing a bag, having the right cutting tools is like having the right ingredients for a perfect recipe. Imagine trying to bake a cake without measuring cups or a proper whisk—it's just not going to turn out well! Similarly, cutting tools are essential for ensuring your fabric pieces are accurately shaped and sized. The precision of your cuts can make or break your project, so let’s dive into the must-have cutting tools that can enhance your sewing experience.
First on the list is the trusty fabric scissors. These scissors are specifically designed for cutting fabric, featuring sharp blades that glide through material with ease. It's crucial to keep them sharp and dedicated solely to fabric to prevent fraying and uneven edges. Using regular scissors can dull the blades and lead to frustration, so invest in a good pair and treat them well.
Next, consider adding a rotary cutter to your toolkit. This tool is a game-changer for cutting straight lines and curves. With a circular blade that rolls over the fabric, it allows for quick and precise cuts, especially when working with multiple layers. Pair it with a self-healing cutting mat to protect your surfaces and prolong the life of your blades. It's like having a secret weapon in your sewing arsenal!
For those who love to work with patterns, a pattern weight can be incredibly helpful. Instead of using pins, which can sometimes distort the fabric, pattern weights help hold your pattern pieces in place while you cut. They are especially useful for larger projects or when working with slippery fabrics. You can buy them or even make your own using small weights or stones wrapped in fabric—just a little DIY magic!
Lastly, don't overlook the importance of a measuring mat. A cutting mat with printed measurements can help you line up your fabric accurately, ensuring that every piece is cut to the correct size. This tool is invaluable for maintaining consistency, especially if you're making multiple bags or items. Think of it as your sewing compass, guiding you to the right dimensions.
So, whether you're a seasoned pro or just starting out, having the right cutting tools is essential for a successful bag-making journey. They not only save you time but also enhance the quality of your work. Remember, the foundation of a great bag starts with precise cuts, so make sure you're equipped with these tools before you dive into your next sewing adventure!
- What type of scissors should I use for cutting fabric? It's best to use dedicated fabric scissors to ensure clean cuts without fraying the edges.
- Can I use a rotary cutter for all types of fabric? Yes, but be cautious with thicker or textured fabrics. Always test on a scrap piece first.
- How do I maintain my cutting tools? Keep your fabric scissors sharp, store them properly, and avoid cutting anything other than fabric to prolong their lifespan.
- What is the benefit of using pattern weights? Pattern weights hold your patterns in place without distorting the fabric, making it easier to cut accurately.
Notions and Accessories
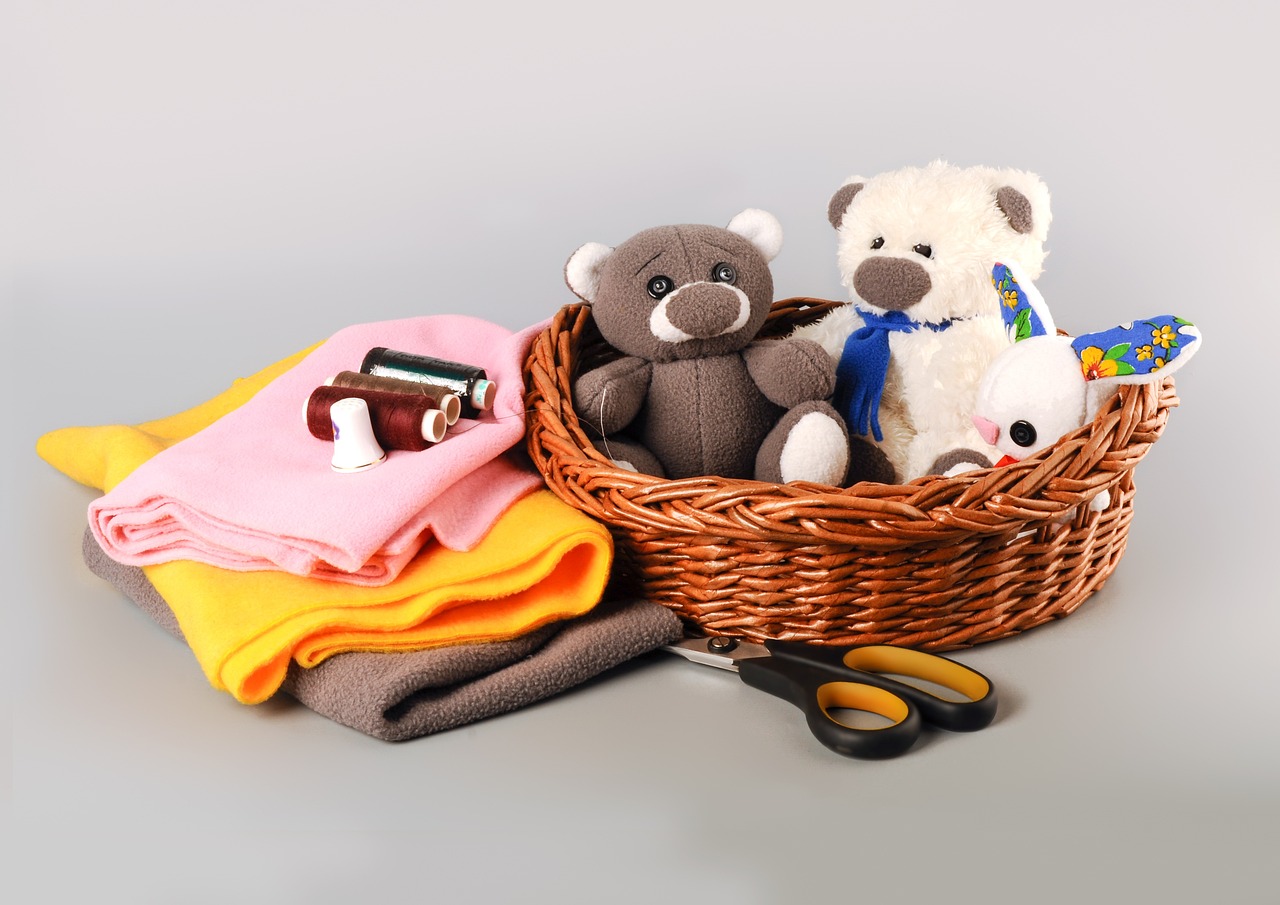
When it comes to sewing a bag, the right can make all the difference between a simple project and a stunning, functional masterpiece. Think of notions as the secret ingredients in your sewing recipe; they enhance not only the bag's functionality but also its overall aesthetic. Some essential notions you might want to consider include zippers, buttons, interfacing, and thread. Each of these elements plays a unique role in the construction of your bag, ensuring it not only looks great but also holds up to daily use.
For instance, zippers are crucial if you want your bag to have secure compartments. Choosing the right zipper length and type can add both style and practicality to your design. There are various types of zippers available, such as invisible, metal, and plastic, each serving different aesthetic and functional purposes. An invisible zipper, for example, can create a clean, seamless look, while a metal zipper might add a touch of rugged charm.
Another important notion is interfacing, which provides structure and support to your bag. It’s like the backbone of your creation, giving it stability and helping it maintain its shape. You can choose from different types of interfacing, including fusible and sew-in, depending on the fabric you’re using and the desired stiffness of your bag. Understanding how to apply interfacing correctly can elevate your bag from ordinary to extraordinary.
Don’t overlook the importance of thread as well. The right thread can impact both the durability and appearance of your bag. Opt for a thread that complements your fabric, and consider using a heavier weight thread for bags that will carry heavier loads. Additionally, having a variety of colors on hand allows you to add personal touches and creative flair to your sewing projects.
Finally, let’s not forget about buttons and other embellishments! They can serve both functional and decorative purposes, making your bag truly one-of-a-kind. Whether you choose to add a decorative button for flair or a functional snap closure, these small details can have a big impact on the final look of your bag. In summary, incorporating the right notions and accessories is key to crafting a bag that is not only beautiful but also practical and durable.
Q: What is interfacing, and why do I need it?
A: Interfacing is a material used to reinforce and stabilize fabric. It helps your bag maintain its shape and structure, making it more durable.
Q: How do I choose the right zipper for my bag?
A: Consider the style and function of your bag. For a sleek look, opt for an invisible zipper; for a more rugged appearance, a metal zipper may be ideal.
Q: Can I use any thread for my sewing project?
A: While you can use various types of thread, it’s best to choose a thread that matches the weight and type of your fabric for optimal results.
Q: Are there any specific tools I need for adding buttons?
A: You’ll typically need a needle and thread, but a buttonhole cutter or a sewing machine with a buttonhole function can make the process easier.
Basic Sewing Techniques
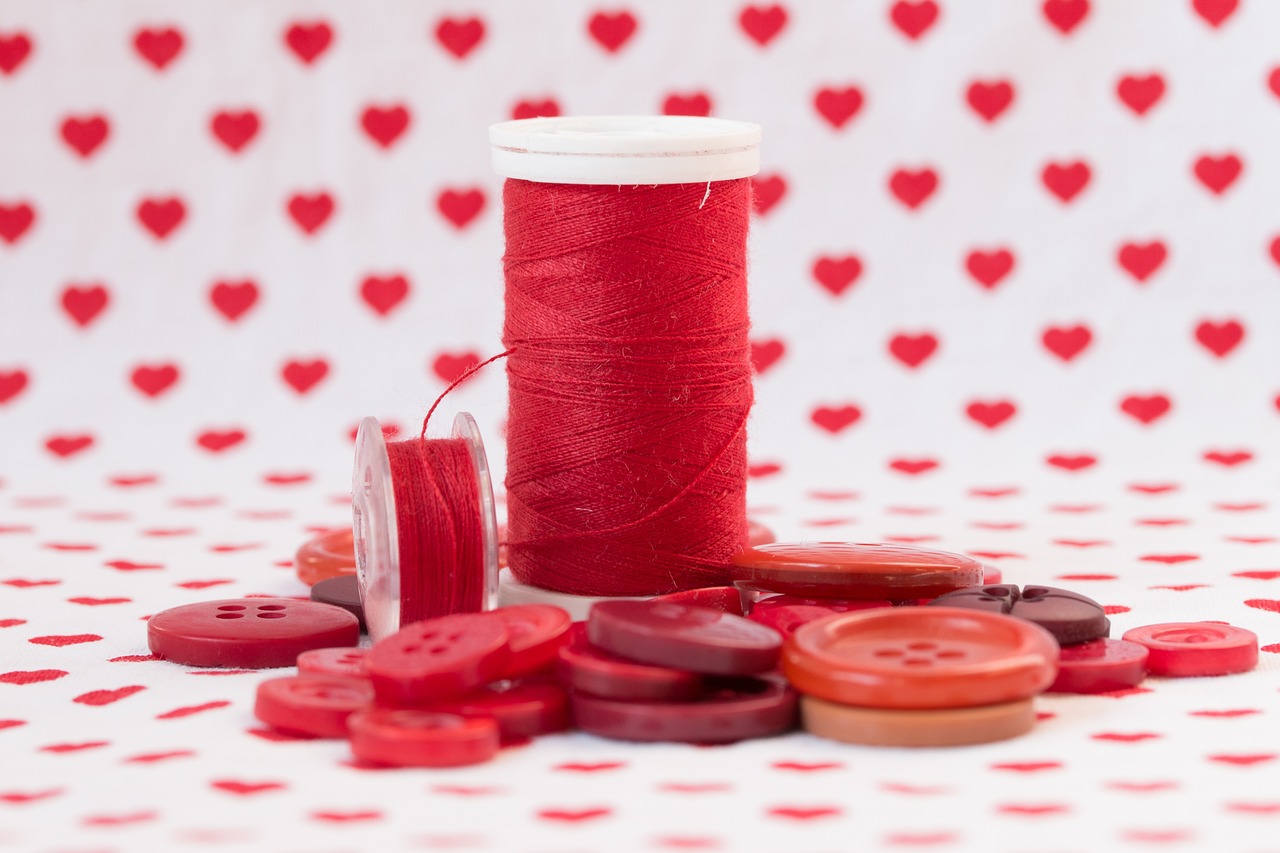
When it comes to sewing a bag, understanding is your golden ticket to success. Think of sewing as a dance; each step and movement matters. Whether you're a novice or have some experience under your belt, mastering these techniques will enhance your skills and make your project a lot more enjoyable. So, let's dive into the world of sewing and explore the fundamental techniques that will serve as the backbone of your bag-making adventure!
First off, you need to decide between hand sewing and machine sewing. Each technique has its own charm and benefits. Hand sewing offers a level of control and precision that can be quite satisfying, especially for small details or delicate fabrics. It’s like painting with a fine brush, allowing you to get into the nitty-gritty. On the other hand, machine sewing is like having a speedy race car at your disposal—it’s efficient and can handle larger projects in a fraction of the time. So, which one suits your needs? If you’re sewing intricate designs or working with heavier fabrics, machine sewing might be your best bet. However, if you’re looking for a more personal touch, hand sewing could be the way to go.
Next, let’s talk about stitching techniques. The type of stitch you choose can dramatically affect the look and durability of your bag. Here are some popular stitches you might want to consider:
- Straight Stitch: This is the most common stitch, perfect for basic seams. It’s strong and reliable, just like your best friend.
- Zigzag Stitch: This stitch is great for preventing fraying on the edges of your fabric, like a protective shield for your bag.
- Backstitch: Known for its strength, this stitch is ideal for areas that require extra durability, such as handles.
- Slip Stitch: Perfect for hemming or finishing seams invisibly, giving your bag that polished look.
Each of these stitches has its own application, so think about the purpose of your bag and the materials you’re using. For instance, if you’re working with a lightweight fabric, a straight stitch will do the trick, but if you’re using something heavier, you might want to reinforce your seams with a backstitch.
Now that you have a grasp of the techniques, it's time to put them into practice! Start with some simple projects to build your confidence. Remember, practice makes perfect! You might want to create a small pouch or a simple tote bag before tackling more complex designs. This way, you can experiment with different stitches and techniques without feeling overwhelmed.
In summary, mastering basic sewing techniques is essential for your bag-making journey. Whether you choose hand sewing or machine sewing, understanding various stitching techniques will empower you to create beautiful, functional bags. So grab your fabric, gather your tools, and let your creativity flow!
Q: Do I need a sewing machine to make a bag?
A: While a sewing machine can speed up the process and provide more consistent stitches, you can certainly make a bag by hand if you prefer. Just be prepared for a more time-consuming process!
Q: What type of fabric is best for beginners?
A: Cotton fabric is often recommended for beginners due to its ease of handling and sewing. It’s forgiving and comes in a variety of fun prints!
Q: How can I make my bag more durable?
A: To enhance durability, consider using a heavier weight fabric, double-stitching seams, and adding interfacing to provide structure.
Q: What are notions, and do I need them?
A: Notions refer to the small items that complement your sewing project, such as zippers, buttons, and interfacing. While they aren’t always necessary, they can add functionality and style to your bag!
Hand Sewing vs. Machine Sewing
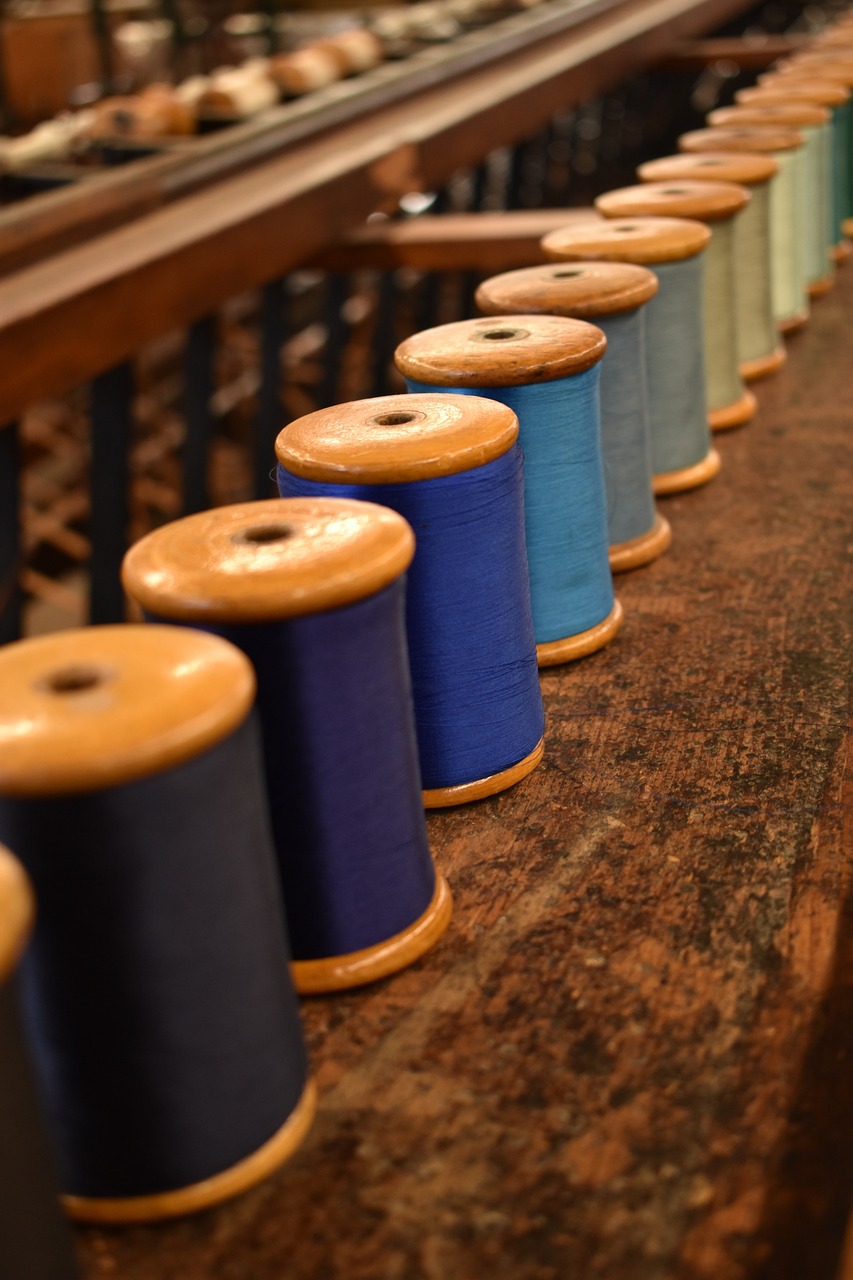
When it comes to sewing your bag, one of the first decisions you'll face is whether to go with hand sewing or machine sewing. Each method has its own set of advantages and disadvantages, and understanding these can help you choose the right approach for your project. Think of hand sewing as the gentle art of crafting, where every stitch is a personal touch, while machine sewing is like having a speedy assistant that helps you whip up your creations in no time.
Hand sewing is often seen as a more traditional method, allowing for a great deal of precision and control. Imagine sitting in a cozy corner, needle in hand, carefully stitching the fabric together. This method is perfect for those intricate details or when you need to make adjustments on the fly. Plus, hand sewing can be incredibly therapeutic! However, it can also be time-consuming, especially if you're working on larger projects.
On the flip side, machine sewing is all about efficiency. With a sewing machine, you can complete your bag in a fraction of the time it would take to hand sew. Machines can handle multiple layers of fabric with ease, making them ideal for thicker materials or more complex designs. If you're looking to create several bags or need to finish your project quickly, machine sewing is the way to go. However, it does require some practice and familiarity with the machine to avoid mishaps.
Ultimately, your choice may depend on the complexity of your design and your personal preferences. If you're a beginner, you might want to start with hand sewing to get a feel for the materials and techniques. As your skills improve, you can transition to machine sewing for larger or more intricate projects. To help you decide, here's a quick comparison:
| Feature | Hand Sewing | Machine Sewing |
|---|---|---|
| Speed | Slow | Fast |
| Complexity | Good for small details | Handles multiple layers well |
| Control | High | Moderate |
| Learning Curve | Gentle | Steeper |
| Portability | Very portable | Less portable |
In conclusion, whether you choose to hand sew or machine sew, both methods can lead to beautiful results. The key is to choose the technique that resonates with your style and fits the needs of your project. So, grab your materials and get ready to create something amazing!
Here are some common questions that beginners often have when deciding between hand sewing and machine sewing:
- Can I use both methods? Absolutely! Many sewists switch between hand and machine sewing depending on the task at hand.
- Which method is better for beginners? Hand sewing is often recommended for beginners to build basic skills, but starting with a simple machine project can also be beneficial.
- Do I need special tools for hand sewing? While basic needles and thread are sufficient, having a thimble and good scissors can enhance your experience.
- What type of sewing machine should I buy? Look for a machine that suits your needs, whether you're a beginner or more advanced. Features like multiple stitch options can be helpful.
Stitching Techniques
When it comes to sewing a bag, the you choose can make a world of difference in both the aesthetics and durability of your project. Think of stitching as the backbone of your creation; it holds everything together while also adding character and style. Whether you're going for a sleek, modern look or a more rustic vibe, the right stitches can elevate your bag from ordinary to extraordinary.
One of the most popular stitching techniques is the straight stitch. This is the foundation of most sewing projects and is perfect for seams that don’t require stretch. It’s straightforward to execute and works well with a variety of fabrics. For those looking to add a bit more flair, consider the zigzag stitch. Not only does it provide a decorative edge, but it also helps to prevent fraying on woven fabrics, which is a common issue when making bags. If you want to take it a step further, the decorative stitch can be your best friend. These stitches come in various patterns and can be used to embellish your bag, making it truly one-of-a-kind.
Another essential technique to consider is the backstitch. This stitch is particularly useful for reinforcing seams that are under a lot of stress, like the bottom of a bag that carries heavier items. To execute a backstitch, simply sew a few stitches forward, then go back and sew over the last stitch. This technique not only adds strength but also creates a neat finish. On the other hand, if you're looking to add some stretch to your seams, especially for bags made of knit or stretchy fabrics, the stretch stitch is the way to go. This stitch allows the fabric to maintain its elasticity, ensuring that your bag can handle the wear and tear of daily use.
For those who want to get a little more adventurous, consider trying out French seams. This technique encloses the raw edges of the fabric, providing a clean finish that looks professional. It’s particularly useful for lightweight or sheer fabrics, where raw edges can be more visible. Additionally, if you're working with heavier materials, the flat-felled seam is a fantastic option. This stitch not only reinforces the seam but also gives your bag a polished look.
As you explore these stitching techniques, remember that practice makes perfect. Don't be afraid to experiment with different stitches and see how they affect the overall look and feel of your bag. Each stitch tells a story, and your bag will be a reflection of your creativity and skill. So grab your fabric, thread, and sewing machine, and let your imagination run wild!
- What is the best stitch for sewing bags? The straight stitch is commonly used, but consider zigzag stitches for added durability and style.
- Can I use a sewing machine for all stitching techniques? Most techniques can be done on a sewing machine, but some, like decorative stitches, may require specific settings.
- How do I reinforce seams in my bag? Using backstitches or double stitching can help reinforce seams, especially in areas that will bear more weight.
- What materials are best for bag-making? Cotton canvas, denim, and upholstery fabrics are great choices due to their durability and variety of patterns.

Designing Your Bag
Designing your bag is where the magic truly begins! It’s like painting on a blank canvas, where your imagination can run wild. Before you dive into the sewing process, take a moment to conceptualize what you want your bag to look like. Think about its purpose: will it be a stylish handbag, a practical tote, or perhaps a quirky backpack? Each design choice you make will reflect your personal style and needs.
Start by sketching your ideas. Grab a pencil and some paper, and don’t worry about making it perfect; just let your creativity flow. Visualizing your design can help you figure out the dimensions and features you want to include. Consider aspects such as the size, shape, and the type of closure (like zippers or buttons) you want to use. Remember, your bag should not only be beautiful but also functional!
When designing, think about the color scheme and patterns that resonate with you. Will you go for bold, vibrant colors, or soft, pastel shades? Perhaps a floral pattern for a touch of whimsy or a solid color for a classic look? Here’s a quick tip: sometimes, mixing and matching different fabrics can create a stunning visual effect. Just make sure the fabrics complement each other in terms of texture and color.
Another crucial aspect to consider is the pockets and compartments. Do you want a simple design or something that keeps you organized with multiple sections? Think about how you’ll use the bag day-to-day and what items you’ll need to carry. For example, if you plan on using it for shopping, you might want a large compartment, but if it’s for work, having a few smaller pockets for pens and notepads could be beneficial.
To help you visualize your design, you might find it useful to create a mood board. This can include fabric swatches, color samples, and images of bags that inspire you. It’s a fantastic way to keep your design ideas organized and to ensure that all elements work harmoniously together. You can use tools like Pinterest or even a physical board with cutouts from magazines.
Once you have a clear idea of what your bag will look like, it’s time to draft a pattern. You can either create your own or find pre-made patterns online. If you’re feeling adventurous, drafting your own allows you to customize every detail to your liking. Just remember to include seam allowances in your measurements!
Finally, before you start cutting your fabric, make a prototype using inexpensive fabric or even old clothes. This will allow you to test out your design and make any necessary adjustments without wasting your good fabric. It’s all about trial and error, and this step can save you a lot of headaches later on.
- What materials do I need to design my bag? You’ll need paper for sketches, fabric swatches, scissors, and possibly a mood board to gather inspiration.
- Can I use a pre-made pattern? Absolutely! There are many great resources online where you can find free or paid patterns that suit your style.
- How do I know what size to make my bag? Consider what you’ll carry in it. Measure your items and add extra space for comfort.
- What if I make a mistake in my design? Don’t worry! Mistakes are part of the creative process. Use them as learning experiences.
Putting It All Together
Now that you've gathered all your materials and finalized your design, it’s time to bring everything together and start sewing your bag! This part of the process is where your creativity truly shines, and the excitement builds as you see your vision come to life. To ensure a smooth assembly, let's break down the steps you need to follow, keeping in mind that patience and precision are your best friends during this phase.
First, lay out all your cut fabric pieces in front of you. This will help you visualize the final product and ensure you have everything you need. You should have your main fabric, lining, any pockets, and the necessary notions like zippers or buttons. If you’re using multiple fabrics, make sure to arrange them in a way that showcases your design. Remember, it’s like putting together a puzzle; each piece must fit perfectly for the whole picture to make sense.
Next, start with the main body of the bag. If you’re using a sewing machine, set it up with the appropriate thread color that matches or complements your fabric. Begin by sewing the sides of the bag together, ensuring that you keep a consistent seam allowance. A good rule of thumb is to use a 1/4 inch seam allowance, but this can vary depending on your design. As you sew, keep an eye on the fabric to avoid any puckering, which can happen if the fabric shifts. It's like guiding a ship through calm waters; a steady hand will keep everything on course.
Once the main body is assembled, it’s time to add any pockets or additional features. If you’ve decided to include pockets, now is the perfect time to sew them onto the lining fabric. This is where you can get creative! Consider adding decorative stitches or fun fabrics to make your pockets pop. After adding the pockets, attach the lining to the bag's exterior, right sides together, and sew along the top edge. This step is crucial as it gives your bag a finished look and hides any raw edges. Think of it as dressing your bag in its best outfit!
After you’ve sewn the lining to the main fabric, turn the bag inside out. This is the moment of truth! You’ll want to gently push out the corners to ensure they’re nice and sharp. If your bag has a structured design, you might want to use some interfacing to give it that extra support. Now, take a moment to admire your handiwork before moving on to the finishing touches.
Finally, let’s talk about those finishing touches. This is where you can add elements like straps, closures, or embellishments. If you’re using a zipper, now is the time to sew it into place. For straps, you can either sew them directly onto the bag or create adjustable ones for added versatility. Don't forget to give your bag a final press with an iron to smooth out any creases and give it a polished look. Just like a chef plating a dish, the presentation matters!
As you step back and admire your completed bag, take a moment to appreciate the journey you took to create it. Each stitch tells a story, and every choice reflects your unique style. Whether it’s a simple tote for your groceries or a chic handbag for a night out, you’ve crafted something special that showcases your creativity and skill. So, are you ready to show off your new creation? Let the world see your fabulous handiwork!
Q: How long does it take to sew a bag?
A: The time it takes to sew a bag can vary greatly depending on the complexity of the design and your sewing experience. A simple tote might take a couple of hours, while a more intricate bag could take a full day or more.
Q: What if I make a mistake while sewing?
A: Mistakes are part of the learning process! If you make a mistake, don’t panic. Most errors can be fixed by carefully unpicking the stitches and trying again. Remember, practice makes perfect!
Q: Can I use any fabric to sew a bag?
A: While you can use a variety of fabrics, it’s important to choose materials that are durable and suitable for the type of bag you’re making. Cotton, canvas, and denim are popular choices for their strength and versatility.
Q: Do I need a sewing machine to make a bag?
A: While a sewing machine can make the process faster and easier, you can certainly sew a bag by hand if you prefer. Just be prepared for a bit more time and effort!
Step-by-Step Assembly
As you embark on the exciting journey of assembling your bag, remember that this is where all your planning and creativity come to life! The assembly process can feel overwhelming at first, but by breaking it down into manageable steps, you’ll find it’s not only doable but also incredibly rewarding. Let’s dive into the step-by-step assembly process that will transform your fabric and notions into a beautiful, functional bag.
First and foremost, gather all your materials in one place. This includes your cut fabric pieces, lining, interfacing, and any notions like zippers or buttons. Having everything at your fingertips will streamline the process and keep you focused. Once you have everything ready, lay out your fabric pieces in the order they will be sewn together. This visual organization can help you avoid any mix-ups later on.
Now, let’s start with the main body of the bag. If you’ve chosen to use interfacing for added structure, iron it onto the wrong side of your main fabric pieces as per the manufacturer’s instructions. This step is crucial as it gives your bag the durability it needs to withstand everyday use. After that, align the main fabric pieces right sides together, ensuring that the edges match perfectly. Pin them in place to avoid any shifting while you sew.
Next, it’s time to sew! Using a sewing machine, stitch along the edges, leaving a seam allowance of about 1/4 to 1/2 inch, depending on your fabric type. As you sew, remember to backstitch at the beginning and end of each seam to secure your stitches. If you’re feeling adventurous, consider using decorative stitches to add a personal touch to your bag. Once you’ve sewn the sides, turn the bag right side out and give it a good press with an iron to flatten the seams.
After the main body is complete, it’s time to attach the lining. Repeat the previous steps with your lining fabric, ensuring that it fits snugly inside the main bag. This is a great place to incorporate pockets if you desire! Simply sew a pocket onto the lining before you attach it to the main bag. To attach the lining, place it inside the main bag, right sides together, and sew around the top edge, leaving a small opening to turn the bag right side out.
Once you’ve sewn the lining to the bag, it’s time to turn everything right side out through the opening you left. Carefully pull the bag through, and then tuck the lining down inside the bag. Give it a good press again to ensure everything lies flat. Finally, sew the opening closed using either a slip stitch or by topstitching along the edge. This is where you can truly personalize your bag by adding embellishments like buttons, patches, or even a unique strap.
As you finish up, take a moment to admire your handiwork. You’ve taken a collection of fabrics and notions and transformed them into a stylish, functional accessory. Remember, every bag you make will not only enhance your skills but also give you the chance to express your creativity. So, what are you waiting for? Grab your sewing machine and start crafting your perfect bag!
- What type of fabric is best for beginners? Cotton is an excellent choice for beginners due to its ease of handling and versatility.
- Can I sew a bag without a sewing machine? Absolutely! Hand sewing is a viable option, especially for small projects or if you prefer a more personal touch.
- How do I care for my handmade bag? It’s best to follow the care instructions for the fabric you’ve used. Generally, spot cleaning is recommended for most bags.
Finishing Touches
Congratulations! You've made it to the final stage of your bag-making journey. This is where the magic really happens, and your bag transforms from a collection of fabric pieces into a stunning accessory that reflects your unique style. The are crucial, as they not only enhance the bag's overall appearance but also improve its functionality. So, let's dive into some essential elements to consider during this exciting phase!
First off, think about the straps. The type of straps you choose can significantly affect both the look and comfort of your bag. You might opt for fabric straps, which can be made from the same material as your bag for a cohesive look, or you could go for leather or faux leather for a touch of elegance. Remember, the width and length of the straps should complement the size of your bag. A small handbag might look adorable with delicate straps, while a larger tote could benefit from wider, sturdier ones.
Next, let's talk about linings. Adding a lining not only gives your bag a polished finish but also protects the inner seams and adds durability. You can use a contrasting fabric to create a fun surprise when you open your bag or stick with something neutral for a classic look. If you're feeling adventurous, consider adding pockets to your lining for extra functionality—perfect for stashing your phone or keys!
Don't forget about embellishments! These are the little details that can truly elevate your bag. Think about incorporating things like:
- Buttons: A decorative button can serve as a closure or simply as an accent piece.
- Patches: Personalize your bag with fun patches that show off your personality.
- Embroidery: Adding some embroidered designs can give your bag a unique, handcrafted feel.
Lastly, take a moment to inspect your work. Check for any loose threads, uneven seams, or areas that might need a little extra love. A well-finished bag not only looks better but also lasts longer. So, trim any excess threads and give your bag a good press with an iron to smooth out any wrinkles.
Once you've added these finishing touches, you'll be ready to show off your creation! Whether it's for personal use or a gift, your handmade bag is sure to impress. Remember, the beauty of crafting lies not only in the final product but also in the joy of the process. So, take pride in your work, and enjoy every moment of this creative journey!
Q: How do I choose the right fabric for my bag?
A: Consider the purpose of your bag. For everyday use, sturdy fabrics like canvas or denim are great choices. If you're going for a more elegant look, lightweight fabrics like cotton or linen can work well.
Q: Can I add pockets to my bag?
A: Absolutely! Adding pockets, whether inside or outside, can enhance the functionality of your bag. Just make sure to plan where to place them before you start sewing.
Q: What if I make a mistake while sewing?
A: Mistakes happen to everyone! The key is to stay calm. Most errors can be fixed by unpicking stitches or making minor adjustments. Remember, practice makes perfect!
Q: How do I care for my handmade bag?
A: The care instructions depend on the fabric you used. Most fabric bags can be spot cleaned or hand washed, while leather bags may require special cleaning products. Always check the fabric care label for specific instructions.
Frequently Asked Questions
- What type of fabric is best for sewing a bag?
Choosing the right fabric is essential for both durability and style. For bags, you might consider materials like canvas, denim, or cotton. Each fabric has its own unique characteristics. For example, canvas is sturdy and perfect for tote bags, while cotton can offer vibrant patterns for a more stylish look.
- What essential tools do I need to sew a bag?
Before you dive into your sewing project, gather some essential tools. You'll need a good sewing machine or hand sewing needles, fabric scissors, measuring tape, and pins. These tools will make your sewing experience smoother and more enjoyable.
- Can I sew a bag by hand, or do I need a sewing machine?
Absolutely, you can sew a bag by hand! While a sewing machine can speed up the process, hand sewing allows for more control, especially for intricate details. If you enjoy a slower pace and want to add a personal touch, hand sewing is a great option.
- What are some basic sewing techniques I should know?
Familiarizing yourself with basic sewing techniques is crucial. Start with simple stitches like the straight stitch and zigzag stitch. These techniques will serve as the foundation for your bag-making project, allowing you to create sturdy seams and decorative details.
- How do I design my bag before sewing?
Designing your bag can be a fun and creative process! Begin by sketching your ideas on paper. Consider the size, shape, and any special features you want to include, like pockets or embellishments. This step will help you visualize your project and make the sewing process more organized.
- What are the finishing touches I can add to my bag?
Finishing touches can really elevate your bag's appearance! Think about adding straps, linings, or decorative elements like buttons or patches. These details not only enhance the look but also improve the functionality of your bag, making it truly unique.


