Creating a Vintage Wooden Record Player: A Guide
Welcome to the world of music where nostalgia meets craftsmanship! Imagine the soothing sounds of vinyl spinning on a beautifully crafted wooden record player, filling your space with rich, warm tones that transport you back in time. This guide explores the process of crafting a vintage wooden record player, including materials, techniques, and tips to achieve an authentic retro look and sound quality that will make your heart skip a beat. Whether you’re a seasoned woodworker or a curious beginner, this journey will not only be rewarding but also incredibly fun!
Selecting the appropriate type of wood is crucial for both aesthetics and sound quality. Different woods contribute unique tonal characteristics and visual appeal to your record player. For instance, hardwoods like oak and maple are celebrated for their durability and resonance, while softer woods like pine can offer a warmer sound but might not last as long. Consider the following options:
- Mahogany: Known for its rich color and excellent acoustic properties.
- Walnut: Offers a deep, warm tone that enhances sound quality.
- Plywood: A cost-effective alternative that can still produce great sound when layered correctly.
The choice of wood will not only affect how your record player sounds but also its overall appearance. A beautifully grained wood can make your player a stunning centerpiece in any room, while the right finish can enhance its natural beauty.
Gathering the right tools and materials before starting your project ensures a smoother building process. This section outlines everything you'll need to create your vintage wooden record player. Having the right equipment can mean the difference between a project that feels like a chore and one that’s a joy to complete.
Using the right power tools can significantly ease the building process. Here, we discuss essential power tools that will help you achieve precision and efficiency in your project. A few key tools include:
- Table Saw: For making straight cuts and ensuring uniformity.
- Drill: Essential for creating holes for screws and other fasteners.
- Sander: To smooth out surfaces and prepare for finishing.
Saws and drills are fundamental for cutting and assembling your wooden components. A circular saw is great for larger cuts, while a jigsaw can handle more intricate shapes. When it comes to drills, a cordless model is often the most convenient choice, allowing you to move freely around your workspace.
Finishing tools are essential for achieving a polished look on your wooden surfaces. Sandpaper, wood stain, and sealants will help protect your record player while enhancing its aesthetic appeal. Make sure to invest in quality products, as they can make a significant difference in the final outcome.
While power tools are important, hand tools also play a vital role in fine-tuning your project. Essential hand tools for crafting intricate details include chisels, clamps, and files. These tools allow for precision work that power tools simply can’t match, making them indispensable in your toolkit.
A well-thought-out design is key to a functional and attractive record player. Start by sketching out your ideas on paper or using design software. This way, you can visualize your project and make adjustments before cutting any wood. Think about how the components will fit together and how they’ll look in the finished product.
Understanding the dimensions and proportions of your record player can greatly affect its usability and appearance. A player that is too large may dominate a small space, while one that is too small might get lost in a larger room. Aim for a balance that complements your environment.
Strategic placement of components is essential for sound quality and ease of use. Consider the optimal arrangement for the turntable, speakers, and other elements. For example, placing the speakers at ear level can enhance audio clarity, while the turntable should be easily accessible for record changes.
Learning proper assembly techniques is vital for a sturdy and durable record player. The way you join wooden parts can affect not only the strength of the construction but also its aesthetic appeal.
Exploring different joinery methods can enhance the strength and visual appeal of your record player. Techniques like dovetail joints or mortise and tenon joints can provide both functionality and beauty. Each method has its own advantages, so choose one that fits your skill level and design goals.
Finishing touches can elevate the overall appearance of your record player. Techniques for sanding, staining, and sealing your wooden surfaces will protect your work and highlight the natural beauty of the wood. Don't rush this process; it's what will make your record player truly shine!
Achieving high sound quality is essential for any record player. The quality of the components you choose will have a direct impact on the sound produced.
Choosing the right turntable is critical for sound fidelity. Look for models that are known for their durability and sound quality. Research various options to help you make an informed decision for your vintage player.
Integrating quality speakers is vital for an immersive listening experience. Positioning your speakers correctly can enhance the overall sound output. Experiment with different placements to find the sweet spot that delivers the best audio experience.
Proper maintenance ensures the longevity of your vintage wooden record player. Just like a classic car, your record player deserves some TLC! Regular upkeep will keep it looking and sounding great for years to come.
Regular cleaning is essential to preserve the appearance and functionality of your record player. Use a soft, dry cloth to wipe down surfaces, and avoid harsh chemicals that could damage the wood. For the turntable, a specialized cleaning solution can help maintain performance.
Storing your record player correctly can prevent damage and wear. Keep it in a cool, dry place away from direct sunlight, and consider using a dust cover when it's not in use. This will help maintain its condition and ensure you get the most out of your investment.
Q: How long does it take to build a vintage wooden record player?
A: The time it takes can vary greatly depending on your skill level and the complexity of your design. Generally, you could expect anywhere from a few days to a couple of weeks.
Q: Can I use reclaimed wood for my project?
A: Absolutely! Reclaimed wood can add character and a unique story to your record player, just make sure it’s in good condition and free of pests.
Q: What is the best way to enhance sound quality?
A: Invest in quality components, ensure proper placement of speakers, and consider upgrading your turntable for the best sound experience.
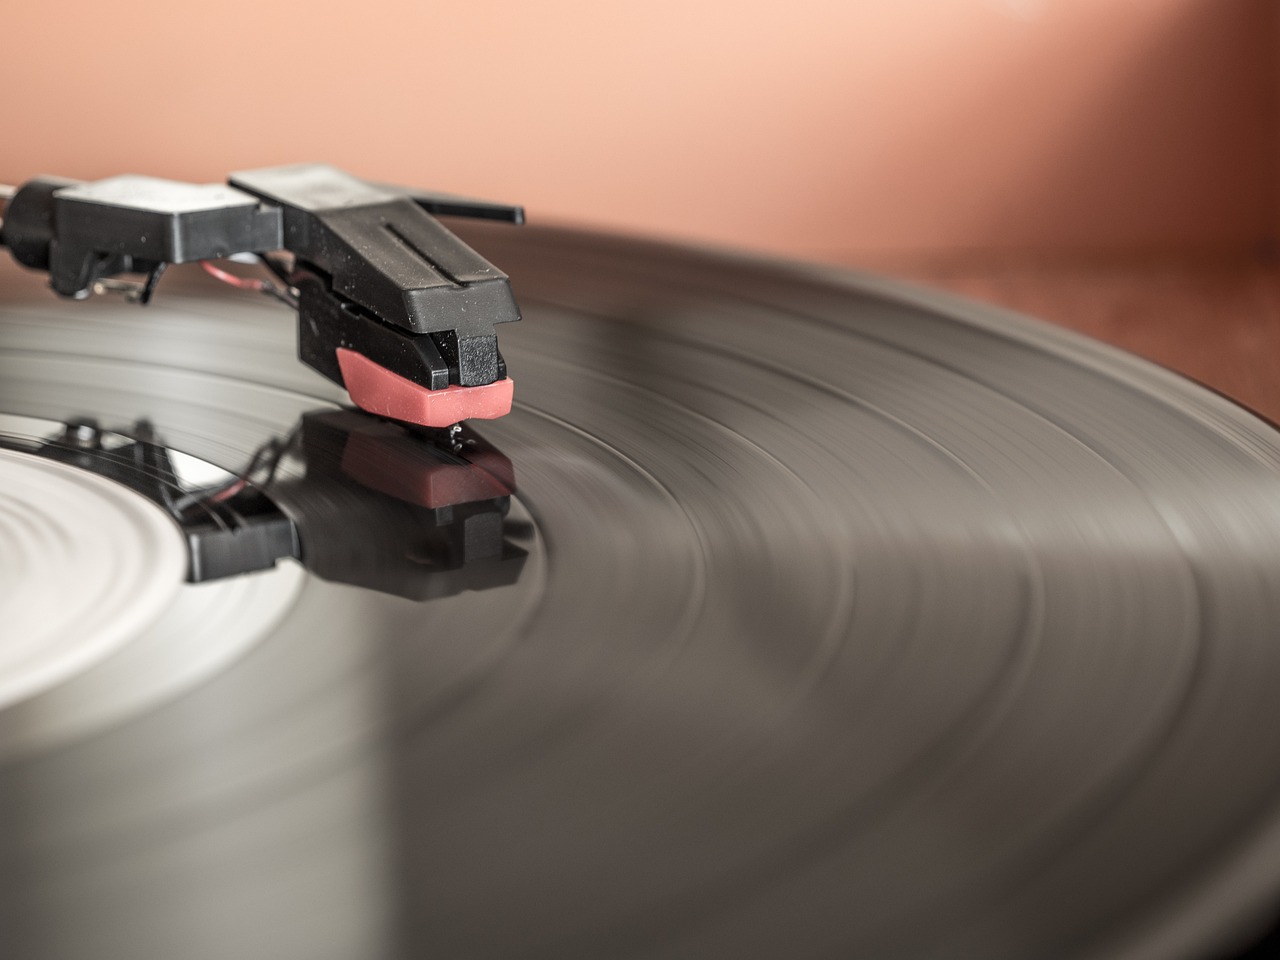
Choosing the Right Wood
When it comes to crafting a vintage wooden record player, the choice of wood is not just a matter of aesthetics; it's a fundamental decision that can significantly influence the sound quality and overall vibe of your creation. Imagine the warm, rich tones of a classic jazz record being played on a beautifully crafted wooden player—it’s an experience that transcends mere listening. So, what types of wood should you consider?
First off, you’ll want to think about hardwoods versus softwoods. Hardwoods like oak, walnut, and cherry are often favored for their durability and acoustic properties. For instance, walnut is not only stunning with its deep, rich color and grain but also provides excellent sound resonance. On the other hand, softwoods like pine can be more affordable and easier to work with, but they might not deliver the same tonal quality. If you're aiming for that authentic retro sound, hardwoods are generally the way to go.
Next, consider the grain patterns and colors of the wood. The appearance of your record player can greatly enhance its charm. A visually striking grain can make your player a centerpiece in any room. When selecting wood, look for pieces that have unique patterns and rich hues. The interplay of light and shadow on a finely grained surface can evoke a sense of nostalgia, transporting listeners back to a time when music was an experience to savor.
Additionally, the thickness of the wood is another crucial factor. Thicker pieces can provide better sound insulation and stability, which is vital for maintaining the integrity of the audio. A well-constructed wooden cabinet can minimize unwanted vibrations, ensuring that your records sound their best. As you choose your wood, think about how the thickness will affect both the acoustics and the overall weight of your record player.
To summarize, here are some key points to consider when choosing the right wood for your vintage record player:
- Type of Wood: Opt for hardwoods like oak or walnut for better sound quality.
- Grain and Color: Select visually appealing wood with unique patterns.
- Thickness: Thicker wood enhances stability and sound insulation.
Ultimately, the wood you choose will not only impact the sound quality but also the overall aesthetic appeal of your vintage record player. So take your time, explore different options, and let your creativity flow. After all, building a record player is not just about functionality; it's about crafting a piece of art that resonates with your love for music.
Essential Tools and Materials
Before diving into the exciting journey of crafting your very own vintage wooden record player, it's crucial to gather the . Having everything on hand not only streamlines the building process but also enhances the quality of your final product. Imagine starting a puzzle only to find you’re missing key pieces—frustrating, right? That's why preparation is key!
First and foremost, you'll need to choose the right type of wood. While there are many options, some of the most popular choices for crafting a record player include maple, walnut, and birch. Each type brings its own unique character to the table, both in terms of aesthetics and acoustics. For instance, walnut is known for its rich, dark hue and excellent sound properties, making it a favorite among audiophiles.
Next, let’s talk about the tools you’ll need. Having a solid toolkit can make your woodworking experience not only easier but also more enjoyable. You'll want to include both power tools and hand tools in your arsenal. Power tools like saws and drills will help you cut and assemble your wooden pieces with precision, while hand tools like chisels and sanders will allow you to add those intricate details that make your record player truly special.
Power tools are a game-changer when it comes to efficiency. For your record player project, you'll primarily need:
- Table Saw: Perfect for making straight cuts and ensuring your wood pieces are uniform.
- Drill: Essential for creating holes for screws and other fittings.
- Sander: A must-have for smoothing out surfaces and edges.
These tools not only save time but also provide the accuracy that hand tools might struggle with, especially for larger pieces. Imagine trying to cut a perfect circle with a handsaw—it’s doable, but it would take a lot of time and patience!
When selecting saws, consider a jigsaw for cutting curves and a circular saw for straight cuts. Both are versatile and can handle various tasks. As for drills, a battery-operated model can offer the freedom to move around without being tethered to an outlet, making your work more flexible.
Once your structure is assembled, it’s time to think about finishing. This is where tools like paintbrushes, rollers, and spray guns come into play. They will help you apply stains, paints, or sealants evenly, ensuring that your record player not only sounds great but looks stunning, too.
While power tools are fantastic, don’t underestimate the importance of hand tools. They allow for more control and finesse, especially when it comes to detailed work. Essential hand tools for your project include:
- Chisels: Great for carving out intricate designs.
- Screwdrivers: Necessary for assembling various components.
- Clamps: Vital for holding pieces together while the glue dries.
Combining both power and hand tools will give you the flexibility you need to tackle any challenge that arises during your build. Think of it like cooking: you wouldn’t just use a microwave; you’d also need pots, pans, and knives to create a gourmet meal!
In summary, gathering the right tools and materials is a foundational step in crafting your vintage wooden record player. With the right wood, a mix of power and hand tools, and a dash of creativity, you’ll be well on your way to creating a beautiful and functional piece of art that pays homage to the golden age of music.
Q: What type of wood is best for sound quality?
A: Hardwoods like maple and walnut are excellent choices due to their density and resonance, which enhance sound quality.
Q: Can I use recycled wood for my record player?
A: Absolutely! Recycled wood can add character and uniqueness to your project, but make sure it’s in good condition.
Q: How much time will it take to build a vintage record player?
A: Depending on your skill level and the complexity of your design, it can take anywhere from a few days to several weeks.
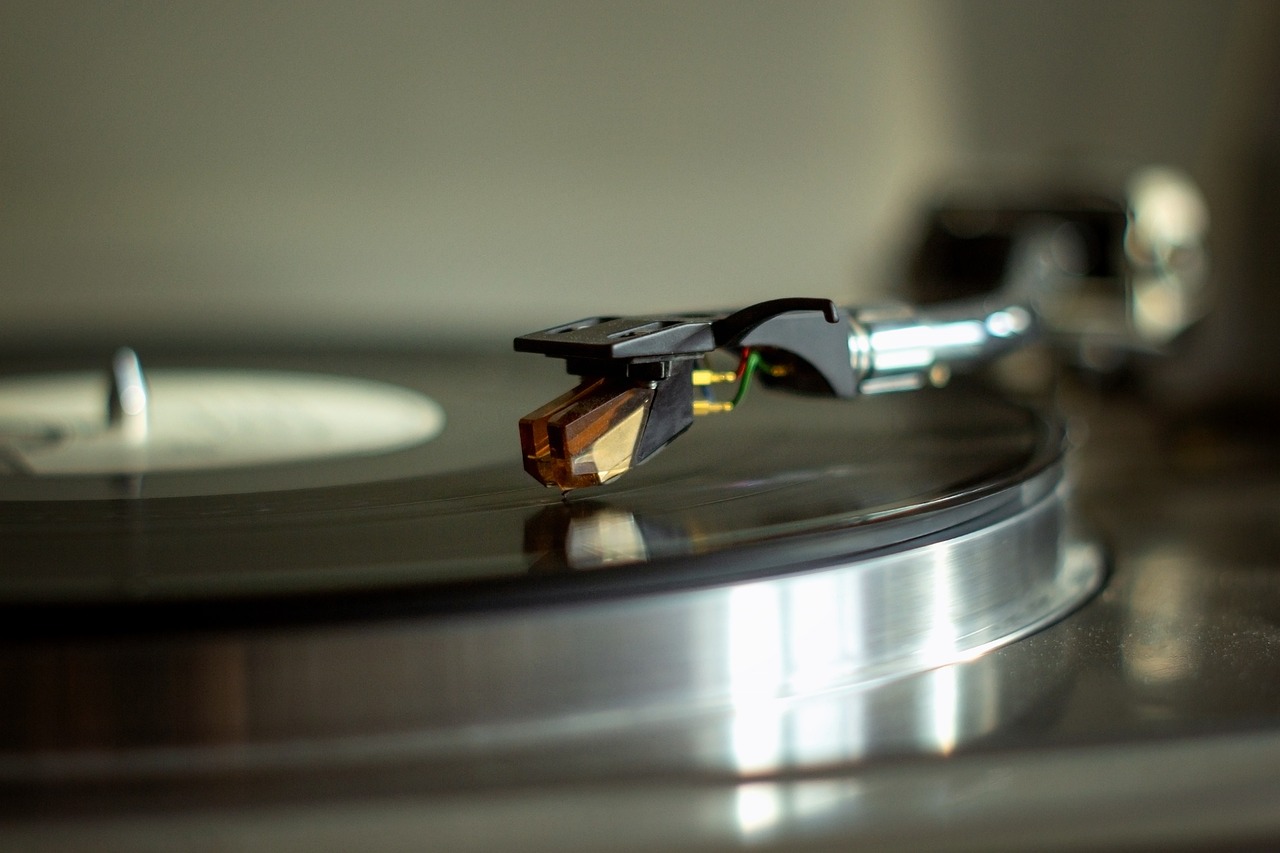
Power Tools
When embarking on the exhilarating journey of crafting your very own vintage wooden record player, having the right power tools at your disposal can make all the difference. Think of these tools as your trusty sidekicks, ready to assist you in transforming raw wood into a stunning piece of audio art. First and foremost, you’ll need a reliable table saw. This tool is essential for making precise cuts in larger pieces of wood, ensuring that each component fits together seamlessly. A clean, straight cut is crucial when it comes to the aesthetics and functionality of your record player.
Next up on our list of must-have power tools is the drill. This isn’t just any drill; a cordless model is preferable for its versatility and ease of use. You’ll rely on it to create holes for screws and other fasteners, allowing you to assemble your player with confidence. Pair it with a set of drill bits tailored for wood, and you’ll be well-equipped to tackle any project challenges that come your way.
Another tool that shouldn’t be overlooked is the jigsaw. Perfect for cutting intricate shapes and curves, a jigsaw will allow you to customize your record player’s design, giving it that unique touch that sets it apart from mass-produced models. With a steady hand and a sharp blade, you can create beautiful outlines that will enhance the overall look of your player.
To ensure that your wooden surfaces are smooth and polished, you’ll want to invest in a random orbital sander. This tool will save you countless hours of manual sanding and provide a flawless finish that enhances the natural beauty of the wood. The right sander can make your project feel professional, as it helps eliminate any rough edges and prepares the surface for staining or sealing.
Lastly, a router can be a game-changer when it comes to adding decorative edges or grooves to your wooden components. This tool allows for creativity and customization, transforming ordinary edges into stunning features that catch the eye. With a router in hand, you can give your vintage record player a touch of elegance that truly reflects your personal style.
In summary, having the right power tools is not just about convenience; it's about unleashing your creativity and ensuring that your vintage wooden record player is not only functional but also a masterpiece. Embrace these tools as your partners in this exciting endeavor, and watch as your vision comes to life!
- What kind of wood is best for a vintage record player?
Hardwoods like oak, walnut, or maple are often recommended for their durability and acoustic properties.
- Do I need professional experience to build a record player?
No, but some basic woodworking skills and familiarity with tools can be very helpful.
- Can I customize the design of my record player?
Absolutely! Personalizing your record player is part of the fun and creativity of the project.
- How do I maintain the sound quality of my record player?
Regular maintenance, including cleaning the components and ensuring proper alignment, is key to preserving sound quality.

Saws and Drills
When it comes to crafting your vintage wooden record player, having the right tools is essential, and none are more critical than saws and drills. These tools not only help you achieve precision cuts but also ensure that your assembly process is smooth and efficient. Imagine trying to create a beautiful piece of art without the right brushes; the same principle applies here. Without quality saws and drills, you may find yourself struggling to bring your vision to life.
There are various types of saws that you can use for your project, each serving a specific purpose. For instance, a circular saw is fantastic for cutting large sheets of wood quickly, while a jigsaw is perfect for intricate curves and detailed cuts. If you're looking for precision, a table saw can provide the accuracy you need for straight cuts. Here's a quick overview of some saws you might consider:
| Type of Saw | Best For |
|---|---|
| Circular Saw | Quick cuts on large boards |
| Jigsaw | Curved and intricate cuts |
| Table Saw | Precision and straight cuts |
On the other hand, drills are indispensable for creating holes that will allow for screws, dowels, and other fasteners that hold your record player together. A cordless drill is a versatile option, providing you with the freedom to move around your workspace without being tethered to an outlet. Additionally, consider investing in a set of drill bits that vary in size and type; this will equip you to handle different materials and tasks as you progress through your project.
When choosing your saws and drills, it’s important to prioritize quality over cost. While it might be tempting to go for the cheaper options, investing in reliable tools will save you time and frustration in the long run. High-quality tools not only last longer but also provide better results, which is crucial when you're aiming for that authentic retro look and sound in your record player.
In conclusion, the right saws and drills are your best friends in this woodworking journey. They will help you navigate through the various stages of building your vintage wooden record player, ensuring that each cut is precise and each hole is perfectly placed. Remember, the foundation of your project lies in the quality of your tools, so choose wisely!
- What type of wood is best for a vintage record player? The best woods are often hardwoods like oak, walnut, or maple, as they provide excellent sound quality and durability.
- Do I need special tools to build a record player? While basic tools like saws and drills are essential, having some specialized tools can make the process easier and more efficient.
- How can I ensure the best sound quality? Choosing the right turntable and speakers, as well as ensuring proper placement, will significantly enhance sound quality.

Finishing Tools
When it comes to crafting your vintage wooden record player, the finishing touches can make all the difference between a good project and a **great** one. Finishing tools are essential for enhancing the beauty of your wooden surfaces and ensuring that your creation not only looks stunning but also stands the test of time. A well-finished record player can evoke nostalgia and appreciation, drawing attention to the craftsmanship involved in its creation.
To achieve that perfect finish, you'll need a variety of tools. Here are some of the most important finishing tools that you should consider:
- Sanding Tools: Sandpaper, sanding blocks, and power sanders are crucial for smoothing out any rough edges and surfaces. Start with a coarser grit to remove imperfections, and gradually move to finer grits for a silky-smooth finish.
- Stains and Sealants: Choosing the right stain can enhance the natural beauty of the wood while providing a protective layer. Sealants, like polyurethane or lacquer, can help preserve the finish and protect against wear and tear.
- Brushes and Rags: High-quality brushes are necessary for applying stains and sealants evenly. Additionally, soft rags are perfect for wiping off excess stain and buffing the surface to a shine.
It's important to remember that the finishing process is not just about aesthetics; it also affects the durability of your record player. For instance, using a sealant can prevent moisture from damaging the wood, while a good stain can highlight the unique grain patterns that make your piece special.
Moreover, patience is key in this stage of your project. Allowing adequate drying time between coats of stain or sealant is crucial for achieving a professional-looking finish. Rushing through this process can lead to unsightly drips or uneven color, which can detract from the overall appearance of your record player.
In conclusion, investing time and effort into selecting and using the right finishing tools will not only enhance the visual appeal of your vintage wooden record player but also ensure its longevity. Remember, a well-finished piece is a reflection of the love and care put into its creation, making it a cherished item for years to come.
Q: What type of wood is best for a vintage record player?
A: Hardwoods like oak, walnut, and cherry are excellent choices due to their durability and beautiful grain patterns.
Q: How many coats of finish should I apply?
A: Typically, 2-3 coats of stain followed by 2-3 coats of sealant provide a good balance between protection and appearance.
Q: Can I use a spray finish instead of a brush?
A: Yes, spray finishes can provide a smooth, even coat, but they require careful application to avoid drips and runs.
Q: How do I maintain the finish on my record player?
A: Regular dusting with a soft cloth and occasional polishing with a suitable wood polish can help maintain the finish.
Hand Tools
While power tools can speed up the process and make cutting and shaping wood a breeze, are indispensable when it comes to adding those finer details that truly make your vintage wooden record player stand out. Imagine crafting each curve and edge with precision, feeling the wood beneath your fingers as you shape it to perfection. Hand tools allow for a level of control and finesse that power tools simply can't replicate. They are the brushes with which you paint your masterpiece, giving you the ability to create intricate designs and ensure every joint is just right.
When embarking on your record player project, consider incorporating the following essential hand tools into your toolkit:
- Chisels: Perfect for carving out joints and adding decorative elements, a good set of chisels will be your best friend. Choose a variety of sizes to tackle different tasks.
- Hand Saws: While power saws are great, a hand saw allows for more control when making precise cuts, especially in tight spaces.
- Files and Rasps: These tools are excellent for smoothing edges and refining shapes. They help you achieve a polished look that enhances the overall beauty of your record player.
- Clamps: Essential for holding pieces together while the glue dries or while you work on them, clamps come in various sizes and styles to suit different needs.
Each tool serves a unique purpose, and mastering their use can greatly enhance your woodworking skills. For instance, chisels can help you create intricate inlays or decorative patterns that give your record player a truly vintage feel. On the other hand, hand saws allow for more nuanced cuts, which is particularly useful when fitting parts together snugly. Think of it as assembling a puzzle; each piece must fit perfectly to create a harmonious whole.
As you work with these hand tools, remember that practice makes perfect. Start with simpler projects to build your confidence and skills. Over time, you’ll find that the tactile experience of hand tools not only improves your craftsmanship but also deepens your connection to the art of woodworking. Each cut, each stroke, and each detail you add will contribute to a record player that not only sounds great but also tells a story—a story of dedication, skill, and a passion for the vintage aesthetic.

Designing the Layout
When it comes to of your vintage wooden record player, it's essential to strike a balance between functionality and aesthetics. Imagine your record player as a piece of art that also serves a practical purpose; it should look stunning while providing an exceptional listening experience. The layout is not just about where each component sits; it’s about creating a harmonious relationship between all the parts, ensuring that they work together seamlessly.
First and foremost, understanding the dimensions and proportions of your record player is crucial. You want to ensure that it fits well in your intended space, whether it's a cozy corner of your living room or a dedicated music nook. Consider the size of your vinyl collection, as this will influence the overall dimensions of your player. Generally, a width of about 20-30 inches and a depth of 15-20 inches provides a good starting point. However, these measurements can vary based on personal preference and available space.
Next, think about component placement. This part of the design process is vital for both sound quality and ease of use. The turntable should be positioned at a comfortable height for operation, ideally around waist level, allowing you to easily lift and place records without straining. Speakers should be placed at ear level for optimal sound projection, ideally positioned at an angle to create a stereo effect that fills the room. Here’s a quick overview of some key placements:
- Turntable: Centered on the main surface for easy access.
- Speakers: Positioned on either side of the turntable, angled towards the listening area.
- Amplifier: Close to the turntable to minimize cable length.
Another important aspect to consider is the cable management. A clean layout not only enhances the visual appeal but also prevents any tangling or interference that could affect sound quality. Use cable clips or channels to keep wires organized and out of sight, creating a tidy and professional appearance.
Finally, don’t forget about the finishing touches that can elevate the overall design. Think about incorporating decorative elements like wood grain patterns, contrasting finishes, or even vintage knobs that reflect the retro aesthetic you're aiming for. These small details can make a world of difference, transforming your record player into a stunning focal point in your home.
In summary, designing the layout of your vintage wooden record player is more than just placing components; it’s about creating a cohesive and functional piece that enhances your listening experience. With careful planning and attention to detail, you can craft a record player that not only sounds great but also looks fantastic in your space.
Q: How do I choose the right dimensions for my record player?
A: Start by considering the space where you plan to place it and the size of your vinyl collection. A width of 20-30 inches and a depth of 15-20 inches is a good starting point, but adjust according to your specific needs.
Q: What is the best way to arrange the components?
A: Place the turntable at waist height for easy access, and position the speakers at ear level on either side of the turntable. Ensure the amplifier is close to the turntable to reduce cable length.
Q: How can I manage the cables effectively?
A: Use cable clips or channels to keep your wires organized and out of sight, which will help maintain a clean and professional look.
Dimensions and Proportions
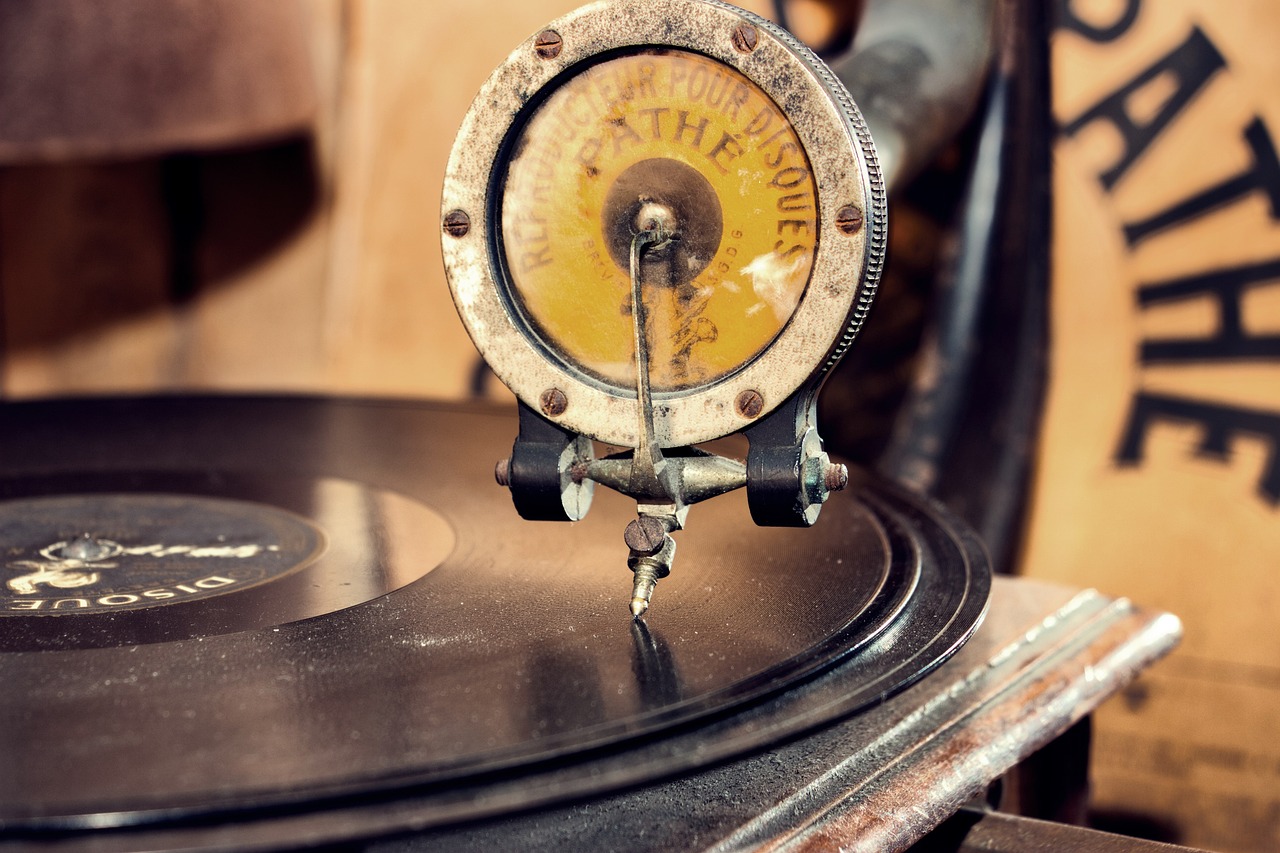
When it comes to crafting your vintage wooden record player, understanding the is absolutely essential. Not only do these factors influence the overall aesthetics of your player, but they also play a crucial role in its functionality. Imagine trying to enjoy your favorite vinyl on a player that’s too small or awkwardly shaped; it just wouldn’t feel right, would it? The key is to find a balance that complements both the design and the sound quality.
First off, let’s talk about the standard dimensions for a classic record player. Typically, the base of the player should measure around 18 to 22 inches in width and 14 to 18 inches in depth. This size range allows for ample space to house the turntable, speakers, and any additional components you might want to include, such as a preamp or Bluetooth receiver. However, the height of your player can vary depending on your design; most vintage players stand between 4 to 6 inches tall.
Now, you might be wondering, “What about the turntable itself?” Great question! The turntable should ideally fit snugly within the base, typically measuring around 12 inches in diameter. This size is standard for most vinyl records, allowing for proper playback without the risk of any wobbling or misalignment. To ensure that everything fits perfectly, consider creating a mock-up of your design using cardboard or another lightweight material. This will help you visualize how each component will interact with the others.
Another important aspect to consider is the proportional relationship between the various components. For instance, if you plan to incorporate speakers, ensure they are proportionate to the overall size of the record player. Large speakers on a small base can look awkward and may even affect the sound quality due to improper placement. A good rule of thumb is to keep the speaker size about one-third the height of the player itself. This way, you maintain a visually appealing balance while ensuring the sound output is effective.
Finally, don’t forget about the ergonomics of your design. The placement of controls, such as volume knobs and speed selectors, should be easily accessible without requiring you to stretch or bend awkwardly. A well-designed record player not only looks good but also provides a comfortable user experience. To sum it up, when you’re determining the dimensions and proportions of your vintage wooden record player, keep in mind the following:
- Base Size: 18 to 22 inches in width and 14 to 18 inches in depth.
- Turntable Diameter: Approximately 12 inches.
- Speaker Height: About one-third the height of the player.
- Ergonomic Placement: Ensure controls are easily accessible.
By paying close attention to these dimensions and proportions, you can create a vintage wooden record player that not only looks stunning but also performs beautifully. Remember, the right measurements can make all the difference in crafting a piece that you'll cherish for years to come.
- What type of wood is best for a vintage record player? Hardwoods like oak, walnut, and mahogany are excellent choices due to their durability and acoustic properties.
- How can I ensure my record player sounds great? Focus on selecting high-quality components, including the turntable and speakers, and consider proper placement for optimal sound quality.
- What maintenance does a wooden record player require? Regular cleaning and careful storage are key to maintaining its appearance and functionality.
Component Placement
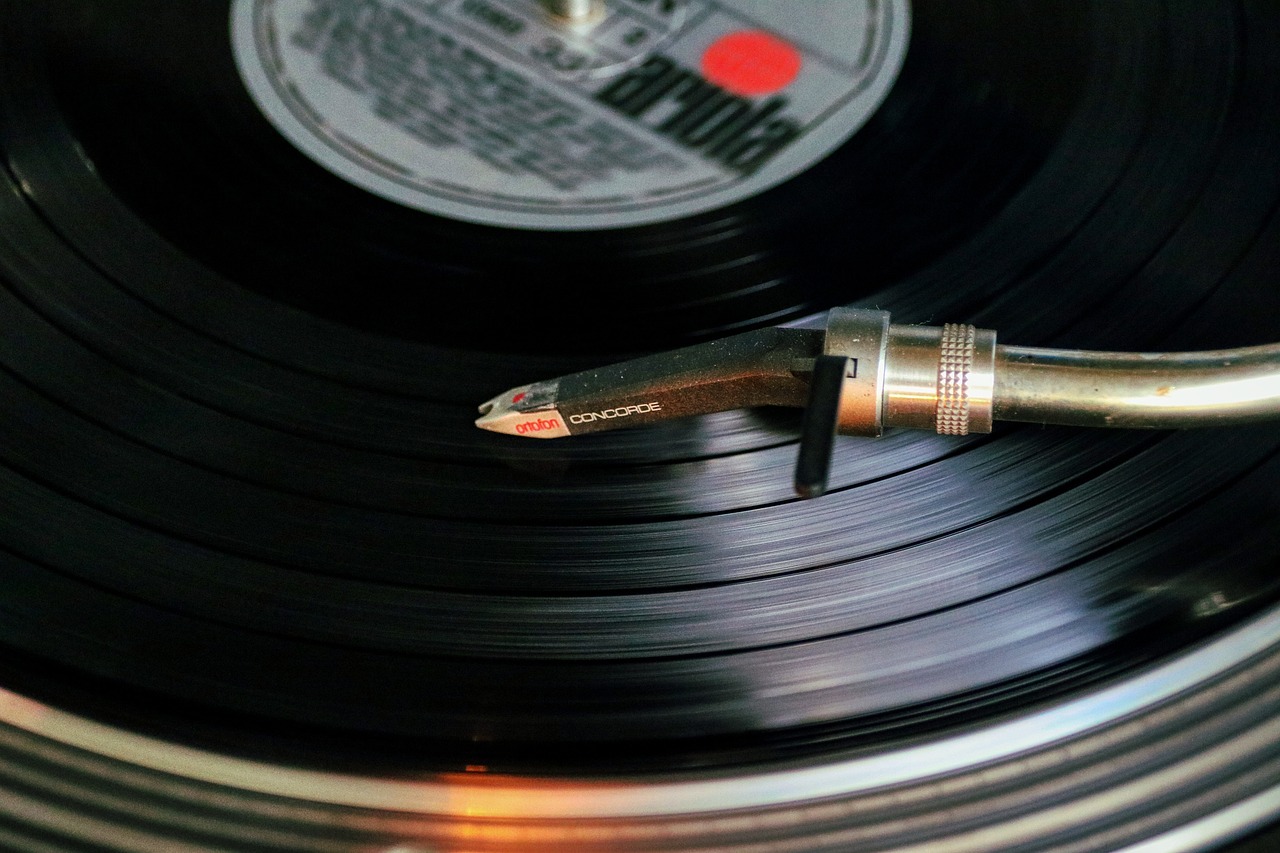
When it comes to assembling your vintage wooden record player, is not just a matter of aesthetics; it's crucial for achieving optimal sound quality and user experience. Imagine the record player as a well-orchestrated symphony, where every component plays its part in harmony. The placement of the turntable, speakers, and other elements can make or break the overall performance.
First off, let’s talk about the turntable. This is the heart of your record player, and it should be positioned at the center of your design. Ideally, it should be placed on a sturdy base to minimize vibrations. If you place the turntable too close to the speakers, you might encounter feedback issues, which can distort the sound. To avoid this, consider placing the turntable at least a few inches away from the speakers. A good rule of thumb is to have a distance of around 12 to 18 inches between them.
Next, we have the speakers. The positioning of your speakers is equally important. Ideally, they should be placed at ear level when you're seated. This not only enhances the listening experience but also ensures that the sound is directed towards you rather than bouncing off walls or ceilings. If you're designing a stereo setup, placing the speakers at an equal distance from the turntable will create a balanced soundstage that immerses you in your favorite tunes.
Additionally, consider the circuitry and wiring. Make sure that the wiring is neatly organized and secured to avoid any interference that could affect sound quality. You might want to use cable ties or clips to keep everything tidy. This will not only help in maintaining a clean look but will also make future maintenance easier.
Finally, don’t forget about ventilation. Your record player will generate some heat, especially if you’re using high-powered components. Ensure there's enough space around the components for air to circulate freely. This will help prolong the life of your player and maintain optimal performance.
In summary, proper component placement is essential for both functionality and aesthetics. By keeping the turntable centralized, positioning the speakers at ear level, organizing the wiring, and allowing for ventilation, you’ll create a vintage wooden record player that not only looks fantastic but also sounds incredible. Remember, the goal is to create a harmonious blend of form and function that enhances your listening experience.
- What type of wood is best for building a record player? Different woods offer unique tonal characteristics; hardwoods like oak or maple are often recommended for their durability and sound quality.
- How far should the speakers be from the turntable? A distance of 12 to 18 inches is ideal to minimize feedback issues.
- Can I use any type of turntable? It's best to choose a turntable that matches your desired sound quality and features; there are many options available, so do your research!
- How do I maintain my wooden record player? Regular cleaning and proper storage are key. Use a soft, dry cloth for cleaning and store it in a cool, dry place.

Assembly Techniques
When it comes to crafting your vintage wooden record player, mastering the right is crucial. This isn't just about putting pieces together; it’s about creating a harmonious blend of functionality and aesthetics that will stand the test of time. Think of assembly as the backbone of your project—without it, everything else crumbles. So, let’s dive into some essential methods that will ensure your record player is not only sturdy but also a beautiful piece of art.
First and foremost, understanding joinery methods is key. These techniques determine how well your wooden parts will fit together and how strong the overall structure will be. For instance, using a dovetail joint can provide both strength and visual appeal, making it an excellent choice for corners and joints that will be visible. On the other hand, a is simpler and can be reinforced with screws or dowels, which is perfect for hidden connections. Here’s a quick table summarizing some popular joinery methods:
| Joinery Method | Description | Best Use |
|---|---|---|
| Dovetail Joint | A strong, interlocking joint often used in drawers. | Visible joints where aesthetics matter. |
| Butt Joint | The simplest joint where two pieces meet at their ends. | Hidden joints or quick assembly. |
| Mortise and Tenon | A traditional joint that offers strength and stability. | Frame construction and load-bearing areas. |
After you’ve decided on your joinery methods, it’s time to focus on the assembly process. Start by laying out all your components, ensuring you have everything you need at hand. This not only saves time but also helps you visualize how everything fits together. You might find it helpful to create a dry fit of your assembly. This means putting the pieces together without any glue or screws to see how they align. It’s like a dress rehearsal before the big performance!
Once you’re satisfied with the fit, it’s time to secure the joints. For a clean finish, consider using wood glue along with clamps to hold everything in place while the glue dries. This combination can create a bond that’s stronger than the wood itself! Just remember to wipe away any excess glue before it dries, as it can mar the beautiful finish you’re aiming for.
Don’t overlook the finishing touches during assembly. Sanding down edges and surfaces will not only improve the look but also enhance the feel of your record player. A smooth surface is essential for both aesthetics and functionality. You want your player to look inviting and be a joy to use. After sanding, apply a stain or finish that complements the wood type you’ve chosen, which will bring out the natural beauty of the grain.
Finally, always remember that patience is key in assembly. Rushing through this phase can lead to mistakes that might compromise the integrity of your project. Take your time, double-check your measurements, and ensure that every joint is secure. This meticulous approach will pay off when you finally sit down to enjoy the rich sounds of your vintage record player.
Q: What type of wood is best for a vintage record player?
A: Hardwoods like oak, walnut, or mahogany are excellent choices due to their durability and aesthetic appeal.
Q: How do I ensure the sound quality is optimal?
A: Selecting a high-quality turntable and properly positioning your speakers can significantly enhance sound quality.
Q: What maintenance is required for a wooden record player?
A: Regular cleaning and proper storage are essential to maintain both the appearance and functionality of your player.

Joinery Methods
When it comes to crafting a vintage wooden record player, the you choose can make a world of difference. Not only do they affect the strength and durability of your construction, but they also contribute to the overall aesthetic appeal of the finished product. Think of joinery as the backbone of your project; without solid connections, even the most beautiful wood can fall apart. So, let’s dive into some popular joinery techniques that can elevate your record player to the next level.
One of the most common methods is the butt joint. This straightforward technique involves simply butting two pieces of wood together and securing them with screws or glue. While it’s easy to execute, it’s not the strongest option available. If you’re looking for something a bit more robust, consider the mortise and tenon joint. This method involves cutting a hole (mortise) in one piece of wood and a corresponding projection (tenon) on the other. When assembled, this joint offers exceptional strength and is often used in high-quality furniture.
Another effective method is the dovetail joint. Renowned for its interlocking design, the dovetail joint not only provides strength but also adds a touch of elegance. It’s commonly used in drawer construction, but it can also be applied to the corners of your record player, ensuring that it withstands the test of time. For those who prefer a more modern approach, the pocket hole joint offers a convenient solution. This method allows you to drill angled holes into one piece of wood and attach it to another using screws, making it a favorite among DIY enthusiasts for its simplicity and effectiveness.
As you consider which joinery methods to use, think about the visual impact as well as the functional aspects. Some joints, like the dovetail, can be left exposed to showcase your craftsmanship, while others, like the butt joint, are better hidden from view. The choice ultimately comes down to your personal style and the overall design of your vintage record player.
In summary, selecting the right joinery methods is crucial for achieving a sturdy and visually appealing wooden record player. Whether you opt for a classic mortise and tenon or a modern pocket hole joint, each technique has its unique strengths. As you embark on this exciting project, keep these methods in mind to ensure that your record player not only looks great but also stands the test of time.
- What is the best joinery method for beginners? The butt joint is the easiest for beginners, but consider the pocket hole joint for added strength.
- Can I use glue alone for joinery? While glue can be effective, combining it with screws or other fasteners will provide additional strength.
- Are dovetail joints difficult to make? They can be challenging, but with practice and the right tools, they can be mastered.
- How do I choose the right joinery method? Consider the strength required, the tools you have, and the visual impact you want to achieve.
Finishing Touches
When it comes to crafting your vintage wooden record player, the are what truly transform a simple project into a stunning centerpiece. Think of it as the cherry on top of a sundae; without it, everything feels a bit incomplete. These final steps not only enhance the visual appeal of your record player but also protect the wood and improve its longevity. So, let’s dive into some essential techniques that will elevate your creation!
First and foremost, sanding is a critical step in the finishing process. It’s not just about making the surface smooth; it’s about preparing the wood to absorb stains and finishes evenly. Start with a coarser grit sandpaper to remove any rough spots, and then gradually move to finer grits for a silky finish. Don’t rush this step; a well-sanded surface can make a world of difference in the final appearance of your record player.
Once you’ve achieved that desirable smoothness, it’s time to consider staining your wood. Stains come in a variety of colors, allowing you to choose a hue that matches your style. Whether you prefer a rich mahogany or a light oak, staining not only enhances the wood's natural grain but also adds depth and character. Keep in mind that applying multiple coats can intensify the color, so test it on a scrap piece of wood first to ensure you achieve your desired look.
After staining, it’s essential to apply a sealer to protect your wood from moisture and wear. A good sealer will lock in the stain, preserving the color and providing a durable finish. There are various options available, from polyurethane to lacquer, each offering different levels of shine and protection. If you're aiming for a glossy finish, a polyurethane sealer will work wonders, while a matte finish can be achieved with a lacquer. Be sure to follow the manufacturer's instructions for application and drying times to ensure the best results.
Lastly, don’t forget about the hardware. The knobs, hinges, and other fittings can significantly impact the overall aesthetic of your record player. Opt for vintage-style hardware that complements the wood and enhances the retro vibe. You can even consider adding decorative elements, such as brass accents or leather straps, to give your record player a unique touch. Remember, these small details can make a big difference in the final presentation.
In summary, the finishing touches are where you can truly express your creativity and craftsmanship. By paying attention to sanding, staining, sealing, and selecting the right hardware, you'll ensure that your vintage wooden record player not only looks fantastic but also stands the test of time. So, roll up your sleeves and get ready to put the final stamp on your masterpiece!
- What type of wood is best for a vintage record player?
Hardwoods like oak, walnut, and cherry are excellent choices due to their durability and aesthetic appeal.
- How can I achieve a glossy finish on my record player?
Applying a polyurethane sealer will give your wood a beautiful glossy finish while protecting it from wear.
- Is it necessary to stain the wood?
While staining is not mandatory, it enhances the wood's grain and adds depth, making it a popular choice for aesthetics.
- What type of hardware should I use?
Vintage-style hardware, such as brass or antique finishes, can significantly enhance the retro look of your record player.

Sound Quality Considerations
When it comes to crafting your vintage wooden record player, **sound quality** is not just an afterthought; it’s the very heartbeat of your creation. Imagine sinking into your favorite chair, the soft glow of the lamp illuminating the room, as the rich, warm tones of vinyl fill the air. That experience hinges on several key factors that can elevate your listening experience from ordinary to extraordinary. So, let’s delve into the aspects that make your record player sing!
First and foremost, the **turntable selection** is paramount. Not all turntables are created equal, and choosing the right one can drastically affect the fidelity of the sound. You’ll want to consider factors such as the material of the platter, the quality of the tonearm, and the cartridge used. A heavy, well-balanced platter made from materials like acrylic or glass can help reduce vibrations and improve sound clarity. Likewise, a high-quality cartridge will extract more detail from the grooves of your vinyl, delivering a richer audio experience.
Next, let’s talk about **speaker integration**. The speakers you choose will play a crucial role in how your music sounds. It’s not just about having any speakers; it’s about finding those that complement your turntable and the acoustics of your space. For instance, if you’re working with a smaller room, compact bookshelf speakers may provide the perfect balance of sound without overwhelming the space. In contrast, larger floor-standing speakers can fill a bigger room with depth and power. Placement is also key; positioning your speakers at ear level and away from walls can significantly enhance the soundstage and clarity.
To help you visualize the differences in sound quality based on various components, consider the following table:
| Component | Impact on Sound Quality |
|---|---|
| Turntable | Directly affects the fidelity and clarity of sound; quality materials reduce vibrations. |
| Cartridge | Plays a vital role in extracting detail from vinyl; higher quality yields richer sound. |
| Speakers | Determines the overall audio output; proper selection and placement enhance soundstage. |
Another crucial consideration is the **acoustic environment** in which your record player resides. Have you ever noticed how the sound changes when you move furniture around? That’s because sound waves interact with surfaces, and the right environment can either enhance or muddle your listening experience. Soft furnishings like rugs and curtains can absorb sound, reducing echoes and creating a warmer atmosphere. Conversely, hard surfaces may reflect sound, leading to a harsher listening experience. So, think about how you can optimize your space for the best acoustics possible.
Lastly, don’t overlook the importance of **cables and connections**. High-quality cables can make a noticeable difference in audio performance. Poor connections can introduce noise and degrade the sound quality, while well-shielded cables ensure a clean signal transfer. Investing in good cables might seem like a minor detail, but it’s often the small things that contribute to a stunning overall experience.
In summary, achieving high sound quality in your vintage wooden record player involves a careful selection of components, strategic placement of speakers, and consideration of your listening environment. By paying attention to these details, you're not just building a record player; you're creating a portal to the past, allowing you to enjoy music as it was meant to be heard. Now, let's move on to some **Frequently Asked Questions** to further enhance your understanding.
- What type of wood is best for sound quality? - Dense hardwoods like oak or walnut are often preferred for their acoustic properties.
- How can I improve the sound quality of my existing record player? - Consider upgrading your cartridge, ensuring proper speaker placement, and using quality cables.
- Is it worth investing in high-end speakers? - Yes, quality speakers can significantly enhance your listening experience, especially for vinyl.
Turntable Selection
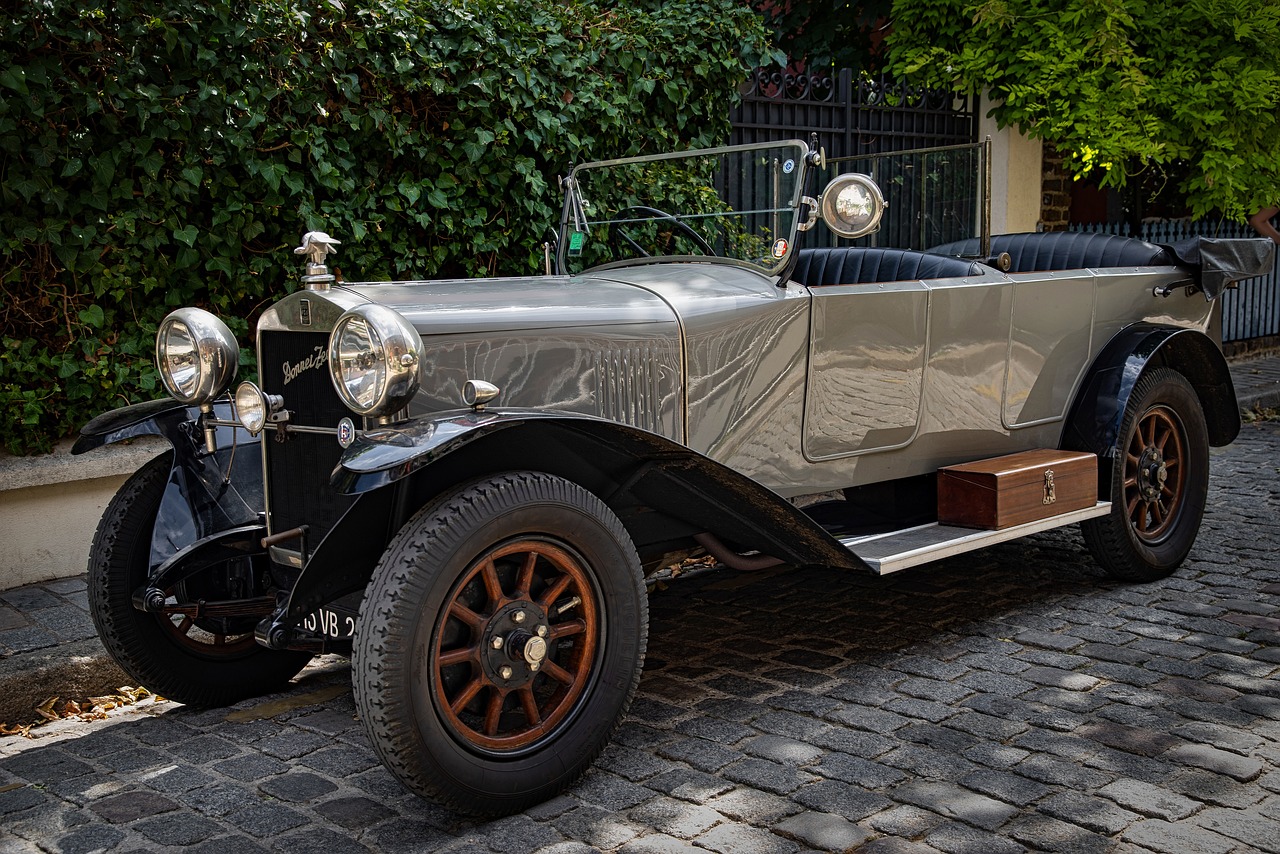
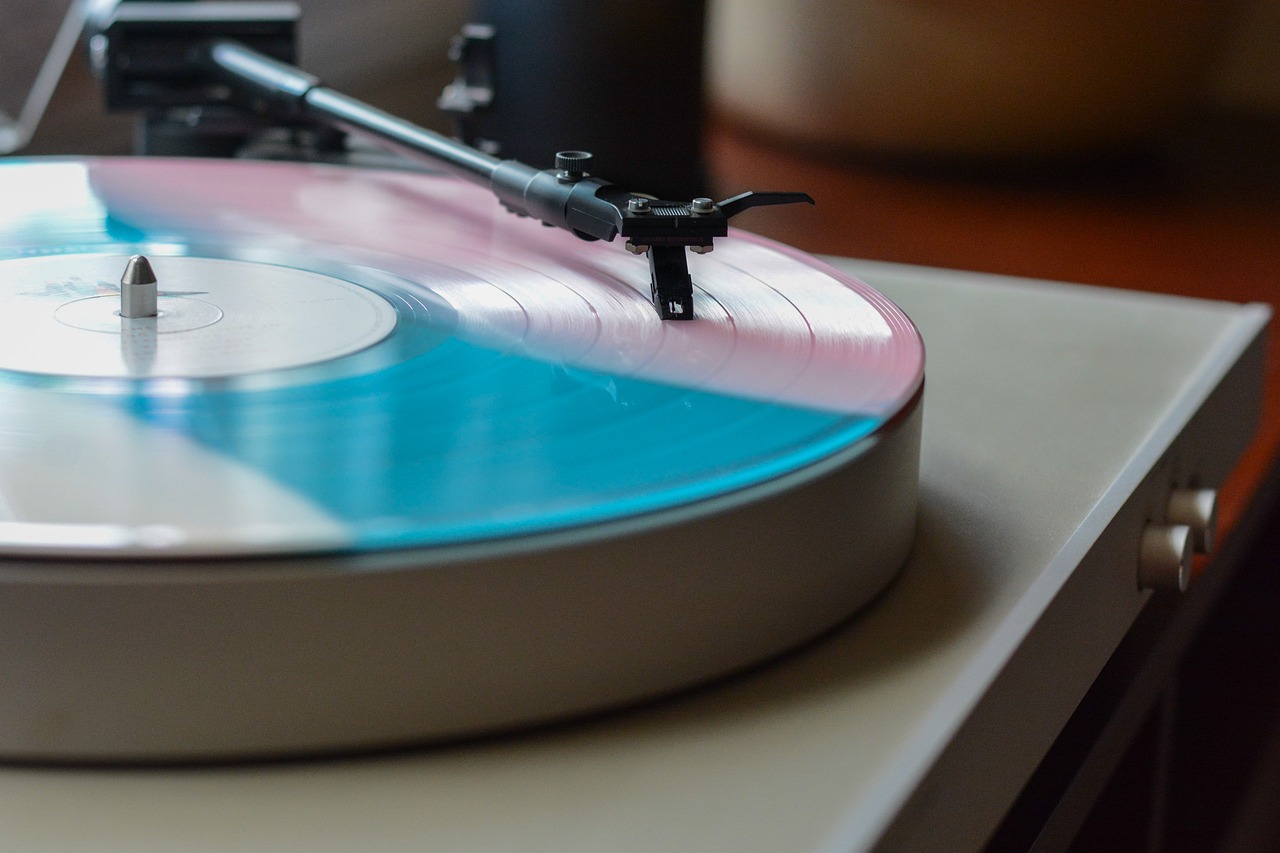
Choosing the right turntable is one of the most critical decisions you'll make when crafting your vintage wooden record player. The turntable is essentially the heart of your audio setup, and its performance can significantly affect the overall sound quality. When selecting a turntable, consider factors such as build quality, type of drive system, and cartridge compatibility, as these elements will directly influence your listening experience.
There are two primary types of drive systems to choose from: belt-driven and direct drive. Belt-driven turntables tend to offer better sound quality due to their ability to minimize vibrations, making them ideal for audiophiles who appreciate the nuances in their vinyl records. On the other hand, direct drive turntables are known for their speed and torque, making them popular among DJs and those who enjoy mixing. Depending on your preferences, one may suit your needs better than the other.
Another important aspect to consider is the cartridge. The cartridge is responsible for converting the mechanical vibrations from the vinyl grooves into electrical signals that produce sound. There are two main types of cartridges: moving magnet (MM) and moving coil (MC). Moving magnet cartridges are generally more affordable and easier to replace, while moving coil cartridges offer superior sound quality but come at a higher price point. Depending on your budget and audio aspirations, you might find one type more appealing than the other.
Furthermore, it's essential to think about the build quality of the turntable itself. A well-constructed turntable will not only enhance sound quality but also ensure durability. Look for models with a solid plinth (the base of the turntable) to reduce resonance. Additionally, features such as adjustable tonearms and anti-skate mechanisms can provide better tracking and minimize record wear, which is crucial for preserving your vinyl collection.
To help you visualize your options, here’s a simple comparison table of some popular turntables:
| Turntable Model | Drive System | Cartridge Type | Price Range |
|---|---|---|---|
| Audio-Technica AT-LP120XUSB | Direct Drive | MM | $299 |
| Pro-Ject Debut Carbon DC | Belt Drive | MM | $399 |
| Rega Planar 1 | Belt Drive | MM | $475 |
| Technics SL-1200GR | Direct Drive | MC | $1,699 |
Ultimately, the right turntable for your vintage wooden record player will depend on your personal preferences, budget, and how you intend to use it. Whether you're a casual listener or a serious audiophile, finding the perfect turntable can elevate your entire audio experience.
Q: What is the difference between belt-driven and direct drive turntables?
A: Belt-driven turntables use a rubber belt to connect the motor to the platter, which can help reduce vibrations and improve sound quality. Direct drive turntables, on the other hand, have the motor directly connected to the platter, providing faster start-up times and consistent speed, making them popular for DJs.
Q: How do I choose the right cartridge for my turntable?
A: The choice between a moving magnet (MM) and moving coil (MC) cartridge largely depends on your budget and sound quality preferences. MM cartridges are generally more affordable and easier to replace, while MC cartridges offer superior sound fidelity but at a higher cost.
Q: What should I look for in a turntable's build quality?
A: Look for a solid plinth to minimize resonance, adjustable tonearms for better tracking, and anti-skate features to prevent record wear. A well-built turntable will not only sound better but also last longer.
Speaker Integration
Integrating quality speakers into your vintage wooden record player is crucial for achieving an immersive listening experience. The speakers you choose can dramatically affect the overall sound quality, so it’s essential to select ones that not only fit well with your design but also deliver the audio performance you desire. Think of your record player as a beautiful painting; the speakers are the frame that enhances the artwork. Without the right frame, even the most stunning painting can lose its appeal.
When considering speaker integration, you should focus on a few key factors:
- Speaker Type: There are various types of speakers available, including bookshelf, floor-standing, and satellite speakers. Bookshelf speakers are often a popular choice for vintage setups due to their compact size and rich sound.
- Power Output: Make sure the speakers you choose can handle the power output of your turntable. Mismatched power levels can lead to distortion or even damage your equipment.
- Impedance: The impedance of your speakers should match the output impedance of your amplifier to ensure optimal performance.
Once you’ve selected the right speakers, the next step is to consider their placement within your record player setup. The positioning can significantly influence sound quality and clarity. For instance, placing the speakers too close to walls can result in unwanted bass reflections, muddying the sound. Ideally, the speakers should be positioned at ear level and angled towards the listening area to create a more focused soundstage.
In addition to placement, consider the aesthetics of the speakers. Since you’re crafting a vintage wooden record player, choosing speakers that complement the overall design is essential. Look for speakers with wooden enclosures or a retro finish to maintain that authentic vibe. The right speakers can not only enhance sound quality but also add to the visual appeal of your setup.
Finally, don’t forget about the wiring. High-quality speaker cables can make a significant difference in sound quality. Opt for cables that minimize interference and provide a clear connection between your turntable and speakers. It’s like choosing the right path in a forest; the clearer the path, the more enjoyable the journey. In this case, a good quality cable ensures that your audio travels from the turntable to the speakers without any hiccups.
In conclusion, speaker integration is a critical aspect of building your vintage wooden record player. By carefully selecting the right speakers, considering their placement, and using quality wiring, you can create a listening experience that is both aesthetically pleasing and sonically satisfying. Remember, the goal is to make your music come alive, so take the time to get it right!
Q: What type of speakers are best for a vintage wooden record player?
A: Bookshelf speakers are often recommended for their compact size and rich sound. However, floor-standing speakers can also provide excellent audio quality if space allows.
Q: How do I determine the right power output for my speakers?
A: Check the specifications of both your turntable and speakers. The speakers should be able to handle the power output of your turntable to avoid distortion.
Q: Is it necessary to use high-quality speaker cables?
A: Yes, using high-quality cables can significantly reduce interference and ensure a clear audio signal, enhancing overall sound quality.
Q: Can I mix different types of speakers?
A: While it's possible to mix different types of speakers, it's generally best to use speakers of the same type and brand for a more cohesive sound.

Maintenance and Care
Maintaining your vintage wooden record player is not just about keeping it looking good; it's about preserving the **sound quality** and functionality that make it a cherished piece of your audio setup. Just like a classic car, your record player requires regular attention to ensure it performs at its best. So, what are the essential steps to keep your player in tip-top shape? Let’s dive in!
First and foremost, regular cleaning is crucial. Dust and grime can accumulate on both the wooden surfaces and the internal components, affecting the sound quality and overall performance. Use a soft, lint-free cloth to gently wipe down the exterior. For the wooden parts, consider using a specialized wood cleaner that nourishes the finish without damaging it. Avoid harsh chemicals that can strip the wood of its natural beauty. When it comes to the turntable, a little isopropyl alcohol on a cotton pad can work wonders for cleaning the vinyl and ensuring a smooth playback experience.
Next, let’s talk about the **internal components**. It’s a good idea to periodically check and clean the stylus. A dirty or worn stylus can lead to poor sound quality and can even damage your records. Use a stylus brush to gently remove dust and debris, and if it’s showing signs of wear, don’t hesitate to replace it. Additionally, make sure to inspect the belts and other moving parts for any signs of wear or damage. If you notice any issues, addressing them promptly can save you from larger problems down the road.
Storage is another key aspect of maintenance. When not in use, store your record player in a cool, dry place away from direct sunlight. Excessive heat or moisture can warp the wood and damage the electronics. If you have a dust cover, always use it to protect your player from dust and accidental spills. If you’re moving your player, ensure it’s securely packed to avoid any damage during transport.
Finally, consider the environment where your record player resides. A stable, vibration-free surface is ideal. Avoid placing it near speakers that produce heavy bass, as this can cause unwanted vibrations that may affect playback quality. If you want to go the extra mile, you might even invest in a dedicated isolation stand to enhance sound quality further.
In summary, proper maintenance and care for your vintage wooden record player involve:
- Regular cleaning of both exterior and internal components.
- Checking and replacing worn parts, especially the stylus.
- Storing in a stable, dry environment away from sunlight.
- Ensuring a vibration-free setup for optimal sound quality.
By following these tips, you can ensure that your vintage record player remains a source of joy and nostalgia for years to come. Remember, the more love and care you put into maintaining your player, the more it will reward you with beautiful music and memories.
As you embark on the journey of maintaining your vintage wooden record player, you might have a few questions. Here are some common inquiries along with their answers:
| Question | Answer |
|---|---|
| How often should I clean my record player? | It’s best to clean your record player every few weeks, or more frequently if you use it often. |
| What type of wood cleaner should I use? | Look for a gentle, pH-balanced wood cleaner that is safe for finished surfaces. |
| Can I use any cloth to clean the stylus? | No, always use a soft stylus brush or a specialized cleaning tool to avoid damage. |
| Is it necessary to replace the stylus? | Yes, a worn stylus can damage your records and degrade sound quality, so replace it when needed. |
Cleaning Techniques
Keeping your vintage wooden record player in top-notch condition is essential for both its aesthetics and performance. Regular cleaning not only enhances its appearance but also ensures that the sound quality remains pristine. So, how do you go about cleaning such a delicate piece of equipment? Let’s dive into some effective techniques that will help you maintain your record player.
First off, it’s important to understand the materials you’re dealing with. Wood, while beautiful, can be sensitive to harsh chemicals. Therefore, it’s best to use mild cleaning solutions. A simple mixture of warm water and a few drops of mild dish soap can work wonders. Use a soft, lint-free cloth to gently wipe down the wooden surfaces, ensuring you follow the grain of the wood to avoid scratches. This technique not only cleans but also helps maintain the integrity of the wood.
For those hard-to-reach areas, like the nooks and crannies around the turntable and controls, consider using a soft-bristled brush or a cotton swab dipped in your cleaning solution. This will allow you to remove dust and debris without damaging any components. Additionally, always remember to avoid getting moisture into any electrical parts, as this can lead to malfunctions.
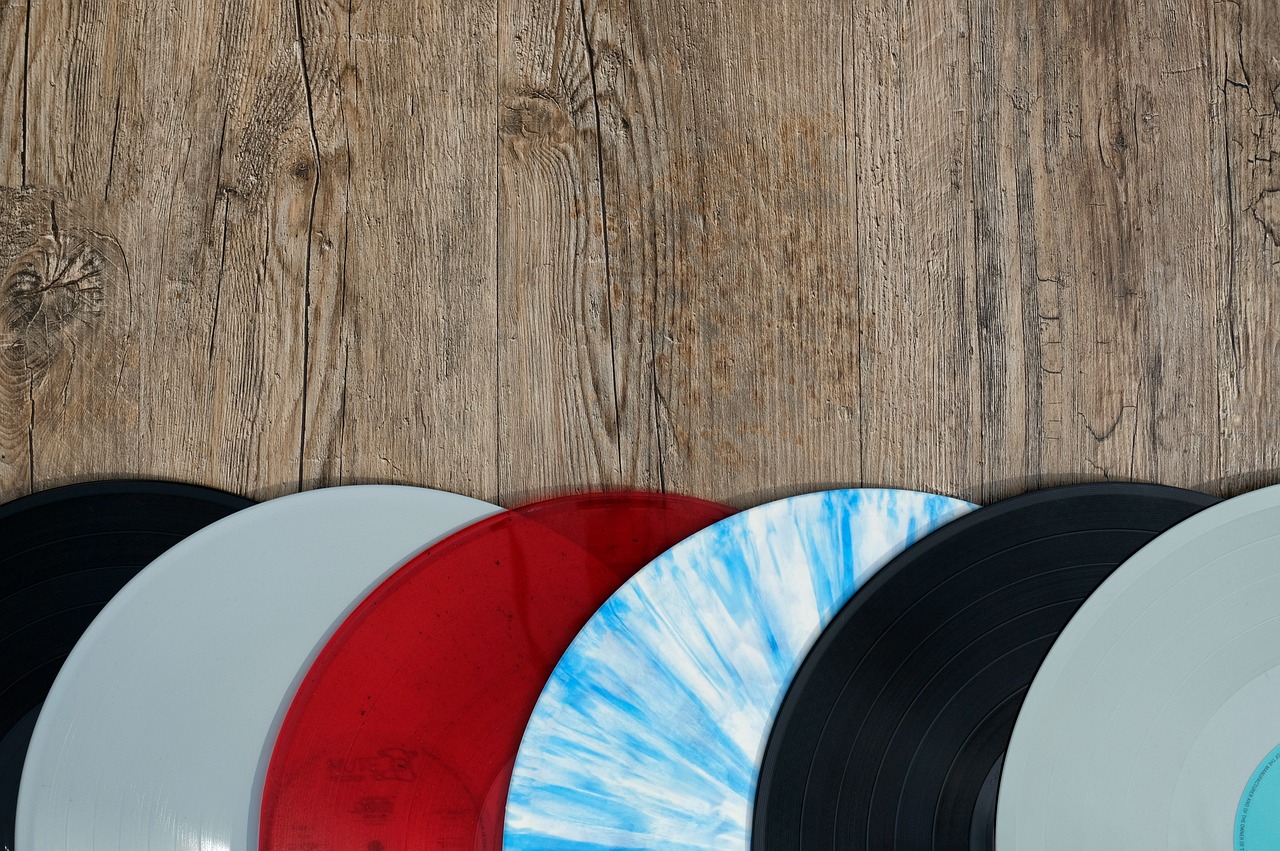
Another crucial aspect of cleaning is the vinyl records themselves. Dirty records can lead to poor sound quality, so it’s essential to keep them clean. Using a record cleaning brush can help remove dust and fingerprints. If you want to go the extra mile, you can invest in a record cleaning solution or a dedicated vinyl cleaner. Just be sure to follow the manufacturer’s instructions for the best results.
Once you’ve tackled the wood and the records, don’t forget about the speakers! A soft cloth can be used to wipe down the speaker grilles, while a vacuum cleaner with a brush attachment can gently remove dust from the speaker cones. Just be careful not to apply too much pressure, as this could damage the speakers.
Finally, it’s a good idea to regularly check the condition of your record player’s components. Look for any signs of wear or damage, and address these issues promptly. Keeping a consistent cleaning schedule—perhaps once a month—can help you stay ahead of any potential problems, ensuring that your vintage wooden record player remains a cherished piece for years to come.
- How often should I clean my record player? It’s recommended to clean your record player at least once a month to maintain its appearance and sound quality.
- Can I use regular household cleaners on my wooden record player? No, it’s best to avoid harsh chemicals. Use a mild soap solution instead.
- What’s the best way to clean vinyl records? Use a record cleaning brush or a dedicated vinyl cleaner to remove dust and fingerprints.
- How can I prevent dust from accumulating on my record player? Consider using a dust cover when your record player is not in use to minimize dust exposure.
Storage Tips
Storing your vintage wooden record player properly is crucial to maintaining its beauty and functionality over time. Just like a cherished vinyl record, your record player deserves a safe haven where it can thrive without the threat of damage. One of the most important aspects of storage is to keep the player away from direct sunlight, as prolonged exposure can cause the wood to fade and warp. Imagine leaving a beautiful piece of furniture outside in the blazing sun; it would quickly lose its charm, right? The same goes for your record player.
Additionally, consider the environment where you store your player. Ideally, it should be kept in a cool, dry place, away from humidity and extreme temperature fluctuations. High humidity can lead to mold growth, while dry conditions can cause the wood to crack. Think of your record player as a delicate flower; it needs just the right conditions to flourish. To ensure optimal storage, you might want to invest in a protective cover that fits snugly over the player when it’s not in use. This will not only shield it from dust but also prevent accidental scratches and dings.
When it comes to placement, avoid stacking heavy items on top of your record player. This could lead to unnecessary pressure and potential damage. Instead, create a dedicated space for your player where it can stand alone, free from clutter. If you have a cabinet or shelf, make sure it is sturdy enough to support the weight of the player and any additional components like speakers or amplifiers. You wouldn’t want your prized possession to tumble down, would you?
Lastly, if you have to move your record player, always handle it with care. Use both hands to lift it, and never drag it across surfaces, as this could scratch the wood or damage internal components. Treat it like a vintage car; a little extra attention goes a long way in preserving its value and performance.
Q: How often should I clean my vintage wooden record player?
A: It's best to clean your record player regularly, ideally every few weeks, to prevent dust buildup. Use a soft, lint-free cloth to gently wipe down the surfaces.
Q: What is the best way to protect the wood finish?
A: Applying a quality wood polish every few months can help protect the finish. Make sure to use products that are specifically designed for wood surfaces.
Q: Can I store my records on top of the record player?
A: While it may be tempting, it’s not advisable to store records on top of your record player. This can cause scratches and damage over time. Instead, keep your records in a dedicated storage space.
Q: How do I prevent humidity damage?
A: Using a dehumidifier in the room where you store your record player can help maintain ideal humidity levels, protecting both the player and your vinyl collection.
Frequently Asked Questions
- What type of wood is best for a vintage record player?
When it comes to crafting a vintage record player, the type of wood you choose plays a significant role in both aesthetics and sound quality. Hardwoods like maple, walnut, and mahogany are excellent choices as they not only provide durability but also contribute unique tonal characteristics that enhance the listening experience.
- Do I need special tools to build a wooden record player?
Yes, having the right tools is essential for a successful build. You'll need a combination of power tools, like saws and drills, as well as hand tools for finer details. A good set of finishing tools is also crucial to achieve that polished, vintage look you’re aiming for.
- How can I ensure optimal sound quality from my record player?
To achieve the best sound quality, focus on selecting a high-quality turntable and integrating quality speakers. The placement of these components is also vital; ensure they are strategically positioned to enhance sound output and minimize distortion for an immersive listening experience.
- What are some effective maintenance tips for my vintage record player?
Regular maintenance is key to keeping your record player in top condition. Make sure to clean the wooden surfaces and components with appropriate cleaners to avoid damage. Additionally, store your player in a cool, dry place to prevent warping or wear over time.
- Can I customize the design of my record player?
Absolutely! Customizing the design of your record player is one of the most enjoyable aspects of the project. You can play around with dimensions, proportions, and the layout of components to create a unique piece that reflects your personal style while ensuring functionality.


