Creating DIY Tree Stump Tables for Rustic Decor
Have you ever looked at a tree stump and thought, "That could make a fantastic table"? Well, you're not alone! Creating a DIY tree stump table is not just a fun project; it’s a way to bring a piece of nature right into your home. Imagine sitting around a rustic table that tells a story, showcasing the beauty of the wood and the charm of the outdoors. This article will guide you through the exciting journey of crafting your own unique tree stump table, from selecting the perfect stump to finishing touches that will make it pop in your living space.
Why go for a tree stump table, you might ask? Well, these tables are not only stunning conversation starters, but they also embody sustainability by repurposing natural materials. Plus, each stump has its own unique characteristics, ensuring that no two tables are ever the same. Whether you want a centerpiece for your living room or a side table for your patio, a tree stump table can be tailored to fit your needs and style.
So, grab your tools and let’s dive into the world of DIY tree stump tables! In this article, we’ll cover everything you need to know, including how to choose the right stump, prepare it for use, explore design ideas, and finish it beautifully. By the end of this guide, you’ll be ready to create a stunning piece of rustic decor that not only enhances your home but also celebrates nature's beauty.
Selecting the perfect tree stump is crucial for your project. You want a stump that not only looks good but is also sturdy enough to serve as a functional table. Here are a few factors to consider:
- Size: Think about where you plan to place your table. A larger stump could serve as a coffee table, while a smaller one might work well as a side table.
- Type of Wood: Different woods have different aesthetics and durability. Hardwoods like oak or maple are great for longevity, while softer woods like pine can be easier to work with but may not last as long.
- Condition: Look for a stump that is free from rot, cracks, or extensive insect damage. A healthy stump will ensure your table stands the test of time.
Proper preparation of the tree stump is essential for a successful DIY project. Start by cleaning the stump thoroughly to remove any dirt, bark, or debris. This step is vital as it ensures a smooth surface for further treatment. Next, sand the surface to eliminate any rough patches and splinters. A smooth finish not only looks better but also feels better to the touch.
Once the stump is clean and sanded, it's time to treat the wood. Applying a wood preservative will help prevent pests and decay, extending the life of your table. Be sure to follow the manufacturer's instructions for application and drying times to achieve the best results.
Now comes the fun part—designing your table! Your tree stump table can reflect your personal style, whether you prefer a minimalist look or something more elaborate. Here are some design ideas to consider:
- Natural Finish: Embrace the raw beauty of the wood by leaving it unpainted and simply applying a clear sealant.
- Stained Wood: Add a splash of color by using wood stain to enhance the grain and give your table a rich hue.
- Artistic Touches: Get creative by adding carvings, inlays, or even resin accents for a unique flair.
Finishing your table is crucial as it enhances its beauty and protects the wood. There are several finishing techniques you can explore:
- Staining: Choose a stain that complements your decor, whether you want a dark, rustic look or a light, airy feel.
- Sealing: A good sealant will protect your table from moisture and scratches, ensuring it lasts for years to come.
- Painting: If you’re feeling bold, a pop of color can transform your table into a statement piece.
Adding functional elements can elevate your tree stump table. Consider incorporating features like storage compartments, built-in coasters, or even LED lighting for a modern twist. These additions not only enhance the table's utility but also make it a unique conversation piece.
Maintaining your tree stump table is key to preserving its charm. Regularly dust the surface and wipe it down with a damp cloth to keep it clean. Protect the wood from moisture by placing coasters under drinks and avoiding direct sunlight, which can cause fading. With proper care, your table will continue to be a beautiful addition to your home for years to come.
Nature offers endless inspiration for rustic decor. Take a walk in your local park or forest and observe the textures, colors, and shapes around you. Incorporating elements like stones, leaves, or even branches can enhance your tree stump table’s aesthetic and create a cohesive look in your home.
Once your DIY tree stump table is complete, consider sharing your creation with the world! Social media platforms like Instagram and Pinterest are perfect for showcasing your work. You can also write a blog post detailing your process, inspiring others to join the DIY movement. Who knows? Your unique design might just spark someone else’s creativity!
Q: How do I choose the right size for my tree stump table?
A: Consider the space where you plan to place the table. Measure the area and choose a stump that fits well without overwhelming the room.
Q: Can I use a tree stump that has been outside for a long time?
A: Yes, but make sure to inspect it for rot or damage. Proper preparation and treatment will help ensure it’s safe to use.
Q: What type of finish is best for outdoor use?
A: For outdoor tables, look for weather-resistant sealants that can withstand the elements and protect the wood from moisture.
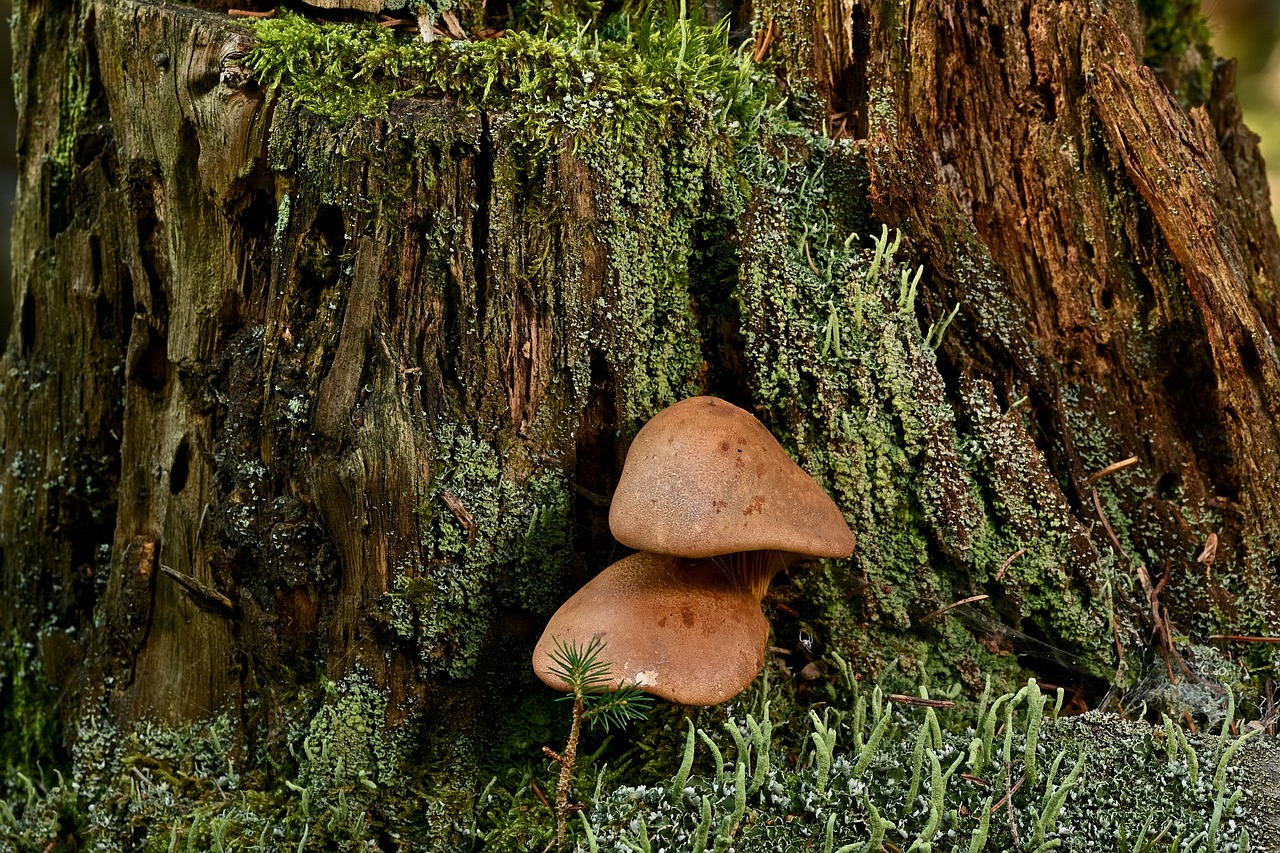
Choosing the Right Tree Stump
This article explores the process of crafting unique tree stump tables, discussing material selection, design ideas, and finishing techniques that enhance rustic home decor while celebrating nature's beauty.
When it comes to creating a DIY tree stump table, is absolutely crucial. You might think that any old stump will do, but trust me, the right stump can make all the difference in the final look and durability of your table. First, consider the size of the stump. A larger stump will create a more substantial table, perfect for serving snacks or drinks during a cozy gathering. However, if you have limited space, a smaller stump can still pack a punch and serve as a charming accent piece.
Next, think about the type of wood. Different woods have unique characteristics that can affect both the aesthetics and maintenance of your table. For instance, hardwoods like oak or maple are not only durable but also have beautiful grain patterns that can enhance the rustic charm of your decor. On the other hand, softer woods like pine can be easier to work with but may not hold up as well over time.
Now, let’s talk about the condition of the stump. You want to look for a stump that is free from rot and large cracks. A healthy stump will ensure that your table remains sturdy and visually appealing. If you find a stump that has some minor imperfections, don't worry! These can often add character to your design. Just make sure to inspect it closely, as significant damage could compromise the integrity of your table.
Another factor to consider is the grain pattern and natural features of the stump. Some stumps may have beautiful knots, unique shapes, or even interesting colors that can serve as a conversation starter. Embrace these natural elements! They can be the defining features of your table, making it truly one-of-a-kind. And remember, the more unique your stump, the more likely it is to stand out in your home.
In summary, when you’re on the hunt for the perfect tree stump, keep these factors in mind:
- Size: Choose a size that fits your space and purpose.
- Type of Wood: Opt for hardwoods for durability and beauty.
- Condition: Ensure the stump is healthy and free from major defects.
- Grain and Features: Look for unique patterns and characteristics that enhance its charm.
By carefully selecting your tree stump based on these criteria, you’ll set the stage for a stunning DIY tree stump table that not only serves a practical purpose but also adds a touch of nature’s beauty to your home. So, get out there, explore your options, and let the perfect stump inspire your rustic decor dreams!
Q: Can I use any type of wood for my tree stump table?
A: While you can technically use any type of wood, it's best to choose hardwoods like oak or maple for durability and aesthetic appeal.
Q: How do I treat the stump to prevent pests?
A: Treat your stump with a wood preservative or sealant to protect against pests and moisture.
Q: What tools do I need to prepare my tree stump?
A: Basic tools include a saw, sandpaper, a wood chisel, and a wood finish or sealant.
Q: Can I customize the design of my tree stump table?
A: Absolutely! You can add legs, paint, or even incorporate storage options to make it uniquely yours.
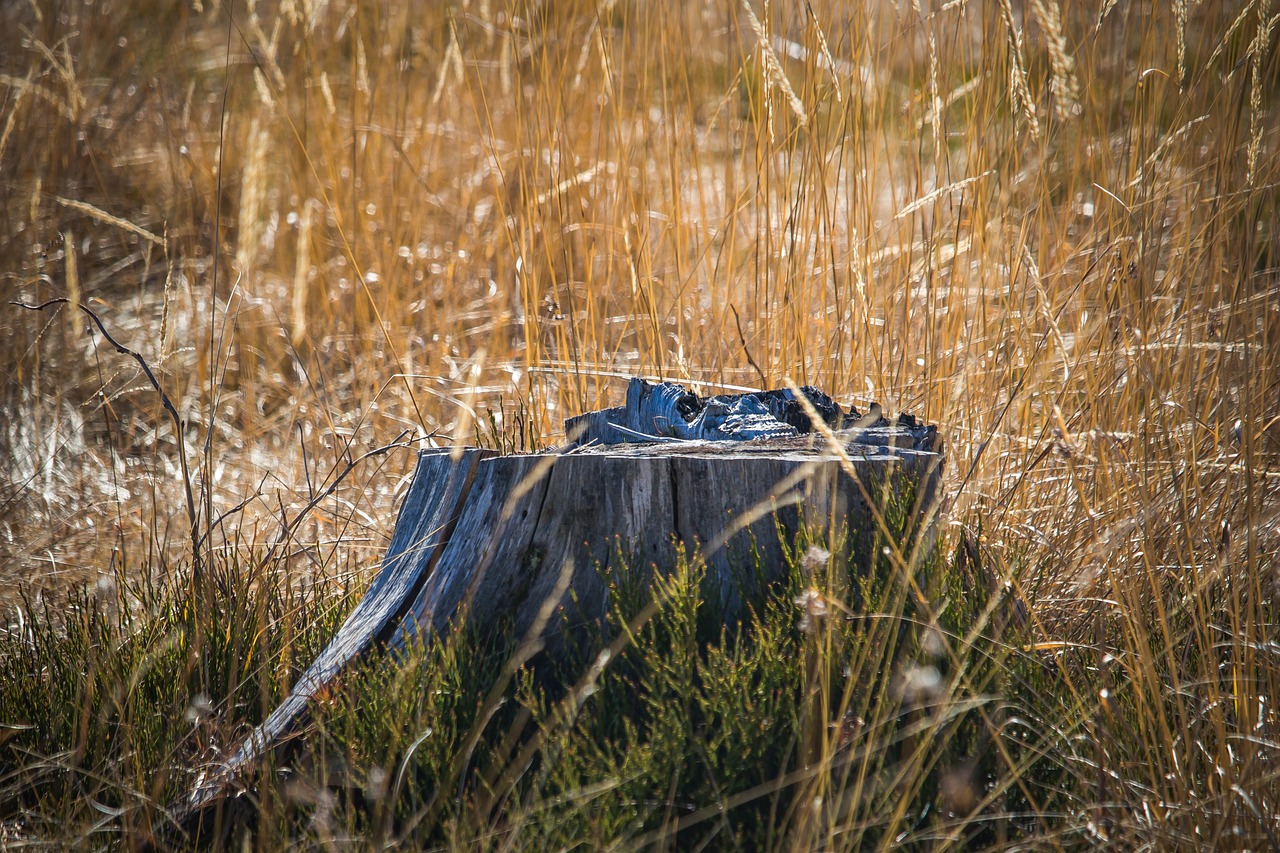
Preparing the Stump
Proper preparation of the tree stump is essential for a successful DIY project. You want your table to not only look good but also stand the test of time. Start by cleaning the stump thoroughly. This means removing any dirt, bark, or debris that may have accumulated over time. A simple scrub with a stiff brush and some soapy water can do wonders. Just imagine trying to enjoy a cup of coffee on a table that still has remnants of its former life as a tree! Once it’s clean, let it dry completely before moving on to the next steps.
Next, you’ll want to sanding the surface. This is where the magic happens! Use a medium-grit sandpaper to smooth out rough edges and surfaces. Sanding not only enhances the aesthetic appeal but also prepares the wood for any finishing touches you plan to add later. Think of it as giving your stump a spa day! After you’ve sanded it down, switch to a finer grit to achieve a silky-smooth finish. You’ll be amazed at how much this process transforms the wood.
Once your stump is sanded, it’s time to treat it. This step is crucial for ensuring the longevity of your table. Apply a wood treatment or sealant to protect against pests and moisture. You might be wondering why this is necessary. Well, untreated wood is like an open invitation for bugs and rot to come and crash your party! A good sealant will not only protect your stump but also enhance its natural beauty, making the grains and textures pop. Be sure to follow the manufacturer's instructions for application, and allow sufficient drying time before moving on to the next phase.
In summary, preparing your tree stump involves a few key steps: cleaning, sanding, and treating. Each step is vital to creating a table that is not just functional but also a stunning centerpiece in your home. Remember, this is a labor of love, and taking the time to prepare your stump properly will pay off in the end. You’ll have a beautiful, rustic table that showcases the natural charm of wood while serving as a conversation starter for years to come.
- How long does it take for the treatment to dry? The drying time can vary depending on the product used, but typically it takes anywhere from 24 to 48 hours.
- Can I use a tree stump that has been sitting outside for a long time? Yes, but ensure it’s free from rot and pests. A thorough cleaning and treatment will help.
- What type of wood is best for a tree stump table? Hardwoods like oak or maple are durable and provide a beautiful finish, but softwoods can also work if treated properly.
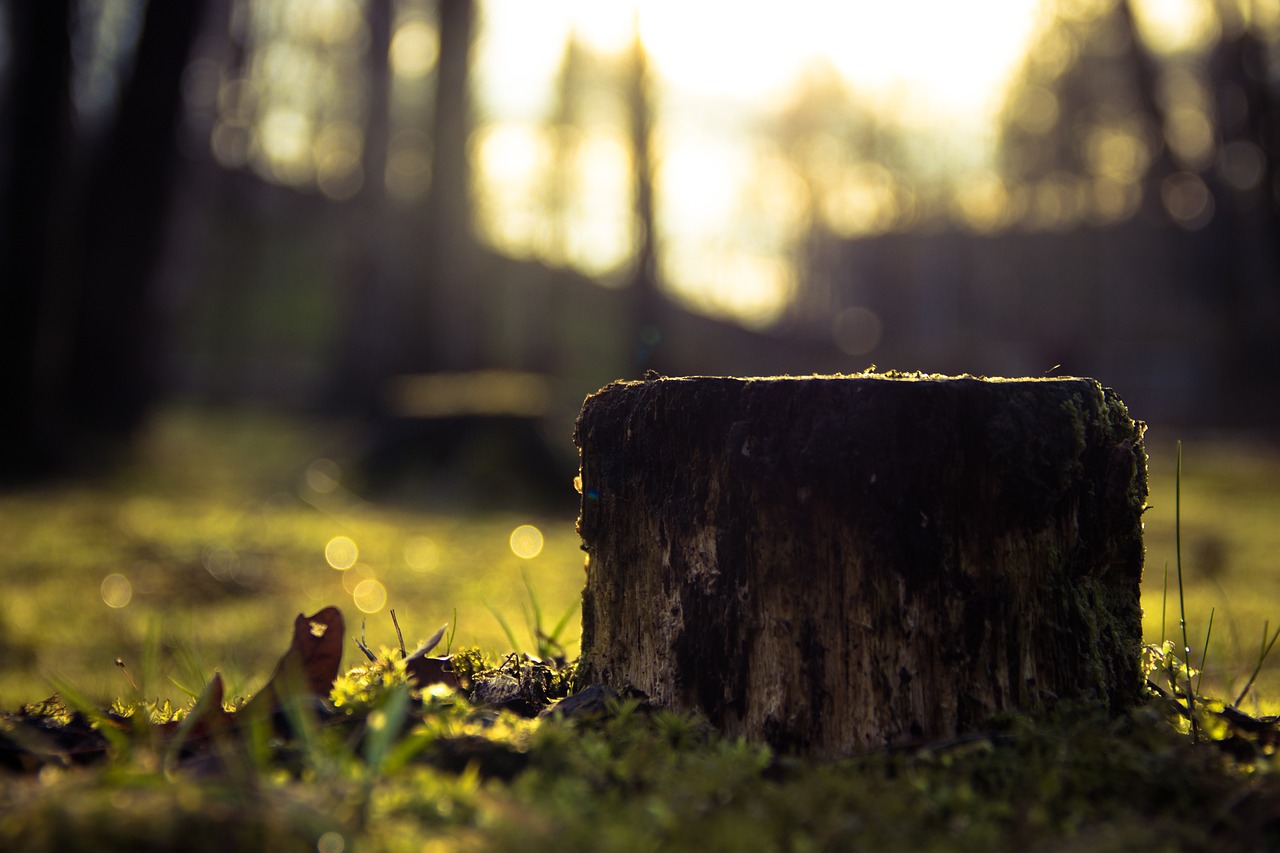
Design Ideas for Your Table
When it comes to designing your DIY tree stump table, the possibilities are as vast as the forest itself! Each stump tells a story, and by choosing a design that resonates with you, you can create a piece that is not only functional but also a conversation starter. Imagine walking into your living room and seeing a stunning piece of nature transformed into a beautiful table that reflects your personal style. Whether you're leaning towards a minimalist aesthetic or something more elaborate, here are some design ideas to inspire you.
One popular option is the rustic farmhouse style. This design embraces the natural imperfections of the wood, allowing the unique grain patterns and knots to shine. You can achieve this look by simply sanding the surface to a smooth finish and leaving the stump in its natural state. Pair it with a simple glass top to create a modern twist while maintaining that earthy vibe. This juxtaposition of materials can create an eye-catching centerpiece in your home.
If you’re feeling a bit more adventurous, consider incorporating artistic elements into your design. For instance, you could carve intricate patterns or shapes into the stump, making it a true work of art. This approach not only showcases your creativity but also adds a layer of depth to the piece. Imagine a table with swirling designs or geometric shapes that catch the light and draw the eye. Such details can elevate your table from a mere furniture piece to a stunning focal point in your decor.
For those who love a bit of flair, adding color can transform your tree stump table into a vibrant statement piece. You might choose to paint the stump in a bold hue or apply a stain that enhances the wood's natural beauty while introducing a splash of color. Think about using colors that complement your existing decor. A bright blue or a deep forest green can create a striking contrast against neutral tones, while a soft pastel can add a touch of whimsy.
Another innovative design idea is to create a multi-functional table. Why not incorporate storage or lighting features? For instance, you could hollow out the stump to create a space for magazines or books, making it both practical and stylish. Alternatively, consider embedding LED lights into the base of the stump to create a warm glow in the evening. This not only enhances the ambiance but also adds a modern twist to your rustic decor.
Lastly, don't forget about the shape and size of your table. The beauty of tree stump tables lies in their organic forms, so embrace asymmetry! A round stump can create a cozy, intimate setting, while a larger, more elongated stump can serve as a dramatic centerpiece. If you have multiple stumps of varying sizes, consider stacking them to create a tiered effect, which can add visual interest and functionality.
In summary, designing your tree stump table is all about expressing your individuality and connecting with nature. Whether you choose a minimalist, rustic, colorful, or functional design, remember that the true beauty lies in the uniqueness of the wood and the love you put into crafting it. So, grab your tools, let your creativity flow, and create a stunning piece that you’ll cherish for years to come!
- What type of wood is best for a tree stump table? Hardwoods like oak, maple, or cherry are ideal due to their durability and aesthetic appeal.
- How do I ensure my tree stump table is stable? Make sure to level the bottom of the stump and consider adding rubber feet to prevent wobbling.
- Can I use my tree stump table outdoors? Yes, but be sure to treat the wood with a weather-resistant sealant to protect it from the elements.

Finishing Techniques
When it comes to creating a stunning tree stump table, the finishing touches can truly make or break your project. The right finish not only enhances the natural beauty of the wood but also protects it from the elements, ensuring that your rustic masterpiece stands the test of time. So, what are the best finishing techniques to consider? Let’s dive into the world of stains, sealants, and paints!
First off, you might want to consider staining your tree stump table. Stains come in various shades, allowing you to highlight the unique grain patterns of the wood. Whether you prefer a deep walnut or a lighter oak, staining can add depth and richness to your table. It's like giving your stump a cozy sweater that showcases its natural beauty. Remember to apply the stain evenly and allow it to soak in for the recommended time before wiping off the excess. This process ensures a uniform finish that enhances the wood's character.
Next, sealing your table is crucial. A good sealant acts like a protective barrier against moisture, dirt, and pests. You can choose between oil-based or water-based sealants, each offering different benefits. Oil-based sealants tend to penetrate deeper into the wood, providing a more durable finish, while water-based options dry faster and have less odor. Whichever you choose, applying multiple thin coats is key. This technique not only protects but also adds a subtle sheen that can elevate the aesthetic of your table.
For those looking to add a splash of color, painting your tree stump table is an exciting option. You can use chalk paint for a matte finish or acrylic paint for vibrant hues. Imagine transforming a plain stump into a whimsical garden table with bright colors or patterns! Just make sure to sand the surface lightly before painting to help the paint adhere better. After painting, a clear topcoat will help to protect the design from wear and tear, ensuring your creative vision lasts longer.
Here’s a quick overview of some popular finishing techniques you might consider:
| Technique | Description | Benefits |
|---|---|---|
| Staining | Enhances wood grain and adds color | Brings out the natural beauty of the wood |
| Sealing | Protects against moisture and pests | Increases durability and longevity |
| Painting | Adds color and creativity | Allows for personalization and unique designs |
Lastly, don’t forget about the importance of drying time. Each finishing product will have its own recommended drying time, and patience is key here. Rushing this step can lead to smudges or uneven finishes, which can be frustrating after all your hard work. So, grab a cup of coffee, sit back, and let your table dry properly. Trust me; it will be worth the wait!
In conclusion, finishing techniques are more than just the final step in your DIY tree stump table project; they are the magic that transforms a simple piece of wood into a stunning focal point in your home. Whether you choose to stain, seal, or paint, each option has its unique charm and benefits. So, roll up your sleeves, get creative, and enjoy the process of bringing your rustic vision to life!
Incorporating Functional Elements
When it comes to crafting your unique tree stump table, why stop at aesthetics? Incorporating functional elements can truly elevate your creation from a simple rustic piece to a multifunctional masterpiece that enhances your living space. Think of your table not just as a surface but as a versatile addition to your home. Imagine sipping coffee in the morning while having everything you need right at your fingertips!
One popular idea is to integrate storage solutions within the stump itself. For instance, you could hollow out the center of the stump to create a hidden compartment. This space can be used to store coasters, magazines, or even board games. It’s like having a secret stash that keeps your living area tidy while adding an element of surprise for guests. To achieve this, you’ll need a saw and some basic woodworking skills, but the payoff is well worth the effort.
Another functional feature to consider is lighting. Imagine how enchanting your tree stump table could be with a built-in lamp or LED strip around its base. This not only adds a warm ambiance to your space but also makes the table a focal point in the room. You could use battery-operated lights for a hassle-free approach, or even run a small cord if you’re up for a little electrical work. Just make sure to choose lights that complement the rustic aesthetic of the wood.
If you’re looking for something even more innovative, consider adding built-in coasters. You can carve out small, circular spaces on the surface of the table to hold coasters, ensuring that drinks don’t leave rings on your beautiful wood. This simple addition not only protects your table but also makes it user-friendly. After all, who wants to be scrambling for coasters when company arrives?
To give you a clearer picture, here’s a quick table summarizing some functional elements you can incorporate into your tree stump table:
| Functional Element | Description | Benefits |
|---|---|---|
| Storage Compartment | Hollowed-out center for storing items | Keeps area tidy, adds surprise element |
| Lighting | Built-in lamp or LED strips | Creates ambiance, highlights the table |
| Built-in Coasters | Carved spaces for coasters | Protects surface, enhances usability |
Incorporating these functional elements not only increases the usability of your tree stump table but also adds a personal touch that reflects your style and creativity. Embrace the challenge of blending function with beauty, and you’ll end up with a stunning piece that’s as practical as it is eye-catching. So, are you ready to take your DIY project to the next level? Let your imagination run wild and transform your tree stump into a true conversation starter!
Q1: Can I use any type of wood for my tree stump table?
A1: While you can technically use any type of wood, selecting hardwoods like oak or maple will ensure durability and a beautiful finish.
Q2: How do I prevent my table from attracting pests?
A2: Treat the wood with a pest-repellent solution and seal it properly to keep insects at bay.
Q3: What if my tree stump is uneven?
A3: Don’t worry! You can sand it down to create a flat surface or embrace its natural shape for a more rustic look.
Q4: How often should I maintain my tree stump table?
A4: Regular maintenance is key. Wipe it down weekly and reapply sealant every few months to keep it looking fresh.
Maintenance and Care
Maintaining your DIY tree stump table is essential for preserving its unique charm and ensuring it remains a stunning focal point in your home. Just like any piece of furniture, your rustic creation needs a little TLC to withstand the test of time. So, what are the best practices for keeping your table looking fresh and beautiful? Let's dive into some crucial maintenance tips!
First off, regular cleaning is vital. Dust and dirt can accumulate on the surface, dulling its natural beauty. Use a soft, damp cloth to gently wipe down the table, avoiding harsh chemicals that could damage the wood. For deeper cleaning, consider using a wood-safe cleaner. However, remember to test any product on a small, inconspicuous area first to ensure it won't harm the finish.
Next, protecting your table from moisture is crucial. Wood is a natural material that can warp or crack if exposed to excessive humidity or water. To prevent this, you might want to place coasters under drinks and avoid leaving wet items directly on the surface. Additionally, consider applying a protective sealant every few years to create a barrier against moisture and stains.
When it comes to scratches and dents, don’t fret! Minor imperfections can add character to your table, but if you want to keep it looking pristine, you can easily fix them. For light scratches, a little bit of mineral oil or beeswax can work wonders. Just rub it into the affected area and buff it out with a soft cloth. For deeper scratches, you may need to sand the area lightly and then reapply the finish to blend it in seamlessly.
Lastly, be mindful of the environment where your table resides. Placing it in direct sunlight can cause fading and damage over time. If possible, position your tree stump table in a shaded area or use curtains to filter the sunlight. This will help maintain the vibrant colors of the wood and prolong its lifespan.
In summary, caring for your tree stump table involves:
- Regular dusting and gentle cleaning
- Using coasters to prevent moisture damage
- Applying protective sealants periodically
- Addressing scratches with mineral oil or beeswax
- Avoiding direct sunlight exposure
By following these simple maintenance tips, you can ensure that your DIY tree stump table remains a beautiful and functional piece of rustic decor for years to come!
As you embark on your DIY journey, you might have a few questions about maintaining your tree stump table. Here are some frequently asked questions to help you along the way:
| Question | Answer |
|---|---|
| How often should I clean my tree stump table? | It's best to dust your table weekly and do a deeper clean monthly to keep it looking its best. |
| Can I place my tree stump table outside? | While it's possible, it's not recommended unless it's treated for outdoor use, as moisture and UV rays can cause damage. |
| What type of sealant should I use? | A clear polyurethane or a natural oil finish works well to protect the wood while enhancing its beauty. |
| How do I remove stains from the table? | For light stains, a mixture of baking soda and water can be effective. For tougher stains, you may need to sand and refinish the area. |

Inspiration from Nature
When it comes to crafting your own tree stump table, the natural world is a treasure trove of inspiration. Imagine walking through a serene forest, where every fallen branch, moss-covered rock, and gnarled tree trunk tells a story. This connection to nature not only enhances the aesthetic appeal of your home decor but also brings a sense of tranquility and warmth into your living space. By drawing on the organic shapes and earthy tones found in nature, you can create a table that feels both unique and harmonious with its surroundings.
One of the most captivating aspects of nature is its diversity. Each tree stump has its own character, marked by unique patterns in the wood grain, varying textures, and even the occasional knot or hole that adds charm. Consider how you can celebrate these natural imperfections in your design. For instance, a stump with striking rings can be left as-is to showcase its beauty, while one with a hollow might be transformed into a charming planter or candle holder, blending functionality with artistry.
Additionally, the colors found in nature can guide your design choices. The warm browns of wood, the cool greens of moss, and the vibrant hues of wildflowers can inspire your color palette. You might choose to stain your table in a rich walnut or a lighter oak, allowing the natural grain to shine through. Alternatively, you could paint it in soft, earthy tones that reflect the environment around you, creating a cohesive look that ties your home to the outdoors.
Moreover, think about incorporating natural elements into your table’s design. This could be as simple as adding a layer of smooth river stones as a base or using driftwood as a decorative accent. These elements not only enhance the rustic feel but also tell a story of their own, connecting your table to the larger landscape from which they came. You might even consider using reclaimed materials, such as old barn wood or weathered metal, to further emphasize the theme of sustainability and nature.
As you embark on your DIY journey, let your creativity flow like a river through a forest. Look around you—what inspires you? Is it the shape of a tree, the colors of a sunset, or the texture of the earth beneath your feet? By tapping into these natural inspirations, you can create a tree stump table that is not just a piece of furniture but a beautiful representation of the world outside your door.
- What type of tree stump is best for a table? Look for a sturdy stump with a flat surface. Hardwoods like oak or maple are excellent choices due to their durability.
- How do I treat the wood to prevent pests? You can use wood preservatives or natural oils like linseed oil to protect the wood from insects and moisture.
- Can I use a tree stump table outdoors? Yes, but make sure to use weather-resistant finishes to protect it from the elements.
- How can I incorporate lighting into my table design? Consider embedding LED strips around the base or using a glass top with built-in lighting underneath for a stunning effect.

Sharing Your Creation
Once you've poured your heart and soul into crafting your very own DIY tree stump table, it's time to show it off! Sharing your creation not only allows you to celebrate your hard work but also inspires others to embark on their own DIY journeys. So, how can you effectively showcase your rustic masterpiece? Here are some engaging ideas:
First, consider taking high-quality photographs of your table. Natural lighting works wonders, so try to snap a few shots outdoors or near a window. Capture different angles and close-ups to highlight the unique textures and patterns of the wood. You might even want to stage your table with some decorative elements, like a cozy throw or a couple of books, to show how it fits into your home decor.
Once you have some stunning photos, the next step is to share them on social media platforms. Instagram and Pinterest are fantastic for visual content, while Facebook allows for more detailed storytelling. When posting, don't forget to include a catchy caption that explains your creative process and the inspiration behind your design. You can even use relevant hashtags like #DIYDecor, #RusticHome, and #TreeStumpTable to reach a broader audience.
If you're feeling adventurous, consider starting a blog or a YouTube channel dedicated to your DIY projects. This way, you can document your journey, share tips and tricks, and connect with fellow DIY enthusiasts. Your blog can become a treasure trove of information, where you not only showcase your tree stump table but also share the stories behind other projects you undertake.
Moreover, don't underestimate the power of community. Join local craft groups or online forums where you can share your work with like-minded individuals. Engaging with others can lead to valuable feedback, new ideas, and even collaborative projects. You might find that your tree stump table sparks conversations and inspires others to create their own unique pieces.
Lastly, consider hosting a small gathering to unveil your creation. Invite friends and family over for a cozy get-together where you can showcase your table in its natural habitat. This not only allows you to share your work but also creates a warm atmosphere for discussions about DIY projects and home decor.
In conclusion, sharing your DIY tree stump table is all about celebrating creativity and inspiring others. Whether through social media, blogging, community engagement, or personal gatherings, there are countless ways to showcase your work and connect with fellow DIY enthusiasts. So, go ahead, let your creativity shine, and inspire others to join the DIY movement!
| Question | Answer |
|---|---|
| How do I choose the right tree stump for my table? | Look for a stump that is sturdy, has an appealing grain, and is free from rot or pests. Consider the size based on your desired table dimensions. |
| What tools do I need to prepare the tree stump? | You will need a saw, sandpaper, a wood chisel, and possibly a wood treatment solution to protect against pests. |
| Can I use a tree stump indoors? | Yes, but be sure to treat it properly to prevent any moisture issues and ensure it fits well with your interior decor. |
| What finishing techniques can I use? | Consider staining, sealing, or painting your table to enhance its appearance and protect the wood from wear and tear. |
Frequently Asked Questions
- What type of tree stump is best for making a table?
When selecting a tree stump for your DIY table, look for sturdy hardwoods like oak, maple, or walnut. These types not only offer durability but also provide a beautiful grain pattern that enhances the rustic aesthetic. Ensure the stump is free from rot and pests, as these can compromise the integrity of your table.
- How do I prepare the tree stump before crafting the table?
Preparation is key! Start by cleaning the stump to remove any dirt or debris. Next, sand the surface to create a smooth finish, which will help in applying any stains or sealants later on. Finally, treat the wood with a pest repellent to prevent any unwanted critters from making your table their home.
- Can I customize the design of my tree stump table?
Absolutely! Your tree stump table can be as unique as you are. Consider adding elements like a glass top for a modern twist, or carving designs into the wood for a more artistic approach. You can also paint or stain the stump to match your home decor, making it a true reflection of your personal style.
- What finishing techniques should I use for my table?
Finishing your table not only enhances its beauty but also protects it from damage. You can use wood stains to highlight the natural grain or opt for a clear sealant to maintain the rustic look. For a pop of color, consider painting it, but ensure you use a sealant afterward to protect the paint from wear and tear.
- How can I incorporate functional elements into my tree stump table?
Adding functional elements can really elevate your table! Think about incorporating built-in storage for magazines or coasters, or even installing a small lamp for ambiance. These features not only enhance usability but also add a unique touch to your rustic decor.
- What maintenance is required for a tree stump table?
To keep your tree stump table looking its best, regular maintenance is essential. Wipe it down with a damp cloth to remove dust, and avoid exposing it to excessive moisture. Consider reapplying sealant every couple of years to protect the wood and maintain its charm.
- How can I draw inspiration from nature for my table design?
Nature is a fantastic source of inspiration! Look around your environment for colors, textures, and shapes that resonate with you. Incorporating elements like stones, twigs, or even leaves can create a cohesive look that celebrates the beauty of the outdoors right in your home.
- What are some ways to share my DIY tree stump table creation?
Once you've completed your masterpiece, don’t keep it a secret! Share your creation on social media platforms like Instagram or Pinterest, where DIY enthusiasts gather. You can also write a blog post detailing your process, or even host a local workshop to inspire others to get crafty!


