Creating DIY Collage Art for Your Walls
Are you looking to add a splash of creativity to your living space? DIY collage art is not just a trend; it's a way to express your personality and style right on your walls. In this article, we will dive into the exciting journey of creating personalized collage art that reflects your unique taste and enhances your home decor. From choosing a theme that resonates with you to gathering the right materials and finalizing your artwork, we’ll cover everything you need to know to make your walls come alive with vibrant visuals.
Creating collage art is a fantastic way to unleash your creativity. Imagine transforming a blank wall into a stunning visual story that speaks volumes about who you are. Whether you want to celebrate your love for nature, showcase city life, or even highlight your personal memories, the possibilities are endless! So, grab your supplies, and let’s embark on this artistic adventure together!
Before you dive into the creative process, it's essential to choose a theme for your collage. A cohesive theme ties your artwork together and gives it a sense of purpose. Think about what inspires you: do you have a passion for the great outdoors, or are you captivated by urban landscapes? Here are a few theme ideas to spark your imagination:
- Nature: Incorporate elements like leaves, flowers, and landscapes.
- Travel: Use maps, postcards, and photos from your adventures.
- Memories: Create a collage of personal photos and mementos.
- Abstract: Experiment with shapes, colors, and patterns for a modern twist.
Once you've settled on a theme, it’s time to gather materials that align with your vision. This is where the fun really begins!
The right materials can elevate your collage from ordinary to extraordinary. When it comes to creating your masterpiece, consider the following essential supplies:
- Paper Types: Think about the textures and colors you want to incorporate. From magazine clippings to colored paper, the options are endless!
- Adhesives: Choose the right glue or adhesive for your materials. Options like glue sticks, mod podge, and double-sided tape can all work wonders.
- Tools: Scissors, craft knives, and cutting mats will help you achieve precise cuts and clean edges.
Different types of paper can drastically change the look of your collage. For instance, magazine clippings can provide stunning imagery, while colored paper adds a vibrant backdrop. You might also want to explore textured materials such as fabric or cardstock to give your collage depth and character.
Incorporating various textures can significantly enhance the visual interest of your artwork. Think about mixing materials like fabric, foil, and cardboard to create a dynamic experience. Layering these elements not only adds depth but also invites the viewer to explore your collage from different angles.
Understanding color theory can be a game-changer for your collage. A harmonious color palette can evoke emotions and set the mood of your artwork. Consider using complementary colors that resonate with your theme, or explore monochromatic schemes for a more sophisticated look.
Choosing the right tools and adhesives is essential for a successful collage. Glue sticks are great for paper, while mod podge can seal and protect your artwork. Invest in high-quality scissors and cutting tools to ensure clean lines and precise application.
A well-thought-out layout can make a significant difference in the overall impact of your collage. Start by arranging your pieces on a flat surface before committing to the final placement. This allows you to experiment with balance, flow, and visual interest.
Achieving balance in your collage involves careful placement of elements. Consider the weight of each piece; larger images can anchor your design, while smaller pieces can create movement. Explore techniques for creating a harmonious composition that draws the viewer's eye.
Layering adds dimension to your collage. Overlapping images and materials creates a rich, textured appearance that invites viewers to look closer. Experiment with different layering techniques to find what works best for your artistic vision.
Once your collage is assembled, it’s time to finalize it. Ensure all pieces are securely attached and consider adding finishing touches like embellishments or a protective coat of mod podge. Finally, prepare your artwork for display by framing it or mounting it on a canvas. Your unique, handmade piece is now ready to brighten up your walls!
Q: How do I choose the right theme for my collage?
A: Consider what inspires you personally. Think about your interests, experiences, and the mood you want to convey. Whether it’s nature, travel, or memories, your theme should resonate with your personal story.
Q: What materials do I need to start my collage?
A: Essential materials include various types of paper, adhesives like glue sticks or mod podge, and tools like scissors and craft knives. Feel free to experiment with different textures and colors!
Q: How can I ensure my collage looks balanced?
A: Achieve balance by considering the visual weight of each element. Larger pieces can anchor your design, while smaller ones can create movement. Play around with placement until you find a composition that feels harmonious.

Choosing Your Theme
When it comes to creating a stunning collage, the first step you should take is choosing a theme. This is not just a minor detail; it’s the foundation of your artistic journey. Think of your theme as the story you want to tell through your artwork. Are you feeling inspired by the tranquility of nature, or perhaps the hustle and bustle of urban life? Your theme will guide your choices in colors, materials, and even the emotions you want your viewers to feel.
To help you brainstorm some ideas, consider these popular themes:
- Nature: Capture the beauty of landscapes, flora, and fauna. Use earthy tones and organic shapes to reflect the natural world.
- Urban Life: Showcase the vibrancy of cityscapes, architecture, and street art. Incorporate bold colors and geometric patterns.
- Personal Memories: Create a collage that tells your story using photographs, ticket stubs, and other memorabilia.
- Abstract Concepts: Explore emotions or ideas through shapes and colors without a literal representation.
Once you’ve settled on a theme, think about how it resonates with your personal style. Do you lean towards minimalism, or are you more of a maximalist? A cohesive theme will not only unify your collage but also make it more visually appealing. For instance, if you choose a nature theme, consider using greens and browns, along with materials that mimic natural textures, like burlap or leaves.
Moreover, don’t hesitate to pull inspiration from various sources. Look at art books, browse through Pinterest, or even take a stroll outside to observe the colors and textures around you. Inspiration can strike from anywhere! The key is to keep an open mind and allow your creativity to flow freely.
In essence, choosing a theme is about establishing a vision that speaks to you. It should be a reflection of your interests and passions. So, take your time, explore different ideas, and don’t rush this crucial step. After all, your collage is a piece of you, and the theme will serve as its heartbeat.
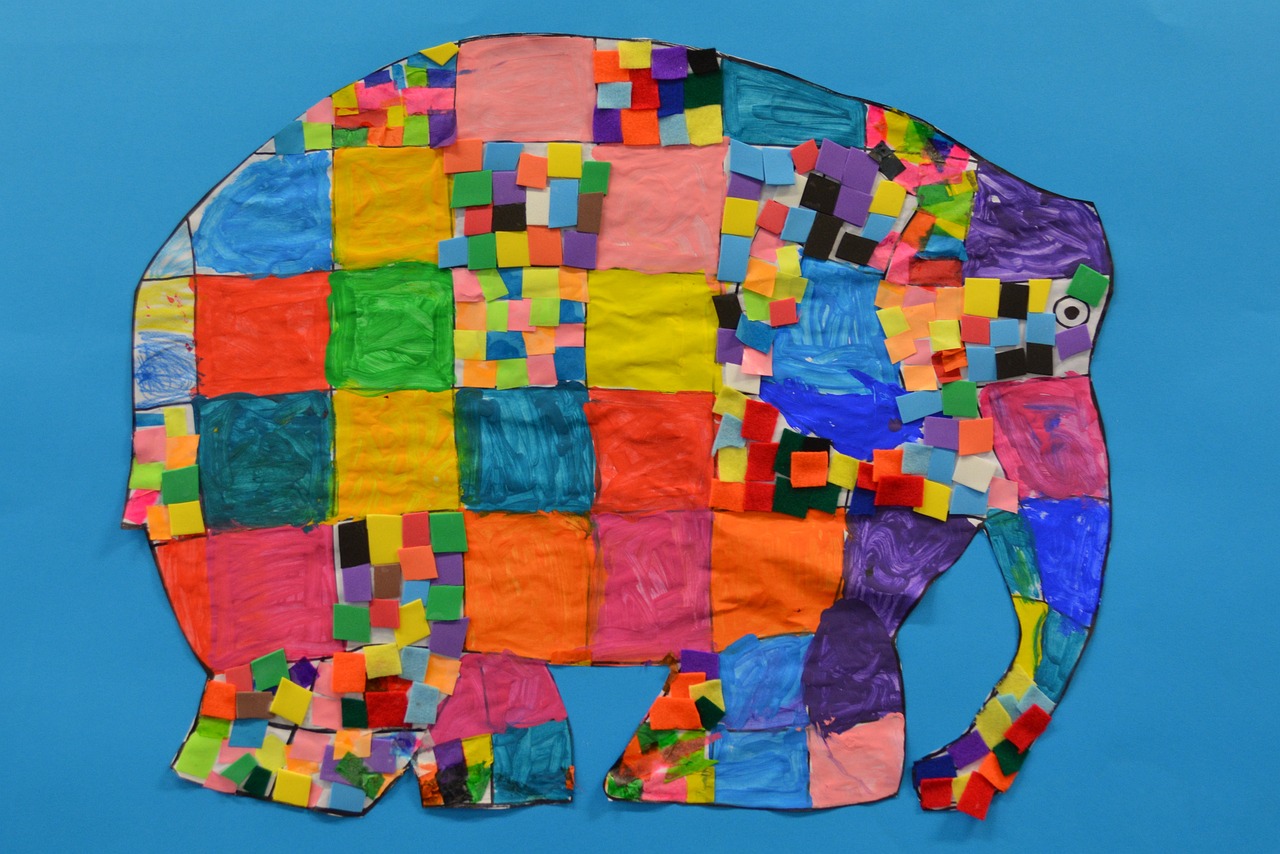
Gathering Materials
When it comes to creating your personalized collage art, gathering the right materials is like setting the foundation for a house. You wouldn't build a house without a solid base, right? Similarly, having a well-thought-out selection of supplies can elevate your artwork from ordinary to extraordinary. So, what do you need to get started?
First and foremost, you’ll want to consider the types of paper you’ll be using. The variety of paper can drastically change the overall feel of your collage. Think about incorporating magazine clippings, which can provide vibrant images and textures. You might also want to include colored paper for added depth and contrast. Textured materials, like old postcards or wrapping paper, can also bring a unique flair to your creation. It’s important to mix and match these elements to find what resonates with your theme.
Now, let’s dive deeper into the world of paper. The right paper can make your collage pop! Here’s a quick overview of some popular options:
| Type of Paper | Description |
|---|---|
| Magazine Clippings | Colorful images and text that can add a dynamic element. |
| Colored Paper | Available in various shades, perfect for backgrounds or accents. |
| Textured Materials | Fabric, foil, or cardboard can add depth and interest. |
Incorporating different textures is another essential aspect of your collage. Think of it as adding spices to a dish. Each texture can bring a new flavor to your artwork. For instance, using fabric can soften the look, while foil can introduce a shiny, eye-catching element. Cardboard pieces can provide structure and make certain areas of your collage stand out.
When layering materials, consider how they interact with one another. You might want to experiment with placing a rough, textured fabric behind a smooth magazine image. This contrast can create a stunning visual experience that draws the viewer in. Remember, the goal is to create a sense of depth and intrigue, making your collage not just a flat piece of art but a multi-dimensional experience.
Understanding color theory can significantly enhance your collage's appeal. Choosing a harmonious color palette is like selecting the right outfit for an occasion; it sets the mood and creates a cohesive look. You might opt for warm colors for a cozy feel or cool colors for a calming effect. A simple way to find inspiration is to look at nature or even existing artworks. Create a mood board with swatches of colors that resonate with your theme, and let it guide your choices.
Now that you've gathered your papers and materials, it’s time to think about the tools and adhesives you'll need. Choosing the right tools is crucial for a successful collage. A reliable glue stick is a must-have, but don’t overlook options like Mod Podge, which can serve as both an adhesive and a sealant. For precise application, consider using cutting tools like scissors or a craft knife. Each tool plays a role in ensuring that your collage comes together seamlessly.
As you gather your materials, remember that the process should be enjoyable! Take the time to explore different options, and don’t hesitate to add personal touches that reflect your unique style. After all, the beauty of DIY collage art lies in its ability to showcase your individuality and creativity.
Q: What if I don’t have access to magazines?
A: You can use printed images from the internet, old books, or even your own photographs to create a unique collage.
Q: How do I protect my finished collage?
A: Once completed, consider using a spray sealant or Mod Podge to protect your artwork from dust and fading.
Q: Can I frame my collage?
A: Absolutely! Framing your collage can enhance its presentation and protect it from damage.
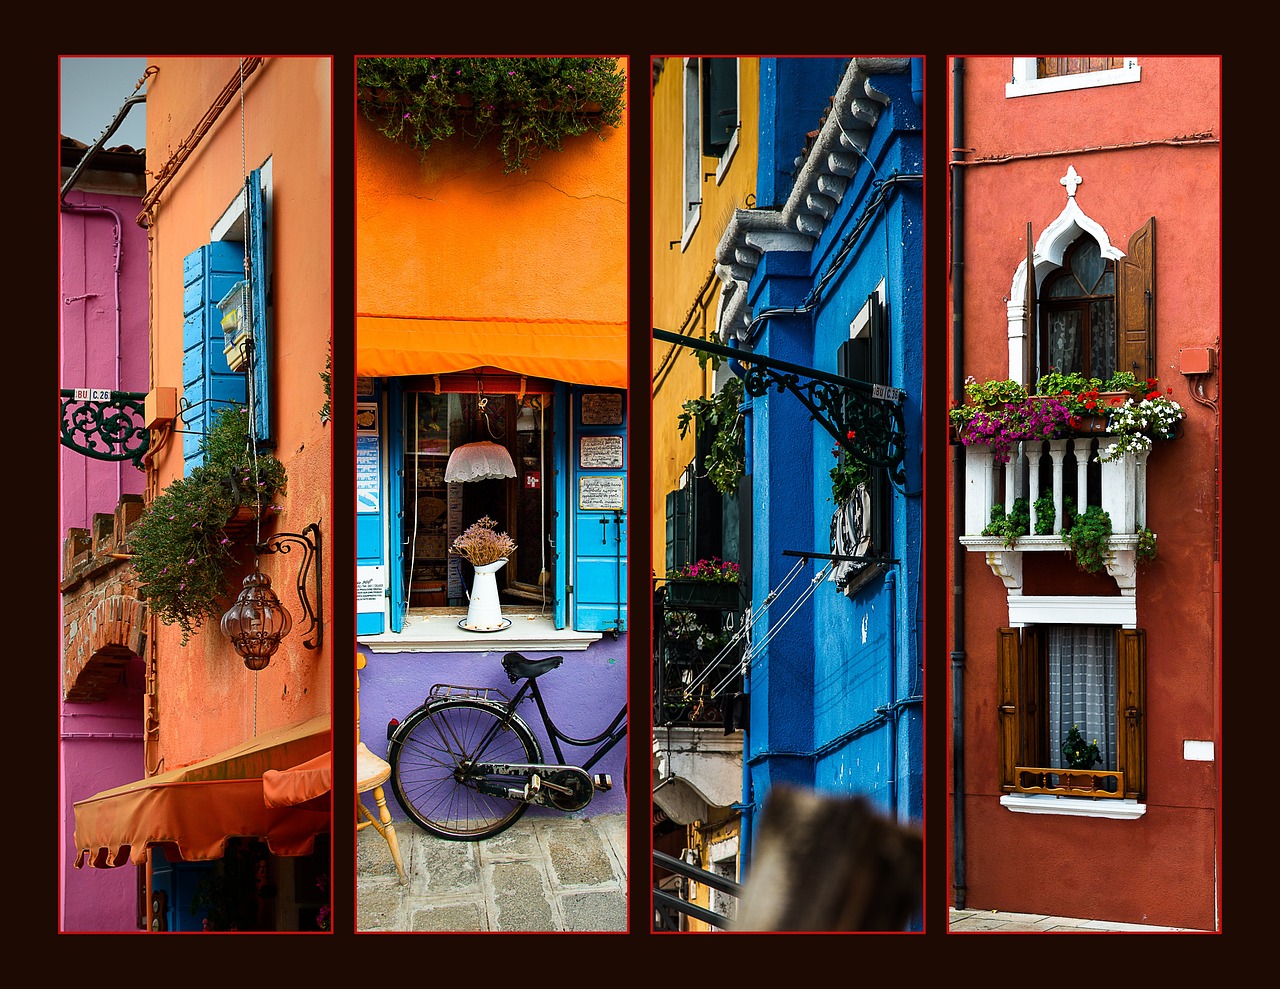
Paper Selection
When it comes to creating a stunning collage, plays a pivotal role in defining the overall aesthetic and impact of your artwork. Different types of paper can drastically change the look and feel of your collage, so it's essential to choose wisely. Imagine your collage as a delicious cake; the type of frosting and layers you use can either elevate it to gourmet status or leave it feeling flat. With that in mind, let's explore some exciting paper options that can add character and depth to your masterpiece.
First up, we have magazine clippings. These are a treasure trove of vibrant images, textures, and typography. You can find everything from stunning landscapes to quirky illustrations, making them perfect for adding a personal touch to your collage. The beauty of magazine clippings lies in their variety; they can evoke emotions, tell stories, or simply provide a splash of color. Just remember to choose clippings that resonate with your chosen theme, as they can help unify your piece.
Next, consider using colored paper. This type of paper allows for a more controlled color scheme and can serve as a fantastic background for your collage elements. You can either go for bold, contrasting colors to create a striking visual impact or opt for softer shades that harmonize with your theme. For example, if you're working on a nature-inspired collage, earthy tones like greens and browns can create a calming effect, while bright colors can energize an urban-themed piece.
Another fantastic option is textured materials. Think of paper with unique surfaces, such as handmade paper or cardstock. These materials can add depth and interest, transforming your collage from flat to fabulous. When you touch these textured papers, they evoke a sense of tactile engagement, drawing viewers in for a closer look. Imagine incorporating a piece of burlap or a textured fabric—this can create a dynamic visual experience that keeps the eye moving across your artwork.
To help you better understand the different types of paper you can use, here’s a simple table summarizing the key features:
| Type of Paper | Characteristics | Best For |
|---|---|---|
| Magazine Clippings | Vibrant images, diverse themes | Adding visual interest and storytelling |
| Colored Paper | Controlled color schemes, available in various shades | Creating backgrounds and color harmony |
| Textured Materials | Unique surfaces, tactile engagement | Adding depth and dimension |
As you explore these options, don’t hesitate to mix and match! Combining different types of paper can yield exciting results, enhancing the overall appeal of your collage. Just like layering flavors in a dish, the right combination can create a masterpiece that is greater than the sum of its parts. So, grab your scissors and start experimenting with various paper types to see how they interact with one another!

Textures and Layers
When it comes to creating a captivating collage, one of the most effective techniques is the use of . These elements not only add visual interest but also create a sense of depth that can transform a flat piece of art into a dynamic experience. Imagine walking past a collage that draws you in, inviting you to explore the different materials and the stories they tell. That's the magic of layering!
To start, think about the various materials you can incorporate into your artwork. Each material brings its own unique texture, which can evoke different feelings and enhance the overall aesthetic. For instance, you might consider using:
- Fabric: Soft and tactile, fabric can provide warmth and a sense of coziness.
- Foil: Shiny and reflective, foil can catch the light and add a touch of glamour.
- Cardboard: Sturdy and versatile, cardboard can create structure and contrast against softer materials.
Mixing these materials allows you to play with dimension and contrast. For example, layering a rough piece of cardboard beneath a smooth magazine cutout can create a striking juxtaposition that grabs attention. When arranging these layers, think about how they interact with each other. Are they harmonious or do they create a delightful tension? This interplay is what makes your collage truly unique.
Another important aspect to consider is how to apply these textures. You can adhere pieces at different angles, allowing some to stand out while others recede into the background. This technique not only adds depth but also guides the viewer's eye through the collage. For instance, a raised piece can act as a focal point, drawing attention, while flatter elements can provide a subtle backdrop.
Don't be afraid to experiment with layering techniques! You might find that overlapping different materials creates unexpected and beautiful results. For example, try placing a sheer fabric over a bold image; the transparency can soften the colors and create a dreamlike effect. Or, consider tearing your paper instead of cutting it for a more organic edge that adds character.
Ultimately, the key to successful textures and layers lies in your willingness to explore and play. Each layer you add should contribute to the story you want to tell through your collage. So, gather your materials, let your creativity flow, and watch as your artwork comes to life with each textured layer you apply!
Q: What types of textures work best for collages?
A: The best textures for collages are those that add variety and interest. Consider using fabric, paper, cardboard, and even natural elements like leaves or twigs. Mixing different materials will give your artwork depth and character.
Q: How can I ensure my layers stick well?
A: Using a strong adhesive is crucial for maintaining the integrity of your layers. Options like Mod Podge or glue sticks are popular choices. Make sure to apply enough adhesive to both the base and the layer for a secure bond.
Q: Can I use digital elements in my collage?
A: Absolutely! Digital prints can be printed out and incorporated into your physical collage. You can even layer digital images with traditional materials to create a mixed-media masterpiece.

Color Schemes
When it comes to creating a stunning collage, understanding color theory is essential. The colors you choose can evoke emotions, set the mood, and even tell a story. Imagine walking into a room adorned with your collage and feeling an instant connection to the artwork. That’s the power of color! So, how do you select the right color scheme for your project? Let’s dive in.
First, consider your theme. Are you going for something vibrant and energetic, or do you prefer a more subdued and calming vibe? For instance, if your collage is inspired by nature, earthy tones like greens, browns, and soft blues can create a serene atmosphere. On the other hand, if you’re channeling urban life, bold colors like reds, yellows, and blacks can make your piece pop with excitement.
One effective way to choose a color scheme is to use the color wheel. This handy tool can help you identify complementary colors—those that sit opposite each other on the wheel and create a striking contrast. For example, pairing blue with orange can yield a dynamic and eye-catching effect. Alternatively, you might opt for analogous colors, which are next to each other on the wheel. These combinations, such as blue, teal, and green, can create a harmonious and cohesive look.
To visualize your color choices, consider creating a simple table that outlines your selected colors and their emotional associations:
| Color | Emotion/Association |
|---|---|
| Red | Passion, Energy |
| Blue | Calm, Trust |
| Green | Nature, Growth |
| Yellow | Happiness, Optimism |
| Purple | Creativity, Luxury |
When assembling your collage, try to limit your palette to about three to five colors. This will help maintain visual interest without overwhelming the viewer. You might also want to consider the intensity of your colors. Bright, saturated colors can create a sense of excitement, while muted tones can evoke tranquility. Mixing both can lead to a balanced composition that captures attention while also providing a sense of calm.
Lastly, don’t forget about the importance of contrast. High contrast can make certain elements stand out, drawing the viewer's eye to specific areas of your collage. For instance, placing a bright yellow element against a dark blue background can create a striking focal point. This technique can be particularly effective if you want to highlight a specific message or theme within your artwork.
In conclusion, selecting the right color scheme for your collage is about more than just aesthetics; it’s about creating a connection with your audience. By understanding color theory, utilizing the color wheel, and considering the emotional impact of your choices, you can elevate your collage from a simple decoration to a powerful piece of art that resonates with viewers. So, grab those colors and let your creativity flow!
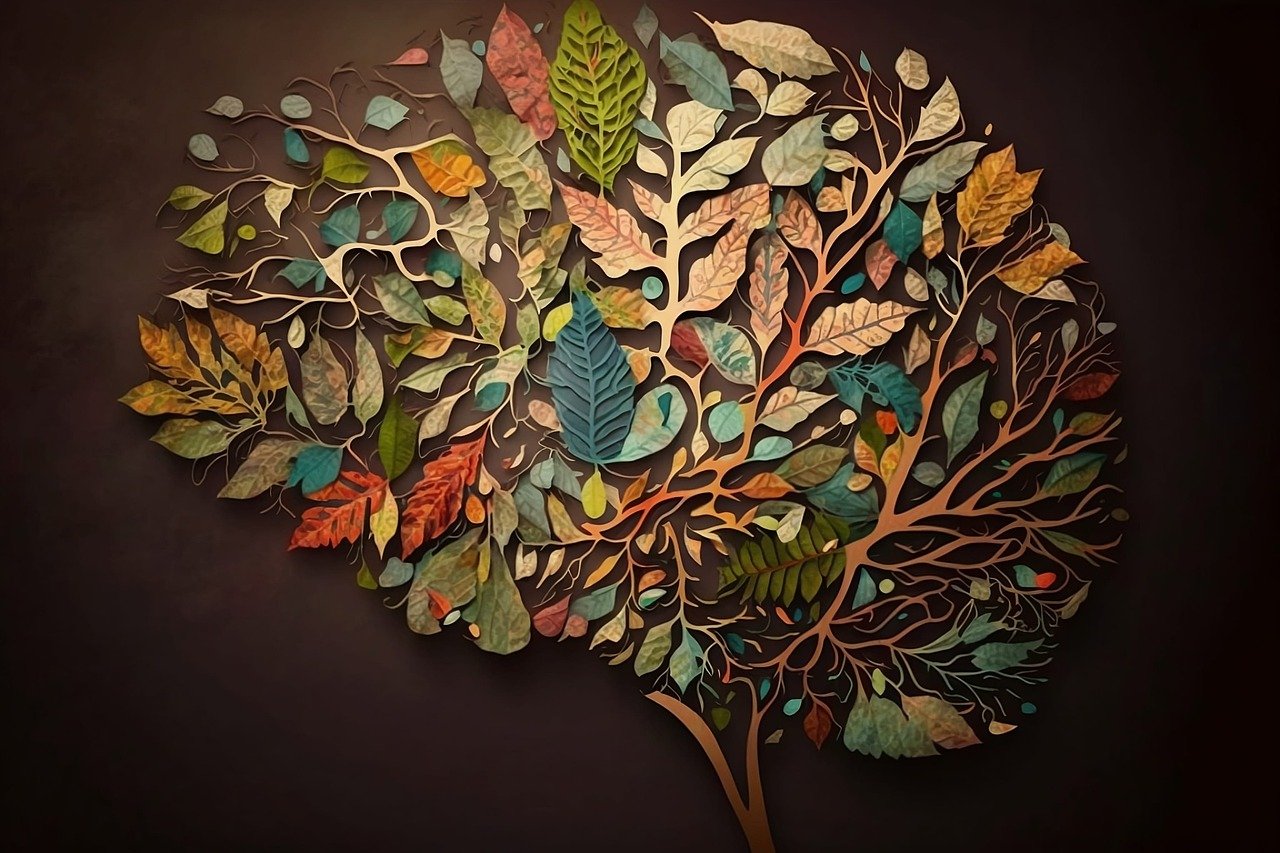
Tools and Adhesives
When it comes to creating stunning collage art, having the right tools and adhesives is absolutely essential. Think of these items as your artistic sidekicks; they help bring your creative vision to life. You wouldn’t go into battle without your armor, right? Similarly, you shouldn’t embark on your collage journey without a solid toolkit. So, what should you have on hand?
First off, let’s talk about adhesives. The glue you choose can make or break your artwork. You have a few options here:
- Glue Sticks: Perfect for lightweight materials like paper and photos. They’re easy to use and allow for repositioning before they dry.
- Mod Podge: This versatile adhesive not only glues but also seals and finishes your collage. It’s great for adding a glossy touch and can be used on various surfaces.
- Liquid Glue: A classic choice for heavier materials. Just be cautious, as it can be messier than its stickier counterparts!
Now, let’s not forget about the tools that will help you apply these adhesives. A good pair of scissors is a must, but you might also want to consider:
- X-Acto Knife: For those intricate cuts and precise edges that scissors can’t quite manage.
- Cutting Mat: Protect your surfaces and keep your workspace tidy while you cut.
- Ruler: To ensure your lines are straight and your pieces are measured accurately.
Having the right tools means you can focus on the fun part—creating! Imagine trying to build a house without a hammer or nails. Your collage deserves the same level of care and attention. So, gather your supplies and let your creativity flow. Remember, every great artist started with a few basic tools, and with practice, you’ll develop your own unique style.
Q1: What type of glue is best for collage art?
A1: It depends on the materials you're using. For paper and lightweight items, glue sticks or Mod Podge work well. For heavier materials, liquid glue is a better choice.
Q2: Can I use regular scissors for cutting collage materials?
A2: Yes, regular scissors can work, but using an X-Acto knife gives you more precision, especially for intricate designs.
Q3: How do I prevent my collage from warping?
A3: Using a good adhesive like Mod Podge can help prevent warping. Additionally, make sure to apply the glue evenly and avoid over-saturating your materials.
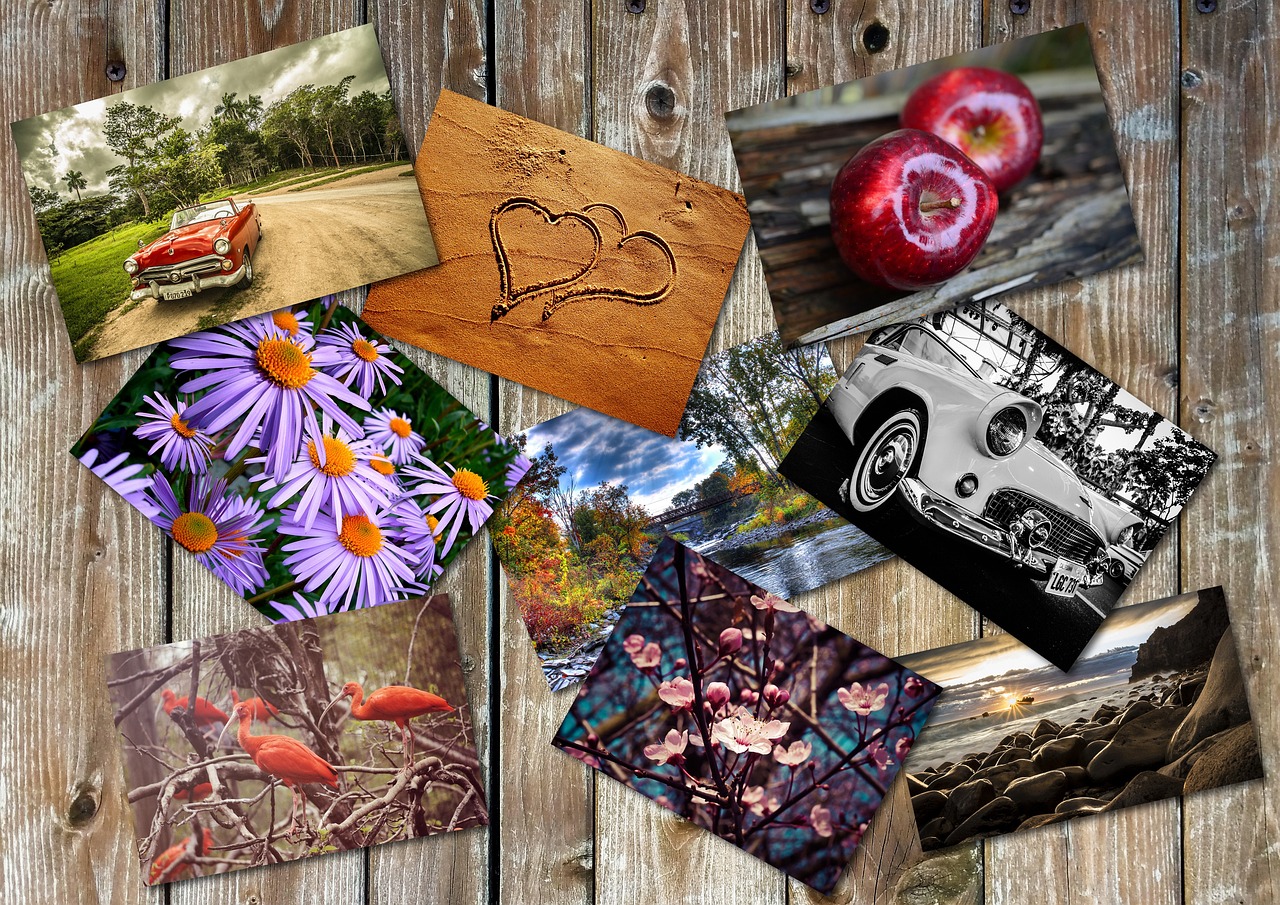
Designing Your Layout
When it comes to creating a stunning collage, the layout is where the magic truly happens. Imagine walking into a room and being greeted by a captivating piece of art that draws you in. That's the power of a well-designed layout! It's all about how you arrange your elements to create a visual story that flows seamlessly. Start by considering the balance of your collage. This means distributing your elements evenly across the canvas, so one side doesn’t feel heavier than the other. Think of it like a seesaw; if one side is overloaded, it just won’t work!
One effective way to achieve this balance is by using the rule of thirds. Picture your canvas divided into a 3x3 grid, and place your focal points along these lines or at their intersections. This technique not only creates harmony but also guides the viewer's eye through your artwork, making it more engaging. You can also play with symmetry or asymmetry. Symmetrical layouts feel more structured and formal, while asymmetrical ones can evoke a sense of spontaneity and creativity.
Next, let’s talk about composition. Composition is all about how you position your pieces in relation to one another. You might want to group similar items together to create a cohesive look or mix different elements for a more eclectic vibe. For instance, if you’re using a mix of photographs and magazine clippings, consider placing photos on one side and clippings on the other, allowing them to complement each other while still standing out. Additionally, think about the negative space—the empty areas around your elements. This space can be just as important as the artwork itself, giving your collage room to breathe and preventing it from feeling cluttered.
Layering is another crucial aspect of designing your layout. It adds depth and interest to your collage. Try overlapping images and materials, creating a sense of dimension. For example, place a textured piece of fabric behind a photo to create contrast and richness. This technique not only enhances the visual appeal but also invites viewers to explore your artwork more closely. Remember, layering can also involve transparency; using materials like tissue paper can allow colors and patterns to shine through, adding another layer of complexity to your design.
Finally, don’t forget to step back and evaluate your work as you go. Sometimes, when you’re too close to your project, it’s easy to miss what’s not working. Take a moment to view your collage from a distance. Is there a piece that feels out of place? Does the flow feel natural? Trust your instincts and make adjustments as needed. After all, this is your creation, and it should reflect your personal style and vision.
- How do I know if my layout is balanced? A balanced layout should feel even and harmonious. Step back and view your collage from a distance; if one side feels heavier, consider rearranging elements.
- What materials work best for layering? You can use a variety of materials, including fabric, paper, and even lightweight objects like buttons or beads. Experiment to see what creates the best effect for your collage!
- Can I change my layout after starting? Absolutely! Collage is a flexible art form. Don’t hesitate to rearrange pieces until you achieve the desired look.
Balance and Composition
When it comes to creating a stunning collage, balance and composition are your best friends. Think of your collage as a dance floor—each element needs to find its rhythm and space, ensuring that no single piece steals the spotlight. Achieving balance means distributing visual weight evenly across your artwork, which can be done through a few simple techniques.
One effective method is to consider the Rule of Thirds, a classic principle borrowed from photography and visual arts. Imagine dividing your canvas into a grid of nine equal parts, creating four intersection points. Placing key elements along these lines or at the intersection points can create a more dynamic and engaging composition. This technique not only draws the viewer's eye but also adds a sense of harmony to your collage.
Another aspect of balance is symmetry versus asymmetry. Symmetrical compositions can evoke feelings of stability and order, while asymmetrical designs tend to create a more dynamic and interesting visual experience. For instance, if you place a large image on one side, consider balancing it with smaller elements on the opposite side to maintain visual equilibrium. This interplay between the two can keep your audience intrigued, as their eyes move around the piece.
Moreover, consider the scale and proportion of the elements you choose. Mixing large and small pieces can create a sense of depth and interest. For example, pairing a giant, bold graphic with delicate, intricate details can create a striking contrast that draws attention. As you arrange your collage, ask yourself: Does this element feel too heavy or too light? Is there enough variety to keep things exciting?
To further enhance your composition, think about the flow of your collage. The viewer's gaze should move naturally from one element to another, almost like following a path. You can achieve this by using lines—whether they're actual lines in the images or implied lines created by the arrangement of elements. For instance, if you have a series of images that guide the eye in a certain direction, it creates a visual journey that keeps your audience engaged. Remember, the goal is to create a cohesive narrative that tells a story through your collage.
In summary, achieving balance and composition in your collage is all about creating a visual symphony where every element plays its part. By considering principles like the Rule of Thirds, exploring symmetry and asymmetry, and paying attention to scale and flow, you can craft a collage that not only looks great but also feels harmonious. So, grab your materials and start experimenting—your masterpiece awaits!
- What is the Rule of Thirds? The Rule of Thirds is a guideline that suggests dividing your canvas into nine equal parts with two horizontal and two vertical lines, placing key elements along these lines or at their intersections to create a balanced composition.
- How can I achieve balance in my collage? You can achieve balance by distributing visual weight evenly, using symmetry or asymmetry, and mixing different scales of elements to create interest.
- What should I consider for the flow of my collage? Consider how the viewer's eye will move through your collage. Use lines and arrangements that guide the gaze naturally from one element to another.

Layering Techniques
Layering is one of the most exciting aspects of creating collage art. It’s like building a delicious sandwich; each layer adds flavor, texture, and depth to the final piece. When you think about layering in your collage, consider how different elements interact with one another. You want to create a visual dialogue that invites the viewer to explore every inch of your artwork. So, how do you achieve that perfect balance of overlapping images, textures, and colors? Let’s dive in!
First, think about the **foundation** of your collage. Start with a base layer that sets the tone for your piece. This could be a solid color, a patterned paper, or even a textured material like burlap or canvas. The base layer acts as the canvas upon which you will build your masterpiece. Once you have your base, begin layering additional elements. This is where the fun begins! You can use a variety of materials, such as:
- **Images**: Cut out pictures from magazines, photographs, or even printed digital images.
- **Text**: Incorporate words or phrases that resonate with your theme. These can be from old books, newspapers, or handwritten notes.
- **Textures**: Add fabric swatches, lace, or even pieces of nature like leaves or flowers to introduce tactile elements.
When layering, remember to play with **transparency** and **opacity**. For instance, if you have a bold image, consider placing a semi-transparent sheet of colored paper over it to soften its impact. This technique creates a beautiful depth that can transform your collage from flat to dynamic. Additionally, think about the **scale** of your elements. Mixing large and small pieces can create a sense of rhythm and movement, guiding the viewer's eye through the artwork.
Another effective technique is to create **overlapping layers**. This means allowing some pieces to sit on top of others, which can create interesting shapes and shadows. For example, if you have a large image of a tree, place smaller images of birds or leaves over it. This not only enhances the visual interest but also tells a story within your collage. To further enhance the layering effect, consider using **adhesives** that allow for repositioning, such as glue dots or double-sided tape. This way, you can experiment with different arrangements until you find the perfect composition.
Finally, don’t forget about the finishing touches! Once you’re satisfied with your layers, consider adding embellishments like stickers, washi tape, or even a splash of paint to tie everything together. These small details can elevate your collage and make it truly one-of-a-kind. So, grab your materials, let your creativity flow, and remember: layering is all about exploration and expression. Happy collaging!
Q1: What materials are best for layering in collages?
A1: The best materials include paper, fabric, textured items, and images from magazines. Mixing these can create a rich, dynamic look.
Q2: How can I ensure my layers don’t look cluttered?
A2: To avoid clutter, choose a cohesive color palette and theme. Use varying sizes of elements and leave some negative space to let your design breathe.
Q3: Can I use digital images in my collage?
A3: Absolutely! Digital images can be printed and used just like traditional paper elements. They often add a modern touch to your artwork.
Q4: What is the best adhesive for collages?
A4: Glue sticks, mod podge, and double-sided tape are excellent options. They provide a strong hold while allowing for some repositioning during the creative process.

Finalizing Your Artwork
Once you’ve poured your heart and soul into creating your collage, the next step is to finalize your artwork. This phase is crucial as it determines how your masterpiece will hold up over time and how it will look when displayed. First and foremost, securing all the pieces is essential. You don’t want to put in all that effort only to have elements peel off or become dislodged later on. Use a reliable adhesive like Mod Podge or a strong glue stick to ensure everything stays in place. A gentle touch is key; you want to avoid smudging or tearing any of your carefully selected materials.
After ensuring everything is securely adhered, consider adding some finishing touches. This could be anything from a protective coating to adding embellishments that enhance the overall aesthetic. For example, a layer of Mod Podge not only seals your collage but can also give it a beautiful glossy finish. If you're feeling adventurous, you might want to sprinkle some glitter or add small decorative elements like beads or stickers. These little details can transform your piece from simply good to absolutely stunning!
Once your collage is complete, it’s time to prepare it for display. Think about how you want to showcase your artwork. Will it be framed? If so, choose a frame that complements your collage without overwhelming it. A simple frame can often do wonders, allowing your art to shine. If framing isn’t your style, consider mounting your collage on a sturdy backing like cardboard or foam board. This not only adds durability but also makes it easier to hang on the wall.
Don’t forget to consider the environment where your collage will be displayed. The lighting, surrounding decor, and wall color can all influence how your artwork is perceived. If your collage features vibrant colors, placing it in a well-lit area can enhance its appeal. On the other hand, if your pieces are more subdued, a softer light may create a cozy atmosphere. Ultimately, the goal is to ensure that your artwork resonates with the space it inhabits.
Finally, take a moment to step back and appreciate your work. Finalizing your collage isn't just about securing pieces and adding finishes; it's also about recognizing the creativity and effort you've put into your project. Each collage tells a story, and yours is no exception. So, take pride in what you've created, and don’t hesitate to share it with friends and family. They might just be inspired to create their own!
- What type of adhesive is best for collage art? A strong glue stick or Mod Podge works well for most collages, providing both adhesion and a protective layer.
- How can I protect my collage once it's finished? Consider applying a clear acrylic sealer or a layer of Mod Podge to protect against dust and fading.
- Can I frame my collage? Absolutely! Choose a frame that complements your artwork and enhances its visual appeal.
- What if I want to change my collage later? You can always add or remove elements; just ensure you use compatible adhesives and take care when handling your pieces.
Frequently Asked Questions
- What materials do I need to create a collage?
To start your collage journey, you'll need a variety of materials. Essential supplies include different types of paper such as magazine clippings, colored paper, and textured materials. Additionally, you'll need adhesives like glue sticks or mod podge, and tools for cutting and arranging your pieces. Think of it as gathering ingredients for a recipe – the more diverse your materials, the more flavorful your collage will be!
- How do I choose a theme for my collage?
Choosing a theme is like setting the mood for a party; it defines the vibe of your artwork. You can explore themes ranging from nature and travel to urban life and personal memories. Consider what resonates with you and what story you want to tell. This will guide your material selection and overall design, ensuring your collage is not just a collection of images, but a cohesive piece of art.
- Can I use different textures in my collage?
Absolutely! Incorporating various textures is a fantastic way to add depth and interest to your collage. Mixing materials like fabric, foil, and cardboard can create a dynamic visual experience that draws the viewer in. Think of it like cooking; just as different spices can elevate a dish, diverse textures can make your artwork pop!
- What is the best way to arrange my collage pieces?
Arranging your collage pieces is all about balance and composition. Start by laying out your elements in a way that feels visually pleasing. You can experiment with overlapping images and varying sizes to create flow and interest. Remember, it’s like playing a game of Tetris – finding the right fit can make all the difference!
- How do I finalize and display my collage?
Once you've assembled your collage, it's time to secure everything in place. Use your chosen adhesive to ensure all pieces are firmly attached. Adding finishing touches, like a protective layer of mod podge, can enhance durability. Finally, consider how you want to display your artwork – whether framing it or hanging it directly on the wall, make sure it shines in its new home!


