How To Repurpose Old Chairs into Unique Furniture
Have you ever looked at an old chair and thought, "What a waste!"? Well, think again! Repurposing old chairs into unique furniture pieces is not only a fantastic way to breathe new life into your home decor, but it’s also a fun and creative project that can unleash your inner DIY enthusiast. Imagine transforming a dusty old chair into a stylish shelf or a statement piece that tells a story. In this article, we’ll explore various methods to assess your old chairs, design ideas for repurposing, and practical DIY techniques to ensure your projects are a success. So, roll up your sleeves and get ready to dive into the world of creative furniture transformation!
Before you jump headfirst into your repurposing adventure, it’s crucial to take a step back and assess the condition and style of your old chairs. Not every chair is a good candidate for a makeover. Start by examining the structure: is it sturdy? Are there any wobbly legs or loose joints that need fixing? Next, look at the upholstery. Is it stained or torn? If so, can it be reupholstered or painted over? Lastly, consider the style. Does it have a vintage charm, or is it more modern? Chairs with character can often be transformed into stunning focal points in your home.
Once you've evaluated your chairs, it’s time to get inspired! There’s a world of possibilities when it comes to repurposing old chairs. Here are a few creative ideas to spark your imagination:
- **Turning Chairs into Shelves:** One of the most practical and stylish options is to transform old chairs into shelves. This not only saves space but also adds a unique touch to your decor.
- **Creating Unique Seating Arrangements:** Why settle for standard seating when you can mix and match different chairs? Reupholstering and painting can create a cohesive yet eclectic look.
- **Garden Decor:** Old chairs can also serve as charming garden decor. Imagine a chair with a flower pot nestled in the seat or a rustic bench made from old dining chairs.
If you’re looking for a practical and aesthetic solution, transforming old chairs into shelves is a fantastic choice. The process is simpler than you might think! Start by removing the seat from the chair, leaving the backrest and legs intact. You can then mount the backrest against a wall or use the legs to create a freestanding shelf. Sand down any rough edges and choose a paint or stain that complements your decor. For added flair, consider adding brackets or decorative elements to enhance the overall design.
Finding the perfect spot for your new chair shelves is crucial. Think about areas in your home that could use a little pizzazz. Is there a blank wall in your living room that needs some love? Or perhaps a corner in your kitchen that could benefit from extra storage? When selecting a location, consider factors like light, accessibility, and how the shelves will fit into your existing decor. A well-placed chair shelf can not only be functional but also a stunning statement piece!
Once your chair shelves are in place, it’s time to style them! This part is where you can really let your personality shine. Use a mix of books, plants, and decorative items to create an eye-catching display. Consider the following tips:
- **Layering:** Place larger items at the back and smaller items in front for depth.
- **Color Coordination:** Choose items that complement each other in color for a cohesive look.
- **Personal Touches:** Incorporate items that tell your story, like souvenirs from travels or family photos.
Old chairs can be transformed into unique seating options that reflect your style. Think about reupholstering a vintage chair with a bold fabric to make it a statement piece. You can also paint chairs in a color that ties your room together. If you have mismatched chairs, combine them for a quirky yet cohesive look. The key is to have fun and experiment with different styles until you find the perfect arrangement!
Now that you have some design ideas, let’s dive into the DIY techniques that will make your repurposing dreams a reality. Whether you’re a novice or a seasoned pro, there’s something for everyone!
Understanding basic repairs is essential for any repurposing project. Common issues like wobbly legs or loose joints can be easily fixed with wood glue or screws. If the upholstery is beyond saving, don’t fret! You can always reupholster with new fabric or even use a fun paint technique to give it a fresh look. Remember, a sturdy chair is a happy chair, so don’t skip this vital step!
For those looking to take their project to the next level, advanced crafting techniques can add unique features to your repurposed chairs. Consider methods like wood carving to create intricate designs or using stencils for detailed painting. These techniques allow you to customize your furniture even further, making it truly one-of-a-kind. Just remember to take your time and enjoy the process; after all, it’s not just about the end result, but the journey of creation!
Q: What tools do I need to start repurposing old chairs?
A: Basic tools include a screwdriver, sandpaper, paintbrushes, and a staple gun. Depending on your project, you might also need wood glue or a drill.
Q: How do I choose the right paint for my project?
A: Look for paints that are suitable for furniture, such as chalk paint or acrylic paint. These types offer good coverage and durability.
Q: Can I repurpose any type of chair?
A: While most chairs can be repurposed, it’s best to choose ones that are structurally sound and have a style that fits your vision.
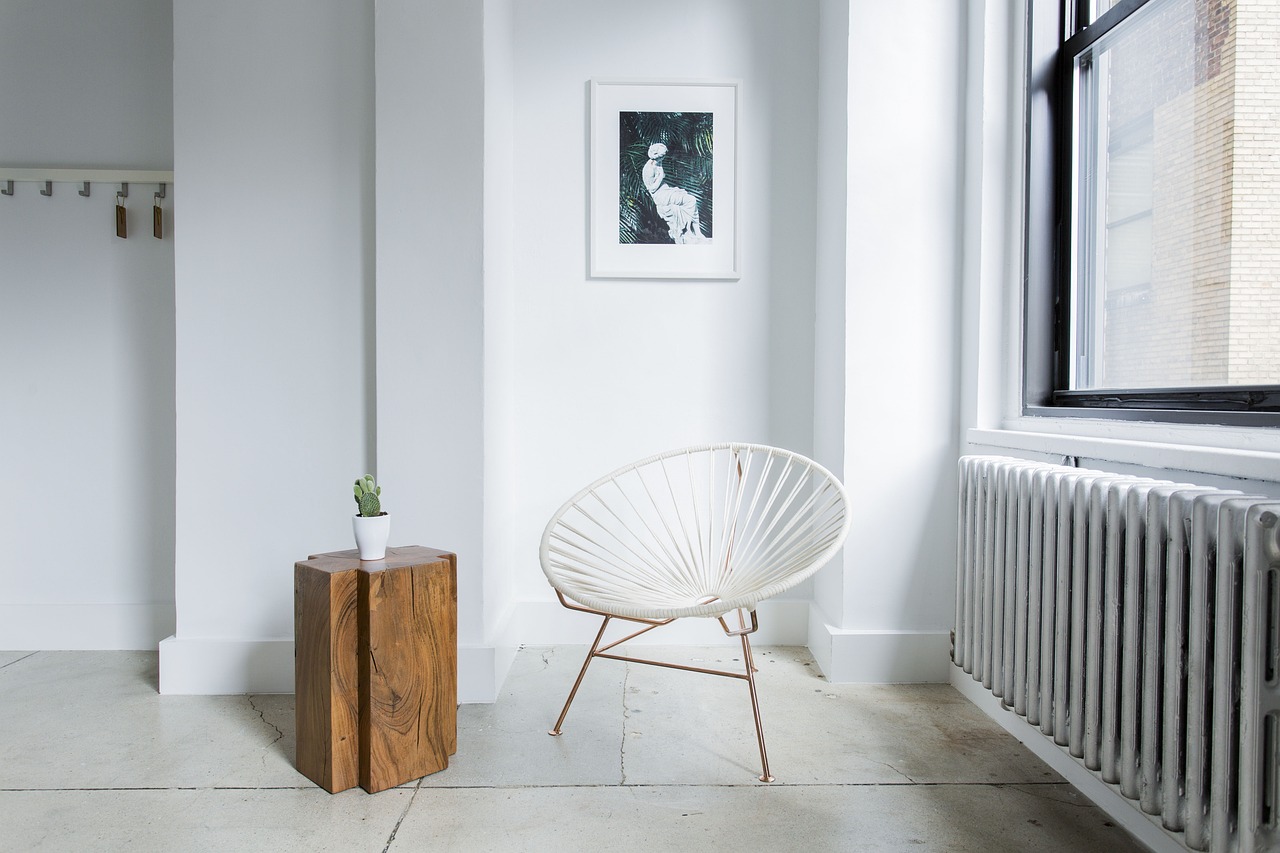
Assessing Your Old Chairs
Before diving headfirst into your DIY adventure, it's crucial to take a moment to assess your old chairs. Not all chairs are created equal, and understanding their condition and style can save you time and effort in the long run. So, what should you be looking for? Start by examining the overall structure of the chair. Is it sturdy? Are there any wobbly legs or loose joints? If a chair is structurally sound, it can serve as a fantastic base for your creative transformation. However, if it’s on its last legs (pun intended!), it might be better suited for the recycling bin than your living room.
Next, consider the material of the chair. Wooden chairs are often more versatile for repurposing, as they can be sanded, painted, or stained to fit your desired aesthetic. On the other hand, metal chairs can provide a chic industrial vibe with a little bit of rust removal and a fresh coat of paint. Upholstered chairs, while a bit more challenging, can be reupholstered to give them a completely new look. Make sure to check for any signs of damage, such as tears in the fabric or stains that might be hard to remove, as these could affect your design options.
Another important factor is the style of the chair. Vintage or antique chairs can add character to your home, while modern designs might offer a sleek and contemporary feel. If you're looking to create a cohesive look in your space, think about how the style of the chair will blend with your existing decor. You might even want to take notes on what you like and dislike about each chair’s design, as this will guide your creative process.
To further assist you in assessing your old chairs, consider the following checklist:
- Structure: Is the chair stable and sturdy?
- Material: What is the chair made of? Wood, metal, or upholstery?
- Condition: Are there any visible damages or repairs needed?
- Style: Does the chair's design fit your aesthetic?
By carefully evaluating these aspects, you’ll be well on your way to choosing the right chairs for your repurposing project. Remember, the goal is to breathe new life into these pieces, so take your time to find chairs that inspire you. Whether you’re aiming for a rustic farmhouse look or a sleek modern vibe, the right assessment will set the foundation for a successful transformation.
Q: Can any old chair be repurposed?
A: While many chairs can be repurposed, those that are structurally sound and have a design you love are the best candidates. If the chair is too damaged, it might not be worth the effort.
Q: Do I need special tools to repurpose chairs?
A: Basic tools like a screwdriver, sandpaper, and paintbrushes are often enough for many projects. However, more advanced techniques may require specialized tools.
Q: How can I ensure my repurposed chair will be durable?
A: Make sure to address any structural issues before starting your project. Additionally, using high-quality paints and finishes will help ensure durability.
Q: What are some popular styles for repurposed chairs?
A: Popular styles include rustic farmhouse, vintage chic, and modern minimalist. Choose a style that complements your existing decor.
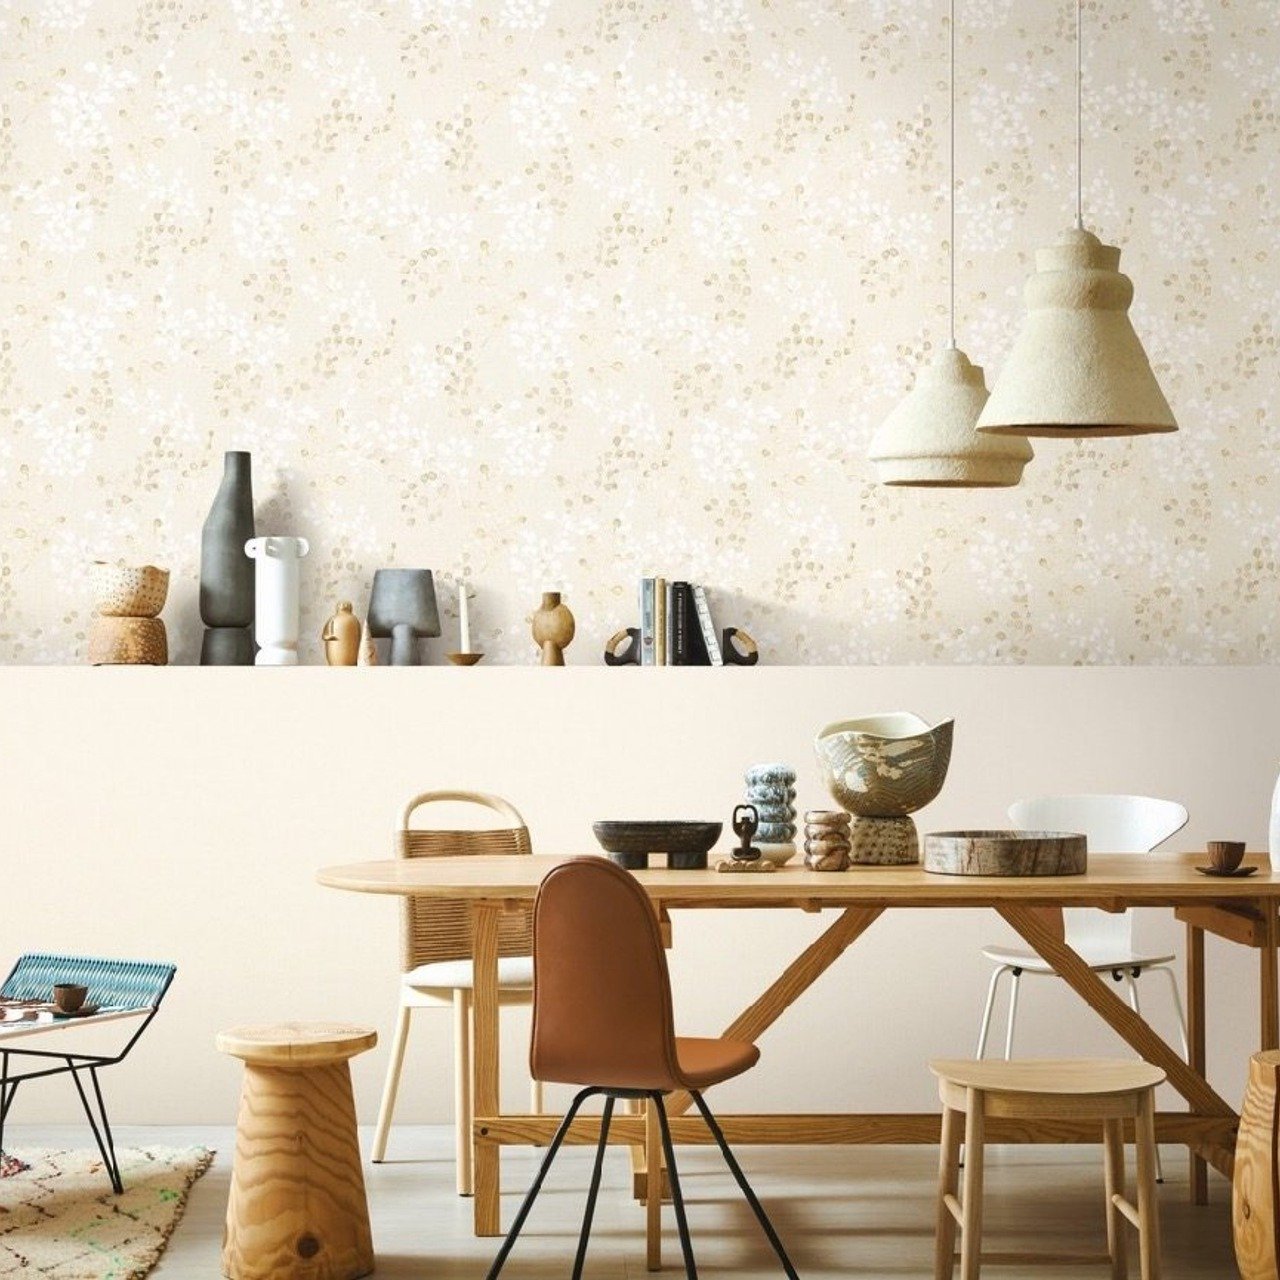
Design Ideas for Repurposing
When it comes to repurposing old chairs, the possibilities are truly endless! Imagine transforming those forgotten pieces of furniture into stunning, functional decor that not only adds character to your home but also tells a story. One of the most exciting aspects of this creative journey is exploring various design ideas that can breathe new life into your old chairs. Whether you have a vintage wooden chair or a modern plastic one, there’s always a way to give it a fresh spin. So, let’s dive into some innovative concepts that can inspire your next DIY project.
First off, have you ever thought about turning your old chairs into artistic shelving units? This idea is not just practical; it’s also a fantastic way to showcase your favorite books, plants, or decorative items. By removing the seat and attaching the backrest to the wall, you can create a unique shelf that stands out. You can even paint or stain the wood to match your existing decor, making it a perfect fit for any room. Imagine how charming it would be to display your collection of succulents or vintage books on a repurposed chair shelf!
Another exciting option is to create unique seating arrangements. Picture a cozy reading nook with an eclectic mix of chairs, each telling its own story. You can reupholster chairs in vibrant fabrics, paint them in complementary colors, or even combine different styles for an unexpected twist. This not only enhances your living space but also allows you to express your personality through your furniture choices. Just think of it as creating your own personal art gallery, where each piece is both functional and beautiful.
For those who love the outdoors, consider transforming an old chair into a garden planter. By cutting out the seat and placing a planter box where the seat used to be, you can create a whimsical piece that brings life to your garden or patio. Add some trailing vines or colorful flowers, and you’ve got a conversation starter that’s sure to impress your guests. This is a fantastic way to combine your love for gardening with your passion for DIY projects!
Lastly, if you’re feeling particularly adventurous, why not think about creating a chair swing? If your old chair has a sturdy frame, you can easily convert it into a swing for your porch or backyard. Just imagine the joy of swinging gently in the breeze while sipping your morning coffee. Not only does this add a playful element to your outdoor space, but it also serves as a delightful reminder of your creative prowess.
In summary, repurposing old chairs can lead to some truly unique furniture pieces that not only enhance your home but also reflect your personal style. From artistic shelving units and eclectic seating arrangements to charming garden planters and playful swings, the options are limitless. So, gather those old chairs, roll up your sleeves, and let your creativity flow!
- What tools do I need for repurposing old chairs? Basic tools like a screwdriver, hammer, and paintbrush are essential. For more advanced projects, consider a saw and wood glue.
- Can I repurpose any type of chair? Yes! While some chairs are better suited for specific projects, almost any chair can be transformed with a little creativity.
- How do I ensure my repurposed chair is safe to use? Always inspect the chair for structural integrity. Make necessary repairs and ensure it can support weight before using it in your home.

Turning Chairs into Shelves
Transforming old chairs into shelves is not just a practical solution; it’s a fantastic way to showcase your creativity and add a unique touch to your home decor. Imagine walking into a room and being greeted by an eye-catching shelf made from a vintage chair, telling a story of its own. The process is both fun and rewarding, and it allows you to breathe new life into furniture that might otherwise end up in a landfill. So, how do you go about this exciting project? Let’s break it down step by step.
First, you’ll want to select the right chair for your transformation. Look for chairs with sturdy frames and interesting designs, as these will provide a great foundation for your shelf. Consider chairs with a solid backrest, as this can serve as a perfect backdrop for your shelving unit. Once you've selected your chair, it's time to gather your materials. You'll need some basic tools like a saw, screws, and a drill, along with any additional materials you want to use, such as paint or wood stain to add your personal touch.
Next, it’s time for the fun part: the transformation! Begin by removing the seat of the chair if it’s not already detachable. This will give you a flat surface to work with. You can use the seat as a base for your shelf or repurpose it entirely. If you choose to use it, consider cutting it into smaller sections to create multiple shelves. For a more whimsical look, you might want to leave the seat intact and use it as a display area for plants or decorative items.
Once you have your shelves cut and ready, it's time to attach them to the chair frame. This is where your drill and screws come into play. Make sure to secure the shelves firmly, ensuring they can hold the weight of the items you plan to display. You can also add brackets for extra support if needed. When everything is secured, give your new shelving unit a good sanding to smooth out any rough edges. This step is crucial for both safety and aesthetics.
After the assembly is complete, it’s time to get creative with paint or stain. You can choose a color that complements your existing decor or go bold with a bright hue to make a statement. Remember, the goal is to create a piece that reflects your personality and style. Once the paint is dry, your chair shelves are ready for styling!
Now comes the exciting part: styling your new shelves. Think about what you want to display. Books, plants, and decorative items can all find a home on your chair shelves. Arrange them in a way that feels balanced and visually appealing. You might want to group items by color or size to create a cohesive look. Don’t be afraid to mix and match textures and materials to add depth to your display.
In summary, turning chairs into shelves is a delightful way to repurpose old furniture while showcasing your creativity. With a little bit of effort and imagination, you can create a unique piece that not only serves a functional purpose but also adds character to your home. So, gather those old chairs and get ready to embark on a fun DIY adventure!
- What type of chair works best for repurposing into shelves? Look for sturdy chairs with a solid backrest and interesting design elements.
- Do I need advanced woodworking skills to turn a chair into a shelf? No, basic DIY skills are sufficient. Just ensure you have the right tools and follow safety precautions.
- Can I use the seat of the chair in the shelving unit? Absolutely! The seat can be used as a shelf or cut into smaller pieces for multiple shelves.
- What items should I display on my chair shelves? You can display books, plants, decorative items, or anything that fits your style.
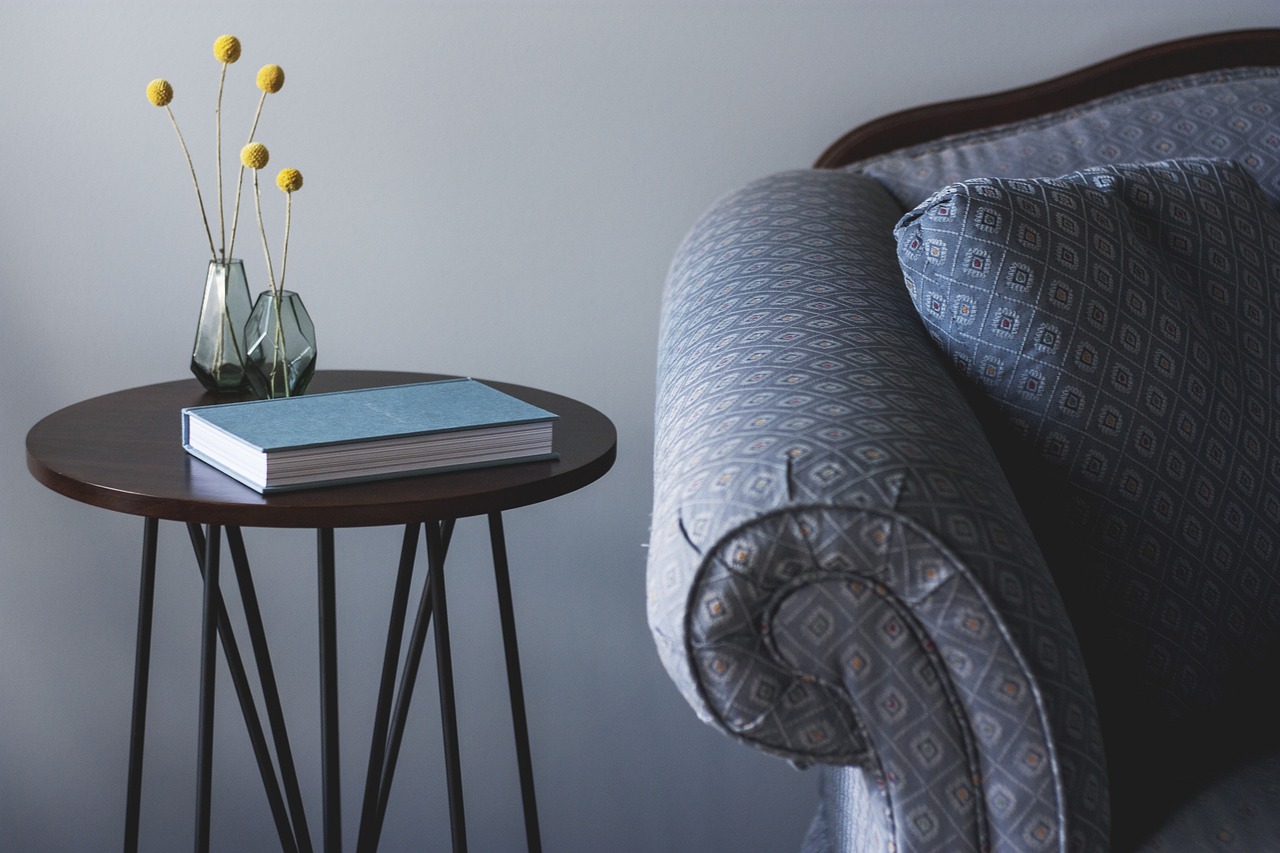
Choosing the Right Location
Finding the perfect spot for your newly created chair shelves is crucial to not only enhance your home's aesthetics but also to ensure functionality. Imagine walking into a room and being instantly drawn to a charming display that speaks to your personal style—this is the magic of choosing the right location. First, consider the lighting. Natural light can dramatically affect how your shelves look, so placing them near a window can help showcase your decorative items beautifully. However, be cautious of direct sunlight, which can fade fabrics and decor over time.
Next, think about the traffic flow in your space. You want your chair shelves to be accessible but not in the way. Position them in areas where they can be admired without disrupting the natural movement through the room. For instance, a corner nook or an empty wall can be ideal spots that invite curiosity without causing a bottleneck in foot traffic.
Additionally, consider the color scheme of your room. If your chairs have been painted or reupholstered, ensure that the colors complement the existing decor. This harmony will create a cohesive look that feels intentional rather than haphazard. You might even want to use a color wheel to find complementary shades that will make your chair shelves pop.
Lastly, think about the purpose of your shelves. Are they meant to hold books, plants, or decorative items? The items you plan to display can influence where you place your shelves. For example, if you love plants, a location with good light and humidity is essential. If you're showcasing a collection of books, a quieter area might be more suitable, creating a cozy reading nook. By taking all these factors into account, you can ensure that your chair shelves not only look great but also serve their intended purpose effectively.

Styling Your Chair Shelves
Once you've transformed your old chairs into stunning shelves, the real fun begins—styling them! This is where your personality can shine through, turning functional storage into a visual masterpiece. Think of your chair shelves as a blank canvas, waiting for your artistic touch. Start by considering the items you want to display. Are you a book lover? A plant enthusiast? Or perhaps a collector of quirky knick-knacks? The key is to create a balanced look that reflects your style while also being functional.
When arranging your items, remember the rule of thirds. This principle suggests that you divide your display into three sections, creating a more dynamic and visually appealing arrangement. For instance, you might place a stack of books on one side, a beautiful plant in the middle, and a decorative item or two on the other side. Mixing heights is also crucial; using items of varying sizes creates interest and depth. A tall vase next to a short stack of books can lead the eye and draw attention.
Consider adding some color to your display. If your chair shelves are painted in a neutral tone, vibrant items can really pop against that backdrop. On the other hand, if your shelves are bright, opt for more subdued decorative pieces to avoid overwhelming the space. Don't forget about texture! Incorporating different materials like wood, metal, and fabric can add richness to your arrangement.
To give you a clearer idea, here’s a simple table that outlines effective styling tips:
| Styling Element | Tip |
|---|---|
| Color | Choose vibrant items for neutral shelves and neutral items for vibrant shelves. |
| Height Variation | Mix tall and short items to create visual interest. |
| Texture | Incorporate different materials to add depth. |
| Personal Touch | Include items that reflect your personality and interests. |
Lastly, don't be afraid to change things up! Styling is not a one-and-done task. As seasons change or your tastes evolve, your chair shelves can too. Rotate items in and out, or even change the entire theme every few months. This not only keeps your space fresh but also gives you a chance to showcase new treasures you may acquire. Remember, the most important part of styling your chair shelves is to have fun and express yourself!
Q: How do I ensure my chair shelves are sturdy enough to hold items?
A: Before styling, make sure your chair shelves are securely fastened to the wall or have a solid base. Check for any wobbling and reinforce if necessary.
Q: Can I use any type of chair for this project?
A: While most chairs can be repurposed into shelves, it's best to choose sturdy, well-constructed chairs. Avoid those that are too fragile or damaged.
Q: What types of items should I avoid displaying on my chair shelves?
A: Avoid displaying overly heavy items that could cause the shelves to collapse. Additionally, steer clear of items that may easily fall or break.
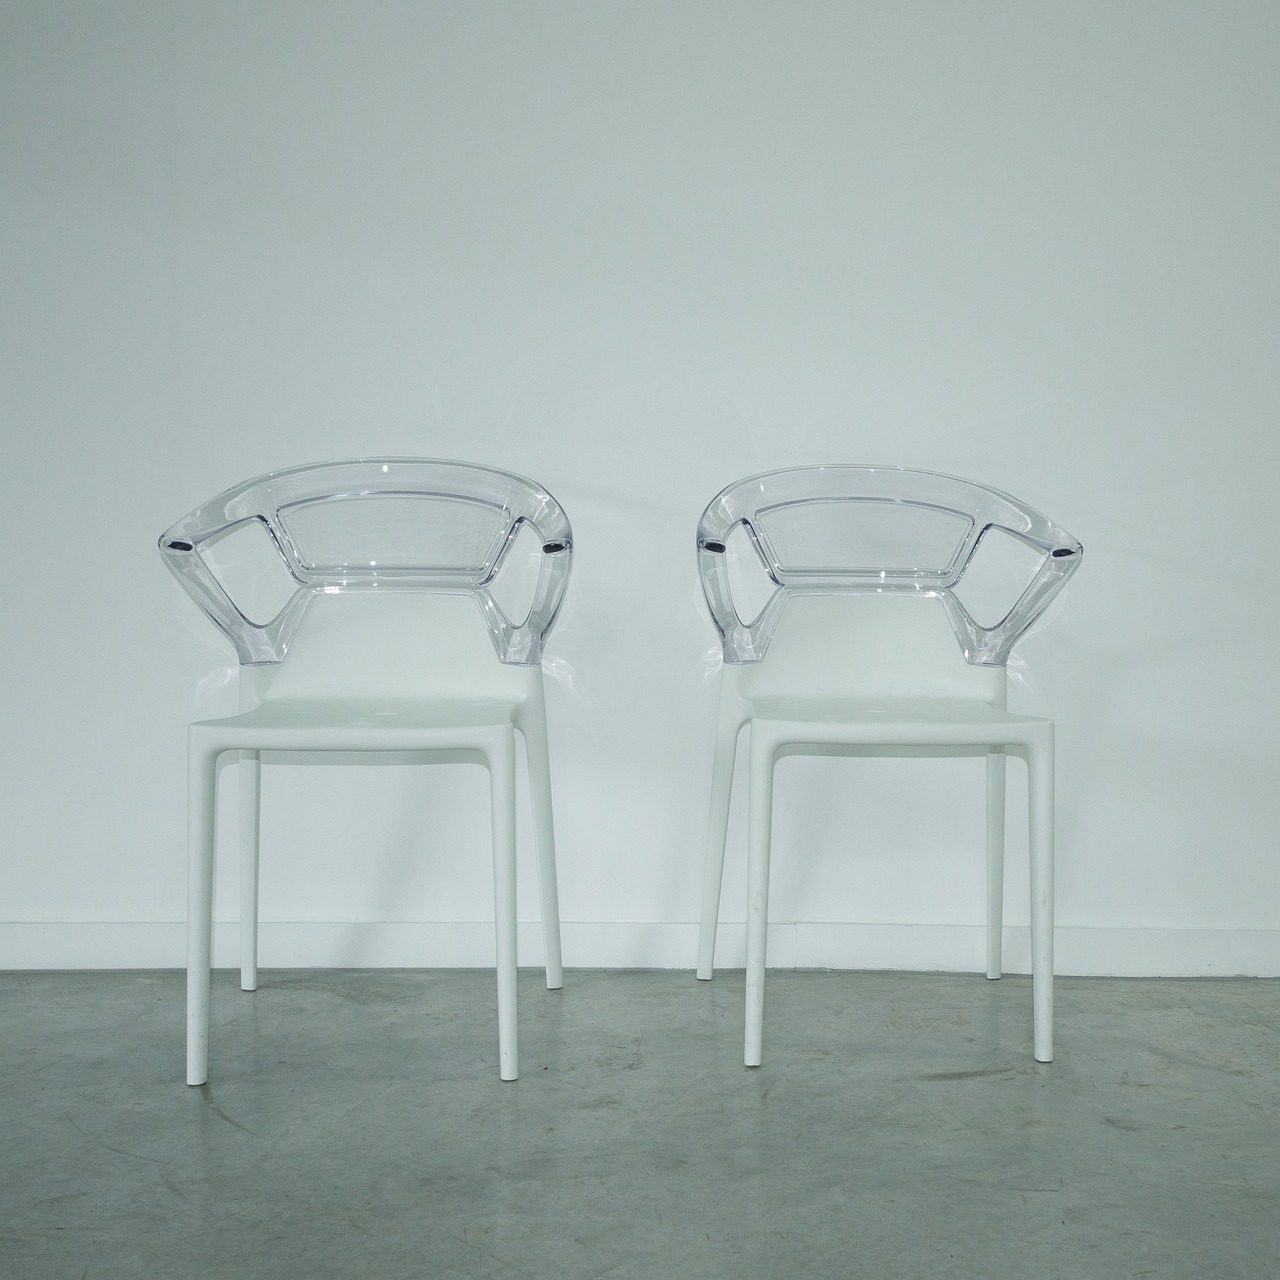
Creating Unique Seating Arrangements
When it comes to transforming your living space, old chairs can be the unsung heroes of unique seating arrangements. Have you ever thought about how a simple chair can become a conversation starter or an eye-catching centerpiece? With a bit of creativity and some DIY spirit, you can breathe new life into those forgotten pieces of furniture. Imagine walking into a room where mismatched chairs tell a story, or where a vibrant, reupholstered seat invites guests to sit down and relax. It’s all about reimagining what these chairs can be!
One fantastic way to create unique seating arrangements is by reupholstering your old chairs. This is not just about changing the fabric; it’s about giving the chair a whole new personality. Choose bold colors or funky patterns that reflect your style. For instance, a vintage armchair can be transformed with a bright geometric print, making it the focal point of your living room. Remember, the fabric you choose can dramatically alter the chair's vibe, so go wild! If you're feeling adventurous, try mixing patterns or textures—think floral with stripes for a bohemian look.
Another approach is to paint your chairs in vibrant hues or soft pastels, depending on the ambiance you want to create. A coat of paint can do wonders! For example, a plain wooden chair can become a stunning piece with a splash of teal or mustard yellow. And if you're feeling extra crafty, consider using techniques like distressing or stenciling to add character. Imagine a rustic, shabby-chic dining area where each chair has its own unique finish—now that’s a seating arrangement that tells a story!
But why stop at just individual chairs? Think about combining different styles to create a cohesive seating area. You could pair an elegant Victorian chair with a modern Scandinavian design to create an eclectic yet harmonious look. This not only adds visual interest but also showcases your personal style. When arranging your seating, consider the flow of the room. Ensure that there’s enough space for movement and that the arrangement encourages conversation. A circular seating layout can be inviting, while a linear arrangement can create a more formal atmosphere.
Don’t forget about functionality! Consider incorporating storage solutions into your seating arrangements. For instance, an old chair with a hollow seat can serve as a clever storage spot for blankets or magazines. This way, you’re not only creating a unique seating solution but also maximizing the use of space in your home. When guests come over, they’ll be amazed at how practical yet stylish your seating arrangement is!
In summary, creating unique seating arrangements with old chairs is all about embracing creativity and individuality. Whether you choose to reupholster, paint, or mix and match styles, the possibilities are endless. So gather those old chairs, unleash your imagination, and let them shine in your home! They’re not just chairs; they’re opportunities for storytelling and personal expression.
1. Can I use any type of chair for repurposing?
Yes! Almost any chair can be repurposed, but it’s best to choose those that are structurally sound and fit your desired style.
2. Do I need special tools for reupholstering chairs?
While basic tools like a staple gun and scissors are helpful, many reupholstering projects can be done with common household tools. However, for more complex projects, you might want to invest in a few additional tools.
3. How can I ensure my repurposed chairs are durable?
Make sure to inspect the chair for any damage before starting. Use strong adhesives, screws, and quality materials to ensure longevity. If you're unsure, consulting with a professional can be beneficial.
4. What styles work well together when mixing chairs?
Eclectic styles often work best together. For example, pairing modern chairs with vintage ones can create a unique and inviting atmosphere. Just ensure there’s a common color palette or theme to tie them together.

DIY Techniques for Repurposing
Repurposing old chairs can be a rewarding adventure that not only saves money but also allows you to express your creativity. Whether you're a seasoned DIY enthusiast or a novice looking to dip your toes into the world of upcycling, there are various techniques you can employ to breathe new life into those forgotten pieces. The first step in this journey is understanding the condition of your chairs. Are they sturdy enough to withstand a transformation? Are there any structural issues that need addressing? By assessing these factors, you can decide whether to proceed with a simple makeover or a more extensive renovation.
One of the most essential DIY techniques involves basic repairs. This can include tightening loose screws, replacing worn-out upholstery, or even sanding down rough surfaces. For instance, if a chair wobbles, it’s crucial to check the joints and either tighten or reinforce them. This ensures that your newly repurposed furniture will stand the test of time. Additionally, if you find any scratches or dents, a little wood filler and paint can work wonders to restore the chair’s original charm.
Once your repairs are complete, you can explore various upcycling methods. Painting is a popular choice and can dramatically change the appearance of your old chairs. Consider using chalk paint for a matte finish or spray paint for a sleek look. You can also get creative by using stencils or decals to add unique patterns. If you're feeling adventurous, why not try a two-tone effect? This technique can make your chairs stand out and become a conversation starter in your home.
For those who want to take their DIY skills to the next level, advanced crafting techniques can be employed. Techniques such as wood carving or intricate painting can add unique features to your repurposed chairs. Imagine transforming a simple chair into a stunning work of art with just a few carving tools and a bit of patience. You can create beautiful designs on the backrest or legs, turning a functional item into a decorative masterpiece.
Another exciting technique is reupholstering. This not only refreshes the look of your chairs but also allows you to customize the fabric to match your home decor. When choosing fabric, consider durability and ease of cleaning, especially if the chairs will see heavy use. You can opt for bold patterns to make a statement or subtle hues for a more classic look. Don’t forget to use high-quality batting to ensure comfort and longevity.
As you embark on this DIY journey, remember that the possibilities are endless. You can mix and match techniques, combining painting with reupholstering or adding new legs to an old chair for a modern twist. The key is to let your imagination run wild and enjoy the process. After all, each chair has a story, and with your creative touch, you can give it a brand new chapter!
- What tools do I need for basic repairs? A screwdriver, wood glue, sandpaper, and a staple gun are essential for most chair repairs.
- Can I use any type of paint on wood chairs? While you can use various types of paint, chalk paint and acrylic paint are popular choices for wood furniture due to their finish and ease of use.
- How do I choose the right fabric for reupholstering? Look for durable fabrics that are easy to clean. Consider the chair's use and the overall style of your home when making your choice.

Basic Repairs and Upcycling
When it comes to repurposing old chairs, basic repairs are the foundation of a successful project. It’s like giving your chairs a little TLC before they embark on their new journey. First things first, you need to assess the condition of your chairs. Look for any signs of wear and tear, such as wobbly legs, loose joints, or scratches on the surface. These issues might seem daunting, but with a little know-how, you can easily tackle them and bring your chairs back to life.
One common problem with old chairs is loose joints. If you notice that the legs are a bit shaky or the seat feels unstable, it’s time for some reinforcement. You can use wood glue to secure loose joints, but for a more permanent fix, consider using screws or brackets. Make sure to sand down any rough edges before applying glue to ensure a smooth finish. Once the glue dries, you’ll be amazed at how sturdy your chair feels!
Next on the list is addressing any scratches or dents on the surface. Depending on the material of your chair, you might want to use wood filler for wooden chairs or a touch-up pen for painted surfaces. Apply the filler, let it dry, and then sand it down to create a seamless finish. If your chair has an upholstery cover, check for any rips or stains. A simple reupholstering job can do wonders, transforming an old, tired chair into a stunning centerpiece.
Now, let’s talk about upcycling. This is where the real fun begins! Upcycling is all about taking something old and giving it a new purpose, and your old chairs are perfect candidates. For instance, if you have an old dining chair that’s seen better days, consider turning it into a quirky side table. Simply remove the seat, add a round piece of wood on top, and voilà—a unique table that adds character to any room!
Another exciting idea is to transform old chairs into planters. Picture this: an old wooden chair with the seat removed, filled with vibrant flowers or lush greenery. Not only does this add a splash of color to your outdoor space, but it also repurposes your chair in a way that’s both functional and visually appealing. Just make sure to drill some holes in the bottom for drainage, and you’re good to go!
In conclusion, basic repairs and upcycling are essential steps in the journey of transforming old chairs into unique furniture pieces. With a little creativity and some handy tools, you can breathe new life into your old chairs, making them not only functional but also a reflection of your personal style. So roll up your sleeves, grab your tools, and let the transformation begin!
- What tools do I need for basic repairs? A screwdriver, wood glue, sandpaper, and a staple gun for upholstery work are essential.
- Can I paint my old chairs? Absolutely! A fresh coat of paint can completely change the look of your chairs.
- How do I choose the right upholstery fabric? Consider durability, color, and texture that matches your home decor.
- Is it difficult to reupholster a chair? It can be tricky, but with patience and practice, you can master the technique!
Advanced Crafting Techniques
When it comes to transforming old chairs into unique furniture pieces, can take your project from ordinary to extraordinary. These methods not only enhance the visual appeal of your repurposed chairs but also add a touch of your personal style. Imagine turning a simple wooden chair into a stunning statement piece that sparks conversations! Let’s dive into some techniques that can elevate your DIY game.
One of the most rewarding aspects of advanced crafting is wood carving. This technique allows you to add intricate designs and personal touches to your chairs. Whether it's floral patterns, geometric shapes, or even personalized initials, carving can transform a plain surface into a work of art. To get started, you’ll need some basic tools like a carving knife and chisels. Begin with simple designs and as you gain confidence, explore more complex patterns. Remember, practice makes perfect!
Another exciting technique is intricate painting. This isn’t just about slapping on a coat of paint; it’s about creating a masterpiece. You can use stencils to add beautiful designs, or even try your hand at freehand painting. Consider using chalk paint for a matte finish or acrylics for vibrant colors. Don’t shy away from mixing colors or experimenting with different styles. For instance, a vintage chair can look stunning with a distressed finish, giving it a rustic charm.
For those who enjoy a bit of texture, decoupage is a fantastic option. This technique involves gluing decorative paper onto the surface of the chair and sealing it with a clear coat. You can use old book pages, magazine clippings, or even fabric to create a unique look. Not only does decoupage add visual interest, but it also protects the surface of the chair. Just imagine a chair adorned with beautiful floral patterns or inspiring quotes—it’s a great way to express your personality!
Don’t forget about upholstery techniques. Reupholstering your old chairs can dramatically change their appearance and comfort level. You can choose bold fabrics that make a statement or soft, neutral tones for a more subtle look. If you’re feeling adventurous, consider mixing and matching different fabrics for a quirky, eclectic vibe. Just ensure that you have the right tools, such as a staple gun, fabric scissors, and a good quality foam padding for the seats.
Lastly, consider incorporating mixed media into your designs. This could mean combining wood with metal accents, or even adding glass elements for a contemporary twist. The fusion of different materials can create a striking contrast and elevate the overall design of your furniture. Think about how you can incorporate elements that reflect your style or the theme of your home. The possibilities are endless!
In conclusion, advanced crafting techniques provide a wonderful opportunity to breathe new life into your old chairs. By exploring wood carving, intricate painting, decoupage, upholstery, and mixed media, you can create pieces that are not only functional but also works of art. So gather your tools, unleash your creativity, and let your imagination run wild!
- What tools do I need for advanced crafting techniques?
For wood carving, you’ll need carving knives and chisels. For painting, brushes, stencils, and paint are essential. Upholstery requires a staple gun and fabric scissors. - Can I use any type of paint for my project?
While you can use various types of paint, chalk paint and acrylics are popular choices due to their finish and durability. - How do I choose the right fabric for upholstery?
Consider the chair’s use and location. For high-traffic areas, opt for durable fabrics, while softer materials can be used for decorative pieces. - Is decoupage hard to do?
Not at all! It’s a straightforward technique that anyone can learn. Just remember to seal your work to protect it.
Frequently Asked Questions
- What types of old chairs are best for repurposing?
When it comes to repurposing, look for chairs that are structurally sound but may need a little TLC. Wooden chairs with solid frames are ideal as they can be easily painted or refinished. Avoid chairs that are falling apart or have extensive damage, as they may not hold up to the transformation.
- How can I assess the condition of my old chairs?
Start by checking for any loose joints, cracks, or broken parts. Sit on the chair to test its sturdiness. If it wobbles or feels unstable, it may need repairs before you can repurpose it. Also, consider the style and design—does it fit what you envision for your new furniture piece?
- What are some creative ways to repurpose old chairs?
There are countless ways to give old chairs a new lease on life! You can turn them into unique shelves, create a funky garden planter, or even fashion them into a stylish bench. The key is to think outside the box and let your creativity run wild!
- Do I need special tools for repurposing chairs?
While some projects may require basic tools like screwdrivers and sanders, many repurposing ideas can be completed with just a few essentials. A good pair of scissors, a paintbrush, and some glue can go a long way. If you’re diving into more advanced crafting, consider investing in a jigsaw or a power drill.
- Can I paint or stain my repurposed chairs?
Absolutely! Painting or staining is one of the easiest ways to refresh old chairs. Choose a color that complements your home decor, and don’t be afraid to experiment with techniques like distressing for a vintage look. Just make sure to use the appropriate primer and paint for the material of your chair.
- How do I style my new chair shelves?
Styling your chair shelves can be a fun and personal project! Start by arranging books, plants, and decorative items in a way that feels balanced. Consider using items of varying heights to create visual interest. And remember, less is often more—don’t overcrowd your shelves!
- Are there any safety tips I should consider while repurposing?
Yes, safety is key! Always wear protective gear like gloves and goggles when sanding or using power tools. Make sure your workspace is well-lit and organized to prevent accidents. If you're working with old chairs that may have been treated with chemicals, consider wearing a mask to avoid inhaling dust.


