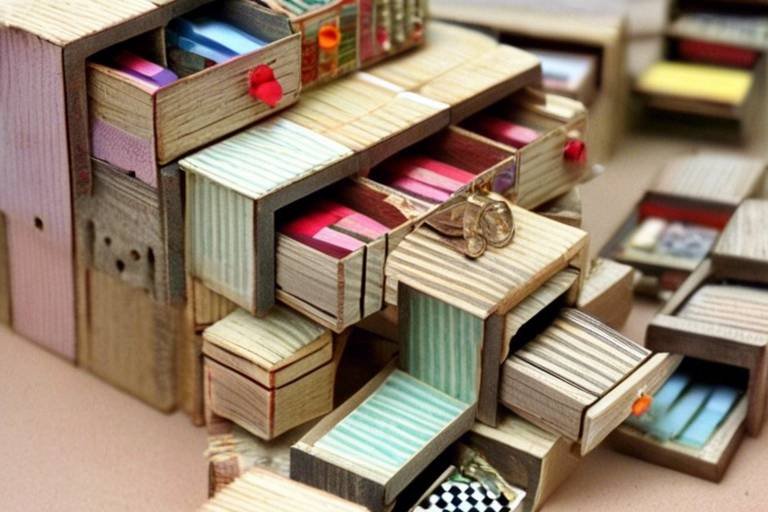
Repurpose Your Old Clock Into a Unique Organizer
Have you ever looked at an old clock and thought, "What a waste!"? Instead of letting it collect dust, why not turn it into something useful and stylish? Repurposing your old clock into a unique organizer can not only breathe new life into a forgotten item but also add a personal touch to your home decor. Imagine having a functional piece that not only keeps you organized but also sparks conversation when guests come over. In this article, we’ll explore creative ways to transform your old clock into a charming organizer. Get ready to unleash your inner DIY enthusiast!
Selecting the perfect clock is essential for your organizer project. You want a clock that not only fits your personal style but also serves as a functional piece. Consider factors like size, style, and functionality. For instance, a larger clock can offer more space for organizational components, while a vintage clock can add character to your project. Ask yourself: Do you prefer a rustic charm or a sleek modern look? The right choice will set the tone for your entire organizer.
Before diving into your project, it’s crucial to gather all the necessary materials. Having everything on hand will make the process smoother and more enjoyable. Here’s what you’ll typically need:
- An old clock (of course!)
- Tools like screwdrivers and pliers
- A hot glue gun for assembly
- Paint and finishing supplies
- Organizational components like hooks, compartments, or shelves
By ensuring you have all these materials ready, you’ll save time and avoid frustration during the project.
Having the right tools can make your repurposing project smoother. Common tools include screwdrivers, pliers, and a hot glue gun for assembly. These tools will help you disassemble the clock safely and put together your new organizer without a hitch. Remember, the right tools can turn a daunting task into a fun and rewarding experience!
Choosing the right paint and finishing supplies will enhance your clock organizer's aesthetic. Whether you prefer a bold color to make a statement or a soft hue to blend in with your decor, the options are endless. Think about using chalk paint for a matte finish or spray paint for a sleek look. Don't forget to consider the protective sealant to keep your creation looking fresh for years to come!
Think about what organizational components you want to incorporate. Hooks, compartments, or shelves can all maximize functionality and style. For example, adding hooks can be great for hanging keys or lightweight accessories, while small compartments can hold office supplies or personal items. The key is to design your organizer in a way that meets your specific needs while showcasing your unique style.
Explore various design ideas for your clock organizer. From rustic to modern styles, find inspiration that resonates with your personal taste. Perhaps you envision a farmhouse-style organizer adorned with twine and wooden accents, or maybe a sleek, minimalistic design that fits perfectly in a contemporary setting. The possibilities are endless, and the only limit is your imagination!
Ready to roll up your sleeves? Follow this detailed step-by-step guide to transform your old clock into a unique organizer, ensuring each phase of the project is clear and manageable. Let’s break it down!
Learn how to safely disassemble your clock without damaging its components. Start by carefully removing the clock hands and the clock face. Take your time with this step; you don’t want to break any parts that you might need later. It's like peeling an onion—layer by layer, you'll get to the good stuff!
Discover how to assemble your organizer using the clock's frame. This is where your creativity shines! Use the clock’s face as a backdrop for your organizational components, ensuring stability and functionality in your newly created piece. Hot glue can be your best friend here, holding everything together while you bring your vision to life.
Q: Can I use any type of clock for this project?
A: Yes! You can use any clock that you think will fit your style and needs. Just make sure it's in a condition that allows for disassembly.
Q: Do I need special skills to repurpose a clock?
A: Not at all! Basic tools and a bit of creativity are all you need. Follow the steps, and you’ll be surprised at what you can create!
Q: How can I ensure my organizer is sturdy?
A: Use strong adhesive like hot glue and ensure all components are securely attached. If you’re adding shelves, make sure they are well-supported.
Q: What if I want to change the design later?
A: Feel free to repaint or reconfigure your organizer whenever you want! It’s your creation, and it should evolve with your style.
Choosing the Right Clock
When it comes to repurposing an old clock into a unique organizer, the selection of the right clock is crucial. Not just any clock will do; you want one that speaks to you and fits your vision. Think about the size of the clock, as this will determine how much space you have for organizing your items. A larger clock might provide more surface area for compartments, while a smaller one could be perfect for a compact desk organizer.
Next, consider the style of the clock. Do you prefer a vintage look that adds a touch of nostalgia, or are you leaning towards a sleek, modern design? The style will not only affect the aesthetic of your organizer but also how well it integrates with your existing decor. For instance, a rustic clock could beautifully complement a farmhouse-style home, while a minimalist clock might fit seamlessly into a contemporary space.
Functionality is another key factor. Think about what you want your organizer to hold. Will it be for office supplies, jewelry, or perhaps kitchen utensils? This will help you determine the clock's features—like whether it has a removable back, which could be useful for adding compartments. Here’s a quick checklist to keep in mind:
- Size: Ensure it’s adequate for your needs.
- Style: Match it with your home decor.
- Functionality: Consider what you'll store in it.
Lastly, don’t forget to check the condition of the clock. If it’s a bit worn out, that could add character to your organizer. However, if the clock is broken or missing parts, it may not be the best choice for your project. Always choose a clock that you can envision transforming into something beautiful and practical.

Gathering Necessary Materials
Before diving into your exciting clock repurposing project, it’s crucial to gather all the necessary materials that will help you transform that old timepiece into a stunning and functional organizer. Think of this phase as gathering your treasure map; each item you collect is a key to unlocking the potential of your DIY endeavor. Start by considering the clock itself—its size, shape, and style will dictate what materials you need. For instance, a larger, round clock may require more extensive organizational components than a smaller, square one.
Once you've chosen your clock, it’s time to list out the materials you’ll need. This includes not only tools but also paints and organizational components. Having everything ready will make the process smoother and more enjoyable. Here’s a quick rundown of what you might need:
- Tools: A good set of tools is essential for any DIY project. You’ll likely need screwdrivers, pliers, and a hot glue gun. If you want to get fancy, a drill can also come in handy for creating holes for hooks or shelves.
- Paints: Choose a paint that complements your home decor. Whether you prefer a bold color to make a statement or a muted tone for a subtle effect, the right paint can elevate your organizer.
- Organizational Components: Think about what you want to include. Hooks for keys or accessories, small compartments for stationery, or even shelves for displaying cherished items can all add functionality to your organizer.
After gathering your materials, you’ll want to lay them out in an organized manner. This not only helps you keep track of everything but also allows you to visualize how each component will fit into your project. You might even consider creating a small workspace where you can spread out your materials and tools. A well-organized workspace can spark creativity and make the process more enjoyable.
Moreover, don't forget to consider safety! Make sure you have safety goggles if you’re using power tools, and keep your workspace clear of clutter to avoid any accidents. Preparing your materials thoughtfully sets the stage for a successful project, allowing your creativity to flow without hindrance. So, take a moment to gather everything you need, and get ready to turn that old clock into a unique organizer that not only tells time but also keeps your life in order!
Essential Tools for the Project
This article explores creative ways to transform an old clock into a functional and stylish organizer, offering step-by-step guidance and inspiration for your DIY project.
Selecting the perfect clock is essential for your organizer project. Consider factors like size, style, and functionality to ensure it meets your organizational needs.
Before starting your project, compile all necessary materials. This includes tools, paints, and organizational components to effectively repurpose your clock.
Having the right tools can make your repurposing project smoother and more enjoyable. Imagine trying to bake a cake without a mixer; it just wouldn’t work! Similarly, the right tools are your best friends in this DIY journey. Here’s a rundown of what you’ll need:
- Screwdrivers: A set of screwdrivers is crucial for disassembling your clock. Both Phillips and flat-head types are often necessary, depending on the screws used in your clock.
- Pliers: These come in handy for gripping and twisting wires or any stubborn components that don't want to budge.
- Hot Glue Gun: This tool is perfect for securing various parts of your organizer. It dries quickly and provides a strong bond, which is essential for ensuring your creation holds together.
- Measuring Tape: Precision is key! Use a measuring tape to ensure that your compartments and hooks are evenly spaced and proportionate.
- Craft Knife: This is useful for cutting materials like cardboard or thin wood, allowing for custom-sized compartments.
Having these tools at your disposal will not only streamline your process but also boost your confidence. Remember, the right tools can turn a daunting task into a fun and fulfilling project.
Choosing the right paint and finishing supplies will enhance your clock organizer's aesthetic. Consider colors and finishes that complement your home decor.
Think about what organizational components you want to incorporate, such as hooks, compartments, or shelves, to maximize functionality and style.
Explore various design ideas for your clock organizer. From rustic to modern styles, find inspiration that resonates with your personal taste.
Follow a detailed step-by-step guide to transform your old clock into a unique organizer, ensuring each phase of the project is clear and manageable.
Learn how to safely disassemble your clock without damaging its components, preparing it for the transformation process.
Discover how to assemble your organizer using the clock's frame, ensuring stability and functionality in your newly created piece.
Q: Can I use any type of clock for this project?
A: While you can use any clock, it's best to choose one that has a sturdy frame and is easy to disassemble. Vintage or decorative clocks can add a unique flair to your organizer.
Q: Do I need advanced DIY skills to complete this project?
A: Not at all! This project is suitable for beginners. Just follow the steps carefully, and you’ll find it’s easier than you think!
Q: What if I don't have all the tools listed?
A: You can often borrow tools from friends or family, or consider purchasing a basic toolkit that includes most of the essentials.
Q: How can I personalize my clock organizer?
A: Personalization can be done through paint colors, decorative elements like stickers or stencils, and by choosing organizational components that suit your needs.
Paint and Finishing Supplies
This article explores creative ways to transform an old clock into a functional and stylish organizer, offering step-by-step guidance and inspiration for your DIY project.
Selecting the perfect clock is essential for your organizer project. Consider factors like size, style, and functionality to ensure it meets your organizational needs.
Before starting your project, compile all necessary materials. This includes tools, paints, and organizational components to effectively repurpose your clock.
Having the right tools can make your repurposing project smoother. Common tools include screwdrivers, pliers, and a hot glue gun for assembly.
Choosing the right paint and finishing supplies will enhance your clock organizer's aesthetic. The colors and finishes you select can dramatically change the look and feel of your project. For instance, if you want a modern vibe, go for sleek, glossy finishes in bold colors like deep navy or crisp white. On the other hand, if you're leaning towards a rustic charm, consider matte or chalk paints in earthy tones like sage green or terracotta.
Here are some essential supplies to consider:
- Acrylic Paint: This type of paint is versatile, quick-drying, and easy to clean up with water. It works well on most surfaces, making it ideal for wood or metal clocks.
- Spray Paint: For a smooth, even finish, spray paint can be a fantastic choice. Just make sure to use it in a well-ventilated area, and always wear a mask!
- Sealant: Once your paint has dried, applying a clear sealant can protect your work and give it a professional finish. Choose between matte, satin, or glossy finishes based on your preference.
Don't forget to gather some brushes, sponges, or even a roller for application. The right tools can make the painting process enjoyable and efficient. Additionally, consider using painter's tape to create clean lines and protect areas you don't want to paint. This attention to detail can elevate your project from good to great!
Think about what organizational components you want to incorporate, such as hooks, compartments, or shelves, to maximize functionality and style.
Explore various design ideas for your clock organizer. From rustic to modern styles, find inspiration that resonates with your personal taste.
Follow a detailed step-by-step guide to transform your old clock into a unique organizer, ensuring each phase of the project is clear and manageable.
Learn how to safely disassemble your clock without damaging its components, preparing it for the transformation process.
Discover how to assemble your organizer using the clock's frame, ensuring stability and functionality in your newly created piece.
Q: Can I use any type of clock for this project?
A: While most clocks can be repurposed, it's best to choose one that has a removable face and a sturdy frame for optimal results.
Q: Do I need to have prior DIY experience?
A: Not at all! This project is beginner-friendly, and with the step-by-step guidance provided, anyone can create their own clock organizer.
Q: What if I don't like the color of my clock?
A: No worries! Painting is one of the most fun parts of this project. You can customize it to match your decor perfectly.

Organizational Components to Include
When it comes to transforming your old clock into a stylish and functional organizer, the choice of organizational components is crucial. Think about your daily needs and how you can best utilize the space within the clock's frame. You want to create a piece that not only looks good but also serves its purpose effectively. For instance, consider incorporating hooks for keys or accessories, which can be a game-changer in keeping your things in one place. Imagine walking into your home and having a designated spot for your keys, rather than frantically searching for them every time!
Another great idea is to add compartments or small shelves. This will allow you to store items like mail, notes, or even small potted plants, giving your organizer a touch of greenery while keeping everything organized. You could use small boxes or dividers to create these compartments, ensuring that everything has its own space. The visual appeal of having a well-organized area can significantly enhance your home’s aesthetic.
Don't forget about the labels! Adding labels to your compartments can help you find what you need quickly. You could use a label maker or even handwrite them for a personal touch. This not only adds to the functionality but also gives a charming, customized look to your organizer.
Here are some organizational components you might want to consider including in your clock organizer:
- Hooks: For keys, jewelry, or small accessories.
- Compartments: For mail, notes, or office supplies.
- Shelves: To display small plants or decorative items.
- Labels: To identify the contents of each compartment.
Ultimately, the components you choose should reflect your personal style and meet your specific organizational needs. The beauty of this DIY project is that you have the freedom to customize it to fit your lifestyle. So, let your creativity flow and design an organizer that not only declutters your space but also adds a unique charm to your home!
Q: Can I use any type of clock for this project?
A: Yes, you can use any clock that you feel has potential! Just make sure it has a sturdy frame to support the organizational components you plan to add.
Q: What if I don’t have all the tools listed?
A: You can often borrow tools from friends or family, or you might find that some tools can be substituted with items you already have at home.
Q: How can I ensure my organizer is stable?
A: Make sure to securely attach all components and consider using a strong adhesive or screws for added stability. Proper assembly is key!
Q: Can I paint the clock in any color?
A: Absolutely! Choose colors that match your home decor or go bold for a statement piece. Just ensure you use the right type of paint for the material of your clock.
Design Ideas and Inspiration
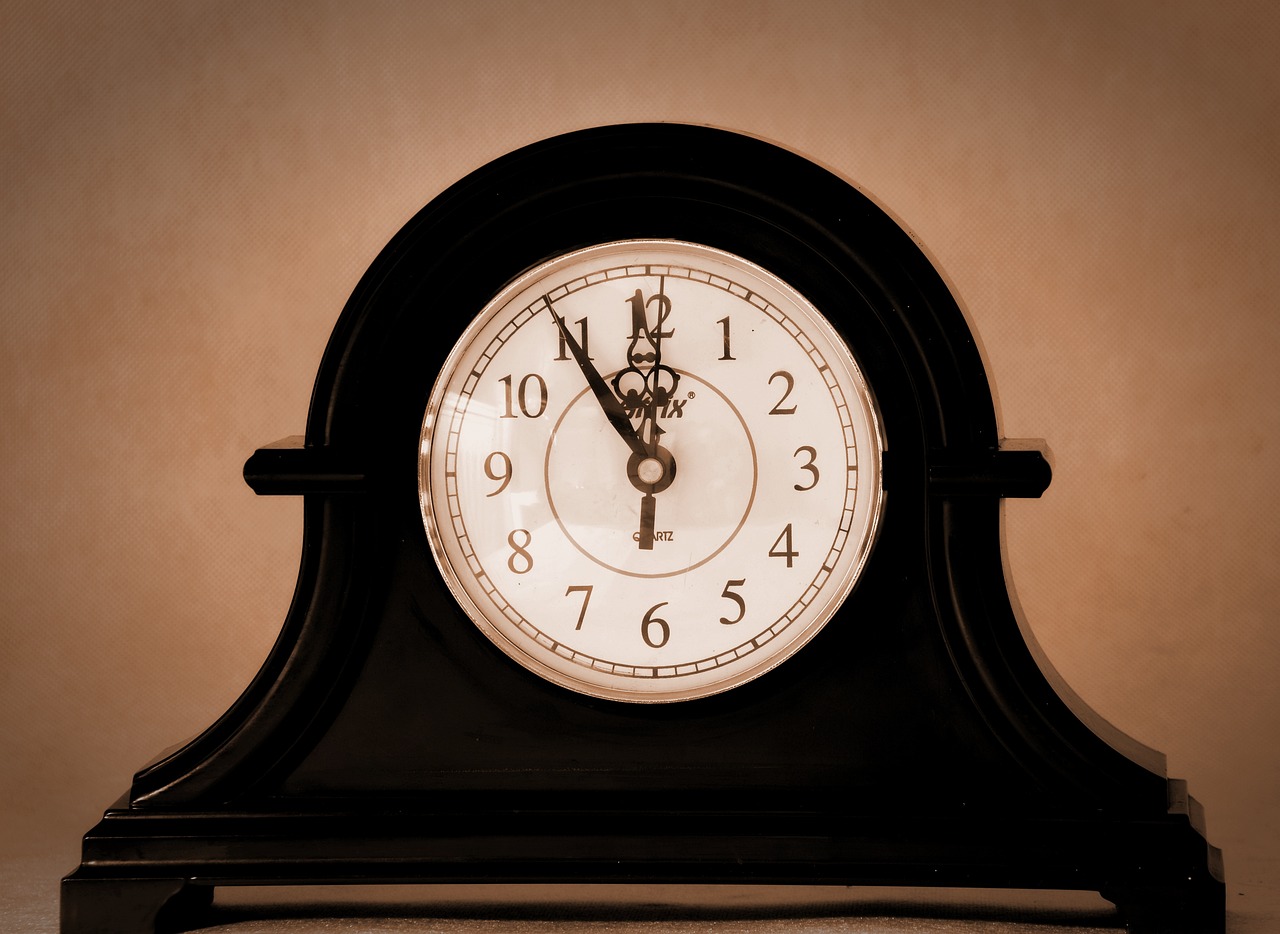
When it comes to transforming your old clock into a unique organizer, the design possibilities are as endless as your imagination. Think of your clock not just as a timepiece but as a canvas waiting for your personal touch. Whether you lean towards a rustic charm or a more modern aesthetic, there’s a design that will resonate with your style. For instance, if you have a vintage clock with a wooden frame, consider a farmhouse style. You can paint it in soft pastels or distressed white, adding small wooden hooks for keys or a shelf for mail. This not only enhances its visual appeal but also serves a practical purpose.
If sleek and contemporary is more your vibe, think about using a metal or glass clock. A minimalist design can be achieved by painting the clock face a bold color and adding clear acrylic boxes or compartments for storing office supplies like pens and sticky notes. This modern twist allows you to keep your workspace organized while making a statement. The juxtaposition of the old clock with new materials creates a fascinating visual narrative.
Another fun idea is to create a themed organizer based on your interests. For example, if you love gardening, you could turn your clock into a mini herb garden organizer. Imagine a clock with small pots attached where you can grow herbs like basil or thyme. Not only does it serve as a functional piece, but it also adds a touch of nature to your home. The clock hands can even point to the time of day when you should water your plants, blending functionality with creativity.
For those who appreciate a more eclectic approach, consider mixing different styles. Combine elements from various eras—such as a vintage clock with modern geometric shelves. This creates a unique contrast that can become a conversation starter. You might even want to incorporate colorful washi tape or decoupage techniques to add patterns and textures that reflect your personality.
To help you visualize your ideas, here’s a quick table summarizing different styles and their elements:
| Style | Key Elements | Color Palette |
|---|---|---|
| Rustic | Wooden hooks, distressed paint, natural materials | Soft pastels, earth tones |
| Modern | Sleek lines, acrylic compartments, bold colors | Black, white, bright accents |
| Themed | Small pots, themed decor, functional elements | Varies based on theme |
| Eclectic | Mix of various styles, unique patterns | Vibrant and contrasting colors |
Ultimately, the best design for your clock organizer is one that reflects your personality and meets your organizational needs. Don't be afraid to experiment and let your creativity flow. Remember, this is not just a DIY project; it's an opportunity to express yourself and bring a piece of your history back to life in a functional way. So gather your materials, sketch out your ideas, and get ready to create something truly special!
Step-by-Step Repurposing Process
Transforming your old clock into a unique organizer can be both a fun and rewarding project. It’s like giving your old friend a brand new purpose! To ensure a smooth transition from timekeeper to organizer, follow these simple yet effective steps. Let’s dive into the nitty-gritty of the process!
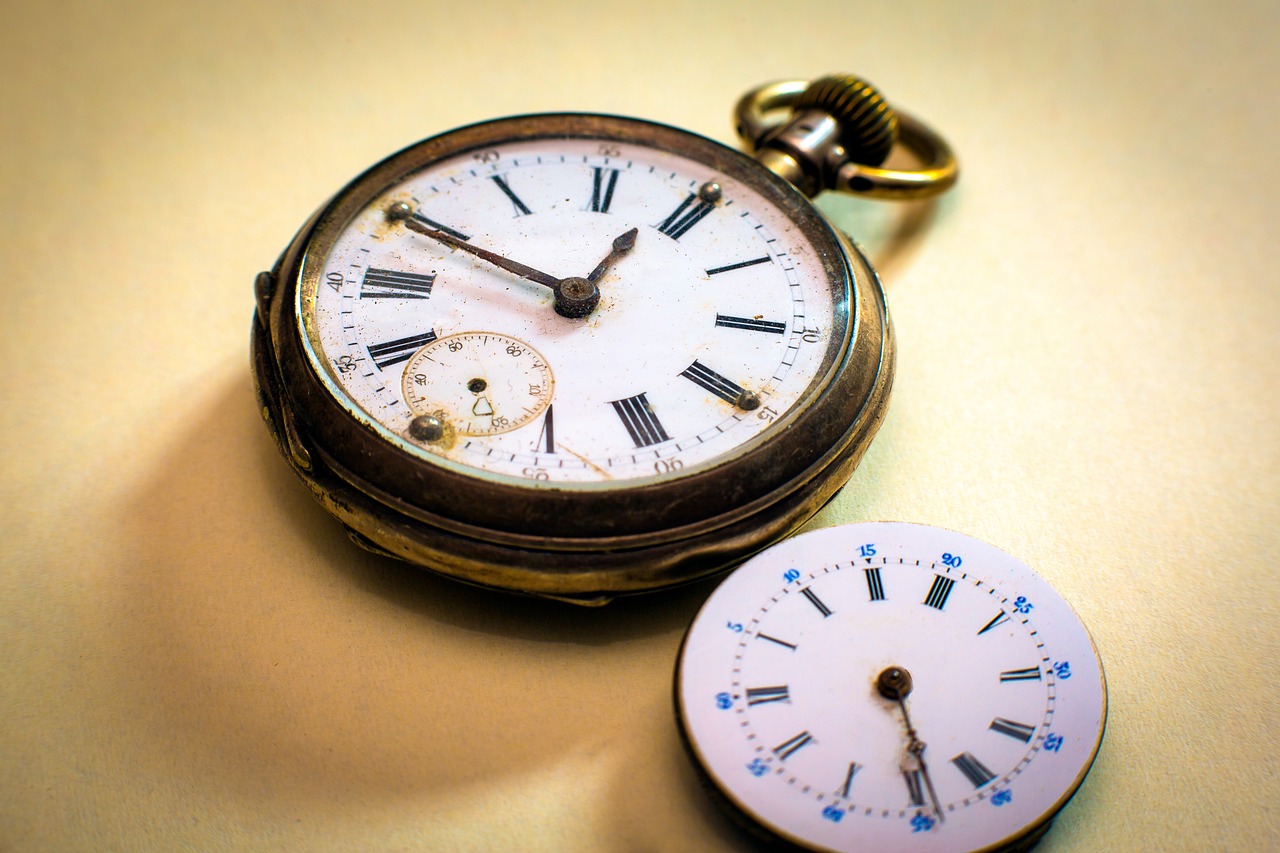
First off, you’ll want to disassemble the clock. This is a critical step that requires a bit of patience and care. Begin by removing the clock hands and the clock face. Use a screwdriver to carefully unscrew the back panel. Make sure to keep all the small parts in a safe place; you never know when you might need them! As you take it apart, be mindful of how everything fits together. It’s like solving a puzzle, and you’ll want to remember where each piece belongs for later.
Once the clock is disassembled, it’s time to prepare the frame. This is where your creativity can really shine! Consider painting the frame in a color that complements your home decor. You might opt for a sleek black for a modern look, or perhaps a soft pastel for a more rustic feel. If you’re feeling adventurous, try using a distressed finish to give it a vintage vibe. Apply a couple of coats of paint, allowing each layer to dry thoroughly before adding the next. This step is crucial; a well-painted frame will elevate your organizer from ordinary to extraordinary!
Now that your frame is looking fabulous, it’s time to think about the organizational components. What do you need this organizer to do? Are you looking to hang keys, store mail, or perhaps hold small plants? Depending on your needs, you can incorporate various elements. Here are some ideas:
- Hooks: Perfect for hanging keys or accessories.
- Compartmentalized sections: Great for sorting mail or office supplies.
- Shelves: Ideal for displaying small plants or decorative items.
With your components in mind, gather all necessary materials to assemble your organizer. You will need a hot glue gun, screws, and possibly some wood pieces if you’re adding shelves. Start by positioning your components on the clock frame to visualize the layout. Once you’re satisfied with the arrangement, begin attaching each piece securely. The hot glue gun will be your best friend here, providing strong adhesion for lighter components.
As you assemble your organizer, remember to test the stability of each component. You want to ensure that everything is securely attached and can hold the items you plan to store. This is like building a sturdy house; the foundation must be strong to support everything on top!
Finally, once everything is assembled, take a step back and admire your handiwork. You’ve successfully transformed a simple clock into a stylish and functional organizer! To add that final touch, consider adding decorative elements such as stencils, decals, or even a small chalkboard section for notes. This personalizes your creation and makes it truly one-of-a-kind.
In conclusion, repurposing an old clock into an organizer is not just a way to recycle; it’s an opportunity to express your creativity and enhance your living space. Follow these steps, and you’ll be well on your way to creating a functional piece that’s as beautiful as it is practical. So, roll up your sleeves, grab your tools, and let the transformation begin!
Q: What kind of clock should I use for this project?
A: Any old clock will work, but consider its size and style to ensure it fits your space and aesthetic.
Q: Do I need any special skills for this project?
A: No special skills are required, just basic handiness and a bit of creativity!
Q: Can I use this organizer for items other than keys and mail?
A: Absolutely! You can customize it to hold anything from office supplies to small plants.
Disassembling the Clock
Disassembling your old clock is a crucial step in the transformation process, and it’s not as daunting as it may seem! Think of it like peeling an onion; you want to remove the outer layers carefully to reveal the beautiful core inside. To start, make sure you have a clean workspace where you can lay out all the components as you take them apart. This will help you keep track of everything and ensure nothing gets lost in the shuffle. First, gather your essential tools: a screwdriver, pliers, and perhaps a pair of tweezers for those tiny parts.
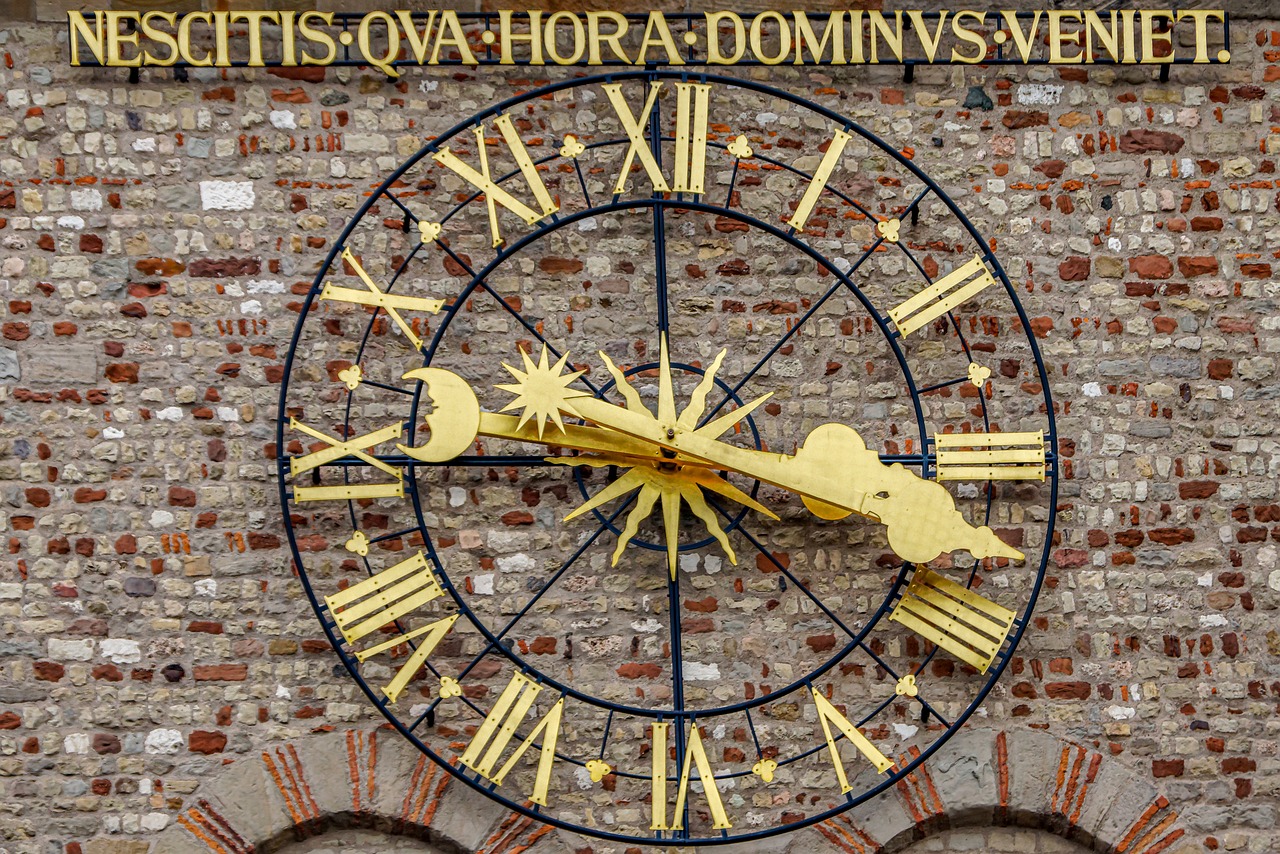
Begin by removing the clock hands. Most clocks have a nut at the center that holds the hands in place. Use your screwdriver to gently unscrew this nut, and then carefully lift off the hour, minute, and second hands. Be cautious here; these parts can be delicate, and you don’t want to bend or break them. Once the hands are removed, you’ll have access to the clock face and the mechanism behind it.
Next, take a moment to examine the back of the clock. Depending on the design, you may find screws or clips holding the clock mechanism in place. Use your screwdriver to remove these fasteners. If you encounter any resistance, don’t force it; double-check that you’ve removed all necessary screws. Once the mechanism is free, gently pull it out, taking care not to damage any wiring or components.
At this point, you should have a disassembled clock with its hands, face, and mechanism separated. To avoid confusion later, it’s a good idea to organize these parts. You can use small containers or even a simple cardboard box to keep everything sorted. Labeling each container can also be helpful, especially if you plan to incorporate multiple clocks into your project. This way, you’ll have everything at your fingertips when you’re ready to assemble your unique organizer.
Now that you’ve successfully disassembled your clock, you can start envisioning how each part will fit into your new design. Whether you want to create compartments for mail, hooks for keys, or a chic display for your favorite photos, the possibilities are endless! Remember, the key is to have fun with this process. Think of it as a creative puzzle, where each piece contributes to the final masterpiece.
If you have any concerns about the disassembly process, here are a few frequently asked questions that might help:
- What if I can't find the right tools? You can often use household items like butter knives or even your fingers for some tasks, but be cautious not to damage the clock.
- Is it safe to disassemble the clock? Yes, as long as you handle the components carefully. Most clocks are designed to be taken apart.
- What if I lose a small part? Keep a close eye on all components and consider working over a large, flat surface to minimize the risk of losing anything.
With your clock disassembled and your components organized, you’re now ready to move on to the next exciting phase of your DIY project—assembling your unique organizer! Remember, every great creation starts with a strong foundation, and you’ve just laid the groundwork for something truly special.
Assembling Your Organizer
As you embark on the exciting journey of transforming your old clock into a stylish organizer, the assembly phase is where your vision truly comes to life. It’s like putting together a puzzle where each piece contributes to the overall functionality and aesthetic appeal of your new creation. First, ensure that you have all your materials and tools at hand. This includes the clock frame, any organizational components you’ve chosen, and essential tools like a hot glue gun, screws, and screwdrivers.
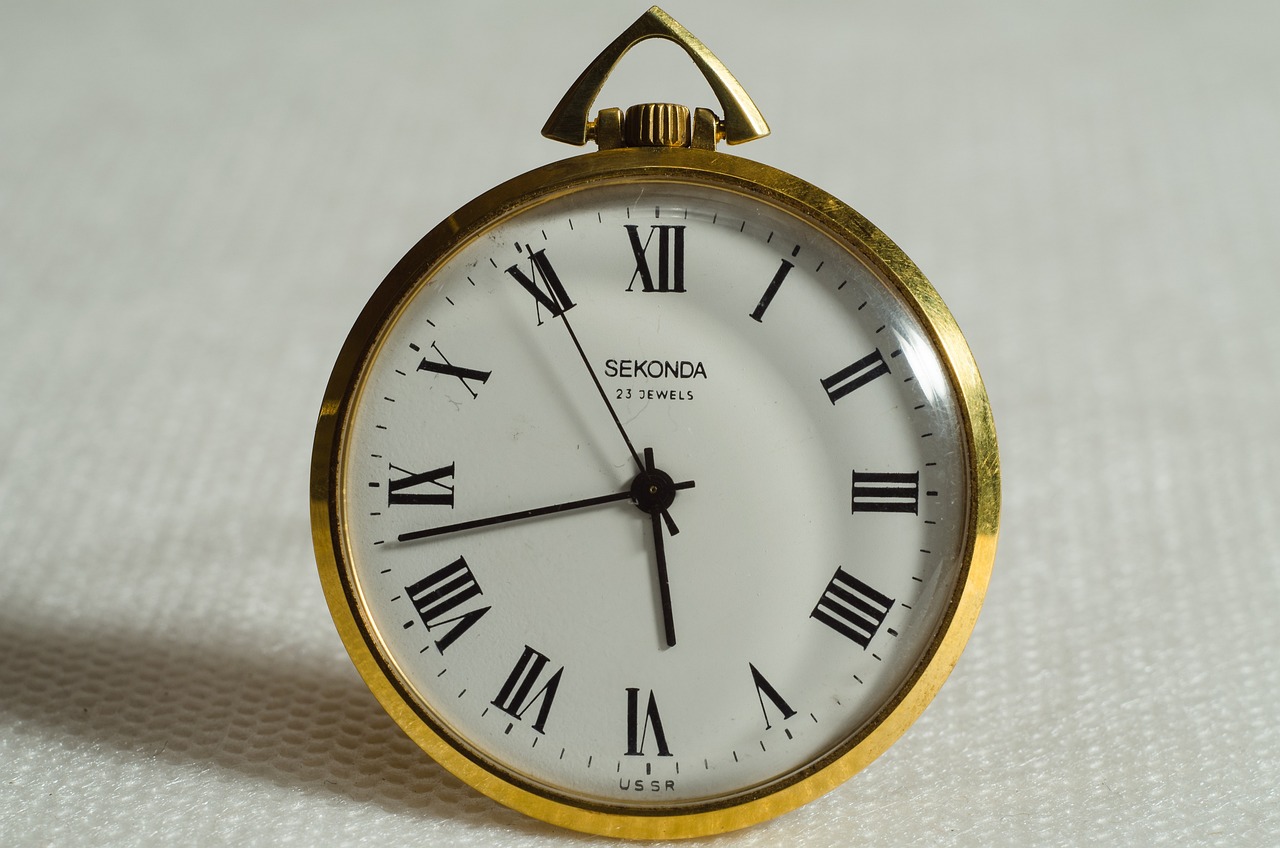
Start by taking the clock frame and laying it flat on a clean, sturdy surface. This will be your base, and it’s crucial to work in an organized manner to avoid any mishaps. If your clock has a glass cover, carefully remove it, setting it aside for later. Now, let’s think about how you want to utilize the space inside the clock. Do you envision compartments for stationery, hooks for keys, or perhaps shelves for small plants or decorative items? The beauty of this project is that you can customize it to fit your personal style and needs.
Once you have a clear idea of the layout, begin by attaching your chosen organizational components to the inside of the clock frame. For instance, if you’re adding hooks, measure and mark where they will go, ensuring they are evenly spaced and aligned. Use your hot glue gun or screws to secure them firmly in place. If you’re opting for compartments, consider using small wooden boxes or dividers that can be easily glued or screwed to the base of the clock. This will not only add functionality but also create an interesting visual element.
As you assemble, remember to step back occasionally and assess your work. Is everything aligned? Does it look balanced? This is a vital part of the process because, just like a well-timed clock, your organizer should be aesthetically pleasing as well as practical. Once all components are secured, it’s time to reattach the clock’s glass cover, if applicable. This adds a polished finish to your project and keeps your items protected.
Finally, consider adding some finishing touches. A coat of paint or a decorative finish can elevate your organizer from simple to stunning. Choose colors that resonate with your style and the decor of the room where it will reside. A rustic wood finish might suit a cozy study, while a sleek metallic paint could enhance a modern office space. No matter your choice, make sure it reflects your personality and enhances the overall look of your new organizer.
In summary, assembling your clock organizer is a blend of creativity and practicality. By thoughtfully choosing and securing your organizational components, you’ll create a unique piece that not only serves a purpose but also adds character to your space. So roll up your sleeves, unleash your creativity, and enjoy the process of bringing your vision to life!
- Can I use any type of clock for this project? Yes, any clock that you feel comfortable disassembling can work. Just ensure it has a frame that can accommodate your organizational components.
- What if I don’t have a hot glue gun? If you don’t have a hot glue gun, you can use strong adhesive or screws to secure your components. Just make sure whatever you use is durable enough to hold your items.
- How can I ensure my organizer is stable? Make sure that all components are securely attached and evenly distributed within the clock frame. If necessary, add weight to the base to improve stability.
Frequently Asked Questions
- Can I use any type of clock for this project?
Absolutely! While you can use any clock, it's best to choose one that has a frame and structure that can support your organizational needs. A larger clock might offer more space for compartments, while a smaller one could be perfect for a compact organizer.
- What materials do I need to gather before starting?
You'll need a few essential items to get started. This includes tools like screwdrivers and a hot glue gun, as well as paints and finishing supplies to enhance the look of your organizer. Don’t forget to think about the organizational components, such as hooks or small shelves, that you want to incorporate!
- How do I safely disassemble the clock?
To disassemble your clock without causing damage, first, remove the battery and any screws holding the clock face in place. Carefully lift off the clock hands and face, making sure to keep all parts organized. A gentle touch is key here to avoid breaking any delicate components!
- What design styles can I choose for my clock organizer?
The possibilities are endless! You can go for a rustic look with natural wood finishes, or a sleek modern vibe with bold colors and clean lines. Think about your home decor and choose a design that complements your space. Pinterest is a great place to gather inspiration!
- Is this project suitable for beginners?
Definitely! This project is perfect for DIY enthusiasts of all skill levels. With a little patience and creativity, even beginners can create a stunning clock organizer. Just follow the step-by-step guide and take your time—it's all about having fun!
- How can I ensure my clock organizer is stable?
Stability is crucial for functionality. When assembling your organizer, make sure to securely attach any added components, like shelves or hooks, to the clock frame. Using a strong adhesive or screws can help ensure everything stays in place, giving you a reliable organizer!


