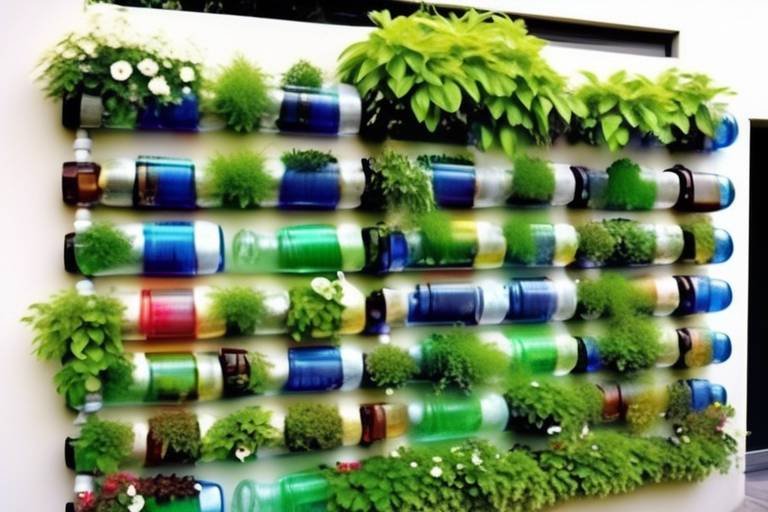
How To Make A Planter From Repurposed Rain Boots
Are you tired of looking at those old rain boots gathering dust in your closet? Instead of tossing them out, why not transform them into unique planters? This creative project not only gives a new life to your footwear but also adds a splash of personality to your garden or home decor. Imagine walking into your backyard and seeing vibrant flowers blooming from a pair of colorful boots, or perhaps some fresh herbs sprouting from your favorite galoshes. It’s not just a fun DIY project; it’s a way to express your creativity and bring a bit of whimsy to your outdoor space. In this article, we will guide you through the entire process—from gathering materials to choosing the right plants and customizing your new planters. So, roll up your sleeves and let’s get started!
To kick off this delightful project, you'll need to gather a few essential materials. Don't worry; you probably have most of these items lying around your home! Here’s a quick list of what you’ll need:
- Old rain boots: Any size or color will do. Get creative!
- Potting soil: Choose a high-quality mix to ensure your plants thrive.
- Drainage stones: These are crucial for preventing water buildup.
- Plants: Select plants that will flourish in your new planters.
- Decorative materials: Paint, stickers, or other embellishments for customization.
Having all these materials at hand will ensure that your crafting experience is smooth and enjoyable. Plus, it’s a great excuse to get creative and maybe even take a little trip to your local garden center!
Once you’ve gathered your materials, it’s time to prepare the rain boots for their new role as planters. This step is crucial to ensure your plants have the best environment to grow. First, you'll want to clean the boots thoroughly. This means scrubbing away any dirt and grime that has accumulated over time. Not only will this make your planters look great, but it will also help eliminate any harmful residues that could affect your plants.
To clean your boots, simply use warm soapy water and a sponge. Pay special attention to the insides since you want to make sure they are free from any mold or mildew. Once they are squeaky clean, rinse them out and let them dry completely. This step is vital because moisture can lead to rot, which is the last thing you want for your budding plants!
Next up is the most important part—creating drainage holes. Without proper drainage, water will accumulate at the bottom of your planters, leading to root rot. Using a sharp knife or a drill, carefully cut a few holes in the soles of the boots. Aim for about 3-5 holes, spaced evenly apart. This will allow excess water to escape easily, keeping your plants healthy and happy. Remember, safety first! If you're using a knife, make sure to work slowly and carefully to avoid any accidents.
Now that your rain boots are prepped and ready to go, it’s time to think about the plants. Choosing the right plants is key to ensuring your boot planters thrive. Look for plants that do well in small spaces and can handle the unique environment of a boot planter. Some great options include:
Consider succulents for their low maintenance needs and vibrant colors. They thrive in limited soil and can handle the occasional neglect. Herbs are another fantastic choice; not only do they smell amazing, but you can also use them in your cooking! Lastly, think about small flowers like pansies or petunias, which can add a burst of color and cheer to your planters.
Don’t forget to consider the seasons! Some plants thrive in the warmth of summer, while others prefer the cooler temperatures of spring or fall. Research which plants are best suited for your climate and the time of year you’re planting. This will ensure that your boot planters are not only beautiful but also vibrant throughout the seasons.
Now comes the fun part—customizing your rain boot planters! This is where you can let your creativity shine. Think about colors, patterns, and arrangements that reflect your personality. You can paint your boots in bright colors or even use stencils to create fun designs. The possibilities are endless!
For painting, use outdoor-grade paint to ensure it withstands the elements. You can go for a solid color, or mix it up with polka dots, stripes, or floral patterns. If painting isn’t your thing, consider using decorative stickers or even wrapping the boots with twine for a rustic look.
Once your planters are ready, think about how to arrange them for maximum visual impact. Grouping them together in varying heights can create a dynamic display. You can place them on a shelf, hang them from hooks, or even line them up along a garden path. Let your imagination run wild!
Q: Can I use any type of rain boot?
A: Yes! Any rain boot will work, but make sure they are sturdy enough to hold soil and plants.
Q: How often should I water my boot planters?
A: Watering depends on the plants you choose, but generally, check the soil moisture and water when it feels dry.
Q: Will the paint harm my plants?
A: If you use non-toxic outdoor paint, it should be safe for your plants.
Q: Can I leave my planters outside year-round?
A: It depends on the climate and the plants you choose. Some plants may not survive harsh winters.

Gathering Materials
To embark on the exciting journey of transforming your old rain boots into stunning planters, you'll first need to gather a few essential materials. This step is crucial as it sets the foundation for your creative project. You might be surprised at how simple it is to create something beautiful from items that would otherwise be tossed aside! So, let’s dive into what you’ll need.
First and foremost, the star of the show will be your old rain boots. Whether they are worn out or simply out of style, these boots can be repurposed into charming planters. Don’t worry if they have seen better days; a little creativity can turn them into a delightful addition to your garden or patio.
Next, you’ll require potting soil. This is vital as it provides the nutrients your plants need to thrive. Look for a high-quality potting mix that retains moisture while allowing for proper drainage. This will ensure that your plants are happy and healthy in their new home.
Another important component is drainage stones. These little gems play a significant role in preventing water from accumulating at the bottom of your boots, which can lead to root rot. You can use small pebbles or gravel, and they’ll help create a barrier that allows excess water to escape while keeping the soil in place.
Finally, you’ll want to choose your plants. Think about what you want to grow in your new boot planters. Some great options include succulents, herbs, or small flowers that can flourish in limited soil space. The right plants will not only enhance the visual appeal of your planters but also bring a touch of life to your space.
To summarize, here’s a quick list of the materials you’ll need:
- Old rain boots
- Potting soil
- Drainage stones
- Your choice of plants
Gathering these materials is not just about having the right items; it's about setting the stage for a fun and fulfilling crafting experience. So, roll up your sleeves and get ready to unleash your creativity!

Preparing the Rain Boots
Before you dive into the exciting world of planting, it's crucial to properly prepare your rain boots. Think of this step as laying the foundation for a beautiful garden. Just like a painter needs a clean canvas, your rain boots need a little TLC to transform them into stunning planters. So, roll up your sleeves, and let’s get started!
First things first: cleaning! You want your rain boots to be spotless, not just for aesthetics but also to ensure that your plants thrive. Dust, dirt, and any lingering residues can harm your plants. Start by giving your boots a good rinse with water and a mild soap. Scrub them with a soft brush to remove any stubborn grime. After that, rinse thoroughly and let them dry completely. Pro tip: If your boots have been outside for a while, a quick soak in warm, soapy water can do wonders!
Next up is the all-important drainage holes. Imagine a bathtub without a drain; it fills up and creates a mess, right? The same goes for your planters. Without proper drainage, water can accumulate, leading to root rot—a plant's worst nightmare. To prevent this, grab a sharp utility knife and carefully cut a few small holes in the soles of your boots. Aim for about three to five holes, spaced evenly. This will allow excess water to escape while keeping your plants happy and healthy.
Now, if you’re feeling adventurous, you can even add a decorative touch to your drainage holes. Consider cutting them into fun shapes like stars or hearts! Just remember, the primary goal is to ensure proper drainage, so don’t get too carried away.
Once your boots are clean and have drainage holes, it’s time to get creative! This is where you can really let your personality shine through. You might want to paint your boots in bright, cheerful colors or add some funky patterns. Here are a few ideas to get your creative juices flowing:
- Use waterproof paint for longevity.
- Consider adding stickers or decals for a fun touch.
- Try wrapping twine or ribbon around the boots for a rustic look.
These decorative elements not only enhance the visual appeal of your planters but also make them a unique addition to your garden or home décor. Just remember to let any paint or glue dry completely before you start planting.
With your rain boots cleaned, drained, and decorated, you’re now ready to fill them with potting soil and select the perfect plants. It’s a rewarding process that transforms something old and forgotten into a vibrant piece of garden art. So grab your boots and let your creativity soar!

Cleaning the Boots
Cleaning your old rain boots is an essential first step in the transformation process. After all, you want your planters to look as fresh as the plants they'll soon hold! Begin by gathering your cleaning supplies, which typically include warm water, mild soap, a soft brush or cloth, and a sponge. You might be surprised at how much dirt and grime can accumulate on those boots over time. Just like how we wouldn't want to wear dirty shoes, our plants deserve a clean home too!
Start by rinsing the boots with warm water to remove any loose dirt. This initial rinse is akin to giving your boots a refreshing shower. Next, apply a mixture of mild soap and warm water using your soft brush or cloth. Gently scrub the surface, paying special attention to any stubborn stains or areas where mud has caked on. Think of this as giving your boots a mini spa treatment—your plants will thank you for it!
Once you've scrubbed away the dirt, rinse the boots thoroughly to ensure no soap residue remains. This step is crucial because soap can be harmful to plants if left behind. After rinsing, allow the boots to air dry completely. Placing them in a well-ventilated area will speed up the drying process. If you're feeling particularly creative, consider adding a splash of personality to your boots during this drying phase. You could even use this time to plan out how you want to decorate them later!
After your rain boots are clean and dry, they're ready for the next step in the planter-making process. Remember, a clean boot not only looks great but also ensures a healthy environment for your plants to thrive. So, roll up your sleeves, put on your favorite tunes, and get those boots sparkling!
- How do I remove tough stains from rubber rain boots? For tough stains, try using a mixture of baking soda and vinegar. Apply it to the stain, let it sit for a few minutes, and then scrub gently with a brush.
- Can I use any type of soap for cleaning? It's best to stick with mild soap, as harsh chemicals can leave residues that are harmful to plants.
- How long should I let the boots dry? Ideally, let them air dry for at least a few hours or until they are completely dry to the touch.
Creating Drainage Holes
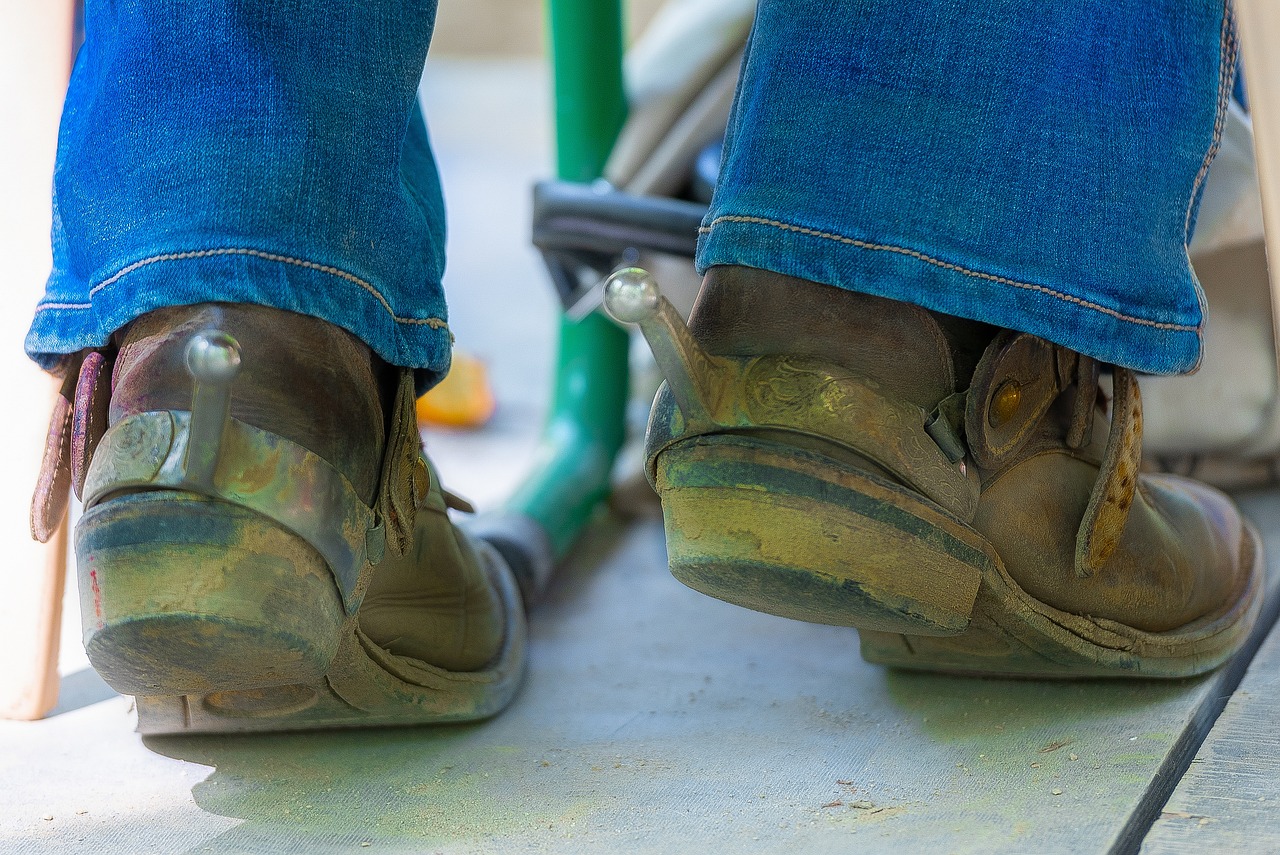
When it comes to creating your very own planter from repurposed rain boots, one of the most critical steps is ensuring proper drainage. Without it, your plants risk drowning in water, which can lead to root rot and ultimately, their demise. So, how do you go about making those all-important drainage holes? It's easier than you might think! First, grab a sharp utility knife or a pair of heavy-duty scissors—safety first, of course! You’ll want to make sure you’re working in a well-ventilated area, preferably outside, to avoid any accidental slips.
Start by flipping the rain boots upside down and examining the soles. Look for the thickest part of the sole, as this will provide a sturdy base for cutting. You’ll want to create several small holes, about 1/4 inch in diameter, spaced evenly across the bottom. This will ensure that excess water can escape freely. Aim for at least four to six holes, depending on the size of your boots. If you're feeling adventurous, you can even create a fun pattern with the holes—think of it as adding a little flair to your planter!
After you’ve made the holes, it’s a good idea to test them out. Turn the boots right side up and pour a little water into them. If the water drains out quickly, congratulations! You’ve successfully created a drainage system. If not, you might need to enlarge the holes slightly. Remember, the goal here is to keep your plants happy and healthy.
In addition to cutting holes, you can also add a layer of drainage stones or pebbles at the bottom of the boots before adding potting soil. This extra layer acts as a natural filter, allowing water to flow through while preventing the soil from clogging the holes. Think of it as a cozy bed for your plants, ensuring they have the perfect environment to thrive.
By following these simple steps, you’ll ensure that your repurposed rain boots not only look fabulous in your garden but also provide the ideal conditions for your plants to flourish. So, roll up those sleeves and get ready to bring your creative vision to life!

Choosing the Right Plants
When it comes to creating your unique rain boot planters, the choice of plants is not just a matter of aesthetics; it's about ensuring they thrive in their new environment. Think of your rain boots as cozy little homes for your plants. You wouldn't want to cram a big tree into a tiny apartment, right? Similarly, selecting the right plants for your repurposed rain boots is crucial for their success and longevity.
First, consider the size of your boots. The beauty of rain boots is that they are perfect for small plants that don’t require extensive root systems. Succulents are a fantastic choice, as they are low-maintenance and come in a variety of shapes and colors. Not only do they add a pop of color, but they also thrive in limited soil, making them ideal for your new planters. Additionally, herbs like basil, thyme, or mint can be a delightful addition. Imagine stepping out to your garden and snipping fresh herbs for your dinner—nothing beats that!
Another great option is small flowering plants. Think of vibrant petunias or cheerful pansies that can bring life and color to your garden. These plants are not only visually appealing but also attract pollinators, which can enhance the overall health of your garden ecosystem. However, it's essential to consider the sunlight requirements of your chosen plants. Some may thrive in full sun, while others prefer partial shade, so be sure to position your boot planters accordingly.
Here’s a quick overview of some plants that do well in small planters:
- Succulents: Perfect for sunny spots, low water needs.
- Herbs: Great for cooking, fragrant, and easy to maintain.
- Small Flowers: Brighten up your space and attract pollinators.
- Ferns: Ideal for shaded areas, adding a lush green touch.
Moreover, think about the seasons when choosing your plants. Some plants are seasonal and may not survive the winter, while others can thrive year-round. For instance, if you're in a cooler climate, consider hardy plants that can withstand frost, such as pansies or certain varieties of sedum. In contrast, if you're in a warmer region, you might want to opt for heat-tolerant plants like succulents or drought-resistant herbs.
Ultimately, the right plants for your rain boot planters will depend on your personal style and the conditions of your garden. Take some time to explore various options and imagine how they will look in your unique planters. Remember, gardening is about expressing yourself, so choose plants that resonate with your personality and bring you joy!
Q: Can I use any type of rain boots for planters?
A: Yes, you can use most types of rain boots, but ensure they are sturdy and have enough space for plants. Avoid boots that are too small or damaged.
Q: How often should I water my plants in rain boots?
A: Watering frequency depends on the type of plants you choose and the climate. Generally, check the soil moisture regularly and water when the top inch feels dry.
Q: Do I need to use any special soil for my boot planters?
A: A good quality potting mix is ideal. You may also want to add some perlite or sand for better drainage, especially since rain boots can retain moisture.
Q: Can I plant flowers and herbs together in the same boot?
A: Yes, but ensure that their light and water needs are compatible. Mixing plants can create a beautiful and functional display!
Best Plants for Small Planters
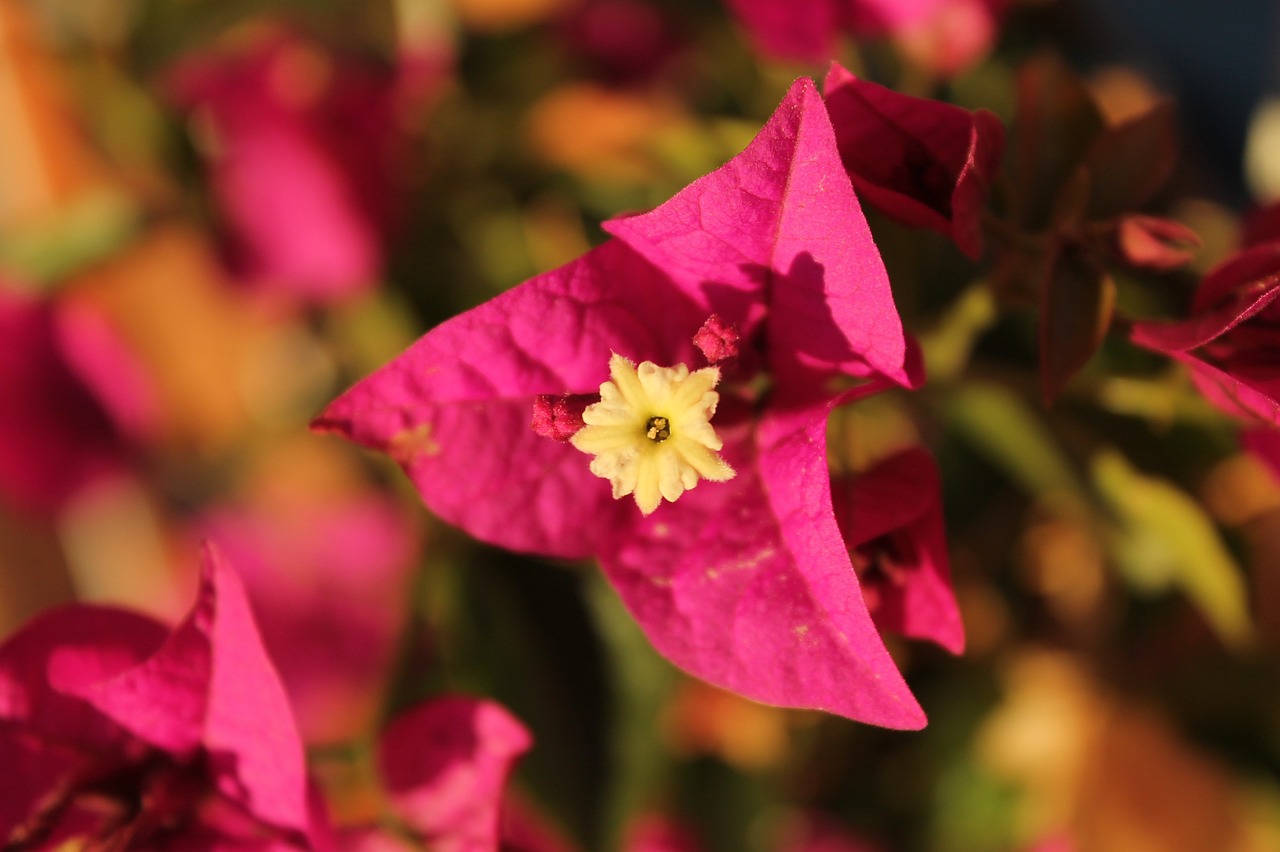
When it comes to choosing the best plants for your repurposed rain boot planters, you want to consider options that not only fit well in the limited space but also thrive in such environments. The beauty of using rain boots lies in their quirky, unique shape, which can add a delightful touch to your garden or home. So, what should you plant? Here are some fantastic choices that will flourish in your small planters:
Succulents are a top contender. These resilient plants come in various shapes, sizes, and colors, making them perfect for the playful aesthetic of rain boots. They require minimal watering, which is ideal since the drainage holes will help keep their roots healthy. Consider varieties like Echeveria, Haworthia, and Jade plants. Not only do they look stunning, but they’re also incredibly low-maintenance, making them perfect for both novice and seasoned gardeners alike.
Another excellent choice is herbs. Imagine stepping outside to snip fresh basil or mint right from your colorful boot planters! Herbs like thyme, chives, and oregano thrive in small spaces and can even double as culinary delights. Plus, they’ll fill your garden with delightful fragrances that are sure to attract the attention of your friends and neighbors.
If you're looking for a splash of color, consider small flowering plants. Pansies, petunias, and marigolds can bring a vibrant burst of life to your boots. These flowers not only look gorgeous but also attract pollinators, enhancing the biodiversity of your garden. Their compact size makes them ideal for fitting snugly into the unique shape of boots, allowing for a beautiful arrangement that’s sure to turn heads.
For those who love a bit of greenery, ferns are a fantastic option. Varieties like the Boston fern or maidenhair fern can thrive in shaded areas, making them perfect for gardens that don’t receive direct sunlight. Their lush foliage adds a soft, natural touch to your rain boot planters, creating a lovely contrast against the rubbery texture of the boots.
To sum it up, here’s a quick reference table for your ideal small planter plants:
| Plant Type | Examples | Care Level |
|---|---|---|
| Succulents | Echeveria, Haworthia, Jade plant | Low |
| Herbs | Thyme, Chives, Oregano | Low |
| Flowering Plants | Pansies, Petunias, Marigolds | Medium |
| Ferns | Boston Fern, Maidenhair Fern | Medium |
With these plant choices, your rain boot planters will not only be a conversation starter but will also create a vibrant and lively atmosphere in your garden. Remember, the key is to choose plants that are suited for the small space and that you genuinely enjoy. So, get creative and have fun with your planting!
Q: Can I use any type of rain boots for this project?
A: Yes! You can use any old rain boots, but make sure they are sturdy enough to hold the soil and plants.
Q: How often should I water the plants in my boot planters?
A: Watering frequency depends on the plant type, but generally, check the soil moisture regularly. Succulents need less water compared to herbs and flowering plants.
Q: What if my rain boots are too big for my space?
A: If you have larger boots, consider using them as a focal point in your garden or grouping them together for a more dramatic effect.
Q: Can I plant perennials in my rain boot planters?
A: Yes, some perennials can thrive in small planters, but make sure to choose varieties that don’t require extensive root space.

Seasonal Planting Considerations
When it comes to creating your enchanting rain boot planters, understanding is essential for ensuring your plants thrive throughout the year. Each season brings its own unique challenges and opportunities, and knowing what to plant when can make all the difference between a flourishing garden and a sad, wilted display. For instance, in the spring, you might want to consider bright and cheerful flowers like pansies or petunias that can handle the cooler temperatures while adding a splash of color. On the other hand, during the summer, your rain boots can showcase vibrant succulents or herbs like basil and mint that love the warmth and sunshine.
As you transition into autumn, think about incorporating plants that can handle the cooler nights, such as ornamental kale or chrysanthemums. These not only provide visual interest but also help you transition your garden into the fall aesthetic. Finally, in the winter, while many plants go dormant, you can still keep your boot planters lively by using evergreen plants or even seasonal decorations that reflect the holiday spirit. This way, your rain boot planters can be a year-round source of joy, no matter the season.
Here’s a quick overview of what to consider for each season:
| Season | Recommended Plants | Considerations |
|---|---|---|
| Spring | Pansies, Petunias | Cool temperatures, ensure drainage |
| Summer | Succulents, Basil, Mint | Full sun, regular watering |
| Autumn | Ornamental Kale, Chrysanthemums | Cool nights, prepare for frost |
| Winter | Evergreens, Holiday Decorations | Protect from extreme cold |
By keeping these seasonal considerations in mind, you can ensure that your rain boot planters not only look good but also thrive in their environment. Remember, the right plant choice for the right time can lead to a stunning display that will impress your friends and family. So, what are you waiting for? Get those boots ready for a seasonal transformation!
Q1: Can I plant any type of flower in my rain boot planters?
A1: While you can plant many types of flowers, it's best to choose those that thrive in small spaces and can handle the specific season's conditions.
Q2: How often should I water my plants in rain boots?
A2: Watering frequency depends on the plants you choose and the season. Generally, check the soil moisture and water when it feels dry to the touch.
Q3: Can I use old rain boots that have holes in them?
A3: Yes, just make sure to fill them with enough drainage material and soil to support your plants. The holes can actually help with drainage!
Q4: What can I do to protect my rain boot planters during winter?
A4: You can bring them indoors, cover them with a protective cloth, or choose winter-hardy plants to keep them looking good during the colder months.
Design Ideas and Customization
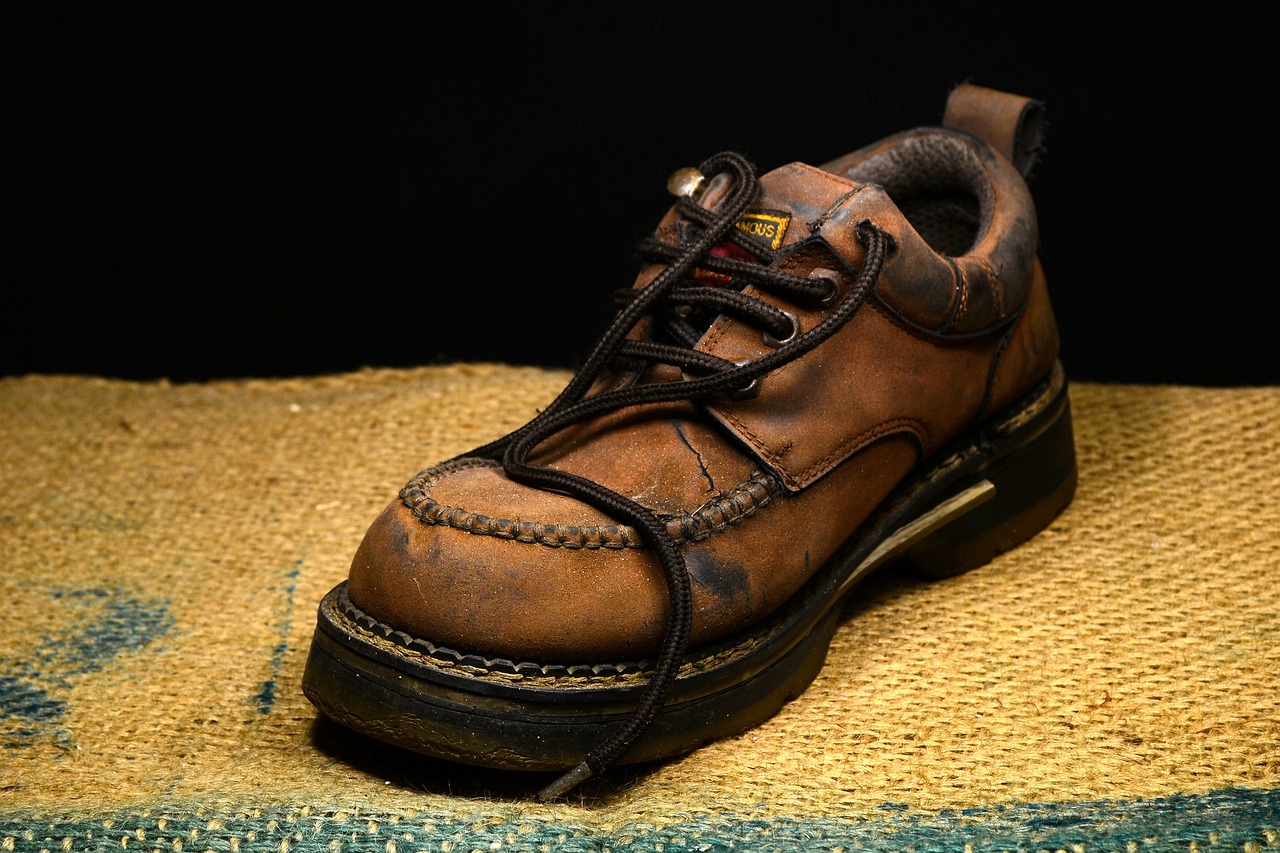
When it comes to transforming your old rain boots into stunning planters, the sky's the limit! This is your chance to unleash your creativity and showcase your personal style. Think of your rain boots as a blank canvas, just waiting for your artistic touch. You can go for a playful vibe with bright colors and whimsical patterns, or maybe a more elegant look with muted tones and sophisticated designs. The beauty of customizing your planters is that you can reflect your personality and make a statement in your garden or home.
One of the simplest yet most effective ways to customize your rain boot planters is through painting. Grab some outdoor acrylic paint and let your imagination run wild! You might want to try a polka dot pattern for a fun, quirky touch or perhaps a floral design to bring a bit of nature’s beauty into your garden. Don't be afraid to mix and match colors to create a vibrant display that will surely catch the eye of anyone passing by.
If painting isn't your thing, consider using decals or stickers. They come in all sorts of designs and can easily be applied to your boots for an instant upgrade. Think about using nature-themed decals, like leaves or flowers, to complement the plants you choose. Additionally, you can wrap some twine or ribbon around the boots for a rustic touch that adds charm and character.
Arranging your planters is another crucial aspect of customization. Think about how you want to display your rain boot planters. Do you want them to be a focal point in your garden, or perhaps a subtle addition to a corner of your patio? You can create a stunning visual impact by varying the heights of your planters. For instance, place some boots on small stools or crates to elevate them, while others can sit directly on the ground. This creates a dynamic arrangement that draws the eye and adds depth to your space.
Consider grouping your planters in clusters. This not only makes a bold statement but also allows for a more cohesive look. You can mix and match different colors and styles of boots, creating a delightful medley that brings joy and vibrancy to your garden. Just remember to keep in mind the overall aesthetic you want to achieve. Are you going for a whimsical garden or a more structured look? The arrangement can make all the difference!
Finally, don’t forget about the plants themselves. When choosing plants, think about how their colors and textures will complement your customized rain boots. For instance, if you’ve painted your boots in bright, bold colors, consider using plants with softer hues to balance the look. On the other hand, if your boots have a more subdued palette, vibrant flowers can provide a beautiful contrast. Your plant choices can enhance the overall design and create a harmonious display that captivates all who see it.
In summary, customizing your rain boot planters is a delightful journey of creativity and self-expression. Whether you’re painting, decorating, or arranging, the key is to have fun and let your personality shine through. So, gather your materials, let your imagination flow, and watch as your old rain boots transform into unique, eye-catching planters that are sure to bring joy to your outdoor space.
- Can I use any type of rain boots for this project? Yes, as long as they are made of durable material and can hold soil.
- What type of paint is best for decorating rain boots? Outdoor acrylic paint is recommended because it withstands the elements.
- How do I ensure proper drainage in my rain boot planters? Make sure to cut drainage holes in the soles of the boots to prevent water from accumulating.
- What plants are best for rain boot planters? Succulents, herbs, and small flowers work well in limited soil space.
Painting and Decorating
Transforming your old rain boots into stunning planters is not just about functionality; it's also an opportunity to unleash your creativity! your rain boots can significantly enhance their visual appeal and make them a standout feature in your garden or home. So, where do you begin? First, gather your materials! You’ll need outdoor acrylic paints, paintbrushes, painter's tape, and possibly some stencils for those intricate designs you’ve been dreaming about.
Before diving into the painting process, ensure that your boots are clean and dry. A good wash will remove any dirt or residue, allowing the paint to adhere better. Once they are prepped, consider the color scheme you want to go for. Do you want your planters to pop with bright, vibrant hues, or would you prefer a more subdued, earthy palette? The choice is yours! Here are some popular ideas:
- Bold Colors: Bright yellows, reds, or blues can add a playful touch to your garden.
- Pastel Shades: Soft pinks or mint greens create a charming, vintage feel.
- Patterns: Stripes, polka dots, or floral designs can bring a unique flair to your planters.
Once you’ve chosen your colors, it’s time to get creative! Use painter's tape to block off areas you want to keep unpainted or to create sharp lines. If you’re feeling adventurous, stencils can help you achieve intricate designs without the hassle of freehand painting. After applying your base coat, allow it to dry completely before adding any details. This is where you can let your imagination run wild—think about adding your initials, fun quotes, or even small images that resonate with your personality.
To ensure that your beautiful designs last through the elements, consider applying a clear outdoor sealant once everything is dry. This will protect your artwork from fading and peeling, keeping your planters looking fabulous season after season. Remember, the goal is to create something that not only serves a purpose but also brings you joy every time you see it!
Lastly, don’t forget to have fun with the arrangement of your painted planters. Grouping them together in varying heights can create a visually stunning display. Imagine a vibrant yellow boot planter next to a pastel pink one, surrounded by lush greenery! It's all about expressing your personal style and making your garden a reflection of you.
Q: What type of paint is best for decorating rain boots?
A: Outdoor acrylic paint is ideal as it’s durable and weather-resistant, ensuring your designs last.
Q: Can I use spray paint on my rain boots?
A: Yes, spray paint can give a smooth finish, but make sure to use it in a well-ventilated area and follow the manufacturer's instructions.
Q: How do I protect my painted design?
A: Applying a clear outdoor sealant after the paint has dried will protect your design from the elements.

Arranging Your Planters
When it comes to arranging your rain boot planters, the possibilities are as vast as your imagination! Think of your garden or indoor space as a blank canvas, and your colorful boots as the vibrant paint that will bring it to life. Start by considering the overall layout of your space. Are you looking to create a cozy nook, a bold statement, or perhaps a whimsical garden path? The arrangement of your planters can significantly influence the ambiance of your environment.
One effective way to make your planters pop is by varying their heights and placements. This can be achieved by using small tables, plant stands, or even repurposed materials like wooden crates to elevate some of your boots. Imagine a delightful display where some boots are perched higher, creating a tiered effect that draws the eye upward. This not only adds visual interest but also allows each plant to bask in the sunlight, maximizing their growth potential.
Additionally, consider the color scheme of your planters and the surrounding area. If your boots are painted in bright, bold hues, you might want to place them against a neutral backdrop to let them shine. Conversely, if you prefer a more subdued palette, vibrant flowers can serve as the perfect contrast. The key is to create harmony and balance in your arrangement.
Grouping your planters can also enhance their visual appeal. For instance, you might want to cluster three or four boots together, mixing different plants for a dynamic look. Imagine a little corner of your garden where a bright yellow boot with cheerful daisies stands next to a deep blue boot filled with lush herbs. This combination not only looks fantastic but also serves a practical purpose, as companion planting can promote healthier growth.
Lastly, don’t forget about accessibility. Ensure that your planters are arranged in a way that allows you easy access for watering, pruning, and harvesting. A well-thought-out arrangement will make maintenance a breeze and ensure that your plants thrive. So, whether you’re creating a magical fairy garden or a chic urban oasis, remember that the arrangement of your rain boot planters is an art form that can transform any space into a delightful retreat.
- Can I use any type of rain boots for planters? Yes, as long as they are made of waterproof materials like rubber or plastic, they can be used as planters.
- How do I ensure proper drainage in my rain boot planters? Cut small holes in the soles of the boots to allow excess water to escape, preventing root rot.
- What types of plants grow best in rain boot planters? Succulents, herbs, and small flowering plants are excellent choices for these unique planters.
- Can I leave my rain boot planters outside during winter? It depends on the plants you've chosen. Some may survive the winter, while others may need to be brought indoors.
Frequently Asked Questions
- Can I use any type of rain boots for this project?
Absolutely! While any rain boots can work, it's best to choose ones that are sturdy and have a good structure. Thicker materials tend to hold up better outdoors, but feel free to get creative with whatever you have on hand!
- Do I need to add anything special to the soil?
Yes! Using quality potting soil is key. You might also want to mix in some compost or fertilizer to give your plants a nutrient boost. Just remember, good drainage is essential, so don’t skip those drainage holes!
- How do I ensure my plants thrive in the rain boots?
Choosing the right plants is crucial! Opt for those that thrive in small spaces, like succulents or herbs. Also, keep an eye on their sunlight needs and water them according to the season. A little love goes a long way!
- What should I do if my plants start to look unhealthy?
If your plants are looking under the weather, check for signs of overwatering or root rot, especially since rain boots can retain moisture. Adjust your watering schedule, and ensure that your drainage holes are clear. Sometimes, a little fresh air and sunlight can work wonders!
- Can I decorate my rain boot planters?
Definitely! Painting and adding decorative elements can make your planters pop. Use outdoor-safe paints and sealants to protect your designs from the elements. Get creative and let your personality shine!
- Are there any plants I should avoid using?
Yes, avoid large plants that require deep roots, as space is limited in rain boots. Additionally, steer clear of plants that need a lot of water if you’re unsure about your drainage setup. Stick with smaller, drought-tolerant varieties for the best results!
- How can I arrange my boot planters for the best visual impact?
Think about height and color when arranging your planters. Group them in clusters or line them up for a fun display. Mixing different sizes and colors can create a vibrant focal point in your garden or on your porch!


