DIY Guide: Designing Your Own Quilt Labels
Creating your own quilt labels is an exciting way to add a personal touch to your quilting projects. Not only do these labels serve a functional purpose—like identifying the maker and the date of creation—but they also transform your quilt into a cherished keepsake. Imagine wrapping yourself in a beautiful quilt that not only keeps you warm but also tells a story about its origin. This guide will walk you through the entire process of designing quilt labels, from choosing the right materials to incorporating unique personal touches that reflect your style.
When it comes to quilt labels, the materials you choose can make or break your project. You want to ensure that your labels are durable enough to withstand washing and wear while still looking fabulous. The first step is selecting the fabric. Cotton is a popular choice because it’s easy to work with and holds ink well. However, you might also consider using canvas or linen for a more textured look.
Next, let’s talk about inks. If you're printing your labels, opt for fabric inks that are designed to be permanent and washable. If you’re hand-stitching, consider using embroidery floss that complements the fabric colors. Here’s a quick table summarizing some of the best materials:
| Material Type | Pros | Cons |
|---|---|---|
| Cotton Fabric | Easy to work with, holds ink well | Can fray if not finished properly |
| Canvas | Durable and textured | Stiffer, may require special needles |
| Linen | Beautiful texture, holds ink | Can be more expensive |
Now that you've got your materials sorted, it’s time to dive into design! Your quilt label can reflect the theme of your quilt or your personal style. Think about colors, patterns, and themes that resonate with you. For instance, if your quilt is made with floral fabrics, you might want to incorporate similar floral motifs into your label design.
Don’t be afraid to get creative! You can use a variety of design elements such as:
- Graphics that relate to the quilt’s theme
- Personal symbols or icons that have meaning to you
- Unique borders or frames that add flair
Remember, the goal is to create something that not only looks good but also tells a story. Your label should be as unique as the quilt itself!
One of the most rewarding aspects of creating quilt labels is the opportunity to add personal touches. This could be as simple as including your name and the date the quilt was completed, or it could be something more elaborate, like a heartfelt message or a quote that inspires you. By adding these personal elements, you make your quilt label a true reflection of who you are.
Integrating graphics and images into your quilt label can elevate its design significantly. Consider using images that complement your quilt’s theme. For instance, if your quilt features a nautical theme, you might add a small anchor or a sailboat graphic. Just make sure that the images you choose are high-quality and relevant to your design.
Font selection is another crucial aspect of your quilt label design. You want to choose a font that is not only stylish but also easy to read. Think about the character of your quilt when making this decision. A whimsical quilt might call for a playful font, while a more classic design might benefit from a traditional serif font. Take your time to explore different font styles and find one that resonates with your overall design.
Size and placement are vital for ensuring your quilt label is both functional and aesthetically pleasing. A label that is too small may get lost in the quilt, while one that is too large can overpower the design. A good rule of thumb is to make your label about 4-6 inches wide and 2-3 inches tall, but feel free to adjust these dimensions based on your quilt’s size and style.
As for placement, consider putting your label in a corner or along the bottom edge of the quilt. This way, it’s visible but doesn’t detract from the overall design. You might also want to think about how the label will be attached—whether you’ll be sewing it in or using fabric glue.
Now that you have your design and materials, let's explore different techniques for creating your quilt labels. There are two primary methods: hand-stitching and printing. Each has its benefits and can be tailored to your personal preference.
Hand-stitching your labels adds a personal touch that machine-made labels simply can't replicate. It allows you to infuse your personality into every stitch. You can use embroidery techniques, such as backstitch or satin stitch, to create beautiful labels. Plus, hand-stitching can be a calming activity—perfect for unwinding after a long day!
If you prefer a more polished look, printed labels are the way to go. You can design your label on a computer and print it onto fabric using an inkjet printer. Make sure to use fabric sheets that are compatible with your printer. This method allows for intricate designs and clear text, making your label stand out beautifully.
Q: What fabric is best for quilt labels?
A: Cotton is highly recommended due to its durability and ease of use, but canvas and linen can also be great options depending on your desired look.
Q: How do I ensure my printed labels last?
A: Use fabric inks and wash your quilts in cold water to help preserve the quality of the printed labels.
Q: Can I use photos on my quilt labels?
A: Yes! Just ensure that you use high-quality images that are relevant to your quilt’s theme for the best results.

Choosing the Right Materials
When it comes to creating quilt labels, choosing the right materials is absolutely crucial. After all, you want your labels to be not only visually appealing but also durable enough to withstand the test of time. Think of your quilt label as the cherry on top of a beautifully baked cake; it needs to be just as well-made as the cake itself! So, what materials do you need to consider?
First and foremost, the fabric you choose will play a significant role in the longevity of your quilt label. Cotton is a popular choice because it’s soft, durable, and easy to work with. However, you might also consider using other fabrics like linen or a cotton blend for a unique touch. Remember, the fabric should complement your quilt’s overall theme and color palette. Here’s a quick overview of some fabric options:
| Fabric Type | Durability | Best For |
|---|---|---|
| Cotton | High | General use |
| Linen | Medium | Textured labels |
| Cotton Blend | High | Colorful designs |
Next up is the ink or printing method. If you’re planning to print your labels, ensure that you use fade-resistant and washable inks. This will help maintain the vibrancy of your labels even after multiple washes. You might also want to consider using fabric markers for a more personalized touch. Just imagine how delightful it would be to jot down a special message in your own handwriting!
Don’t forget about the backing material! A sturdy backing will help your label maintain its shape and prevent fraying. You can use interfacing or a second layer of fabric for added support. Think of it as the foundation of a house; without a solid base, everything else can crumble. Additionally, if you plan to sew the labels onto your quilt, make sure the backing material is compatible with your sewing machine.
Lastly, consider any embellishments you might want to add. This could include decorative stitching, buttons, or even small patches that relate to the theme of your quilt. These little details can make your label not just functional but also a work of art. Just like adding sprinkles to your ice cream, these embellishments can elevate the overall look!
In summary, the right materials can transform your quilt labels from ordinary to extraordinary. By thoughtfully selecting your fabric, ink, backing, and embellishments, you’ll create labels that are not only beautiful but also durable and meaningful. So, take your time to choose wisely, and let your creativity shine through!
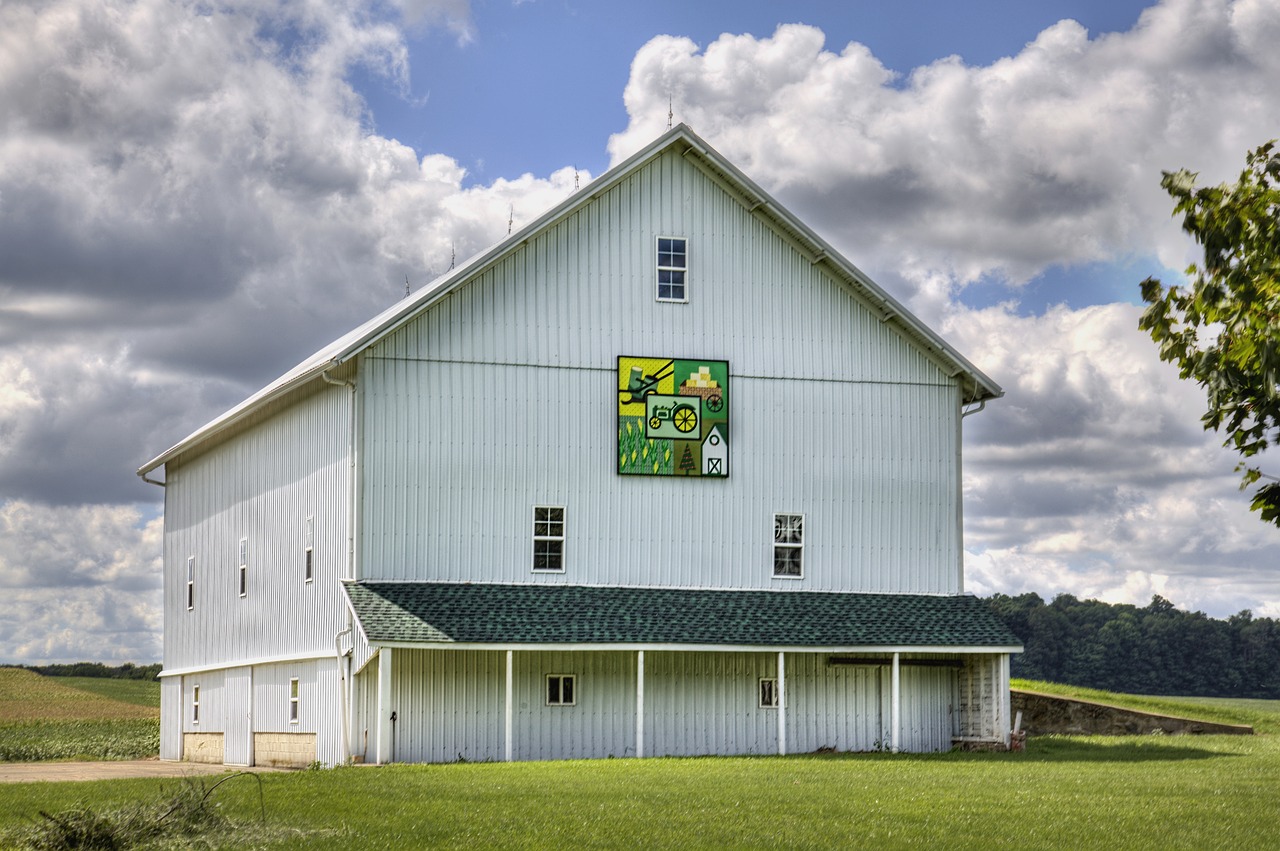
Design Inspiration
When it comes to designing your own quilt labels, the possibilities are as vast as your imagination! A quilt label is not just a functional element; it's a canvas for your creativity and a way to express your unique style. Think of it as the cherry on top of your quilt masterpiece. So, where do you start? Let’s explore some captivating design ideas that could light a spark in your creative journey.
First and foremost, consider the theme of your quilt. Is it a cozy patchwork for a baby, a vibrant design for a wedding gift, or perhaps a nostalgic quilt made from old t-shirts? The theme can guide your label design significantly. For instance, if your quilt is made from floral fabrics, why not incorporate a floral motif into your label? You could use a similar color palette to ensure harmony between the quilt and the label. This creates a cohesive look that ties everything together beautifully.
Another great way to find inspiration is by looking at different styles. From modern minimalism to vintage charm, the style of your quilt can influence the label design. For a modern quilt, you might opt for clean lines and bold typography, while a vintage quilt could benefit from ornate scripts and intricate borders. The key is to ensure that the label reflects the overall aesthetic of the quilt. Here are some popular styles to consider:
- Rustic: Use earthy tones and simple fonts.
- Whimsical: Incorporate playful graphics and bright colors.
- Classic: Choose elegant fonts and traditional patterns.
Don’t forget the power of color. Colors evoke emotions and can tell a story. For instance, warm colors like reds and yellows can create a sense of warmth and comfort, making them perfect for a family quilt. On the other hand, cool colors like blues and greens can offer a calming effect, ideal for a quilt meant for relaxation. Think about the message you want to convey with your quilt label and choose your colors accordingly.
Incorporating personal touches into your quilt label can elevate its significance. Consider adding elements that reflect your personality or the recipient’s. You could include a favorite quote, a special date, or even a small doodle that represents a shared memory. These details make your quilt label not just a tag, but a storytelling piece that adds emotional depth to your quilt.
Lastly, don’t shy away from using graphics and images. A well-placed graphic can enhance your label’s design and make it visually appealing. For example, if you’re creating a quilt for a nature lover, you might want to add a small tree or flower graphic. Just ensure that the graphics complement the overall design without overwhelming it. Balance is key!
In summary, designing your quilt label can be a fun and rewarding experience. By considering the theme, style, colors, personal touches, and graphics, you can create a label that not only serves its purpose but also enhances the beauty of your quilt. So grab your materials and let your creativity flow!
Q1: What materials do I need to create a quilt label?
A1: You will need fabric, fabric markers or ink, scissors, and possibly some embellishments like buttons or ribbons.
Q2: How do I ensure my quilt label lasts?
A2: Use high-quality fabric and fade-resistant inks. Additionally, consider sewing the label securely onto the quilt.
Q3: Can I use a photo on my quilt label?
A3: Yes! You can use fabric transfer paper to print a photo onto fabric, creating a unique and personal touch.
Incorporating Personal Touches
When it comes to quilt labels, incorporating personal touches can transform a simple piece of fabric into a cherished memento. Think of your quilt label as a storyteller—it has the power to convey your unique journey, emotions, and memories stitched into every thread. So, how do you make your quilt labels truly yours? Let's dive into some creative ideas!
First off, consider adding your name or initials. This simple addition can make your quilt feel like a one-of-a-kind masterpiece. You might even want to include the name of the quilt itself, especially if it has a special significance. For instance, if you’ve crafted a quilt for a loved one, naming it after them can evoke warm feelings every time they see it.
Next, think about incorporating important dates. Whether it’s the date you finished the quilt, a birthday, or an anniversary, these numbers can serve as a time capsule of sorts. Imagine the joy of looking back and remembering the moments that inspired your creation! You can even use a simple format like:
| Event | Date |
|---|---|
| Quilt Completion | [Your Date] |
| Gifted To | [Recipient's Date] |
Additionally, don’t shy away from adding a special message. It could be a heartfelt note, a quote that inspires you, or something that reflects the spirit of the quilt. This is your chance to express yourself! A few words can make a world of difference, turning your quilt into a legacy that can be passed down through generations.
Another fantastic way to personalize your quilt label is by adding graphics or images that resonate with your theme. For instance, if your quilt features a floral pattern, a small flower graphic might complement it beautifully. These visuals can be printed or hand-drawn, depending on your style and preference. They add a layer of visual interest and can make your label pop!
Lastly, consider the use of colors that hold a special meaning for you. Colors can evoke emotions and memories, so why not choose shades that reflect your personality or the story behind the quilt? Whether it’s a vibrant red that symbolizes love or a calming blue that brings peace, your color choices will add depth to your label.
In summary, incorporating personal touches into your quilt labels isn’t just about aesthetics; it’s about creating a narrative that connects you to your work. By adding names, dates, messages, graphics, and meaningful colors, you breathe life into your quilt labels, making them not just functional but also beautifully unique.
- What materials do I need to create quilt labels? You’ll need fabric, fabric markers or ink, scissors, and possibly some thread for stitching.
- How can I ensure my labels last long? Use high-quality materials and consider sewing or adhering them securely to your quilt.
- Can I use digital designs for my quilt labels? Absolutely! You can design your labels digitally and print them on fabric transfer paper.
- What size should my quilt label be? It depends on your quilt, but a common size is around 3-5 inches wide and 2-4 inches tall.

Using Graphics and Images
When it comes to quilt labels, incorporating graphics and images can elevate your design from ordinary to extraordinary. Think of your quilt label as the cherry on top of a beautifully baked cake; it should not only complement the overall look but also tell a story. So, how do you choose the right graphics that resonate with the essence of your quilt? First, consider the theme of your quilt. Is it whimsical, modern, vintage, or perhaps themed around a specific event? This will guide your choices in imagery.
For instance, if your quilt is a baby shower gift, you might want to include cute animals, soft pastel colors, or even little stars. On the other hand, a quilt made for a wedding could feature elegant floral designs or intertwined rings. The key is to ensure that the graphics you choose not only look good but also enhance the emotional connection to the quilt. You want to evoke feelings—whether it’s nostalgia, joy, or love.
Here are some tips for selecting and integrating images:
- Quality Matters: Always opt for high-resolution images. Blurry or pixelated graphics can detract from the overall quality of your quilt label.
- Color Coordination: Ensure that the colors in your graphics complement the fabric of the quilt. A cohesive color palette will create a more polished appearance.
- Size and Scale: The size of the graphics should be proportionate to the label. A gigantic image on a tiny label can look overwhelming, while a small image on a large label may seem lost.
- Personalization: Consider using images that have personal significance, like a family crest, a favorite flower, or even a small drawing made by a child. This adds a heartfelt touch.
Once you've selected your graphics, the next step is to integrate them seamlessly into your label design. This might involve using software like Adobe Illustrator or Canva, where you can play around with layering images, adjusting transparency, and experimenting with placements. Remember, the goal is to create a harmonious look that draws the eye without overwhelming the text. In some cases, you might choose to print the graphics directly onto the fabric or use fabric transfer paper for a more textured feel.
In conclusion, using graphics and images on your quilt labels is not just about decoration; it's about storytelling and personal expression. So, let your creativity flow and remember that every quilt tells a story—make sure your label is part of that narrative!
Q: What type of images work best for quilt labels?
A: Images that complement the quilt's theme work best. Consider using personal photos, graphics that match the occasion, or symbols that have special meaning.
Q: Can I use any fabric for my quilt labels?
A: While you can use various fabrics, it's best to choose a fabric that is durable and suitable for printing or stitching, such as cotton or canvas.
Q: How do I ensure my graphics won’t fade over time?
A: Use high-quality inks and consider pre-washing your fabric before printing. Additionally, avoid direct sunlight to prolong the life of your graphics.
Font Selection
Choosing the right font for your quilt label is akin to selecting the perfect thread color for stitching; it can make or break the overall aesthetic of your creation. Fonts not only convey information but also reflect the personality of your quilt. Imagine a whimsical quilt adorned with a playful font, or a classic design paired with elegant script—each choice tells a story. So, how do you find that perfect match?
First, consider the theme of your quilt. If your quilt is bright and cheerful, a rounded, casual font might enhance its vibrancy. Conversely, for a more traditional quilt, a serif font could add a touch of elegance. It's essential to ensure that your selected font aligns with the overall feel of the quilt. For instance, a quilt made for a baby might benefit from a softer, rounded font, while a quilt created for a wedding could use a more formal script. Here are a few tips to help you choose:
- Readability: Ensure your font is easy to read, even from a distance. This is particularly important if the label contains vital information like names and dates.
- Size Matters: The font size should be appropriate for the label's dimensions. Too small, and it becomes illegible; too large, and it can overwhelm the design.
- Contrast: Make sure there is a good contrast between the font color and the background fabric. A dark font on a light background or vice versa works best.
Another aspect to consider is the font style. Fonts can be broadly categorized into three types: serif, sans-serif, and script. Each type has its own character and can evoke different feelings:
| Font Type | Description | Best For |
|---|---|---|
| Serif | Fonts with small lines at the ends of characters, offering a classic and formal look. | Traditional quilts, wedding gifts |
| Sans-Serif | Modern fonts without the decorative lines, providing a clean and minimalist appearance. | Contemporary quilts, children’s quilts |
| Script | Fonts that resemble cursive handwriting, adding a personal and artistic touch. | Special occasion quilts, memory quilts |
Once you've narrowed down your options, it’s a good idea to experiment with different fonts and styles. Many design software programs and online tools allow you to visualize how your text will look on your quilt label. You can even print out samples on paper to see how they fit with your fabric choices. Remember, trial and error is part of the creative process!
Lastly, don't forget about the importance of spacing and alignment. Proper spacing between letters and words can significantly affect readability. A crowded label can look chaotic, while well-spaced text appears polished and professional. Aligning your text in a way that complements your label’s shape—whether centered, left-aligned, or right-aligned—can also enhance the overall design. So take your time, play around with different options, and let your quilt label reflect your unique style!
Label Size and Placement
When it comes to quilt labels, size and placement are just as important as the design itself. Imagine wrapping your loved ones in a beautifully crafted quilt, only to have a label that’s too small to read or awkwardly placed. It can be a bit like trying to fit a square peg in a round hole—it just doesn’t work! So, let’s dive into how to choose the perfect size and where to put your labels for maximum impact.
First off, the size of your label should be proportional to the quilt itself. A small label on a large quilt can easily get lost, while a large label on a small quilt can overwhelm the design. A good rule of thumb is to aim for a label that is about 5% to 10% of the quilt’s total area. For example, if your quilt measures 60 inches by 80 inches, a label size of around 6 to 12 inches would be appropriate. This way, it remains visible without taking over the quilt.
Next, let’s talk about placement. The best spots for your quilt label are typically in the bottom corner or on the back of the quilt. This not only keeps it discreet but also allows for easy reading when someone wants to know more about the quilt’s history. If you want to make a statement, consider placing it on the front, perhaps in a corner or as part of a decorative element. Just remember, wherever you choose to place it, ensure it doesn’t interfere with the overall design of the quilt.
Another important factor to consider is the orientation of your label. If you’re placing it on the back, make sure that it’s oriented correctly so that it can be read easily when the quilt is displayed. You can also think about adding a small border or decorative stitching around the label to draw attention to it without being too flashy. This can create a lovely frame that enhances the overall aesthetic of your quilt.
To illustrate these points further, here’s a quick table summarizing the ideal label sizes and placements:
| Quilt Size | Recommended Label Size | Ideal Placement |
|---|---|---|
| Small (up to 40 inches) | 3 to 5 inches | Bottom corner or back |
| Medium (40 to 60 inches) | 5 to 8 inches | Bottom corner or back |
| Large (over 60 inches) | 8 to 12 inches | Bottom corner or decorative area |
In conclusion, remember that your quilt label is not just a tag; it’s a piece of art that tells a story. By choosing the right size and placement, you can enhance the quilt’s beauty while ensuring that your special message is communicated clearly. So, take a moment to plan out where your label will go and what size it should be. It’s these little details that make a quilt truly unique!
- What materials are best for quilt labels? Fabric, permanent ink, and heat transfer vinyl are popular choices.
- How can I ensure my label lasts? Use quality materials and consider sewing or heat sealing the label onto the quilt.
- Can I add graphics to my quilt label? Absolutely! Graphics can add a personal touch and enhance the design.
- What should I include on my quilt label? Consider adding your name, the date, a special message, or the quilt's purpose.
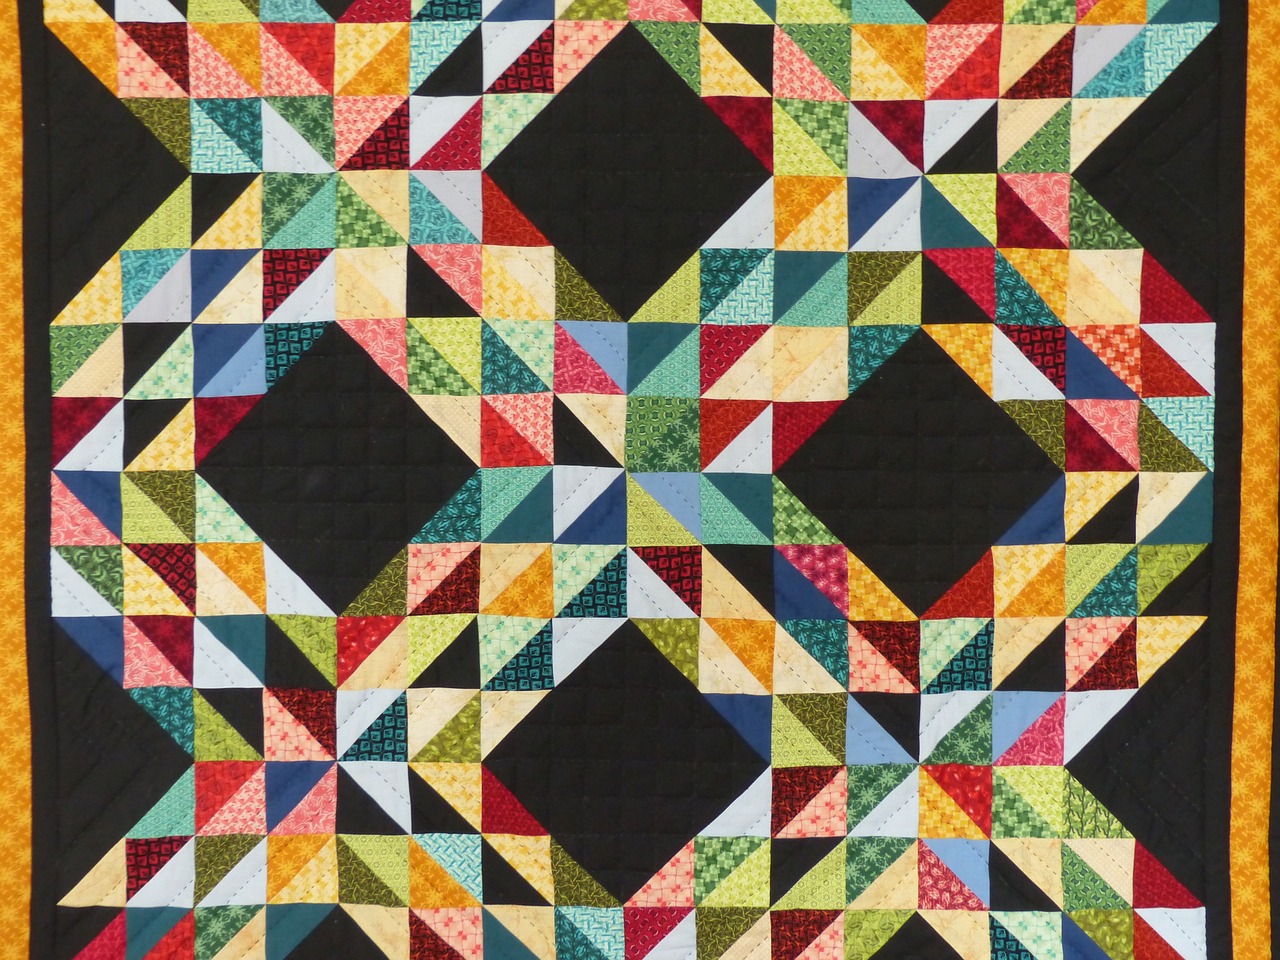
Techniques for Creating Labels
When it comes to creating quilt labels, the method you choose can significantly affect the final look and feel of your project. There are several techniques available, each offering unique advantages and challenges. Whether you prefer the charm of hand-stitching or the precision of printed labels, understanding these techniques will help you make an informed decision that suits your style and needs.
One popular technique is hand-stitching, which allows for a personal touch that machine-made labels often lack. Hand-stitching can be a meditative process, letting you connect with your quilt on a deeper level. You can use a variety of stitches, such as backstitch or satin stitch, to create intricate designs and text. This method is particularly appealing for those who enjoy the tactile experience of sewing and want their labels to reflect their craftsmanship. However, it does require time and patience, so be prepared to invest some effort into this creative process.
On the other hand, printed labels offer a clean, professional appearance that many quilters appreciate. With advances in technology, printing labels has become more accessible than ever. You can design your labels using graphic design software and print them on fabric sheets that are compatible with your printer. This method allows for high-quality images and text, ensuring that your labels are not only beautiful but also durable. It's a fantastic choice if you're looking to create multiple labels quickly or if you want to incorporate detailed graphics that might be challenging to replicate by hand.
To help you understand these techniques better, here’s a quick comparison:
| Technique | Pros | Cons |
|---|---|---|
| Hand-Stitched |
|
|
| Printed |
|
|
Ultimately, the choice between hand-stitching and printing your quilt labels will come down to your personal preferences, the time you have available, and the overall look you wish to achieve. Some quilters even combine both techniques, using printed labels for the main information and adding hand-stitched embellishments for a unique flair. Whichever method you choose, remember that your quilt label is not just a tag; it's a piece of art that tells a story about your creation.
Q: Can I use any fabric for my quilt labels?
A: While you can use various fabrics, it’s best to choose cotton or fabric specifically designed for printing, as they hold up well over time.
Q: How do I ensure my printed labels are durable?
A: To enhance durability, consider using fabric sheets that are treated for inkjet printing, and wash your labels with care to prevent fading.
Q: What if I want to change the design later?
A: If you’re using printed labels, you can always create new ones. For hand-stitched labels, consider making a new label and sewing it over the old one for a fresh look.
Hand-Stitched Labels
Creating hand-stitched quilt labels is a delightful way to add a personal touch to your quilts. Not only do these labels serve a functional purpose, but they also tell a story—your story. Imagine wrapping your loved ones in a quilt that not only keeps them warm but also carries a piece of your heart stitched into every thread. Hand-stitching allows you to express your creativity and individuality, making each label truly one-of-a-kind.
When embarking on this journey, the first step is to gather your materials. You’ll need a few essential items:
- Fabric: Choose a fabric that complements your quilt. Cotton is a popular choice due to its durability and ease of stitching.
- Thread: Use high-quality thread that matches or contrasts with your fabric. Consider using a contrasting color for a bold statement.
- Needles: A sharp needle is crucial for clean stitching. Depending on your fabric choice, you might want to select a needle that is specifically designed for quilting.
- Embroidery hoop: This is optional but can help keep your fabric taut as you stitch, resulting in cleaner lines.
Once you have your materials ready, it’s time to get creative! Start by sketching out your design on paper. Think about what you want to include in your label. You might want to add:
- Your name or initials
- The date the quilt was made
- A special message or quote
Next, transfer your design onto the fabric. You can use a fabric pen to lightly draw your design, ensuring it’s visible yet easy to cover with stitching. Now comes the fun part: stitching! Use simple stitches like running stitch or backstitch for clarity and durability. Take your time, and don’t rush—each stitch is a reflection of your love and effort.
One tip to keep in mind is to use a variety of stitches to create texture and interest. For example, you can use a chain stitch for your name and a running stitch for the border. This not only adds visual appeal but also showcases your stitching skills. If you’re feeling adventurous, consider adding some embellishments like beads or buttons to make your label pop!
After you’ve finished stitching, it’s essential to secure your label. You can do this by sewing it onto the back of your quilt or attaching it to a corner. Make sure it’s securely fastened so that it won’t come off with time or washing. And there you have it—a hand-stitched label that not only identifies your quilt but also serves as a cherished keepsake.
Hand-stitched labels are more than just identifiers; they are a testament to your craftsmanship and creativity. Each label tells a story, reminding the recipient of the love and care that went into creating their quilt. So, grab your materials and start stitching! You’ll find that the process is just as rewarding as the final product.
Q: What type of fabric is best for hand-stitched labels?
A: Cotton is highly recommended due to its durability and ease of stitching. However, you can also experiment with other fabrics like linen or canvas for a different look.
Q: How do I ensure my stitches are even?
A: Practice makes perfect! Start with simple stitches and use an embroidery hoop to keep your fabric taut. Take your time and focus on each stitch, and soon you'll develop a rhythm.
Q: Can I wash my quilt with the hand-stitched label on it?
A: Yes, but it's best to wash your quilt on a gentle cycle and air dry it to preserve both the quilt and the label.
Q: What if I make a mistake while stitching?
A: Mistakes happen! Embrace them as part of the creative process. You can always remove the stitches and redo them, or incorporate the mistake into your design for a unique touch.
Printed Labels
When it comes to creating quilt labels that exude professionalism and clarity, are an excellent choice. They not only provide a clean appearance but also ensure that your text is legible and vibrant. The process of designing and printing your labels can be quite enjoyable, akin to selecting the perfect fabric for your quilt. You get to unleash your creativity while also ensuring that your label will stand the test of time.
One of the first steps in creating printed labels is choosing the right printing method. There are several options available, each with its own set of advantages and disadvantages. For instance, you might opt for inkjet printing, which is widely accessible and allows for vibrant colors, or laser printing, known for its durability and precision. If you're feeling adventurous, consider fabric printing techniques, where you can print directly onto fabric, giving your label a unique texture and feel.
Next, you’ll want to focus on the design aspect. Using design software can help you create a stunning label layout. Programs like Adobe Illustrator or even free options like Canva can be invaluable tools. Make sure to incorporate elements that reflect the theme of your quilt, whether it’s a cozy patchwork or a modern design. You can even include a small graphic or logo that resonates with your style.
Here’s a quick overview of the most common printing methods:
| Printing Method | Pros | Cons |
|---|---|---|
| Inkjet Printing | Vibrant colors, easy to use | Less durable, may smudge |
| Laser Printing | Durable, precise | Limited color range |
| Fabric Printing | Unique texture, washable | Requires specific equipment |
Once you have your design ready, it’s time to choose the right material for printing. The fabric you select can significantly impact the overall look and longevity of your label. Cotton fabric is a popular choice due to its softness and ability to absorb ink well. However, if you want something more durable, consider using canvas or polyester blends, which can withstand washing and wear.
After printing, don't forget to consider the finishing touches. You might want to add a protective layer, such as a clear fabric sealant, to ensure your labels remain intact over time. This is especially important if your quilt will be frequently washed or displayed. Additionally, think about how you will attach your label to the quilt—options include sewing it on, using fabric glue, or even adding it as a pocket label for a more interactive touch.
In conclusion, printed labels are a fantastic way to add a professional flair to your quilts. They blend creativity with functionality, ensuring that your quilts not only look amazing but also carry a personal touch that tells a story. So, roll up your sleeves, gather your materials, and let your imagination run wild!
- What types of fabric are best for quilt labels? Cotton is a popular choice, but canvas and polyester blends offer greater durability.
- Can I use any printer for fabric labels? Not all printers are designed for fabric. Inkjet printers are commonly used, but make sure to use fabric sheets designed for printing.
- How can I ensure my printed labels last? Use a protective sealant and choose high-quality printing methods to enhance durability.
- Is it difficult to design my own labels? Not at all! With user-friendly design software available, creating your own labels can be a fun and easy process.
Frequently Asked Questions
- What materials do I need to create quilt labels?
To create quilt labels, you'll need fabric, fabric ink or markers, and possibly some interfacing for stability. Cotton fabric is a great choice for durability, while fabric ink ensures that your designs won't fade over time. Don't forget to have scissors and a sewing machine or needle and thread on hand for finishing touches!
- How can I personalize my quilt labels?
Personalizing your quilt labels can be as simple as adding your name, the date, or a special message. You can also include meaningful graphics or images that represent the quilt's theme. Think of it as telling a little story about your quilt that adds a personal touch!
- What design ideas work best for quilt labels?
When it comes to design, the sky's the limit! You might consider themes that match the quilt's colors or patterns. For instance, if your quilt features floral designs, you could incorporate flower motifs into your label. Don't shy away from experimenting with different styles, whether it's modern, vintage, or whimsical!
- How do I choose the right font for my quilt labels?
The font you choose should reflect the overall vibe of your quilt while being easy to read. For a cozy, traditional quilt, a cursive or serif font might work well. On the other hand, a bold sans-serif font may suit a modern quilt better. Just remember, clarity is key!
- What are the best techniques for creating quilt labels?
You can create quilt labels using various techniques, including hand-stitching and printing. Hand-stitching adds a charming, personal touch, while printing offers a clean, professional look. Consider your skill level and the time you have available when deciding which method to use.
- How do I determine the size and placement of my quilt label?
The size of your quilt label should be proportionate to the quilt itself. A small label can get lost on a large quilt, while a big label might overwhelm a smaller piece. As for placement, consider putting it in a corner or on the back where it won't distract from the quilt's design but is still easily accessible.


