How to Make a Quilted Pillow Cover: A Step-By-Step Tutorial
Creating a quilted pillow cover is not just a sewing project; it’s a wonderful way to infuse your personal style into your home decor. Imagine curling up on your sofa, surrounded by cushions that reflect your creativity and warmth. In this comprehensive guide, we will walk you through each step of the process, from selecting the right materials to the final finishing touches. Whether you’re a seasoned pro or a novice with a sewing machine, this tutorial is designed to be approachable and enjoyable. So, roll up your sleeves, and let’s dive into the world of quilting!
The first step in creating a stunning quilted pillow cover is to choose the right materials. This is crucial for both durability and aesthetic appeal. You will need:
- Fabrics: Opt for 100% cotton fabric for its breathability and ease of sewing. Consider using a mix of solid colors and patterns to create visual interest.
- Batting: Choose a batting that suits your desired look and feel. Cotton batting is soft and breathable, while polyester batting is more durable and easier to care for.
- Thread: Use high-quality thread that matches your fabric. This ensures that your stitches are strong and your finished product looks polished.
When selecting your materials, think about the color palette and texture you want to achieve. A well-coordinated selection will make your pillow cover truly pop!
Before you dive into sewing, proper preparation of your fabric is essential. Start by washing your fabric to remove any chemicals or sizing that might affect the final look. Once washed, press the fabric to eliminate wrinkles, ensuring a smooth surface for cutting. Use a rotary cutter and cutting mat to cut your fabric into the desired shapes and sizes for your pillow cover. Remember, accuracy is key here; uneven pieces can lead to a lopsided finish.
Familiarizing yourself with various quilting techniques can take your pillow cover from ordinary to extraordinary. Whether you prefer the traditional hand quilting or the speed of machine quilting, each method has its own charm. Let’s explore the two main techniques:
Hand quilting brings a personal touch to your pillow cover. It’s a labor of love that allows you to showcase your creativity. Essential stitches to learn include the running stitch, backstitch, and whip stitch. Each stitch adds a unique texture and design to your project, making it truly one-of-a-kind. Don’t be afraid to experiment with different patterns and colors of thread to create stunning visual effects!
On the other hand, machine quilting can save you time and provide consistent results. Familiarize yourself with your sewing machine’s stitch types and settings. Use a walking foot for even feeding of the fabric, and practice free-motion quilting for a more artistic approach. With machine quilting, you can achieve intricate designs quickly, allowing you to enjoy your creation sooner.
Once your quilting is complete, it’s time to assemble your pillow cover. Start by sewing the quilted front to the back fabric, right sides together. Leave a small opening to insert your pillow form later. After sewing, trim any excess fabric and turn the pillow cover right side out. This is where your pillow cover starts to take shape, and the excitement builds as you see your hard work come together!
No quilted pillow cover is complete without some finishing touches. Consider adding binding around the edges for a polished look. Trimming excess fabric will help your pillow cover sit neatly on your couch or bed. To make your pillow uniquely yours, think about adding decorative elements such as buttons, embroidery, or even fabric paint. These small details can make a big difference in the overall appearance.
To ensure your quilted pillow cover lasts for years to come, proper care is essential. Wash your pillow cover gently in cold water to prevent fading. Air drying is recommended to maintain its shape and color. When storing your pillow cover, keep it in a cool, dry place to avoid mold and mildew. With a little love and care, your beautiful creation will continue to brighten your home for a long time.
Q: How long does it take to make a quilted pillow cover?
A: The time it takes can vary based on your skill level and the complexity of the design, but on average, it can take anywhere from a few hours to a couple of days.
Q: Can I use different types of fabric for my pillow cover?
A: Yes! Mixing different types of fabric can create a unique look, but make sure they are compatible in terms of washing and care.
Q: What is the best way to wash a quilted pillow cover?
A: Wash it gently in cold water and air dry to maintain its beauty and integrity.

Choosing the Right Materials
When embarking on the delightful journey of creating a quilted pillow cover, the first step is to choose the right materials. This decision is crucial, as it can significantly impact both the durability and aesthetic appeal of your finished product. Imagine crafting a pillow cover that not only looks stunning but also stands the test of time—this is achievable with the right fabric, batting, and thread.
First up, let's talk about fabrics. Cotton is a popular choice among quilters due to its softness, breathability, and ease of handling. It’s available in a myriad of colors and patterns, allowing you to express your personal style. However, if you're looking for something a bit more luxurious, consider using linen or silk. These fabrics can elevate the look of your pillow cover, giving it a sophisticated touch, but they may require a bit more care during the sewing process.
Next, we have batting, which is the fluffy layer that gives your quilted pillow cover its structure and warmth. There are several types of batting to choose from, including cotton, polyester, and wool. Each type has its own unique qualities. For instance, cotton batting is breathable and gives a nice drape, while polyester batting is more resilient and maintains its shape over time. If you prefer a more eco-friendly option, look for organic cotton batting, which is becoming increasingly popular among crafters.
Lastly, let's not forget about thread. The thread you choose can make or break your project. Opt for a high-quality, durable thread that matches or complements your fabric. Cotton thread is a great all-rounder for quilting, but if you're working with silk or other delicate fabrics, consider using a finer thread. The right thread not only enhances the overall appearance but also ensures that your seams are strong and reliable.
To summarize, here’s a quick reference table for your material choices:
| Material | Benefits | Considerations |
|---|---|---|
| Cotton Fabric | Soft, breathable, wide variety | Can wrinkle easily |
| Linen Fabric | Luxurious feel, strong | Wrinkles more than cotton |
| Silk Fabric | Elegant, shiny finish | Requires special handling |
| Cotton Batting | Breathable, good drape | May shrink in wash |
| Polyester Batting | Resilient, maintains shape | Less breathable than cotton |
| Cotton Thread | Strong, good for quilting | Can fray if not handled properly |
By carefully selecting your materials, you're setting the stage for a successful quilting project that reflects your unique style. Remember, the right fabric, batting, and thread can transform your pillow cover from ordinary to extraordinary. So take your time, explore your options, and enjoy the creative process!

Preparing Your Fabric
Before you dive into the exciting world of quilting, it's crucial to prepare your fabric properly. Think of this step as laying the foundation for a sturdy house; if you skip it, everything else could crumble. The first step in preparing your fabric is to wash it. Washing not only removes any dirt or chemicals but also pre-shrinks the fabric, ensuring that your quilted pillow cover maintains its shape after the first wash. Use a gentle detergent and cold water to preserve the colors and textures of your fabric.
Once your fabric is washed, it's time to press it. This step is often overlooked, but trust me, it’s essential! A well-pressed fabric will make cutting and sewing a breeze. Use a steam iron to eliminate wrinkles, and be sure to press the seams flat if your fabric has any. Remember, a smooth surface is key to accurate cutting and sewing. If your fabric is particularly wrinkled, consider using a fabric spray to help ease out those stubborn creases.
Now, let’s talk about cutting. This is where your precision comes into play. Use a rotary cutter and a cutting mat for the best results. A ruler will also be your best friend here, ensuring that your cuts are straight and even. Measure twice, cut once, right? This old adage holds true in quilting. When cutting your fabric, you might want to consider the following:
| Fabric Type | Recommended Cutting Size |
|---|---|
| Cotton | 1/4 yard for each side of the pillow |
| Flannel | 1/3 yard for each side of the pillow |
| Canvas | 1/2 yard for each side of the pillow |
Once your fabric is cut, it’s beneficial to label your pieces. This can save you a lot of headaches later on! Use fabric markers or post-it notes to keep track of which pieces are for the front, back, and any other components. Proper labeling ensures that you won’t mix up your pieces, especially if you’re using different fabrics or colors.
Lastly, don't forget about the batting. Batting adds that cozy, plush feel to your quilted pillow cover. Choose a high-quality batting that complements your fabric choice. If you're unsure, cotton batting is a versatile option that works well with most fabrics. Remember to cut the batting slightly larger than your fabric pieces to allow for shrinkage and to ensure complete coverage.
By following these steps—washing, pressing, cutting, labeling, and selecting the right batting—you'll set yourself up for a successful quilting experience. Preparing your fabric properly not only saves you time but also enhances the overall look and durability of your quilted pillow cover. So, roll up your sleeves, gather your materials, and let’s get quilting!

Understanding Quilting Techniques
When it comes to making a quilted pillow cover, understanding different quilting techniques can truly elevate your project. Whether you're a seasoned pro or a curious beginner, knowing the ins and outs of quilting will not only enhance your skills but also allow you to express your creativity in unique ways. So, what are the techniques you should consider? Let’s dive into the world of quilting!
Quilting can generally be divided into two main categories: hand quilting and machine quilting. Each has its own charm and set of techniques, and the choice between the two often depends on your personal preference, time constraints, and the specific look you want to achieve for your pillow cover.
Hand quilting is like the slow dance of the quilting world. It allows for a personal touch that machine quilting sometimes can’t replicate. Imagine sitting down with your fabric, needle, and thread, stitching away while enjoying your favorite music or a good podcast. The rhythmic motion can be incredibly soothing! To get started with hand quilting, you'll need to master a few essential stitches:
- Running Stitch: This is the most basic stitch, where you simply run the needle in and out of the fabric. It's great for outlining shapes.
- Whip Stitch: Perfect for finishing edges, this stitch gives a clean look and secures your fabric layers together.
- Backstitch: A strong stitch that’s ideal for securing seams and adding decorative elements.
Each of these stitches can be used to create beautiful patterns, so don’t be afraid to experiment! The beauty of hand quilting lies in its imperfections, which often add character to your work.
If you’re short on time or looking for a more uniform finish, machine quilting might be your best bet. It’s like the fast lane of quilting, allowing you to cover larger areas in less time. When machine quilting, understanding your sewing machine settings is crucial. Here are a few key points to consider:
| Technique | Description | Best For |
|---|---|---|
| Free Motion Quilting | Allows you to move the fabric freely under the needle, creating intricate designs. | Creative patterns and designs. |
| Walking Foot Quilting | Uses a walking foot to evenly feed multiple layers of fabric through the machine. | Even stitching and straight lines. |
| Stippling | A technique that creates a meandering pattern, often used for filling in spaces. | Adding texture and depth to your quilt. |
Each technique has its own set of benefits and can be used depending on the style you want for your quilted pillow cover. Plus, with machine quilting, you can play around with different stitch types and settings to find what works best for you.
Ultimately, the choice between hand quilting and machine quilting boils down to your personal style and the amount of time you want to invest. Both methods can yield stunning results, so why not try your hand at both? You might discover a new favorite technique along the way!

Hand Quilting Basics
Hand quilting is not just a technique; it's an art form that allows you to express your creativity while adding a personal touch to your quilted pillow cover. Imagine sitting in a cozy corner of your home, needle in hand, stitching away as you craft a beautiful piece that reflects your style. But where do you start? Let's dive into the essentials!
First and foremost, you need to gather your supplies. The basic tools for hand quilting include:
- Needles: Opt for quilting needles, as they are specifically designed to handle multiple layers of fabric.
- Thread: Choose a high-quality cotton thread that matches or contrasts with your fabric. This choice can significantly impact the final look of your pillow cover.
- Thimble: Protect your fingers with a thimble, which helps push the needle through the fabric without causing discomfort.
- Scissors: Sharp scissors are essential for cutting threads and trimming fabric edges.
Once you have your tools ready, it’s time to learn some basic stitches. The two fundamental stitches you'll want to master are:
- Running Stitch: This is the most common stitch used in hand quilting. It involves making small, even stitches that run in a straight line. Not only is it easy to learn, but it also provides a lovely, subtle texture.
- Whip Stitch: This stitch is perfect for securing layers together. It involves looping the thread around the edge of the fabric, which can be particularly useful for binding edges or finishing seams.
Now, let’s talk about the actual quilting process. Start by layering your quilt sandwich, which consists of the top fabric, batting, and backing fabric. Pin these layers together to prevent them from shifting as you stitch. When you're ready to begin quilting, take a deep breath and enjoy the rhythmic motion of the needle and thread. Start from the center of your pillow cover and work your way outwards; this technique helps to avoid puckering and ensures a smooth finish.
As you quilt, remember that practice makes perfect. Don't be discouraged if your stitches aren't perfectly even at first; every stitch is a step toward improvement. Hand quilting is about the journey just as much as it is about the destination. Each stitch tells a story, and with time, you’ll develop your own unique style.
Finally, once you've finished quilting your design, take a moment to admire your handiwork. You’ve transformed simple fabric into a stunning quilted pillow cover that not only enhances your home decor but also showcases your dedication and skill. Hand quilting may take time, but the results are undeniably rewarding, and your pillow cover will be a cherished piece for years to come.
Q: How long does it take to hand quilt a pillow cover?
A: The time it takes to hand quilt a pillow cover varies based on your skill level and the complexity of the design. On average, it can take anywhere from a few hours to several days.
Q: Can I use any type of fabric for my quilted pillow cover?
A: While you can technically use any fabric, it’s best to choose cotton or cotton blends for their durability and ease of handling. Avoid stretchy fabrics, as they can complicate the quilting process.
Q: What if I make a mistake while quilting?
A: Mistakes are part of the learning process! If you make a mistake, don’t hesitate to unpick your stitches and redo them. It’s all part of honing your craft!
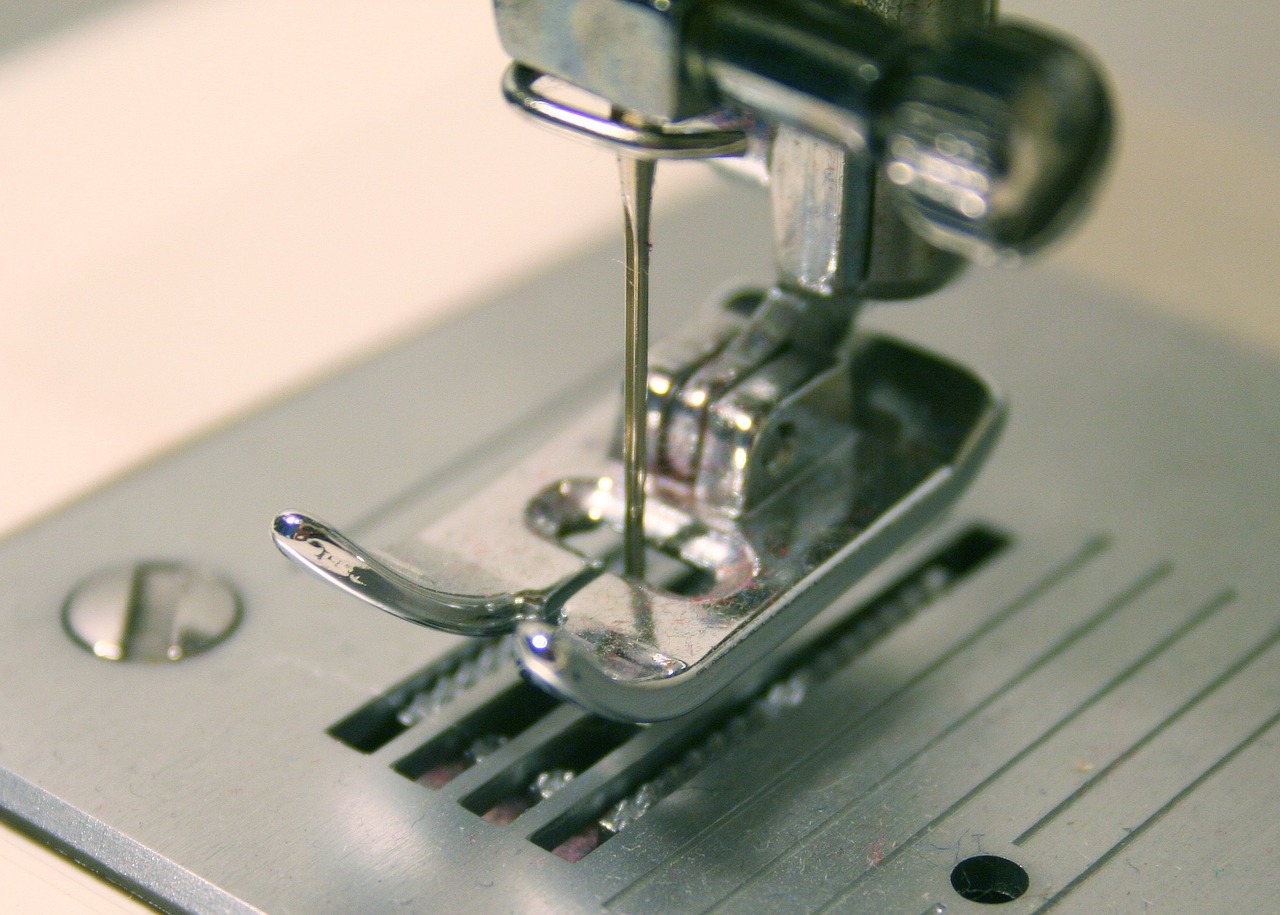
Machine Quilting Techniques
Machine quilting can be a real game changer for those looking to create quilted pillow covers quickly and efficiently. Unlike hand quilting, which can be time-consuming, machine quilting allows you to achieve a professional finish in a fraction of the time. But before you dive in, it’s essential to familiarize yourself with a few key techniques that can elevate your quilting game.
First off, let’s talk about the types of stitches you can use. Most sewing machines come equipped with a variety of stitch options. The most common stitches for quilting include:
- Straight Stitch: Perfect for basic quilting, this stitch is straightforward and reliable.
- Zigzag Stitch: This stitch is great for adding a decorative touch while securing your fabric layers together.
- Free Motion Quilting: This technique allows you to move the fabric freely under the needle, creating intricate designs and patterns.
Understanding your machine's settings is also crucial. Adjusting the stitch length and tension can make a significant difference in the appearance of your quilting. For instance, a shorter stitch length can create a more secure hold on your fabric, while a longer stitch length is often used for decorative purposes. Don’t be afraid to experiment with these settings on scrap fabric before working on your actual project.
Another important aspect of machine quilting is the use of batting. Batting is the layer of material placed between the quilt top and backing, providing warmth and structure. When choosing batting, consider the following:
| Type of Batting | Characteristics | Best For |
|---|---|---|
| Cotton | Soft and breathable, provides a natural look | Everyday quilts and pillow covers |
| Polyester | Durable and resists wrinkling | Quilts that require frequent washing |
| Wool | Warm and lofty, great for insulation | Winter quilts |
Once you have your materials ready, it’s time to set up your machine. Make sure you have a walking foot or a free motion foot attached, depending on the technique you choose. The walking foot helps to evenly feed multiple layers of fabric through the machine, while the free motion foot allows for more creative freedom in your stitching.
Finally, practice makes perfect! Don’t be discouraged if your first few attempts don’t turn out exactly as you envisioned. Take the time to practice different stitches and techniques on scrap fabric. This will not only build your confidence but also help you discover your unique quilting style.
In summary, machine quilting is a fantastic way to create stunning quilted pillow covers with efficiency and flair. By understanding the different stitches, settings, and materials, you can achieve beautiful results that will impress anyone who sees your work. So grab your sewing machine, unleash your creativity, and enjoy the process!
Q: Do I need a special sewing machine for quilting?
A: While a standard sewing machine can work for quilting, a machine with quilting features, such as a walking foot or free motion capabilities, can make the process easier and more enjoyable.
Q: How do I choose the right batting for my project?
A: Consider the look and feel you want for your quilt. Cotton is great for a natural look, polyester is durable, and wool offers warmth. Each type has its benefits depending on your project’s needs.
Q: Can I machine quilt if I’ve only hand quilted before?
A: Absolutely! Many quilters start with hand quilting and transition to machine quilting. Just give yourself time to learn the new techniques, and you’ll be creating beautiful projects in no time!

Assembling Your Pillow Cover
Now that you've completed the quilting process, it’s time to bring all your hard work together by assembling your quilted pillow cover. This stage is like the grand finale of a fireworks show—exciting and full of potential! Start by laying out your quilted front piece and the backing fabric. Make sure to choose a backing that complements your quilted design; this will not only enhance the aesthetic but also provide a sturdy support for your pillow.
To begin, place your quilted front piece right side up on a flat surface. Next, take your backing fabric and lay it on top of the quilted piece, right sides together. This is a crucial step, as it ensures that the finished product looks neat and polished. If you’re feeling a bit adventurous, you can even use a contrasting fabric for the back to add an element of surprise when someone flips the pillow over!
Once you have your pieces aligned, it’s time to pin them together. Use sewing pins to secure the edges, making sure to leave an opening on one side. This opening will allow you to insert the pillow form later. It’s like leaving a secret passageway for the fluff! Pinning is essential as it prevents the fabric from shifting while you sew, ensuring that your seams are straight and your corners are sharp.
Next, you’ll want to sew around the edges of your pillow cover. A 1/4 inch seam allowance is standard in quilting, but you can adjust this based on your preference. As you sew, remember to backstitch at the beginning and end of your seam to secure your stitches. This little detail can make a big difference in the durability of your pillow cover, keeping it intact through many cozy nights on the couch.
After sewing, it’s time to turn your pillow cover right side out. Carefully pull the fabric through the opening, making sure to push out the corners gently to achieve that crisp look. You might want to use a blunt object, like a chopstick, to help poke the corners out without risking any tears. Once it’s turned, give your pillow cover a good press with an iron to smooth out any wrinkles and ensure that the seams lay flat.
Now comes the fun part: inserting the pillow form! Choose a pillow insert that fits snugly inside your cover; this will help maintain a full and fluffy appearance. Once the pillow is in place, you can hand-stitch the opening closed or use a sewing machine for a more polished look. If you opt for hand-stitching, a simple slip stitch will work wonders. It’s like the cherry on top of your pillow cover project!
Finally, step back and admire your creation. You’ve transformed simple fabric into a stunning quilted pillow cover that not only enhances your home décor but also reflects your personal style. Remember, each stitch tells a story, and your pillow cover is a testament to your creativity and hard work. So, go ahead and fluff it up on your couch or bed; it deserves to be shown off!
- What type of fabric is best for a quilted pillow cover? Cotton is often recommended due to its durability and ease of use, but you can also experiment with blends for different textures.
- Can I use a pillow cover without quilting? Absolutely! A simple sewn pillow cover can be just as beautiful. Quilting adds texture and design, but it’s not a requirement.
- How do I care for my quilted pillow cover? It’s best to follow the washing instructions for the fabric used. Generally, machine washing on a gentle cycle and air drying is recommended to maintain its beauty.

Finishing Touches
Once you've completed the quilting process, it's time to add those all-important finishing touches that can truly elevate your quilted pillow cover from ordinary to extraordinary. Just like a chef adds a pinch of salt to enhance the flavor of a dish, these final steps will enhance the beauty and functionality of your creation. So, what exactly should you focus on?
First off, binding is a crucial step that not only adds a polished edge but also protects the raw fabric edges from fraying. You can choose a fabric that complements your main design or even a contrasting color for a pop of excitement. To bind your pillow cover, cut strips of fabric, fold them in half, and sew them around the edges. It’s like framing a picture; you want to make sure the frame enhances the artwork inside.
Next, consider trimming excess fabric. After binding, you might notice some areas where the fabric extends beyond the seams. Carefully trim these areas to achieve a clean and professional look. This step is crucial because it helps in achieving a nice, flat finish, making your pillow cover look store-bought rather than handmade.
Now, let's talk about decorative elements. This is where you can truly let your creativity shine. Think about adding buttons, embroidery, or even fabric paint to personalize your pillow cover. You could create a design that tells a story or reflects your personality. For instance, if you love nature, consider stitching some leaves or flowers onto your pillow cover. It’s like adding a signature to your artwork, making it uniquely yours.
Finally, don’t forget about labels. If you’re planning to gift your pillow cover or simply want to mark it as your own, consider sewing in a small label. It could be as simple as your name or a meaningful quote. This small detail adds a personal touch and can even turn your pillow cover into a cherished keepsake.
In summary, the finishing touches on your quilted pillow cover are what transform it into a true work of art. From binding and trimming to adding decorative elements and labels, each step contributes to the overall aesthetic and quality of your project. So, take your time with these final steps, and enjoy the process of making your pillow cover a masterpiece!
As you embark on your journey of creating a quilted pillow cover, you might have some questions. Here are a few frequently asked questions that can guide you along the way:
- What type of fabric is best for a quilted pillow cover? Cotton fabric is often recommended for its durability and ease of sewing. However, you can also experiment with blends or other materials based on your desired aesthetic.
- How do I care for my quilted pillow cover? It's best to wash it on a gentle cycle with cold water and tumble dry on low heat. This helps maintain the fabric’s integrity and color.
- Can I use my quilted pillow cover outdoors? If you plan to use it outside, consider using outdoor fabric that is more resistant to fading and moisture.
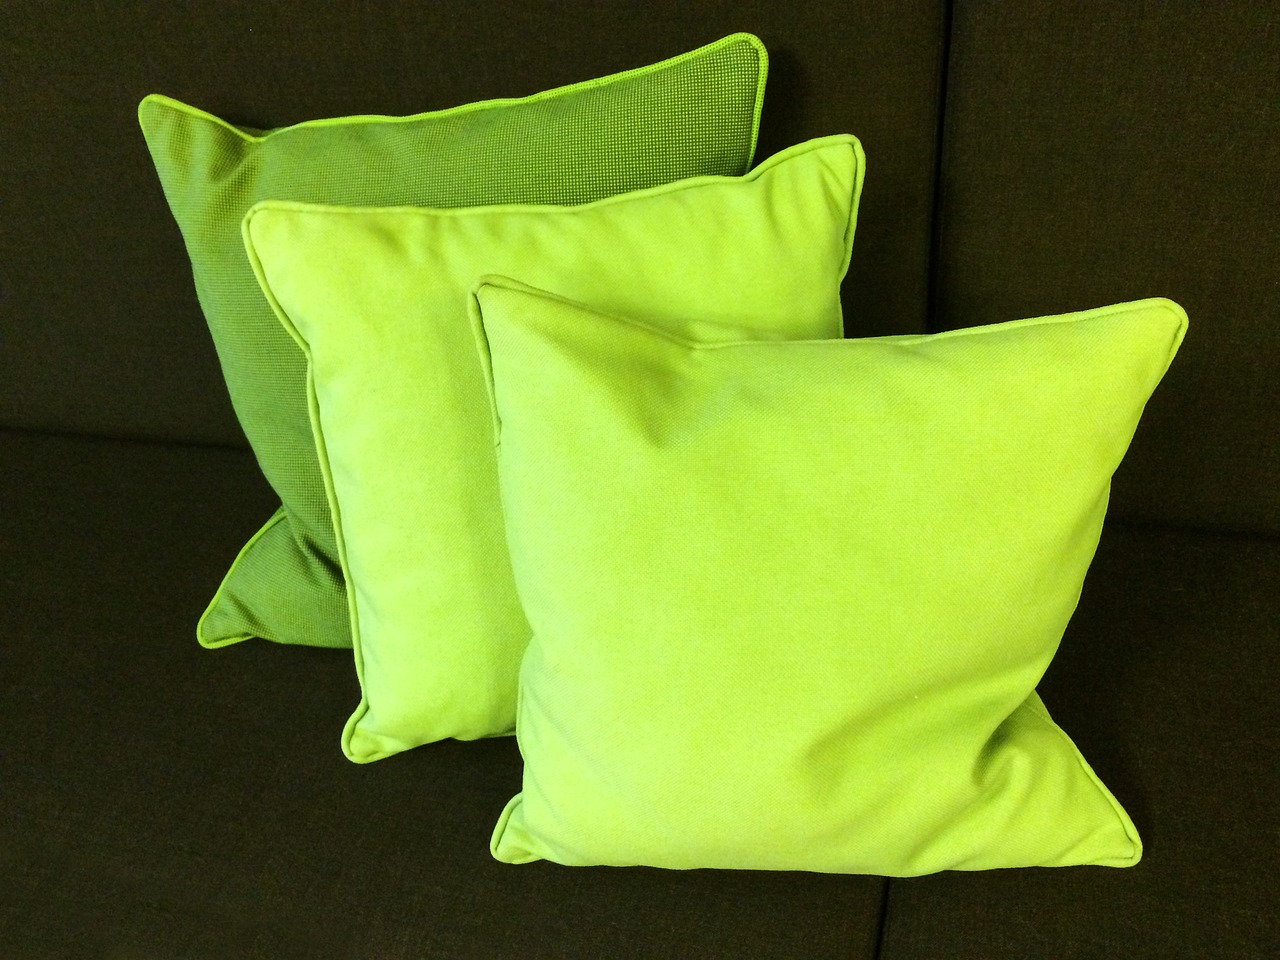
Care and Maintenance
Taking care of your quilted pillow cover is essential to keep it looking fresh and vibrant for years to come. Just like a cherished book or a favorite piece of clothing, your pillow cover deserves a little love and attention. But how do you ensure its longevity? Let's dive into some practical tips that will help you maintain the beauty and integrity of your creation.
First and foremost, washing your quilted pillow cover should be done with care. It's best to wash it in cold water on a gentle cycle to prevent any potential damage. If you want to maintain the colors and prevent fading, consider using a mild detergent. Avoid bleach at all costs, as it can ruin the fabric and alter the colors. If your cover has intricate stitching or embellishments, you might want to hand wash it instead. This gentle approach will help preserve those delicate details.
Once it's time to dry your pillow cover, opt for air drying whenever possible. Lay it flat on a clean surface or hang it up to dry. If you must use a dryer, use a low heat setting to avoid shrinking or damaging the fabric. Remember, the goal is to keep your pillow cover looking as good as new, so treat it with the same care you would give to a fine piece of art.
Now, let’s talk about storage. If you're not using your quilted pillow cover for a while, store it in a cool, dry place. Avoid damp areas that can lead to mold or mildew. A breathable cotton bag or a pillowcase is a great option for storage, as it allows the fabric to breathe while keeping dust and dirt at bay. You wouldn’t want your masterpiece to be hidden away in a dark corner, right?
Additionally, it’s wise to regularly check your pillow cover for any signs of wear and tear. A loose thread here or a small stain there can easily be fixed if addressed promptly. Keeping a small sewing kit handy can be a lifesaver for minor repairs. A simple stitch can go a long way in preserving your quilted treasure.
Lastly, if you want to keep your pillow cover looking its best, consider rotating it with other pillow covers. This not only gives your decor a fresh look but also reduces wear on any single piece. Just like you wouldn’t wear the same outfit every day, your pillow cover will appreciate a little variety too!
- How often should I wash my quilted pillow cover? Ideally, you should wash it every few months or when it appears dirty. Always follow the washing instructions mentioned above.
- Can I use fabric softener? It’s best to avoid fabric softener, as it can leave a residue that may affect the fabric's breathability and softness.
- What should I do if my pillow cover gets stained? Treat stains as soon as possible using a gentle stain remover. Test it on a small area first to ensure it doesn’t affect the fabric.
Frequently Asked Questions
- What materials do I need to make a quilted pillow cover?
To create a quilted pillow cover, you'll need quilting cotton fabric, batting, thread, and a pillow form. You might also want a rotary cutter, cutting mat, and quilting ruler for precise cuts.
- How do I prepare my fabric before quilting?
Preparing your fabric involves washing and drying it to pre-shrink, pressing to remove wrinkles, and cutting it into the desired shapes and sizes. This ensures that your quilted pillow cover maintains its shape and size after washing.
- What are the differences between hand quilting and machine quilting?
Hand quilting is a more personal and traditional method, allowing for intricate designs and stitches. In contrast, machine quilting is faster and can produce consistent results, making it ideal for beginners or those short on time.
- Can I use any type of fabric for my pillow cover?
While you can technically use any fabric, it's best to stick with quilting cotton or other similar fabrics that are durable and easy to work with. Avoid stretchy or slippery fabrics, as they can complicate the quilting process.
- What are some tips for assembling my quilted pillow cover?
When assembling your pillow cover, make sure to align the front and back pieces carefully. Use pins to secure them before sewing, and leave an opening for inserting the pillow form. This will help ensure a neat finish.
- How do I care for my quilted pillow cover?
To maintain your quilted pillow cover, wash it in cold water on a gentle cycle and tumble dry on low. Avoid bleach and harsh detergents, and store it in a cool, dry place to prevent damage.
- Can I add decorative elements to my quilted pillow cover?
Absolutely! Adding decorative elements like buttons, embroidery, or fabric appliqué can make your pillow cover unique and reflect your personal style. Just make sure they are securely attached to withstand use.


