Five Reasons Your Sewing Machine May Be Skipping Stitches
This article explores common reasons why sewing machines skip stitches and offers insights into troubleshooting and maintaining your machine for optimal performance. If you’ve ever found yourself in the middle of a sewing project only to discover that your machine is skipping stitches, you’re not alone. This frustrating issue can derail your creativity and lead to wasted fabric and time. But fear not! Understanding the underlying causes of skipped stitches can help you troubleshoot effectively and get back to sewing in no time.
A needle that is not correctly installed can lead to skipped stitches. Understanding the proper way to insert a needle is crucial for smooth sewing and avoiding frustration. When you insert a needle, it should be pushed all the way up into the needle holder. If it’s even slightly loose or at an angle, it can cause uneven stitching or, worse, skipping. Always ensure that the flat side of the needle is facing the back of the machine, as this is essential for the needle to function correctly.
Using the wrong type of needle for your fabric can cause issues. Each fabric has specific needle requirements, and selecting the right one can significantly reduce skipped stitches. For instance, using a universal needle on a delicate fabric like chiffon can lead to problems, while a ballpoint needle is ideal for knits. Understanding the differences between needle types is key to achieving a flawless finish.
Universal needles work for most fabrics, but specialty needles are designed for specific materials like denim or knits. Choosing the right needle type can enhance stitch quality. For example, a denim needle has a thicker shaft and a sharper point, making it perfect for heavy fabrics. Using the appropriate needle will not only help prevent skipped stitches but also improve the overall appearance of your project.
Needle size also matters; a needle that is too large or too small can lead to problems. For example, a size 14 needle is ideal for medium-weight fabrics, while a size 10 is better suited for lightweight materials. Learn how to select the appropriate size for your project by referring to the table below:
| Fabric Type | Recommended Needle Size |
|---|---|
| Lightweight (e.g., silk, chiffon) | Size 9-11 |
| Medium-weight (e.g., cotton, linen) | Size 12-14 |
| Heavyweight (e.g., denim, canvas) | Size 14-16 |
Regularly replacing and maintaining needles can prevent wear that causes skipped stitches. Discover the signs that indicate it's time for a needle change, such as bent needles or dull points. A good rule of thumb is to change your needle after every project or every 8 hours of sewing to ensure optimal performance.
A damaged needle can disrupt the sewing process and lead to skipped stitches. Recognizing signs of wear is key to maintaining stitch integrity. If you notice that your stitches are inconsistent or if you hear unusual noises coming from your machine, it might be time to inspect your needle for any damage.
Using low-quality or old thread can contribute to skipping stitches. Understanding thread characteristics can help ensure smoother sewing experiences. High-quality thread is less likely to fray, break, or tangle, which means you can focus on your creativity instead of troubleshooting. Always opt for reputable thread brands and check the expiration date on older spools.
Different projects require different thread weights and types. Matching the thread to the fabric can prevent sewing complications and enhance the final result. For example, using a heavier thread for thick fabrics will ensure that your stitches hold properly, while a lighter thread is suitable for delicate materials.
Improper thread tension can lead to skipped stitches and uneven stitching. Learning how to adjust tension settings is essential for achieving professional-looking results. If your stitches look loose or bunched up, it might be time to tweak the tension dial on your machine. A good starting point is to refer to your sewing machine manual for specific recommendations based on your fabric and thread combination.
Regular maintenance is crucial for optimal sewing machine performance. Neglecting cleaning and oiling can lead to issues like skipped stitches and decreased efficiency. Just like a car needs regular oil changes, your sewing machine requires attention to keep it running smoothly. Set a schedule for maintenance to ensure that your machine stays in top shape.
Dust and lint accumulation can affect machine performance. Regular cleaning of the machine can help prevent skipped stitches and prolong its lifespan. Make it a habit to clean the bobbin area and feed dogs after every few projects. A simple brush can help remove debris and keep your machine functioning properly.
Proper lubrication is vital for smooth operation. Understanding when and how to lubricate your sewing machine can prevent mechanical issues and enhance functionality. Always use the recommended lubricant as specified in your machine's manual, and remember that over-lubrication can be just as harmful as neglecting it.
- Why does my sewing machine skip stitches? – This can happen due to improper needle installation, incorrect needle type, poor thread quality, or lack of maintenance.
- How often should I change my needle? – It's recommended to change your needle after every project or every 8 hours of sewing.
- What type of needle should I use for denim? – A denim needle is best for sewing through heavy fabrics like denim.
- How do I clean my sewing machine? – Regularly remove lint and dust from the bobbin area and feed dogs, and consult your manual for specific cleaning instructions.
Improper Needle Installation
Have you ever been in the middle of a sewing project, only to find your machine skipping stitches like it's trying to dodge a bullet? It can be incredibly frustrating, right? One of the most common culprits behind this issue is improper needle installation. When your needle isn't seated correctly, it can lead to a cascade of problems that can ruin your sewing experience. So, let's dive into why proper needle installation is crucial and how you can ensure your needle is ready to perform!
First off, installing a needle may seem like a simple task, but there’s actually a specific method to it. When you insert the needle into the machine, it should be pushed all the way up into the needle clamp. If it's even slightly loose, it can wobble during sewing, causing uneven stitches or, worse, skipping altogether. Imagine trying to write with a pen that has a loose nib; it just doesn't work well, does it?
Here’s a quick checklist to ensure you've installed your needle correctly:
- Turn off your machine before changing the needle to avoid any accidents.
- Use the right type of needle for your project, as different fabrics require different needles.
- Insert the needle with the flat side facing the back of the machine (most needles have a flat side).
- Push the needle up into the clamp until it's fully seated, then tighten the clamp securely.
Additionally, it’s essential to check if the needle is straight. A bent needle can also lead to skipped stitches, just like a bent fork can’t pick up food properly. If you notice that your needle is bent, it’s time to replace it. Remember, a well-installed needle is your best friend in achieving smooth, beautiful stitches.
Lastly, don't forget to regularly check your needle’s condition. Needles can wear out or get damaged over time, and using a dull or damaged needle will only exacerbate the problem of skipped stitches. Make it a habit to inspect your needle before starting a new project, and always have a few spares on hand. After all, a little prevention goes a long way in ensuring your sewing machine performs at its best!
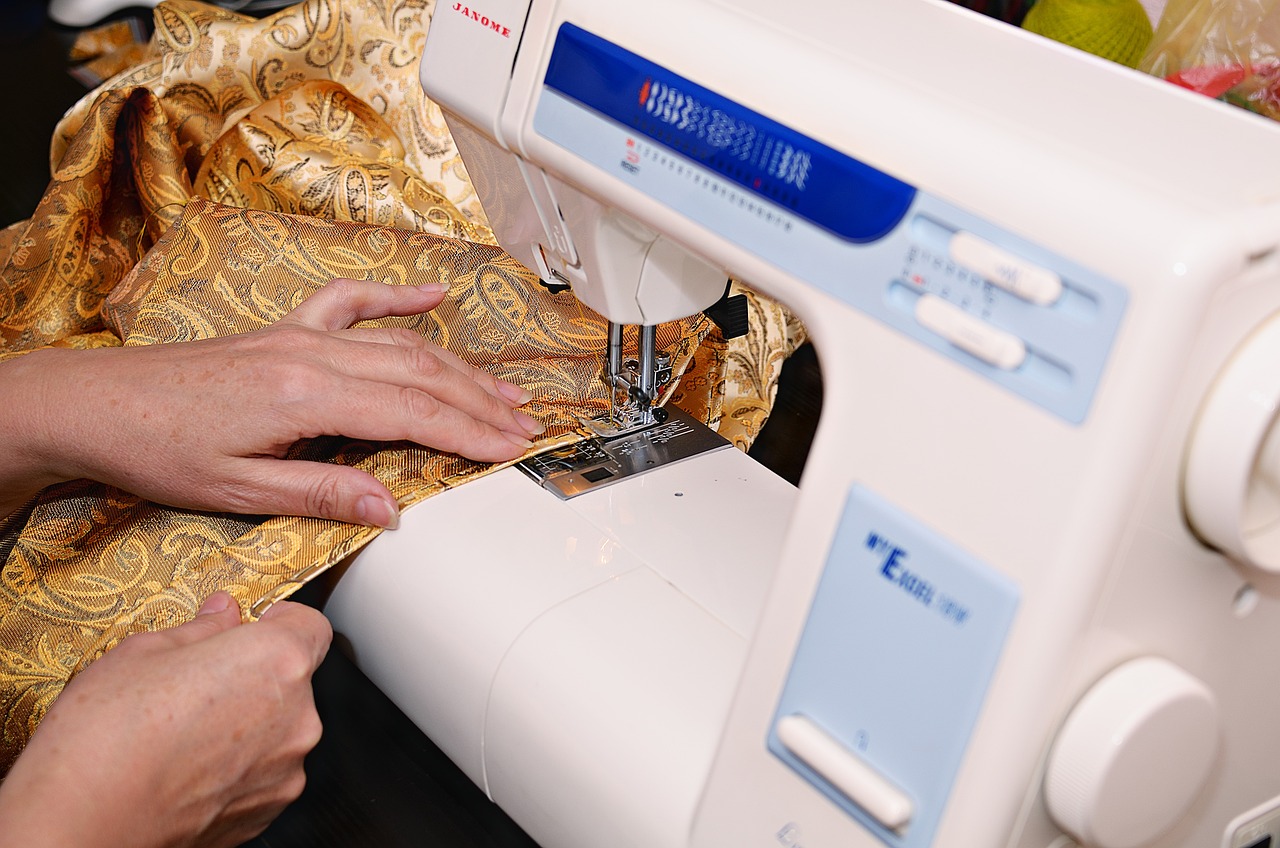
Incorrect Needle Type
Using the wrong type of needle for your sewing project can be a major culprit behind those pesky skipped stitches. Just like a chef wouldn’t use a butter knife to chop vegetables, your sewing machine requires the right needle to tackle different fabrics effectively. Each fabric has its own unique characteristics, and selecting the appropriate needle type can significantly enhance your sewing experience while reducing frustration.
When it comes to needle types, you might have heard of universal needles and specialty needles. Universal needles are versatile and can handle most fabrics, making them a go-to choice for many sewing enthusiasts. However, when you’re working with specific materials like denim or knits, it’s essential to switch to a specialty needle designed for those fabrics. For instance, a denim needle has a thicker shaft and a sharp point that can easily penetrate multiple layers of heavy fabric, while a ballpoint needle is perfect for knit fabrics as it gently pushes the fibers aside instead of piercing them.
Understanding the difference between these needle types is crucial. While universal needles are great for basic sewing tasks, specialty needles can make a world of difference in stitch quality and overall project satisfaction. When you use the right needle for the job, you not only minimize skipped stitches but also achieve a more professional finish. Think of it as wearing the right shoes for a specific occasion; the right choice can make all the difference in comfort and performance.
Needle size is another critical factor. A needle that is too large can create holes in delicate fabrics, while one that is too small may struggle to penetrate heavier materials, leading to skipped stitches. To help you choose the right size, refer to the table below:
| Fabric Type | Recommended Needle Size |
|---|---|
| Lightweight Fabrics (e.g., silk, chiffon) | 60/8 - 70/10 |
| Medium Weight Fabrics (e.g., cotton, linen) | 80/12 |
| Heavyweight Fabrics (e.g., denim, canvas) | 90/14 - 100/16 |
As you can see, selecting the right needle size is just as important as choosing the correct type. It’s all about finding that perfect match for your fabric to ensure smooth sewing and prevent any hiccups along the way.
Lastly, don’t forget about needle maintenance! Regularly replacing your needles is essential to prevent wear that can cause skipped stitches. A needle that has been used extensively can become dull or damaged, which will negatively impact your sewing. So, keep an eye out for signs of wear, such as bent or broken needles, and make it a habit to change them regularly, especially when you notice your stitches starting to skip.
In summary, using the correct needle type and size for your fabric is fundamental to achieving flawless stitching. By paying attention to these details, you can transform your sewing experience from frustrating to enjoyable, ensuring that your projects turn out just the way you envisioned them.
- What happens if I use the wrong needle type?
Using the wrong needle type can lead to skipped stitches, fabric damage, and an overall frustrating sewing experience.
- How often should I change my sewing machine needle?
It’s recommended to change your needle after every project or every 6-8 hours of sewing to maintain optimal performance.
- Can I use a universal needle for all types of fabric?
While universal needles are versatile, they may not perform well on specialty fabrics. It’s best to use the appropriate needle type for specific materials.
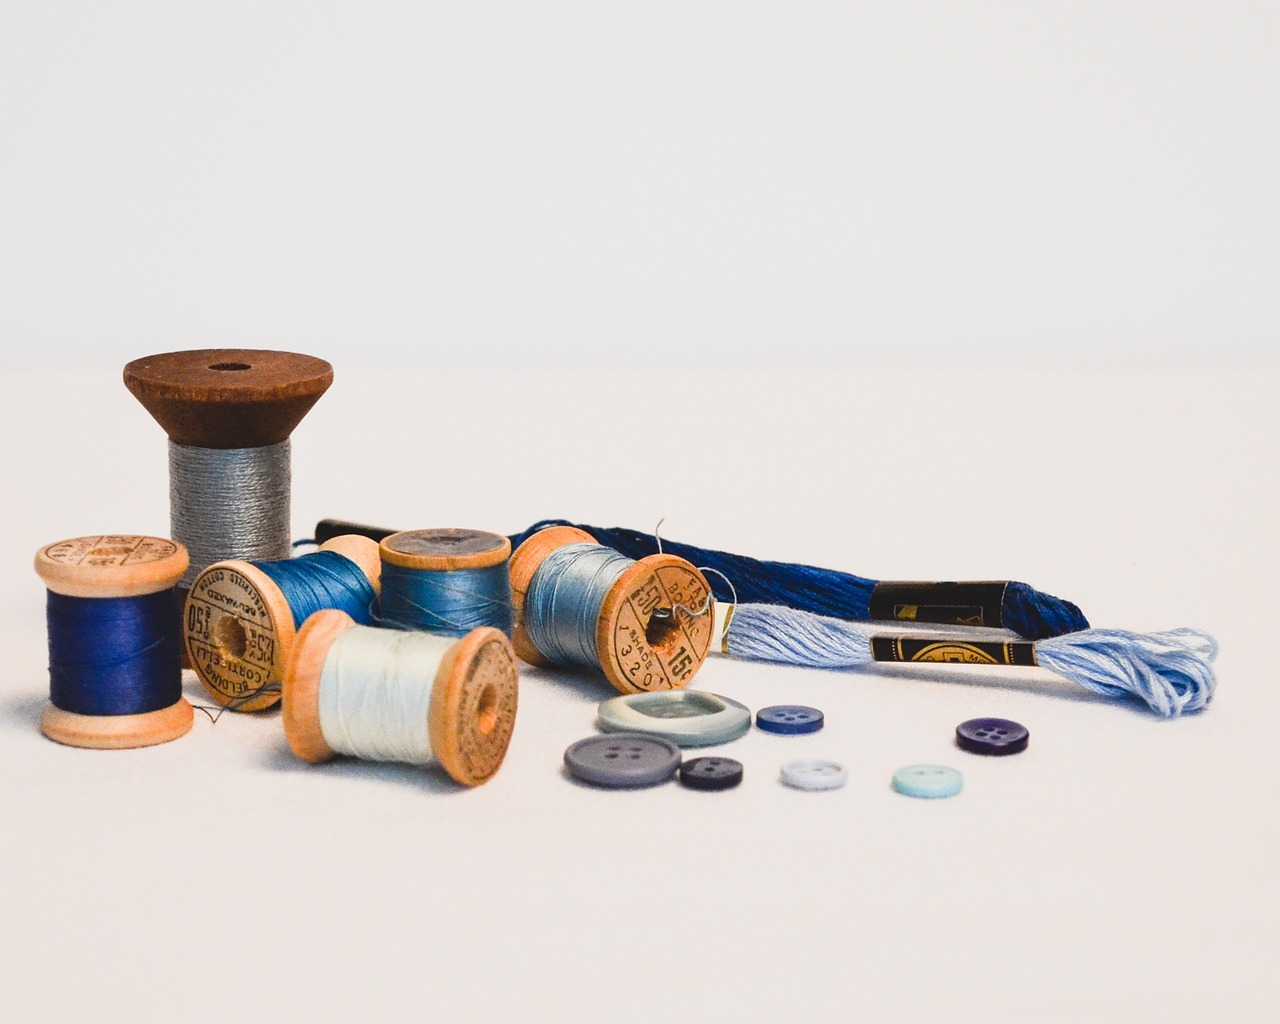
Universal vs. Specialty Needles
When it comes to sewing, choosing the right needle can make all the difference between a seamless project and a frustrating experience filled with skipped stitches. Universal needles are often the go-to choice for many sewists because they are designed to work with a variety of fabrics, making them versatile and convenient. However, just like a Swiss Army knife isn't the best tool for every job, universal needles may not always be the ideal choice for every fabric type.
Specialty needles, on the other hand, are crafted for specific materials and tasks. They can enhance your sewing experience and improve stitch quality significantly. For instance, if you're working with denim, a denim needle with a thicker shaft and a sharp point is essential for piercing through multiple layers of fabric. Similarly, if you're sewing with knits, a ballpoint needle is designed to slide between the fibers without causing damage, ensuring that your stitches remain intact.
To illustrate the differences between universal and specialty needles, let's take a look at the following table:
| Needle Type | Best For | Features |
|---|---|---|
| Universal Needle | Most woven and knit fabrics | Medium size, rounded tip, versatile |
| Denim Needle | Denim, heavy fabrics | Thicker shaft, sharp point |
| Ballpoint Needle | Knit fabrics | Rounded tip, prevents snagging |
| Embroidery Needle | Embroidery projects | Specialized eye for thicker threads |
Understanding the right needle for your project can save you a lot of headaches. If you find yourself constantly battling with skipped stitches, it might be time to evaluate whether you’re using the appropriate needle for your fabric type. Selecting the right needle not only improves the quality of your stitches but also enhances the overall look of your finished project.
So, the next time you're ready to start a new sewing adventure, take a moment to consider your needle choice. It’s a small detail that can lead to big results. By investing a little time in understanding the differences between universal and specialty needles, you’ll be well on your way to creating beautiful, professional-looking pieces without the frustration of skipped stitches.
- What is the best needle for sewing knits? A ballpoint needle is recommended for sewing knits as it prevents snags and damage to the fabric.
- Can I use a universal needle for denim? While you can use a universal needle for denim, a denim needle is preferable as it is specifically designed to handle heavy fabrics.
- How often should I change my sewing needle? It's a good practice to change your needle after every project or after every 8 hours of sewing to maintain optimal performance.
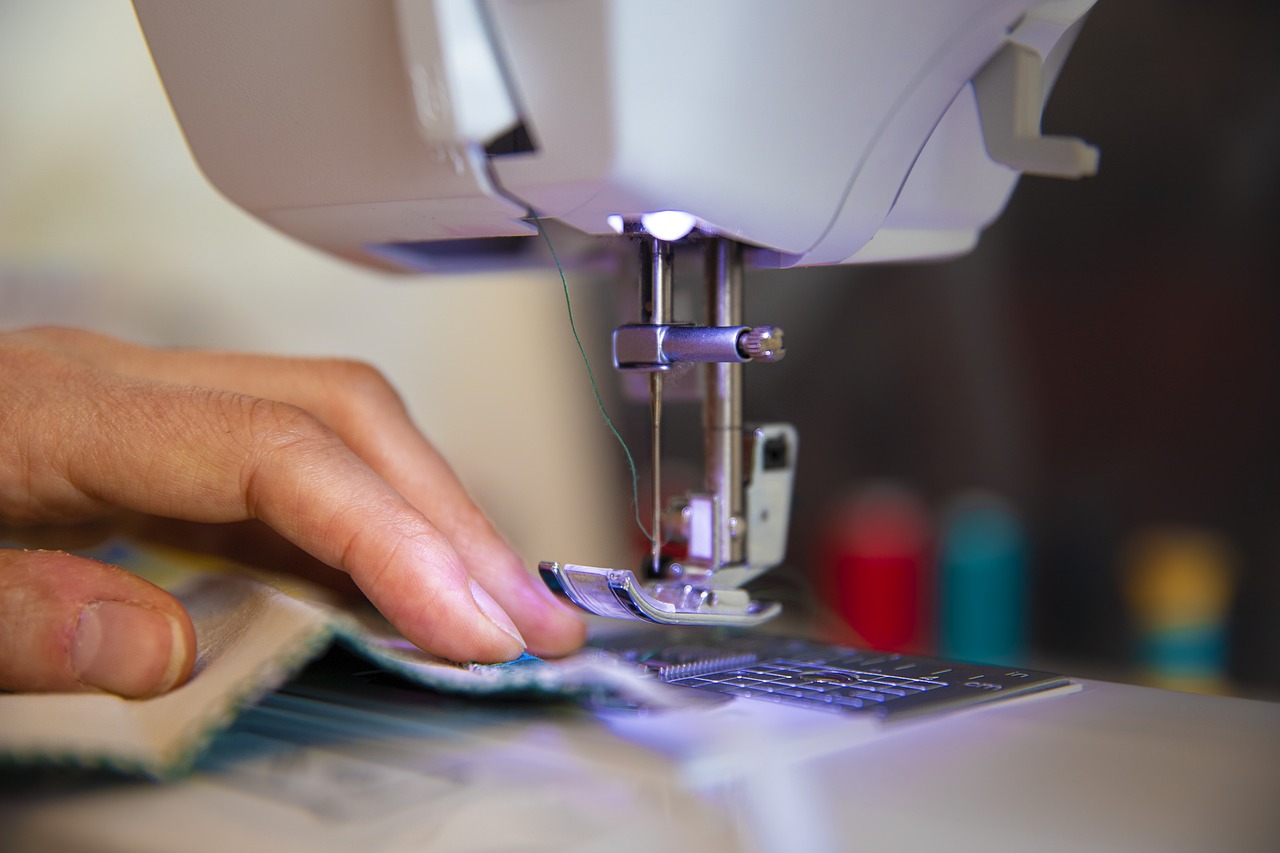
Choosing the Right Size
When it comes to sewing, selecting the right needle size is as critical as choosing the right fabric. A needle that is either too large or too small can lead to a myriad of problems, including skipped stitches, fabric damage, and frustrating sewing experiences. But how do you determine which size is best for your project? It’s not just about picking a needle and hoping for the best; it requires a bit of knowledge and understanding of your materials.
First, let’s break down the needle sizing system. Needle sizes are typically measured in two systems: the metric system (used worldwide) and the American system. In the metric system, sizes range from 60 (very fine) to 120 (very thick), while the American system uses numbers from 8 to 19. For example, a size 80/12 needle in the metric system is equivalent to a size 12 in the American system. Understanding this conversion is essential, especially if you’re following patterns or recommendations that use different sizing conventions.
Now, let’s consider the type of fabric you're working with. Different fabrics require different needle sizes. For instance:
- Lightweight fabrics (like silk or chiffon) typically require smaller needles, around size 60/8 to 70/10.
- Medium-weight fabrics (such as cotton or linen) are best suited for needles in the range of 80/12 to 90/14.
- Heavyweight fabrics (like denim or canvas) need larger needles, usually size 100/16 or 110/18.
Choosing the correct size is crucial because a needle that is too large can create holes in delicate fabrics, while a needle that is too small can struggle to penetrate thicker materials, leading to skipped stitches. It’s like trying to use a hammer to drive in a tiny nail; it just doesn’t work well!
Additionally, consider the type of project you are undertaking. If you’re sewing multiple layers of fabric or working with heavy materials, opting for a larger needle size will ensure that your machine can handle the thickness without compromising stitch quality. Conversely, if you’re working on detailed embroidery or delicate hems, a smaller needle will provide the precision you need.
To help you visualize the relationship between fabric types and needle sizes, here’s a handy reference table:
| Fabric Type | Recommended Needle Size |
|---|---|
| Silk, Chiffon | 60/8 - 70/10 |
| Cotton, Linen | 80/12 - 90/14 |
| Denim, Canvas | 100/16 - 110/18 |
In summary, choosing the right needle size is a fundamental aspect of successful sewing. It can make the difference between a smooth, enjoyable experience and a frustrating ordeal filled with missed stitches and fabric mishaps. Always take the time to assess your fabric and project requirements before making your needle selection. Your sewing machine will thank you, and so will your finished project!
Q: How often should I change my sewing needle?
A: It's generally recommended to change your needle after every 8 hours of sewing or after completing a project, especially when working with thick fabrics or multiple layers.
Q: Can I use a universal needle for all types of fabric?
A: While universal needles can work for many fabrics, it's best to use specialty needles for specific materials to achieve the best results.
Q: What should I do if my sewing machine continues to skip stitches?
A: If your machine is still skipping stitches after checking the needle size and type, ensure that your thread quality is good and that the machine is clean and properly lubricated.
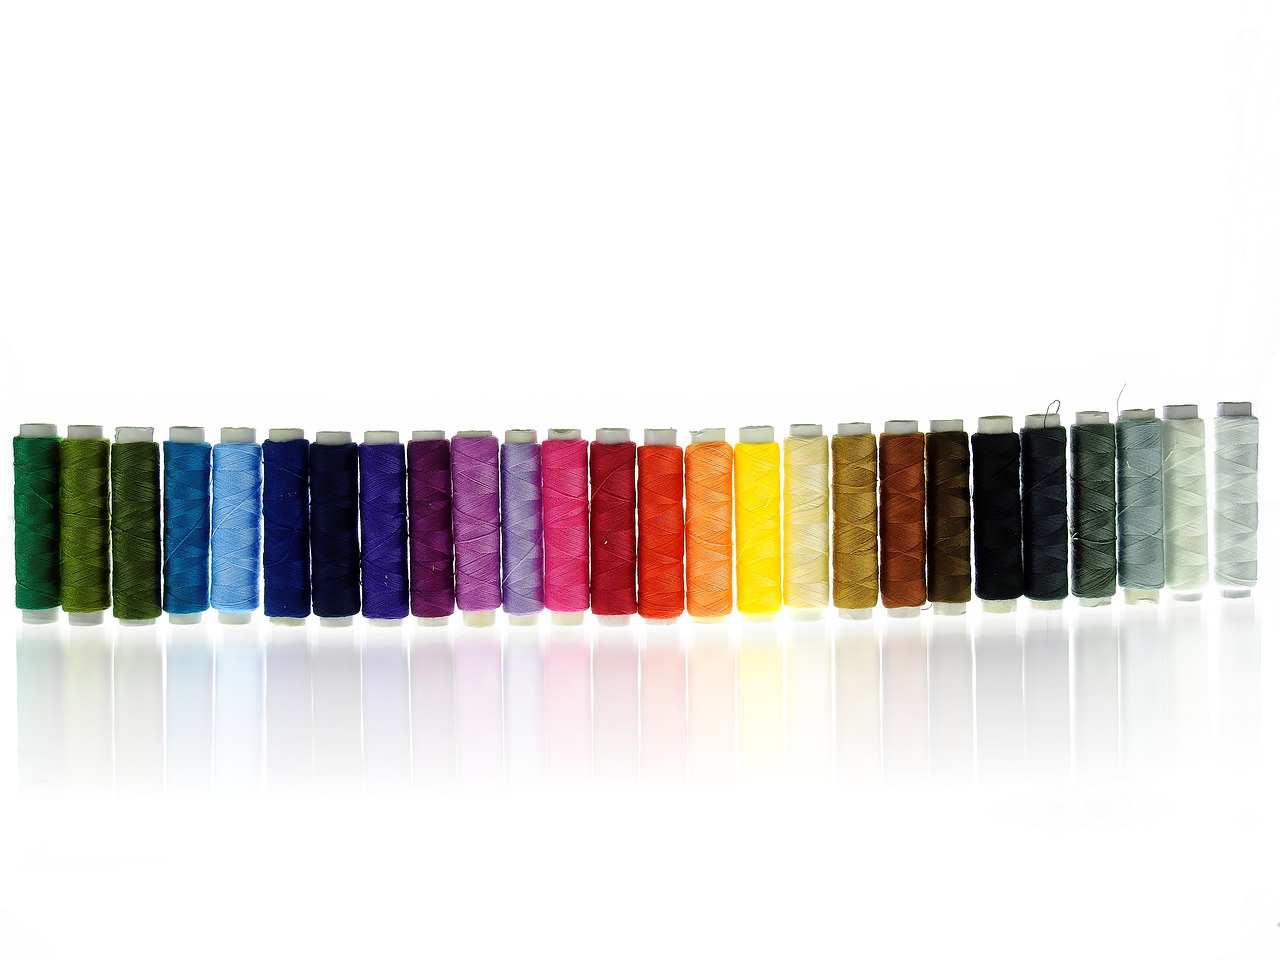
Needle Maintenance
Needle maintenance is a vital aspect of ensuring your sewing machine operates smoothly and efficiently. Just like a chef needs a sharp knife to create culinary masterpieces, your sewing machine requires well-maintained needles to produce flawless stitches. Over time, needles can become dull or damaged, leading to frustrating skipped stitches and uneven sewing results. But don’t worry! Maintaining your needles is easier than you might think.
First and foremost, it's essential to recognize the signs that indicate your needle may need replacing. If you notice that your stitches are consistently skipping, or if the fabric is not feeding through the machine smoothly, it might be time to check the condition of your needle. A quick visual inspection can reveal a lot; look for any bends, nicks, or dullness on the needle's tip. If you spot any of these issues, it's time to swap it out for a fresh one!
In addition to replacing needles when necessary, regular maintenance can extend their lifespan. Here are some tips to help you keep your needles in top shape:
- Use the Right Needle for Your Fabric: Different fabrics require different needle types. For instance, using a universal needle on heavy fabrics like denim can lead to premature wear.
- Change Needles Regularly: As a general rule of thumb, consider changing your needle after every project or after every 8 hours of sewing. This will help maintain optimal performance.
- Store Needles Properly: Keep your needles in a safe and organized place. Avoid storing them in places where they can get bent or damaged.
Implementing these simple practices can greatly reduce the likelihood of skipped stitches and ensure that your sewing projects turn out just the way you envision. Remember, a little attention to needle maintenance goes a long way in keeping your sewing machine running smoothly!
Q: How often should I change my sewing machine needle?
A: It’s recommended to change your needle after every project or approximately every 8 hours of sewing to maintain optimal performance.
Q: What are the signs that my needle needs to be replaced?
A: Look for skipped stitches, uneven stitching, or visible damage such as bends or nicks on the needle tip.
Q: Can I use the same needle for different types of fabric?
A: While universal needles work for many fabrics, it's best to use specialty needles for specific materials to achieve the best results.
Q: What should I do if my sewing machine is still skipping stitches after changing the needle?
A: If the problem persists, check other factors such as thread quality, tension settings, and the overall maintenance of your machine.
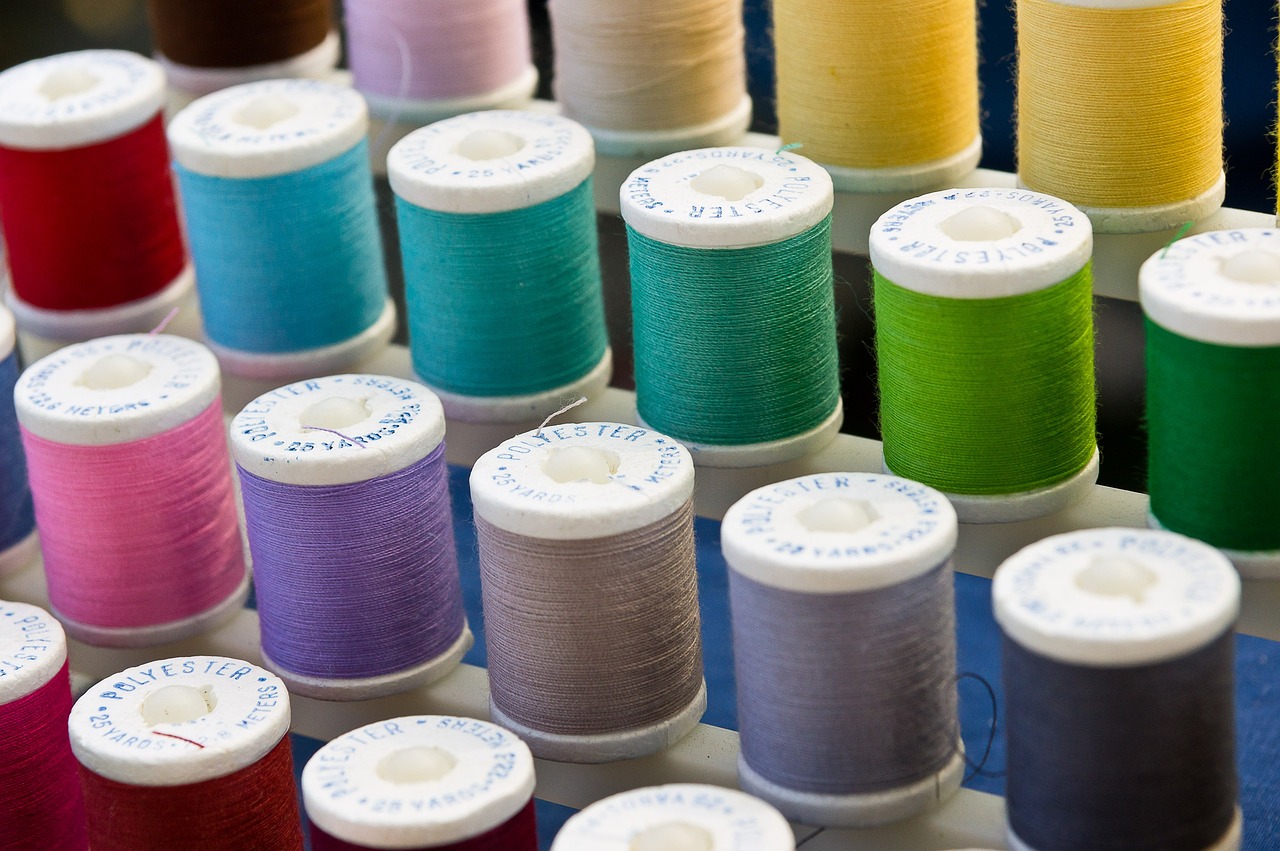
Needle Damage
Needle damage is one of the most common culprits behind skipped stitches, and recognizing the signs of wear can save you a lot of frustration. A sewing needle is a small but mighty tool, and just like any other tool, it can become worn out over time. When a needle becomes damaged, it can lead to uneven stitching, thread breaks, and, of course, those pesky skipped stitches that can ruin your sewing project. So, how do you know when your needle is on its last legs?
First, look for visible signs of wear. This includes bent or dull points, which can make it difficult for the needle to penetrate the fabric properly. A needle that has been used extensively may also develop notches or burrs along the shaft, which can snag the thread and disrupt the stitching process. If you notice any of these issues, it’s time to replace your needle.
Another factor to consider is the type of fabric you are using. Some fabrics, especially thicker ones like denim or multiple layers, can cause more wear on your needle. If you're sewing through tough materials, you might need to change your needle more frequently to maintain optimal performance. It’s also important to remember that different needle types, such as universal, ballpoint, or quilting needles, are designed for specific fabric types. Using the wrong needle can lead to damage not only to the needle but also to your fabric.
To keep your sewing experience smooth, make it a habit to inspect your needle regularly. A good rule of thumb is to replace the needle after every 8 to 10 hours of sewing or after completing a major project. This simple practice can help you avoid the frustration of skipped stitches and ensure that your sewing machine operates at its best. Remember, a happy needle means a happy sewing experience!
- How often should I change my sewing machine needle? It's recommended to change your needle after every 8 to 10 hours of sewing or after completing a significant project.
- What are the signs that a needle is damaged? Look for bent or dull points, notches or burrs on the needle shaft, and any visible wear that may affect stitching.
- Can using the wrong needle type cause damage? Yes, using a needle not suited for your fabric can lead to damage to both the needle and the fabric, resulting in skipped stitches.
- How do I know which needle type to use? Consult your sewing machine manual or fabric guidelines to choose the appropriate needle type for your specific project.
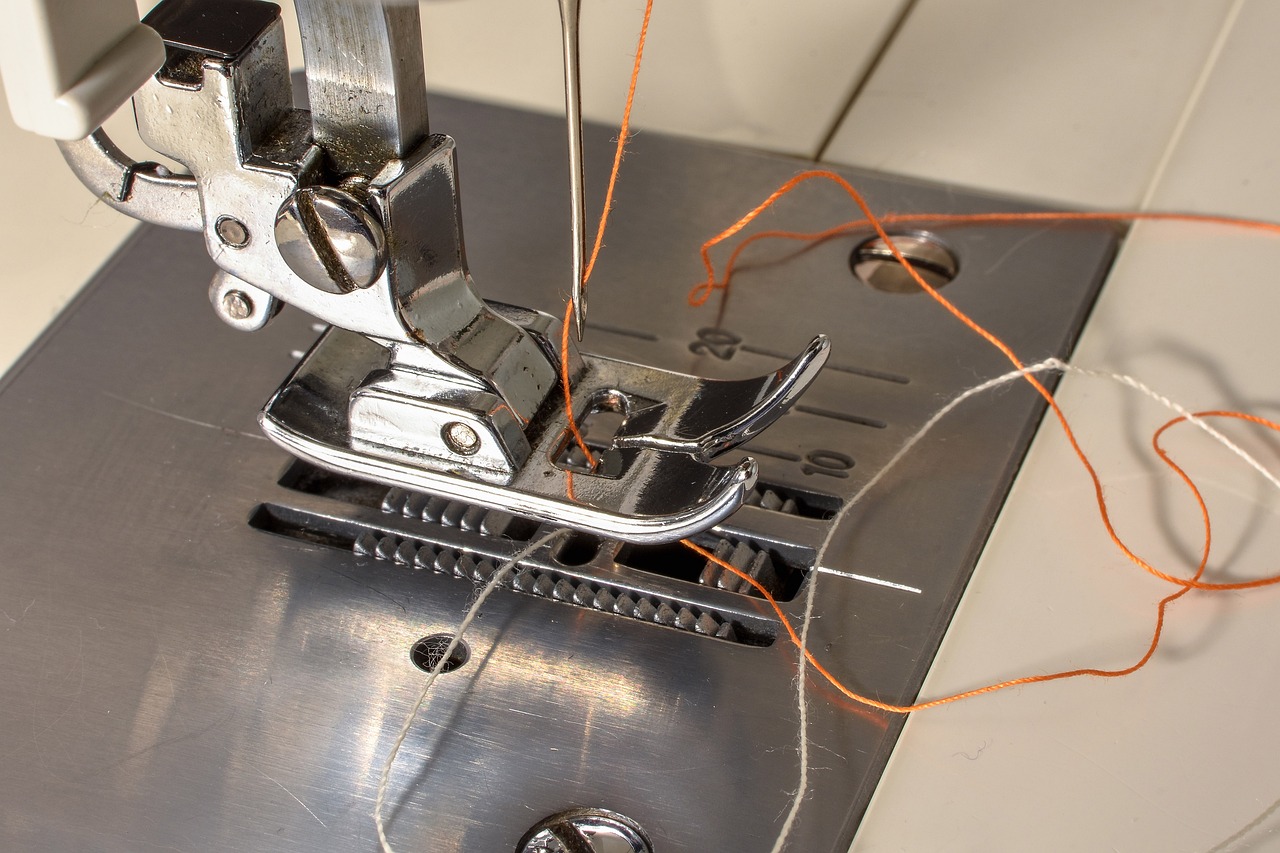
Poor Thread Quality
When it comes to sewing, the quality of your thread is just as important as the quality of your fabric and machine. Using low-quality or old thread can lead to a host of problems, including skipped stitches. Think of thread as the lifeline of your sewing project; if that lifeline is weak or frayed, your entire project can suffer. Imagine trying to build a sturdy house with flimsy materials—it just won’t hold up! So, let’s dive into why thread quality matters and how you can ensure you're using the best thread for your sewing needs.
First off, thread characteristics play a significant role in the success of your sewing endeavors. Different threads have different properties, such as strength, elasticity, and texture. For example, a thread that is too thin may break easily under tension, while one that is too thick might not fit through the needle’s eye properly. This mismatch can lead to frustrating skipped stitches and a lot of wasted time. Therefore, it’s essential to select a thread that matches both your fabric and the type of sewing you’re doing.
To help you better understand what to look for, here’s a quick comparison of common thread types:
| Thread Type | Best For | Characteristics |
|---|---|---|
| Cotton | Quilting, general sewing | Soft, breathable, and strong |
| Polyester | Versatile, all-purpose sewing | Durable, resistant to shrinking and fading |
| Silk | Luxury garments, delicate fabrics | Smooth, lustrous, and strong |
| Heavy-duty | Denim, upholstery | Thicker and stronger for tough materials |
In addition to thread type, the weight of the thread is another crucial factor. Thread weight is measured in numbers, and generally, the lower the number, the thicker the thread. If you’re working with lightweight fabrics, using a heavy thread can lead to skipped stitches and puckering. Conversely, using a lightweight thread on heavy fabrics can result in breakage. Always refer to your fabric’s recommendations to choose the right thread weight.
Another aspect to consider is how long the thread has been sitting in your sewing kit. Just like food, thread has a shelf life. Old or expired thread can become brittle and weak, making it prone to breaking and causing those dreaded skipped stitches. It’s a good idea to check the expiration date on your thread and replace any that looks worn or frayed. If you’re unsure, perform a quick test by pulling the thread gently; if it breaks easily, it’s time to toss it out!
In summary, poor thread quality can significantly impact your sewing experience. By investing in good-quality thread that matches your fabric and project requirements, you can avoid many common issues, including skipped stitches. Remember, the right thread is like a trusty sidekick in your sewing adventures—choose wisely!
- What type of thread should I use for quilting? Cotton thread is generally the best choice for quilting due to its strength and ability to hold stitches well.
- How can I tell if my thread is old? Look for discoloration, brittleness, or fraying. If it doesn’t feel strong when you pull on it, it’s time to replace it.
- Does thread color affect quality? While color itself doesn’t affect quality, some dyes can weaken the thread. Always choose reputable brands for the best results.

Thread Weight and Type
When it comes to sewing, the weight and type of thread you choose can make a world of difference in the outcome of your project. Think of thread as the lifeline of your sewing; it holds everything together, and if you don’t choose wisely, you might find yourself in a tangled mess. Just like picking the right tool for a job, selecting the appropriate thread can enhance your sewing experience and lead to beautiful results.
The weight of the thread refers to its thickness, which can vary significantly depending on the project. For example, a heavier thread is ideal for durable projects like denim jeans, while a lighter thread works best for delicate fabrics like chiffon. It’s essential to match the thread weight to your fabric to avoid issues like skipped stitches or uneven seams. If you’re unsure, here’s a quick reference guide:
| Fabric Type | Recommended Thread Weight |
|---|---|
| Lightweight fabrics (e.g., silk, chiffon) | 60-100 weight |
| Medium-weight fabrics (e.g., quilting cotton) | 40-50 weight |
| Heavyweight fabrics (e.g., denim, canvas) | 30-40 weight |
In addition to weight, the type of thread also plays a crucial role. There are various types of threads available, each designed for specific purposes:
- Cotton Thread: Great for quilting and general sewing. It’s strong and comes in various weights.
- Polyester Thread: Known for its durability and stretch. Perfect for stretchy fabrics or items that require frequent washing.
- Silk Thread: Ideal for delicate fabrics and hand sewing. It provides a luxurious finish.
- Heavy-Duty Thread: Designed for heavy fabrics and projects that require extra strength.
Choosing the right thread type can elevate your project from ordinary to extraordinary. Imagine sewing a beautiful dress with a thread that matches its fabric perfectly; it’s like the cherry on top of a sundae! However, if you use the wrong thread, you might end up with a project that looks less polished. So, take a moment to consider what you are sewing and choose your thread wisely.
Remember, it’s not just about aesthetics; the right thread can also prevent sewing complications. If you’re working on a project that requires precision, such as intricate embroidery, using the correct thread weight and type can mean the difference between success and frustration. So, before you thread that needle, make sure you’ve got the right stuff!
Q: What thread weight should I use for quilting?
A: For quilting, a thread weight of 40 is commonly recommended as it provides a good balance between strength and ease of use.
Q: Can I use polyester thread on cotton fabric?
A: Absolutely! Polyester thread works well on cotton fabric and is often preferred for its durability and flexibility.
Q: How do I know if my thread is too thick for my fabric?
A: If your sewing machine struggles to feed the fabric or if you notice skipped stitches, your thread may be too thick for the fabric you are using.
Q: Is it necessary to match the thread color exactly to my fabric?
A: Not necessarily! While matching colors can create a seamless look, using a slightly contrasting thread can add a unique design element.
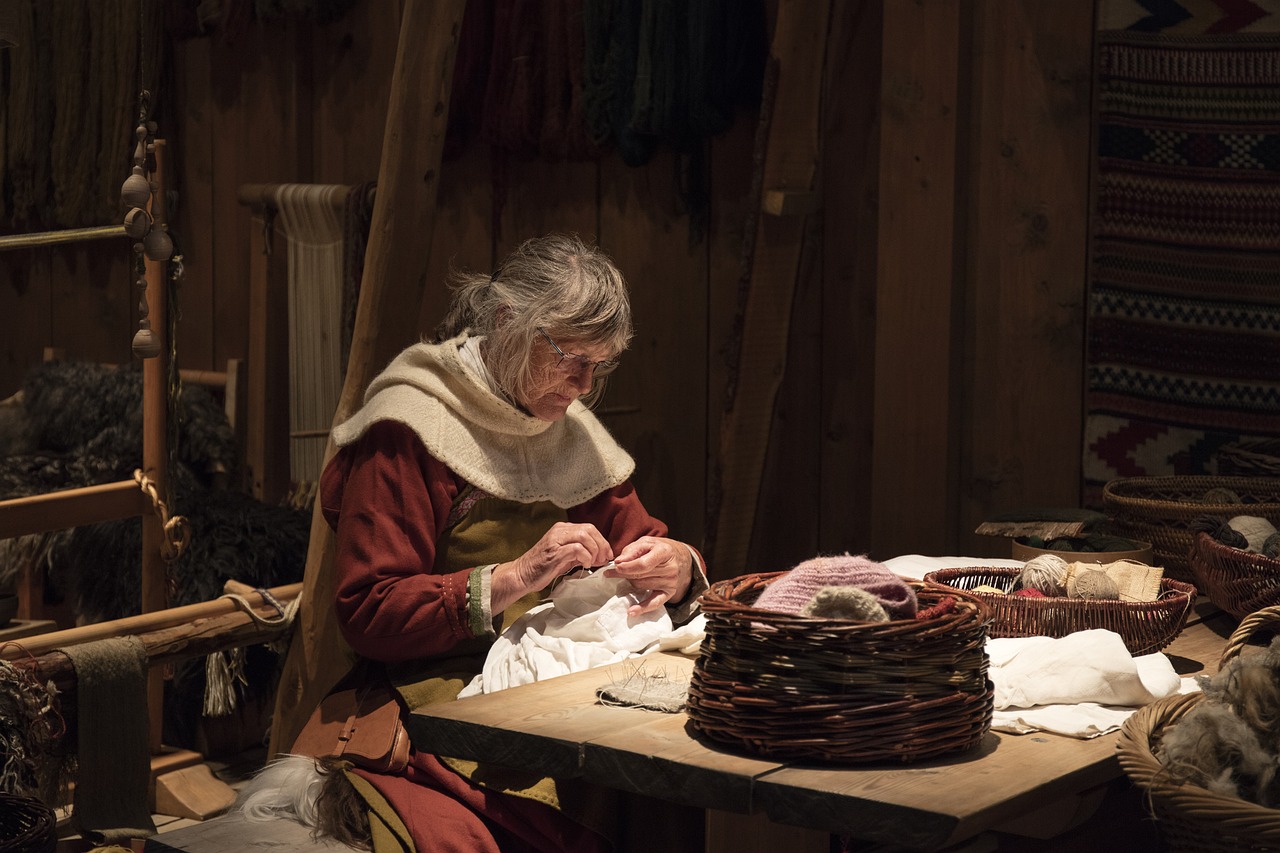
Thread Tension Issues
Thread tension is one of those sneaky little details that can make or break your sewing project. Imagine trying to bake a cake without measuring the ingredients—too much flour or too little sugar, and you're left with a disaster! Similarly, if your thread tension is off, you might find yourself dealing with skipped stitches or uneven seams. So, how do you know if your tension is just right? Well, it all starts with understanding the basics.
First off, you need to recognize that thread tension is a delicate balance. Too tight, and your fabric may pucker; too loose, and your stitches might look like a tangled mess. It's essential to adjust the tension settings on your sewing machine according to the fabric and thread you're using. For instance, heavier fabrics like denim require a different tension than lighter fabrics like silk. If you're unsure, always refer to your sewing machine's manual as it typically provides guidelines tailored to various materials.
To troubleshoot thread tension issues, you might want to conduct a simple test. Sew a few lines on a scrap piece of fabric and observe the results. If you notice that the stitches on the top are tight while the bobbin stitches are loose, it’s a sure sign that your upper tension is too tight. Conversely, if the top stitches are loose and the bobbin stitches are tight, your upper tension might be too loose. Adjusting the tension dial on your machine can help you achieve that perfect balance.
Here’s a quick reference table to help you understand the relationship between fabric type and recommended tension settings:
| Fabric Type | Recommended Tension Setting |
|---|---|
| Lightweight (e.g., silk, chiffon) | Lower tension (2-4) |
| Medium-weight (e.g., cotton, linen) | Medium tension (4-6) |
| Heavyweight (e.g., denim, canvas) | Higher tension (6-8) |
Another crucial aspect to consider is the condition of your thread. Old or worn-out thread can also contribute to tension issues. If you notice fraying or breaking, it might be time to replace your thread. Additionally, always ensure that the thread is properly threaded through the machine; a missed guide can throw off the tension completely.
In summary, paying attention to thread tension is key for achieving professional-looking sewing results. Remember, it’s not just about the machine; it’s about the harmony between your fabric, thread, and settings. So, the next time you encounter skipped stitches, take a moment to check your tension settings and make adjustments as needed. Happy sewing!
- What causes skipped stitches in sewing?
Skipped stitches can be caused by several factors, including improper needle installation, incorrect needle type, poor thread quality, and machine maintenance neglect. - How can I tell if my needle needs replacing?
If you notice frequent skipped stitches or if the needle looks bent or dull, it’s time for a replacement. - What is the best way to clean my sewing machine?
Regularly remove lint and dust from the machine, particularly around the feed dogs and bobbin area. Use a soft brush or vacuum designed for sewing machines. - How often should I lubricate my sewing machine?
It's best to follow the manufacturer's recommendations, but generally, lubricating your machine every few months or after heavy use is advisable.
Machine Maintenance Neglect
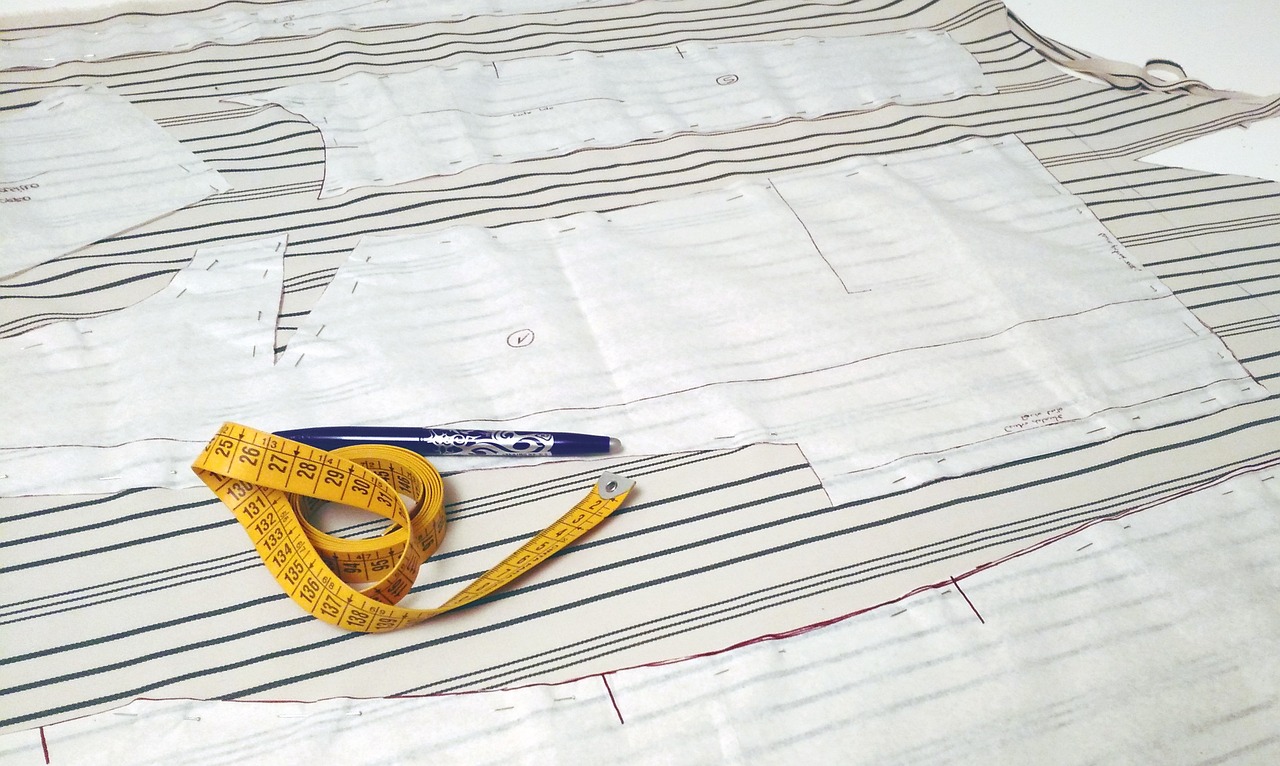
When it comes to sewing, many of us get wrapped up in our projects, often forgetting about the essential upkeep of our beloved sewing machines. Neglecting machine maintenance can lead to a host of problems, including those pesky skipped stitches that can turn a beautiful creation into a frustrating experience. Just like a car needs regular oil changes and tune-ups, your sewing machine requires consistent attention to keep it running smoothly.
Imagine trying to bake a cake without cleaning your mixing bowl. You might end up with a lumpy batter, or worse, a cake that doesn’t rise! Similarly, a dirty sewing machine can hinder performance. Dust and lint can accumulate in various parts of the machine, causing it to work harder than necessary. This buildup can affect not just the stitching but also the overall lifespan of your machine. Regularly cleaning your machine helps prevent these issues and ensures that every stitch you make is as perfect as the last.
Another critical aspect of maintenance is lubrication. Just as a well-oiled door hinge swings smoothly, a properly lubricated sewing machine operates without a hitch. Many sewing machines come with a manual that outlines when and how to lubricate the moving parts. Ignoring this step can lead to mechanical issues that might leave you in a bind, quite literally! If you're unsure about how often to lubricate, consider creating a maintenance schedule that aligns with your sewing habits. For example:
| Maintenance Task | Frequency |
|---|---|
| Cleaning the machine | After every large project |
| Lubrication | Every 3-6 months |
| Needle replacement | Every 8 hours of sewing |
By keeping your sewing machine clean and well-oiled, you not only enhance its performance but also reduce the likelihood of encountering skipped stitches. It’s a win-win situation! Plus, maintaining your machine can save you money in the long run by preventing costly repairs or the need for a replacement.
In conclusion, machine maintenance is not just a chore; it's an investment in your sewing journey. By dedicating a little time to care for your machine, you'll be rewarded with smoother sewing sessions, fewer skipped stitches, and ultimately, a more enjoyable crafting experience. So, the next time you sit down to sew, take a moment to think about your machine's needs. After all, a happy machine leads to happy sewing!
- How often should I clean my sewing machine? - It's best to clean your machine after every large project or at least once a month, depending on usage.
- What type of oil should I use for lubrication? - Always refer to your sewing machine's manual for the recommended type of oil, as some machines require specific lubricants.
- Can I use compressed air to clean my machine? - Yes, but be cautious not to blow dust further into the machine. It's often better to use a soft brush.
Cleaning Your Machine
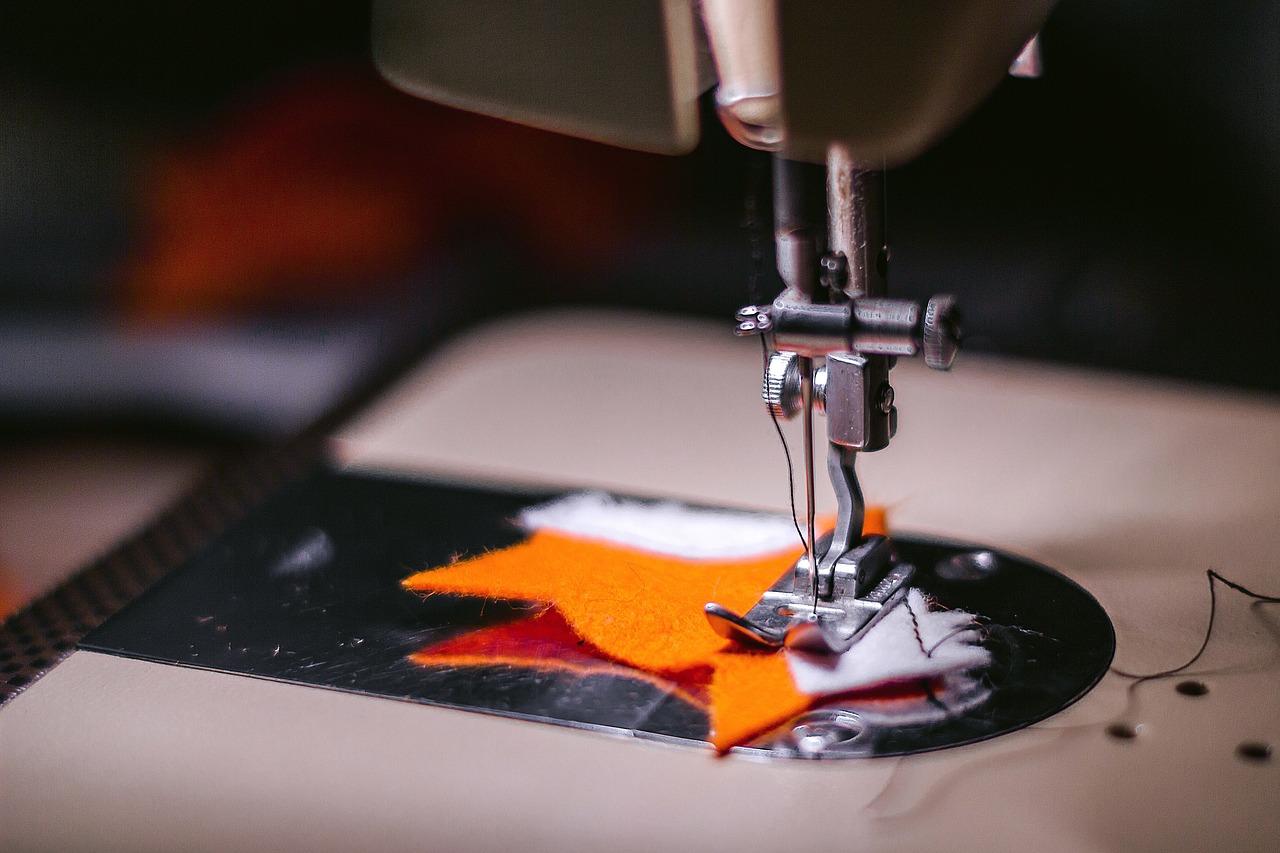
Keeping your sewing machine clean is not just a chore; it’s an essential part of maintaining its performance. Just like a car needs regular oil changes and tune-ups, your sewing machine requires periodic cleaning to function smoothly. Dust and lint can accumulate in the machine's intricate parts, leading to issues like skipped stitches and uneven tension. So, how do you go about cleaning this vital tool? Let's dive in!
First and foremost, it's important to unplug your sewing machine before you start the cleaning process. Safety first, right? Once it’s unplugged, you can begin by removing the needle and presser foot. This makes it easier to access the feed dogs and other areas that need attention. A small brush or a vacuum attachment can be incredibly helpful for this task. Gently brush away any dust and lint that has settled in the bobbin area, around the feed dogs, and within the needle plate. You might be surprised at how much debris can accumulate in these hidden spots!
Next, don’t forget to clean the bobbin case. This area is notorious for collecting thread bits and dust. Use a soft cloth to wipe it down, and inspect it for any signs of wear or damage. If you notice any frayed edges or rough spots, consider replacing it. Remember, a clean bobbin case can make a world of difference in your sewing experience!
After you've tackled the bobbin area, it's time to turn your attention to the exterior of the machine. Wipe down the outer casing with a damp cloth to remove any fingerprints or dust. Avoid using harsh chemicals, as these can damage the finish of your machine. Instead, a mild soap solution works wonders for keeping things shiny and new.
Finally, consider lubricating your machine after cleaning. Some machines require oil in specific areas to keep moving parts functioning smoothly. Always refer to your machine's manual for lubrication points and recommended oils. A well-lubricated machine not only runs better but also extends its lifespan significantly.
In summary, regular cleaning is crucial for keeping your sewing machine in top shape. By dedicating just a few minutes after each project to clean your machine, you can prevent many common issues, including skipped stitches. So, grab that brush and give your sewing machine the care it deserves!
- How often should I clean my sewing machine? It's recommended to clean your machine after every few sewing projects or at least once a month if you sew regularly.
- Can I use any oil for lubrication? No, always refer to your sewing machine manual for the correct type of oil to use, as different machines have different requirements.
- What tools do I need for cleaning my machine? A small brush, a soft cloth, and a vacuum attachment are typically sufficient for a basic cleaning.
- Is it necessary to take my machine to a professional for cleaning? While regular cleaning can be done at home, a professional servicing is recommended at least once a year for a thorough check-up.
Lubrication Importance
This article explores common reasons why sewing machines skip stitches and offers insights into troubleshooting and maintaining your machine for optimal performance.
A needle that is not correctly installed can lead to skipped stitches. Understanding the proper way to insert a needle is crucial for smooth sewing and avoiding frustration.
Using the wrong type of needle for your fabric can cause issues. Each fabric has specific needle requirements, and selecting the right one can significantly reduce skipped stitches.
Universal needles work for most fabrics, but specialty needles are designed for specific materials like denim or knits. Choosing the right needle type can enhance stitch quality.
Needle size also matters; a needle that is too large or too small can lead to problems. Learn how to select the appropriate size for your project.
Regularly replacing and maintaining needles can prevent wear that causes skipped stitches. Discover the signs that indicate it's time for a needle change.
A damaged needle can disrupt the sewing process and lead to skipped stitches. Recognizing signs of wear is key to maintaining stitch integrity.
Using low-quality or old thread can contribute to skipping stitches. Understanding thread characteristics can help ensure smoother sewing experiences.
Different projects require different thread weights and types. Matching the thread to the fabric can prevent sewing complications and enhance the final result.
Improper thread tension can lead to skipped stitches and uneven stitching. Learning how to adjust tension settings is essential for achieving professional-looking results.
Regular maintenance is crucial for optimal sewing machine performance. Neglecting cleaning and oiling can lead to issues like skipped stitches and decreased efficiency.
Dust and lint accumulation can affect machine performance. Regular cleaning of the machine can help prevent skipped stitches and prolong its lifespan.
Proper lubrication is vital for smooth operation of your sewing machine. Just like a car engine needs oil to run smoothly, your sewing machine requires lubrication to function efficiently. When you sew, various parts of the machine move rapidly, creating friction. If these parts are not adequately lubricated, it can lead to wear and tear, resulting in skipped stitches and even mechanical failures.
To ensure your machine runs like a dream, you should follow a regular lubrication schedule. This doesn’t mean you have to douse every part in oil; rather, it’s about knowing where and when to apply it. For instance, the bobbin area and the needle bar are critical points that often need a little oil to keep things running smoothly. Always use the appropriate sewing machine oil, as other oils can leave residues that may harm the machine.
Here’s a quick guide on how to lubricate your sewing machine:
- Step 1: Turn off and unplug your machine to ensure safety.
- Step 2: Remove the needle and presser foot for easy access.
- Step 3: Clean the machine using a soft brush to remove dust and lint.
- Step 4: Apply a few drops of oil to the designated areas as per your machine’s manual.
- Step 5: Run the machine for a few minutes to distribute the oil evenly.
Neglecting lubrication can lead to a host of problems, including increased noise levels, sluggish performance, and, of course, those dreaded skipped stitches. So, treat your sewing machine well, and it will reward you with beautiful stitches and a longer lifespan!
- How often should I lubricate my sewing machine? - It’s generally recommended to lubricate your machine every 3-6 months, depending on usage.
- Can I use regular oil for my sewing machine? - No, always use sewing machine oil as it is specifically formulated for these devices.
- What are the signs that my machine needs lubrication? - Signs include unusual noises, sluggish movement, or skipped stitches.
- Do all sewing machines require lubrication? - Most do, but it’s best to check your machine’s manual for specific instructions.
Frequently Asked Questions
- Why is my sewing machine skipping stitches?
Skipped stitches can occur due to several factors, including improper needle installation, using the wrong needle type, or even poor thread quality. It's essential to troubleshoot these areas to identify the root cause.
- How do I know if my needle is installed correctly?
A properly installed needle should sit straight and be fully inserted into the needle holder. If it wiggles or is not pushed up all the way, it may lead to skipped stitches.
- What type of needle should I use for different fabrics?
Choosing the right needle type is crucial. For example, use a universal needle for most fabrics, but switch to a specialty needle like a denim needle for thicker fabrics or a ballpoint needle for knits.
- How can I tell if my needle is damaged?
Signs of a damaged needle include visible bends, dull points, or any rough edges. If you notice these issues, it's time to replace your needle to avoid further sewing problems.
- Does thread quality really affect stitching?
Absolutely! Using low-quality or old thread can lead to skipped stitches and uneven seams. Opt for high-quality thread that matches your project for the best results.
- What should I do if my thread tension is off?
Adjusting the thread tension can help resolve skipped stitches. Consult your sewing machine's manual for guidance on how to properly adjust the tension settings for your specific project.
- How often should I clean and maintain my sewing machine?
Regular maintenance is key! Aim to clean your machine after every few projects and oil it as recommended in the manual to keep it running smoothly and avoid issues like skipped stitches.
- What are the signs that my machine needs lubrication?
If your machine starts making unusual noises or feels stiff while sewing, it may be time for lubrication. Regular oiling can prevent mechanical issues and ensure optimal performance.


