Ten Quick Sewing Projects for Beginners
Welcome to the wonderful world of sewing! If you've ever looked at a beautiful piece of fabric and thought, "I wish I could make something with that," you're in the right place. This article presents ten easy sewing projects that are perfect for beginners. Each project is designed not just to be simple, but also to build your confidence and skills while creating something useful and enjoyable. Whether you're looking to spruce up your home, make gifts for friends, or simply explore your creativity, these projects will guide you step-by-step. So, grab your sewing machine, and let’s dive into these delightful sewing adventures!
Creating a simple tote bag is an excellent first project. This project involves basic sewing techniques, making it a fantastic way for beginners to practice essential skills like cutting, sewing straight lines, and working with fabric. Not to mention, tote bags are incredibly useful! You can use them for grocery shopping, carrying books, or as a stylish accessory. Plus, there’s something immensely satisfying about making something that you can actually use in your daily life.
Another great project is making a pillowcase. This straightforward task helps beginners learn about seams and finishing techniques. It's a practical item that can brighten up any room and can be customized to match your decor. Imagine snuggling up with a pillow that you made yourself! Not only does it add a personal touch to your space, but it also gives you a chance to experiment with different fabrics and patterns.
Have you ever thought about how much fun it would be to create your own fabric coasters? These little beauties are quick and easy to make, providing an excellent opportunity to experiment with different fabrics and designs. This project is perfect for using up scrap fabric you might have lying around. You can mix and match colors and patterns, making each coaster a unique piece of art. Plus, they make fantastic gifts for friends who appreciate handmade items!
Next up is the drawstring bag. This versatile project teaches beginners how to create a casing and insert drawstrings. It's useful for storing small items, organizing your craft supplies, or even as a gift bag for special occasions. The best part? You can personalize it with your choice of fabric, making it a reflection of your style. Imagine gifting a beautifully crafted drawstring bag filled with goodies—what a thoughtful gesture!
Sewing a simple skirt is a fantastic way for beginners to learn about patterns and garment construction. This project can be customized with different fabrics and lengths, allowing you to express your personal style. Whether you prefer a flowy maxi skirt or a chic mini, the possibilities are endless! Plus, wearing something you've created yourself is incredibly empowering.
Creating a patchwork quilt square introduces beginners to piecing fabric together. This project is a wonderful way to get creative and experiment with colors and patterns. You can use old fabric scraps or buy new ones, making it a fantastic way to recycle while also honing your sewing skills. Once you’ve mastered the quilt square, who knows? You might just find yourself on the path to making an entire quilt!
A keychain fob is a quick project that helps beginners practice sewing techniques on a smaller scale. It’s a fun and functional accessory that makes a great gift. Plus, it’s a perfect way to use up those tiny fabric scraps you might have. Imagine having a colorful keychain fob that not only holds your keys but also showcases your creativity!
Sewing a fabric bookmark is a simple yet rewarding project. It allows beginners to work with different fabric textures and can be personalized for friends and family. If you or someone you know loves to read, a handmade bookmark is a thoughtful gift. It’s a little piece of art that can make a big difference in someone’s reading experience!
In today's eco-conscious world, making reusable snack bags is not only practical but also environmentally friendly. This project teaches beginners about lining and zippers, making it a great choice for those looking to reduce waste. Imagine packing your lunch in a stylish, handmade snack bag instead of using single-use plastic—it's a small change that can have a big impact!
Here are some common questions beginners might have about these sewing projects:
- Do I need a sewing machine for these projects? While a sewing machine makes things easier, many of these projects can also be done by hand sewing!
- What types of fabric should I use? Start with cotton fabric, as it's easy to work with and comes in a variety of fun patterns!
- How long will these projects take? Most of these projects can be completed in a few hours, making them perfect for a weekend crafting session!
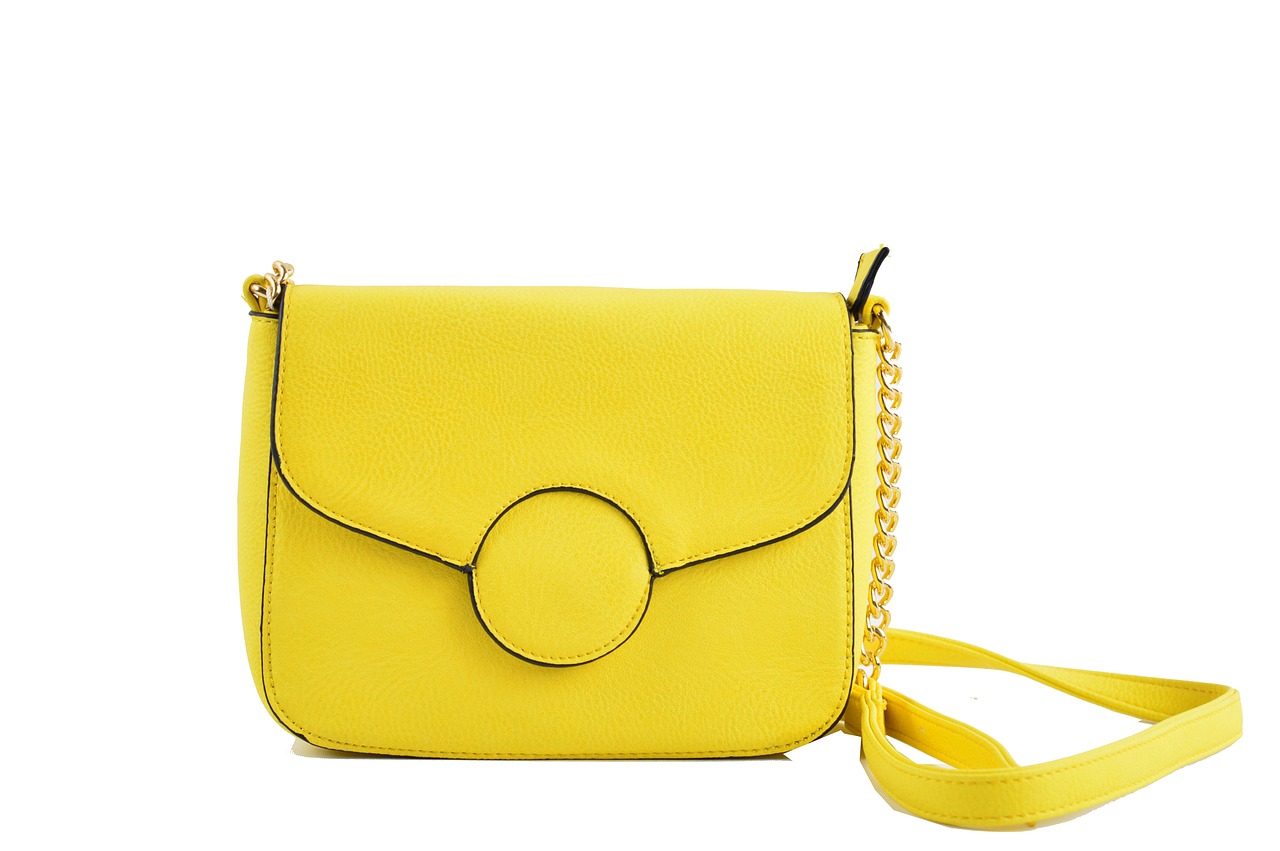
1. Simple Tote Bag
Creating a simple tote bag is an excellent first project for anyone venturing into the world of sewing. Not only is it a practical item that you can use for shopping, carrying books, or even as a stylish accessory, but it also allows beginners to grasp fundamental sewing techniques. Imagine yourself walking into a store with a bag you made yourself—how cool is that?
To get started, you'll need some basic materials:
- Fabric: Choose a sturdy cotton fabric or canvas for durability.
- Thread: Pick a color that complements your fabric.
- Scissors: A good pair of fabric scissors is essential.
- Sewing Machine: If you don't have one, you can hand-sew, but a machine will save you time.
- Measuring Tape: Accurate measurements are key!
Once you have your materials, the process is relatively straightforward. Start by measuring and cutting two rectangles of fabric. A common size for a tote bag is about 15 inches wide by 16 inches tall, but you can adjust the dimensions to suit your needs. After cutting, lay the fabric pieces right sides together and sew along the sides and bottom, leaving the top open. This is where you can practice sewing straight lines, which is a fundamental skill in sewing.
Next, it’s time to create the handles. Cut two strips of fabric, each about 3 inches wide and 20 inches long. Fold them in half lengthwise and sew down the open side to create sturdy handles. Attach these to the top of your bag, ensuring they are securely sewn in place. This step not only reinforces your sewing skills but also teaches you how to attach different components together.
Finally, turn the bag right side out, and voilà! You have a beautiful tote bag that you can decorate or personalize however you like. You could add pockets, embellishments, or even stencils to make it uniquely yours. This project is not just about sewing; it’s about expressing your creativity and building confidence in your skills.
In summary, making a simple tote bag is a fantastic way to kickstart your sewing journey. It’s practical, customizable, and a great conversation starter. Plus, you’ll be amazed at how much you can learn from this single project. So, gather your materials and get ready to create something that’s not just a bag, but a statement piece!
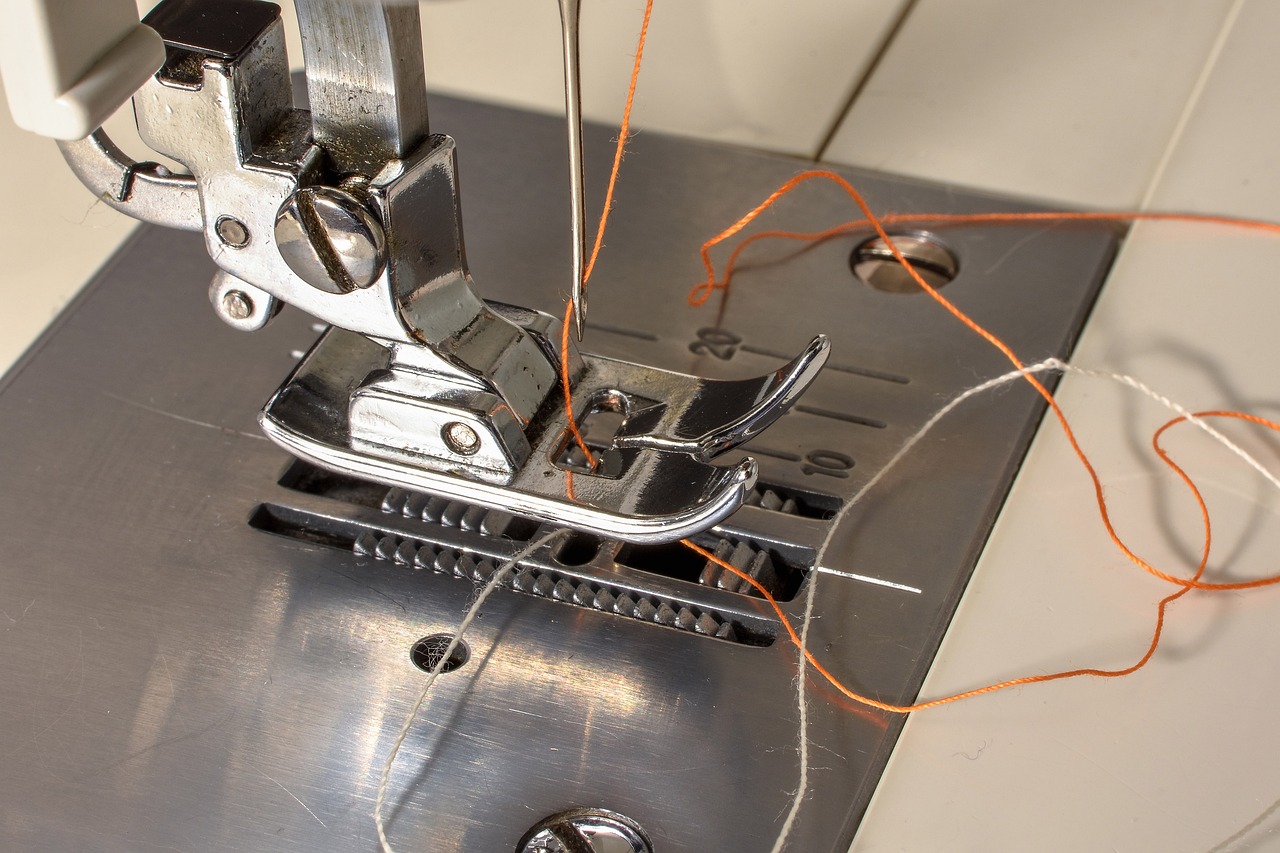
2. Pillowcase
Making a pillowcase is not only a practical sewing project but also a fantastic way to dive into the world of sewing with confidence. Imagine transforming a plain pillow into a vibrant statement piece for your bedroom! This project is perfect for beginners because it teaches essential sewing skills while allowing for creativity. You’ll learn about seams, finishing techniques, and how to measure fabric accurately. Plus, you can choose fabrics that reflect your personal style, making each pillowcase unique.
To get started, gather your materials. You'll need:
- Fabric of your choice (cotton is a great beginner-friendly option)
- Thread that matches or contrasts with your fabric
- Scissors
- Measuring tape
- Sewing machine (or needle and thread for hand sewing)
Once you have everything ready, the process is quite straightforward. First, measure your pillow to determine the size of the fabric needed. Typically, a standard pillowcase is about 20 inches by 26 inches, but you can adjust this based on your pillow size. Cut your fabric accordingly, allowing extra inches for seams. Next, you’ll want to fold the fabric edges to create a clean finish. This is where you’ll really appreciate the beauty of sewing – those neat edges can make a world of difference!
After folding, it's time to sew! Start by sewing the side seams, making sure to keep your stitches straight and even. Don’t worry if your first few attempts aren’t perfect; practice makes progress! Once the sides are sewn, finish the open end of the pillowcase. You can create a simple hem or even add a decorative touch. This is your chance to get creative! Consider using contrasting thread for a pop of color or adding a small pocket for a fun twist.
As you sew, remember that the goal is to enjoy the process. If you make a mistake, take a deep breath and see it as a learning opportunity. Each stitch brings you closer to mastering your sewing skills. Plus, once you’ve completed your pillowcase, you’ll have a beautiful, handmade item that you can use or gift to someone special.
In summary, making a pillowcase is an ideal project for beginners. It combines practicality with creativity, allowing you to express yourself through fabric choices and sewing techniques. So, gather your materials, unleash your creativity, and enjoy the satisfaction of creating something beautiful!
| Question | Answer |
|---|---|
| What type of fabric is best for a pillowcase? | Cotton is highly recommended for its softness and breathability, making it comfortable for sleeping. |
| Can I use a sewing machine for this project? | Absolutely! A sewing machine will make the process faster, but hand sewing is perfectly fine too. |
| How do I wash my homemade pillowcase? | It's best to wash it in cold water and tumble dry on low to maintain the fabric's integrity. |
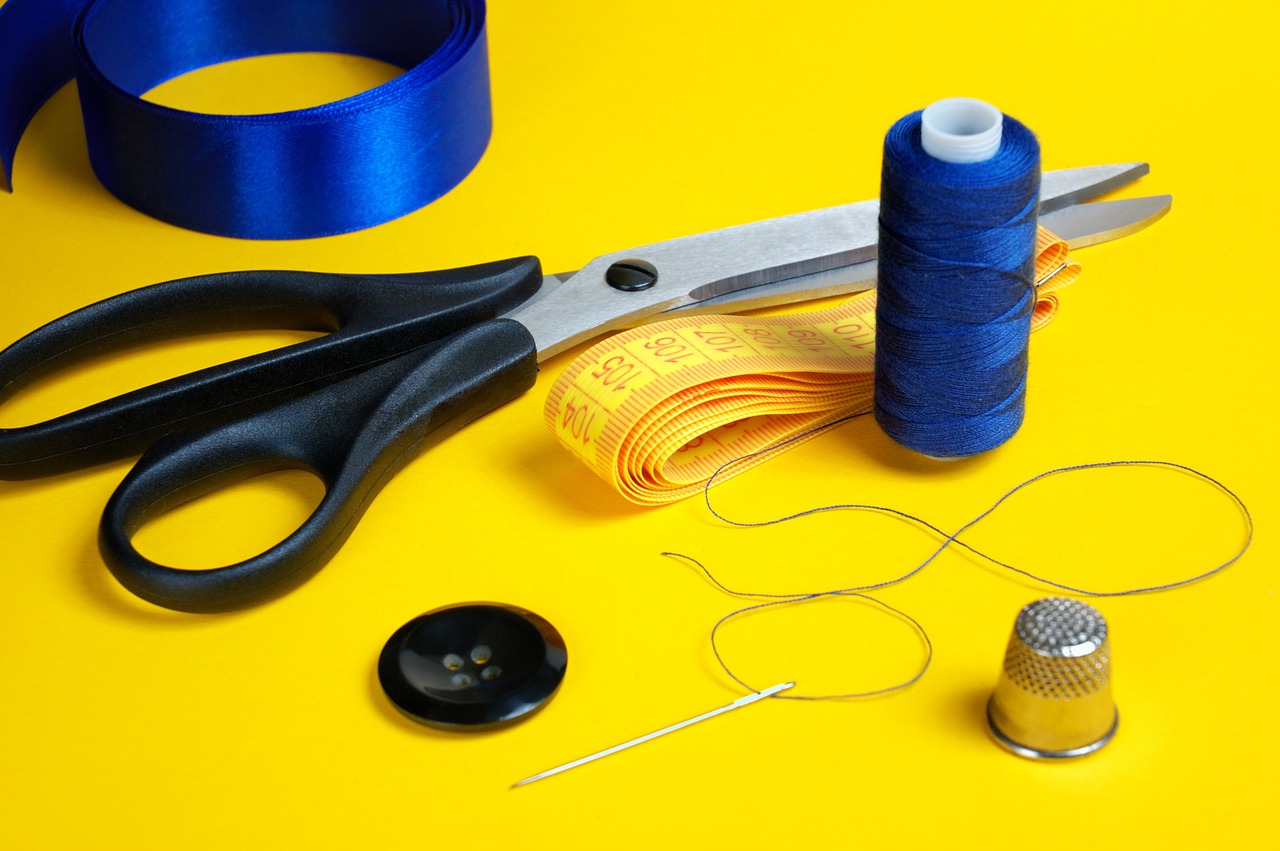
3. Fabric Coasters
Fabric coasters are not just a practical addition to your home; they're a canvas for your creativity! Imagine sipping your favorite beverage while resting it on a coaster that you made yourself. How cool is that? This project is perfect for beginners, as it introduces you to basic sewing techniques without overwhelming you. Plus, you can use up those fabric scraps you've been saving for a rainy day!
To get started, you'll need just a few materials: some fabric (cotton works great), batting or felt for insulation, and a sewing machine or needle and thread. The beauty of fabric coasters lies in their simplicity. You can create them in various shapes and sizes, from classic squares to whimsical circles. The choice is yours!
Here’s a quick rundown of the steps involved:
- Cut Your Fabric: Start by cutting your fabric into squares or circles. A common size is 4x4 inches for squares, but feel free to customize!
- Add Insulation: Cut a piece of batting or felt slightly smaller than your fabric pieces. This will help absorb moisture and protect your surfaces.
- Layer and Pin: Layer your fabric with the right sides facing each other, placing the batting on top. Pin them in place to avoid any shifting while sewing.
- Sew the Edges: Sew around the edges, leaving a small gap for turning. This is where you’ll flip your coaster right side out.
- Turn and Press: Turn your coaster inside out, push out the corners for a nice shape, and press it flat with an iron.
- Finish the Opening: Hand-stitch or sew the opening closed, and voilà! You have a beautiful, handmade coaster.
Not only are fabric coasters functional, but they also allow you to explore different fabric patterns and textures. You could create a matching set for each season, or even personalize them with monograms for a thoughtful gift. The possibilities are endless!
As you gain confidence, consider experimenting with decorative stitching or adding embellishments like buttons or embroidery. Each coaster can tell a story, reflecting your personality and style. Plus, they make fantastic conversation starters when guests come over!
Q1: What type of fabric is best for coasters?
A1: Cotton is highly recommended due to its absorbency and ease of sewing. However, you can also use linen or canvas for a more durable option.
Q2: Can I wash my fabric coasters?
A2: Absolutely! Just toss them in the washing machine on a gentle cycle, and they'll be good as new. Make sure to air dry or tumble dry on low heat.
Q3: How can I make my coasters more absorbent?
A3: Adding a layer of batting or felt between the fabric layers helps absorb moisture effectively.
So, are you ready to dive into the world of sewing and create your very own fabric coasters? Grab those scraps and let your imagination run wild!
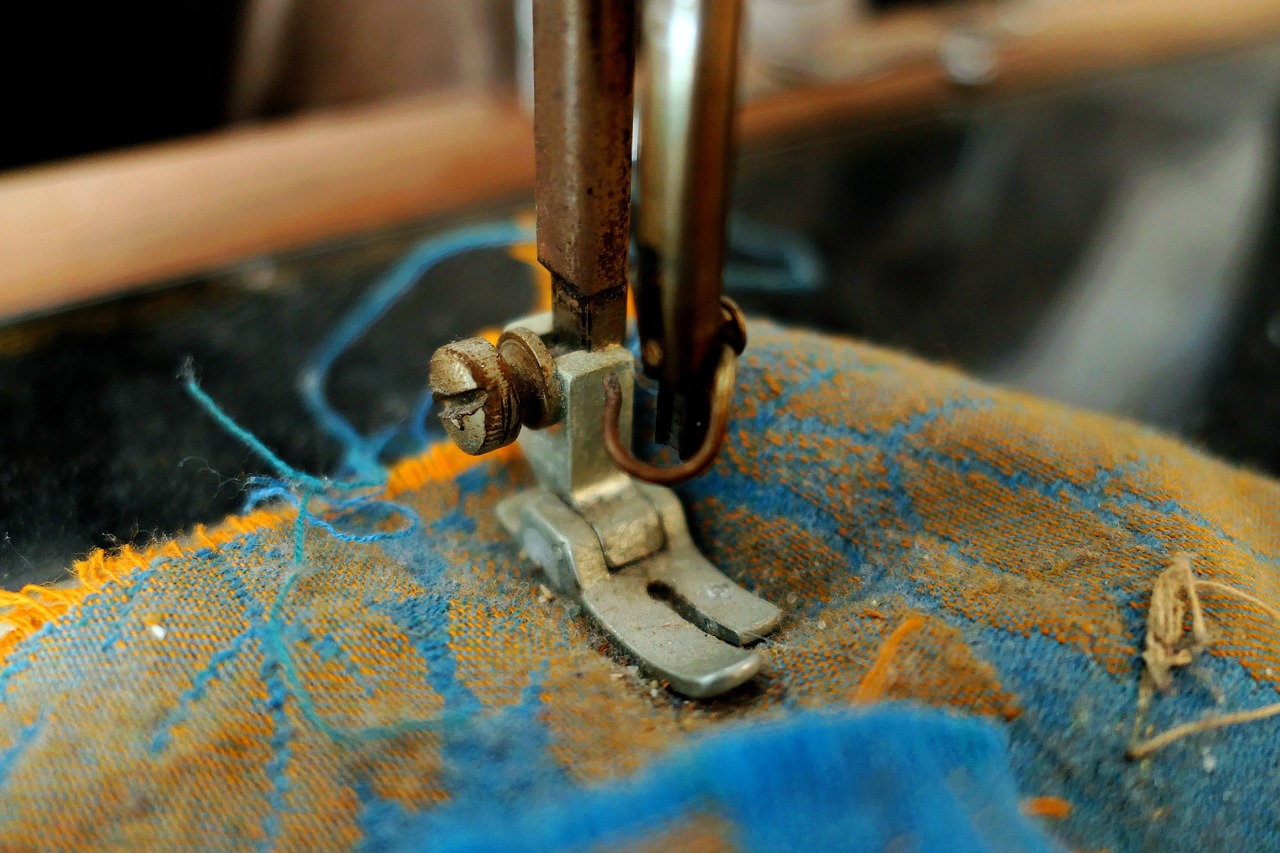
4. Drawstring Bag
Creating a drawstring bag is not just a fun project; it's also incredibly practical! This versatile bag can be used for a variety of purposes, whether it's to store gym clothes, carry your knitting supplies, or even serve as a unique gift bag for that special occasion. The beauty of a drawstring bag lies in its simplicity and functionality, making it an ideal choice for beginners who are eager to learn the art of sewing.
To get started, you'll need a few basic materials: fabric (cotton works great), thread, scissors, a sewing machine, and a drawstring (this can be ribbon, cord, or even fabric strips). The process is straightforward and will help you gain confidence in your sewing skills. You'll learn how to create a casing for the drawstring, which is a crucial technique that can be applied to many other sewing projects.
Here's a quick overview of the steps involved in making your own drawstring bag:
- Cut your fabric: Decide on the size of your bag and cut two pieces of fabric accordingly. Remember, the size will determine how much you can fit inside!
- Sew the sides: Place the fabric pieces together, right sides facing in, and sew along the sides and bottom, leaving the top open.
- Create the casing: Fold down the top edge of the bag to create a casing for your drawstring. Sew around the fold, leaving a small opening to thread your drawstring through.
- Insert the drawstring: Use a safety pin or a bodkin to help you thread your drawstring through the casing.
- Finish it up: Once your drawstring is in place, sew the ends together, and voilà! You’ve made your very own drawstring bag.
This project is not only a fantastic way to hone your sewing skills, but it also allows for a lot of creativity. You can mix and match fabrics, add embellishments, or even personalize it with embroidery or fabric paint. Imagine gifting a beautifully crafted drawstring bag filled with goodies to a friend or using it to transport your essentials in style!
As you embark on this sewing adventure, don't forget that practice makes perfect. Each stitch you sew brings you one step closer to becoming a more confident and skilled sewist. So grab your materials, put on some music, and enjoy the process of making something uniquely yours!
Q: Can I use any type of fabric for my drawstring bag?
A: Yes! While cotton is a popular choice for beginners due to its ease of handling, you can experiment with various fabrics like canvas, linen, or even lightweight denim for different looks and functionalities.
Q: How do I make my drawstring bag more secure?
A: To enhance the security of your bag, consider adding a toggle or a button to the drawstring. This will allow you to cinch the bag tightly, preventing items from falling out.
Q: What if I don’t have a sewing machine?
A: No problem! You can sew the drawstring bag by hand using a needle and thread. It may take a bit longer, but it’s a great way to practice your hand-sewing skills!
5. Simple Skirt
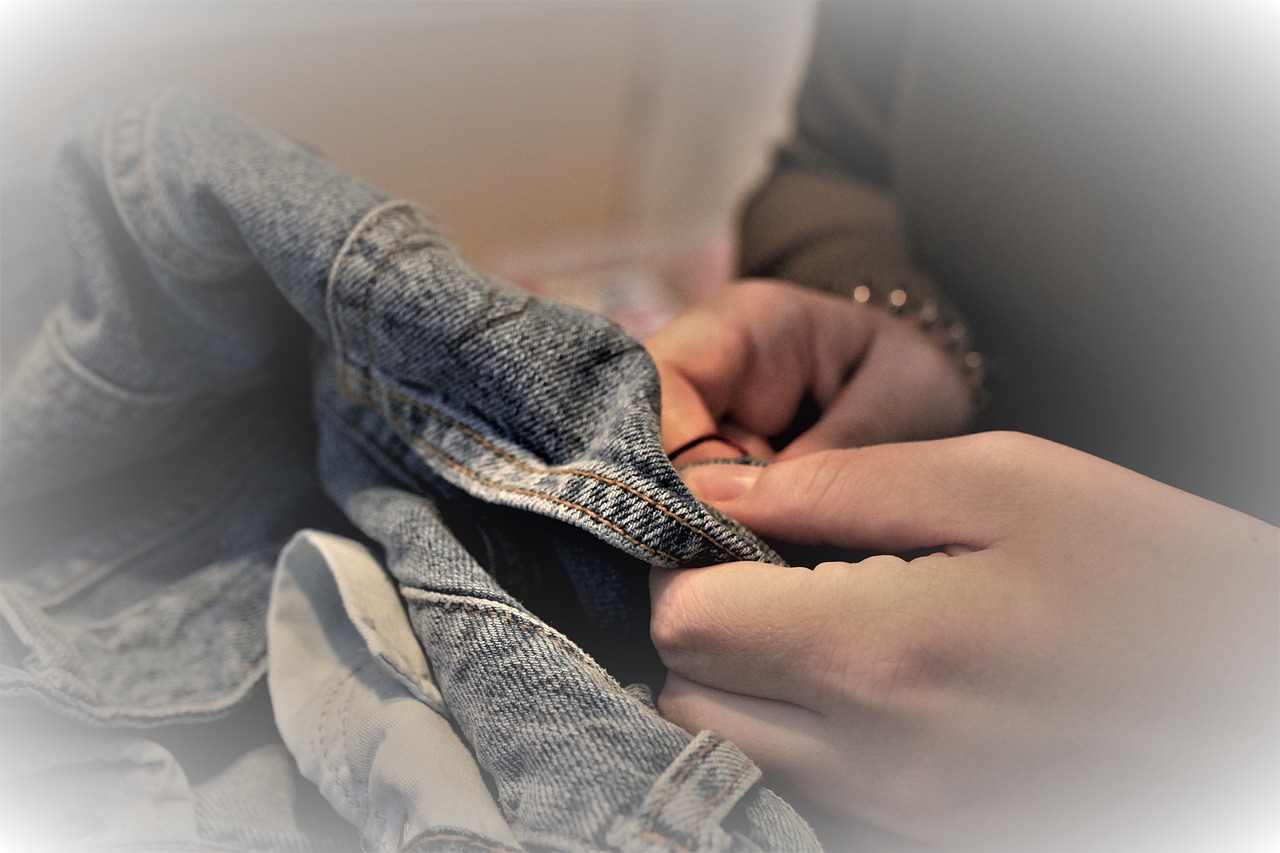
When it comes to sewing, creating a simple skirt is like painting your first masterpiece on a blank canvas. It's not just about the end product; it's about the journey of learning and experimentation. This project is perfect for beginners eager to dive into the world of garment construction. With just a few straightforward steps, you can stitch together a skirt that reflects your personal style and flair.
To get started, you’ll need some basic materials: fabric, a measuring tape, scissors, pins, and a sewing machine. Choose a fabric that resonates with you—perhaps a vibrant cotton print or a soft linen. The beauty of sewing is that you can customize your skirt to fit your taste and wardrobe needs. Imagine wearing something that you made with your own hands! It's not just clothing; it's a story woven into every seam.
As you embark on this project, you’ll learn essential skills such as measuring your waist, cutting fabric, and sewing seams. These skills are foundational and will serve you well in more complex projects down the line. Here's a quick overview of the steps involved:
- Measure: Start by measuring your waist and deciding on the length of your skirt. Add a few inches for seams and hems.
- Cut: Using your measurements, cut the fabric into the desired shape. A simple A-line shape is great for beginners.
- Sew: Pin the fabric pieces together and sew along the edges, ensuring you keep a straight line.
- Finish: Hem the bottom of the skirt and add an elastic waistband for comfort.
Once you’ve completed your skirt, you’ll not only have a new piece of clothing but also a sense of accomplishment. You might even find yourself wearing it out to brunch with friends or at a casual gathering, proudly stating, “I made this!” Remember, the goal here isn’t perfection; it’s about enjoying the process and learning along the way.
As you gain confidence, consider experimenting with different styles and fabrics. You can try adding pockets, using contrasting fabrics for the waistband, or even incorporating a fun print. The possibilities are endless! Each skirt you make can be a unique expression of your creativity.
In conclusion, sewing a simple skirt is a fantastic way to kickstart your sewing journey. It's an approachable project that not only builds your skills but also results in a practical and stylish addition to your wardrobe. So, gather your materials, unleash your creativity, and let the sewing adventure begin!
1. What type of fabric is best for a beginner's skirt?
It's best to start with cotton or linen. These fabrics are easy to sew and handle well, making them perfect for beginners.
2. How do I ensure the skirt fits properly?
Always take accurate measurements of your waist and hips before cutting the fabric. It’s also helpful to make a muslin prototype to test the fit.
3. Can I add pockets to my skirt?
Absolutely! Adding pockets is a great way to personalize your skirt. Just make sure to plan where they will be placed before cutting your fabric.
4. How do I care for my handmade skirt?
Follow the care instructions for the fabric you chose. Generally, washing in cold water and air drying is a safe bet to maintain the quality.
5. What if I make a mistake while sewing?
Don't worry! Mistakes are part of the learning process. You can always unpick stitches and try again. Practice makes perfect!

6. Patchwork Quilt Square
Creating a patchwork quilt square is not just a fun project; it's an excellent way to dive into the world of sewing while unleashing your creativity! Imagine the thrill of piecing together various fabric scraps, each with its own story and texture, to create a unique square that can be part of a larger quilt. This project introduces beginners to the art of piecing fabric together, which is a fundamental skill in quilting. You get to experiment with colors, patterns, and shapes, making it a delightful way to express your personal style.
To get started, gather your materials. You'll need a few different fabric pieces, a rotary cutter or scissors, a cutting mat, and of course, your sewing machine. Don't worry if you don’t have fancy fabric; old clothes or leftover fabric from previous projects can work wonders! The beauty of a patchwork quilt square lies in its imperfection and the stories behind each piece.
Here’s a simple step-by-step guide to help you create your first patchwork quilt square:
- Choose Your Fabrics: Select a variety of fabrics that complement each other. Think about colors and patterns that make you smile!
- Cut Your Squares: Cut your fabric into equal-sized squares. Common sizes are 5x5 or 6x6 inches, but feel free to experiment.
- Arrange the Squares: Before sewing, lay out your squares in a pattern that pleases you. This is your chance to play with design!
- Sew the Squares Together: Start sewing the squares in rows, then join the rows together. Don’t forget to press your seams flat as you go!
- Finish Your Square: Once all pieces are sewn together, trim any excess fabric and press your final square to give it a polished look.
As you work through this project, you’ll not only improve your sewing skills but also gain confidence in your ability to create something beautiful. Plus, once you’ve mastered the patchwork quilt square, you can create an entire quilt to keep you warm or to gift to a loved one. It’s like building a cozy story, one square at a time!
And remember, patchwork is all about creativity and experimentation. Don’t stress about making it perfect; embrace the quirks and enjoy the process. Who knows? You might just discover a new passion for quilting!
| Question | Answer |
|---|---|
| What fabrics are best for patchwork quilt squares? | Any cotton fabric works well, but feel free to use old clothes or various textures for a unique touch. |
| Do I need a sewing machine? | While a sewing machine makes the process faster, you can also hand sew your squares if you prefer. |
| How big should my quilt squares be? | Common sizes are 5x5 or 6x6 inches, but you can choose any size that works for your design. |
7. Keychain Fob
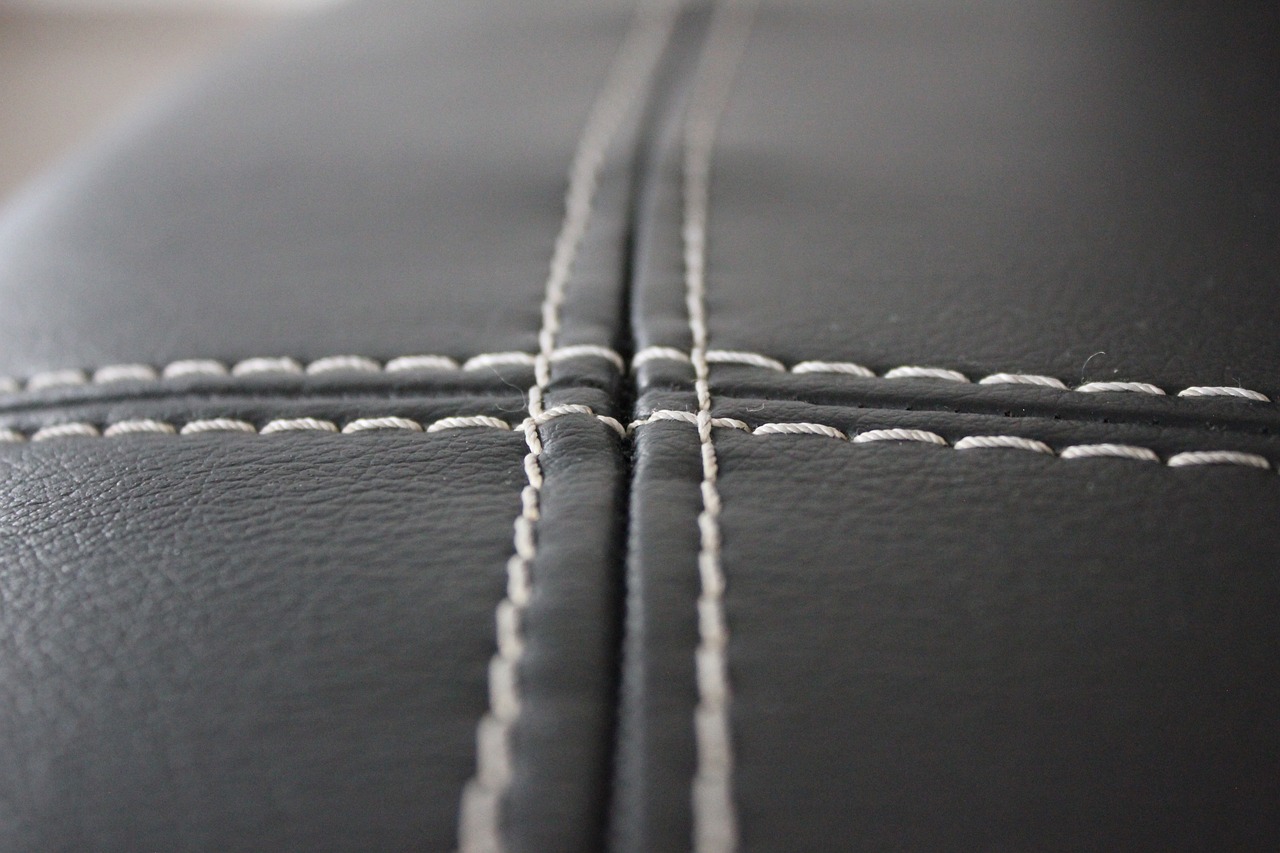
Creating a keychain fob is not only a delightful project for beginners but also a fantastic way to practice your sewing skills on a smaller scale. Just imagine this: you have a tiny piece of fabric, and with a few simple stitches, you can transform it into a charming accessory that holds your keys together! This project is perfect for those who want to dip their toes into sewing without feeling overwhelmed.
The beauty of a keychain fob lies in its versatility. You can choose any fabric you like—be it cotton, denim, or even a funky patterned fabric. The process typically involves cutting your fabric into a rectangle, folding it, and sewing along the edges. It's a straightforward task, but the results can be incredibly rewarding. Plus, you can customize it with different colors and patterns, making it a reflection of your personal style.
To get started, here’s a simple rundown of what you’ll need:
- Fabric: Choose a fabric that speaks to you—this is your chance to get creative!
- Keyring: You’ll need a sturdy keyring to attach your fob.
- Sewing Machine or Needle and Thread: Either will do the job, but a sewing machine will speed things up!
- Scissors: For cutting your fabric to the right size.
Once you have your materials ready, the sewing process is quite simple. Start by cutting your fabric into a rectangle, typically around 2 inches by 6 inches, depending on how big you want your fob to be. Fold the fabric in half lengthwise, right sides together, and sew along the long edge. After that, turn it inside out, slide the keyring through one end, and sew it closed. Voila! You've just made yourself a keychain fob!
This project is not only quick and practical, but it also makes for a great gift idea. Imagine gifting your friend a personalized keychain fob made from fabric that matches their style! It’s a thoughtful touch that shows you care. Plus, if you feel adventurous, you can even add embellishments like buttons or embroidery to make it even more unique.
In summary, sewing a keychain fob is a delightful way to enhance your sewing skills while creating something both functional and stylish. Whether you're keeping your keys organized or giving a thoughtful gift, this project is sure to bring a smile to your face!
Q: How long does it take to make a keychain fob?
A: Typically, it takes about 15-30 minutes, depending on your sewing speed.
Q: Can I use any type of fabric?
A: Yes! You can use cotton, denim, or even felt for a different texture.
Q: Do I need a sewing machine?
A: No, you can sew by hand if you prefer, but a sewing machine will make the process faster.
Q: Can I personalize my keychain fob?
A: Absolutely! Feel free to add embellishments like embroidery or buttons to make it your own.
8. Fabric Bookmark
Have you ever found yourself lost in the pages of a good book, only to realize you’ve forgotten where you left off? Enter the fabric bookmark, a delightful and practical solution that not only marks your place but also adds a personal touch to your reading experience. This project is perfect for beginners because it’s simple, quick, and allows for a burst of creativity. Imagine wrapping up a cozy evening with a book in one hand and a beautifully crafted bookmark in the other. Sounds lovely, right?
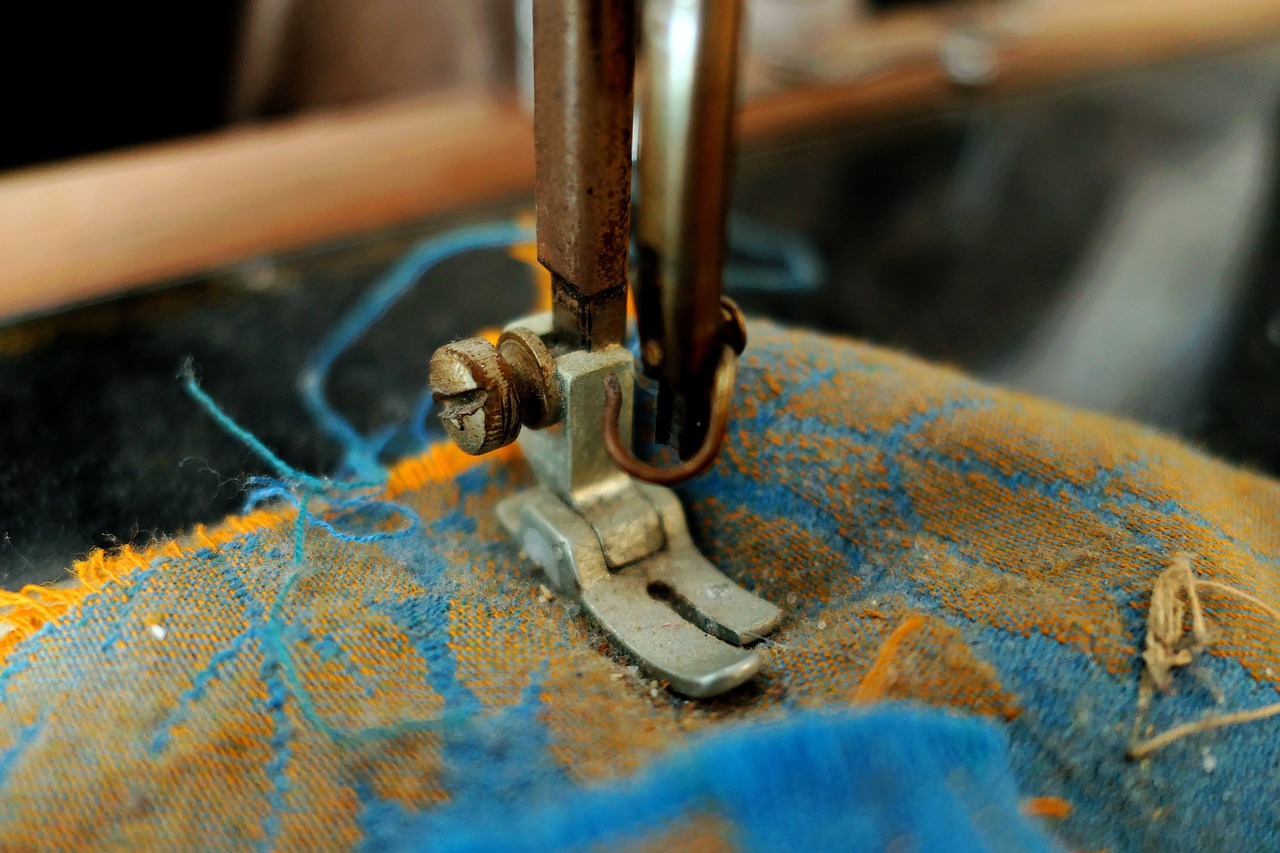
To create your own fabric bookmark, you’ll need just a few materials: some scrap fabric, a pair of scissors, a sewing machine (or needle and thread if you prefer hand sewing), and a little bit of creativity. The beauty of this project lies in its simplicity. You can use any fabric you have on hand—old clothes, leftover quilting scraps, or even remnants from previous projects. This is not just about creating something functional; it’s also an opportunity to express your style!
Start by cutting the fabric into a rectangular shape, typically about 2 inches wide and 6-8 inches long. This size is perfect for slipping into most books without being too bulky. Once you have your fabric cut, you can get creative! Consider using contrasting fabrics for a fun patchwork effect or embroidering a little quote or design on one side. The sky's the limit!
Next, with the right sides of the fabric facing each other, sew along the edges, leaving a small opening to turn the fabric right side out. This part is crucial—don’t forget to backstitch at the beginning and end to secure your seams. After sewing, turn the bookmark inside out through the opening, and then press it flat with an iron. This will give it a polished look and make it easier to use.
If you want to add a little extra flair, consider finishing the edges with a decorative stitch or adding a small tassel at the top. This not only enhances the visual appeal but also makes it easier to grab your bookmark when you need it. Plus, it’s a fun way to use up any leftover threads or beads you might have lying around!
In just a short time, you’ll have a lovely fabric bookmark that’s not only useful but also uniquely yours. Whether you’re gifting it to a friend or keeping it for yourself, it’s sure to bring a smile to anyone who loves to read. And who knows, you might just inspire someone else to pick up sewing!
- Can I use any type of fabric for my bookmark? Absolutely! Cotton works great, but you can also use felt, denim, or even upholstery fabric. Just ensure it’s not too thick or bulky.
- Do I need a sewing machine? Not at all! You can easily hand sew your bookmark if you prefer. Just make sure to use small, even stitches for a neat finish.
- How can I personalize my bookmark? You can add embroidery, fabric paint, or even attach small charms to make it truly one-of-a-kind!
9. Reusable Snack Bags
In today's world, where sustainability is becoming increasingly important, reusable snack bags are a fantastic sewing project that combines practicality with eco-friendliness. Imagine being able to ditch those single-use plastic bags and replace them with your very own handmade creations! Not only do these snack bags help reduce waste, but they also allow you to express your creativity through fabric choices and designs.
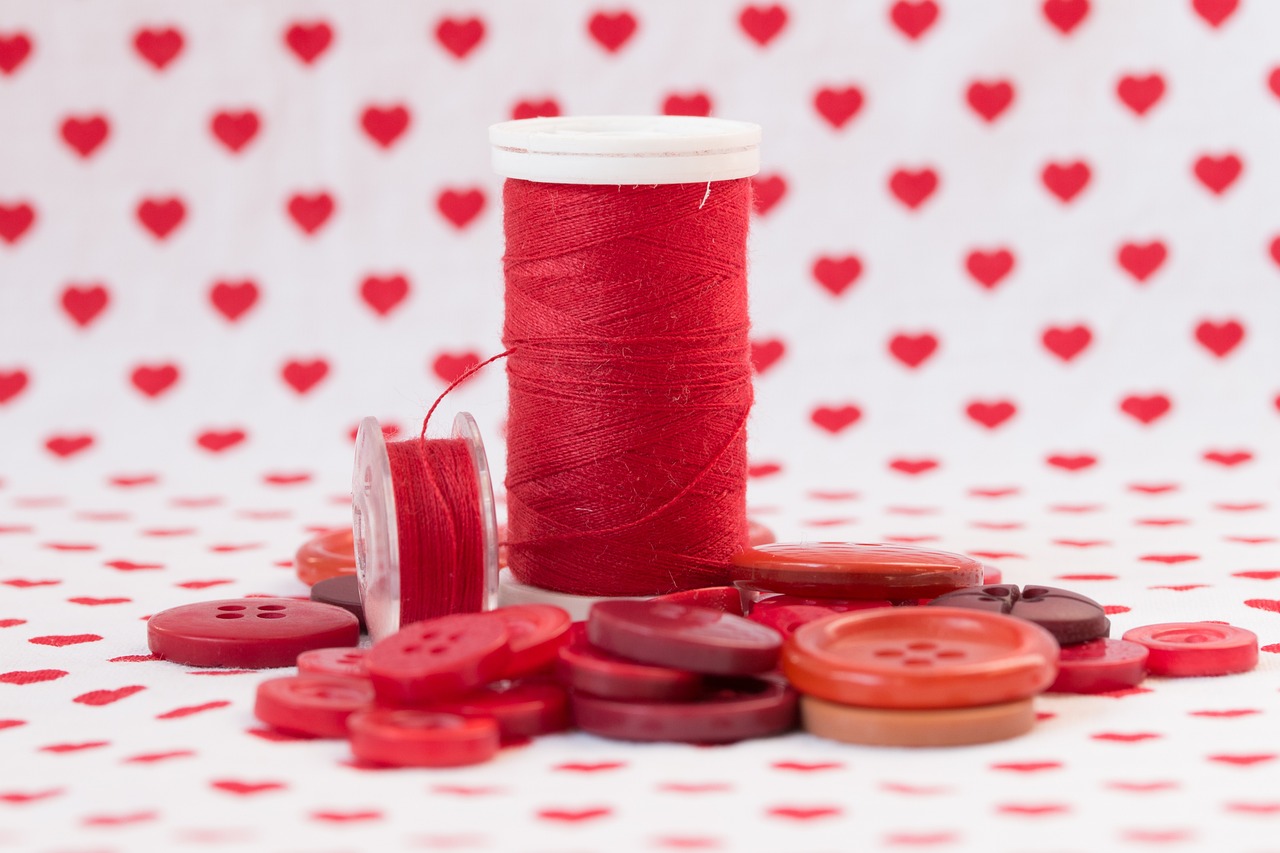
To get started, you'll need some basic materials: fabric (preferably cotton or a washable material), a zipper, and some thread. The beauty of this project lies in its simplicity and versatility. You can create bags in various sizes to accommodate everything from sandwiches to snack-sized portions of nuts or fruit. Plus, you can personalize them with fun prints or colors that reflect your personality or your family's taste.
As you sew, you’ll learn essential techniques like lining and inserting a zipper, which can be a bit tricky at first but is incredibly rewarding once you master it. Here’s a quick overview of the steps involved:
- Cut your fabric into the desired size, ensuring you have two identical pieces for the outer layer and two for the lining.
- Pin the zipper in between the outer fabric and the lining, then sew it all together.
- Once the zipper is securely in place, sew the sides and bottom of the bag, leaving the top open.
- Turn the bag inside out, and voilà! You have a stylish and functional reusable snack bag.
This project not only teaches valuable sewing skills but also encourages a more sustainable lifestyle. Imagine filling up your new snack bags with homemade treats or fresh fruits for a picnic or a day at work. You can even make them as gifts for friends and family, promoting eco-conscious habits in a fun and personalized way.
So, if you're looking for a sewing project that is both fun and functional, look no further than reusable snack bags. They are a perfect way to practice your sewing skills while making a positive impact on the environment. Plus, every time you reach for one of your handmade bags, you’ll feel a sense of pride knowing you created something useful.
Here are some common questions about making reusable snack bags:
| Question | Answer |
|---|---|
| What type of fabric should I use? | Cotton is a great choice because it’s washable and durable. You can also use waterproof fabrics for extra protection. |
| Can I use a sewing machine? | Absolutely! A sewing machine will make the process quicker and give you more precise stitches. |
| How do I clean my reusable snack bags? | Simply toss them in the washing machine with your regular laundry, and they’ll be good as new! |
Frequently Asked Questions
- What materials do I need for these sewing projects?
For most of the beginner projects, you will need basic sewing supplies such as fabric, thread, scissors, pins, and a sewing machine. Some projects may also require additional items like interfacing or zippers, but don’t worry, they are all easy to find!
- Can I use scrap fabric for these projects?
Absolutely! In fact, many of these projects are perfect for using up scrap fabric. It's a great way to recycle and create something new without spending a lot of money. Plus, it allows you to experiment with different colors and patterns!
- How long does each project typically take?
The time it takes to complete each project can vary based on your skill level and the complexity of the design. However, most beginner projects can be completed in an hour or two, making them perfect for a quick sewing session!
- Do I need prior sewing experience to start these projects?
No prior experience is necessary! These projects are specifically designed for beginners. Each one teaches you fundamental sewing techniques, so you’ll be building your skills as you go along.
- What sewing machine should I use as a beginner?
A basic sewing machine is perfect for beginners. Look for models that are user-friendly, have a few built-in stitches, and are lightweight for easy handling. Brands like Brother and Singer offer great options for novice sewists.
- Can I customize these projects to my liking?
Definitely! One of the fun aspects of sewing is the ability to personalize your creations. You can choose different fabrics, add embellishments, or adjust the size to suit your style and needs!
- What if I make a mistake while sewing?
Making mistakes is part of the learning process! Don't be discouraged. Most errors can be easily fixed, and every mistake is an opportunity to learn and improve your sewing skills.
- Where can I find tutorials for these projects?
You can find plenty of tutorials online, including video guides on platforms like YouTube or written instructions on sewing blogs. Many sewing communities also share tips and tricks, making it easier for beginners to get started.


