Exploring Various Techniques in Pottery Creation
Pottery is not just an art form; it's a journey through creativity, culture, and craftsmanship. From the moment you touch the clay, you embark on an adventure that can lead to stunning, one-of-a-kind pieces. Whether you're a seasoned potter or a curious beginner, understanding the various techniques in pottery creation can significantly enhance your skills and inspire your artistic expression. In this article, we will delve into the diverse methods of pottery making, highlighting both traditional and contemporary techniques that shape this beautiful art form. So, grab your tools and let's get our hands dirty!
Hand building is one of the oldest pottery methods, allowing artists to create forms without a potter's wheel. This approach is not only accessible but also incredibly versatile, making it perfect for beginners and experienced artisans alike. There are three primary hand building techniques: pinch, coil, and slab. Each method offers unique possibilities for creativity.
The pinch technique involves using your fingers to pinch and mold the clay into shape. It's as simple as it sounds! You start with a ball of clay, create a small hole in the center, and then use your fingers to pinch the walls until you achieve your desired form. This method is fantastic for creating small bowls or decorative pieces.
Next up is the coil technique, where you roll out long, snake-like pieces of clay and stack them to build up your form. This method allows for more intricate designs and is excellent for creating larger pieces. Imagine building a tall vase or a decorative pot, layer by layer, each coil adding character and charm.
Lastly, we have the slab technique, which involves rolling out flat sheets of clay and cutting them into shapes. These slabs can be joined together to create boxes, plates, or even sculptures. The beauty of hand building lies in its simplicity and the personal touch you can add to each piece.
Wheel throwing offers a dynamic approach to pottery, involving the use of a potter's wheel to shape clay. This technique can be incredibly rewarding, as it allows you to create symmetrical and balanced forms with a bit of practice. If you're new to wheel throwing, don't worry! With some tips and patience, you'll be crafting beautiful pieces in no time.
Proper clay preparation is crucial for successful wheel throwing. Before you even sit down at the wheel, it's essential to prepare your clay. Start by wedging the clay, which is a method of kneading it to remove air bubbles and ensure a uniform consistency. Think of it as giving your clay a warm-up before the big game! This step is vital to prevent cracks and ensure even firing later on.
Once your clay is ready, it's time to dive into the fundamental throwing techniques. The first step is centering, where you place the clay on the wheel and spin it to find the center. This step is critical; if your clay isn't centered, your piece will be lopsided. Next, you'll open the clay by pressing down in the center to create a well. Finally, you'll pull up the walls by gently applying pressure and lifting the clay to form the desired shape. Each of these steps is essential for creating well-formed pottery pieces that showcase the potter's skill and creativity.
Glazing is the icing on the cake when it comes to pottery. It adds color and finish, enhancing the aesthetic appeal of your creations. There are various glazing methods to explore, including dipping, brushing, and spraying. Each method offers different effects, so it's worth experimenting to find your favorite.
Different types of glazes can dramatically alter the appearance of pottery. For instance, glossy glazes provide a shiny finish that reflects light beautifully, while matte glazes offer a more subdued, earthy feel. Textured glazes can add depth and interest, creating surfaces that invite touch. Understanding how these glazes interact with your clay during firing can open up a world of creative possibilities.
Layering glazes can create unique visual effects on pottery. By applying multiple layers of different glazes, you can achieve stunning results. However, it's essential to consider compatibility and firing temperatures to avoid any mishaps. Experimenting with layering can lead to unexpected and delightful surprises in your finished pieces!
Firing is a critical step in pottery creation, transforming clay into durable ceramic. There are various firing methods to explore, including bisque and glaze firing. Each method has its purpose and can influence the final outcome of your work.
Different kilns offer unique firing experiences for potters. Electric kilns are popular for their convenience and control, while gas kilns can create beautiful, varied effects. Wood-fired kilns, on the other hand, add a touch of unpredictability, producing one-of-a-kind results that are often celebrated in the pottery community. Choosing the right kiln depends on your artistic vision and the effects you wish to achieve.
Understanding firing schedules is essential for successful pottery. Typical firing schedules include temperature ramping and holding times. These elements are crucial to ensure optimal results and prevent common issues like cracking or glaze defects. A well-planned firing schedule can make all the difference in achieving the perfect finish on your pottery.
- What is the best clay for beginners? Earthenware clay is often recommended for beginners due to its ease of use and forgiving nature.
- Can I use a regular oven for firing pottery? No, regular ovens do not reach the necessary temperatures for firing clay. It's essential to use a kiln designed for pottery.
- How long does it take to learn pottery? Learning pottery is a journey; while some basics can be grasped in a few classes, mastering the craft can take years of practice.
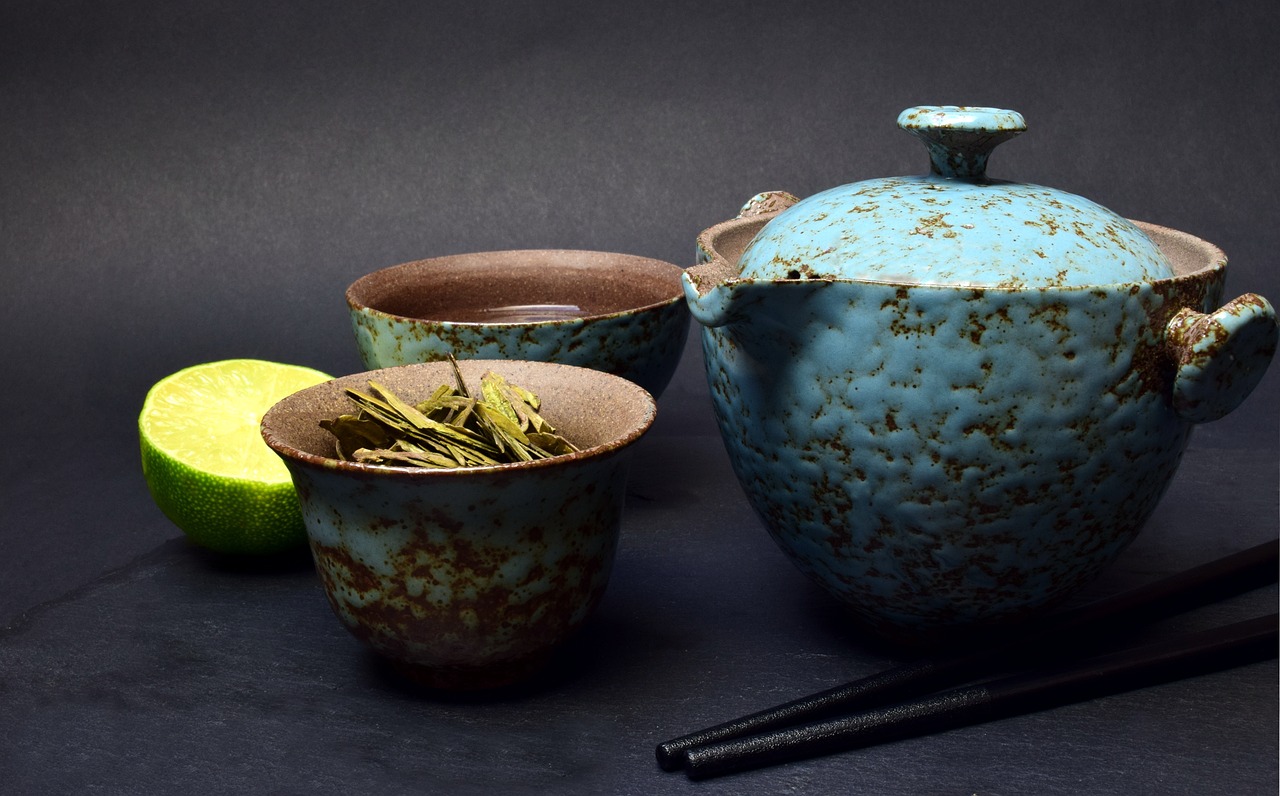
Hand Building Techniques
Hand building is one of the most ancient and cherished methods of creating pottery, offering artists a unique canvas for their creativity. Unlike wheel throwing, which requires a potter's wheel, hand building allows for a more intimate connection with the clay, making it accessible to beginners and seasoned potters alike. This technique encompasses several methods, including pinch, coil, and slab construction, each with its own charm and versatility.
The pinch technique is perhaps the simplest form of hand building, where the potter starts with a ball of clay and uses their fingers to pinch and shape it into a desired form. This method is not only easy to learn but also encourages experimentation. Imagine molding a piece of clay as if you were shaping a soft dough; it’s all about feeling the material and allowing your hands to guide the creation. You can create anything from small bowls to intricate sculptures, making it an excellent choice for those just starting their pottery journey.
Next, we have the coil technique, which involves rolling out long, snake-like pieces of clay and stacking them to build up the walls of a vessel. This method opens up a world of possibilities for creating larger and more complex forms. Picture building a tower with clay coils, each layer adding height and character. As you stack the coils, you can blend them together, creating a seamless design that showcases your craftsmanship. The beauty of the coil technique lies in its ability to produce both functional ware and artistic sculptures, allowing your imagination to run wild.
Then there's the slab technique, which involves rolling out flat sheets of clay and cutting them into shapes to assemble into a final piece. This method is fantastic for creating geometric forms and can be used to make everything from plates to boxes. Think of it as crafting with clay sheets, similar to building with cardboard. You can create intricate designs by joining slabs together, adding texture, or even incorporating other materials like wood or metal for a mixed-media effect. The slab technique also allows for more detailed surface decoration, making it a favorite among potters who love to add their personal touch.
What makes hand building so appealing is its accessibility. You don’t need expensive equipment or a studio space; all you need is some clay and your hands. It's a method that encourages creativity and experimentation, allowing artists to explore their unique styles. Whether you’re creating a simple pinch pot or an elaborate coil vase, each piece tells a story of the artist's journey and connection to the material. Plus, hand building fosters a sense of mindfulness, as you become fully engaged in the tactile experience of shaping and forming the clay.
In summary, hand building techniques are a gateway to the world of pottery, offering endless possibilities for creativity and expression. Whether you choose to pinch, coil, or slab your way to a masterpiece, the joy of crafting with your hands is truly unparalleled. So grab some clay, let your imagination soar, and dive into the wonderful world of hand-built pottery!
- What type of clay is best for hand building? Generally, earthenware or stoneware clays are ideal for hand building due to their malleability and ease of use.
- Can I combine different hand building techniques? Absolutely! Many potters enjoy mixing techniques to create unique pieces that showcase their skills.
- How do I prevent my hand-built pieces from cracking? Make sure to keep your clay moist while working, and allow your pieces to dry slowly and evenly to reduce the risk of cracking.
- Is hand building suitable for beginners? Yes! Hand building is a fantastic starting point for beginners, as it allows for creativity without the need for specialized tools.
Wheel Throwing
This article delves into the diverse methods of pottery making, highlighting traditional and contemporary techniques that shape the art form and enhance creativity in crafting unique ceramic pieces.
Hand building is one of the oldest pottery methods, allowing artists to create forms without a potter's wheel. This section explores pinch, coil, and slab techniques, emphasizing their versatility and accessibility for beginners.
Wheel throwing offers an exhilarating approach to pottery, transforming a lump of clay into beautiful forms with just the flick of a wrist. Imagine the thrill of watching your creation emerge as you master the potter's wheel! This technique is not just about the mechanics; it's about rhythm, balance, and a touch of artistry. Whether you're a seasoned potter or a curious beginner, wheel throwing provides an engaging way to express your creativity.
At its core, wheel throwing involves spinning a potter's wheel while shaping the clay with your hands. This method allows for the creation of symmetrical and intricate designs that can be difficult to achieve with hand-building techniques. But don't be fooled; it takes practice and patience to perfect the art of wheel throwing. Here are some key aspects to consider:
- Balance and Centering: The first step in wheel throwing is centering the clay. This is crucial because an off-center piece can lead to uneven forms and frustration. It’s like finding your footing on a tightrope; once you’re balanced, the rest will follow.
- Opening the Clay: After centering, you'll need to open the clay to create the base of your piece. This step is akin to creating a bowl from a solid mass, allowing you to explore various depths and widths.
- Pulling Up Walls: This technique involves gradually pulling the clay upwards to form the walls of your pottery. Think of it as sculpting a delicate tower; each movement must be gentle yet deliberate.
With these foundational techniques in mind, you will be well on your way to creating stunning pottery pieces that reflect your unique style. Remember, practice makes perfect, and every potter has their own journey filled with trial and error. So, don’t hesitate to experiment and discover what works best for you!
Proper clay preparation is crucial for successful wheel throwing. Before you even sit down at the wheel, you must ensure that your clay is ready to go. This involves wedging the clay to remove air bubbles, which can cause cracks during firing. Think of wedging as kneading dough; it’s essential for achieving the right consistency. The goal is to have a smooth, even texture that will allow for easy manipulation on the wheel.
Now that your clay is prepped, let’s dive into the fundamental throwing techniques. Each step is essential for creating well-formed pottery pieces that showcase the potter's skill and creativity. As you practice these techniques, you’ll find your own rhythm and style emerging.
Glazing adds color and finish to pottery, enhancing its aesthetic appeal. This section examines various glazing methods, including dipping, brushing, and spraying, as well as tips for achieving desired effects and textures.
Different types of glazes can dramatically alter the appearance of pottery. This subsection explores glossy, matte, and textured glazes, discussing their properties and how they interact with clay during firing.
Layering glazes can create unique visual effects on pottery. This section provides insights into techniques for layering different glazes, including considerations for compatibility and firing temperatures to achieve stunning results.
Firing is a critical step in pottery creation, transforming clay into durable ceramic. This section discusses various firing methods, including bisque and glaze firing, as well as alternative firing techniques like raku and pit firing.
Different kilns offer unique firing experiences for potters. This subsection explores electric, gas, and wood-fired kilns, highlighting their advantages and limitations to help potters choose the right option for their work.
Understanding firing schedules is essential for successful pottery. This section outlines typical firing schedules, including temperature ramping and holding times, to ensure optimal results and prevent common issues like cracking or glaze defects.
Q: What is the best type of clay for beginners?
A: Stoneware is often recommended for beginners due to its durability and versatility. It can withstand high temperatures and is less prone to cracking.
Q: How long does it take to learn wheel throwing?
A: Learning wheel throwing varies for each person. Some may grasp the basics in a few sessions, while mastering the technique could take months or even years.
Q: Can I use a regular oven for firing pottery?
A: No, regular ovens cannot reach the high temperatures needed for firing pottery. A kiln is essential for this process.
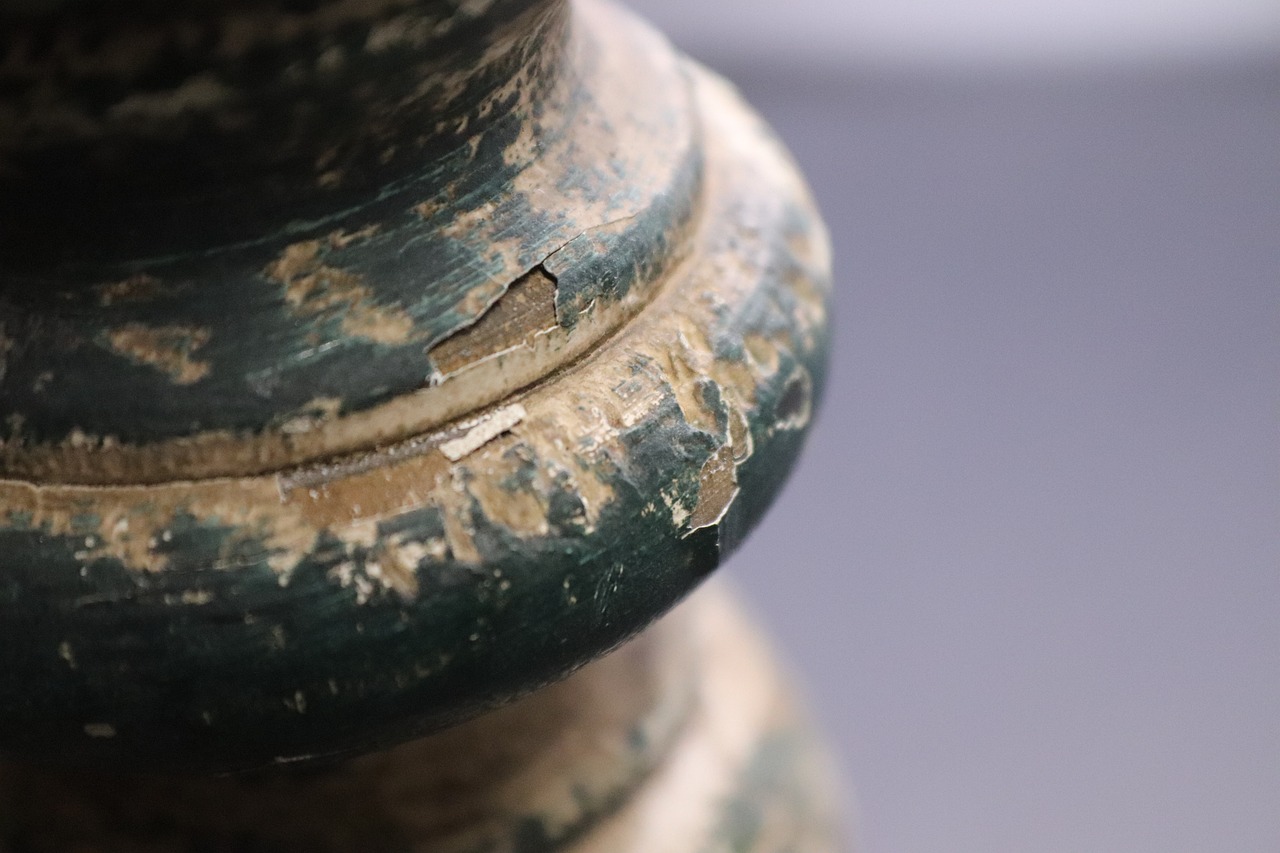
Preparing the Clay
When it comes to wheel throwing, the journey begins long before you even sit down at the potter's wheel. Properly preparing your clay is crucial for achieving those beautifully shaped pieces that make pottery so captivating. Think of clay preparation as the foundation of a house; without a solid base, everything else can crumble. So, let’s dive into the essential steps for preparing your clay, ensuring you're set up for success!
The first step in clay preparation is wedgeing. This process involves kneading the clay to remove air bubbles and create a uniform consistency. Air bubbles can be a potter's worst nightmare, leading to cracks or even explosions during firing. To wedge your clay effectively, use a technique similar to kneading bread dough. Push down and forward with your palms, then fold the clay over itself, repeating this process until it's smooth and pliable. This not only removes air but also aligns the clay particles, making it easier to work with.
Next, you’ll want to assess the moisture content of your clay. Too dry, and it will crumble; too wet, and it will be unmanageable. The ideal consistency should feel like soft butter—malleable yet firm enough to hold its shape. If your clay is too dry, you can add a little water, but do so sparingly. Remember, adding too much can lead to a soupy mess that’s difficult to control.
Once your clay is wedged and at the right moisture level, it’s time to cut and shape it into manageable pieces. Depending on the size of your project, you can cut your clay into smaller chunks, each weighing around 1 to 2 pounds for beginners. This makes it easier to handle and ensures you have enough clay for your intended design. When cutting, use a wire cutter or a knife to ensure clean edges, which will help in the next steps of your pottery-making process.
Before you start throwing, it's also essential to store your clay properly. If you’re not using it immediately, wrap your clay in plastic to keep it moist, or store it in an airtight container. This prevents it from drying out and becoming unusable. Just like you wouldn't leave your favorite dessert out in the open, your clay deserves the same level of care!
In summary, preparing your clay is a vital step that can make or break your pottery experience. By following these simple yet effective techniques—wedging, assessing moisture, cutting, and proper storage—you'll set the stage for a successful and enjoyable pottery session. Remember, the more attention you pay to your clay preparation, the more rewarding your final creations will be. Now, let’s get those hands dirty and start throwing!
- What type of clay is best for beginners? Earthenware clay is often recommended for beginners due to its workability and forgiving nature.
- How do I know if my clay is too wet? If the clay feels sticky and doesn't hold its shape, it's likely too wet. You can let it sit uncovered for a while to dry out.
- Can I reuse dried-out clay? Yes! Dried-out clay can often be rehydrated by soaking it in water and then kneading it back to the desired consistency.
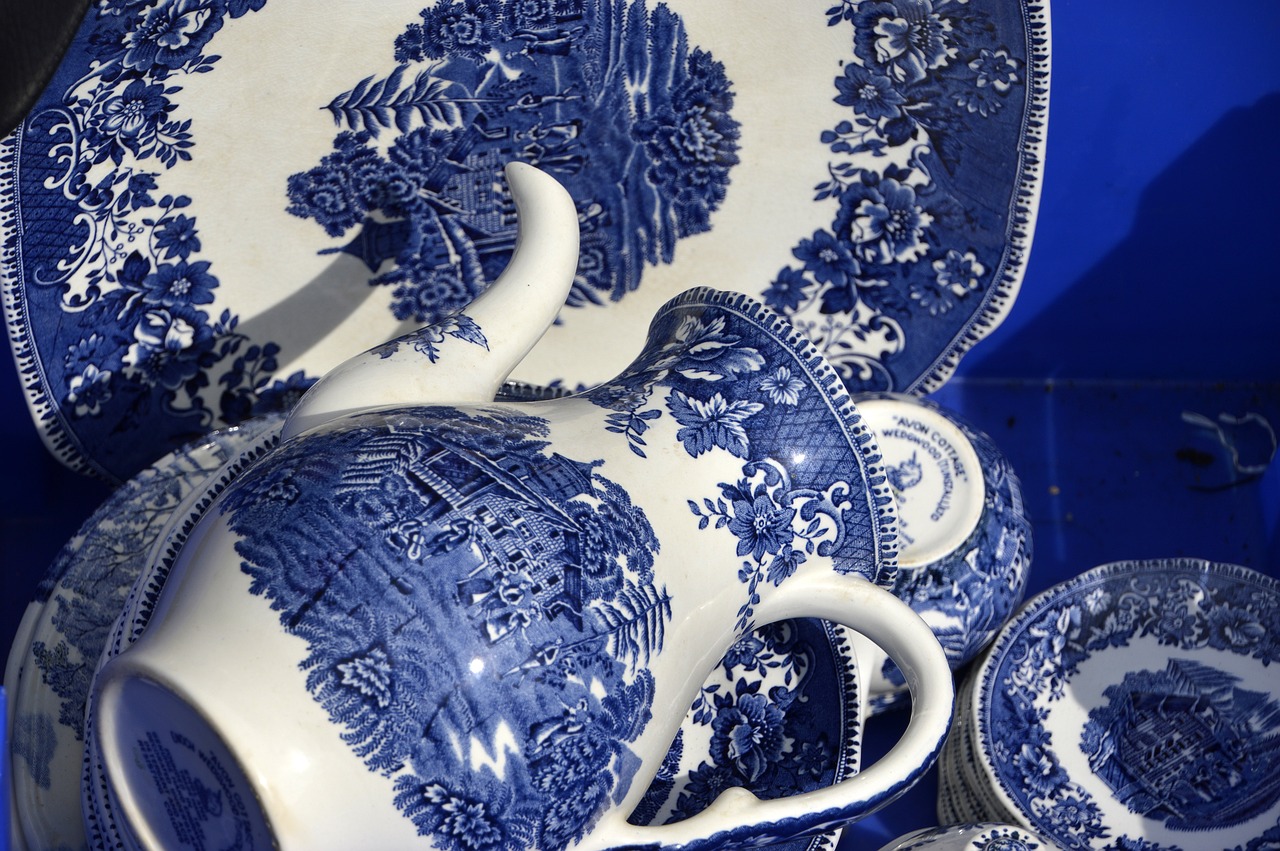
Basic Throwing Techniques
Hand building is one of the oldest pottery methods, allowing artists to create forms without a potter's wheel. This section explores pinch, coil, and slab techniques, emphasizing their versatility and accessibility for beginners.
Wheel throwing offers a dynamic approach to pottery, involving the use of a potter's wheel to shape clay. This section discusses the basics of wheel throwing, including tips for achieving balance and symmetry in forms.
Proper clay preparation is crucial for successful wheel throwing. This subsection covers techniques for wedging clay, removing air bubbles, and achieving the right consistency for optimal results during the throwing process.
When it comes to wheel throwing, mastering the is essential for any potter looking to create stunning pieces. The process begins with centering the clay, which is arguably the most critical step. Centering involves placing your clay on the wheel and applying pressure to form a symmetrical mound. It's like finding your balance on a tightrope; once you’re centered, everything else falls into place.
Once you have achieved a centered mound, the next step is to open the clay. This is done by using your fingers to create a hole in the center of the mound. Think of it as creating a well; you want to go deep enough to form the base of your piece without compromising its structure. As you open the clay, keep your hands steady and maintain even pressure to avoid any unwanted cracks or deformities.
After you’ve opened the clay, it's time to pull up the walls. This technique involves using your fingers to gently lift the clay upwards, creating the walls of your pot. Imagine you’re pulling taffy; you want to stretch it evenly without tearing it. The key here is to maintain consistent pressure and speed as you pull the clay, gradually shaping it to your desired height and thickness.
Throughout this process, it’s important to keep the clay moist. Dry clay can lead to cracks and inconsistencies, so don’t hesitate to use a sponge or spray bottle to keep everything hydrated. Additionally, remember to regularly check your piece for symmetry. A well-formed pot should be evenly shaped, so take a moment to step back and assess your work.
Finally, once you’ve achieved the desired shape, you’ll want to finish the edges and remove any excess clay. This can be done using a wire tool or a knife, ensuring that your piece has clean lines and a polished finish. Remember, practice makes perfect; don’t be discouraged if your first few attempts aren’t flawless. Each piece you create is a step towards mastering the art of pottery.
Glazing adds color and finish to pottery, enhancing its aesthetic appeal. This section examines various glazing methods, including dipping, brushing, and spraying, as well as tips for achieving desired effects and textures.
Different types of glazes can dramatically alter the appearance of pottery. This subsection explores glossy, matte, and textured glazes, discussing their properties and how they interact with clay during firing.
Layering glazes can create unique visual effects on pottery. This section provides insights into techniques for layering different glazes, including considerations for compatibility and firing temperatures to achieve stunning results.
Firing is a critical step in pottery creation, transforming clay into durable ceramic. This section discusses various firing methods, including bisque and glaze firing, as well as alternative firing techniques like raku and pit firing.
Different kilns offer unique firing experiences for potters. This subsection explores electric, gas, and wood-fired kilns, highlighting their advantages and limitations to help potters choose the right option for their work.
Understanding firing schedules is essential for successful pottery. This section outlines typical firing schedules, including temperature ramping and holding times, to ensure optimal results and prevent common issues like cracking or glaze defects.
- What is the best clay for beginners? Many beginners start with stoneware or earthenware clay, as they are versatile and forgiving.
- How long does it take to become proficient in pottery? It varies by individual, but with regular practice, many see improvement within a few months.
- What safety precautions should I take while working with clay? Always wear a mask when sanding dry clay, and ensure proper ventilation when firing your pieces.
- Can I use regular paint on my pottery? No, it's best to use ceramic glazes, as they are designed to withstand high temperatures and enhance durability.
Glazing Techniques
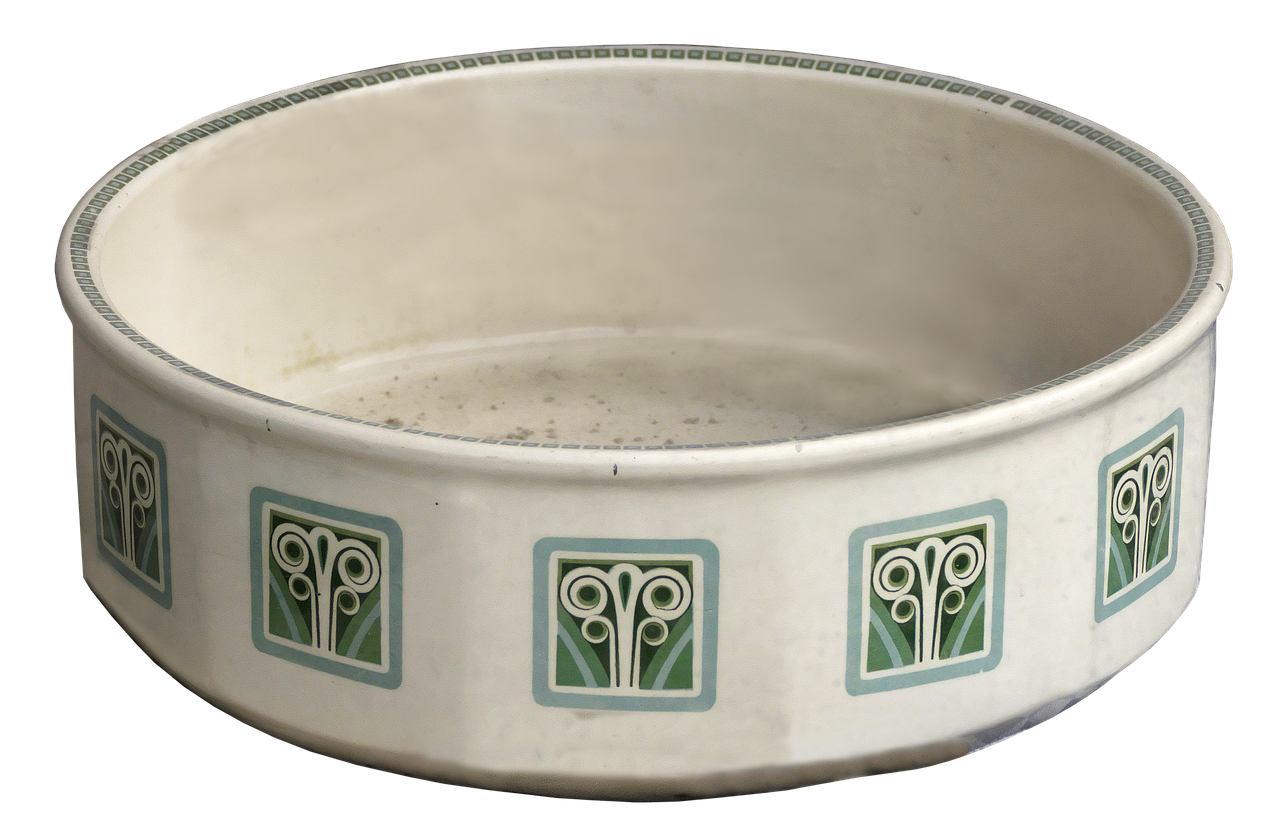
Glazing is where the magic truly happens in pottery creation. It’s like putting the finishing touches on a masterpiece, transforming a simple clay form into a vibrant, eye-catching piece of art. The right glaze can enhance the texture, color, and overall aesthetic of your pottery, making it not just functional but also a statement piece. In this section, we will dive into various glazing methods, including dipping, brushing, and spraying, while providing you with tips to achieve the effects and textures you desire.
One of the most popular glazing techniques is dipping. This method involves submerging your pottery piece into a bucket of glaze, allowing for an even and consistent coating. It's a quick and efficient way to achieve a solid color, but it also opens up opportunities for creative layering. For instance, you could dip a piece in one glaze and then dip just the rim in another to create a striking contrast. However, you must be careful with the thickness of the glaze; too thick, and it may run during firing, while too thin might not give you the vibrant finish you’re aiming for.
Another technique is brushing, which allows for more control and detail. This method is perfect for those who want to create intricate designs or patterns on their pottery. With a brush, you can apply glaze in specific areas, creating a unique look that can’t be achieved through dipping alone. It’s a bit more time-consuming, but the results can be stunning. You can layer different colors or use a brush to create textures that add depth to your work. Just remember to clean your brushes thoroughly between colors to avoid muddying your glazes!
Then there's the spraying technique, which is a fantastic way to achieve a soft, even coverage on larger pieces. Using an airbrush or spray gun, you can mist glaze onto your pottery, creating a smooth finish that can be difficult to replicate with other methods. This technique is especially useful for achieving gradients or subtle color transitions. However, it does require some practice to master, as controlling the spray pattern can be tricky. It’s essential to wear a mask and work in a well-ventilated area to avoid inhaling glaze particles.
To help you visualize the differences in these glazing techniques, here’s a quick comparison:
| Technique | Advantages | Considerations |
|---|---|---|
| Dipping | Fast and even coverage | Thickness control is crucial |
| Brushing | Great for detail and texture | More time-consuming |
| Spraying | Smooth, even finish | Requires practice and safety precautions |
As you experiment with these techniques, don't forget about the types of glazes you can use. Different glazes can dramatically alter the final appearance of your pottery. Glossy glazes can give your work a shiny, reflective finish, while matte glazes offer a softer, more muted look. Textured glazes can add dimension and interest, inviting viewers to touch and explore your creation. Each type interacts differently with the clay during firing, so it’s essential to understand their properties to achieve the desired outcome.
Layering glazes is another exciting approach that can lead to unexpected and beautiful results. By applying one glaze over another, you can create unique visual effects that change with the light. However, it’s important to consider the compatibility of the glazes you choose, as some may react negatively with each other during firing. Always test your glazes on small samples before committing to a larger piece.
In summary, glazing is an essential part of pottery making that allows for personal expression and creativity. Whether you choose to dip, brush, or spray, each technique offers its own set of possibilities. So, roll up your sleeves, grab your tools, and start experimenting with glazes to see how they can elevate your pottery creations!
- What is the best glaze for beginners?
For beginners, it’s often recommended to start with a basic glossy glaze. These are easier to apply and tend to produce more predictable results.
- Can I layer different types of glazes?
Yes, you can layer different types of glazes, but make sure they are compatible to avoid adverse reactions during firing.
- How do I prevent glaze defects?
To prevent glaze defects, ensure your pottery is clean, apply glaze evenly, and follow firing schedules closely.
Types of Glazes
This article delves into the diverse methods of pottery making, highlighting traditional and contemporary techniques that shape the art form and enhance creativity in crafting unique ceramic pieces.
Hand building is one of the oldest pottery methods, allowing artists to create forms without a potter's wheel. This section explores pinch, coil, and slab techniques, emphasizing their versatility and accessibility for beginners.
Wheel throwing offers a dynamic approach to pottery, involving the use of a potter's wheel to shape clay. This section discusses the basics of wheel throwing, including tips for achieving balance and symmetry in forms.
Proper clay preparation is crucial for successful wheel throwing. This subsection covers techniques for wedging clay, removing air bubbles, and achieving the right consistency for optimal results during the throwing process.
This section outlines fundamental throwing techniques, including centering, opening, and pulling up walls. Each step is essential for creating well-formed pottery pieces that showcase the potter's skill and creativity.
Glazing adds color and finish to pottery, enhancing its aesthetic appeal. This section examines various glazing methods, including dipping, brushing, and spraying, as well as tips for achieving desired effects and textures.
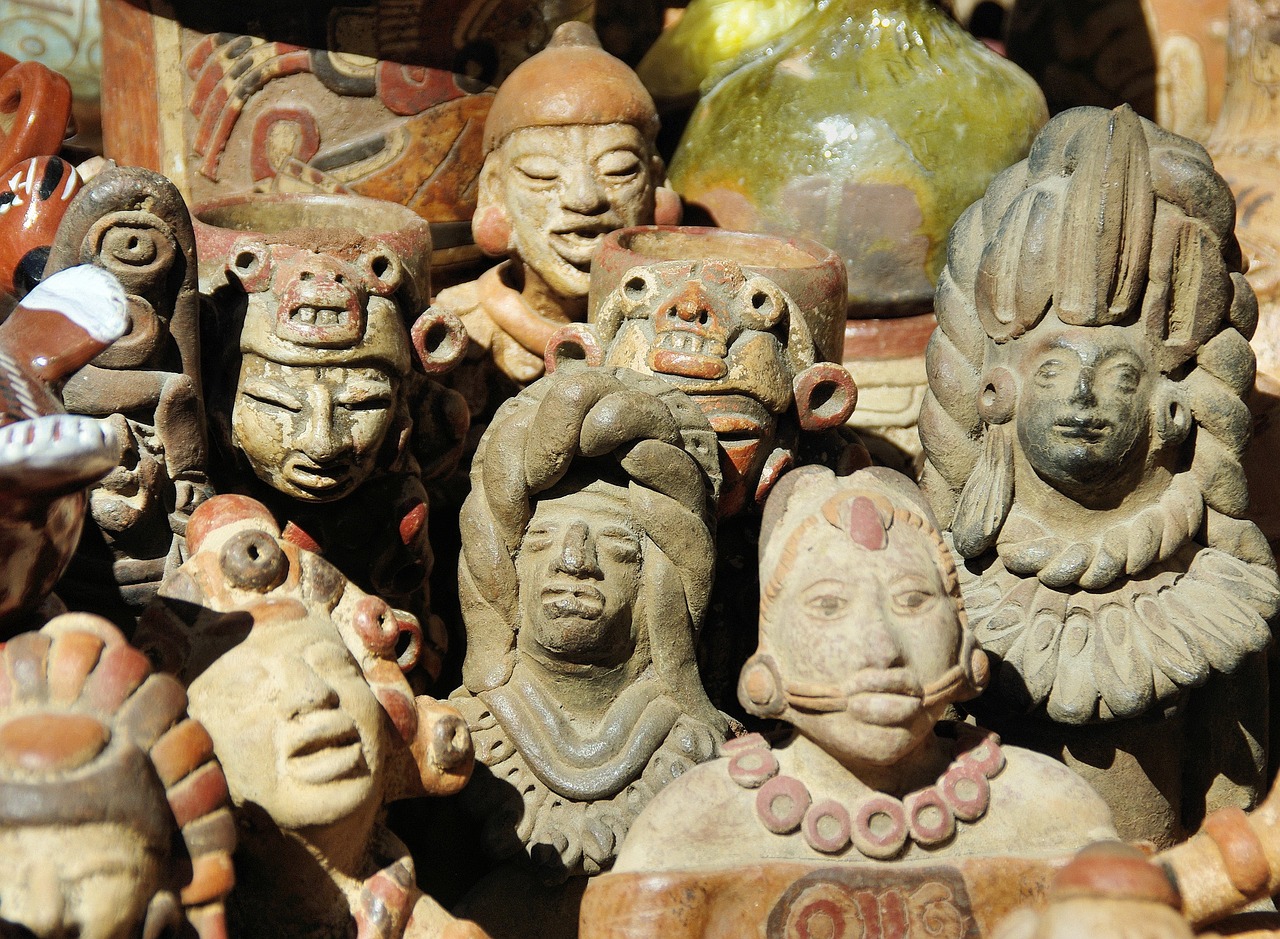
When it comes to pottery, the type of glaze you choose can dramatically alter the final appearance of your work. Glazes are not just about aesthetics; they also play a crucial role in the functionality and durability of ceramic pieces. Let's explore some of the most common types of glazes:
- Glossy Glazes: These glazes produce a shiny finish that reflects light beautifully. They are great for vibrant colors and can enhance the visual depth of your pottery.
- Matte Glazes: Offering a more subdued, non-reflective surface, matte glazes can create a soft and muted look. They are often favored for their earthy and natural appearance.
- Textured Glazes: These glazes add a tactile quality to pottery. With a variety of surfaces, from sandy to bumpy, textured glazes can enhance the sensory experience of a piece.
Each type of glaze interacts differently with the clay during the firing process. For instance, glossy glazes tend to pool in areas, creating beautiful, reflective surfaces, while matte glazes can emphasize the form of the piece itself. Understanding these interactions is key to achieving your desired look.
Moreover, the choice of glaze can also be influenced by the firing temperature and the type of clay used. For example, some glazes are formulated specifically for low-fire clays, while others are designed for high-fire applications. This means that selecting the right glaze is not only about aesthetics but also about compatibility with your clay body.
In summary, the type of glaze you choose can significantly impact both the beauty and function of your pottery. Experimenting with different glazes allows artists to express their creativity and develop a unique style that resonates with their vision.
Firing is a critical step in pottery creation, transforming clay into durable ceramic. This section discusses various firing methods, including bisque and glaze firing, as well as alternative firing techniques like raku and pit firing.
Different kilns offer unique firing experiences for potters. This subsection explores electric, gas, and wood-fired kilns, highlighting their advantages and limitations to help potters choose the right option for their work.
Understanding firing schedules is essential for successful pottery. This section outlines typical firing schedules, including temperature ramping and holding times, to ensure optimal results and prevent common issues like cracking or glaze defects.
1. What is the difference between glossy and matte glazes?
Glossy glazes have a shiny finish that reflects light, while matte glazes have a non-reflective surface that appears softer and more subdued.
2. Can I layer different types of glazes?
Yes, layering different glazes can create unique visual effects, but it's essential to ensure that the glazes are compatible with each other.
3. How do I know which glaze to use for my clay?
Always check the manufacturer's recommendations for glaze compatibility with your specific clay body, as some glazes are designed for low-fire or high-fire applications.
4. What happens if I fire my pottery at the wrong temperature?
Firing pottery at the incorrect temperature can lead to issues such as cracking, glaze defects, or even complete failure of the piece.
Layering Glazes
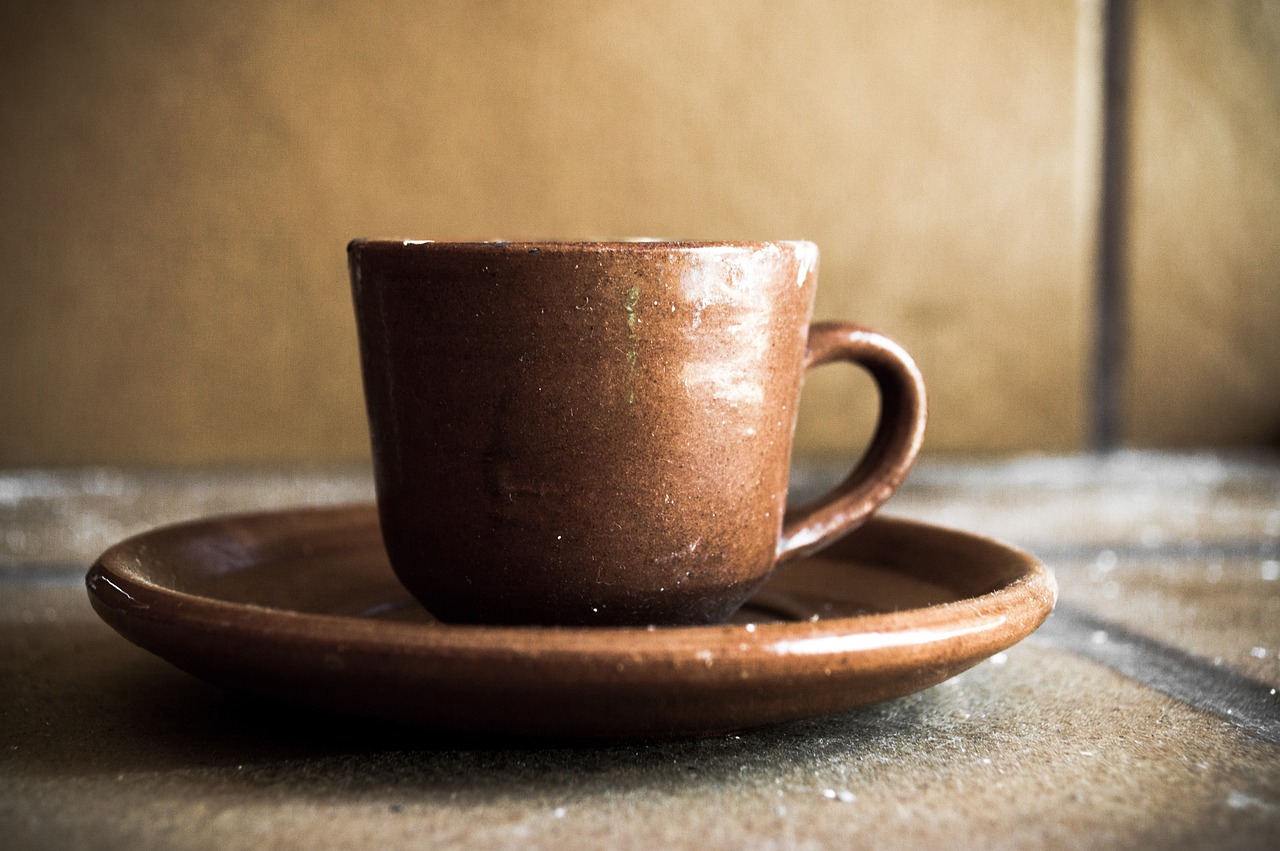
Layering glazes is a fascinating technique that opens up a world of creative possibilities for potters. By applying multiple layers of different glazes, artists can achieve stunning visual effects that transform their pieces into unique works of art. This method is akin to mixing colors on a palette; just as an artist blends hues to create new shades, potters can combine glazes to produce unexpected results. However, layering requires a bit of finesse and understanding of how different glazes interact with each other.
When layering glazes, it’s essential to consider the compatibility of the glazes being used. Some glazes may react poorly when combined, leading to undesirable results such as crawling, running, or even complete failure to adhere to the clay surface. To avoid these pitfalls, potters should conduct tests on small samples before committing to a full piece. This testing phase can help identify which glazes work harmoniously together and which do not.
Another critical factor in layering glazes is the firing temperature. Different glazes have varying requirements for firing, and understanding these can make a significant difference in the outcome. For example, if you layer a high-fire glaze over a low-fire glaze, the lower temperature of the latter may not withstand the firing process, resulting in a compromised finish. Therefore, always check the firing ranges of your chosen glazes and plan accordingly.
In addition to compatibility and firing temperatures, potters should also consider the application method when layering glazes. Each technique—be it dipping, brushing, or spraying—can yield different results. Dipping is a quick way to cover a piece, but it can also lead to thicker applications, which might obscure underlying layers. Brushing allows for more control and precision, enabling potters to create intricate patterns and designs. Spraying can create a smooth and even coat, but it requires a bit of practice to master.
Ultimately, layering glazes is about experimentation and personal expression. The beauty of this technique lies in its unpredictability; often, the most stunning results come from happy accidents. As you delve into the world of glaze layering, don’t be afraid to take risks and push the boundaries of your creativity. After all, pottery is not just about functionality; it’s an art form that invites exploration and innovation.
- What is the best way to test glaze layering?
Testing can be done on small tiles or sample pieces. Apply the glazes in layers and fire them to see how they react together.
- Can I layer any type of glaze?
Not all glazes are compatible. It's important to check the manufacturer's guidelines for compatibility and firing temperatures.
- How do I know if my glazes will work together?
Conduct small tests before applying them to larger pieces. This will help you understand how they interact when fired.
Firing Techniques
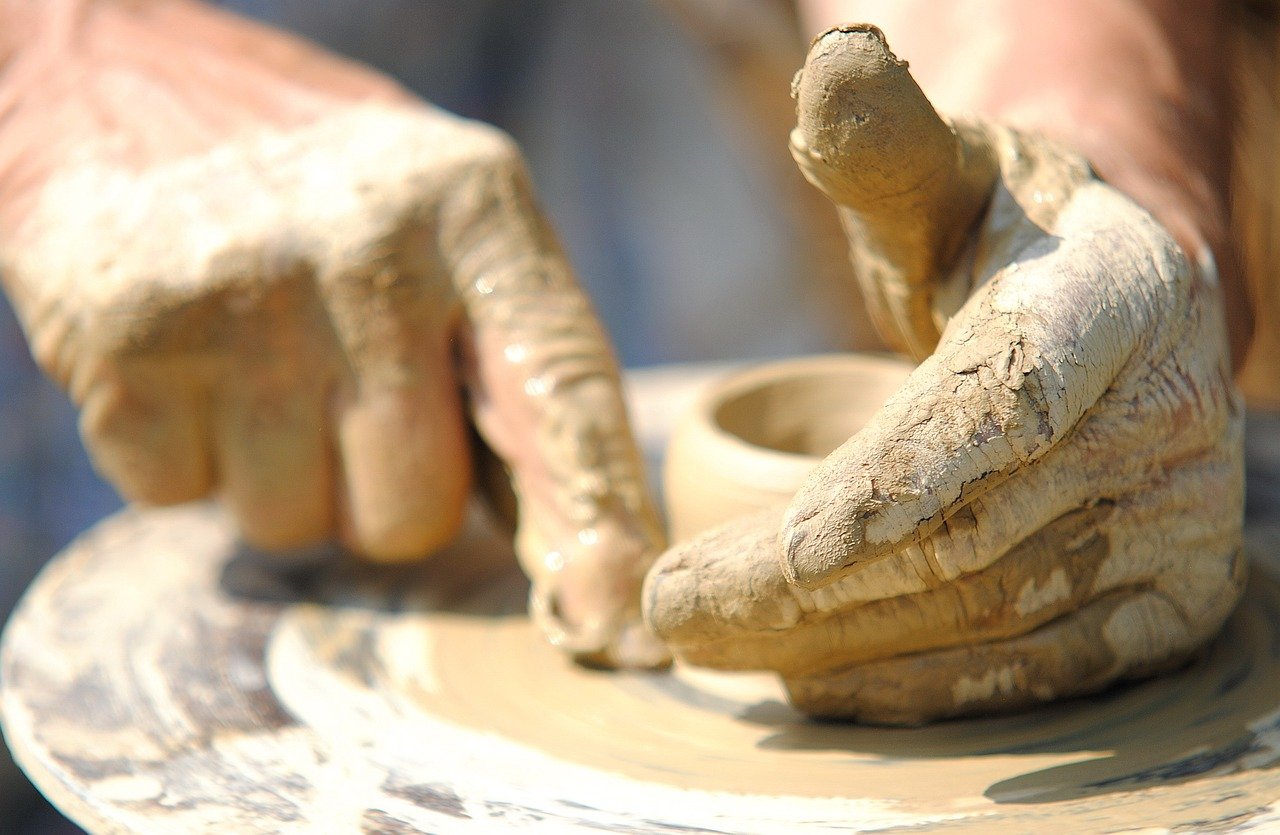
Firing is a critical step in the pottery creation process, transforming raw clay into durable ceramic. Without firing, your beautiful creations would remain fragile and susceptible to damage. There are various firing methods that potters can employ, each with its unique characteristics and outcomes. The most common methods include bisque firing and glaze firing, but alternative techniques such as raku and pit firing have gained popularity for their distinctive results.
When it comes to bisque firing, this initial firing stage is crucial for hardening the clay body without any glaze. It prepares the pottery for glazing by removing moisture and making the pieces more robust. Typically, bisque firing is done at lower temperatures, usually around 1,650°F (900°C). This process not only enhances the strength of the pottery but also allows for better glaze adhesion during the subsequent firing.
On the other hand, glaze firing follows bisque firing and involves higher temperatures, often reaching up to 2,300°F (1,260°C) or more, depending on the type of glaze used. This stage is where the magic happens; the glaze melts and fuses to the clay, creating a beautiful, glass-like surface. The firing atmosphere—oxidation or reduction—can also dramatically affect the final appearance of the glaze, adding an extra layer of complexity to the process.
In addition to these standard methods, potters often experiment with alternative firing techniques. Raku firing, for instance, is a Japanese technique that involves removing pottery from the kiln while it is still glowing hot and placing it in combustible materials, such as sawdust or straw. This creates unique surface effects, often characterized by crackled glazes and vibrant colors. Similarly, pit firing is one of the oldest firing methods, where pottery is buried in a pit filled with combustible materials and set ablaze. The results are unpredictable and can yield stunning, earthy finishes.
To give you a clearer picture of the different firing techniques, here’s a simple comparison table:
| Firing Technique | Temperature Range | Characteristics |
|---|---|---|
| Bisque Firing | 1,650°F (900°C) | Hardens clay, prepares for glazing |
| Glaze Firing | 2,300°F (1,260°C) | Melts glaze, fuses to clay |
| Raku Firing | 1,800°F (982°C) | Creates crackled surfaces, vibrant colors |
| Pit Firing | Varies | Unpredictable finishes, earthy tones |
Understanding these firing techniques is essential for any potter aiming to achieve specific effects and durability in their work. Each technique not only influences the final product’s aesthetic but also its functionality. As you dive deeper into the world of pottery, experimenting with different firing methods can lead to exciting discoveries and a greater appreciation for this timeless art form.
Q: What is the purpose of bisque firing?
A: Bisque firing hardens the clay and prepares it for glazing. It removes moisture and strengthens the piece, making it more durable.
Q: How does glaze firing differ from bisque firing?
A: Glaze firing occurs at higher temperatures and involves melting the glaze to fuse it with the clay, creating a glass-like finish.
Q: What are the benefits of alternative firing techniques like raku?
A: Alternative firing techniques can produce unique and unpredictable results, allowing for creative expression and distinctive aesthetics that differ from traditional methods.
Types of Kilns
When it comes to firing pottery, the kiln you choose can make all the difference in the final product. Think of a kiln as the oven for your clay creations, each type offering unique characteristics that can influence the outcome of your work. There are several types of kilns, and understanding their differences is crucial for any potter looking to perfect their craft. Let's dive into the most common types of kilns used in pottery today.
The first type we’ll discuss is the electric kiln. These are incredibly popular among hobbyists and professionals alike due to their ease of use and consistent firing results. Electric kilns are typically more compact and can be used in smaller studios or even at home. They allow for precise temperature control, which is essential for achieving the desired effects in glazing. However, one downside is that they may not reach the high temperatures required for certain types of stoneware or porcelain firing.
Next up is the gas kiln. These offer potters the ability to achieve higher temperatures and create unique effects thanks to the reduction atmosphere they can provide. Gas kilns can be more complex to operate, requiring knowledge of how to manage the fuel supply and airflow. However, the results can be breathtaking, with rich colors and textures that electric kilns often can’t replicate. If you’re aiming for a particular aesthetic or working with specific clay bodies, a gas kiln might be the way to go.
Then we have the wood-fired kiln. This type of kiln is often associated with traditional pottery techniques and can produce stunning results. The wood-firing process is labor-intensive and requires a good deal of skill and patience, as the potter must continuously feed the fire and maintain the right temperature over an extended period. The unique ash glazes and textures that result from wood firing are highly coveted, making it a favorite among artists looking to create one-of-a-kind pieces.
For those interested in exploring alternative firing methods, raku kilns are a fascinating option. Raku firing is a quick process that involves removing pottery from the kiln while it’s still glowing hot and placing it in combustible materials. This creates dramatic effects and unpredictable results, which many potters find exhilarating. Raku is particularly popular for decorative pieces rather than functional ware due to the nature of the firing process.
Lastly, let’s not forget about pit firing. This ancient technique involves digging a pit in the ground, placing the pottery inside, and then covering it with combustible materials. The firing is done outdoors and can yield beautiful, earthy tones and textures. It’s a method that connects the potter with the elemental aspects of fire and earth, making the final pieces feel truly organic.
| Type of Kiln | Advantages | Disadvantages |
|---|---|---|
| Electric Kiln | Easy to use, consistent results, compact | Limited high-temperature capabilities |
| Gas Kiln | High temperatures, unique reduction effects | More complex operation, requires skill |
| Wood-Fired Kiln | Unique textures, traditional techniques | Labor-intensive, requires patience |
| Raku Kiln | Quick process, dramatic effects | Not suitable for functional ware |
| Pit Firing | Organic results, elemental connection | Outdoor process, unpredictable outcomes |
Understanding the different types of kilns can help you make an informed decision about which one is best suited for your pottery projects. Each kiln type offers unique benefits and challenges, so consider your goals, workspace, and the types of pottery you wish to create. Whether you’re a beginner or a seasoned potter, experimenting with different kilns can open up a world of creative possibilities.
- What is the best kiln for beginners? Electric kilns are generally recommended for beginners due to their ease of use and consistent results.
- Can I use an electric kiln for raku firing? While it's possible, it’s not ideal. Raku firing typically requires a quick, outdoor setup not suited for electric kilns.
- How long does it take to fire pottery? Firing times can vary widely depending on the kiln type and the desired temperature, but most firings take several hours to complete.

Firing Schedules
Understanding is essential for anyone venturing into the world of pottery. The firing process is where clay transforms into durable ceramic, and the schedule you follow can significantly impact the final outcome of your pieces. Just like baking a cake, where timing and temperature are crucial, firing pottery requires careful planning to ensure that the clay reaches the right temperature and holds it for the appropriate amount of time.
A typical firing schedule is divided into several phases: heating up, soaking, and cooling down. Each phase serves a specific purpose:
- Heating Up: This phase involves gradually increasing the temperature of the kiln. It's important to ramp up slowly to prevent thermal shock, which can crack your pottery.
- Soaking: Once the desired temperature is reached, it's essential to hold that temperature for a specific period. This allows the clay and glaze to mature properly, ensuring optimal results.
- Cooling Down: After soaking, the kiln needs to cool down gradually. Rapid cooling can lead to defects, so it's best to follow a controlled cooling schedule.
Here’s a simplified overview of a typical firing schedule:
| Phase | Temperature (°F) | Duration |
|---|---|---|
| Heating Up | 0 to 1800 | 8-10 hours |
| Soaking | 1800 | 1-2 hours |
| Cooling Down | 1800 to 200 | 12-24 hours |
Each kiln type may have different firing schedules, and potters often adjust their schedules based on the specific requirements of their clay and glazes. For instance, electric kilns typically allow for more controlled firing schedules compared to wood-fired kilns, which can have more unpredictable temperature fluctuations. Therefore, it's crucial to experiment and document your firing schedules to find what works best for your unique creations.
Additionally, understanding the effects of temperature on your clay body and glazes is vital. For instance, some glazes may require a higher temperature to achieve their desired finish, while others may perform best at lower temperatures. Keeping a firing log can be incredibly beneficial, allowing you to track your successes and learn from any mistakes.
In conclusion, mastering firing schedules is not just a technical necessity; it's also an art form in itself. The more you understand about how temperature and time affect your pottery, the more creative freedom you'll have to experiment with different techniques and achieve stunning results.
- What is a firing schedule?
A firing schedule outlines the temperature and duration for each phase of firing pottery, ensuring proper transformation from clay to ceramic. - Why is it important to follow a firing schedule?
Following a firing schedule helps prevent issues such as cracking or glaze defects, resulting in high-quality pottery. - Can I adjust my firing schedule?
Yes, potters often adjust their firing schedules based on the specific requirements of their clay and glazes.
Frequently Asked Questions
- What is hand building in pottery?
Hand building is a traditional pottery technique that allows artists to create ceramic pieces without the use of a potter's wheel. This method includes various approaches like pinch, coil, and slab techniques, making it an accessible choice for beginners and a great way to express creativity.
- How do I prepare clay for wheel throwing?
Preparing clay for wheel throwing is crucial for success. It involves wedging the clay to remove air bubbles and achieve a consistent texture. Proper preparation ensures that your clay is pliable and ready for shaping, which is essential for creating well-formed pottery.
- What are the basic throwing techniques?
Basic throwing techniques include centering the clay on the wheel, opening it up to create a hollow form, and pulling up the walls to shape the piece. Mastering these steps is key to developing your skills as a potter and producing beautiful, symmetrical pottery.
- What types of glazing techniques are available?
There are several glazing techniques, including dipping, brushing, and spraying. Each method offers unique ways to apply glaze, allowing for various effects and finishes on your pottery. Experimenting with these techniques can lead to stunning visual results!
- How do different types of glazes affect pottery?
Different types of glazes can dramatically change the look of your pottery. Glossy glazes provide a shiny finish, while matte glazes offer a more subdued appearance. Textured glazes can add depth and interest, making your pieces truly one-of-a-kind.
- What is layering glazes?
Layering glazes involves applying multiple layers of different glazes to create unique visual effects. It's essential to consider the compatibility of the glazes and their firing temperatures to achieve stunning results without defects.
- What are the different firing techniques used in pottery?
Firing techniques include bisque firing, glaze firing, and alternative methods like raku and pit firing. Each technique transforms clay into durable ceramics, with unique results depending on the method used.
- What types of kilns are there?
There are various types of kilns, such as electric, gas, and wood-fired kilns. Each kiln offers different firing experiences and results, making it important for potters to choose the right one based on their specific needs and desired outcomes.
- How do firing schedules work?
Firing schedules outline the temperatures and times needed for successful pottery firing. Understanding the ramping and holding times is vital to prevent issues like cracking or glaze defects, ensuring your ceramics come out just right.


