Everything about pottery making: From clay to kiln
Pottery making is an ancient art form that has captivated the hearts and hands of creators for thousands of years. It’s not just about shaping clay; it’s about transforming raw earth into functional and beautiful objects. Whether you’re a complete novice or a seasoned artisan, the journey from clay to kiln is filled with fascinating steps that can ignite your creativity. In this article, we’ll explore the intricate processes involved in pottery making, from selecting the right type of clay to the final firing in the kiln. Along the way, we’ll share tips and techniques that can help aspiring potters hone their skills and bring their artistic visions to life.
Choosing the right clay is the first step in the pottery-making journey. Different types of clay possess unique properties that influence not just the crafting process but also the final outcome of the pottery. Let’s dive into the three main types of clay: earthenware, stoneware, and porcelain.
- Earthenware: This type of clay is known for its porous nature and vibrant colors. It’s often used for decorative pieces and functional pottery, such as flower pots and dinnerware. Earthenware is typically fired at lower temperatures, which makes it easier to work with but also less durable than other clays.
- Stoneware: Stoneware is a versatile clay that is durable and non-porous. It’s ideal for functional items like dishes and mugs, as it can withstand higher temperatures and is dishwasher safe. Its natural earthy tones and textures make it a favorite among potters.
- Porcelain: Renowned for its fine quality and translucence, porcelain is a high-fired clay that produces stunning results. It’s perfect for intricate designs and delicate pieces, such as fine china and artistic sculptures. However, it requires more skill to work with due to its less forgiving nature.
To embark on your pottery-making adventure, you’ll need a variety of essential tools that will aid in the crafting process. From shaping the clay to firing your creations, each tool serves a specific purpose that can enhance your artistic expression.
Among the most crucial tools is the pottery wheel. A pottery wheel allows you to shape your clay into symmetrical forms, which is a fundamental skill for any potter. There are different types of wheels available, each with its own mechanisms and features. Mastering wheel techniques can take time, but with practice, you’ll be able to create beautiful pieces that showcase your unique style.
When it comes to pottery wheels, you have two main options: electric wheels and kick wheels. Both have their pros and cons, and the choice often boils down to personal preference.
Electric wheels are incredibly convenient and allow for consistent speed control, making them ideal for beginners or those who prefer a more modern approach. On the other hand, kick wheels offer a traditional experience that many potters appreciate. The tactile interaction with the clay can be more rewarding, but it requires a bit more physical effort to maintain speed.
In addition to wheels, hand tools are indispensable for detailing and finishing your pottery. Tools such as rib tools, trimming tools, and sponges help refine your work and add intricate details that elevate your pieces. These tools are extensions of your creativity, allowing you to express your vision more effectively.
Once your pottery is shaped and dried, the next critical step is firing. This process transforms raw clay into durable ceramics. There are two main firing techniques: bisque firing and glaze firing. Bisque firing is the initial firing that hardens the clay, while glaze firing is the second stage where glazes are applied and fused to the pottery.
Glazing is where the magic happens! It adds color, texture, and a protective layer to your pottery. There are various glazing techniques and types of glazes to explore. Understanding the differences can help you achieve stunning results.
Different glazes can drastically change the appearance of your pottery. Here are a few types:
- Glossy Glazes: These glazes create a shiny finish that enhances colors and patterns.
- Matte Glazes: Matte glazes provide a soft, non-reflective surface, giving your pottery a more natural look.
- Transparent Glazes: These allow the clay body or underglaze decoration to show through, creating depth and interest.
Applying glaze correctly is crucial for achieving a quality finish. Techniques such as dipping, brushing, and spraying each offer unique effects and can be used to create diverse looks on your pottery pieces.
Even the most experienced potters face challenges along the way. Understanding common mistakes—like overworking the clay or applying glaze too thickly—can help you avoid frustration. Remember, every mistake is a learning opportunity!
Finding inspiration is vital for creativity in pottery. Whether you’re seeking new techniques or design ideas, there are plenty of resources available. Consider exploring books, online courses, and local pottery communities to continue your learning journey and connect with fellow potters.
Q: What is the best type of clay for beginners?
A: Earthenware is often recommended for beginners due to its ease of use and forgiving nature.
Q: How long does it take to make pottery?
A: The entire process can take several days to weeks, depending on drying and firing times.
Q: Can I use my pottery for food?
A: Yes, as long as you use food-safe glazes and follow proper firing techniques.
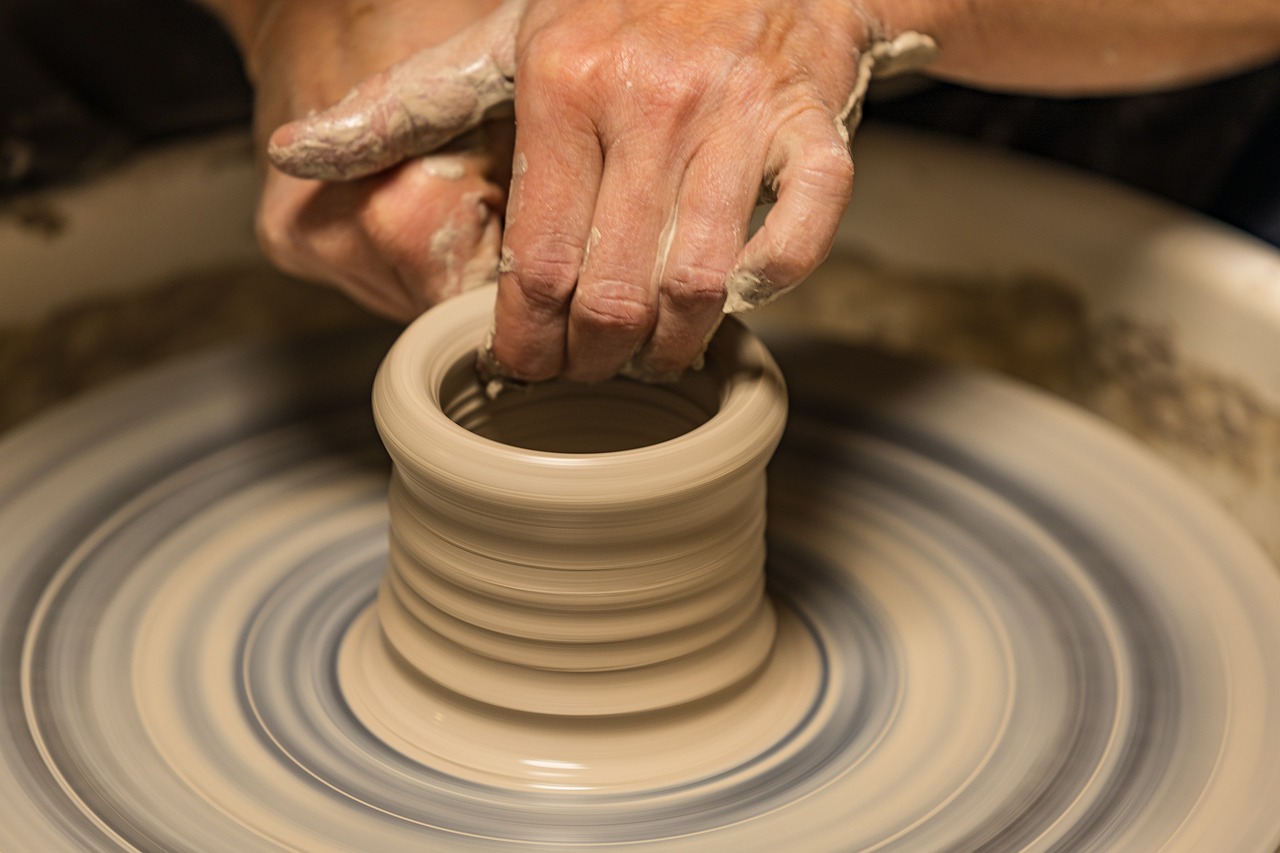
Understanding Clay Types
When it comes to pottery making, the heart of the craft lies in the type of clay you choose. Each variety of clay possesses unique properties that can significantly influence the outcome of your pottery. Let’s dive into the three most common types: earthenware, stoneware, and porcelain. Understanding these differences is crucial for both beginners and seasoned potters alike.
Earthenware is perhaps the most accessible clay type for beginners. It's known for its soft texture and low firing temperature, typically around 1,830°F (1,000°C). This type of clay is often used for decorative pottery and functional pieces like flower pots and dishes. One of its standout features is its ability to showcase vibrant glazes, making it a favorite for those who enjoy colorful designs. However, earthenware is porous and less durable than other types, so it's best suited for indoor use unless properly sealed.
On the other hand, stoneware is a fantastic option for potters looking for durability and versatility. Fired at higher temperatures, around 2,192°F (1,200°C), stoneware is non-porous and can withstand thermal shock. This makes it ideal for functional items such as dinnerware and bakeware. Its natural earthy tones provide a rustic aesthetic that many potters love. Plus, stoneware can be left unglazed for a more natural look or glazed for a glossy finish. The strength and resilience of stoneware make it a go-to choice for potters aiming for longevity in their creations.
Lastly, we have porcelain, often regarded as the gold standard of clay types. This fine, white clay is fired at extremely high temperatures, usually around 2,400°F (1,300°C), resulting in a glass-like finish that is both beautiful and durable. Porcelain is known for its translucency and smooth texture, making it perfect for delicate pieces like fine china and intricate sculptures. However, working with porcelain can be challenging due to its low plasticity and tendency to warp, so it requires a skilled hand and a good understanding of the medium.
To summarize, here’s a quick comparison of the three clay types:
| Clay Type | Firing Temperature | Characteristics | Ideal Uses |
|---|---|---|---|
| Earthenware | 1,830°F (1,000°C) | Soft, porous, vibrant glazes | Decorative pieces, flower pots |
| Stoneware | 2,192°F (1,200°C) | Durable, non-porous, earthy tones | Dinnerware, bakeware |
| Porcelain | 2,400°F (1,300°C) | Translucent, smooth, fine quality | Fine china, intricate sculptures |
Choosing the right clay type is essential for achieving your desired results in pottery. Whether you're looking for vibrant colors, durability, or fine details, understanding these clay types will help you make informed decisions as you embark on your pottery journey.
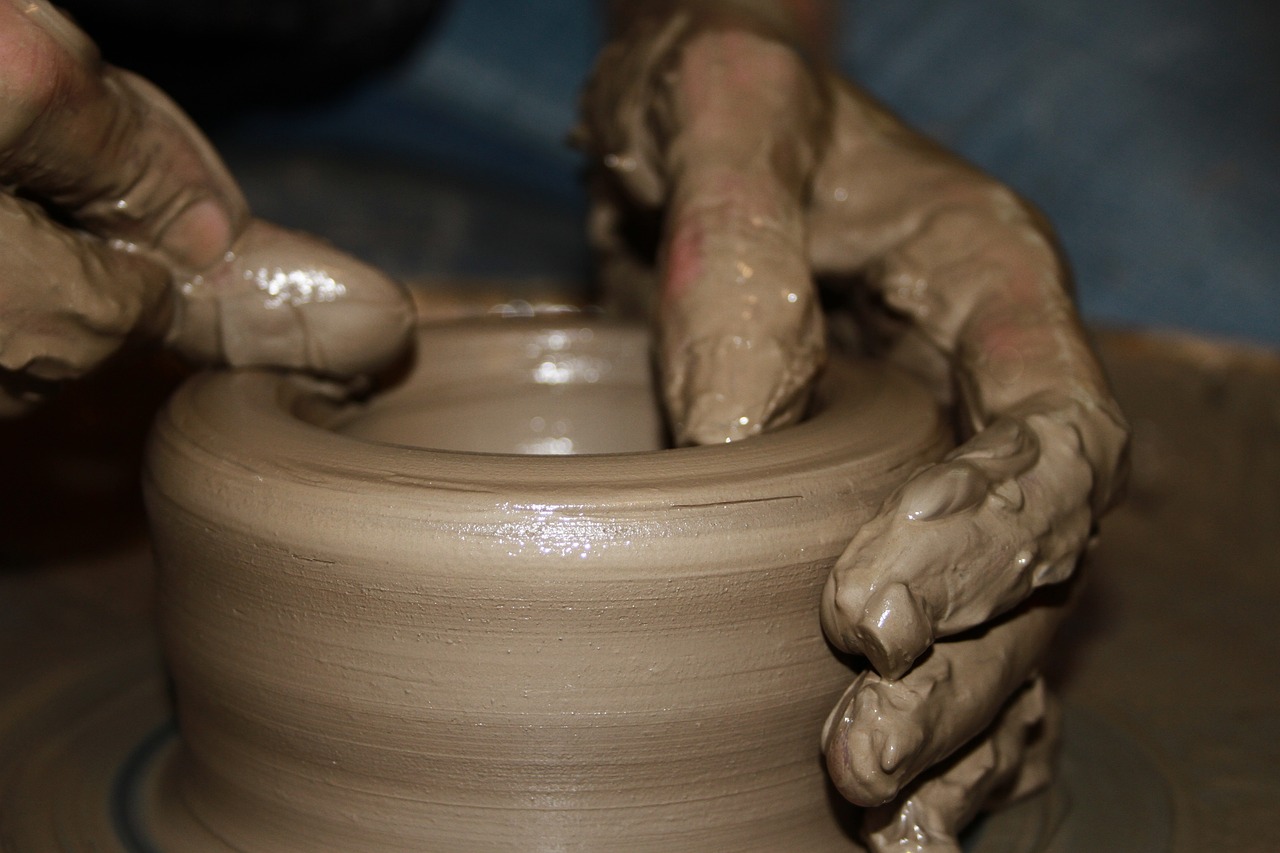
Essential Pottery Tools
When it comes to pottery making, having the right tools is akin to a painter having a palette of colors. The tools you choose can significantly influence your creative expression and the quality of your work. So, what are these essential pottery tools that every aspiring potter should have in their arsenal? Let’s dive into the world of pottery tools and explore their functions and importance.
First and foremost, the pottery wheel is a cornerstone of the pottery-making process. This magical device allows you to shape and mold your clay into beautiful forms. There are various types of pottery wheels, ranging from electric models to traditional kick wheels. Each type has its unique features and benefits, which we will explore in detail later. Mastering the wheel is crucial, as it helps you create symmetrical pieces that can be both functional and artistic.
Next on the list is the kiln, an indispensable tool for any potter. Think of the kiln as the oven for your clay creations. It’s where the magic happens, transforming raw clay into durable ceramics through the firing process. Kilns come in different sizes and types, including electric, gas, and wood-fired options. Depending on your pottery needs, selecting the right kiln can make a world of difference in the final outcome of your pieces.
In addition to these major tools, a variety of hand tools are essential for detailing and finishing your pottery. These tools include:
- Ribs: Used for smoothing and shaping the clay.
- Wire Cutters: Perfect for cutting clay from larger blocks or removing pieces from the wheel.
- Sponges: Ideal for adding texture and smoothing surfaces.
- Trimming Tools: Essential for refining the shape and adding intricate details to your work.
Let’s not forget about safety equipment, which is equally important. Pottery can be a messy endeavor, and protecting yourself is paramount. A good apron, gloves, and a dust mask can safeguard you from clay dust and other materials that may irritate your skin or lungs. After all, staying safe while expressing your creativity should be a top priority!
Lastly, consider investing in a pottery toolkit that includes all these essential tools in one package. This can be a great way to ensure you have everything you need to get started without the hassle of piecing together individual tools. Many local craft stores or online retailers offer starter kits that cater to beginners and experienced potters alike.
In conclusion, having the right tools is fundamental to your success as a potter. From the wheel that spins your dreams into reality to the kiln that solidifies your artistic vision, each tool plays a vital role in the pottery-making process. So, gather your tools and let your creativity flow!
Q: What is the best type of pottery wheel for beginners?
A: Electric wheels are often recommended for beginners due to their ease of use and consistent speed. However, kick wheels can also be a fun and traditional option if you prefer a hands-on approach.
Q: Do I need a kiln to make pottery?
A: Yes, a kiln is essential for firing your pottery to make it durable and functional. If you don’t have access to a kiln, consider joining a local pottery studio that offers kiln services.
Q: What hand tools do I really need to start?
A: As a beginner, focus on acquiring a few essential hand tools like ribs, wire cutters, and sponges. As you gain experience, you can expand your toolkit with more specialized tools.
Pottery Wheels Explained
The pottery wheel is often considered the heart of the pottery-making process. It’s the magical device that transforms a lump of clay into a beautifully shaped vessel. But what exactly makes a pottery wheel so essential? Well, it’s all about the mechanics and the artistry that come together to create stunning pieces. When you sit down at a wheel, you’re not just spinning clay; you’re engaging in a dance of creativity and control. The wheel allows you to shape the clay into symmetrical forms, which is a skill that can take years to master.
There are two primary types of pottery wheels: electric wheels and kick wheels. Each has its unique features and benefits, catering to different styles and preferences of potters. Electric wheels, for instance, are powered by electricity and offer a consistent speed, allowing beginners to focus on shaping clay without worrying about the foot pedal. On the other hand, kick wheels are traditional and require the potter to use their foot to spin the wheel. This method provides a more tactile experience, connecting the potter to the clay in a way that some find deeply satisfying.
To give you a clearer idea of the differences, here’s a quick comparison:
| Feature | Electric Wheel | Kick Wheel |
|---|---|---|
| Power Source | Electricity | Manual (Foot-powered) |
| Speed Control | Variable, with consistent speed | Dependent on foot speed |
| Learning Curve | Generally easier for beginners | Requires practice to master |
| Portability | Less portable due to power needs | More portable, no power needed |
When choosing a wheel, consider your personal style and how you want to interact with the clay. If you’re just starting, an electric wheel might be the way to go, as it allows you to focus on form without the added challenge of foot coordination. However, if you’re looking for a more traditional experience and enjoy the physicality of pottery making, a kick wheel could be your perfect match.
Regardless of the type of wheel you choose, mastering wheel techniques is crucial. To create symmetrical pieces, potters need to learn how to center the clay properly. This process involves applying pressure to the clay as it spins, gradually shaping it into the desired form. It’s like learning to ride a bike; once you get the hang of it, you’ll find yourself creating beautiful pottery with ease. Remember, practice makes perfect, so don’t get discouraged if your first few attempts aren’t flawless!
In conclusion, the pottery wheel is an essential tool for any aspiring potter. It’s not just a piece of equipment; it’s a gateway to creativity and self-expression. Whether you opt for the convenience of an electric wheel or the traditional feel of a kick wheel, the journey of shaping clay on a wheel is one filled with surprises and opportunities for growth.
- What is the best type of pottery wheel for beginners? Electric wheels are generally recommended for beginners due to their ease of use and consistent speed.
- How do I center clay on the pottery wheel? Centering involves applying pressure to the clay as it spins, gradually shaping it into a symmetrical form.
- Can I use a kick wheel if I have limited space? Yes! Kick wheels are often more portable and can fit into smaller spaces compared to electric wheels.

Electric vs. Kick Wheels
When it comes to pottery making, choosing the right wheel can significantly impact your crafting experience. Two popular options are electric wheels and kick wheels, each offering unique benefits and challenges. So, how do you decide which one is right for you? Let’s break it down!
First off, electric wheels are all about convenience. They come with a motor that spins the wheel at a consistent speed, allowing you to focus entirely on shaping your clay. This is especially beneficial for beginners who may struggle with maintaining the right rhythm and speed. Imagine trying to ride a bike for the first time; having training wheels (or in this case, an electric wheel) can make all the difference! With an electric wheel, you can easily adjust the speed, making it easier to create symmetrical pieces without the constant physical effort required by a kick wheel.
On the flip side, kick wheels bring a sense of tradition and physical engagement to the pottery-making process. These wheels operate through a foot pedal, which means you get to control the speed and momentum by kicking the wheel with your foot. This hands-on approach not only connects you more deeply with the craft but also provides a workout! Think of it as the difference between driving an automatic car and a manual one; the manual option might be more challenging, but it can also be more rewarding.
To help you visualize the differences, here’s a quick comparison:
| Feature | Electric Wheel | Kick Wheel |
|---|---|---|
| Power Source | Electric Motor | Foot Pedal |
| Speed Control | Variable Speed | Manual Control |
| Physical Effort | Low | High |
| Learning Curve | Gentler for Beginners | Requires More Practice |
| Cost | Generally Higher | Generally Lower |
Ultimately, the choice between an electric wheel and a kick wheel boils down to personal preference and your specific pottery goals. If you’re looking for ease and speed, an electric wheel might be your best bet. However, if you’re drawn to the traditional methods and enjoy a more physical connection with your art, a kick wheel could be the perfect fit. Remember, both types of wheels can produce beautiful pottery; it’s all about how you want to engage with the craft!
So, whether you’re spinning clay on an electric wheel or kicking your way to a masterpiece on a traditional wheel, the most important thing is to enjoy the process. After all, pottery making is as much about the journey as it is about the final product!
- Can I use both types of wheels? Yes, many potters enjoy using both electric and kick wheels depending on their project or mood.
- Which wheel is better for beginners? Electric wheels are generally easier for beginners due to their consistent speed and less physical demand.
- Are kick wheels more affordable? Typically, kick wheels are less expensive than electric wheels, but prices can vary based on brand and features.
- Can I create the same quality pottery with both? Absolutely! The quality of your pottery largely depends on your skill and technique, not just the type of wheel.
Hand Tools for Pottery
When it comes to pottery making, hand tools are the unsung heroes of the craft. While many potters may rely on their wheels and kilns, it's the hand tools that truly allow for creativity and precision. Imagine trying to carve a delicate pattern into your freshly shaped clay without the right tools—it's like trying to paint a masterpiece with a broom! Hand tools not only help in shaping and detailing your pieces but also enhance the overall creative process.
There are several essential hand tools that every aspiring potter should have in their toolkit. These tools can be used for a variety of tasks, from trimming and carving to smoothing and finishing. Here’s a closer look at some of the most important hand tools:
- Wire Cutters: Perfect for cutting clay from larger blocks or removing pieces from the wheel, wire cutters are a must-have.
- Ribs: These come in various shapes and sizes and are used for smoothing and shaping the surface of your pottery.
- Loop Tools: Ideal for carving and hollowing out forms, loop tools help you create intricate designs.
- Sponge: A simple yet effective tool for smoothing surfaces and adding texture to your work.
- Needle Tool: This is perfect for making precise cuts and detailing work, allowing for fine lines and patterns.
Each of these tools plays a unique role in the pottery-making process. For instance, wire cutters are essential for getting that perfect slice of clay, while ribs can help you achieve a smooth finish that makes your pottery shine. The loop tool, with its various shapes, allows for creative freedom, enabling you to carve out beautiful designs that elevate your pieces from ordinary to extraordinary.
Moreover, the importance of using the right tool for the job cannot be overstated. Using a sponge to smooth out a rough edge can be the difference between a piece that feels polished and one that feels unfinished. Similarly, the needle tool can transform a simple bowl into a work of art with intricate detailing. As you grow in your pottery journey, you’ll find that having a well-stocked toolbox not only makes your work easier but also inspires you to try new techniques and styles.
In conclusion, hand tools are vital for any potter who wants to refine their craft and produce stunning pieces. They allow for a level of detail and creativity that machinery simply can't replicate. So whether you're a beginner or a seasoned potter, investing in quality hand tools will undoubtedly enhance your pottery-making experience.
Q: What are the essential hand tools for a beginner potter?
A: Essential tools include wire cutters, ribs, loop tools, sponges, and needle tools. These will help you with cutting, shaping, and detailing your pottery.
Q: How do I choose the right hand tools for my pottery style?
A: Consider the types of pieces you want to create. For intricate designs, loop tools and needle tools are great, while ribs and sponges are essential for smoothing and shaping.
Q: Can I make pottery without a pottery wheel?
A: Absolutely! Many beautiful pieces are made by hand-building techniques, which rely heavily on hand tools for shaping and detailing.
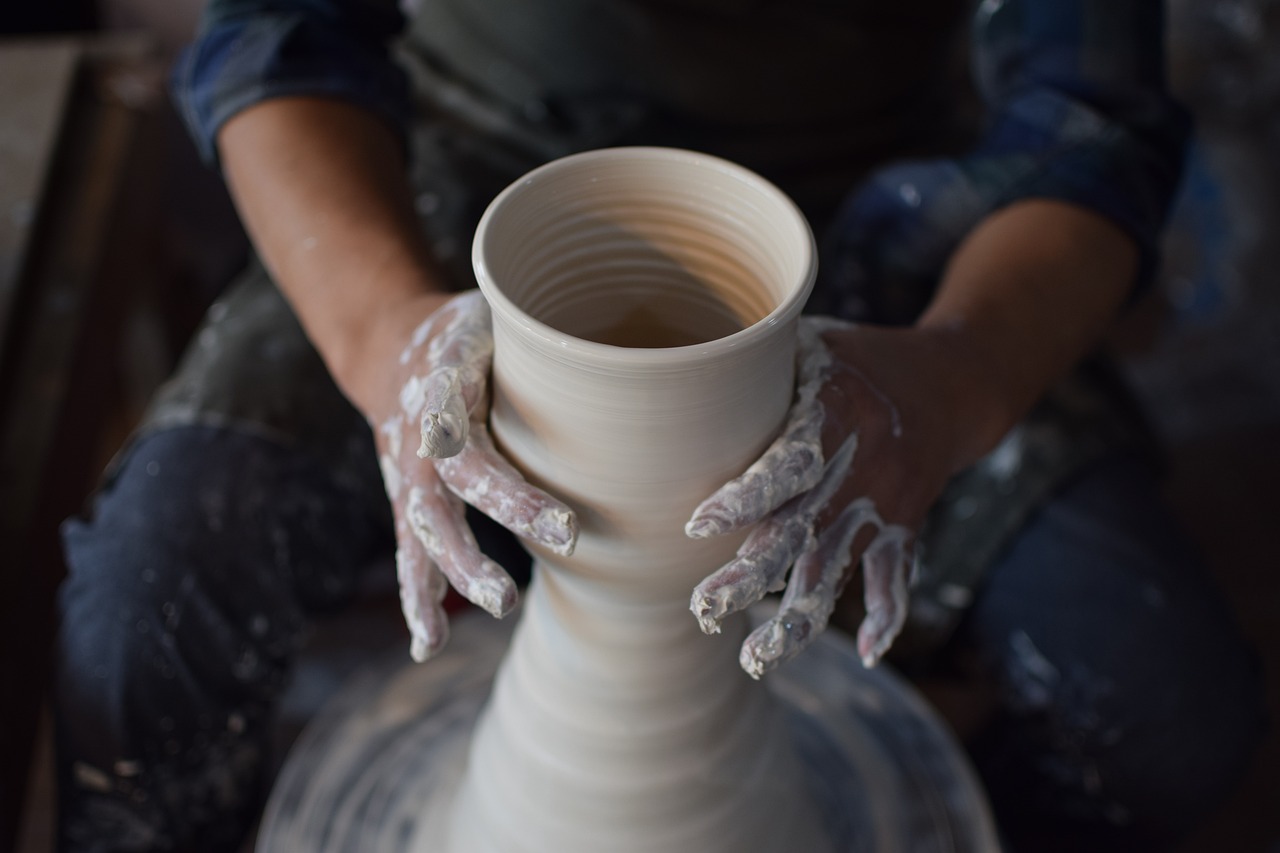
Firing Techniques
Firing is arguably one of the most crucial steps in the pottery-making process. It’s the magical moment when your raw clay transforms into durable ceramics, ready for use and admiration. The firing process can seem a bit daunting at first, but understanding the different techniques can make it a lot easier and even enjoyable. There are primarily two types of firings that every aspiring potter should be familiar with: bisque firing and glaze firing.
Bisque firing is the initial firing of the clay. This process removes moisture from the clay and hardens it, making it less fragile and easier to handle. The temperature for bisque firing typically ranges between 1,650°F to 1,930°F (900°C to 1,050°C). After this stage, the pottery is porous and ready for glazing. You might be wondering, "Why not just glaze it first?" Well, glazing on unfired clay can lead to disastrous results, as the glaze can easily run off or react poorly with the clay body.
Once your pieces have been bisque fired, it’s time for the glaze firing. This is where the fun really begins! Glaze firing usually occurs at higher temperatures, typically between 1,830°F to 2,400°F (1,000°C to 1,300°C), depending on the type of glaze and clay used. During this stage, the glaze melts and forms a glassy surface on the pottery, enhancing its beauty and functionality. It’s like putting the finishing touches on a masterpiece!
To give you a clearer picture of the firing process, here’s a simple table comparing bisque and glaze firing:
| Firing Type | Temperature Range | Purpose |
|---|---|---|
| Bisque Firing | 1,650°F to 1,930°F (900°C to 1,050°C) | Hardens clay and prepares it for glazing |
| Glaze Firing | 1,830°F to 2,400°F (1,000°C to 1,300°C) | Melts glaze to create a glassy finish |
Now, let’s not forget about the importance of kiln atmosphere. The atmosphere within the kiln can significantly affect the outcome of your pottery. There are two main types of firing atmospheres: oxidation and reduction. In oxidation, the kiln has ample oxygen, which is usually the case in electric kilns. On the other hand, reduction firing, often done in gas kilns, limits the oxygen, resulting in unique color variations and effects. It’s like choosing between a sunny day and a cloudy one; both have their own charm!
Ultimately, mastering firing techniques takes practice and experimentation. Don’t be afraid to play around with different temperatures, atmospheres, and firing schedules. Each piece you create will teach you something new, and soon you’ll find your own rhythm in the firing process. Just remember, every potter has their own unique journey, and the beauty lies in the imperfections and surprises along the way!
- What is the purpose of bisque firing? Bisque firing hardens the clay, making it easier to handle and preparing it for glazing.
- Can I glaze my pottery before bisque firing? No, glazing on unfired clay can lead to issues with the glaze running off or reacting poorly.
- What is the difference between oxidation and reduction firing? Oxidation firing has ample oxygen, while reduction firing limits oxygen, affecting the final appearance of the pottery.
- How can I achieve specific colors in my pottery? Experimenting with different glazes and firing atmospheres can help you achieve the desired colors.
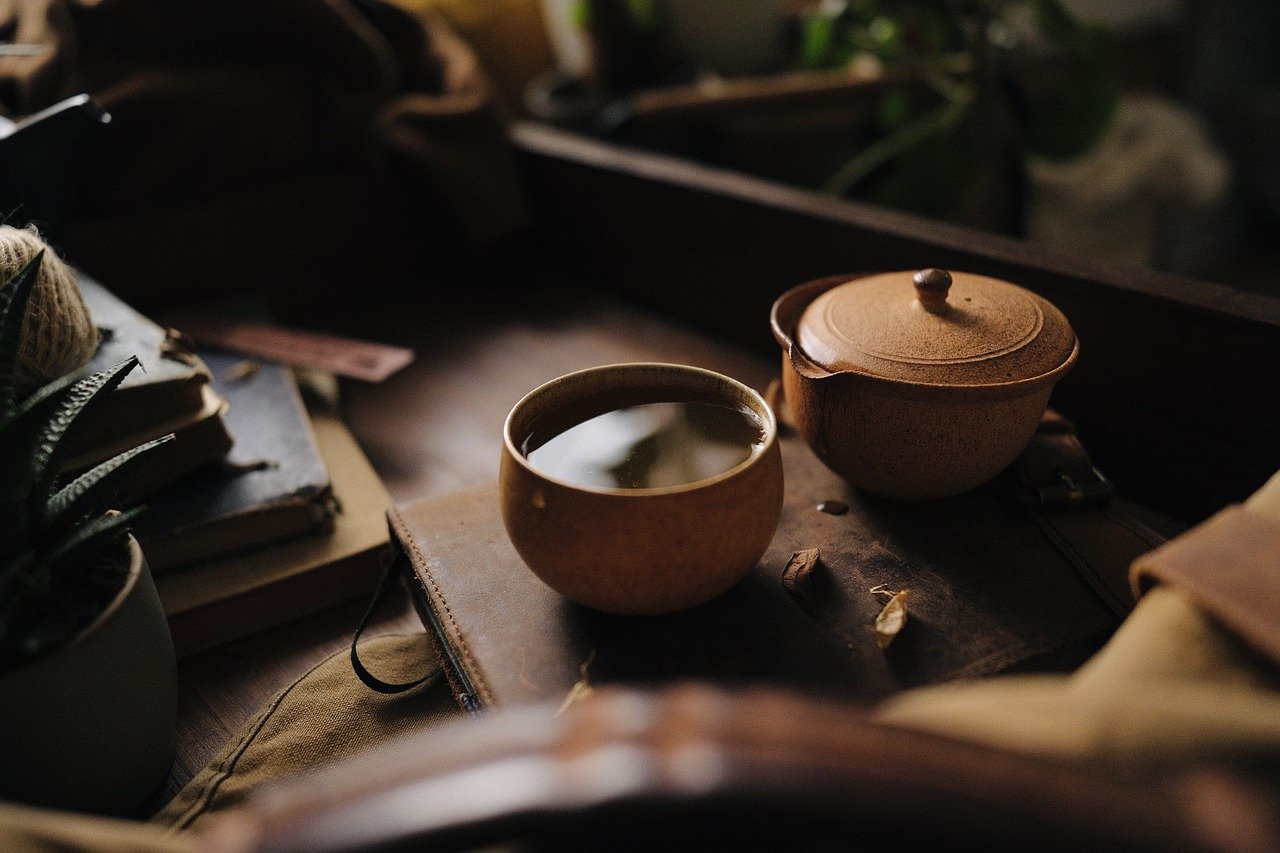
Glazing Your Pottery
Glazing is where the magic truly happens in pottery making. It's not just about adding color; it's about transforming your pieces into stunning works of art that can be functional and beautiful. When you glaze your pottery, you’re not only enhancing its aesthetic appeal but also providing a protective layer that makes it more durable and suitable for everyday use. The glazing process can be as simple or as intricate as you want it to be, depending on the effects you wish to achieve.
Before diving into the different glazing techniques, it's essential to understand the various types of glazes available. Each type has its unique properties that can dramatically influence the final look of your pottery. Here’s a brief overview of the most common glaze types:
| Type of Glaze | Characteristics | Ideal Use |
|---|---|---|
| Glossy Glaze | Shiny, reflective finish | Functional ware, decorative pieces |
| Matte Glaze | Soft, non-reflective finish | Artistic pieces, textured surfaces |
| Transparent Glaze | Clear coating that shows underlying clay | Enhancing underglaze designs |
Once you’ve selected your glaze, the next step is the application. How you apply the glaze can significantly affect the outcome. Here are some popular application techniques:
- Dipping: This involves dipping your piece directly into a bucket of glaze. It’s quick and ensures an even coat, but you must be careful about the thickness.
- Brushing: Ideal for detailed work, brushing allows for precision. However, it may require multiple coats to achieve the desired opacity.
- Spraying: This technique can create a beautiful, even finish but requires a spray gun and some practice to master.
When applying glaze, remember to consider the thickness. Too thick a layer can lead to running during the firing process, while too thin a layer might not provide the desired effect. Always test your glazes on a small piece before committing to your final project. It’s like a dress rehearsal for your pottery; you want to see how everything will turn out before the big performance!
One of the most exciting aspects of glazing is the element of surprise it brings. Different glazes can react unpredictably during firing, leading to stunning and unexpected results. This is where your creativity truly shines. Experimenting with layering different glazes can produce unique textures and colors, making each piece a one-of-a-kind masterpiece.
As you embark on your glazing journey, keep in mind that patience is key. Allow your pieces to dry completely before firing, and always follow the manufacturer's instructions regarding firing temperatures and times. This attention to detail will ensure that your pottery emerges from the kiln not just intact, but breathtakingly beautiful.
Q: Can I use any glaze on my pottery?
A: Not all glazes are suitable for every type of clay or pottery piece. Always check compatibility and follow guidelines for best results.
Q: How do I know when to apply a second coat of glaze?
A: Generally, you should apply a second coat once the first one is completely dry. Test the opacity and coverage to determine if another layer is necessary.
Q: What should I do if my glaze runs during firing?
A: Unfortunately, if a glaze runs, there’s not much you can do during firing. However, you can learn from the experience by adjusting the thickness of your application in the future.
In conclusion, glazing your pottery is an exhilarating step that can elevate your work from ordinary to extraordinary. Embrace the process, experiment with different techniques, and above all, enjoy the journey of creating beautiful ceramic pieces!
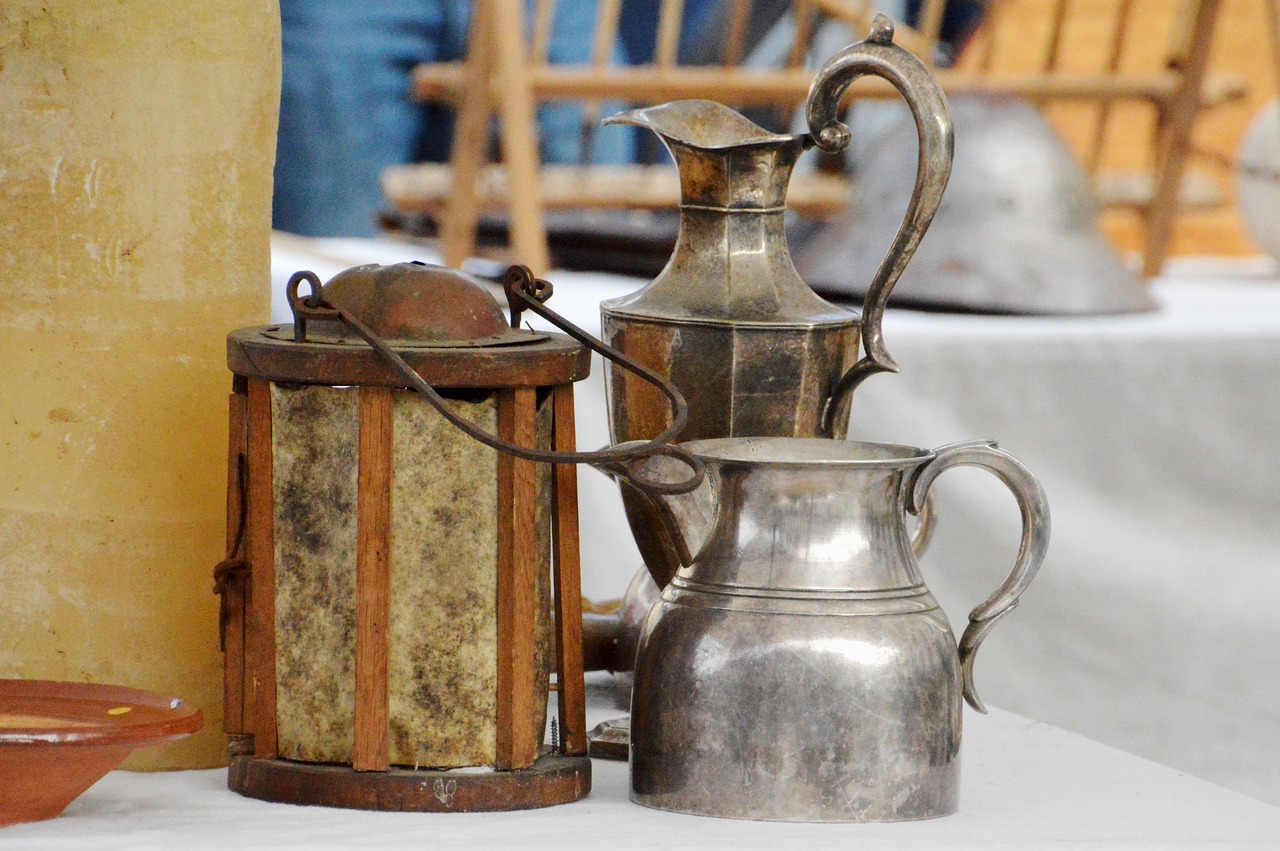
Types of Glazes
When it comes to pottery, the choice of glaze can significantly impact the final look and feel of your creations. Glazes are not just about aesthetics; they also serve practical purposes such as sealing the pottery and making it food-safe. Understanding the different types of glazes available can help you make informed decisions that align with your artistic vision. Let's dive into the main categories of glazes that every potter should know.
Firstly, we have glossy glazes. These glazes are known for their shiny, reflective surfaces that can make colors appear more vibrant and saturated. They are perfect for adding a pop of color to your pottery and are often used for functional items like dishes and mugs. However, one downside is that they can highlight imperfections in the clay surface, so it's essential to ensure your pottery is well-finished before applying a glossy glaze.
Next, we explore matte glazes. Unlike their glossy counterparts, matte glazes offer a soft, non-reflective finish that can give your pottery a more subdued and earthy feel. These glazes are excellent for decorative pieces and can create a beautiful contrast when paired with glossy glazes. However, keep in mind that matte glazes can be more challenging to clean and may not be as durable as glossy glazes.
Another fascinating category is transparent glazes. As the name suggests, these glazes are clear and allow the clay body and any underglazes to show through. This type of glaze is ideal when you want to highlight intricate designs or textures in your pottery. Transparent glazes can be glossy or matte, providing versatility in your glazing options. They can also be layered over other glazes to create unique effects, making them a favorite among many potters.
In addition to these main types, there are also specialized glazes such as crystalline glazes, which develop beautiful crystal patterns during firing, and raku glazes, known for their unpredictable and dramatic results achieved through a specific firing process. Each type of glaze has its unique chemistry and firing requirements, so it's crucial to experiment and understand how they interact with your clay body.
To summarize, here’s a quick comparison of the types of glazes:
| Type of Glaze | Characteristics | Ideal Use |
|---|---|---|
| Glossy | Shiny, reflective, vibrant colors | Functional items like dishes and mugs |
| Matte | Soft, non-reflective, earthy feel | Decorative pieces |
| Transparent | Clear, shows clay body/underglazes | Highlighting designs and textures |
| Crystalline | Develops crystal patterns in firing | Artistic pieces |
| Raku | Dramatic, unpredictable results | Unique art pieces |
Choosing the right glaze can elevate your pottery to new heights, adding depth and character that truly reflects your artistic style. So, don't hesitate to explore different types and experiment with combinations to see what works best for your creations!
- What is the difference between glossy and matte glazes? Glossy glazes are shiny and reflect light, while matte glazes have a non-reflective finish that gives a softer appearance.
- Can I layer different glazes? Yes! Layering glazes can create unique effects and enhance the overall look of your pottery.
- Are all glazes food-safe? Not all glazes are food-safe. Always check the manufacturer's specifications to ensure your glaze is suitable for functional ware.
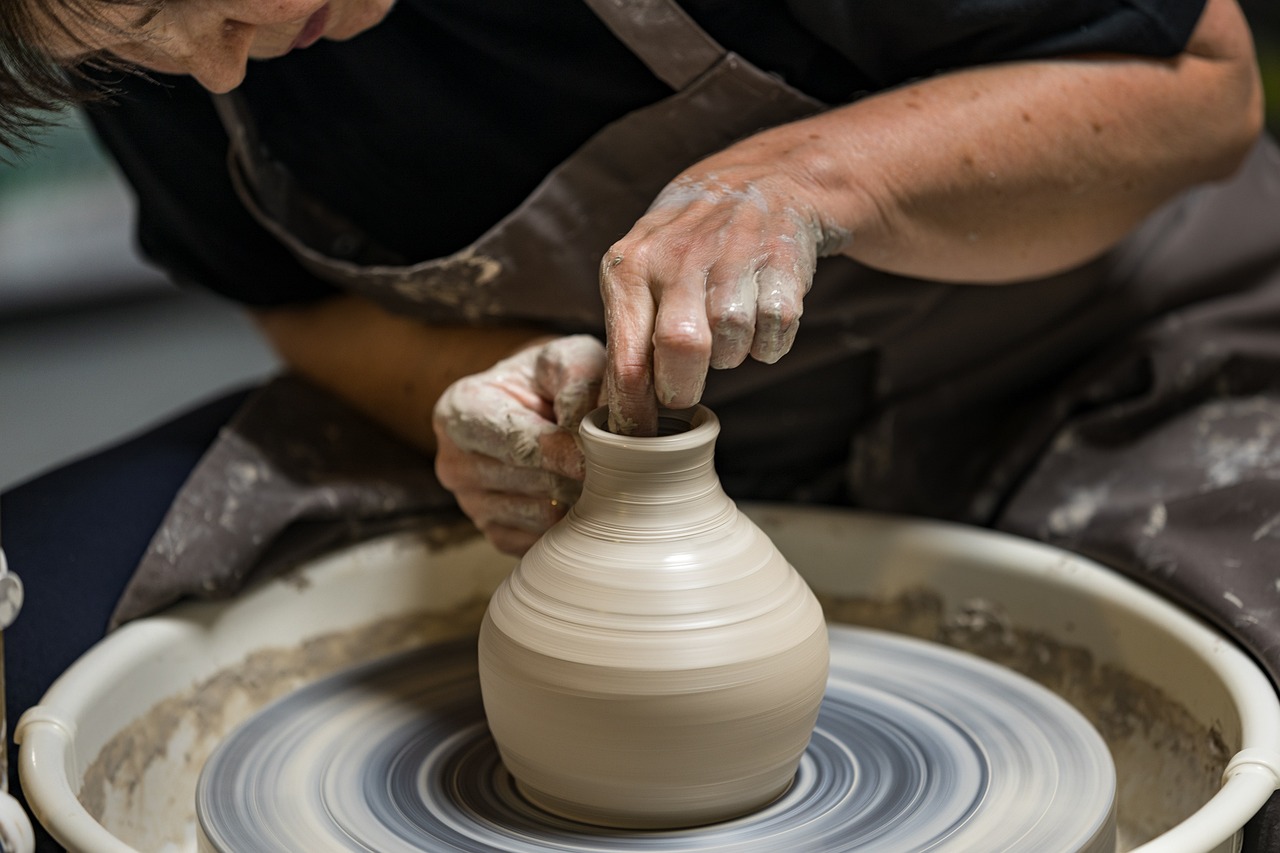
Application Techniques
When it comes to glazing your pottery, the application technique you choose can make a world of difference in the final look of your piece. Just like a painter selects their brush strokes carefully, potters must consider how they apply their glaze. There are several methods to achieve different effects, and understanding these techniques is essential for any potter looking to elevate their work.
One of the most popular methods is dipping. This technique involves immersing your pottery piece into a container filled with glaze. It’s efficient and can create a beautiful, even coating. However, it’s crucial to ensure that the glaze is at the right consistency—too thick, and it might drip; too thin, and it won’t adhere properly. A good rule of thumb is to dip for about 3-5 seconds, allowing the excess glaze to drip off before placing it on a drying rack.
Another common technique is brushing. This method allows for more control and is perfect for adding intricate designs or patterns. Using a soft-bristled brush, potters can layer glazes to create depth and texture. It’s important to use a brush that is appropriate for the type of glaze being applied; for instance, a wide brush works well for larger areas, while a fine brush is ideal for detailing. When brushing, remember to apply multiple thin layers rather than one thick layer to avoid runs and uneven spots.
For those looking for a more modern approach, spraying can be a fantastic option. This technique involves using an airbrush or spray gun to apply glaze evenly across the surface of the pottery. It’s particularly useful for achieving a smooth, professional finish and can be used to create gradients or ombre effects. However, it does require some practice to master, as controlling the spray pattern and distance from the piece can be tricky.
Here’s a quick comparison of the three techniques to help you decide which one to use:
| Technique | Pros | Cons |
|---|---|---|
| Dipping | Quick and even coverage | Can lead to drips if not careful |
| Brushing | Great for detail and layering | Time-consuming and requires steady hands |
| Spraying | Smooth, professional finish | Requires practice and equipment |
Ultimately, the choice of application technique depends on the desired outcome and personal preference. Don’t hesitate to experiment! Mixing and matching these techniques can lead to unique and stunning results. Remember, the beauty of pottery lies not just in the finished product but in the journey of creating it.
- What type of glaze should I use for my pottery? The type of glaze you choose depends on the clay body and the desired finish. Experiment with different glazes to see what works best for your style.
- Can I mix different glazes? Yes! Mixing glazes can create exciting new colors and effects, but be sure to test them first to avoid unexpected results.
- How do I know when my glaze is dry? Generally, a glaze will feel dry to the touch within a few hours, but it's best to wait at least 24 hours before firing to ensure it's fully set.
Common Pottery Mistakes
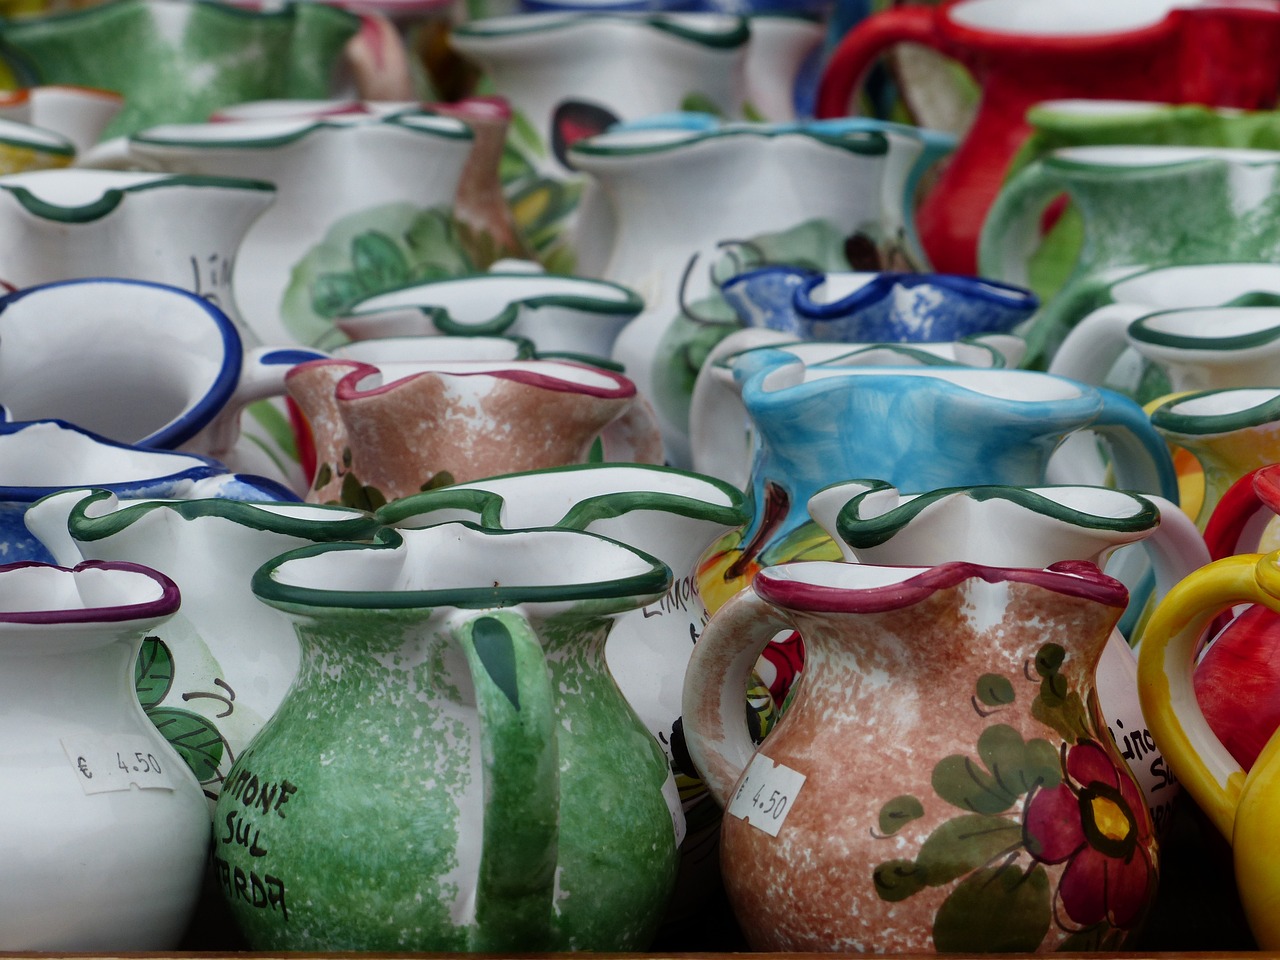
Even the most seasoned potters have their off days, and it's not uncommon to encounter a few bumps along the way. Pottery making is an art form that requires patience, practice, and a keen eye for detail. One of the most important aspects of becoming a proficient potter is learning to recognize and avoid common mistakes. These pitfalls can range from minor annoyances to major disasters, but with a little awareness, you can sidestep them and create beautiful pieces.
One of the most frequent mistakes is not properly wedging the clay before starting. Wedging is crucial because it removes air bubbles and ensures an even consistency throughout the clay. If you skip this step, you might find your piece cracking or exploding during firing. Imagine trying to bake a cake with lumps of flour—it's just not going to turn out well! So, take the time to wedge your clay thoroughly; it’s the foundation of a successful project.
Another common issue is overworking the clay. While it might be tempting to keep reshaping and refining your piece, excessive handling can lead to dryness and cracks. Think of clay as a delicate flower; too much attention can cause it to wilt. Instead, work with your clay gently and try to find a balance between shaping and letting it rest. This will help maintain its integrity and allow you to achieve the desired form.
When it comes to glazing, many potters make the mistake of applying too thick a layer. While it may seem like more glaze equals a more vibrant finish, it can actually lead to uneven surfaces and drips. Instead, aim for a thin, even coat. You can always add more layers if needed, but removing excess glaze is a much more tedious task. Consider it like painting a room; one coat is often enough to start, and you can evaluate if more is necessary.
Another pitfall is neglecting to test your glazes. Different clays and firing temperatures can yield unexpected results. It’s like a chef trying a new recipe without tasting it first! Always conduct a test on a small piece before committing to your main project. This way, you can see how the glaze interacts with the clay and adjust accordingly.
Lastly, one of the biggest mistakes is rushing the drying process. It’s tempting to want to complete a project quickly, but if you rush, your piece may warp or crack. Allow your pottery to dry slowly and evenly. Cover it with plastic to control the moisture and prevent it from drying out too fast. Think of it as letting a fine wine breathe; a little patience can make all the difference.
To summarize, here are some common pottery mistakes to watch out for:
- Not wedging the clay properly
- Overworking the clay
- Applying glaze too thickly
- Neglecting glaze tests
- Rushing the drying process
By keeping these tips in mind, you can navigate the world of pottery with greater confidence and creativity. Remember, mistakes are just stepping stones on the path to mastery. Embrace them, learn from them, and don’t be afraid to experiment!
Q: What should I do if my clay cracks while drying?
A: If your clay cracks, you can try to repair it with a slip made from the same clay. Apply the slip to the crack and smooth it out. However, if the crack is significant, it might be best to start over.
Q: How can I avoid air bubbles in my clay?
A: The best way to avoid air bubbles is to wedge your clay thoroughly before starting your project. Make sure to knead it well to push out any trapped air.
Q: Can I reuse leftover clay?
A: Yes, you can recycle leftover clay by wedging it back into a usable form. Just make sure it’s not too dry or contaminated with other materials.
Q: What is the best way to store my pottery tools?
A: Keep your tools in a dry, organized space. Consider using a tool box or a designated shelf to prevent them from getting lost or damaged.
Inspiration and Resources
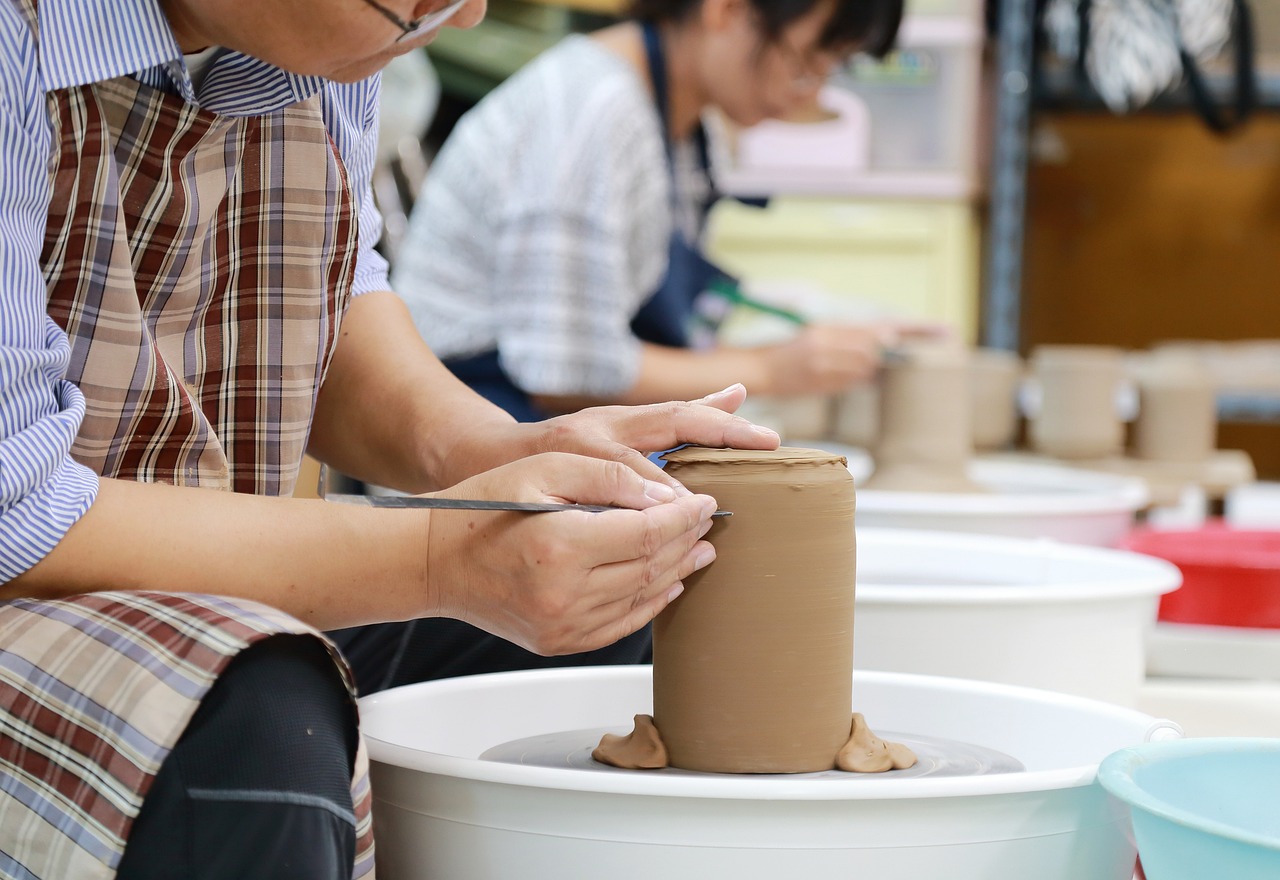
Finding inspiration in pottery is like digging for treasure; sometimes you stumble upon it in the most unexpected places! Whether you’re a seasoned potter or just starting out, the quest for new ideas and techniques is essential for growth and creativity. One of the best ways to ignite your imagination is to immerse yourself in the rich world of pottery. You can explore local galleries, visit pottery studios, or even attend craft fairs. Seeing the work of others can spark ideas and push your creative boundaries.
In addition to physical exploration, the digital world offers a wealth of resources to fuel your pottery passion. Online platforms such as Pinterest and Instagram are brimming with stunning images of pottery, showcasing various styles and techniques. You can follow potters from around the globe, gaining insights into their creative processes and unique styles. Don't underestimate the power of social media; it can help you connect with fellow potters who share your passion.
Moreover, there are numerous books dedicated to pottery that cater to all skill levels. These books not only provide step-by-step guides but also delve into the history and philosophy behind pottery making. Here are a few recommended titles:
| Book Title | Author | Description |
|---|---|---|
| The Complete Potter | John Doe | A comprehensive guide covering various techniques and styles in pottery. |
| Handbuilt Pottery | Jane Smith | Focuses on hand-building techniques for creating unique pieces. |
| Glazing Techniques | Emily Johnson | Explores different glazing methods and their effects on pottery. |
Online courses are another fantastic avenue for learning. Websites like Skillshare and Udemy offer a range of pottery classes, from beginner to advanced levels. These courses often feature video tutorials that allow you to learn at your own pace. Plus, many of them include community forums where you can ask questions and share your progress with other learners.
Lastly, don’t forget about the power of community! Joining local pottery clubs or online forums can provide you with a support network of fellow potters. Engaging with others allows you to exchange ideas, troubleshoot problems, and even collaborate on projects. Websites like Reddit and Facebook have groups specifically dedicated to pottery enthusiasts. You’ll find that sharing your journey with others can be incredibly motivating.
In summary, whether you’re looking for books, online courses, or community support, the resources available to potters today are vast and varied. Embrace these opportunities to expand your knowledge and skills, and let your creativity flourish!
Q: What are some good beginner pottery books?
A: Some great beginner pottery books include "The Complete Potter" by John Doe and "Handbuilt Pottery" by Jane Smith, which provide foundational techniques and inspiration.
Q: Where can I find pottery classes near me?
A: Check local community centers, art schools, or pottery studios. Many offer classes for all skill levels, and you can often find listings online.
Q: How can I connect with other potters?
A: Joining pottery clubs, online forums, or social media groups can help you connect with fellow potters, share experiences, and gain valuable insights.
Frequently Asked Questions
- What type of clay should I use for pottery making?
Choosing the right clay is crucial! Earthenware is great for beginners due to its workability and low firing temperature. Stoneware is more durable and versatile, perfect for functional pieces, while porcelain offers a delicate finish but requires more skill to handle.
- What tools do I need to start making pottery?
You'll need some essential tools to get started. A pottery wheel is key for shaping your pieces, and you'll also want hand tools like rib tools, trimming tools, and sponges. Don't forget a kiln for firing your creations!
- How do I choose between an electric and a kick wheel?
This really depends on your preference! Electric wheels are convenient and require less physical effort, making them ideal for long sessions. On the other hand, kick wheels offer a traditional experience and can be more engaging for some potters.
- What is the difference between bisque and glaze firing?
Great question! Bisque firing is the first firing that transforms raw clay into a hard, porous state, making it easier to handle. Glaze firing follows, where you apply glaze and fire it again to create a beautiful, finished surface.
- How can I avoid common pottery mistakes?
Even pros mess up sometimes! To avoid common pitfalls, always ensure your clay is properly wedged to eliminate air bubbles, and be mindful of drying times to prevent cracking. Practice makes perfect, so don’t get discouraged!
- What are some good resources for learning pottery?
There are tons of resources out there! Look for books on pottery techniques, online courses that offer step-by-step guidance, and local pottery communities where you can share ideas and get feedback. Inspiration is everywhere!
- Can I use regular paint for glazing my pottery?
Nope! Regular paint won’t hold up in the kiln and can be toxic. Instead, use specially formulated pottery glazes that are designed to withstand high temperatures and create beautiful finishes on your pieces.


