Inexpensive Upcycling: DIY Shoe Box Shelves
Are you tired of clutter taking over your living space? Do you want to add a personal touch to your home decor without breaking the bank? If so, you're in for a treat! This article explores creative ways to transform ordinary shoe boxes into stylish and functional shelves. Not only will you be decluttering your space, but you'll also be making a statement with your unique design. So, roll up your sleeves and get ready to dive into the world of upcycling!
Upcycling is more than just a trend; it's a lifestyle choice that benefits both your wallet and the environment. By repurposing items like shoe boxes, you reduce waste and contribute to a more sustainable way of living. Imagine turning a simple cardboard box into a beautiful shelf that showcases your favorite books, plants, or trinkets! It's a win-win situation: you save money and make your home more aesthetically pleasing. Let's explore the benefits of upcycling in more detail.
One of the most compelling reasons to embrace upcycling is the financial savings. Why spend a fortune on expensive shelving units when you can create your own? Upcycling allows you to utilize materials you already have at home, reducing the need for new purchases. Additionally, it promotes sustainability by minimizing waste. Every time you choose to upcycle, you're making a conscious decision to help the planet.
But the benefits don't stop there! Upcycling also encourages creativity. It invites you to think outside the box—literally! You can experiment with colors, patterns, and designs that reflect your personal style. Whether you prefer a minimalist look or something more vibrant, the possibilities are endless. Plus, every time you look at your DIY shoe box shelves, you'll feel a sense of pride knowing you created something unique.
To kickstart your DIY shoe box shelves, gathering the right materials is crucial. Here’s a quick list of what you'll need:
- Shoe boxes (preferably sturdy ones)
- Paint (acrylic or spray paint)
- Adhesive (glue or tape)
- Decorative elements (washi tape, stickers, or fabric)
With these materials in hand, you're well on your way to creating a stunning shelving unit that not only looks good but also serves a purpose.
Selecting the appropriate shoe boxes is vital for both stability and appearance. You want boxes that are not only visually appealing but also sturdy enough to hold your items. Look for boxes that are made from thick cardboard or plastic to ensure they can support weight. Consider the sizes and shapes of the boxes, as this will influence how you arrange them on your wall. A mix of sizes can create an interesting visual dynamic!
When it comes to choosing between cardboard and plastic shoe boxes, each has its pros and cons. Cardboard boxes are lightweight, easy to paint, and can be decorated with various materials. However, they may not hold up well in humid environments. On the other hand, plastic boxes are more durable and moisture-resistant but can be trickier to paint. Consider your specific needs and the environment where the shelves will be placed.
Now that you know what to look for, where can you find these boxes? Here are some tips:
- Check with local shoe stores; they often have excess boxes they’re willing to give away.
- Look online on platforms like Craigslist or Freecycle for people giving away boxes.
- Ask friends and family if they have any spare boxes lying around.
With a little creativity and resourcefulness, you'll be able to gather all the boxes you need without spending a dime!
Unleash your creativity with various design ideas for your shoe box shelves. Think about your personal style: do you prefer a sleek, modern look or something more eclectic? You can paint the boxes in colors that match your decor, or use patterned paper to cover them. Consider arranging the boxes in different orientations—some horizontal, some vertical—to create visual interest. Don't be afraid to mix and match!
Ready to get started? Follow these detailed instructions to create your own DIY shoe box shelves. The process is straightforward and enjoyable, ensuring that you’ll have fun while crafting your new decor piece.
Before you start assembling your shelves, it's essential to prepare the shoe boxes properly. Begin by cleaning them thoroughly to remove any dust or residue. Once clean, you can paint or decorate them as desired. Let your creativity shine—add designs, colors, or even fabric to give each box a unique touch!
Once your boxes are ready, it's time to assemble the shelves. Start by securely stacking the boxes in the desired arrangement. Use adhesive to attach the boxes together, ensuring they are stable. If you want to hang the shelves on the wall, use appropriate brackets or wall mounts. Make sure everything is securely fastened to avoid any accidents.
Now comes the fun part—adding the finishing touches to your shoe box shelves! You can personalize them by incorporating photos, artwork, or plants. Consider using small potted plants to bring a touch of nature indoors, or display your favorite books and collectibles. The goal is to create a space that reflects your personality and style.
Q: How much weight can a shoe box shelf hold?
A: It depends on the material and construction of the shoe boxes. Generally, well-constructed cardboard boxes can hold light to moderate weight, while sturdy plastic boxes can support heavier items.
Q: Can I use any type of paint on shoe boxes?
A: It's best to use acrylic or spray paint designed for cardboard or plastic. Always test a small area first to ensure compatibility.
Q: How do I secure the shelves to the wall?
A: Use wall brackets or adhesive strips specifically designed for heavy items. Make sure to follow the manufacturer's instructions for installation.
In conclusion, creating DIY shoe box shelves is not just a fun project; it's a fantastic way to enhance your living space while promoting sustainability. So gather your materials, unleash your creativity, and start upcycling today!
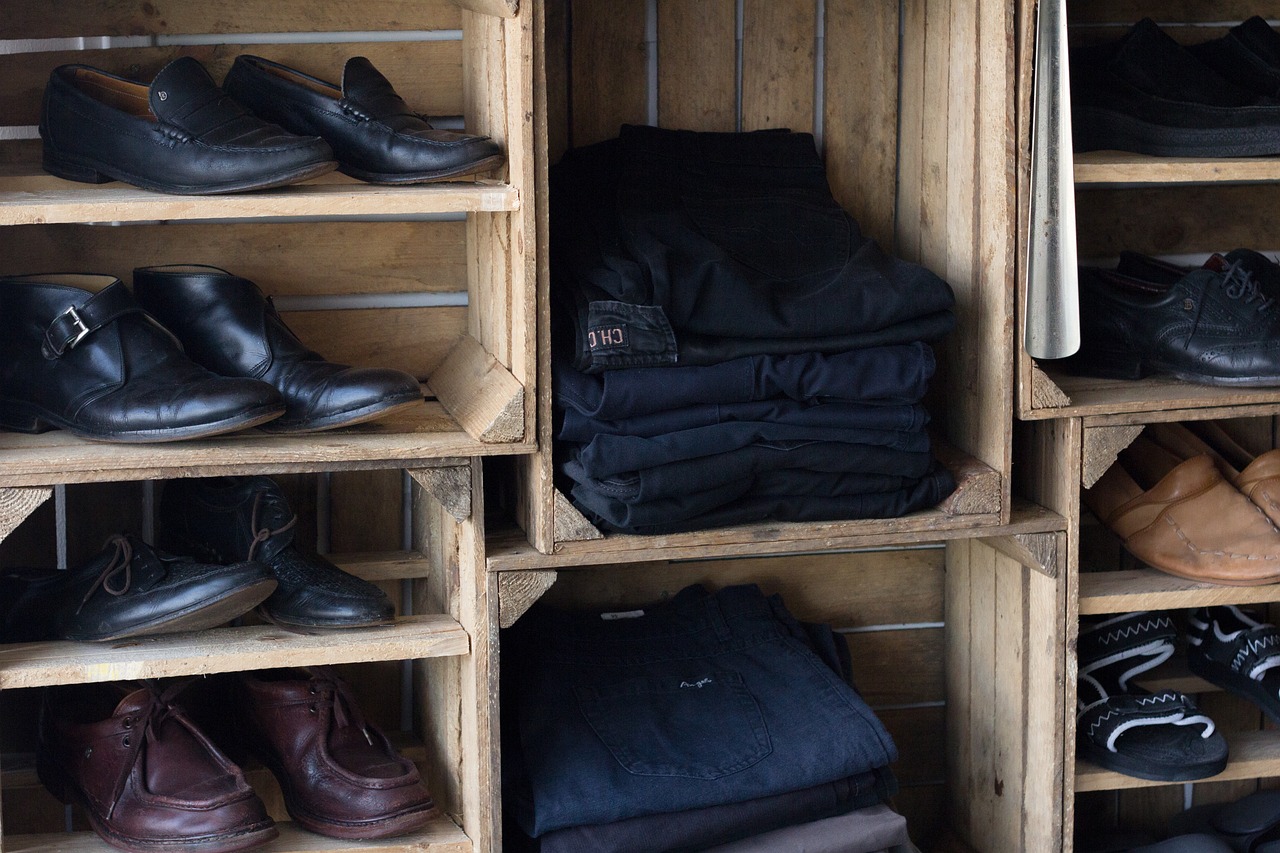
Benefits of Upcycling
Upcycling is more than just a trendy buzzword; it's a movement that resonates with our need for sustainability and creativity. By choosing to upcycle, particularly with items like shoe boxes, you're not only saving money but also contributing to a healthier planet. Imagine transforming something that would typically end up in the landfill into a chic and functional piece of home decor! It's like giving a second life to an object that still has plenty of potential.
One of the most significant benefits of upcycling is its positive environmental impact. When you repurpose materials instead of buying new ones, you help reduce waste and conserve resources. For instance, consider the following:
- Waste Reduction: Every shoe box you upcycle is one less box in the trash, contributing to a cleaner environment.
- Resource Conservation: By reusing materials, you lessen the demand for new products, which often require energy and raw materials to produce.
- Carbon Footprint: Upcycling can significantly lower your carbon footprint since it minimizes the energy used in manufacturing new items.
Additionally, upcycling allows you to express your creativity and personal style. Each project becomes a reflection of your personality, making your home unique and inviting. You can experiment with colors, patterns, and designs that resonate with you. The joy of creating something with your own hands is incredibly fulfilling and can even serve as a therapeutic outlet. Think of it as an art project that not only beautifies your space but also tells a story—your story.
Furthermore, upcycling is an excellent way to save money. Instead of splurging on expensive shelves or decor items, you can create stunning pieces from materials you already have at home. This budget-friendly approach means you can invest in other areas of your life while still enjoying a beautifully decorated space. Plus, the satisfaction that comes from creating something unique and functional from what others might consider trash is truly priceless.
In summary, upcycling shoe boxes into shelves offers a multitude of benefits that go beyond aesthetics. By embracing this practice, you can contribute to environmental sustainability, unleash your creativity, and save money—all while enhancing your home decor. So why not dive into this exciting world of DIY and start transforming your everyday items today?
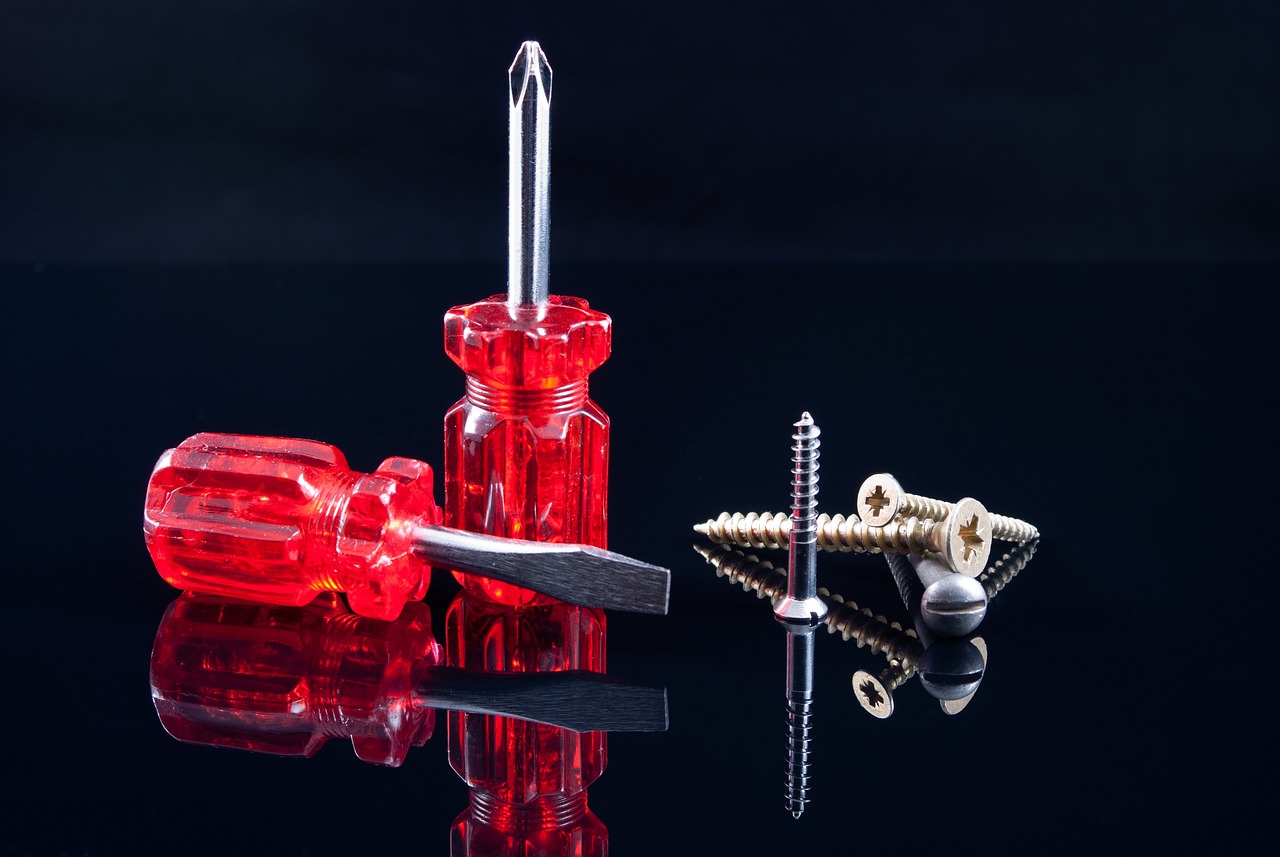
Materials Needed
When embarking on your DIY shoe box shelves project, gathering the right materials is crucial to ensure a smooth and successful process. You might think that creating something beautiful from a simple shoe box requires a lot of fancy supplies, but the truth is, you can achieve stunning results with just a few basic items. To get started, you’ll need:
- Shoe Boxes: The star of the show! Look for sturdy boxes that can hold weight and have a clean design.
- Paint: A splash of color can transform your boxes. Choose acrylic or spray paint in your favorite hues to match your decor.
- Adhesive: Strong glue or a hot glue gun will be essential for securing your boxes together. Make sure it’s durable enough for your needs.
- Decorative Elements: Think about what will personalize your shelves. This could include washi tape, fabric, or even decoupage materials to add flair.
- Tools: Basic tools like scissors, a ruler, and a craft knife will help you cut and measure accurately.
Now, you might be wondering why these materials are so important. Well, the quality of your shoe boxes can greatly affect the stability of your shelves. For instance, you wouldn’t want to stack flimsy boxes that might collapse under the weight of your favorite books or decorative items. Additionally, the paint you choose will not only enhance the visual appeal but also protect the cardboard from wear and tear.
When selecting your materials, consider the style and theme of your home. Are you going for a rustic look? Perhaps some natural wood tones would work well. Or maybe you prefer a modern aesthetic with bold colors and geometric shapes? Whatever your vision, make sure your materials align with that style.
As you gather your supplies, keep an eye out for unique items that could add character to your shelves. Old magazines, fabric scraps, or even leftover paint can be repurposed to create something truly unique. The beauty of upcycling is that it allows your creativity to shine while being budget-friendly!
In summary, preparing your materials can set the stage for a rewarding DIY experience. So, gather those shoe boxes, unleash your inner artist, and let’s get ready to create some fabulous shoe box shelves that not only declutter your space but also showcase your personality!
Choosing the Right Shoe Boxes
When it comes to creating your DIY shoe box shelves, is crucial for both functionality and aesthetics. Not all shoe boxes are created equal; some are sturdier, while others may be more visually appealing. To ensure your upcycling project is a success, consider the following factors:
First, think about the size and shape of the boxes. Ideally, you want boxes that will fit well in the space you have designated for your shelves. Standard shoe boxes are usually rectangular, but you can also find square or even uniquely shaped boxes that can add a fun twist to your shelving unit. A mix of different sizes can create an interesting visual effect, but make sure they can stack securely without wobbling.
Next, consider the material of the shoe boxes. Most commonly, you'll encounter cardboard and plastic boxes. Cardboard boxes are generally lighter and can be easily painted or covered with decorative paper, allowing for a more personalized touch. However, they are less durable and can be prone to damage from moisture. On the other hand, plastic boxes are sturdier and can withstand more weight, making them ideal for holding heavier items. They also come in a variety of colors and designs, which can be a bonus if you want to skip the painting step.
Additionally, you should think about the condition of the boxes. If you're using second-hand boxes, inspect them for any signs of damage, such as tears or dents. A box that is in good condition will not only look better but will also be more stable for your shelves. If you're going for a clean and polished look, ensure that the boxes are free from labels or stickers that may detract from the overall aesthetic.
To help you visualize your options, here’s a quick comparison of the two main types of shoe boxes:
| Type of Shoe Box | Pros | Cons |
|---|---|---|
| Cardboard |
|
|
| Plastic |
|
|
Lastly, don’t forget to think about where you can source your boxes. Local shoe stores often have extra boxes they are willing to give away, or you can check online marketplaces and community groups. You'd be surprised at how many people are willing to part with their shoe boxes, especially if they know they will be reused creatively!
In summary, when choosing the right shoe boxes for your DIY project, consider the size, shape, material, and condition of the boxes. By taking the time to select the perfect boxes, you'll set the foundation for a stunning and functional shelving unit that reflects your personal style.
Cardboard vs. Plastic Boxes
When it comes to choosing between cardboard and plastic shoe boxes for your DIY shoe box shelves, there are several factors to consider. Each material has its own set of advantages and disadvantages that can affect not only the aesthetic appeal of your shelves but also their durability and functionality. Let's dive into the pros and cons of both options.
Cardboard boxes are often the go-to choice for many DIY enthusiasts due to their affordability and availability. They can be easily found in various sizes and shapes, making them versatile for different shelving designs. Moreover, cardboard is lightweight, which means that your shelves will be easier to hang or mount on walls. However, cardboard does come with its downsides. It is susceptible to moisture, which can lead to warping or deterioration over time, especially if you live in a humid environment. Additionally, while you can paint and decorate cardboard, the finish may not be as durable as that of plastic.
On the other hand, plastic boxes offer a more robust solution for your shelving needs. They are typically more resistant to moisture and can withstand various environmental conditions without losing their shape. This makes them an excellent choice if you plan to place your shelves in areas like kitchens or bathrooms where humidity is a concern. Plastic boxes also come in a range of colors and styles, allowing for a more polished look right out of the box. However, they can be a bit pricier than cardboard options, and their weight might make them less ideal for larger shelving units.
To help you make an informed decision, here’s a quick comparison table:
| Feature | Cardboard Boxes | Plastic Boxes |
|---|---|---|
| Cost | Generally less expensive | Usually more expensive |
| Durability | Less durable, can warp | More durable, moisture-resistant |
| Weight | Lightweight | Heavier |
| Design Options | Easy to paint and decorate | Available in various styles and colors |
Ultimately, the choice between cardboard and plastic depends on your specific needs and the environment where your shelves will be placed. If you're looking for a budget-friendly option that allows for creative customization, cardboard might be your best bet. However, if you want something more durable and moisture-resistant, investing in plastic boxes could be the way to go. Whichever you choose, both materials can be transformed into beautiful and functional shelves that add charm to your space!

Finding Free or Low-Cost Boxes
When it comes to creating your own DIY shoe box shelves, sourcing free or low-cost boxes can be an exciting treasure hunt! You might be surprised at how many options are out there just waiting for you to discover. Start by checking your own home; think about the pairs of shoes you’ve bought over the years. Those boxes can serve a second life, and you can even ask friends and family if they have any spare boxes lying around. After all, who doesn't have a few old shoe boxes tucked away in the closet?
If you're looking to expand your search beyond your own collection, local retail stores can be a goldmine. Many shoe stores and department stores often have extra boxes they are willing to give away. Just pop in and ask; you might be surprised at how accommodating they can be. Additionally, consider checking out thrift stores or charity shops. They frequently have a variety of boxes available, and you can often find them at a very low price.
Online marketplaces are another fantastic resource. Websites like Freecycle and Facebook Marketplace often have listings for free items, including shoe boxes. You can also look for community groups focused on sharing or trading items. Here are a few tips to help you in your search:
- Ask Around: Friends and family might have boxes they no longer need.
- Visit Local Shops: Shoe and department stores often have extra boxes.
- Check Online: Look on Freecycle or Facebook Marketplace for free listings.
- Thrift Stores: These can be great for inexpensive boxes.
Remember, the key is to keep your eyes peeled and be open to different types of boxes. Not all shoe boxes are created equal; some might be sturdier than others, and different sizes can create interesting shelf arrangements. So go on, get creative with your search, and you might just find the perfect boxes to transform into stylish shelves!
Design Ideas
When it comes to designing your shoe box shelves, the sky's the limit! The beauty of upcycling is that you can infuse your personality into every corner of your home. Imagine transforming those plain, cardboard boxes into stunning, functional pieces that not only serve a purpose but also act as a statement in your decor. Let’s dive into some creative ideas that will inspire you to get started!
First off, think about the color scheme. Are you drawn to vibrant hues that pop, or do you prefer soothing neutrals? You can paint the boxes in a solid color or even create a gradient effect for a more dynamic look. Using stencils can also add intricate designs, making your shelves truly unique. For a rustic feel, consider using a wood stain instead of paint, which can give the cardboard a more textured and natural appearance.
Next, consider the arrangement of your shelves. Instead of simply stacking them, why not create a more artistic display? You could arrange them in a staggered fashion on the wall, or even create a geometric pattern. This not only adds visual interest but also allows you to play with different heights. Imagine a cascading effect where some boxes protrude more than others, creating a sense of depth and dimension.
Another exciting idea is to incorporate decorative elements into your design. You can line the insides of the boxes with fabric or wallpaper to add a splash of color and texture. Adding small LED lights inside the boxes can also create a cozy ambiance, especially if you plan to use them as nightstands or display areas for your favorite books and trinkets. Consider using decorative tape or washi tape to add borders or designs on the edges of the boxes for an extra touch of flair.
Don’t forget about the functionality of your shelves! You can customize them to fit your needs, whether it’s for books, plants, or even a mini gallery for your favorite photos. If you’re a plant lover, why not create a vertical garden? Line your shoe boxes with plastic to hold soil and plants, and hang them on the wall for a stunning green display. If you’re more of a bookworm, consider making a bookshelf that showcases your favorite reads while also serving as a conversation starter!
Lastly, remember that the beauty of DIY is that it’s all about experimentation. Don’t be afraid to mix and match different styles and ideas. You might find that a modern, minimalist approach works beautifully alongside a vintage, bohemian touch. Embrace the unexpected and let your creativity flow!
Q: Can I use any type of shoe box for this project?
A: While you can use any shoe box, it's best to choose sturdy ones that can hold weight. Cardboard boxes are generally more versatile, but plastic boxes can also work well.
Q: How do I ensure my shelves are secure?
A: Make sure to use a strong adhesive or fasteners to attach the boxes together. Additionally, consider securing them to the wall with brackets for extra stability.
Q: What if I want to change the design later?
A: One of the great things about upcycling is its flexibility! You can easily repaint or redecorate your shelves whenever you feel like refreshing your space.
Step-by-Step Instructions
Creating your own DIY shoe box shelves is not only a fun project but also a fantastic way to express your creativity while decluttering your space. To get started, gather your materials and let’s dive into the step-by-step process that will transform those ordinary shoe boxes into extraordinary shelves.
First, you need to prepare your shoe boxes. Begin by cleaning them thoroughly to remove any dust or residue. If you're using cardboard boxes, ensure that they are dry and free from any moisture. Next, it’s time to unleash your inner artist! Grab some paint—acrylic or spray paint works wonders—and give your boxes a fresh coat of color. This is where you can really let your personality shine through. Want a vibrant pop of color? Go for bold hues! Prefer something more subtle? Soft pastels or classic whites can give a chic look.
After the paint has dried, consider adding some decorative elements to your boxes. This could be anything from wrapping them in decorative paper to adding washi tape for a fun design. You might even want to glue on some fabric or lace for a textured effect. The goal here is to make each box uniquely yours, so think outside the box—pun intended!
Now that your boxes are prepped and looking fabulous, it’s time to assemble your shelves. Start by deciding on the layout of your shelves. Will you stack them vertically, horizontally, or maybe in an artistic arrangement? Once you’ve figured this out, use a strong adhesive or hot glue gun to secure the boxes together. Make sure to apply the glue generously, especially at the corners, to ensure stability. If you want to add an extra layer of support, consider using small wooden dowels or brackets to hold the boxes in place. This will also help if you're planning to store heavier items.
As you stack the boxes, take a moment to ensure that each layer is level. You don’t want your beautiful creation to topple over! If you’re feeling adventurous, you can even create a zigzag pattern or a cascading effect for a more dynamic look. Just remember, the key is to keep everything balanced and secure.
Once your shelves are assembled, it’s time for the most exciting part—decorating! This is where you can really personalize your new shoe box shelves. Consider adding small potted plants, framed photos, or your favorite books to bring life to your shelves. You could even use decorative baskets or boxes to organize smaller items. The possibilities are endless! Just remember to keep the overall aesthetic in mind; you want your shelves to complement your home decor.
Finally, don’t forget to step back and admire your handiwork! You’ve just transformed simple shoe boxes into a stylish and functional shelving unit. Whether you use them in your living room, bedroom, or even a home office, they’re sure to be a conversation starter.
Q: Can I use any type of shoe box for this project?
A: While you can use various types of shoe boxes, it’s best to choose sturdy ones made from cardboard or plastic to ensure they can hold the weight of the items you plan to display.
Q: How do I ensure my shelves are stable?
A: Make sure to use a strong adhesive when assembling your boxes, and consider adding support with dowels or brackets if you plan to stack multiple layers.
Q: What if I don’t want to paint my boxes?
A: If painting isn’t your style, you can wrap your boxes in decorative paper, fabric, or use stickers to create a unique look without paint!

Preparing the Shoe Boxes
Before diving into the exciting world of DIY shoe box shelves, it's crucial to pay attention to the preparation stage. This step sets the foundation for a successful project, ensuring that your shelves not only look great but also stand the test of time. Start by gathering your shoe boxes, and take a moment to inspect them. Are they clean? Are there any stubborn scuff marks or stains? If so, give them a good wipe down with a damp cloth to remove any dust or grime. Think of this as giving your boxes a refreshing spa day!
Next, let's talk about painting. A splash of color can transform an ordinary box into a stunning display piece. Choose a paint that suits your style—acrylic paint works wonders on cardboard, while spray paint can give a sleek finish. If you’re feeling adventurous, consider using stencils or sponges to create fun patterns. Remember, the goal here is to let your personality shine through!
Once your paint is dry, it's time to add some decorative flair. You can use washi tape, fabric scraps, or even old wrapping paper to cover the boxes. The key is to be creative! As you decorate, think about how these boxes will fit into your overall home decor. Are you going for a modern look, or something more rustic? Whatever your vision, this is your chance to express it.
Lastly, consider the functionality of your shelves. Will they hold books, plants, or perhaps your favorite knick-knacks? Depending on what you plan to display, you might want to reinforce the boxes. A simple way to do this is by using a strong adhesive or glue to secure the edges and corners. This extra step will ensure that your shelves are not just pretty, but also practical.
In summary, preparing your shoe boxes involves cleaning, painting, decorating, and reinforcing them for durability. By taking the time to prepare properly, you’re setting yourself up for a delightful DIY experience that will leave your space looking fabulous and uniquely yours!
Q: Can I use any type of shoe box for this project?
A: While you can use any shoe box, it's best to choose sturdy ones that can hold weight. Cardboard boxes are generally more versatile, but plastic ones can also work well.
Q: How long does the paint take to dry?
A: Drying time can vary based on the type of paint used. Acrylic paint usually dries within 30 minutes to an hour, while spray paint may dry even faster. Always check the manufacturer's instructions for the best results.
Q: What if I don't have any decorative materials at home?
A: No worries! You can use items you already have, like old magazines, newspapers, or even fabric scraps. Get creative with what you have on hand!
Assembling the Shelves
Now that you've prepared your shoe boxes, it’s time to roll up your sleeves and get to the fun part: assembling your shelves! This step is where your vision starts to come to life, and trust me, it’s incredibly satisfying to see your hard work materialize into something beautiful and functional. First, gather all your materials: the cleaned and decorated shoe boxes, adhesive (like glue or double-sided tape), and any additional tools you might need, such as a ruler and a utility knife for adjustments.
Begin by laying out your shoe boxes in the arrangement you desire. This is crucial because it allows you to visualize how the final product will look. Are you going for a stacked look, or perhaps a staggered arrangement? Think of it like playing with building blocks; the possibilities are endless! Once you have your desired layout, it's time to secure the boxes together. Apply a generous amount of adhesive to the bottom of the first box and press it firmly onto the surface where you plan to build your shelf. Make sure it's level—use a ruler or a level tool if you have one handy.
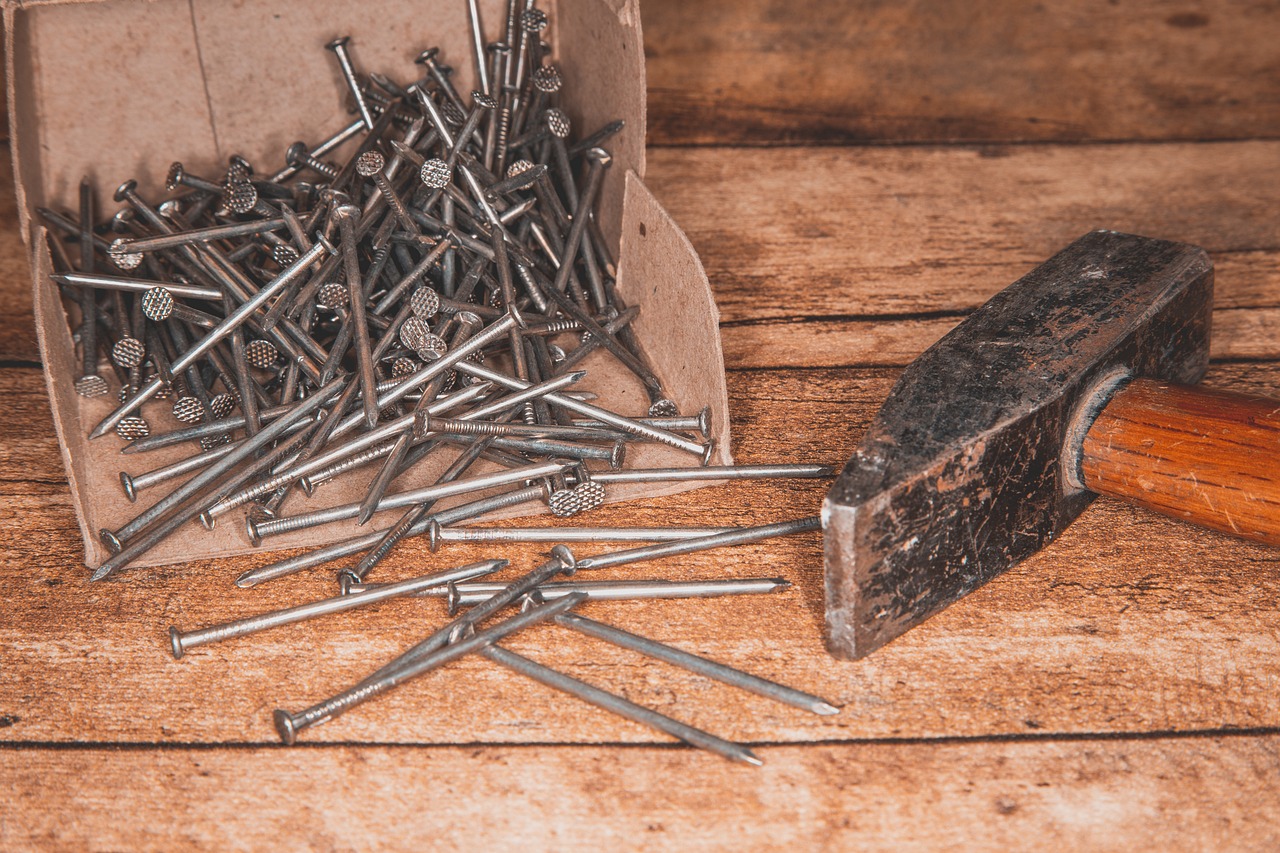
Next, take your second box and repeat the process. If you're stacking boxes, it's essential to ensure that each layer is stable. You might want to add some weight inside the boxes to help them stay grounded as the glue dries. For added stability, consider using small screws or nails to connect the boxes, especially if you plan to put heavier items on the shelves. Remember, safety first! You don’t want your beautiful creation to collapse under the weight of your favorite books or decorative pieces.
Once you have your boxes stacked and secured, give the adhesive some time to set. This is a great moment to take a break, grab a snack, or even plan out how you’ll decorate your new shelves. While waiting, think about what items you want to display. Will it be books, plants, or maybe some framed photos? Planning ahead can make your decorating process smoother and more enjoyable.
After the adhesive has dried completely, you can choose to reinforce the structure further by adding a backing. This could be a piece of cardboard or a thin wooden board cut to size. Not only does this add extra support, but it can also give your shelves a finished look. If you opt for a backing, simply attach it to the back of the stacked boxes using glue or small nails.
Finally, once everything is secure and stable, it’s time to find the perfect spot for your new shoe box shelves. Whether it’s in your living room, bedroom, or office, these shelves will not only provide storage but also serve as a unique piece of decor. Remember, the key to a successful assembly is patience and creativity. So take your time, enjoy the process, and soon enough, you’ll have a stunning shelf made from something as ordinary as a shoe box!
- Can I use shoe boxes of different sizes?
Absolutely! Mixing sizes can create a visually interesting design. Just ensure they are stable when stacked. - How much weight can my shoe box shelves hold?
This largely depends on the type of adhesive used and the stability of your assembly. Generally, lighter items are best. - What kind of paint should I use?
Acrylic or spray paint works well for cardboard shoe boxes. Ensure it’s fully dry before placing items on the shelves.

Decorating Your Shelves
Once you've constructed your stunning DIY shoe box shelves, the next exciting phase is decorating them! This is where your personality shines through and transforms your functional shelving into a vibrant extension of your home decor. Imagine your shelves not just as storage spaces, but as artistic displays that tell your story. So, how do you go about this? Let's dive into some creative ideas!
First things first, consider the theme of your room. Are you going for a cozy, rustic vibe or a sleek, modern look? Your choice of decorations should complement the overall aesthetic. For instance, if your room has a minimalist design, opt for a few carefully chosen items rather than overcrowding your shelves. A single, beautifully framed photo or a small potted plant can make a striking statement.
When it comes to choosing decorative items, think about a mix of textures and colors. You could use:
- Books: Stack them horizontally for a casual look or display them vertically for a more structured feel.
- Plants: Incorporate greenery with small potted plants or succulents that breathe life into your shelves.
- Artwork: Hang small pieces of art or display framed prints leaning against the back of the shelves.
- Personal Mementos: Showcase souvenirs from your travels or family heirlooms to add a personal touch.
Don’t shy away from layering your items. By placing taller items at the back and shorter ones in front, you create a visually appealing depth that draws the eye. Consider using decorative boxes or baskets to store smaller items. Not only do they keep things organized, but they also add an element of design to your shelves.
Another fun idea is to incorporate lighting into your shelf design. String lights or small LED lamps can create a warm and inviting ambiance, especially in the evenings. Just imagine how enchanting your shelves will look with soft lights highlighting your cherished items!
Lastly, remember that decorating is all about experimentation. Feel free to rearrange and swap out items until you find a combination that feels just right. Your shoe box shelves should reflect your unique style and make your space feel like home.
Q: How can I ensure my shoe box shelves are sturdy enough to hold heavier items?
A: Make sure to use sturdy shoe boxes and secure them well during assembly. You can also reinforce them with additional cardboard or wood at the back for extra support.
Q: What types of paint are best for decorating my shoe boxes?
A: Acrylic paint works well for cardboard boxes, as it dries quickly and comes in a variety of colors. If you're using plastic boxes, consider spray paint designed for plastic surfaces.
Q: Can I use my shoe box shelves in a bathroom or kitchen?
A: Absolutely! Just ensure the materials used can withstand humidity and that you place them in a location where they won’t be exposed to excessive moisture.
Frequently Asked Questions
- What materials do I need to create shoe box shelves?
To create your DIY shoe box shelves, you'll need a few basic materials: shoe boxes (of your choice), paint (to add color), adhesive (like glue or tape), and any decorative elements you want to use, such as washi tape, stickers, or fabric. Having scissors and a ruler handy can also help with precise measurements and cuts!
- Can I use any type of shoe box for this project?
While you can technically use any shoe box, it's best to opt for sturdy boxes that can hold weight without bending. Cardboard boxes are lightweight and easy to customize, while plastic boxes offer durability and a sleek look. Choose boxes that fit your style and intended use!
- How do I ensure my shoe box shelves are stable?
To ensure stability, stack the boxes securely and use a strong adhesive to attach them together. You can also reinforce the shelves by placing heavier items at the bottom and lighter ones on top. If you're concerned about tipping, consider anchoring the shelves to the wall for added safety.
- What are some creative ways to decorate my shoe box shelves?
Get creative! You can paint the boxes in vibrant colors, cover them with decorative paper, or even use fabric for a unique touch. Adding personal items like photos, plants, or artwork can also enhance the aesthetic. The key is to let your personality shine through!
- Where can I find free or inexpensive shoe boxes?
Look around your home first—old shoe boxes from previous purchases can be perfect! You can also check with local shoe stores, as they often have spare boxes. Online marketplaces and community groups are great places to find people giving away boxes for free or at a low cost.
- How long does it take to complete this DIY project?
The time it takes to complete your shoe box shelves can vary, but generally, you can expect to spend anywhere from a couple of hours to a full day. This includes gathering materials, painting, decorating, and assembling the shelves. Just take your time and enjoy the creative process!
- Are shoe box shelves suitable for heavy items?
Shoe box shelves are best suited for lightweight items like books, small decor pieces, or plants. If you want to store heavier items, consider reinforcing the boxes or using a different shelving method to ensure safety and stability.


