Repurpose an Old Cabinet into a Sewing Station
Are you tired of your sewing supplies taking over your living space? Want to create a cozy and efficient workspace without breaking the bank? Transforming an old cabinet into a sewing station might just be the perfect solution for you! Not only does this project breathe new life into a neglected piece of furniture, but it also provides a dedicated area for your sewing adventures. Imagine having all your materials organized, your sewing machine at the ready, and a space that inspires creativity. In this article, we’ll explore creative ways to turn that old cabinet into a functional sewing station that fits your style and needs.
When embarking on this exciting journey, the first step is selecting the right cabinet. This decision is crucial because it will determine the overall functionality and aesthetic of your sewing station. Consider the following factors:
- Size: Ensure the cabinet is spacious enough to accommodate your sewing machine, fabric, and other supplies.
- Style: Look for a cabinet that complements your home decor. Whether you prefer vintage charm or modern minimalism, there’s a cabinet out there for you.
- Functionality: Think about how you’ll use the space. Does the cabinet have shelves or drawers? Will it provide enough surface area for cutting fabric?
Finding the right cabinet can be like dating—sometimes you have to try a few before you find "the one." So, keep an open mind and explore different options!
Once you've found your cabinet, it's time to gather the essential tools and materials for your transformation. This step is vital to ensure your project goes smoothly and turns out just as you envisioned. Here’s what you’ll need:
Understanding the essential tools will make the process feel less daunting. Here’s a quick rundown of what you’ll need:
- Screwdrivers: For removing and attaching hardware.
- Saws: To cut wood if necessary for adjustments.
- Measuring Tape: To ensure everything fits perfectly.
- Sandpaper: For smoothing surfaces before painting.
Having these tools on hand is like having a trusty toolbox—each item plays a crucial role in your project’s success.
Now, let’s talk about the fun part: decorating! Adding decorative elements can elevate your sewing station's aesthetics and make it feel uniquely yours. Consider using:
- Paint: A fresh coat can work wonders. Choose colors that inspire you!
- Fabric: Use beautiful fabric to line drawers or create a curtain for the cabinet.
- Hardware: New knobs or handles can completely change the look of your cabinet.
Remember, your sewing station should reflect your personality. It’s not just a workspace; it’s a creative sanctuary!
Incorporating functional accessories can enhance your sewing station's usability. Think about adding:
- Organizers: Keep your threads, scissors, and tools in order.
- Lighting: Good lighting is essential for detailed work.
- Storage Solutions: Baskets or bins can help minimize clutter.
These accessories are like the icing on the cake—they make your sewing station not only beautiful but also efficient!
Before diving into the fun part, proper preparation is essential. Cleaning, sanding, and repairing any damage will ensure a smooth and successful repurposing process. Start by wiping down the cabinet to remove dust and grime. Then, assess any scratches or dents. A little sanding can go a long way in making your cabinet look fresh and new!
Now that your cabinet is prepped, it’s time to design your sewing station layout. An effective layout maximizes efficiency and comfort, making your sewing experience enjoyable. Think about how you’ll arrange your tools and materials for optimal workflow. For instance, position your sewing machine where you can easily access your fabric and supplies. A well-thought-out layout is like a well-choreographed dance—it makes everything flow smoothly!
Choosing the right work surface is vital for your sewing projects. Consider the height, material, and size to create a comfortable and functional workspace tailored to your needs. A sturdy surface that can withstand cutting and pinning is essential. You might even want to add a cutting mat for extra protection and ease!
Effective storage is key to maintaining an organized sewing station. Discover innovative storage solutions that keep your materials and tools easily accessible while minimizing clutter. Consider vertical storage options, like pegboards or wall-mounted shelves, to make the most of your space. A tidy workspace is like a clear mind—it lets your creativity flow freely!
Adding final touches can make your sewing station truly yours. Personalize your space with decorative elements, color schemes, and unique touches that inspire creativity. Maybe hang a vision board for your sewing projects or display your finished creations. The goal is to create a space that feels inviting and motivates you to sew!
Q: Can I use any cabinet for this project?
A: Yes! Just ensure it has enough space and fits your sewing needs.
Q: What if I’m not handy with tools?
A: Don’t worry! There are plenty of tutorials online, and you can always ask for help from a friend or family member.
Q: How do I maintain my sewing station?
A: Regularly clean your workspace and organize your supplies to keep it functional and inviting.
Choosing the Right Cabinet
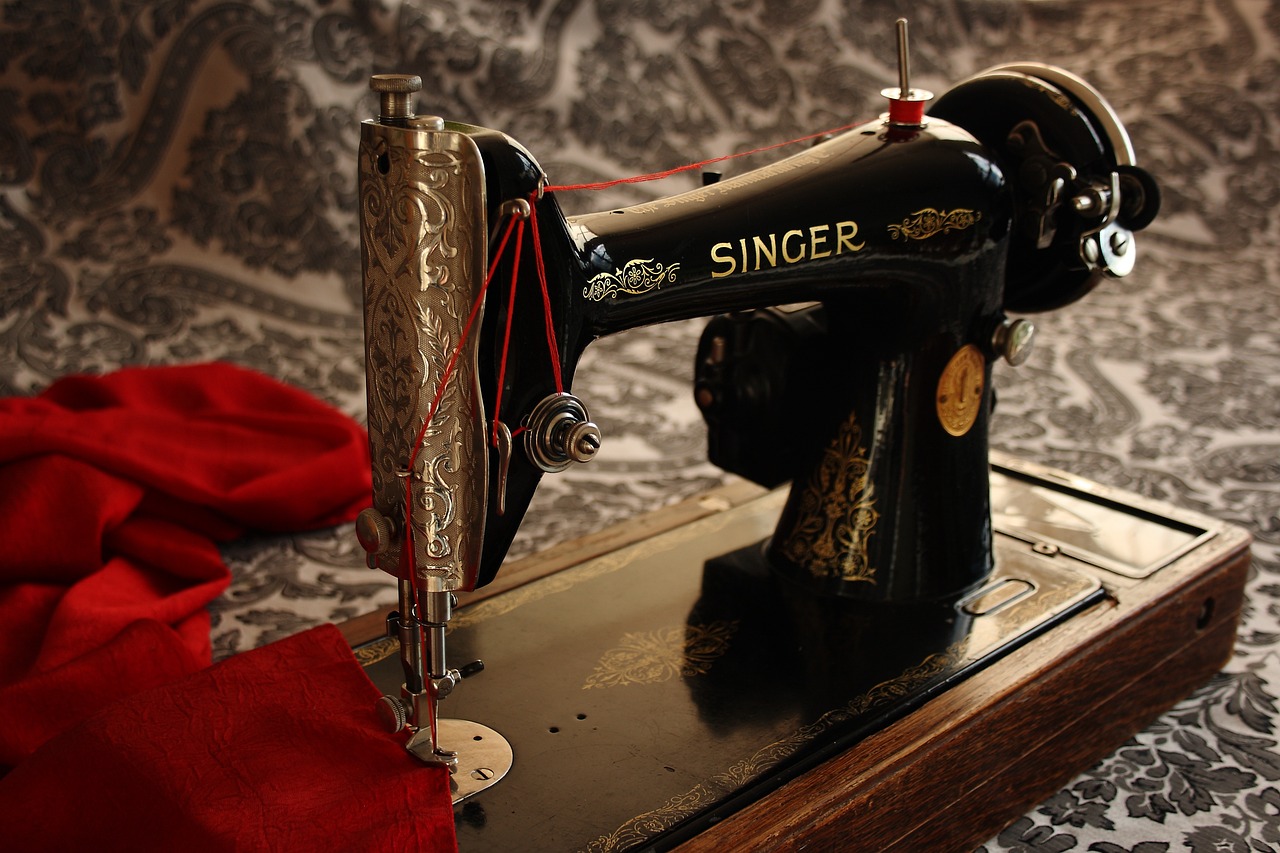
When it comes to creating a sewing station, is like finding the perfect canvas for an artist. It sets the stage for your creativity and productivity. You want a cabinet that not only fits your sewing needs but also complements your space. So, what should you consider? First, think about the size of the cabinet. It should be spacious enough to accommodate your sewing machine, tools, and materials, yet compact enough to fit in your designated area without overwhelming it. A cabinet that is too small will leave you feeling cramped, while one that is too large can make your room feel cluttered.
Next, style matters! Your sewing cabinet should reflect your personal taste. Whether you prefer a vintage look, a modern aesthetic, or something in between, the style of your cabinet can enhance the overall vibe of your sewing space. For instance, a rustic wooden cabinet can add warmth, while a sleek, contemporary design can bring a touch of elegance. Don't forget about functionality! Look for cabinets that come with features like adjustable shelves, drawers, or even fold-out surfaces to maximize your workspace.
Another important aspect is the material of the cabinet. Solid wood offers durability and a classic look, while MDF or particle board can be more affordable and lightweight. If you're leaning towards a DIY project, consider cabinets that are easy to modify. You might even find an old cabinet at a thrift store that just needs a little love and creativity to transform it into your dream sewing station.
Finally, consider the location of your cabinet. Is it going to be placed in a well-lit area? Will it be near electrical outlets for your sewing machine? These practical considerations can have a big impact on how comfortable and efficient your sewing experience will be. Remember, the right cabinet is not just about aesthetics; it’s about creating a space that inspires you to sew!
To sum it up, here are the key factors to keep in mind when choosing your cabinet:
- Size: Ensure it fits your sewing needs and space.
- Style: Reflect your personal taste and the overall decor.
- Material: Choose something durable yet suitable for modifications.
- Functionality: Look for features that enhance usability.
- Location: Consider lighting and accessibility for your sewing machine.
Essential Tools and Materials
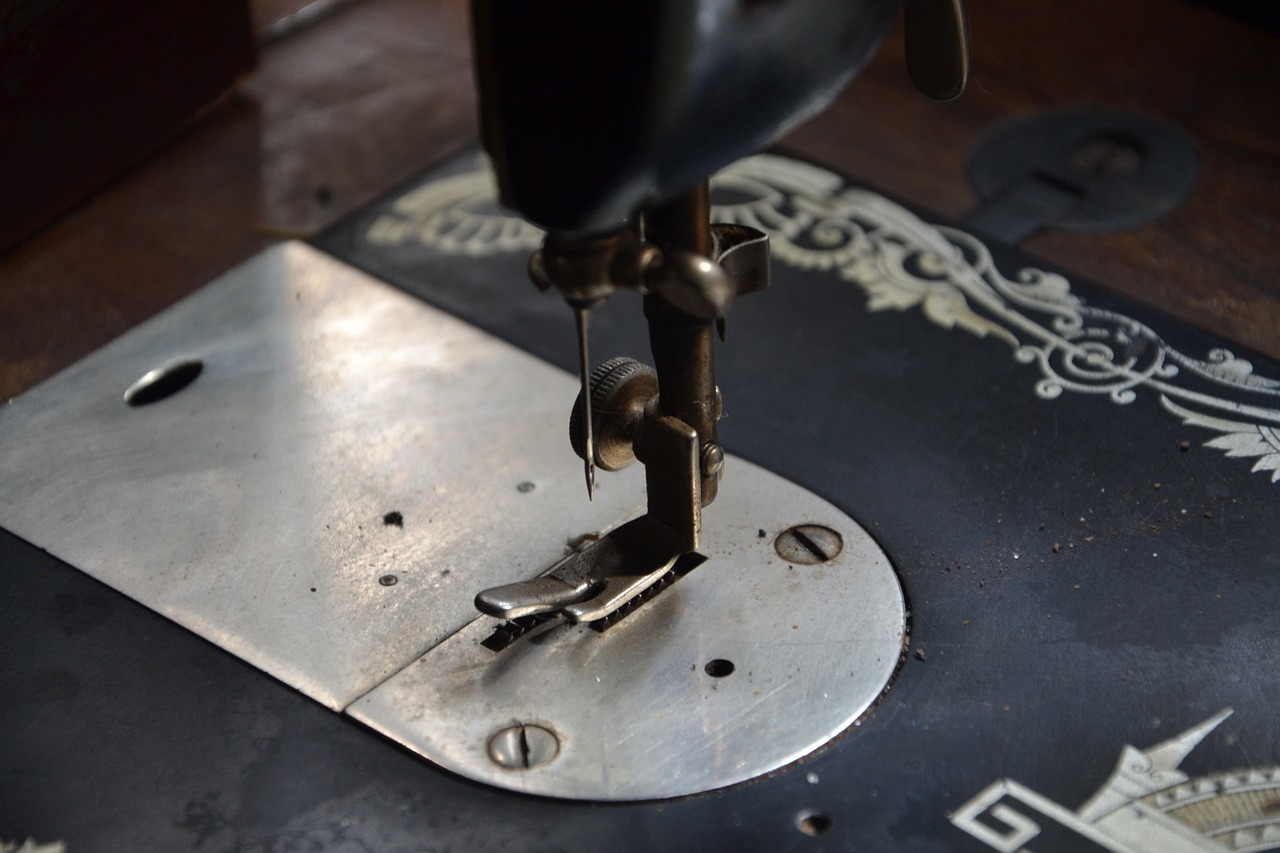
Transforming an old cabinet into a sewing station isn’t just about creativity; it’s also about having the right tools and materials at your disposal. Think of this process as cooking a gourmet meal; without the right ingredients, your dish might not turn out as delicious as you hoped. So, let’s dive into what you’ll need to get started on this exciting project!
First and foremost, you’ll need some basic tools that are essential for the transformation process. These tools will be your best friends as you disassemble, assemble, and customize your cabinet to fit your sewing needs. Here’s a quick rundown:
- Screwdrivers: A set with both flat and Phillips heads will help you tackle any screws you encounter.
- Saws: Whether it’s a hand saw or a power saw, you’ll need this for cutting any wood to size.
- Measuring Tape: Precision is key, and a measuring tape will ensure everything fits perfectly.
- Sandpaper: To smooth out rough edges and surfaces, sandpaper is a must-have.
- Drill: A cordless drill will make your life easier when it comes to assembling and making holes for hardware.
Now that we’ve covered the tools, let’s talk about the materials you’ll need to bring your vision to life. Just like a painter needs brushes and colors, you’ll need the right materials to create a functional and beautiful sewing station. Here are some key items to consider:
- Paint: A fresh coat of paint can completely transform the look of your cabinet. Choose a color that inspires you and fits your home decor.
- Fabric: If your cabinet has doors, consider adding fabric to them for a softer look. You can also use fabric to create cushions for added comfort.
- Hardware: New knobs and handles can give your cabinet a modern flair. Look for unique pieces that reflect your personality.
- Organizers: Think about drawer organizers or bins to keep your sewing supplies tidy and easily accessible.
Lastly, don’t forget about any functional accessories that can enhance your sewing experience. Good lighting is essential for detailed work, so consider adding a task lamp. Additionally, a comfortable chair is a must for those long sewing sessions. You might also want to invest in a cutting mat or a ruler for precision cutting.
In summary, having the right tools and materials is crucial in your journey to repurpose an old cabinet into a sewing station. By gathering these essentials, you’ll set yourself up for success, turning your creative vision into a reality. Now, let’s roll up our sleeves and get started on this exciting transformation!
Q: Can I use any type of cabinet for my sewing station?
A: While you can use various types of cabinets, it's best to choose one that offers ample storage space and is sturdy enough to hold your sewing machine and supplies.
Q: How do I ensure my cabinet is the right height for sewing?
A: Ideally, your sewing station should allow you to sit comfortably with your feet flat on the floor and your arms at a 90-degree angle when using the sewing machine.
Q: What if my cabinet has some damage?
A: Minor damages can often be repaired with wood filler or by sanding down rough areas. If the damage is significant, consider reinforcing the structure with additional support.

Basic Tools for Repurposing
When it comes to transforming an old cabinet into a stunning sewing station, having the right tools at your disposal is like having a treasure map for a successful adventure. You wouldn't set sail without your compass, right? Similarly, equipping yourself with essential tools will make the repurposing process smoother and more enjoyable. Here’s a rundown of the basic tools you’ll need to get started on your exciting journey.
First and foremost, a set of screwdrivers is crucial. Whether you're dealing with flat-head or Phillips screws, these handy tools will help you disassemble your cabinet without a hitch. Next up, a handsaw or jigsaw will be your best friend when it comes to cutting through wood. If you plan to add shelves or modify the cabinet's structure, having a reliable saw will save you time and frustration.
Don’t forget about the measuring tape; it’s essential for ensuring that all your dimensions are spot on. After all, nobody wants a wonky sewing station! A level is also invaluable, especially when you’re installing shelves or ensuring that your work surface is perfectly aligned. Lastly, a drill will come in handy for making holes and driving screws quickly, which can be a real time-saver.
Now, as you gather these tools, it’s also wise to consider a few safety essentials. A pair of safety goggles will protect your eyes from dust and debris, while work gloves will keep your hands safe from splinters and sharp edges. Remember, safety first!
In summary, here’s a quick look at your basic tool kit:
- Screwdrivers (flat-head and Phillips)
- Handsaw or jigsaw
- Measuring tape
- Level
- Drill
- Safety goggles
- Work gloves
Armed with these tools, you’ll be well-prepared to embark on your cabinet transformation project. The right tools not only streamline the process but also open up a world of creative possibilities. So, roll up your sleeves, put on your favorite playlist, and let your imagination run wild as you breathe new life into that old cabinet!
Q: Do I need advanced woodworking skills to repurpose a cabinet?
A: Not at all! Basic skills and a willingness to learn are all you need. There are plenty of tutorials available to guide you through each step.
Q: Can I use any cabinet for a sewing station?
A: While you can use most cabinets, it's best to choose one that's sturdy and has enough space for your sewing machine and supplies.
Q: How much time should I set aside for this project?
A: The time will vary depending on the cabinet's condition and your design plans, but setting aside a weekend should give you plenty of time to complete the transformation.
Decorative Supplies
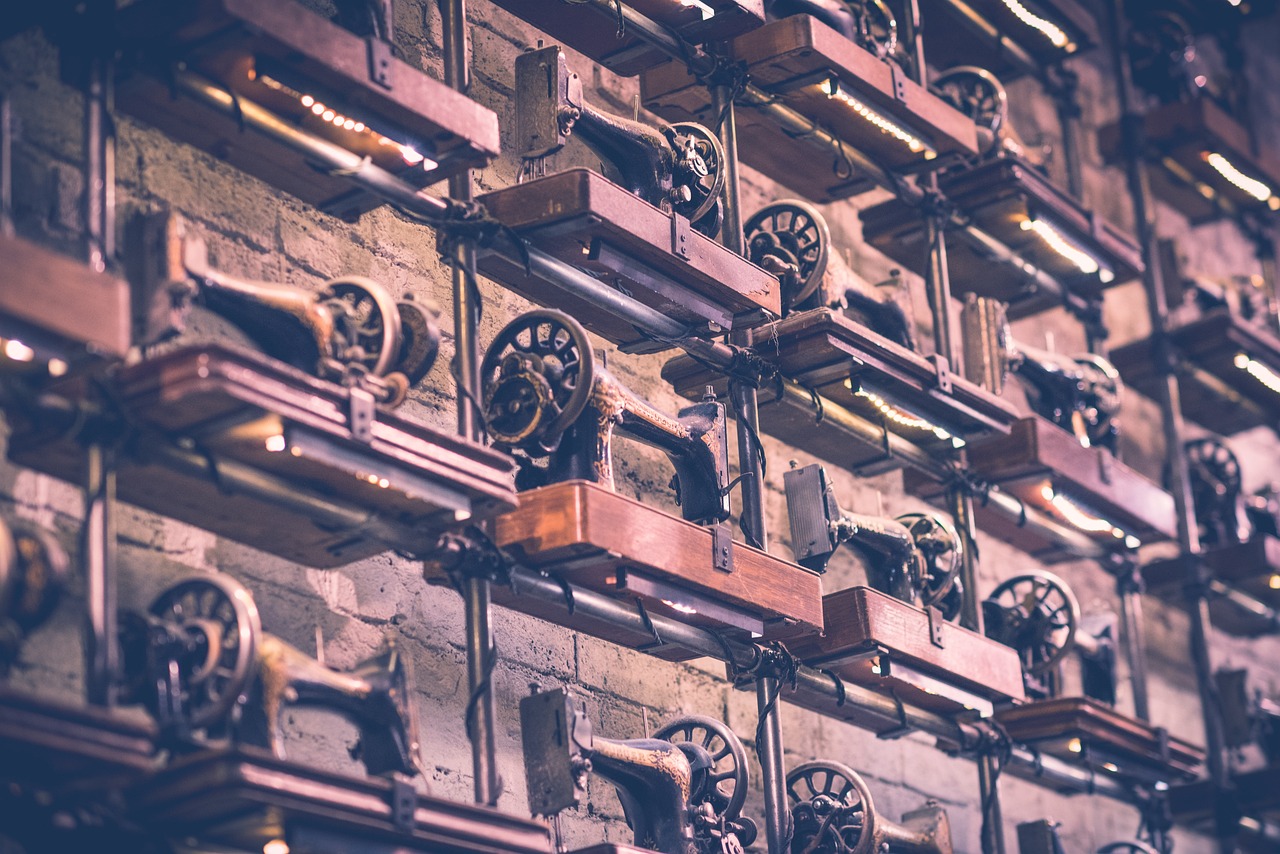
When it comes to transforming your old cabinet into a stunning sewing station, the you choose can make all the difference. Imagine stepping into a space that not only serves a functional purpose but also sparks joy and creativity every time you sit down to sew. The right colors, textures, and accents can breathe new life into your cabinet, turning it into a personalized haven for your sewing projects.
First and foremost, paint is a game changer. A fresh coat of paint can completely alter the look of your cabinet, making it feel modern or rustic, depending on your style. Consider using a chalk paint for a matte finish that adds character, or opt for glossy paint to give your cabinet a sleek, polished appearance. Don't shy away from bold colors; a vibrant hue can energize your workspace and inspire creativity.
Next, think about fabric. Incorporating fabric into your design not only adds warmth but also allows you to introduce patterns that reflect your personality. You could line the interior shelves with a fun fabric or create a cushioned seat if your cabinet has a drop-down feature. Additionally, using fabric to cover any exposed surfaces can soften the look and feel of your sewing station, making it more inviting.
Another important aspect is the hardware. Upgrading knobs and handles can be a simple yet effective way to enhance the overall aesthetic of your cabinet. Look for unique or vintage pieces that resonate with your style. This small change can give your sewing station a distinctive touch, making it truly yours. You might even consider painting the hardware to match your cabinet or using contrasting colors for a pop of interest.
To further personalize your sewing station, consider adding decorative elements such as wall art or shelves. These can serve both functional and aesthetic purposes. You could display your favorite sewing quotes, hang up a fabric swatch board, or create a small gallery of your completed projects. This not only keeps your workspace organized but also serves as a source of inspiration whenever you need a creative boost.
Lastly, don't forget about lighting. A well-lit space is crucial for any sewing station. Adding decorative lamps or string lights can create a cozy atmosphere while providing the necessary illumination for your projects. Consider installing under-shelf lighting to highlight your workspace, making it easier to see your materials and patterns clearly.
In summary, the decorative supplies you choose for your sewing station can significantly enhance both its functionality and aesthetic appeal. From paint and fabric to hardware and lighting, each element plays a role in creating a space that reflects your personal style and inspires creativity. So, gather your supplies, unleash your creativity, and get ready to transform that old cabinet into a sewing paradise!
- What type of paint is best for repurposing furniture?
Chalk paint is often recommended for its matte finish and ease of use, but acrylic or latex paints can also work well depending on the look you want to achieve.
- How can I ensure my sewing station is organized?
Utilize storage solutions like bins, baskets, and wall-mounted organizers to keep your tools and materials accessible and tidy.
- What lighting options are best for a sewing station?
Task lighting, such as desk lamps or under-shelf lights, is ideal for illuminating your workspace without causing shadows.
Functional Accessories
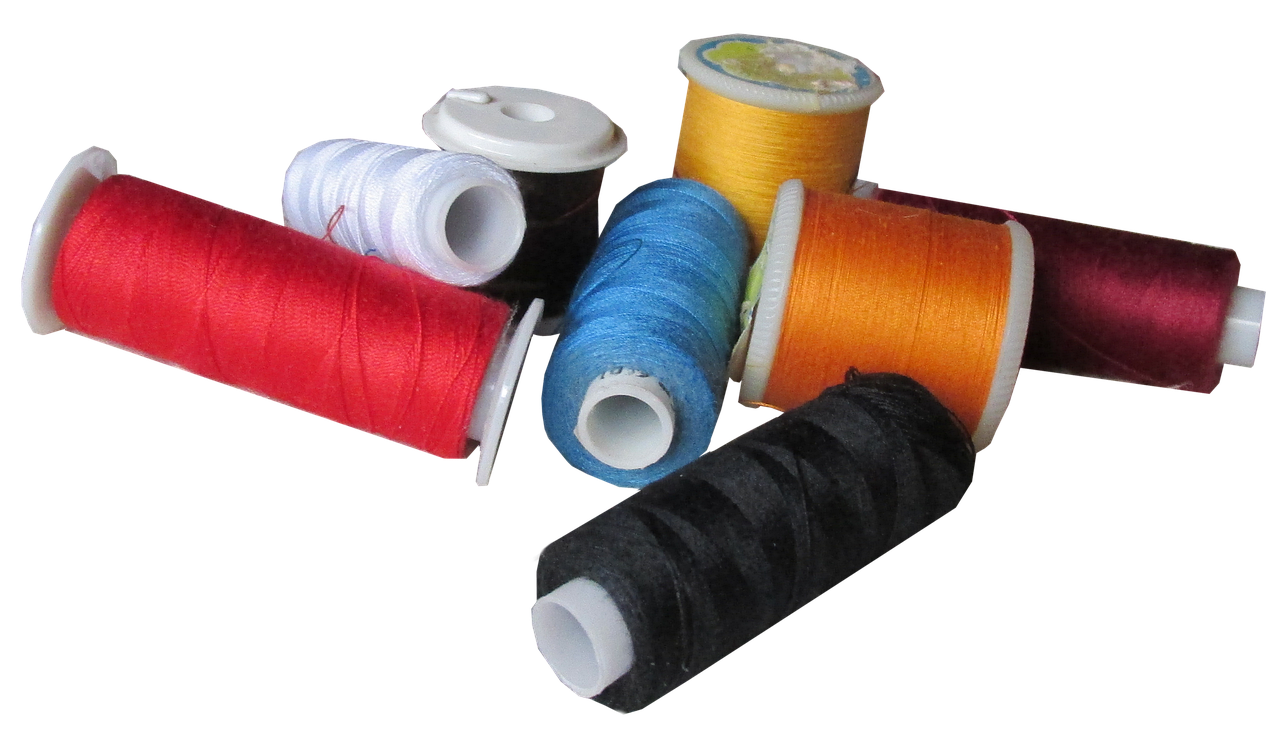
When it comes to creating a sewing station that truly works for you, are the unsung heroes of organization and efficiency. Imagine your sewing cabinet as a blank canvas; the right accessories can turn it into a masterpiece of functionality. First and foremost, consider incorporating storage organizers such as small bins or drawer dividers to keep your sewing tools and materials neatly arranged. This not only saves time when searching for the right item but also helps maintain a tidy workspace, which can be incredibly inspiring.
Lighting is another essential accessory that should never be overlooked. Proper lighting can make all the difference, especially when working on intricate projects. A good quality task lamp can illuminate your workspace, reducing eye strain and allowing you to see every detail of your work. Additionally, think about adding some magnetic strips or pegboards to your cabinet doors or walls. These can hold scissors, threads, and other tools within easy reach, transforming your sewing station into a well-oiled machine.
Furthermore, don't underestimate the power of a comfortable chair. A height-adjustable chair can make your sewing experience much more enjoyable, especially during long sessions. You want to ensure that your seating allows for good posture and comfort, as this can significantly impact your productivity and creativity.
Lastly, consider integrating a cutting mat that can be stored inside the cabinet when not in use. This not only saves space but also provides a dedicated area for cutting fabric, which is crucial for any sewing project. By thoughtfully selecting and incorporating these functional accessories, you can create a sewing station that is not only beautiful but also tailored to your unique sewing needs.
- What type of lighting is best for a sewing station?
Task lighting, such as LED lamps with adjustable brightness, is ideal as it provides focused light without harsh shadows.
- How can I keep my sewing station organized?
Utilize drawer dividers, bins, and pegboards to categorize and easily access your tools and materials, keeping clutter to a minimum.
- What is the best height for a sewing table?
The height should allow you to sew comfortably without straining your back; generally, a table height of 28 to 30 inches works for most people.

Preparing the Cabinet
Before diving into the exciting world of transforming your old cabinet into a stunning sewing station, it's essential to prepare the cabinet properly. This preparation phase is like laying the foundation of a house; without a solid base, everything built on top can crumble. Start by giving your cabinet a thorough cleaning. Dust, grime, and any lingering odors can affect both the aesthetics and functionality of your sewing space. Use a mild detergent and a soft cloth to wipe down all surfaces, ensuring that you remove any debris that has accumulated over the years.
Once your cabinet is sparkling clean, it’s time to assess its condition. Look for any signs of damage, such as scratches, dents, or loose joints. If you find any imperfections, don’t fret! A little bit of sanding can work wonders. Grab some sandpaper and gently smooth out any rough spots. This step is crucial, as it not only makes the surface more appealing but also prepares it for painting or staining later on.
Next, consider repairing any structural issues. If the cabinet has loose hinges or shelves that don’t stay in place, now is the time to fix those. Use a screwdriver to tighten screws or replace any that are missing. If you need to replace a shelf or drawer, measure the dimensions carefully to ensure a perfect fit. Remember, attention to detail during this stage will pay off when you start using your new sewing station.
After addressing repairs, it’s important to think about the finish. If you plan to paint or stain the cabinet, you may want to do a light sanding again to help the new finish adhere better. Choose a color that resonates with your personal style—perhaps a calming pastel or a bold, vibrant hue. The right color can inspire creativity and make your sewing space feel inviting.
Lastly, don’t forget to let your cabinet dry completely after cleaning and sanding. If you’ve applied any paint or stain, allow ample drying time before moving on to the next steps of your transformation. Proper preparation is the key to a successful repurposing project, ensuring that your sewing station not only looks great but also functions perfectly.
- What type of cabinet works best for a sewing station?
Look for cabinets that provide ample surface area and storage. A cabinet with multiple drawers and shelves will help keep your sewing supplies organized. - Can I use any paint on my cabinet?
It’s best to use paint specifically designed for furniture, as it will adhere better and provide a more durable finish. - How do I ensure my sewing station is ergonomically friendly?
Choose a work surface at a comfortable height for sewing, and arrange your tools within easy reach to minimize strain. - What storage solutions should I consider?
Incorporate bins, baskets, or drawer organizers to keep your materials tidy and easily accessible.

Designing Your Sewing Station Layout
When it comes to creating the perfect sewing station, designing your layout is absolutely essential. Think of your sewing space as a well-orchestrated symphony; each element must work harmoniously to create a beautiful result. The right layout not only maximizes efficiency but also ensures that you can sew comfortably for hours on end. So, how do you achieve this? Let’s dive into some key considerations that will transform your sewing area into a productive haven.
First and foremost, you need to consider the flow of your workspace. Imagine yourself in the middle of a project—how will you move from cutting fabric to sewing it together? Ideally, your sewing machine should be centrally located, allowing you to easily access your fabric and tools without constantly getting up. Think of your layout like a well-planned kitchen: everything you need should be within arm’s reach. A good rule of thumb is to create a work triangle between your cutting area, sewing machine, and storage space. This minimizes unnecessary movement and keeps you focused on your project.
Next up is the work surface. Choosing the right height, material, and size for your work surface can make all the difference. You want a surface that’s comfortable to work on for extended periods. If you’re taller or shorter than average, consider adjusting the height of your table or using a sewing machine lift to create a more ergonomic setup. For the material, a smooth surface is ideal for cutting and sewing, while a sturdy table will withstand the pressure of heavy machines and multiple projects.
Storage solutions are another crucial aspect of your sewing station layout. An organized workspace is a happy workspace! Consider incorporating a variety of storage options, such as:
- Drawers for fabric and notions
- Shelves for books and patterns
- Baskets for thread and smaller items
By keeping your materials and tools easily accessible, you’ll save time and avoid frustration. Plus, a tidy space can spark creativity and inspiration!
Lighting is another factor that can significantly impact your sewing experience. Poor lighting can strain your eyes and make it difficult to see intricate details. Aim for a combination of natural light and focused task lighting. A bright lamp positioned over your sewing machine can illuminate your work area perfectly, while ambient lighting can create a cozy atmosphere for those late-night sewing sessions.
Lastly, don’t forget about personal touches! Your sewing station should reflect your personality and style. Consider adding decorative elements that inspire you, such as:
- Colorful fabric swatches displayed in frames
- Inspirational quotes on the wall
- Artwork that resonates with your creative spirit
By infusing your space with personal flair, you’ll create a sewing station that not only functions well but also feels like home.
In conclusion, designing your sewing station layout is about more than just aesthetics; it’s about creating a space that enhances your sewing experience. By considering the flow of your workspace, selecting the right work surface, implementing effective storage solutions, ensuring proper lighting, and adding personal touches, you’ll craft a sewing station that is both functional and inspiring. So roll up your sleeves, get creative, and let your sewing adventures begin!
Q: What is the best height for a sewing table?
A: The ideal height depends on your personal comfort. A general guideline is that your elbows should be at a 90-degree angle when sewing, so adjust your table height accordingly.
Q: How can I keep my sewing station organized?
A: Use clear bins for small items, label everything, and designate specific areas for different types of materials and tools to maintain organization.
Q: What type of lighting is best for sewing?
A: A combination of natural light and focused task lighting is ideal. Consider using a daylight LED lamp to reduce eye strain and illuminate your work area effectively.
Work Surface Considerations
This article explores creative ways to transform an old cabinet into a functional sewing station, providing practical tips and inspiration for sewing enthusiasts looking to optimize their workspace.
Selecting the perfect cabinet is crucial for your sewing station. Consider size, style, and functionality to ensure it meets your sewing needs while fitting seamlessly into your space.
Gathering the right tools and materials is key to a successful cabinet transformation. This section outlines everything you'll need, from basic tools to decorative elements that enhance your sewing station.
Understanding the essential tools needed for your project will make the process smoother. This includes items like screwdrivers, saws, and measuring tapes vital for disassembly and assembly tasks.
Adding decorative elements can elevate your sewing station's aesthetics. Explore options such as paint, fabric, and hardware that can personalize your cabinet and reflect your style.
Incorporating functional accessories can enhance the usability of your sewing station. Consider organizers, lighting, and storage solutions that keep your workspace tidy and efficient.
Before transforming your cabinet, proper preparation is essential. This section discusses cleaning, sanding, and repairing any damage to ensure a smooth and successful repurposing process.
An effective layout maximizes efficiency and comfort. This section provides tips on arranging your sewing station for optimal workflow, including workspace design and tool placement.
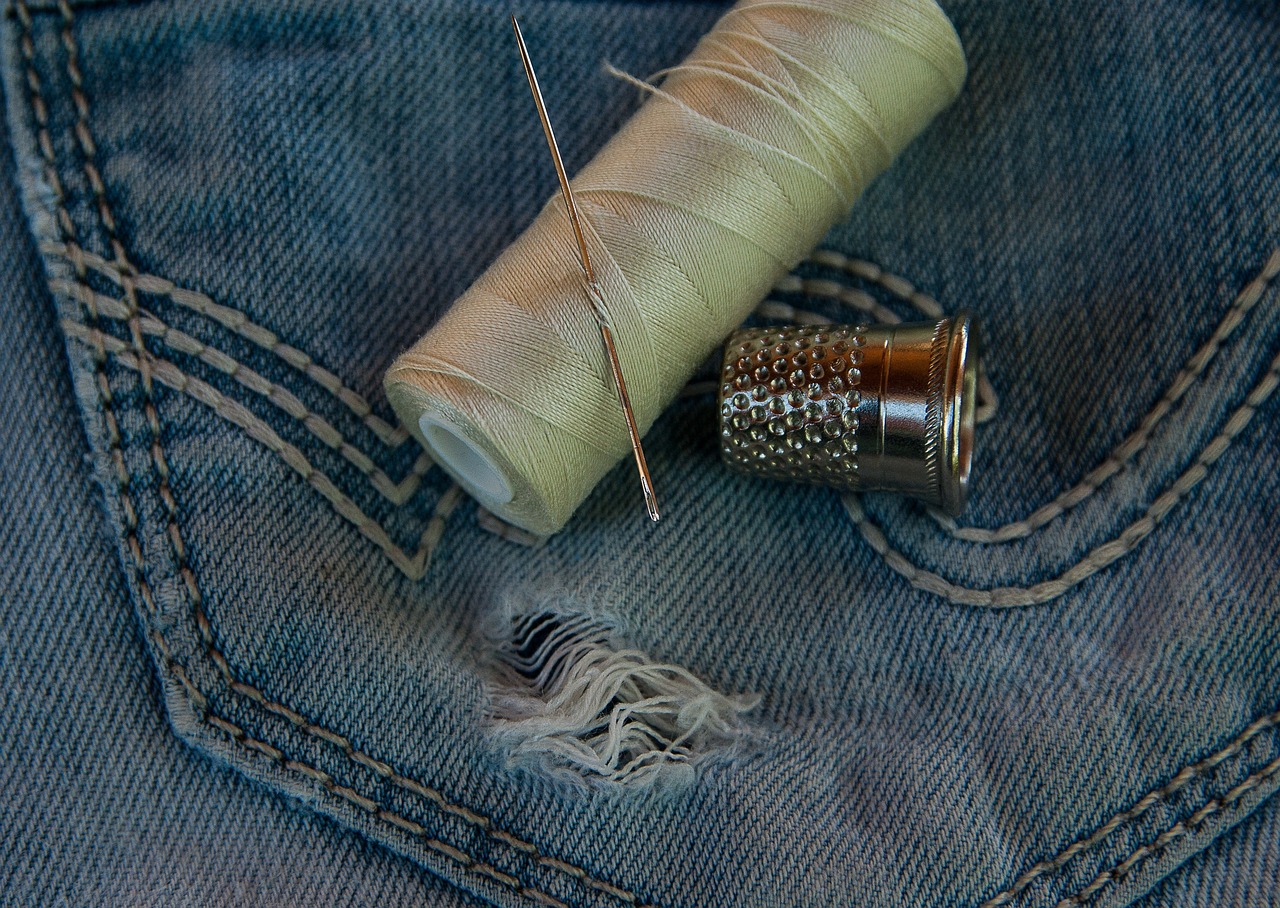
Choosing the right work surface is vital for sewing projects. The surface needs to be not only functional but also comfortable to work on for extended periods. You might want to consider the following factors:
- Height: The height of your work surface should accommodate your sewing habits. Too low, and you might strain your back; too high, and you could be uncomfortable while working. Ideally, the surface should be at elbow height when you're seated.
- Material: The material of your work surface can greatly affect your sewing experience. A sturdy wooden table can provide the stability needed for heavy machines, while a smooth surface can help fabric glide easily as you sew.
- Size: Ensure that your work surface is large enough to accommodate your sewing machine, fabric, and any other tools you might need. A cramped space can lead to frustration and mistakes.
Additionally, consider the layout of your sewing station. If you have a larger cabinet, you might want to create zones for different tasks. For instance, one area could be dedicated to cutting fabric, while another could be for sewing and assembling. This not only keeps your workflow efficient but also helps in maintaining an organized space.
Lastly, don't overlook the importance of lighting. A well-lit work surface can make a world of difference. Natural light is great, but if that's not an option, invest in good task lighting that illuminates your work area without casting shadows. This will help you see your fabrics and stitches clearly, reducing the risk of errors.
Adding final touches can make your sewing station truly yours. This section highlights ways to personalize your space with decorative elements, color schemes, and unique touches that inspire creativity.
Q: What type of cabinet works best for a sewing station?
A: Look for a cabinet that is sturdy, has ample storage, and fits your sewing machine comfortably. A cabinet with adjustable shelves can also be beneficial for organizing supplies.
Q: How can I make my sewing station more organized?
A: Utilize organizers, baskets, and drawer dividers to keep your supplies in check. Labeling containers can also help you quickly find what you need.
Q: Is it necessary to have a dedicated sewing station?
A: While it’s not mandatory, having a dedicated space for sewing can significantly enhance your productivity and enjoyment of the craft.
Storage Solutions
When it comes to creating a sewing station, effective storage solutions are absolutely essential. Imagine trying to sew a beautiful quilt only to be surrounded by a chaotic mess of fabrics, threads, and tools. A well-organized space not only boosts your creativity but also enhances your overall sewing experience. So, how do you achieve that? Let’s dive into some innovative ideas that will keep your materials and tools easily accessible while minimizing clutter.
First off, consider utilizing vertical space. Wall-mounted shelves can be a game-changer. They not only save floor space but also allow you to display your beautiful fabrics or keep frequently used tools within arm's reach. You could also install pegboards for hanging scissors, rulers, and other tools. This way, everything is visible and easy to grab, making your workflow more efficient. Plus, it adds a touch of personality to your sewing station!
Another fantastic storage solution is the use of clear plastic bins. These bins can be easily labeled and stacked, making it simple to find what you need without rummaging through piles of fabric. You can categorize your materials by color, type, or project, which not only saves time but also helps in keeping your mind clear and focused. If you have the space, a dedicated rolling cart can also serve as a mobile sewing station, allowing you to move your tools and materials around as needed.
Don't forget about the power of drawers! If your cabinet has built-in drawers, make the most of them by organizing your sewing notions like threads, buttons, and needles. Use drawer dividers to keep everything in its place. If you’re starting from scratch, you might want to consider adding shallow drawers specifically designed for smaller items. This can prevent the dreaded “bottomless pit” syndrome that often happens with larger storage spaces.
For those who love to sew with patterns, think about incorporating a filing system. You can use a simple file box or even a dedicated drawer for your patterns. By organizing them in folders or envelopes, you can quickly locate the pattern you need without the frustration of digging through a stack of papers. This not only saves time but also preserves the integrity of your patterns, keeping them in good condition for future projects.
To wrap it all up, an organized sewing station is a happy sewing station. By implementing these storage solutions, you’ll create an environment that inspires creativity and productivity. Remember, the goal is to make your sewing space work for you. With a little planning and creativity, you can transform your old cabinet into a sewing haven that reflects your style and meets your needs.
- What are some budget-friendly storage solutions for a sewing station?
You can use repurposed jars for thread and small items, shoe organizers for fabric, and old containers for notions. Creativity is key! - How can I maximize a small sewing space?
Consider using multi-functional furniture, such as a cabinet with a fold-down table, and utilize vertical storage options like wall shelves. - What materials are best for organizing sewing supplies?
Clear plastic bins, drawer organizers, and fabric baskets are excellent choices as they allow you to see what you have while keeping everything organized.

Final Touches and Personalization
Once you’ve transformed your old cabinet into a functional sewing station, it’s time to add those final touches that make it uniquely yours. Personalization is not just about aesthetics; it’s about creating a space that inspires your creativity and reflects your style. Imagine walking into your sewing area and feeling an instant sense of joy and motivation! That’s the power of personalization.
Start by considering a color scheme that resonates with you. Whether it’s a calming pastel palette or vibrant, bold hues, the colors you choose can greatly influence your mood while you sew. You might opt to paint the cabinet in a shade that complements your existing decor or even use a fun stencil pattern to add a bit of flair. Remember, this is your creative haven, so don’t shy away from experimenting!
Next, think about incorporating decorative elements that showcase your personality. Perhaps you love vintage finds—why not add some antique knobs or handles to your cabinet? Or if you’re into modern aesthetics, sleek metal hardware could do the trick. You can also hang a few framed pictures or artwork on the wall above your sewing station. This not only makes the space inviting but can also serve as inspiration when you’re in the midst of a project.
To further enhance the atmosphere, consider adding lighting that suits your needs. A bright, adjustable lamp can help illuminate your workspace, making it easier to see intricate details as you sew. Alternatively, fairy lights or a decorative string of lights can add a warm, cozy ambiance that makes your sewing station feel more like home.
Lastly, don’t forget about functional accessories that can help keep your workspace organized while also adding a touch of style. For instance, colorful baskets can store your fabric scraps, while a pegboard can display your tools and threads in an artistic manner. When everything has its place, not only will your sewing station look great, but it will also function seamlessly, allowing you to focus on what you love—sewing!
As you put the finishing touches on your sewing station, remember that personalization is an ongoing process. Feel free to change things up as your style evolves or as you discover new inspirations. The goal is to create a space that truly feels like yours, a sanctuary where you can unleash your creativity and dive into your sewing projects with passion.
- What type of cabinet works best for a sewing station?
Look for cabinets that offer ample storage and a spacious work surface. A cabinet with a fold-out table or additional shelves is ideal for keeping your sewing supplies organized.
- How can I personalize my sewing station on a budget?
Consider DIY projects like painting or reupholstering old furniture. You can also add personal touches with thrifted decor items or handmade organizers.
- What lighting is best for sewing?
Bright, adjustable task lighting is essential. LED lamps with adjustable arms can help you focus light where you need it most, reducing eye strain during long sewing sessions.
Frequently Asked Questions
- What type of cabinet is best for a sewing station?
When selecting a cabinet for your sewing station, consider factors like size, style, and functionality. A cabinet with ample storage space for fabrics and tools, along with a sturdy work surface, is ideal. Look for cabinets that can accommodate your sewing machine and allow for easy access to your supplies.
- What essential tools do I need for repurposing my cabinet?
To successfully transform your cabinet, you'll need some basic tools. These include screwdrivers, a saw for any necessary cuts, a measuring tape for precise dimensions, and sandpaper for smoothing surfaces. Having these tools on hand will make the process much smoother and enjoyable.
- How can I personalize my sewing station?
Personalizing your sewing station can be a fun and creative process! Consider adding decorative elements like paint in your favorite colors, unique hardware, or fabrics that reflect your style. Incorporating personal touches such as photos or inspirational quotes can also make your space feel more inviting and motivate your creativity.
- What are some effective storage solutions for a sewing station?
Keeping your sewing station organized is crucial for productivity. Use clear bins or labeled containers for easy access to materials. Wall-mounted shelves or pegboards can also be great for storing tools and supplies, while a rolling cart can provide additional storage and mobility.
- How do I ensure my sewing station is comfortable to work in?
To create a comfortable sewing station, consider the height of your work surface and ensure it’s suitable for your ergonomic needs. A comfortable chair with good support is also essential. Make sure to have adequate lighting to reduce eye strain, and arrange your tools within easy reach to minimize unnecessary movements.


