Creating Land Art with Garden Materials
Have you ever looked at a garden and thought it could be more than just a collection of plants? Well, you're not alone! The world of land art opens up a whole new dimension of creativity, where the natural landscape becomes your canvas. Imagine transforming your backyard into a breathtaking installation that not only enhances your outdoor space but also connects with the environment. By utilizing garden materials, you can create stunning pieces that harmonize with nature and showcase your artistic flair.
Land art is not just a trend; it's a movement that encourages us to see beauty in the world around us. From ancient times to modern-day artists, the concept of using the earth as a medium has evolved into a fascinating form of expression. Think of it as nature's way of collaborating with human creativity. Whether you're a seasoned artist or a curious beginner, creating land art with garden materials is a rewarding experience that invites you to explore your surroundings in a new light.
So, what exactly can you use to create these mesmerizing installations? The possibilities are endless! You can incorporate elements such as stones, soil, wood, and even native plants to enhance your artistic expression. Each material not only adds texture and color but also tells a story about the place it comes from. By carefully selecting your materials, you can create a piece that not only looks beautiful but also resonates with the local environment.
In this article, we will explore the various aspects of creating land art with garden materials. From understanding the significance of land art to choosing the right materials, we’ll guide you through the process step-by-step. You'll learn how to incorporate local flora, adapt your designs to seasonal changes, and utilize the right tools and techniques to bring your vision to life.
Are you ready to dive into the world of land art? Grab your gardening gloves, unleash your creativity, and let’s get started on this exciting journey of transforming your outdoor space into a stunning work of art!
- What is land art? Land art, or earth art, is an artistic movement that uses natural landscapes as a canvas, often incorporating elements like soil, rocks, and plants.
- Do I need to be an artist to create land art? Absolutely not! Land art is for everyone. Whether you're a professional artist or a hobbyist, the key is to express yourself and connect with nature.
- How do I choose the right location for my land art? Consider factors like visibility, accessibility, and the environmental impact of your artwork. A good site enhances the overall experience of your piece.
- Can I use non-native plants in my land art? While you can use non-native plants, incorporating local flora is beneficial for the ecosystem and adds authenticity to your artwork.
- What tools do I need to create land art? Basic gardening tools, such as shovels, rakes, and pruning shears, can be helpful. However, your creativity is your most important tool!
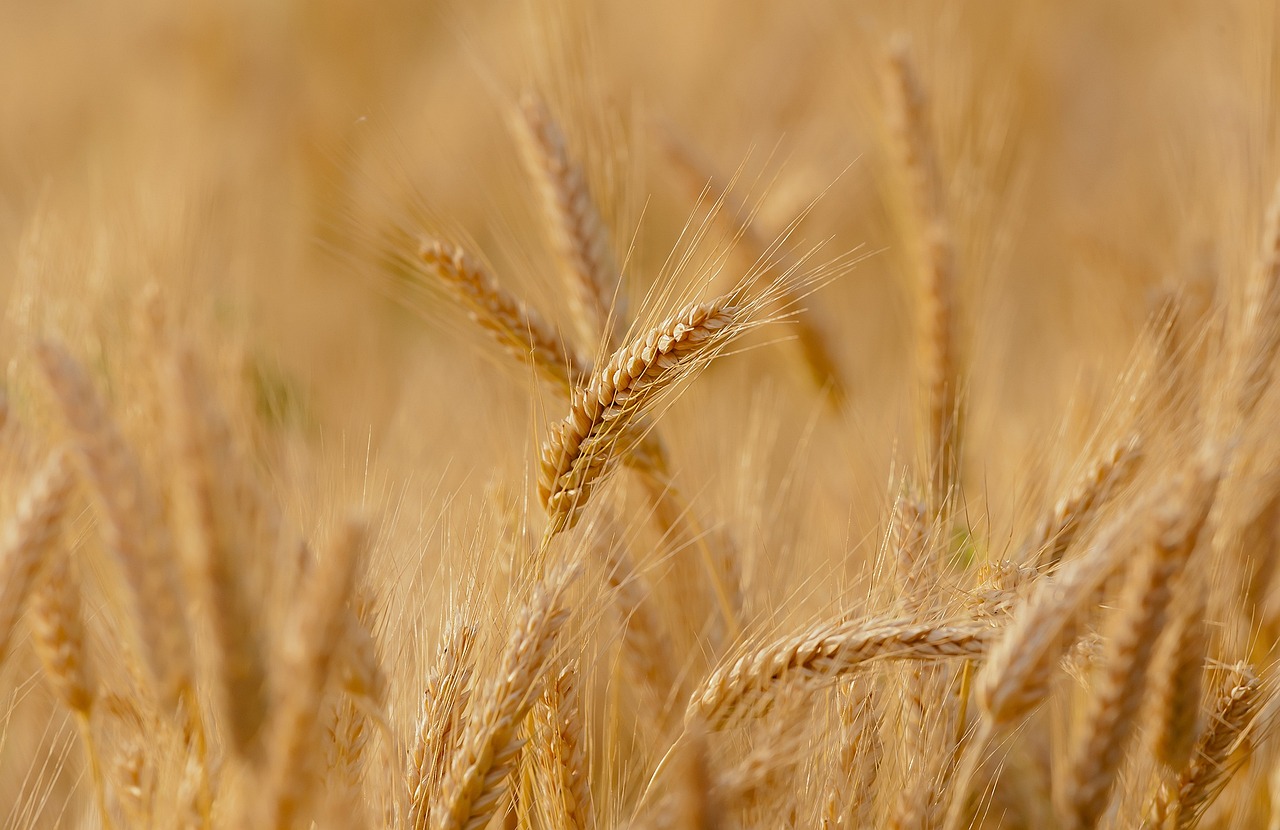
Understanding Land Art
Land art, often referred to as earth art, represents a unique intersection between nature and artistic expression. This captivating form of art uses the natural landscape as a canvas, transforming our perception of what art can be. Unlike traditional art forms that are confined to galleries and studios, land art invites us to step outside and engage with the environment. Imagine walking through a serene forest or along a rugged coastline, only to stumble upon a breathtaking installation crafted from the very elements surrounding you. Isn't that a remarkable way to experience art?
The origins of land art can be traced back to the 1960s and 1970s, when artists began to challenge conventional notions of art. They sought to create pieces that were not just visually striking but also deeply connected to the earth. Some of the most notable figures in this movement include Robert Smithson, known for his iconic "Spiral Jetty," and Andy Goldsworthy, who uses natural materials to create ephemeral works that change with the seasons. These artists not only paved the way for land art but also encouraged us to see beauty in the ordinary and the fleeting.
One of the most significant aspects of land art is its ability to evoke a sense of place. By utilizing natural materials and landscapes, artists create installations that resonate with their surroundings. This connection to the environment challenges us to reconsider our relationship with nature. Are we merely observers, or can we become active participants in the creation of art? The answer lies in the experience of land art itself, which often invites interaction, reflection, and even a bit of playfulness.
Land art is also a powerful medium for environmental consciousness. Many artists use their work to highlight ecological issues, raise awareness about conservation, and engage communities in discussions about sustainability. For instance, installations that incorporate recycled materials or focus on restoring native habitats serve as a reminder of our responsibility to protect the environment. This aspect of land art not only beautifies our landscapes but also prompts us to think critically about our impact on the planet.
In summary, land art is more than just a visual spectacle; it is a dynamic dialogue between art, nature, and society. It encourages us to explore the outdoors and engage with our surroundings in new and meaningful ways. So, the next time you find yourself in a natural setting, keep your eyes peeled. You might just discover a hidden gem of land art waiting to inspire you!
Choosing the Right Materials
When it comes to creating stunning land art, the materials you choose can make all the difference. Think of your artwork as a recipe; the right ingredients can elevate your dish from ordinary to extraordinary. In this case, the ingredients are the natural elements found in your garden and surrounding environment. Using a mix of stones, soil, plants, and even organic debris can lead to breathtaking artistic expressions that resonate with nature.
First off, let’s talk about stones. These rugged beauties come in various shapes, sizes, and colors. Whether you prefer smooth river rocks or jagged granite pieces, stones can serve as the backbone of your land art. They can create structure, add texture, and even serve as focal points in your design. Imagine a winding path of river stones leading the eye through a vibrant garden; it’s not just a path, it’s an invitation to explore.
Next up is soil. While it might seem mundane, soil can be a powerful medium for artistic expression. You can manipulate its color and texture to create patterns or even sculptural forms. Consider using different types of soil—sandy, clay, or loamy—to add depth and interest to your artwork. Just like a painter selects their palette, you can choose the right soil to enhance your visual narrative.
Then we have plants. Incorporating greenery into your land art not only beautifies your creation but also brings it to life. Native plants are particularly valuable as they are adapted to local conditions, requiring less maintenance and supporting local wildlife. Imagine a vibrant tapestry of wildflowers interspersed with evergreen shrubs; it’s not just art, it’s a thriving ecosystem!
To give you a better idea of how these materials can work together, here’s a simple table illustrating some common materials and their potential uses in land art:
| Material | Potential Uses |
|---|---|
| Stones | Pathways, focal points, textural contrast |
| Soil | Base for sculptures, color variations, patterns |
| Plants | Color, movement, habitat for wildlife |
| Organic Debris | Natural mulch, color, seasonal change |
Lastly, don’t overlook the beauty of organic debris. Leaves, twigs, and even fallen flowers can add a unique touch to your land art. They can serve as temporary installations that change with the seasons, reminding us of nature's ever-evolving beauty. Picture a spiral of autumn leaves swirling around a stone centerpiece—it’s a fleeting moment of art that captures the essence of change.
In conclusion, choosing the right materials is not just about aesthetics; it’s about creating a harmonious relationship with your environment. Each element you select contributes to a larger narrative, one that celebrates the beauty of nature and your artistic vision. So, take your time, explore your surroundings, and let your creativity flow as you gather the materials that will bring your land art to life.
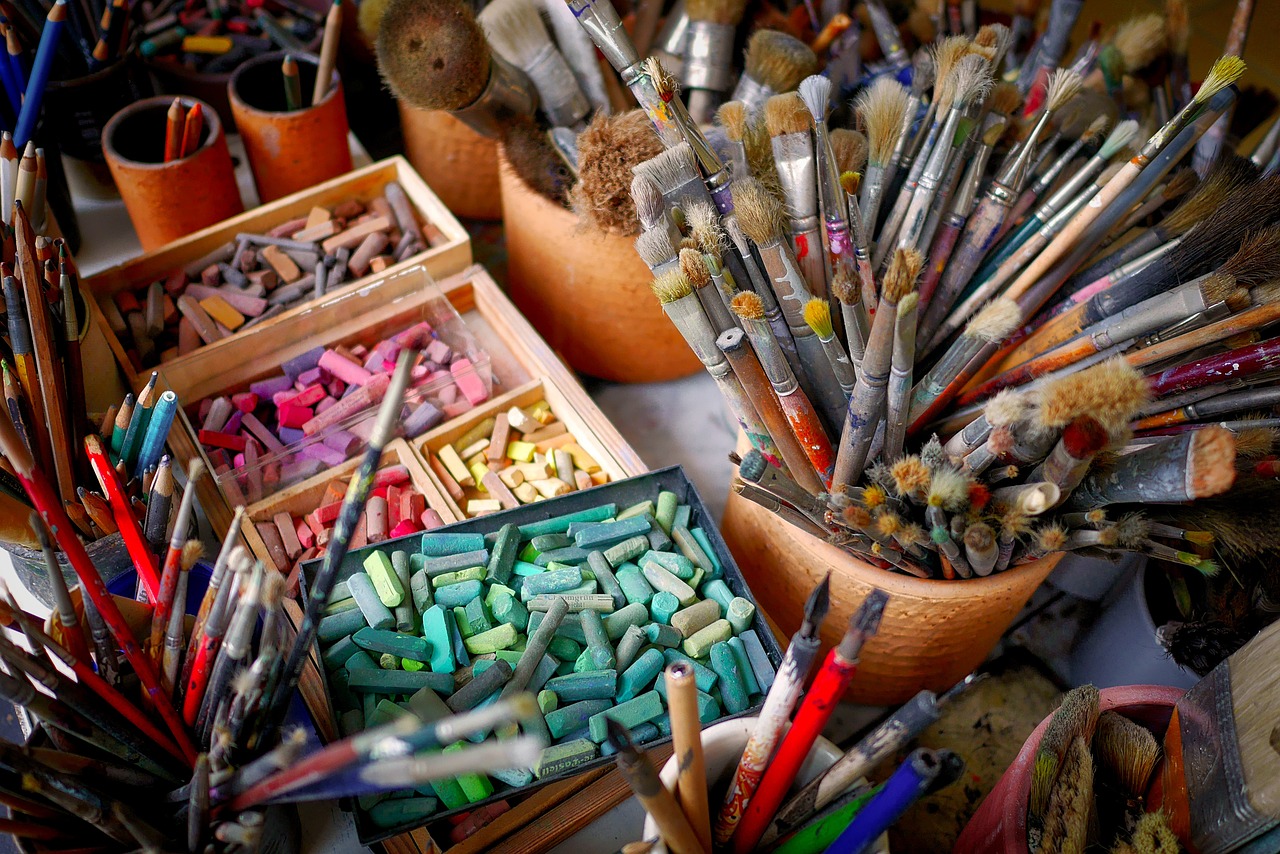
Natural Textures and Colors
When it comes to creating land art, play a vital role in bringing your vision to life. Imagine walking through a lush forest or a vibrant garden; the variety of hues and surfaces can ignite your creative spark. From the roughness of tree bark to the smoothness of river stones, these elements can serve as your palette. By incorporating these textures and colors into your land art, you can create pieces that not only stand out but also blend seamlessly with their surroundings.
One of the most exciting aspects of using natural materials is the infinite variety they offer. For example, consider the following natural textures you might encounter:
- Stones and Pebbles: Their shapes and colors can range from smooth river stones to jagged rocks, providing a tactile experience.
- Soil: Different types of soil, from sandy to clayey, can add depth to your artwork, each with its unique hue.
- Leaves and Flowers: The vibrant greens of leaves and the array of colors from flowers can create stunning contrasts.
These elements can be combined in various ways to evoke different emotions and messages. For instance, a piece that primarily uses dark, rough stones may convey a sense of strength and permanence, while one that incorporates bright flowers might suggest joy and transience. The key is to experiment and find the right balance that resonates with your artistic intent.
Another factor to consider is how light interacts with these natural materials. The time of day can dramatically change the appearance of your land art. Early morning light can cast soft shadows, enhancing the textures of your materials, while the harsh midday sun can make colors pop. By observing how light affects your chosen elements, you can plan your installations to take advantage of these changes. This dynamic aspect of land art adds a layer of complexity and beauty to your work.
In conclusion, the world of natural textures and colors is rich and varied, offering endless possibilities for your land art projects. Embrace the uniqueness of each material, and let your creativity flow as you create installations that not only please the eye but also honor the environment. Remember, the beauty of land art lies in its ability to transform natural elements into something extraordinary, so don’t shy away from experimenting!
- What materials are best for land art?
Natural materials such as stones, soil, plants, and water are ideal. Their textures and colors allow for creativity and harmony with the environment.
- Can I use artificial materials in land art?
While it's best to stick to natural materials to maintain ecological integrity, some artists incorporate recycled or found objects to add unique elements.
- How do seasonal changes affect land art?
Seasonal changes can alter the colors and textures of your materials, providing new inspiration and challenges for your installations.
- Is land art permanent?
Land art can be temporary or permanent. Many artists create installations that evolve with nature, while others design more lasting works.

Incorporating Local Flora
When it comes to creating land art, the incorporation of local flora is not just a choice; it's a powerful statement. Using native plants in your artwork can significantly enhance its authenticity and connection to the environment. Imagine walking through a vibrant landscape where every element sings in harmony with its surroundings. This is the magic that local flora can bring to your creations.
Native plants are well-adapted to the local climate and soil, which means they require less maintenance and are more resilient to pests and diseases. This makes them an ideal choice for land art, as they can thrive without excessive intervention. Not only do they contribute to the aesthetic appeal of your installation, but they also play a crucial role in supporting local wildlife, including pollinators like bees and butterflies. By incorporating these plants, you’re not just creating art; you’re fostering a mini-ecosystem.
Furthermore, using local flora allows you to create a deeper narrative within your artwork. Each plant carries its own story, rooted in the history and culture of the area. For instance, if you live in a region known for its wildflowers, why not use these stunning blooms to tell the story of your landscape? By doing so, you invite viewers to engage with your art on a more personal level, sparking conversations about the local environment and its significance.
Here are some tips for successfully incorporating local flora into your land art:
- Research Native Species: Start by researching which plants are native to your area. Local nurseries or botanical gardens can be excellent resources for finding the right species.
- Consider Seasonal Changes: Think about how different plants will look throughout the seasons. Choosing a mix of perennials and annuals can provide visual interest year-round.
- Create Layers: Use plants of varying heights and textures to create depth in your artwork. This layering can add dimension and intrigue, making your installation more engaging.
Incorporating local flora also presents an opportunity to educate others about the importance of biodiversity and conservation. As you work on your land art, consider adding informational signs that explain the significance of the plants you’ve chosen. This not only enhances the viewer's experience but also raises awareness about the native species and their roles in the ecosystem.
Ultimately, the integration of local flora into your land art is about more than just aesthetics; it’s about creating a living, breathing piece of art that resonates with the natural world. By choosing to work with the plants native to your region, you’re making a statement about sustainability and environmental stewardship. So, let your creativity blossom as you explore the endless possibilities that local flora can offer in your artistic journey!
Q: What are the benefits of using local flora in land art?
A: Using local flora enhances the authenticity of your artwork, supports local ecosystems, and requires less maintenance due to the plants' natural adaptation to the environment.
Q: How can I find native plants for my land art?
A: You can research local nurseries, botanical gardens, or online databases that specialize in native species to find plants suited for your area.
Q: Can I use non-native plants in my land art?
A: While non-native plants can be used, they may require more care and can negatively impact local ecosystems. It's generally recommended to prioritize native species for environmental harmony.
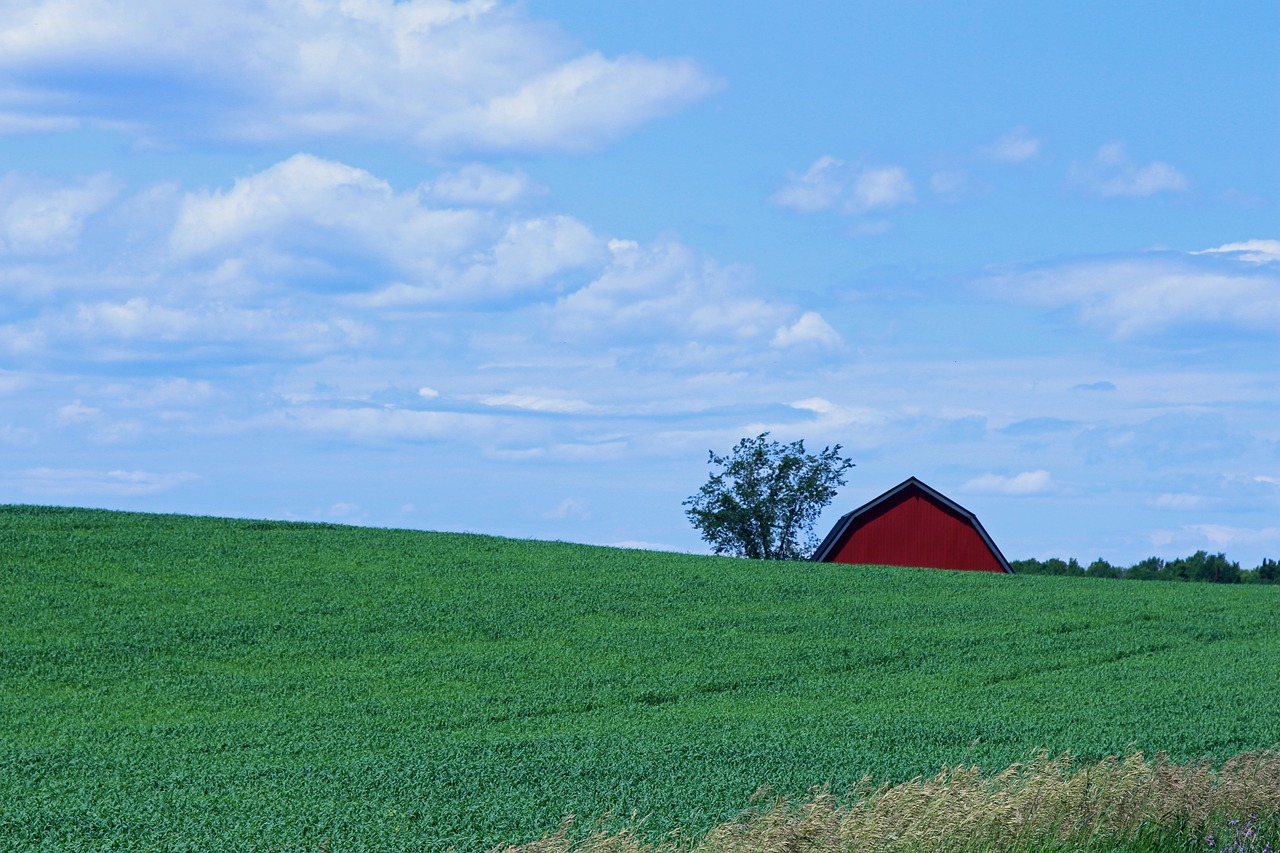
Seasonal Changes
When it comes to land art, can be both a challenge and a source of inspiration. Imagine your artwork transforming with the seasons, like a chameleon adapting to its environment. Each season brings its own palette of colors, textures, and moods that can dramatically alter the way your art is perceived. In spring, for instance, vibrant blooms burst forth, bringing life to your installations, while autumn's warm hues create a stunning backdrop for earthy tones. So, how can you effectively incorporate these seasonal shifts into your land art?
The key lies in embracing the natural cycles of the environment. For example, you might plan to use seasonal plants that bloom at different times of the year. This not only keeps your artwork dynamic but also allows you to engage with the local ecosystem. Consider planting wildflowers that will flourish in spring and summer, while opting for evergreens that provide structure in the winter months. By selecting a mix of flora, you can create a living piece of art that evolves over time.
Moreover, the weather can play a significant role in how your land art is experienced. Rain can enhance the colors of your materials, while snow can blanket your creation in a serene, white layer, offering a completely different perspective. It's crucial to think about how weather patterns will affect your artwork. For instance, if you're using soil and stones, a heavy rain could wash away some of your designs, while a dry spell might cause plants to wilt. Monitoring the forecast and being adaptable will help you maintain the integrity of your creation.
To illustrate this concept, let’s take a look at how different seasons can influence land art:
| Season | Characteristics | Artistic Opportunities |
|---|---|---|
| Spring | Vibrant flowers, fresh greens | Incorporate blooming plants, use bright colors |
| Summer | Full foliage, warm weather | Utilize lush greenery, create shaded areas |
| Autumn | Warm hues, falling leaves | Highlight changing colors, use fallen leaves creatively |
| Winter | Bare branches, snow cover | Focus on structure, use contrasting materials |
In conclusion, understanding and embracing seasonal changes can elevate your land art to new heights. By being mindful of the environment and its transformations, you not only create a more engaging experience for viewers but also foster a deeper connection with nature. So, as you embark on your land art journey, remember to let the seasons guide your creativity, and don’t shy away from the surprises they bring!
- What materials are best for seasonal land art? Natural materials like stones, soil, and various plant species that change with the seasons work best.
- How can I maintain my land art throughout the seasons? Regularly check on your artwork, adjust plants as needed, and be prepared to replace materials impacted by weather.
- Can I use artificial materials in land art? While natural materials are preferred for environmental harmony, some artists incorporate recycled materials for added texture and interest.
Tools and Techniques
This article explores the fascinating world of land art, focusing on how to utilize natural and garden materials to create stunning outdoor installations that harmonize with the environment.
Land art, also known as earth art, uses natural landscapes as a canvas. This section delves into its history, significance, and how it challenges traditional perceptions of art.
Selecting appropriate garden materials is crucial for creating land art. This section discusses various natural elements like stones, soil, and plants, and how they can enhance artistic expression.
Exploring the diverse textures and colors found in nature can inspire creativity. This subheading highlights how to incorporate these elements into your land art projects for visual impact.
Using native plants not only supports local ecosystems but also adds authenticity to your land art. This segment discusses the benefits of integrating local flora into your designs.
Seasonal variations can dramatically affect your land art. This section examines how to adapt your creations to reflect the changing seasons and utilize their unique characteristics.
When it comes to creating stunning land art, the right tools and techniques can make all the difference. Imagine you’re an artist, but instead of a canvas, your medium is the earth itself. You’ll want to equip yourself with a variety of implements that can help you shape and mold your vision into reality. For starters, basic gardening tools such as shovels, rakes, and trowels are essential for preparing your site and manipulating soil and materials. These tools allow you to create texture and form, much like a sculptor chiseling away at marble.
But don’t stop there! Consider incorporating tools that allow for more intricate designs. For instance, a handheld hoe can help you carve out detailed patterns, while a garden fork is perfect for aerating soil and mixing in other materials. You might also want to invest in a leveling tool to ensure that your installations are visually appealing and balanced. After all, symmetry can be a powerful aspect of land art!
In terms of techniques, think about how you can manipulate your materials to create depth and dimension. Layering is a fantastic method; by stacking stones or arranging plants at various heights, you can create a sense of movement and flow in your artwork. Additionally, consider the concept of negative space—the areas around your main elements. By leaving some areas open, you allow the viewer’s eye to rest and appreciate the overall composition.
Moreover, don’t shy away from experimenting with different textures and colors. For example, mixing sand with soil can create a unique visual contrast, while incorporating moss or lichen can add a touch of softness to your design. Remember, nature is your palette, and the more you play with it, the more unique your land art will become.
Finally, always keep in mind the environmental impact of your tools and techniques. Opt for sustainable practices, such as using biodegradable materials and minimizing disruption to the local ecosystem. By doing so, you not only enhance your artwork but also contribute positively to the environment.
Design is a fundamental aspect of land art. This section guides you through the planning and conceptualization stages to ensure your artwork is cohesive and impactful.
Creating preliminary sketches can help visualize your land art. This subheading emphasizes the importance of planning and refining your ideas before starting the physical work.
Choosing the right location for your land art can make a significant difference. This section discusses factors to consider when selecting a site, including visibility, accessibility, and environmental impact.
- What materials can I use for land art? You can use a variety of natural materials, such as stones, soil, plants, and even water. The key is to choose materials that resonate with your vision.
- How do I choose a site for my land art? Look for locations that are visible and accessible. Consider the environmental impact and how your art will interact with the surrounding landscape.
- Can I create land art in my backyard? Absolutely! Your backyard can serve as a perfect canvas for experimenting with land art.
Designing Your Artwork
Designing your land art is like crafting a story that unfolds in the great outdoors. It’s not just about placing materials haphazardly; it’s about creating a narrative that resonates with both the viewer and the environment. To kick off this creative journey, you need to dive deep into planning and conceptualization. Think of your artwork as a living entity that needs a solid foundation to thrive. What message do you want to convey? How do you want your audience to feel when they experience your creation?
Before you grab your tools and head outside, take some time to sketch your ideas. Sketching is an invaluable step in the design process. It allows you to visualize your thoughts on paper, helping you refine your concepts and explore different arrangements. A simple doodle can spark inspiration and lead you to unexpected ideas. The beauty of sketches is that they can be as rough or polished as you want; the goal is to capture the essence of your vision. So, don’t be afraid to let your imagination run wild!
Once you have your sketches, it’s crucial to consider the site selection. The location of your land art can significantly impact its effectiveness and overall aesthetic. Imagine placing a vibrant, colorful piece in a dull, lifeless area; it might not have the same impact as it would in a lively, scenic spot. When choosing your site, think about the following factors:
- Visibility: Is your artwork easily seen from a distance? Will it draw people in or blend into the background?
- Accessibility: Can people easily reach your installation? Consider paths, natural barriers, and safety.
- Environmental Impact: Will your artwork disrupt the local ecosystem? Make sure to respect the natural surroundings.
As you consider these factors, remember that the ideal site should enhance your artwork rather than detract from it. Imagine how the sunlight will hit your installation at different times of the day or how the surrounding flora will interact with your piece. This connection between your art and its environment is what makes land art so unique.
Additionally, think about the scale of your artwork. A small piece might get lost in a vast landscape, while a large installation could overwhelm a tiny garden. Finding the right balance is essential to ensure that your artwork feels cohesive and integrated into the space. You want your audience to feel invited to explore and interact with your creation, so scale plays a vital role in that experience.
Finally, as you embark on this creative adventure, don’t forget to embrace the unexpected. Nature is unpredictable, and sometimes the best designs emerge from spontaneous moments. Whether it’s a gust of wind that shifts your materials or a surprising bloom of color from nearby plants, allow yourself to adapt and evolve your artwork as you go. After all, the essence of land art lies in its connection to the environment, and being flexible can lead you to truly remarkable outcomes.
Q: How long does it take to create land art?
A: The time it takes to create land art can vary greatly depending on the complexity of your design and the materials used. Simple installations might take a few hours, while more elaborate projects could take days or even weeks to complete.
Q: Do I need special tools to create land art?
A: While you don’t need specialized tools, having some basic gardening tools, like shovels, rakes, and trowels, can be helpful. Your creativity is your most important tool!
Q: Can I use non-native plants in my land art?
A: While you can use non-native plants, it’s generally better to incorporate local flora. Native plants support local ecosystems and are often more resilient to the local climate.
Q: What if my land art gets damaged by weather?
A: Weather can indeed affect your installation. Embrace the changes and consider them part of the art. You might even find inspiration in the way your artwork transforms over time!
Sketching Your Ideas
When it comes to creating land art, is an essential step that can significantly influence the success of your project. Think of it as laying the groundwork for a grand architectural masterpiece; without a solid blueprint, the end result may not align with your vision. So, grab your favorite sketchbook and let’s dive into the creative process!
Sketching allows you to visualize your concepts before you start working with natural materials. It’s like a rehearsal for your art; you can experiment with shapes, sizes, and arrangements without the pressure of making permanent decisions. You might be wondering, “How do I even begin to sketch something so dynamic and organic?” Well, here are some tips to get your creative juices flowing:
- Start with basic shapes: Break down your vision into simple geometric forms. This will help you understand the overall composition and layout.
- Experiment with different perspectives: Try sketching your design from various angles. This will give you a better sense of how your land art will interact with the surrounding environment.
- Incorporate natural elements: Use your sketches to explore how different materials will come together. For example, if you plan to use stones, draw them in place to see how they complement your design.
Another vital aspect of sketching is incorporating color and texture. While your initial sketches may be in black and white, consider adding color swatches or textures that represent the materials you intend to use. This not only enhances your visualization but also helps you make informed choices about how different elements will harmonize in the final piece.
Once you have a few sketches, don’t hesitate to refine them. Just like a sculptor chisels away at a block of marble, you can modify your sketches until they truly reflect your artistic intent. You might even want to create a mood board alongside your sketches. Gather images, color palettes, and textures that inspire you. This visual collage can serve as a reference point, guiding you as you transition from paper to the great outdoors.
Remember, the beauty of land art lies in its connection to nature. Your sketches should not only reflect your artistic vision but also consider the natural landscape. Think about how your artwork will look in different seasons, how it will interact with sunlight, and how it will change over time. Each sketch can become a stepping stone toward a deeper understanding of your environment and how to celebrate it through your art.
In conclusion, sketching your ideas is more than just a preliminary step; it’s a vital part of the creative journey. By taking the time to visualize your concepts, you pave the way for a successful and meaningful land art installation that resonates with both you and the environment.
Q1: Do I need to be an artist to sketch my ideas?
A: Absolutely not! Sketching is about expressing your thoughts and ideas. It doesn't have to be perfect; it just needs to convey your vision.
Q2: How detailed should my sketches be?
A: The level of detail depends on your preference. Some artists prefer rough sketches to capture the essence of their ideas, while others may create detailed plans. Do what feels right for you!
Q3: Can I use digital tools for sketching?
A: Yes! Digital sketching tools can be incredibly helpful. They allow for easy adjustments and experimentation without wasting paper.
Q4: How do I incorporate feedback on my sketches?
A: Sharing your sketches with friends or fellow artists can provide valuable insights. Be open to constructive criticism and use it to refine your ideas further.
Site Selection
This article explores the fascinating world of land art, focusing on how to utilize natural and garden materials to create stunning outdoor installations that harmonize with the environment.
Land art, also known as earth art, uses natural landscapes as a canvas. This section delves into its history, significance, and how it challenges traditional perceptions of art.
Selecting appropriate garden materials is crucial for creating land art. This section discusses various natural elements like stones, soil, and plants, and how they can enhance artistic expression.
Exploring the diverse textures and colors found in nature can inspire creativity. This subheading highlights how to incorporate these elements into your land art projects for visual impact.
Using native plants not only supports local ecosystems but also adds authenticity to your land art. This segment discusses the benefits of integrating local flora into your designs.
Seasonal variations can dramatically affect your land art. This section examines how to adapt your creations to reflect the changing seasons and utilize their unique characteristics.
Understanding the tools and techniques for creating land art is essential. This subheading provides insights into the different methods and equipment that can enhance your artistic process.
Design is a fundamental aspect of land art. This section guides you through the planning and conceptualization stages to ensure your artwork is cohesive and impactful.
Creating preliminary sketches can help visualize your land art. This subheading emphasizes the importance of planning and refining your ideas before starting the physical work.
Choosing the right location for your land art can make a significant difference. Imagine finding a hidden gem in a vast landscape, where your art can not only shine but also blend seamlessly into its surroundings. The site you select should resonate with the message you want your artwork to convey. Here are some critical factors to consider:
- Visibility: Your artwork should be easily seen by passersby. A site that offers good visibility will enhance the interaction between your art and the audience.
- Accessibility: Make sure that the site is accessible for both you and your materials. A location that is too remote or difficult to reach can hinder your creative process.
- Environmental Impact: Consider the ecological implications of your artwork. Choose a site that minimizes disruption to local wildlife and plant life, ensuring that your creation enhances rather than detracts from the environment.
Additionally, think about the scale of your land art. A sprawling installation might require a vast open field, while a more intimate piece could thrive in a cozy garden nook. The topography of the land is also vital—hills, valleys, and water bodies can all play a role in how your art is perceived. So, take a moment to walk around your potential sites, feel the energy of the place, and let it inspire you.
Lastly, don’t forget to consider the seasonal changes in the area. A site that looks stunning in spring may not have the same appeal in winter. By choosing a location that offers year-round beauty, you can ensure that your land art remains a captivating experience, no matter the time of year.
Q: What is land art?
A: Land art is a form of artistic expression that utilizes natural landscapes and materials to create installations that harmonize with the environment.
Q: Can I use non-native plants in my land art?
A: While you can use non-native plants, incorporating local flora is recommended as it supports local ecosystems and enhances the authenticity of your art.
Q: How do I maintain my land art?
A: Maintenance depends on the materials used and the local climate. Regularly check your installation for any needed repairs, and consider how seasonal changes may affect its appearance.
Frequently Asked Questions
- What is land art?
Land art, also known as earth art, is a form of artistic expression that utilizes natural landscapes as its canvas. It often involves creating large-scale installations that harmonize with the environment, challenging traditional notions of art by integrating nature and creativity.
- How do I choose the right materials for my land art?
Selecting appropriate materials is essential for effective land art. Consider using natural elements such as stones, soil, and plants that are readily available in your garden or local environment. These materials not only enhance your artistic expression but also ensure your artwork resonates with its surroundings.
- Can I use native plants in my land art?
Absolutely! Incorporating native plants into your land art is a fantastic way to support local ecosystems while adding authenticity to your designs. Native flora is adapted to the local climate and soil, making it easier to maintain and more sustainable in the long run.
- How do seasonal changes affect land art?
Seasonal changes can dramatically influence your land art. Each season brings unique colors, textures, and elements that you can incorporate into your designs. For example, spring flowers can add vibrant colors, while autumn leaves can create stunning visual contrasts. Adapting your artwork to reflect these changes can enhance its beauty and relevance.
- What tools do I need to create land art?
The tools you need can vary depending on your project, but common tools include shovels, rakes, and gardening gloves. You may also want to use sketching materials to plan your designs. Understanding the tools and techniques available will help you effectively bring your artistic vision to life.
- How important is the design process in land art?
The design process is crucial in land art as it helps you visualize and plan your project. Creating preliminary sketches allows you to refine your ideas before starting the physical work. A well-thought-out design ensures that your artwork is cohesive, impactful, and aligns with your artistic goals.
- What should I consider when selecting a site for my land art?
Choosing the right location is key to the success of your land art. Consider factors such as visibility, accessibility, and the environmental impact of your installation. A site that is easy to access and view will attract more attention and appreciation for your artwork.


